This is a step by step tutorial that will teach you all about canning apples in light syrup. This is a simple way to preserve apples! These canned apples are delicious and there are so many ways to use them and serve them.
When we moved to our country home, I noticed the three apple trees right away. One was dead beyond saving… The other two were neglected to the point that I wasn’t sure if they were beyond saving or if they still had a chance.
Maybe they still have a chance, but in the four years that I’ve been living here, they’ve produced a total of six apples which were gobbled up by the little furry squirrel who sneaks behind my back as if I can’t see him. Obviously, the creature doesn’t have a whole lot of experience with mothers… He doesn’t know that we have eyes in the back of our heads.
Canning Apples in Light Syrup…
Squirrel aside, I didn’t do a good job pruning the apple trees or fertilizing or whatever… It’s still on my to-do list and I still promise myself that this winter I’ll finally get to it. But you know what, if there is something that this homesteading lifestyle has taught me is that one can’t do it all.
This lifestyle is a communal affair. Period. And a community I have! Thank you God! So when apple season rolls around, I pack the kids and a big bin and head to shake someone else’s apple trees.
Does that sound bad? Oh well.
I come back home with a whole lot of beautiful and delicious apples and even though my kids eat them faster than ants find a smear of jam on my countertops in August, I am still left with a whole lot of apples to preserve. And my absolute favorite way to preserve fruit is canning it.
Canning apples take a bit of time (just because there is a lot to peel and cut) but it’s a simple way to preserve apples that produce a useful and delicious product. So let’s can some apple, shall we?
Choosing Apples For Canning…
Feel free to can any apple variety that you come by but generally speaking, it’s better to choose a sweet variety (So… Not Granny Smith). It really doesn’t matter what variety of apples you choose, they can be red apples or green apples or even crabapples.
Make sure though, that the apples that you choose for canning are ripe, firm, crispy, juicy, and sweet or tart (or both!). You don’t want to can soft apples or you will end up with apple pieces that can’t hold their shape (they’ll still be good for making and canning applesauce and apple butter and jams like cranberry apple jam though…).
Raw Pack vs. Hot Pack Apple Canning…
Raw pack method – if you choose to follow this method you’ll peel, remove the core from your apples, cut them as you wish and pack them in the jars fresh (without cooking them first). This sounds easy enough, right?
Right. The problem is that while you process your apples in the water bath canner they will shrink considerably and you will be left with half empty jars on the shelves. And anyway, you are going to have to bring the syrup to a boil before adding it over the raw packed apples. Considering the effort of processing, and the cost of jars I simply hate seeing half-empty jars on my shelf.
Also, and I know that this sounds counterintuitive, but cooked fruit actually holds its taste and shape much better when canning. So, if you want to raw pack your fruit you certainly can, but take the points above into consideration (we use the raw pack method with fruit that doesn’t hold its shape well when cooked like when canning raspberries or when canning blueberries).
Hot pack method – I personally prefer the hot pack method when canning apples (and strawberries and blackberries). In the hot pack method we peel, remove the apple core, cut, and cook the apples with the syrup for just a few minutes.
This short cooking helps release air from the fruit’s tissue and therefore we can pack more into a jar. It also helps prevent the fruit from floating in the jar and it helps keep the shape and the taste of the fruit.
How Many Apples Do You Need…
This is always a bit tricky… The good thing is that if you are left with some apple pieces that won’t fit in a jar you can use them right away or store them in the fridge for a few days or use them to make this easy and delicious fresh apple cake. Let me give you a general sense…
- You need about 1.5 pounds of apples per one pint jar or about 2.5 pounds of apples per quart jar.
- 19 pounds of apples will fill about 7 quart jars.
- About 12 pounds of apples will fill about 9 pint jars (or about 5 quart jars).
- One bushel of apples is 48 pounds. If you can one bushel you’ll get about 32 pint jars or about 19 quart jars.
I say, don’t sweat this too much. Weigh your apples, decide approximately how much syrup you’ll need and go on. If you have apple pieces leftover just use them for something else. If you have syrup leftover you can store it in the fridge if you’d like.
Syrup Options For Canning Apples…
You can choose to can apples in honey syrup or sugar syrup. If you choose the sugar syrup you can choose from a very light syrup to a heavy syrup.
- To make a honey syrup – for canning about 12 pounds of apples, use 1.5 cups of honey to 5 cups of water.
- To make a sugar syrup – for canning about 12 pounds of apples:
For a very light syrup, use 3/4 cup sugar to 6 1/2 cups of water or…
For a light syrup, use 1 – 1 1/2 cups of sugar to 5 3/4 cups of water.
I choose to use a light sugar syrup. It’s simple and affordable and keeps the fruit tasting great. If you wish to use a heavier syrup the NCHFP has all the measurements that you need.
Tools That We Are Going to Need…
- Cutting board
- Knife
- Vegetable peeler
- Large bowl
- Measuring cup
- A large pot
- Wooden spoon
- Jars – you can choose either pints or quarts.
- Lids and bands
- Canning utensils
- Ladle
- Paper towel
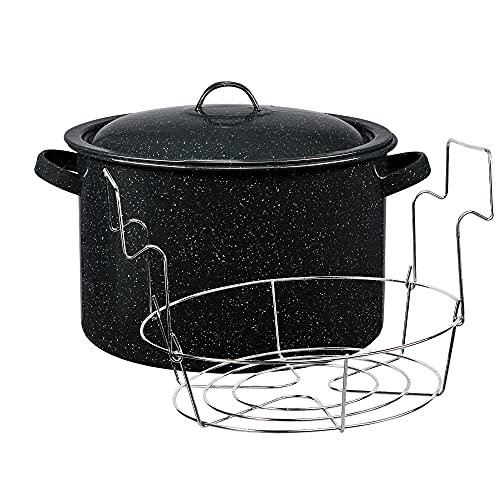
- Water bath canner
Canning Apples Step BY Step…
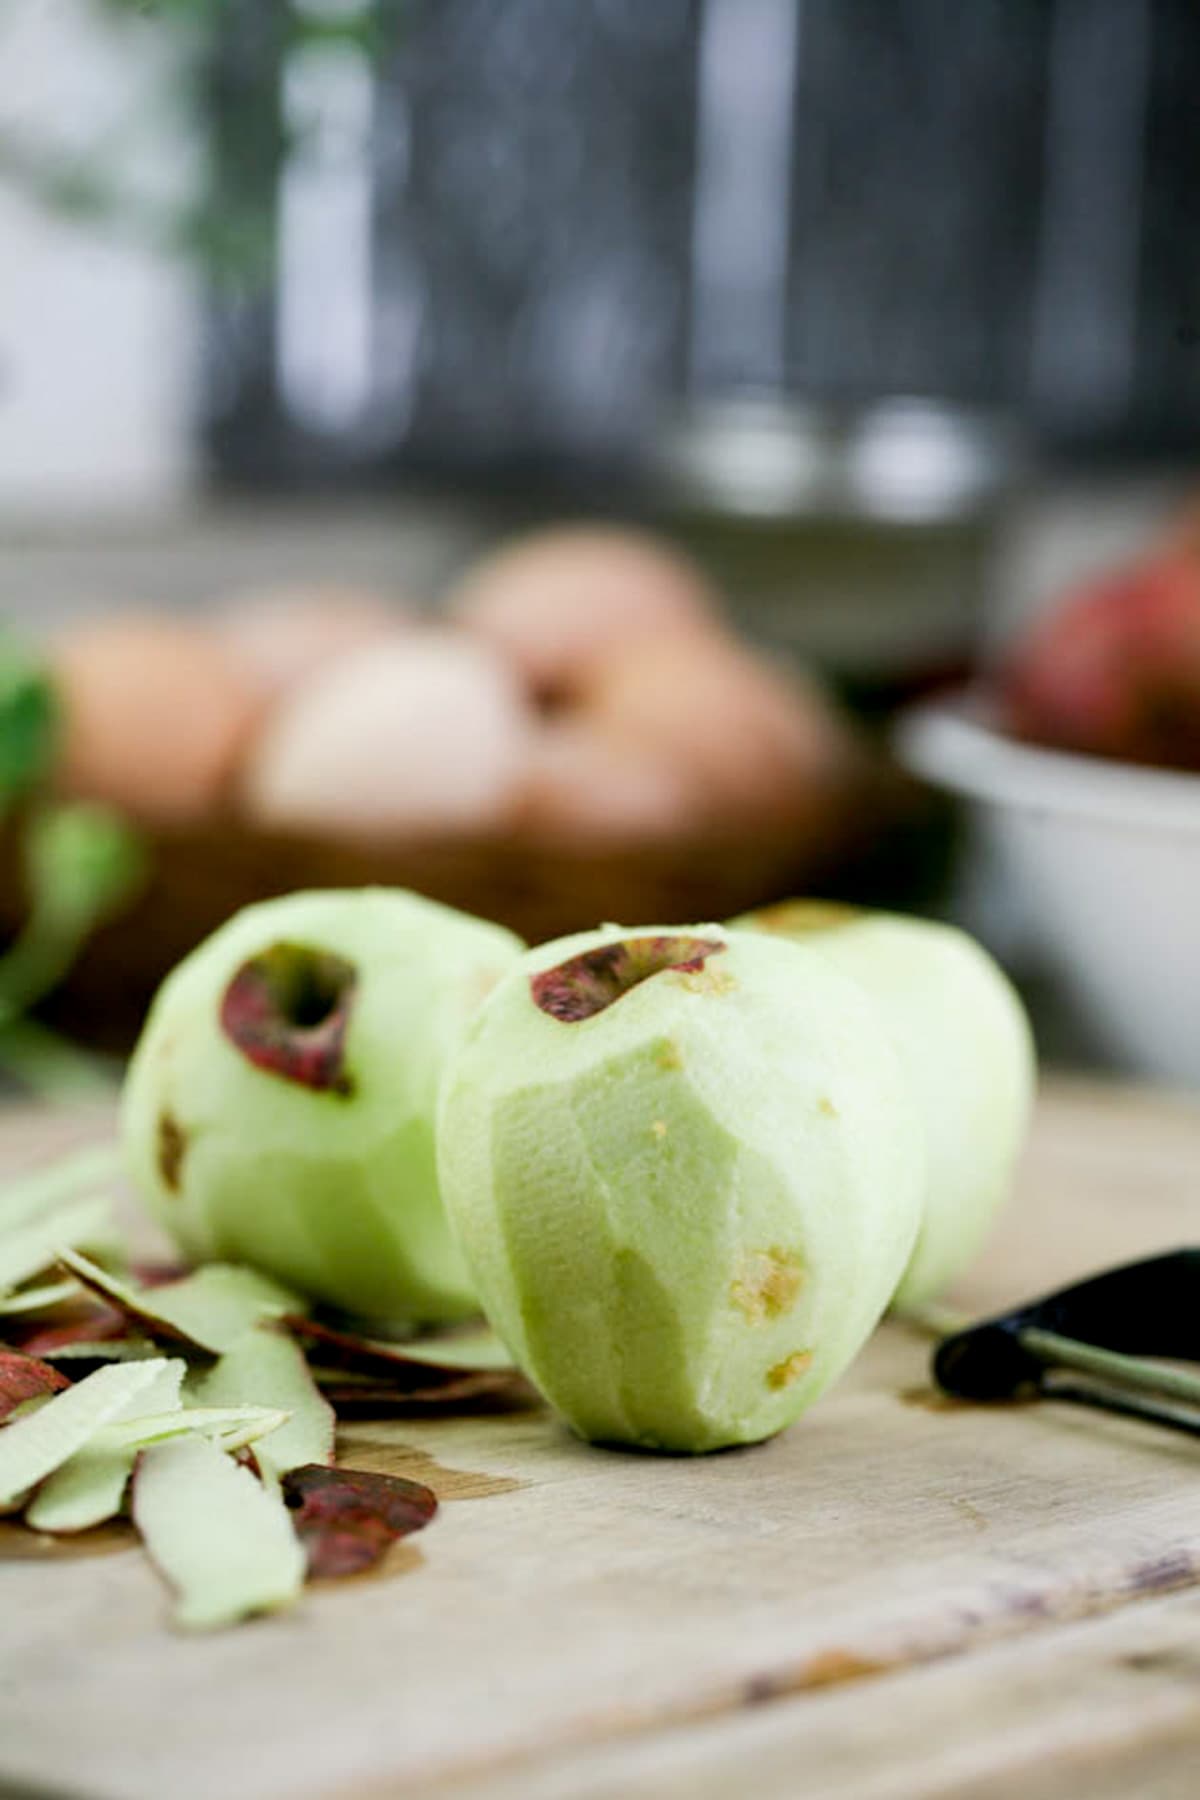
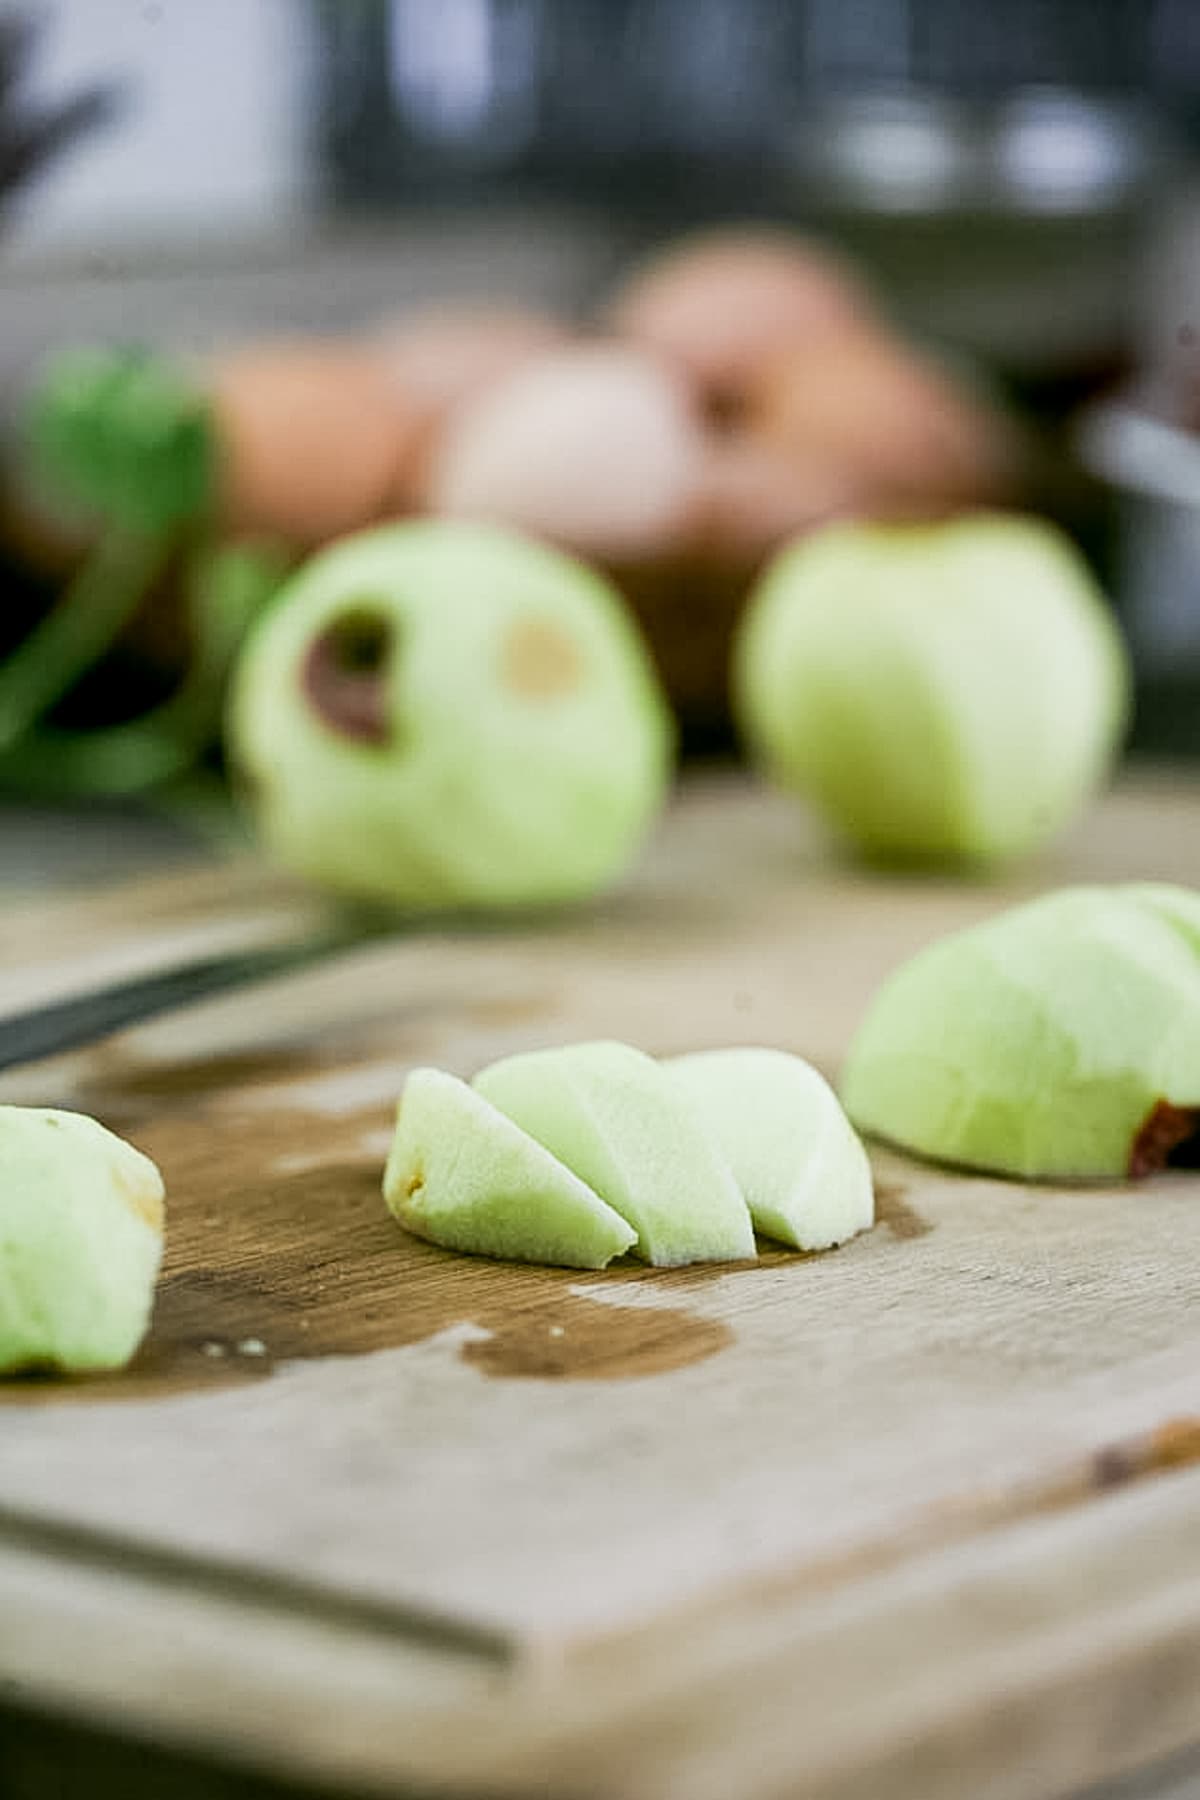
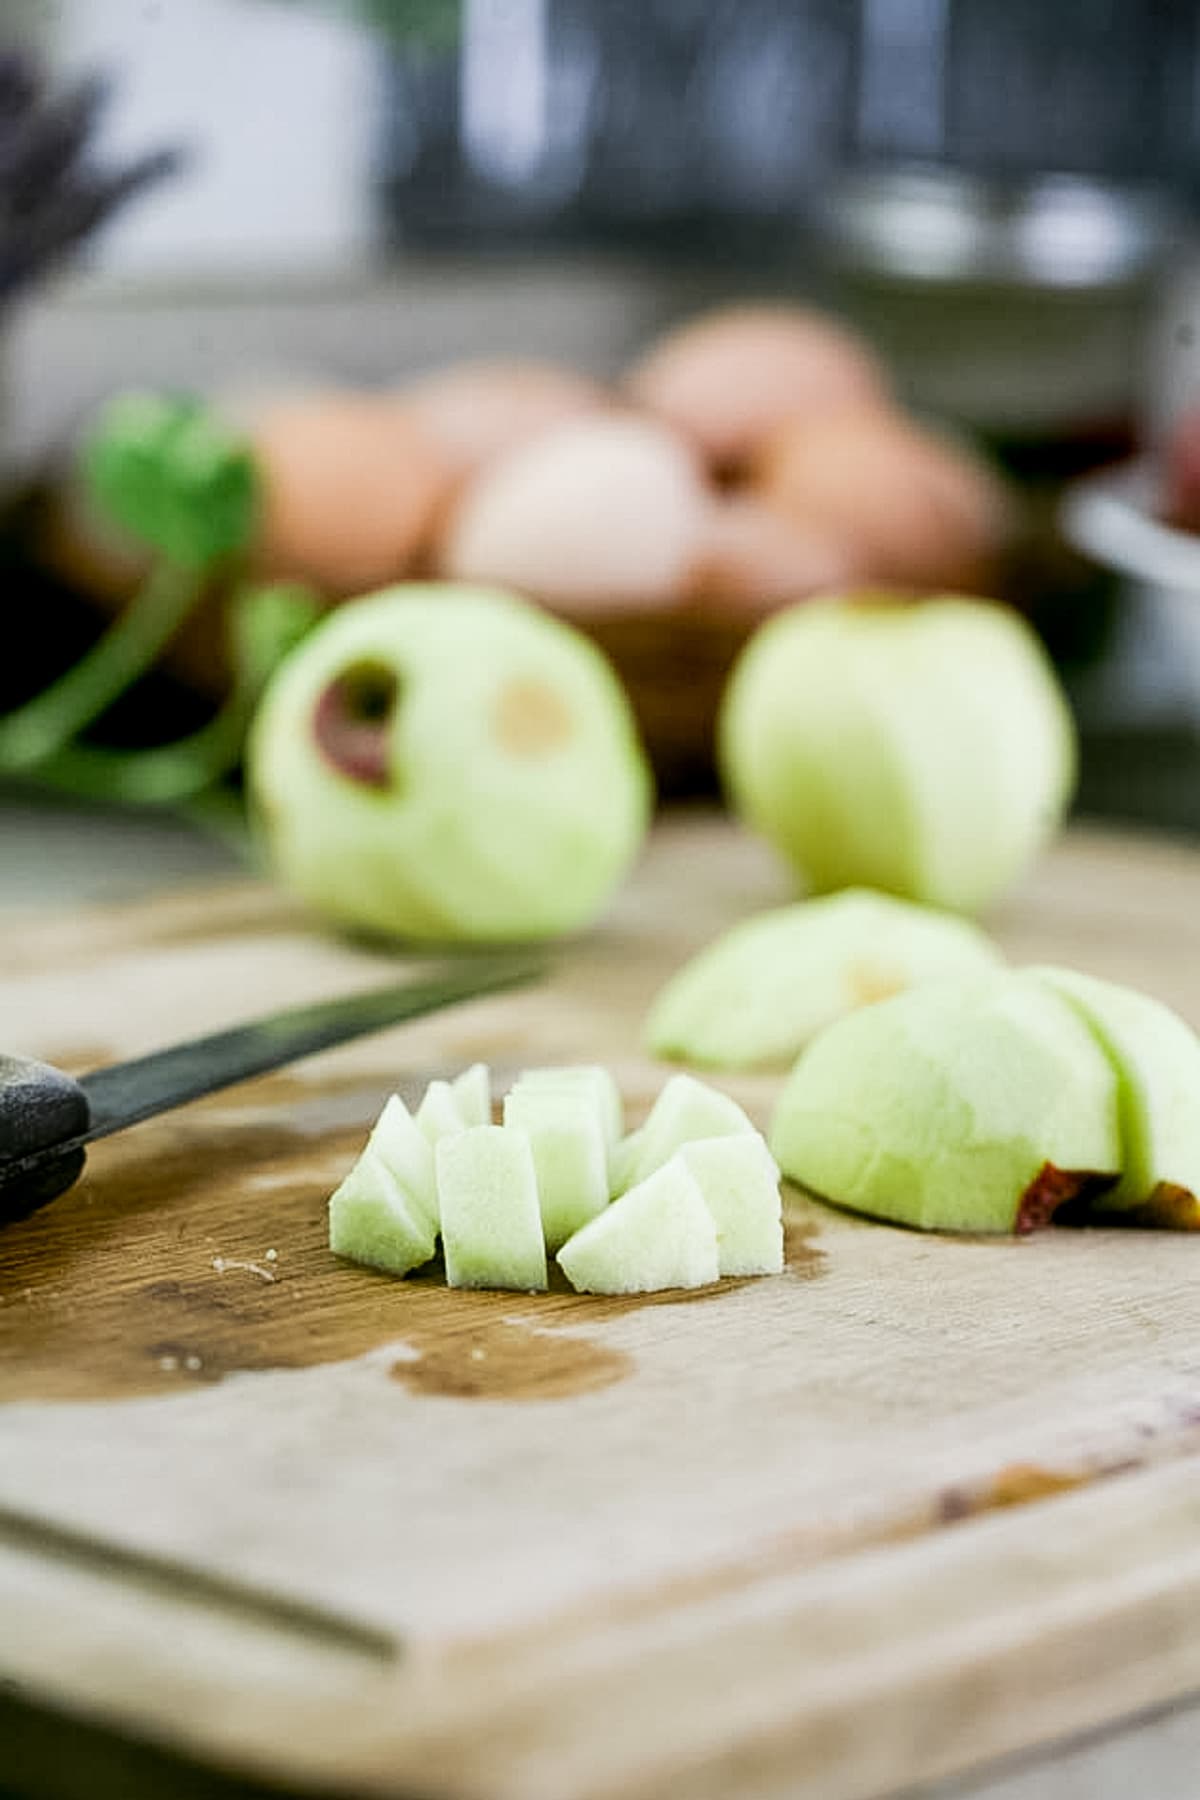
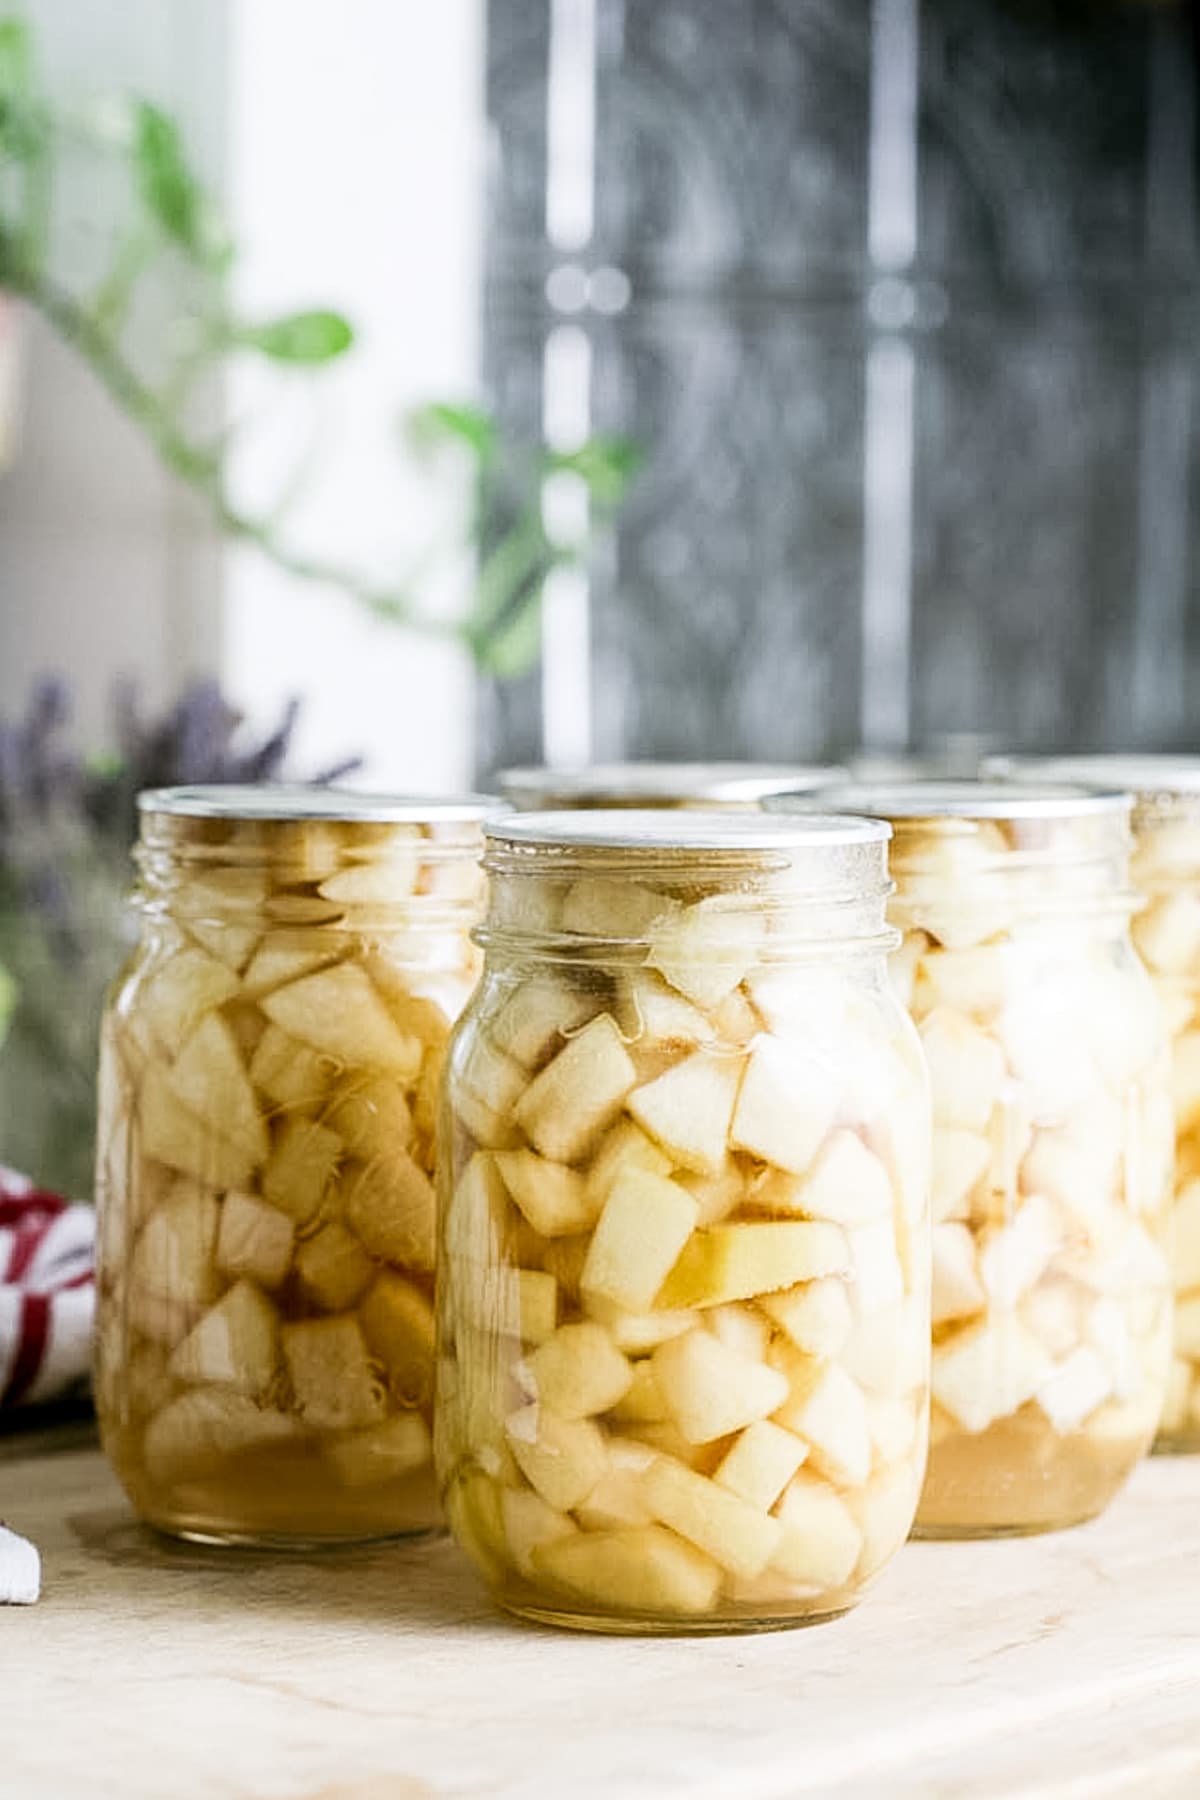
Step one – preparing the apples. Honestly, this takes the most effort and time. Once we are done with this the rest is easy peasy. Start by peeling a few apples at a time. Then, quarter them. Place your knife at an angle and cut out the core (sometimes I use the peel and core to make apple cider vinegar). Then, slice each quarter in three, and dice the slices. Note – if you want, you can can apple slices as well, you don’t have to dice the apples.
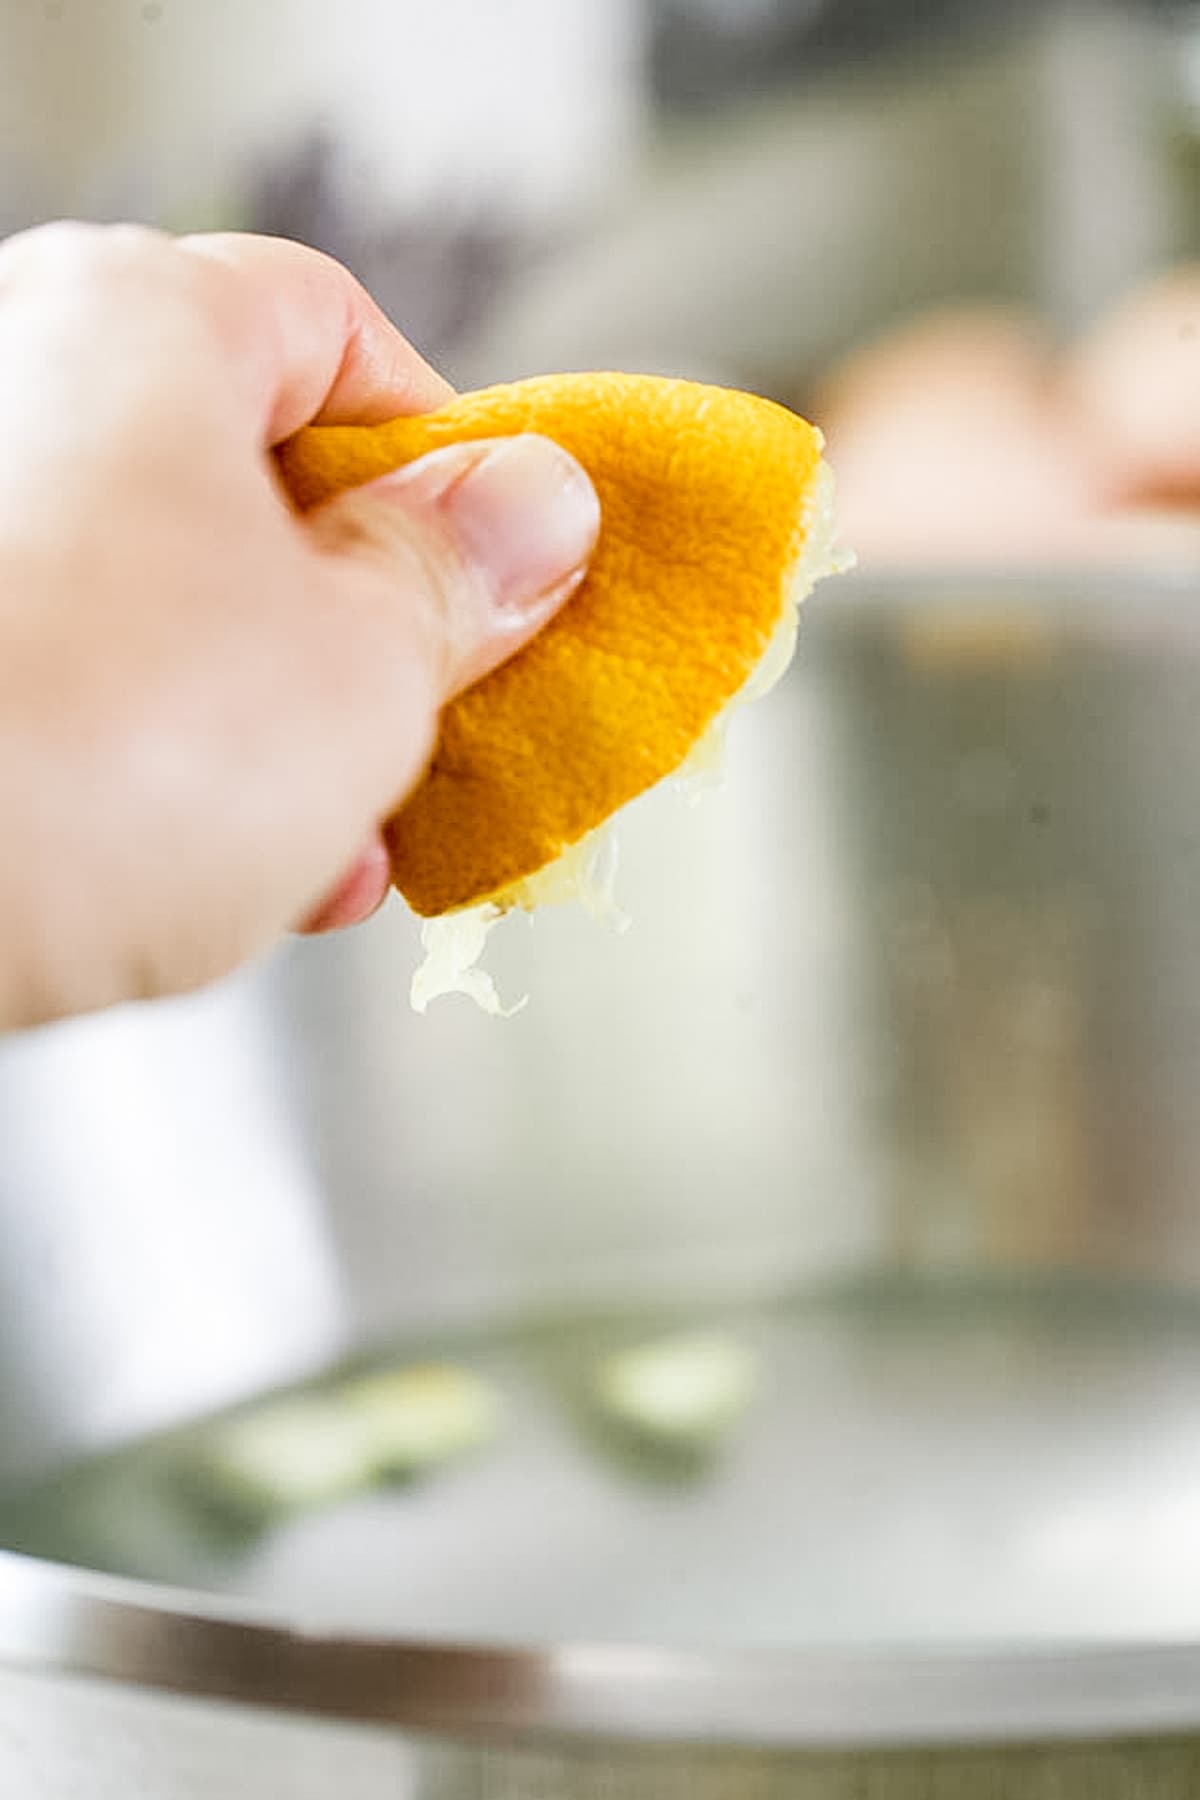
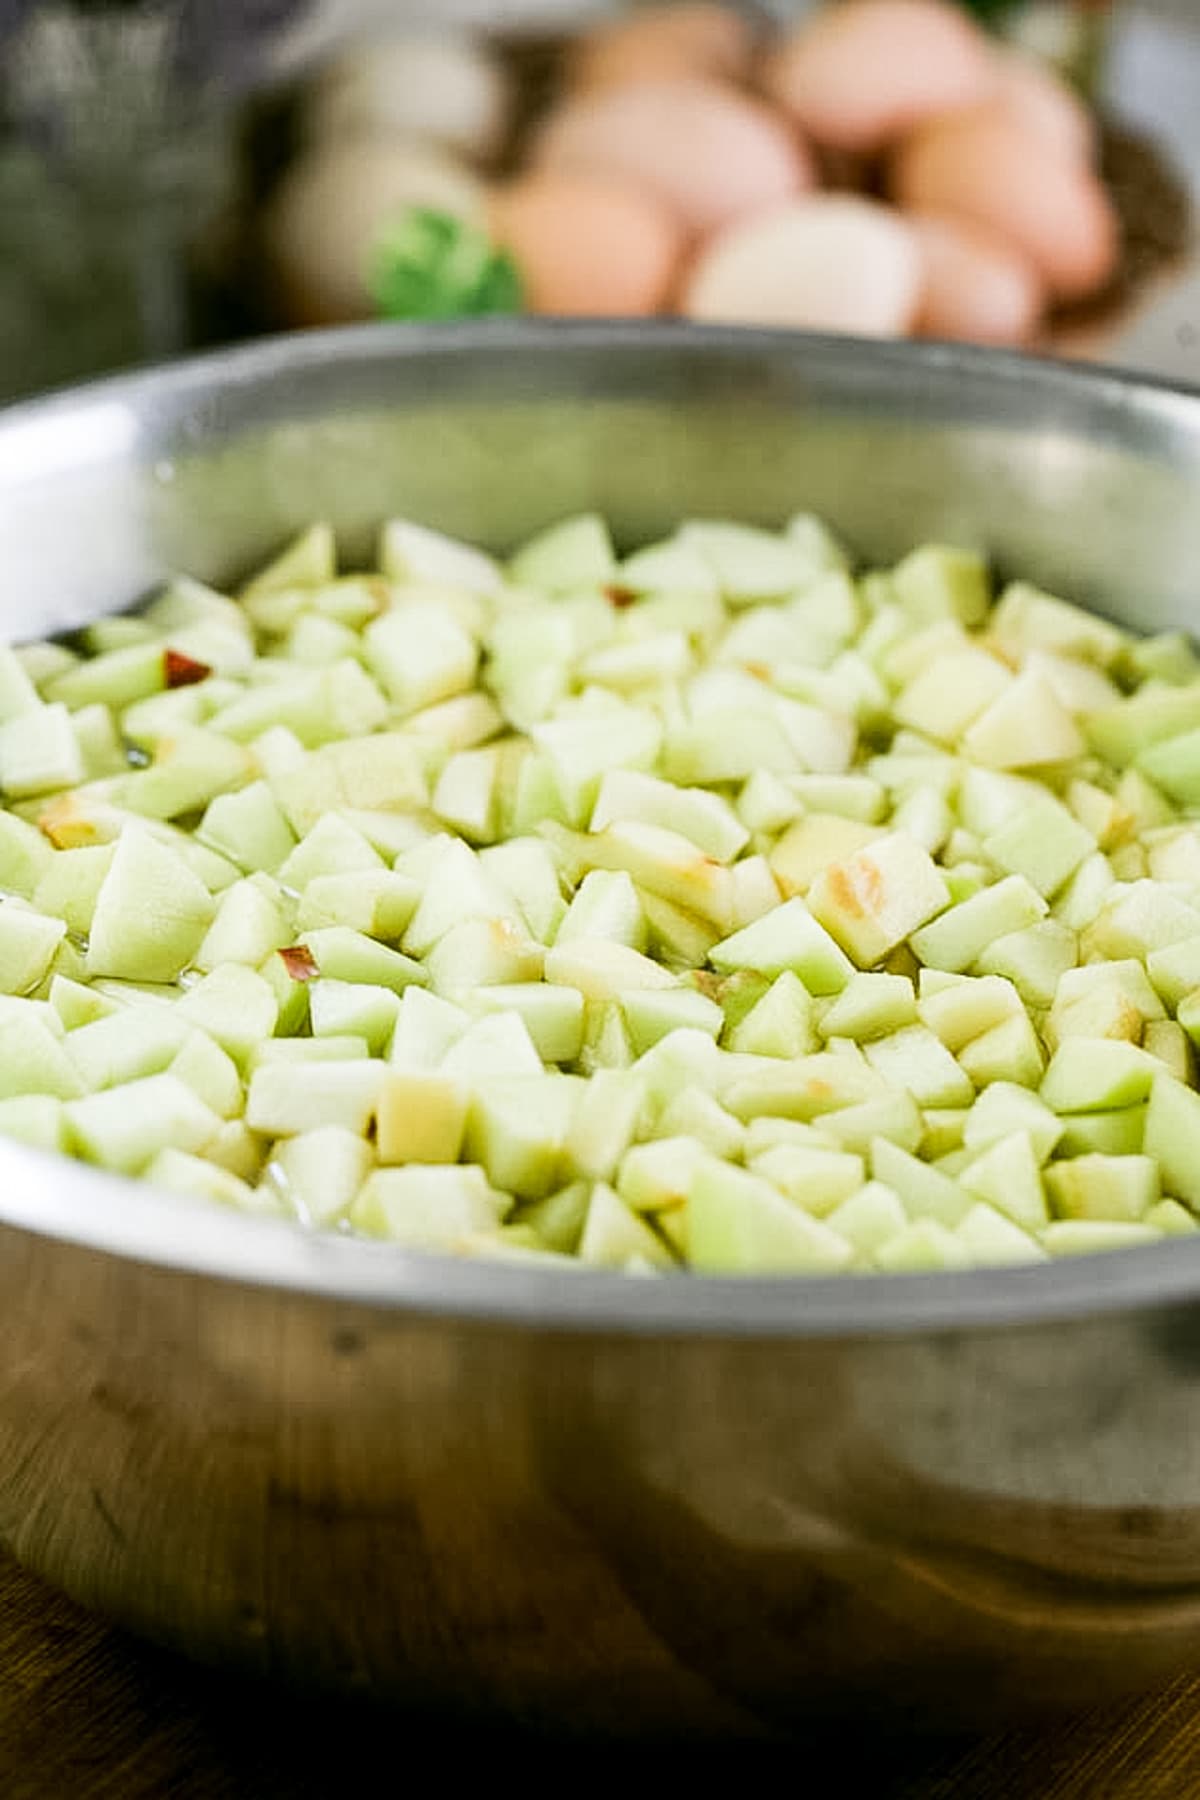
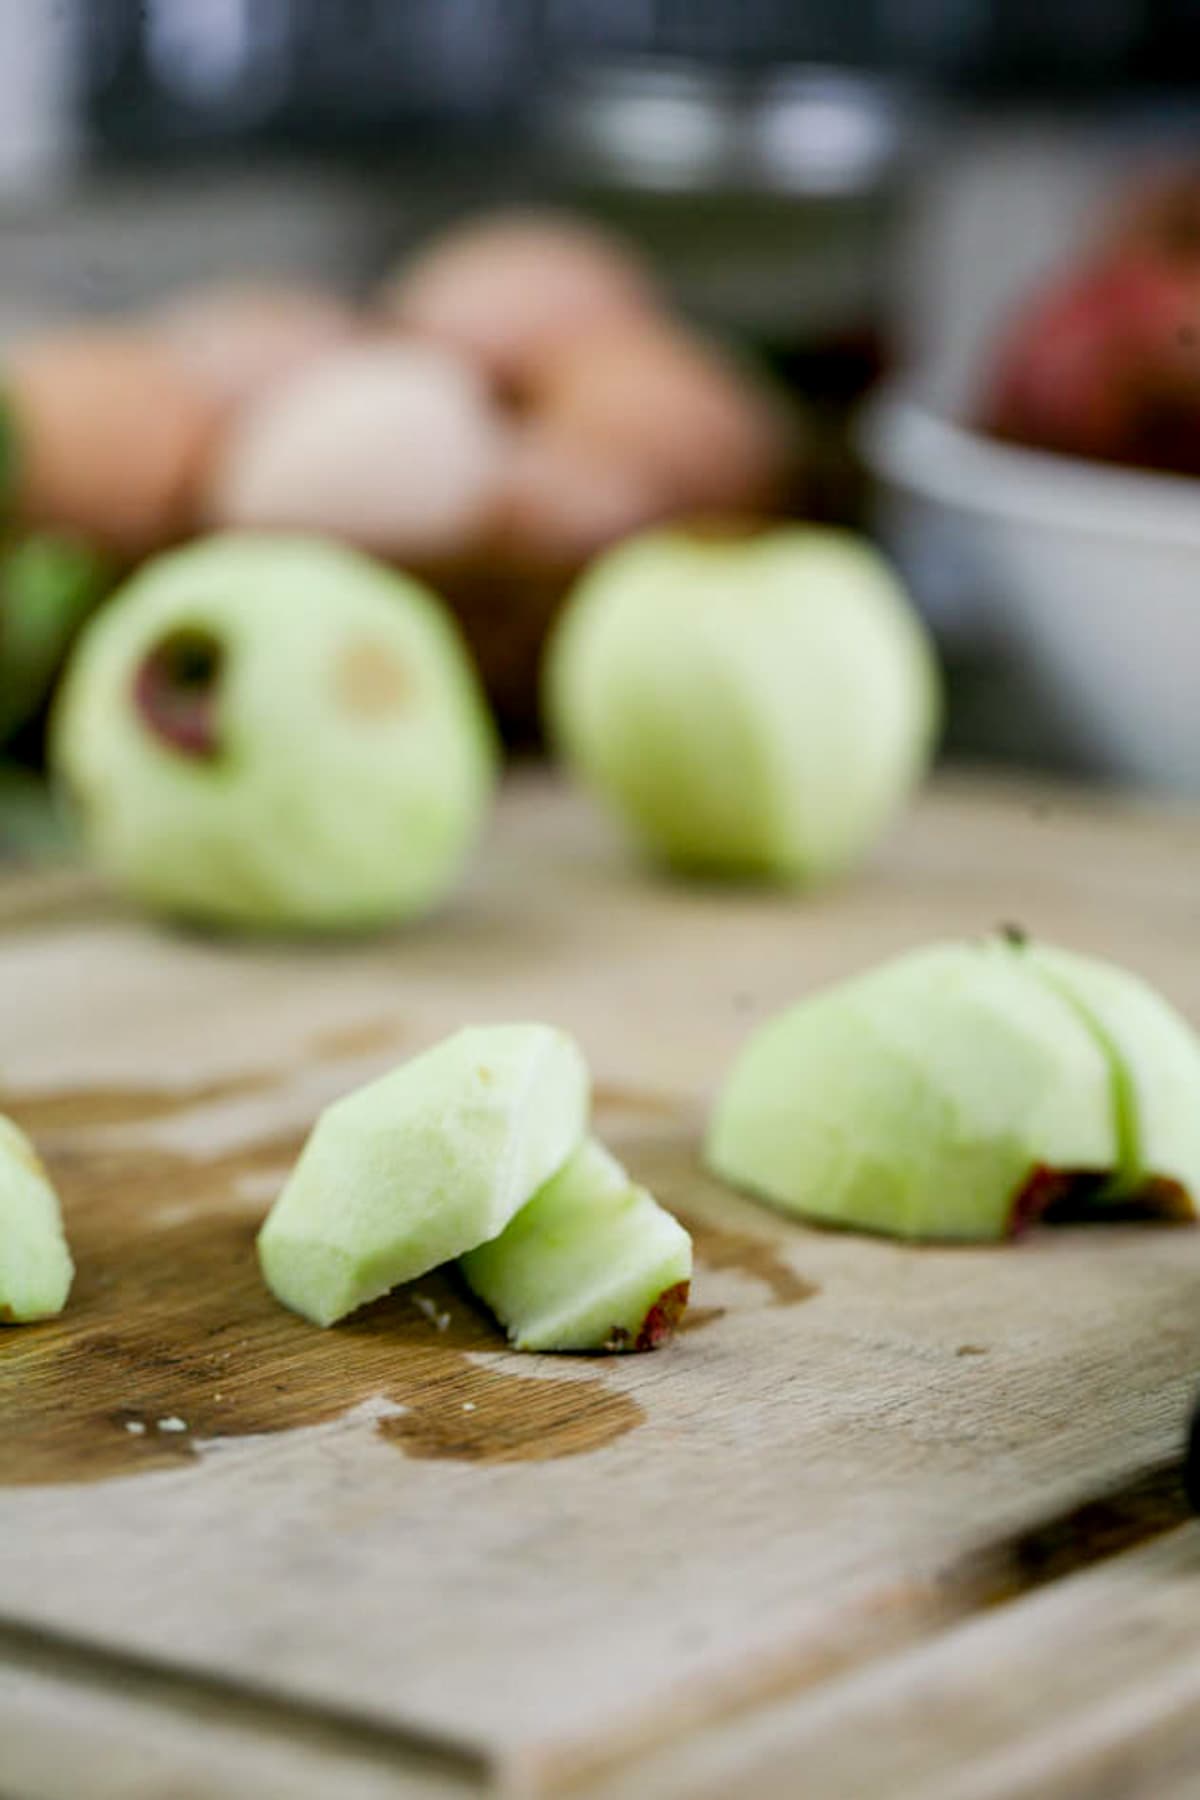
To keep the apples from browning, set a large bowl of cold water close by and squeeze the juice of half a lemon into the water. Then, as you work, add the diced apples to the bowl of water. They float, so push them down once in a while. As long as they are wet, they won’t brown.
Another note – fill the water bath canner with enough water to cover your jars by about an inch. Set it on the stovetop and turn the heat to high. As you are working on the apples, let the water come to a boil so it’s ready for processing the jars.
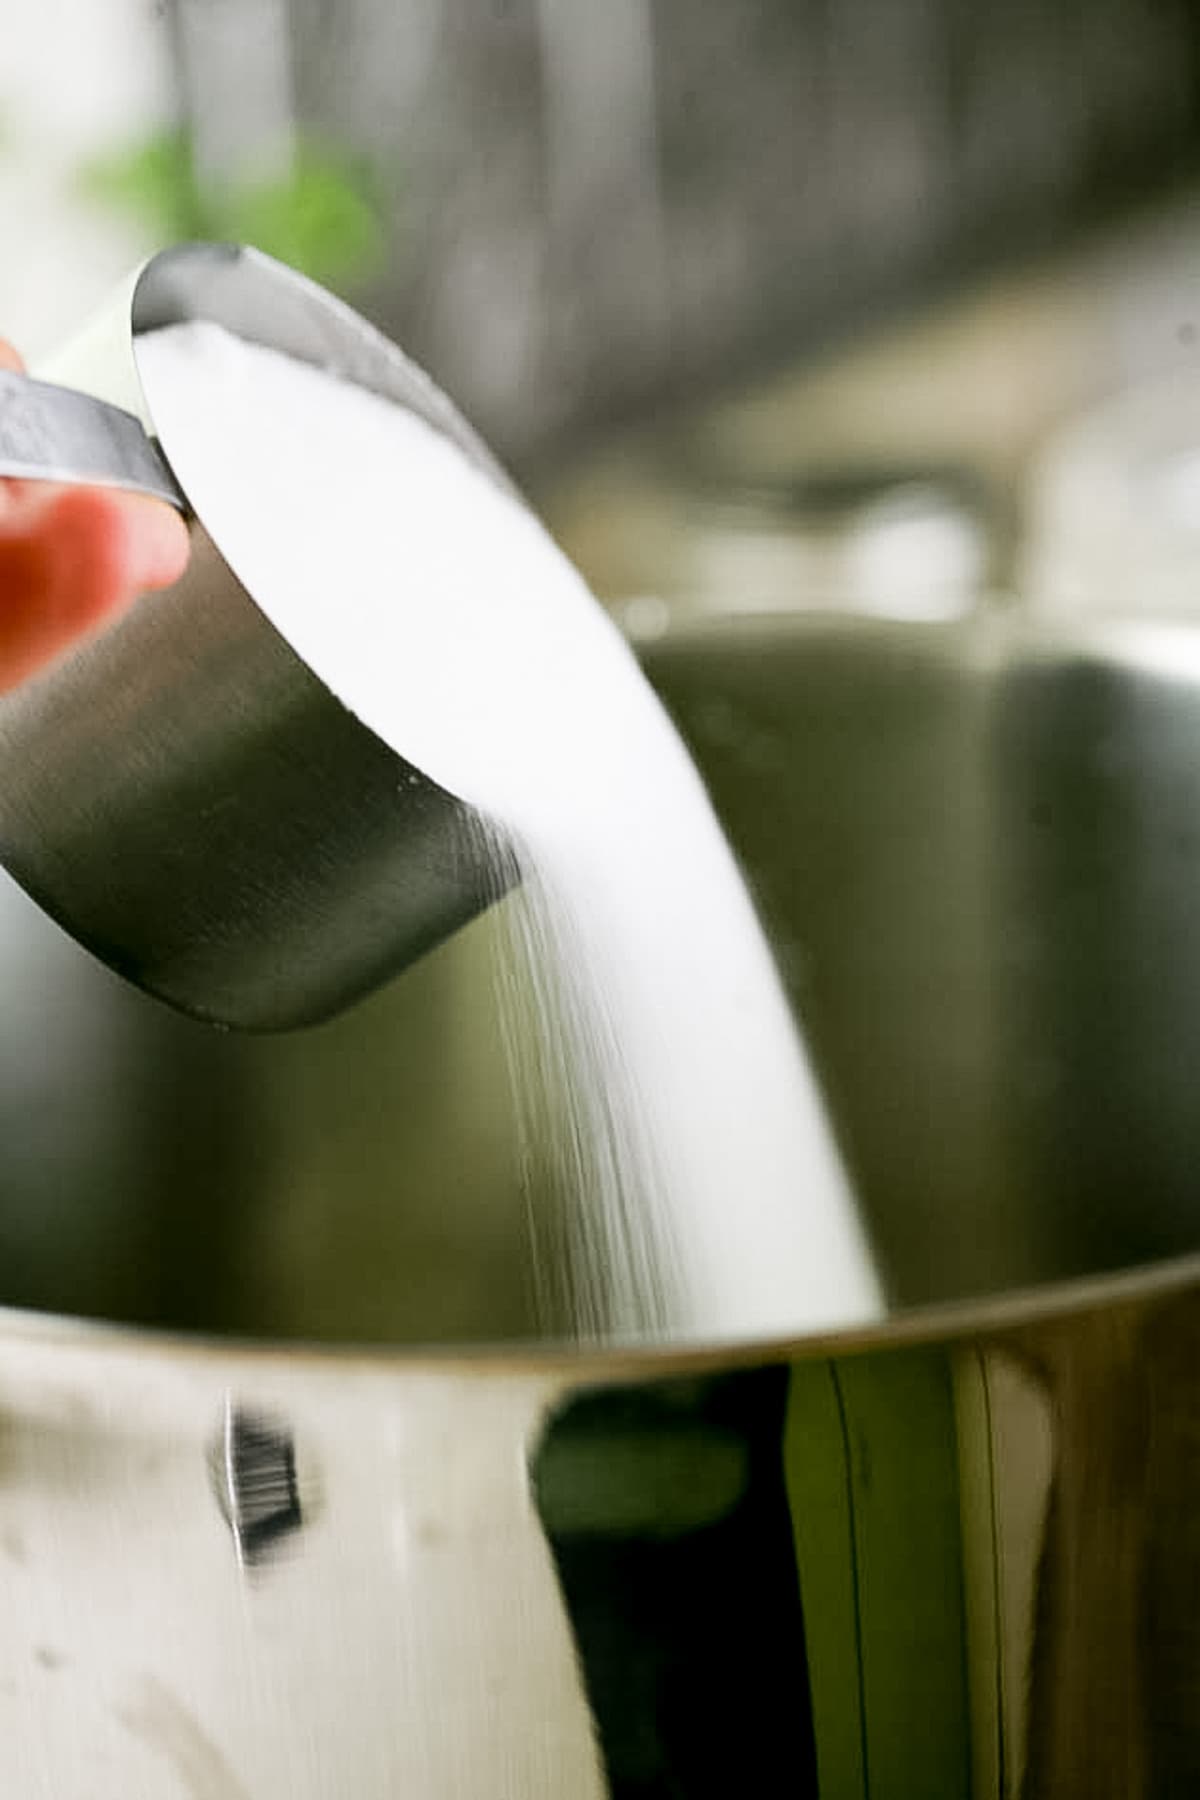
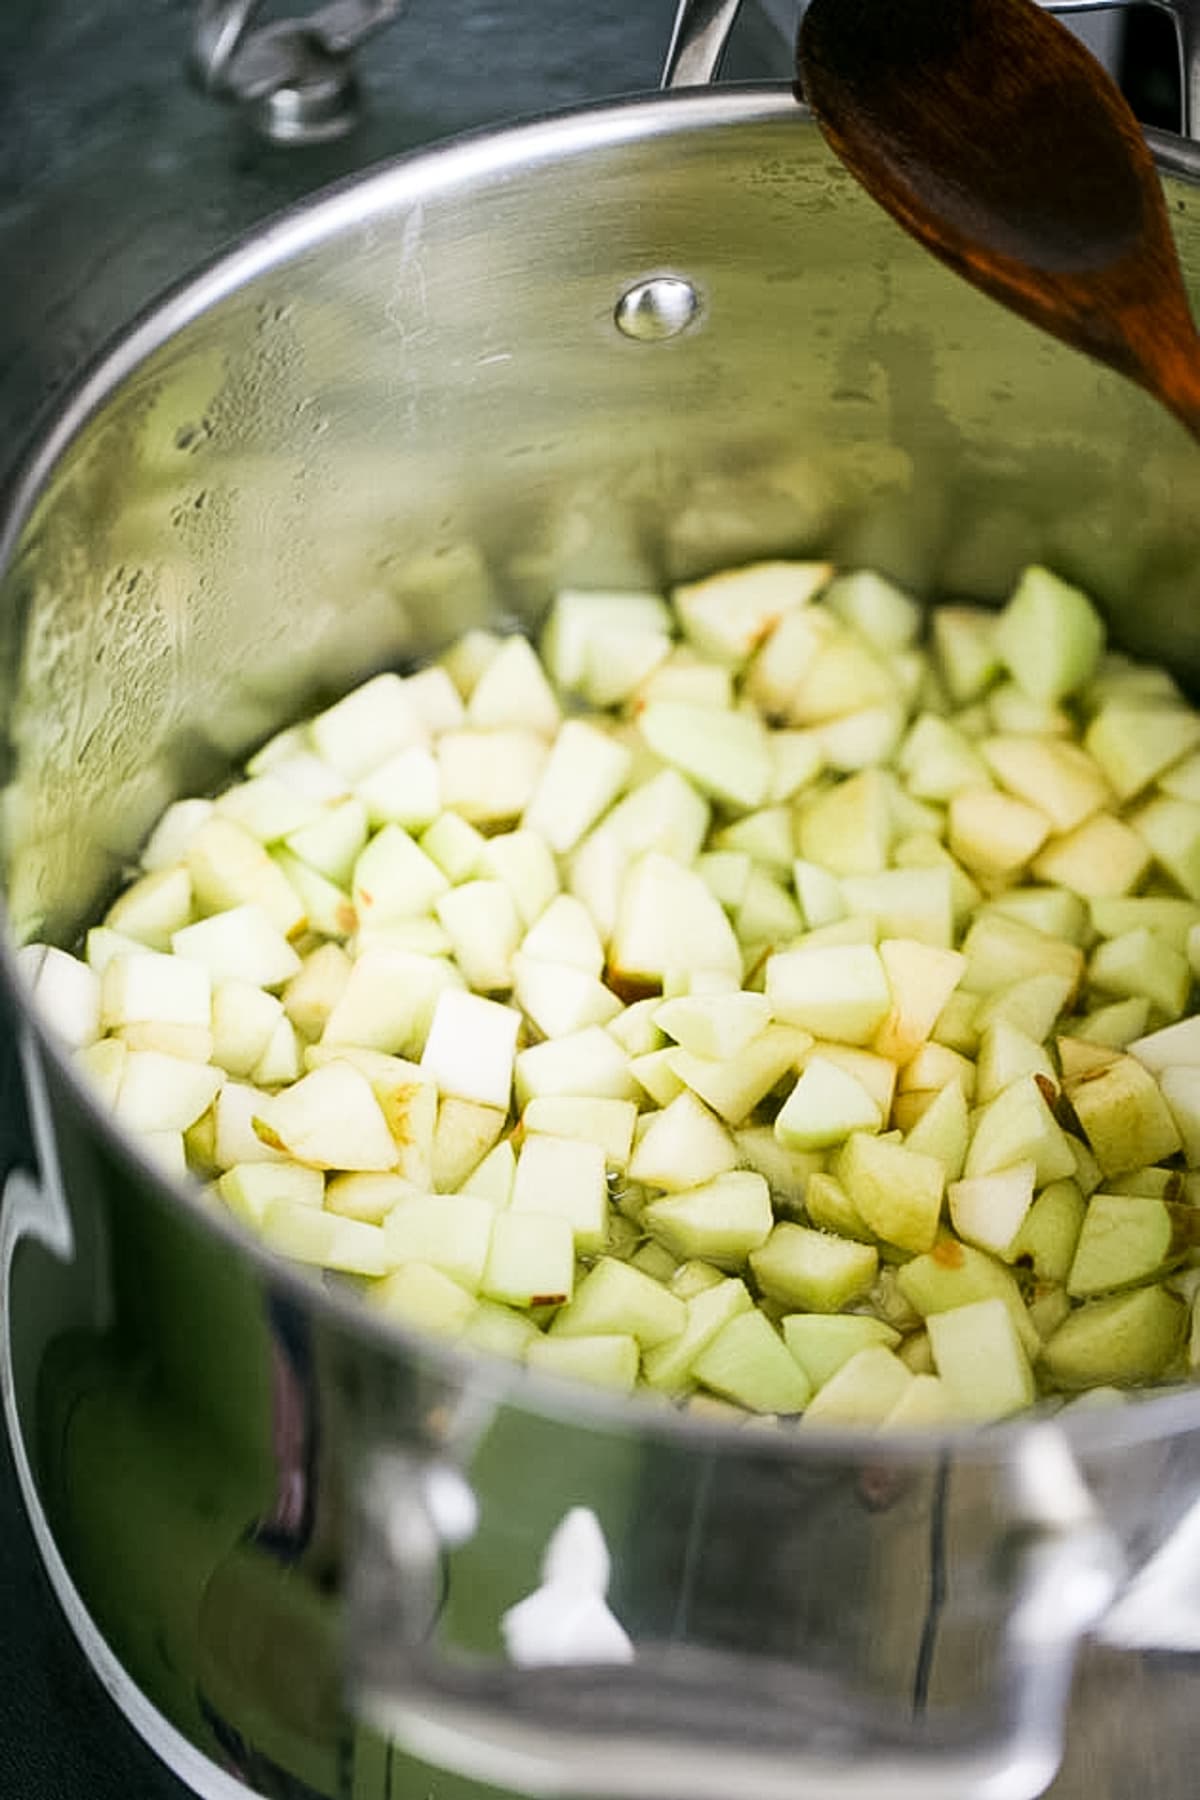
Step two – cook the apples. To a large pot, add the sugar and water, set on the stovetop and bring to a boil. Then, lower the heat, add the apples, and simmer the apples for about 5 minutes before removing the pot from the heat.
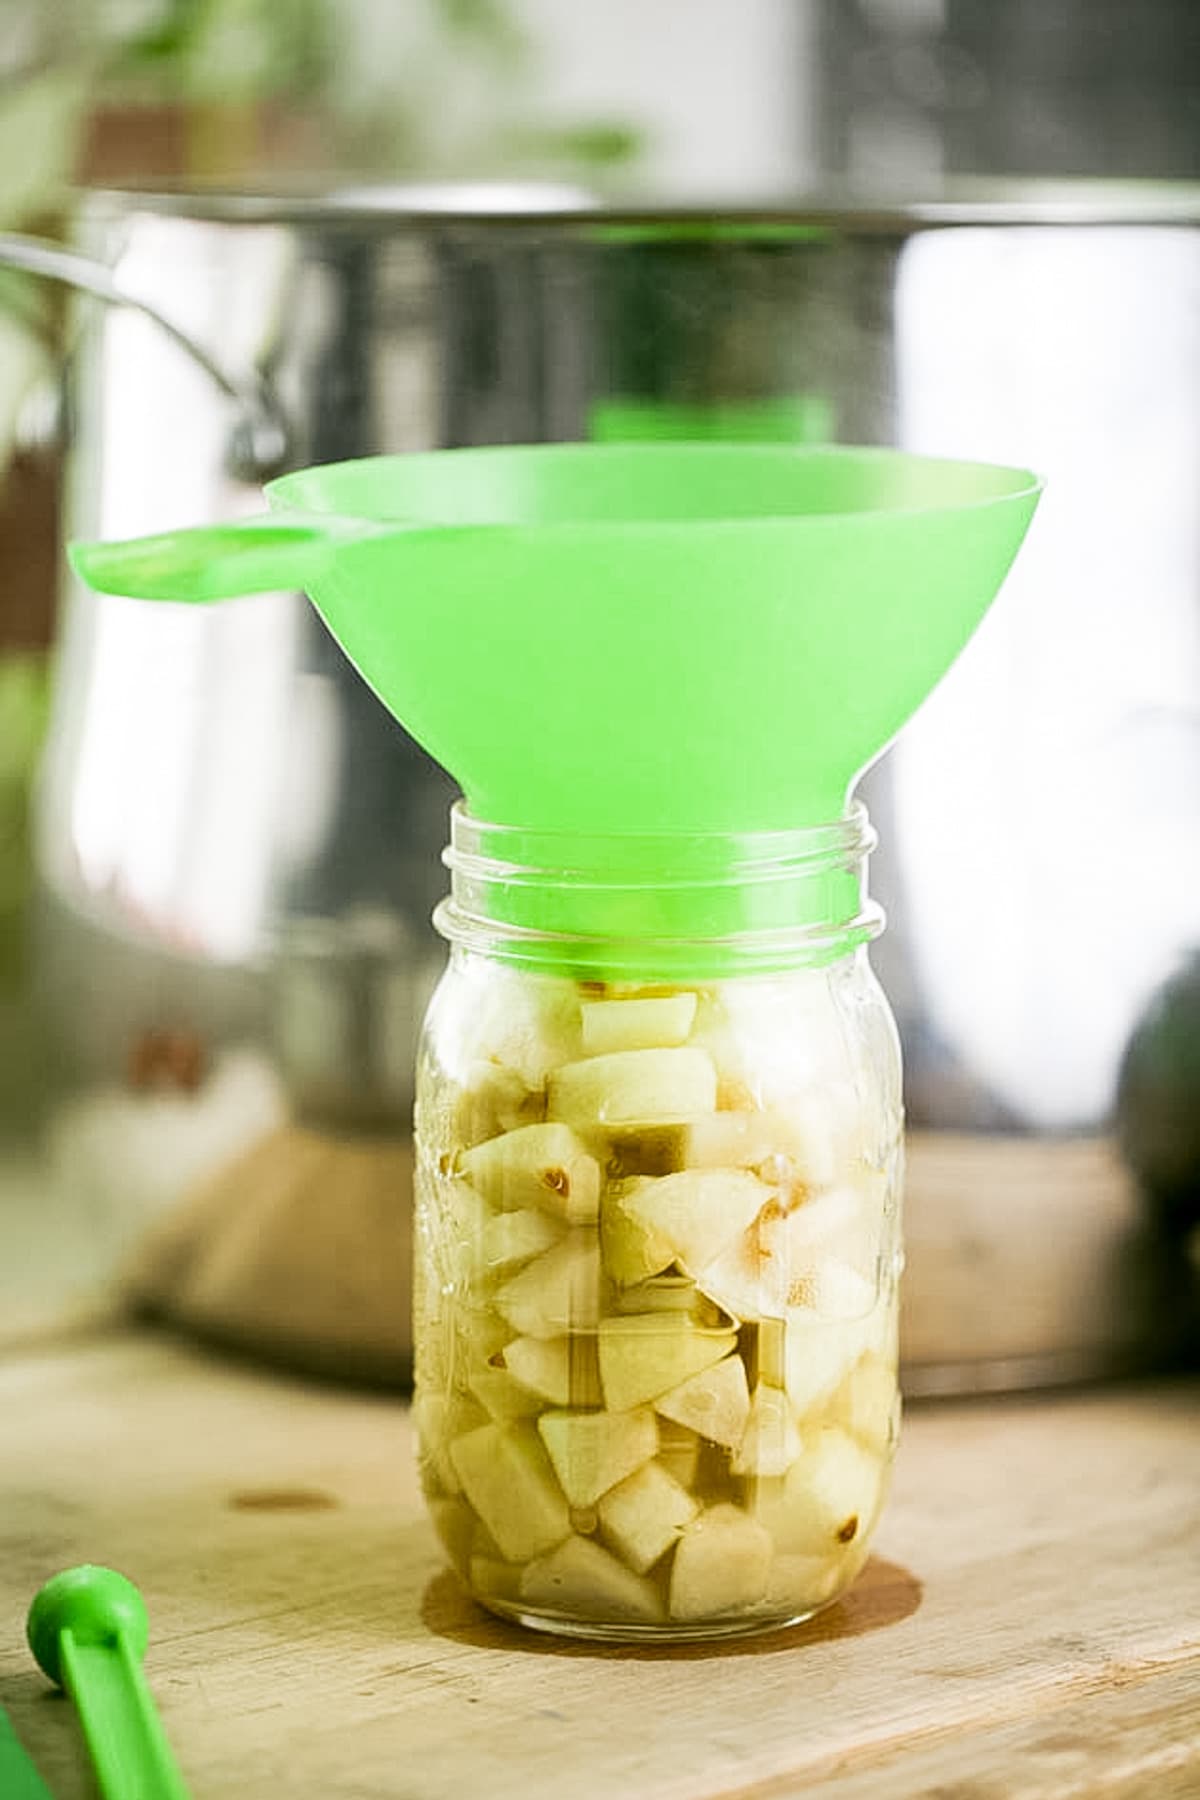
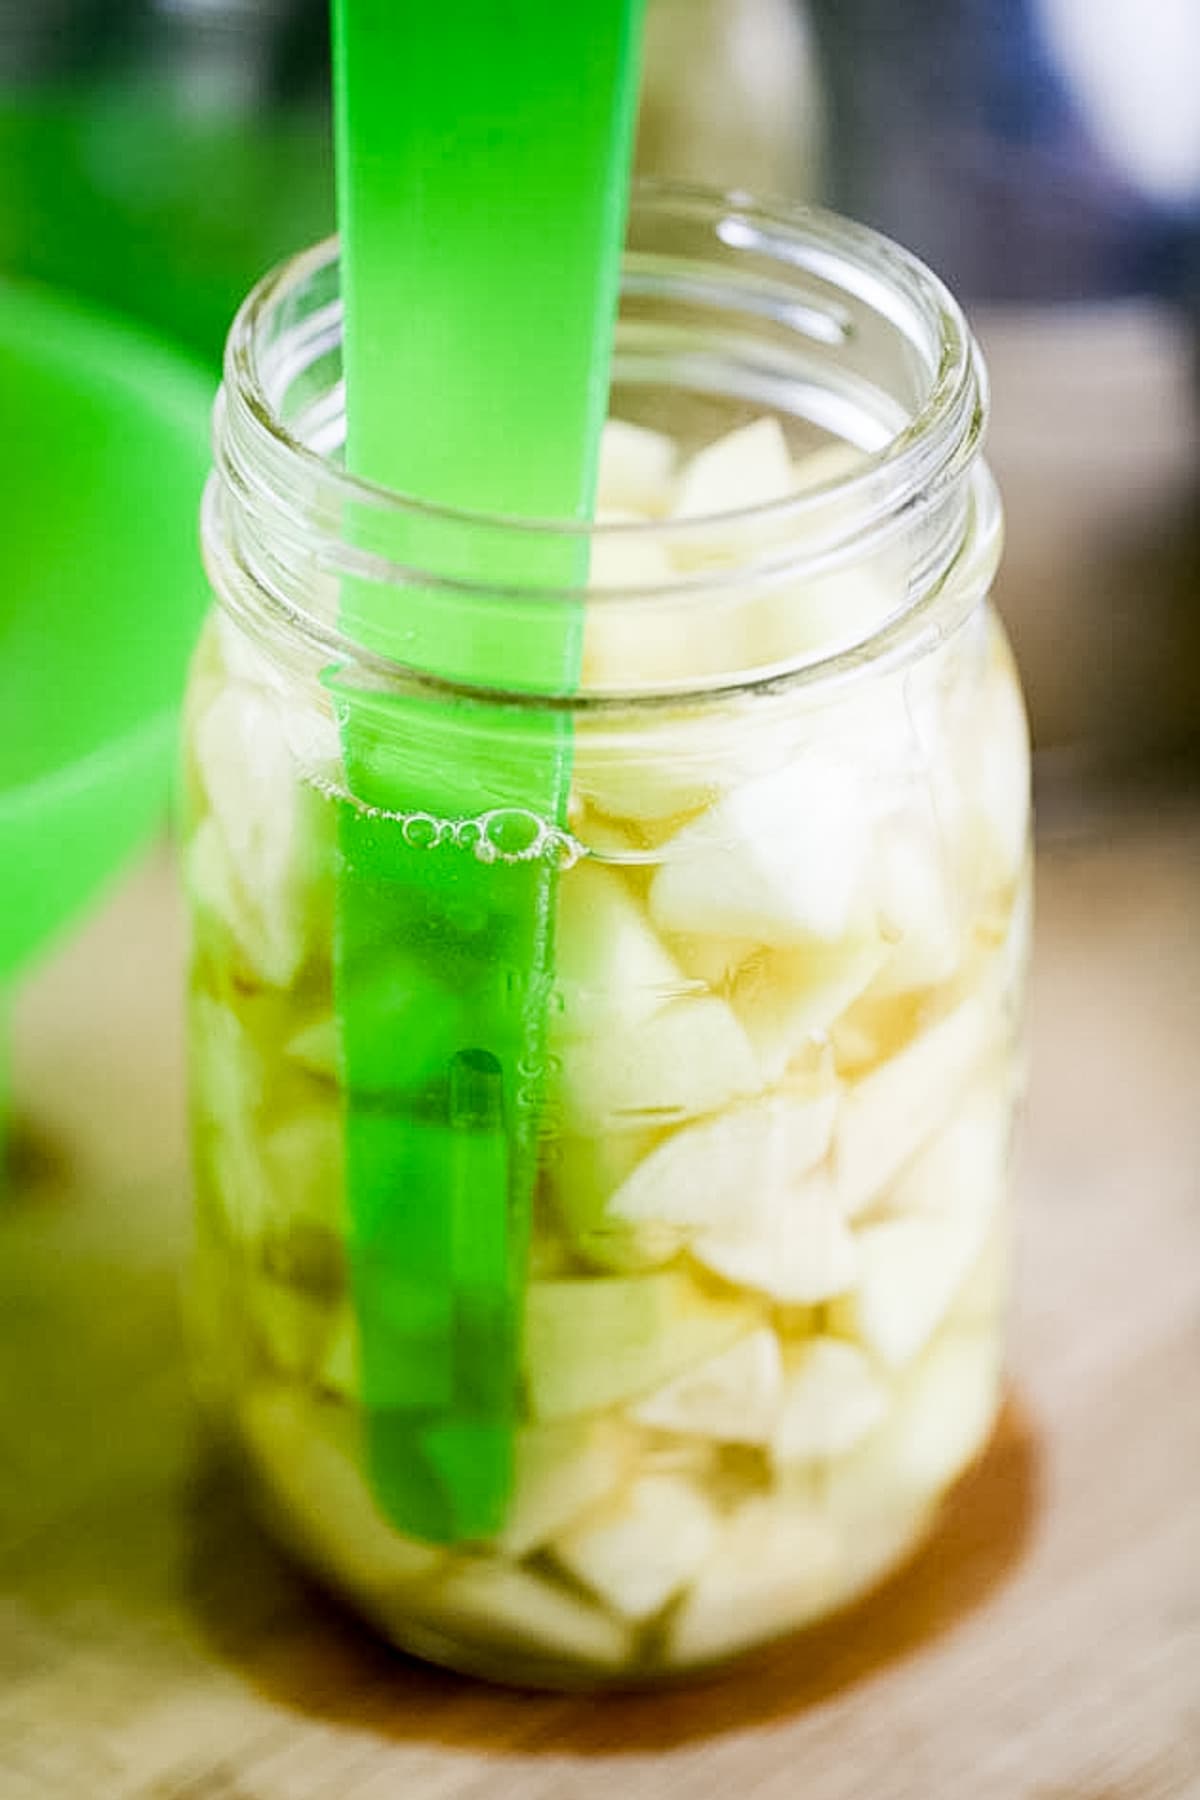
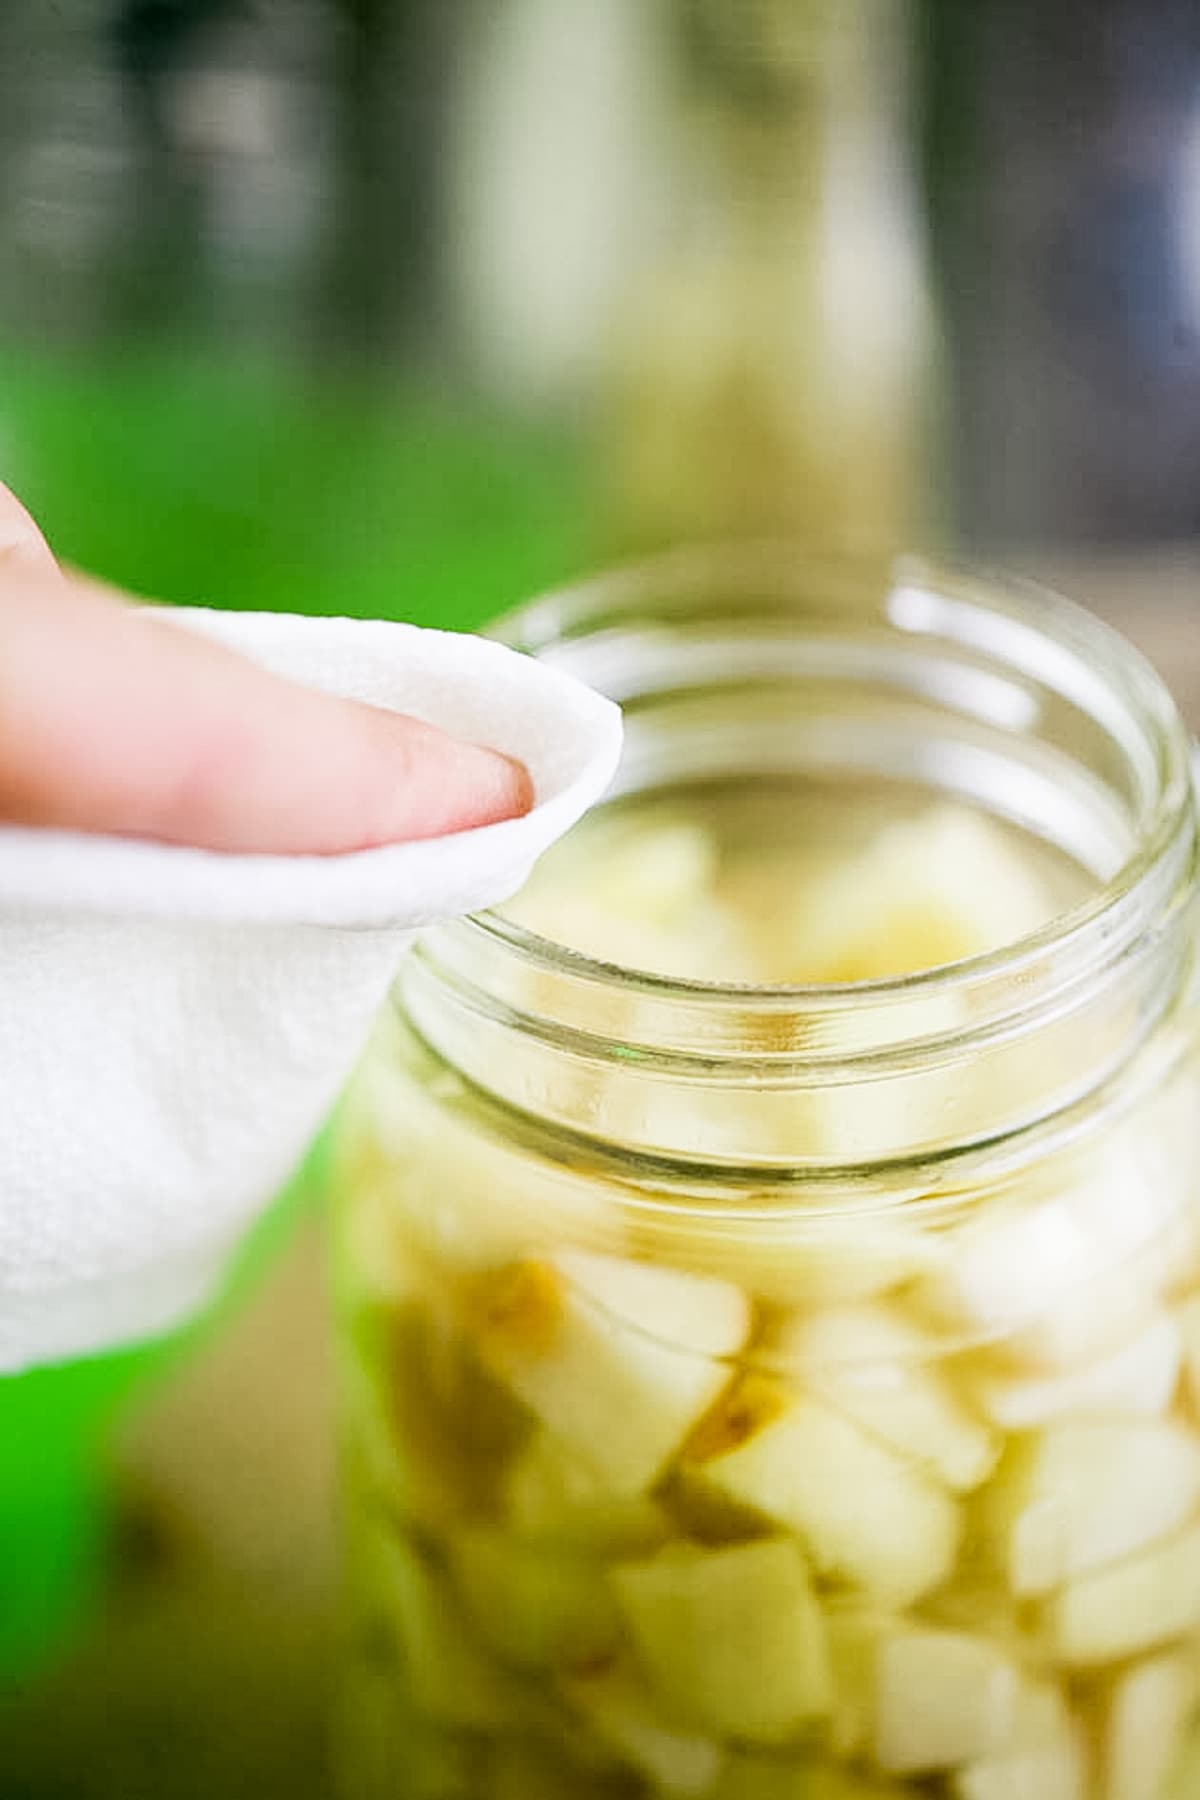
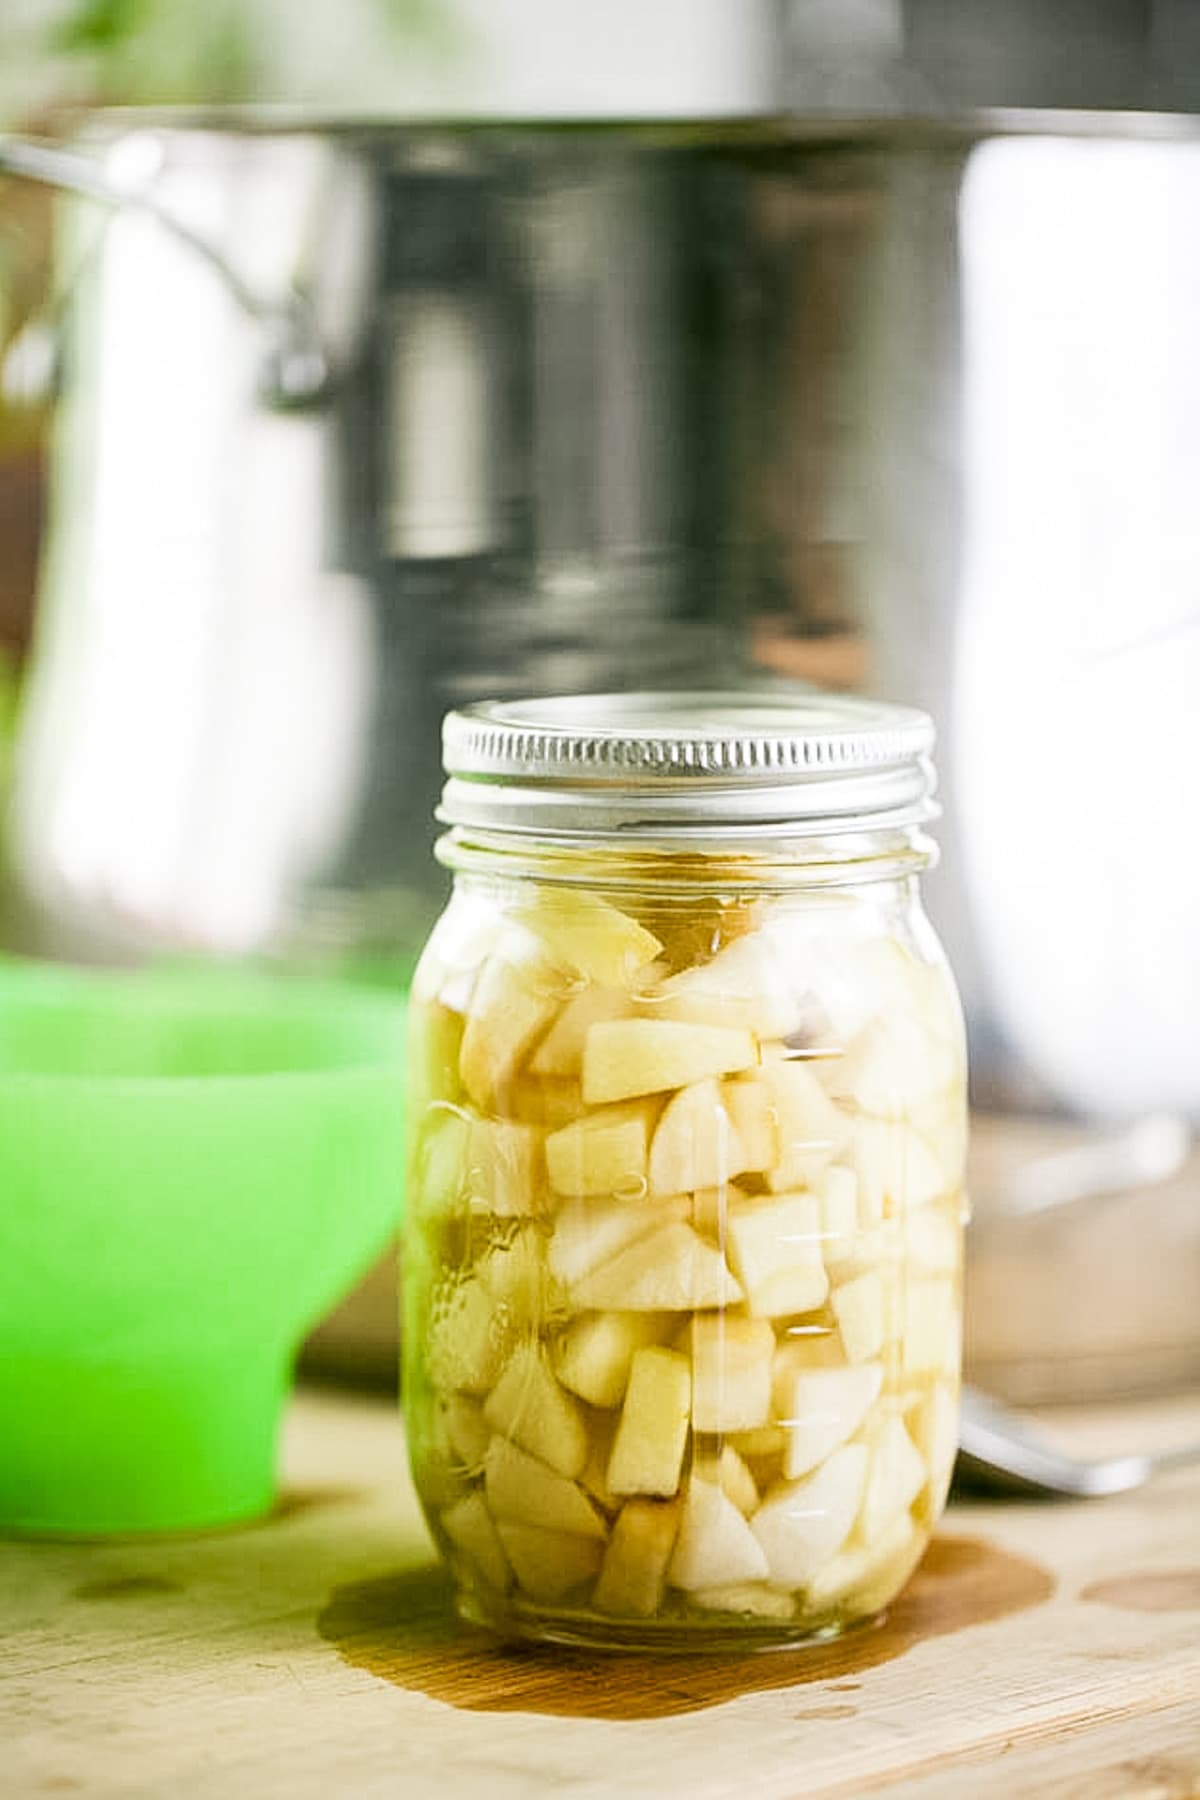
Step three – packing the jars with apples. Use the funnel to fill each jar with just the apples at this point, making sure to leave 1/2 inch headspace. Then, use the ladle to scoop a little bit of the syrup from the pot and add it to the jar, again, making sure to leave 1/2 inch room of headspace. Use the bubble remover around the inside of the jar to remove any air bubbles. Lastly, wipe the jars with a damp paper towel and close them with the two-piece lids.
Step four – processing the apples. Elevate the rack of the water bath canner. Place the jars on the rack and let them warm up for a few minutes before lowering them into the boiling water. Cover the canner and process pints and quarts jars for 20 minutes.

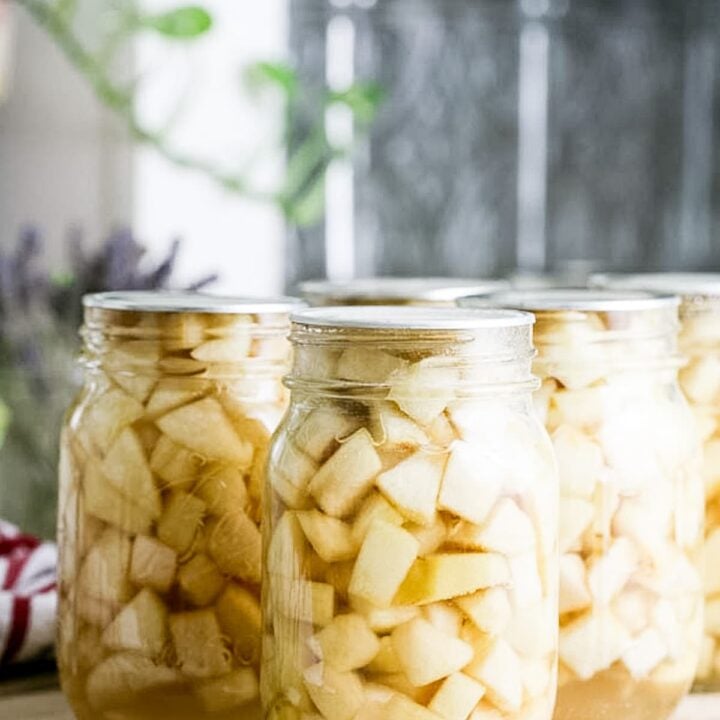
How to Store Canned Apples…
Once the 20 minutes are done, turn the heat off and uncover the canner. Let the jars hang in the hot water for 5 minutes before removing them. Place the jars on a kitchen towel on the counter to cool overnight. Once the jars have cooled completely, check if they are all sealed by pressing the middle of the lids. If there is no movement there, it means that the jar is sealed and is ready for storage.
Remove the bands from the jars that are ready for storage, wipe the jars clean, and store them on the shelf or a kitchen cabinet at room temperature.
How to Use Canned Apples…
- Canned apples are great for any baked good that calls for apples! Use them to make apple cake, or apple crisp, apple cobbler, apple pie, and so on.
- They are also great on pancakes or french crepe just out of the jar or make a quick sauce with them.
- Add them to a bowl of ice cream as topping.
- Or add them to homemade yogurt and granola.
Frequently Asked Questions…
Jars that are not sealed can be processed again (open the jar and remove some of the apples. Then clean the rim again and close the jar. Check your lid, you might need a new one. Then process again), or stored in the fridge.
Canned apples should last 18 months or even longer!
Yes! Feel free to add some cinnamon, nutmeg, clove or any other seasonings that you’d like. Add the seasonings to the syrup when you cook the syrup and apples.
I usually just do apples. I’ve never tried to can other fruit with them so I’m not sure. However, if there is another fruit that you like and it’s processed the same way I don’t see why you couldn’t can them together.
You are going to love canning apples! It’s simple, a great recipe for the beginner and a very useful one. If you own apple trees or if you know someone that does, or if you come by them in the farmer’s market or on sale at the grocery store, canning apples is a great way to preserve them!
More Canning Tutorials…
- How to Dry Apples in the Oven (Apple Chips)
- Apple and Plum Jam
- Canning Peaches
- Sugar Free Strawberry Jam
- Candied Orange Slices
Canning Apples
Canning apples in light sugar syrup.
Ingredients
- 12 pounds of apples
- juice of one-half lemon squeezed into a large bowl of cold water to prevent the apples from browning.
- 1 cup of sugar
- 5 3/4 cups water
- (note, these are the ingredients for canning apples in light sugar syrup. I'll give you other syrup options below)
Instructions
- Peel the apples and quarter them. Place your knife at an angle and cut out the core. Then slice and dice the apples.
You can also just can sliced apples, you don’t have to dice them.
To prevent the apples from browning, fill a large bowl with cold water and squeeze half a lemon into the water.
Add the apples to the bowl as you slice or dice them. - While you work on peeling and coring and dicing the apples, set the water bath canner on the stove top and turn the heat to high.
Fill it with enough water to cover your jars by about an inch.
Add the jars to the canner, set them on the rack, and let the water in the canner come to a boil.
Once the water is boiling, let it boil for 5 minutes to sanitize the jars. Then lower the heat to keep the water hot until you are ready to process the filled jars.
Also, add the lids and bands to a small pot and cover them with water. Then, set it on the stove top, turn the heat to high, and bring it to a boil.
Let the pot boil for 5 minutes before turning the heat off. Leave the lids and bands in there until you are ready to use them. - Once the apples are ready to go, make your syrup in a large pot:
To make a honey syrup - for canning about 12 pounds of apples, use 1.5 cups of honey to 5 cups of water.
To make a sugar syrup - for canning about 12 pounds of apples...
For a very light syrup, use 3/4 cup sugar to 6 1/2 cups of water or...
For a light syrup, use 1 - 1 1/2 cups of sugar to 5 3/4 cups of water.
If you wish to use a heavier syrup the NCHFP has all the measurements that you need.
Bring your syrup to a boil. - Raw Pack - if you choose to raw pack your apples, you will pack the jars and add the hot syrup over the apples, leaving 1/2 inch of headspace before removing bubbles, cleaning the rim, and closing the jar and processing in the water bath canner.
- Hot Pack - if you choose the hot pack method, add your apples to the pot of syrup and let them simmer in the hot syrup for 5 minutes.
(You can find a detailed explanation about the difference between the two methods in the post above). - Pack your sanitized jars with apples, leaving 1/2 inch headspace, add the hot syrup over the apples, still making sure to leave 1/2 inch of headspace.
- Remove bubbles, clean the rim of the jar, cover with the lid, and close with the band finger tight.
- Add the filled jars back to the canner (set them on the rack). Cover the canner and turn the heat too high.
Bring the water in the canner to a boil and process both pint and quart jars for 20 minutes (if you live above 1000 feet in elevation, you will have to adjust the processing time. You can find the adjustment table in the post above). - When the 20 minutes are up, turn the heat off and uncover the canner. Let the jars hang in there for five minutes before removing them and setting them on a kitchen towel on the counter.
- Let the jars cool, undisturbed overnight before removing the band, wiping, and storing them.
Notes
You need about 1.5 pounds of apples per one pint jar or about 2.5 pounds of apples per quart jar.
Feel free to can any apple variety that you come by but generally speaking, it's better to choose a sweet variety (So... Not Granny Smith).
It really doesn't matter what variety of apple you choose, they can be red apples or green apples or even crabapples.
Make sure though, that the apples that you choose for canning are ripe, firm, crispy, juicy, and sweet or tart (or both!).
Frequently Asked Questions...
- What if one of my jars didn’t seal?
Jars that are not sealed can be processed again (open the jar and remove some of the apples. Then clean the rim again and close the jar. Check your lid, you might need a new one. Then process again), or stored in the fridge. - How long will canned apples last?
Canned apples should last 18 months or even longer! - Can I season my apples?
Yes! Feel free to add some cinnamon, nutmeg, clove or any other seasonings that you’d like. Add the seasonings to the syrup when you cook the syrup and apples. - Can I can other fruit with the apples?
I usually just do apples. I’ve never tried to can other fruit with them so I’m not sure. However, if there is another fruit that you like and it’s processed the same way I don’t see why you couldn't can them together.
Recommended Products
As an Amazon Associate and member of other affiliate programs, I earn from qualifying purchases (there is no change in product cost or charge to you! Thank you for helping me support the blog).
-
 Granite Ware Covered Preserving Canner with Rack, 12-Quart
 -
Norpro Canning Essentials Boxed Set, 6 Piece Set
-
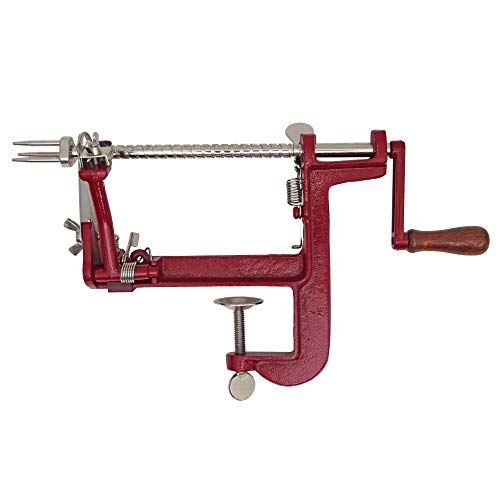
Johnny Apple Peeler Cast Iron Clamp Base, Apple Slicer, Corer, Parer & Pie maker, Red
-
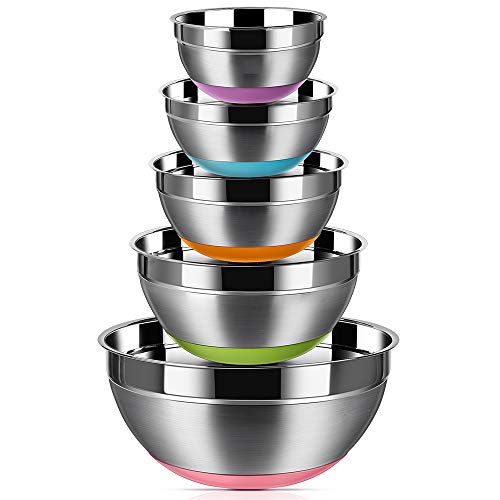
Stainless Steel Mixing Bowls (Set of 5), Non Slip Colorful Silicone Bottom Nesting Storage Bowls by Regiller, Polished Mirror Finish For Healthy Meal Mixing and Prepping 1.5-2 - 2.5-3.5 - 7QT


Hi! I’m Lady Lee. I help homesteaders simplify their homesteading journey while still producing a ton of food! I am a single mother of four, I was born in Israel and raised in an agricultural commune called a Kibbutz. Now I homestead in central NC.
Wonderful post. Thanks for sharing
Question, do you use a slotted spoon to remove the apples from the water/lemon solution, or add that tart solution to the sugar water for the 5 min boil (hot pack) read several recipes and that step gets skipped over, everyone says”add apples to” never mentioning if the water/lemon juice gets drained or added. For us beginners its very confusing. I only know “never adapt canning recipes, follow directions to the letter or it will spoil”.
We don’t really use this water for anything. The acidity just keeps the apples from turning brown so you have to let them rest there and soak for a bit. Then, just remove them from the water/lemon mixture and can.
Can I add sugar to applesauce while apples are cooking? My husband prefers sweetened applesauce.
Yes, you can. You can follow my apple butter recipe just don’t cook it so long that it turns into butter, leave it in a sauce consistancy. https://ladyleeshome.com/apple-butter-recipe-for-canning/