Preserving peppers in vinegar and salt is super easy. It takes minutes to put this dish together and it’s a great way to preserve peppers. It takes a few days to ferment and once it’s ready it’s a healthy and tasty snack or an addition to salads or sandwiches.
One of my favorite varieties of peppers to grow in the summer garden is Lunchbox peppers. They are relatively easy to grow and each plant produces a ton of peppers.
We eat most of them as a snack right in the garden, but since each plant produces so many peppers I’m often left with a lot of peppers that I have to somehow preserve.
Preserving Peppers in Vinegar and Salt…
I do love canning and appreciate the fact that I can store canned goods on a shelf at room temperature, but sometimes I just don’t have time for all the boiling and hot processing. Sometimes, I just need a quick way for preserving that involves no cooking at all.
A couple of years ago, my mother came from Israel for a visit during the growing season and showed me a simple way to preserve peppers in vinegar and salt. It takes only a few minutes to put a jar together, no cooking whatsoever, and the result is delicious. Perfect.
Ingredients…
- Peppers – this recipe is very simple and is such an easy way to preserve the little lunchbox peppers. However, if you don’t have lunchbox peppers that’s totally fine! You can follow this recipe to preserve any kind of pepper, sweet or hot, in vinegar and salt. If you use small or skinny peppers, you can pack them in the jar whole, if you use larger peppers, you are probably going to have to cut them and remove the seeds before packing them in the jar.
Also, you can use this same way to preserve other vegetables too like cabbage, cauliflower, kohlrabi, fennel, carrots, beets, and radish. If you’d like, you can mix a few different vegetables in the jar. - Seasonings – to season your peppers you can use just garlic (as we did below) or you can add dill, thyme, mustard seeds, pickling spice mix, peppercorns, chili flakes, or anything else that you can come up with. Try something different each time until you find your favorite seasoning combination.
- Vinegar – we are going to add some vinegar, I used 5% white vinegar and I actually never tried this recipe with any other kind of vinegar but I believe that as long as your vinegar is at least 5% acidic it should be just fine.
- For the brine – then, for the brine, we are going to need salt and boiling water. When you use salt to preserve food, always make sure that you use kosher, sea, or canning salt and not table salt. Also, it’s better to use non-chlorinated water.
Kitchen Tools…
- Cutting board
- knife
- Jar with a wide mouth – we used half a gallon but you can also use a gallon or a quart.
- Measuring cup
- Measuring spoon.
- Fermentation weight
- Lid – I used a regular lid here but I actually recommend using a freezer lid to close the jar since it won’t rust like the metal one. You can also try using fermentation lids that let the gases out and prevent you from needing to burp the jar (more on this later).
How to Preserve Peppers in Vinegar and Salt…

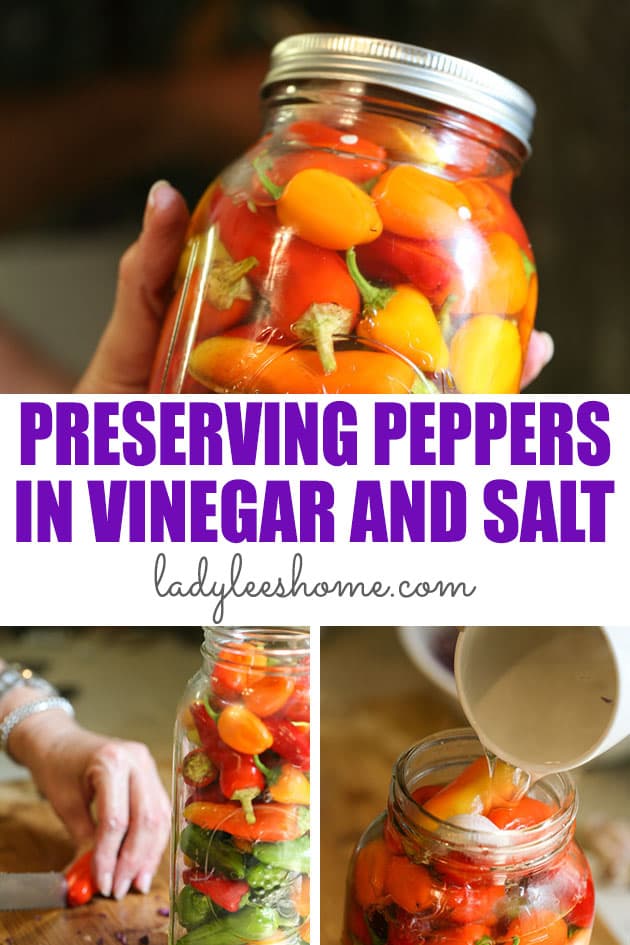
Step 1 – pack the jar. Start by washing the peppers and getting rid of the stem…

Next, make a little slit in the bottom half of the pepper. If you are doing this with bell peppers, you’ll cut them into large pieces and remove the seeds. The little lunchbox peppers have hardly any seeds in them, so we used them whole but made a little cut so the vinegar and salt can get inside.

Keep going until the jar is full. Make sure to leave about 2” of headspace.

Step 2 – add seasonings. Take one garlic clove and crush it (no need to peel it), then add it to the jar. If you choose to use any other seasonings, add them as well.

Step 3 – add the brine. Once the jar is packed with the peppers and the seasonings, it’s time to add the brine. First, add between 1/2 – 1 cup of vinegar to a half-gallon jar. If you use a quart, add between 1/4 -1/2 a cup of vinegar. How much you add only depends on how much you like vinegar. If you like the taste add more, if you don’t love the taste of vinegar, add less.

Next, boil some water. To every cup of boiling water, add one teaspoon of salt…

Mix to dissolve the salt and add to the jar. Keep filling your cup with boiling water, add salt, mix, and add to the jar until the peppers are covered with the brine.

Step 4 – add fermentation weight and close the jar. You want to make sure that you keep all the peppers under the brine. The best way to do that is to use a fermentation weight. Place the weight on top of the peppers and push down a bit to make sure that all the peppers are submerged in the bring. Then, close the jar with a clean lid.

Gently turn the jar a few times to mix the vinegar that we added at the beginning with the rest of the salty brine.

Step 7 – let ferment. Since we added vinegar, we should call these peppers pickled peppers, however, they behave much like fermented peppers because there is a salty brine in there as well. So set the jar of peppers on the kitchen counter at room temperature to pickle/ferment for about a week…

You’ll notice that after a few days the peppers start to change their color and the brine starts to get foggy, that’s normal and part of the process. You’ll also notice some bubble action. You’ll see some bubbles starting to rise to the top and maybe some foam forming on the top.
Don’t remove it, but you do need to make sure to burp the jar, or in other words, let some of the gases that form inside the jar escape. To do that, once a day, simply twist the lid open, don’t lift it, just twist it open for a couple of seconds and then close it again.
Storing Preserved Peppers…

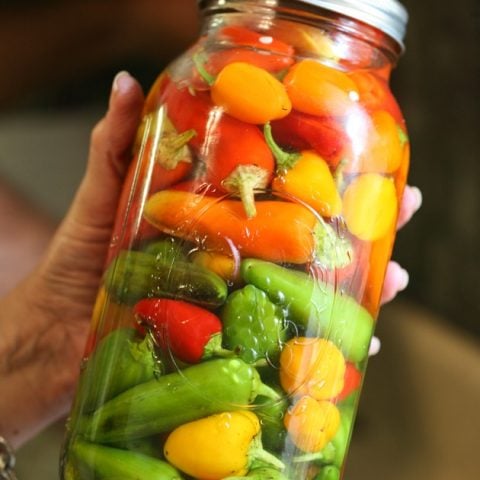
After a week to two weeks (depending on the size of jar that you are using), you’ll notice that the brine turns clear again. It will never be as clear as it was when we first added it but the fogginess will disappear. This means that your peppers are ready to be served and stored.
You want to store your jar in cold storage. If you have a root cellar, that’s best. If not, the fridge will do fine. The jar can stay in room temperature for a few weeks, however, I find that the peppers soften and lose their crunchiness much faster than if stored in cold storage.
Serving Peppers in Vinegar and Salt…
These peppers are a very healthy snack! Just grab a couple to munch on when you feel the urge for a little snack. I often serve them as a side to a sandwich too. They are a great side for a pulled meat wrap, a bbq sandwich, or a hamburger. They are also a great addition to Southwest chicken chili or a shakshuka dish.
I also often add them to salads. I add them to a Mediterranean egg salad, a tuna salad, or a chicken salad. And I was thinking that they might be a great addition to casseroles too, like this Mediterranean zucchini casserole.
This is such a simple recipe that I think that every homesteader should have on hand, not just for preserving peppers, but for other vegetables as well. I hope that you’ll give it a try!
More Pepper Content on the Blog…
- Canning Hot Peppers
- Can Roasted Red Peppers
- Candied Jalapenos.
- How to Make Red Pepper Paste
- Mediterranean Stuffed Peppers
- How to Roast Poblan Peppers (and how to can them)
More Fermenting Recipes…
- Ferment Jalapenos
- Ferment Beets
- Ferment Radish
- Ferment Turnips
- Fermenting Cucumbers
- Ferment Tomatoes
- Ferment Green Beans
Preserving Peppers in Vinegar and Salt
Peppers preserved in vinegar and salt are delicious and healthy. This is a simple way to preserve peppers (and other vegetables!) in vinegar and salt.
Ingredients
- Enough Lunchbox peppers to fill a 1/2 gallon jar
- 1 garlic clove, crushed (no need to peel it)
- 1 cup vinegar
- Kosher, canning, or sea salt
Instructions
- Wash your peppers and remove the stem (not the top of the pepper, just some of the stem).
- Make a slit at the bottom of each pepper.
- Pack a 1/2 gallon jar with the peppers, leaving 2 inches of headspace.
- Add the garlic clove on top of the peppers and add additional seasonings if you like (see notes below).
- Add 1 cup of vinegar to the jar (you can add anywhere between 1/2 cup to 1 cup depending on how much you like the taste of vinegar).
- Boil water. Fill a cup with boiling water, add a teaspoon of salt, mix until the salt dissolves and add the solution to the jar. Keep adding cups of water and salt until the jar is full and the peppers are covered.
- Place a fermentation weight on top of the peppers and close the jar. Turn it a couple of times to get the vinegar mixed with the brine.
- Place it at room temperature to ferment for 5 to 7 days. Make sure to burp the jar every day by unscrewing the lid and screwing it back on. The peppers will change their color and the liquid will become foggy and then clear again. The peppers are ready once the liquid clears.
- You can enjoy the peppers right away or you can store the jar in a cool place (like a root cellar or a fridge) for a few months.
Notes
You can follow this recipe to preserve any kind of pepper, sweet or hot, in vinegar and salt. If you use small or skinny peppers, you can pack them in the jar whole, if you use larger peppers, you are probably going to have to cut them and remove the seeds before packing them in the jar.
Also, you can use this same way to preserve other vegetables too like cabbage, cauliflower, kohlrabi, fennel, carrots, beets, and radish. If you'd like, you can mix a few different vegetables in the jar.
To season your peppers you can use just garlic or you can add dill, thyme, mustard seeds, pickling spice mix, peppercorns, chili flakes, or anything else that you can come up with. Try something different each time until you find your favorite seasoning combination.

Nutrition Information:
Yield: 20 Serving Size: 1Amount Per Serving: Calories: 20Total Fat: 0gSaturated Fat: 0gTrans Fat: 0gUnsaturated Fat: 0gCholesterol: 0mgSodium: 31mgCarbohydrates: 0gFiber: 0gSugar: 0gProtein: 0g

Hi! I’m Lady Lee. I help homesteaders simplify their homesteading journey while still producing a ton of food! I am a single mother of four, I was born in Israel and raised in an agricultural commune called a Kibbutz. Now I homestead in central NC.
Can I add chili flakes to this recipe ? and please, what is a fermentation weight? I’ve made sauerkraut, in 5 gallon crock pots, and used large platters with a rock to weigh it down, what would I use in a half gallon jar?
Yes, you can add whatever seasonings that you want.
A fermentation weight is a glass weight that you can put inside of the jar to keep the food under the brine. I link to the ones I use from many of my fermentation posts and you can also just find them on Amazon.
I found this recipe last fall and and it is by far my favorite way to preserve peppers. They stayed crunchy until they were gone in the late spring plus they are not overpowered by the vineger.
Oh, I am so glad that you liked it! I don’t like vinegar at all, yet it is such a great ingredient for preserving food. When my mother showed me this way I was surprised that the little vinegar didn’t bother me at all. Now, if you like it, you gotta know that you can do this same thing with any sort of veggie!
Awesome post
So from reading comments I can “can” my peppers with vinegar no water and keep the crunch??!! That would be fabulous! going to try this method! Ty
Cat
I’ve never done it because I am not too big of a fan of vinegar, however, you should find plenty of preserving recipes for peppers in vinegar.
Can you can cayenne peppers
I’ve never tried. I usually dry them but I can’t see why you won’t be able to can them if you like to.
Can these be canned once they are done
mmmm… I don’t think so. It’s two different processes. Either you can the peppers or you preserve them in vinegar and salt this way.
You can boil vynager with the water. Also can add 2 tablespoons of honey to mixture that is boiled
I’ve never tried it this way… I think that you can boil the water with the vinegar if you like, but I am not sure you can replace the salt with honey…
so if using cores of apples or cabbage you leave them in the jars correct then close it and turn it over to mix it ?
Yes, correct. But I really suggest that you get fermentation weights instead. You’ll have a much better chance of success.
You said that fermenting makes them last for a couple months if stored properly. So, if I were to give them to a friend, should I put an expiration date of approx 2 months after the preparation date??
Just explain to her that she needs to keep the peppers under the brine (leave the fermentation weight in the jar) and store it in a cool place if she is not going to use it right away. If she can it’s better to keep the jar in the fridge. They should be just fine for two or three months if she keeps them like that.
I have used the lunchbox peppers for cooking. I use them in stir fries and sloppy joes and they are so easy because you don’t have to seed them. They are a lot milder in taste so you can add more or like I do just add them at the end of cooking so they stay crunchy and more flavorful.
I mostly eat them fresh. I can’t get enough of them! They are my main snack during the summer month, I add them to every meal and just grab a pepper here and there during the day.
I should try to cook with them too. I can see what you are saying about them being easy to cook with because you don’t have to seed them… After I discovered them I really didn’t see a reason to grow/buy regular bell peppers anymore.
So it looks pretty. There is no sugar right? I am pre diabetic. I need to find all the different i can that is lo in sugar. The med she put me on was like a curse! I will be leaving my brains in the bath room if i keep taking it. Thanks for the info. Enjoy your mom!
No sugar in this, Kathy!
And I’ll be happy to help you look into natural remedies for diabetes. You can use cinnamon oil on your foot and there are a few others. Just let me know if you need help.
Lee i would love some tips for diabetics
Awesome recipe and super easy. Thanks.
It is very easy! Just make sure everything is kept under the liquid.
I was hoping for a tip on canning to keep the peppers from turning to mush, I tried to can my own pepperancini this year and the time in the caner turned them to mush, a friend told me how he cans jalapeno slices by adjusting the time to 5 minutes for pints and instead of tightening the bands to start, you only screw the bands down to touch then after the 5 minute water bath you Finnish tightening the bands as you remove them from the water bath caner, this does work to keep the peppers crunchy but I question the ability to kill bacteria in that time and if the time is long enough to properly can, I’m always looking for tips that will keep the integrity of the fresh vegetables.
This is exactly why I never can vegetables in a water bath like beans and such. I don’t like them when they are soft. I only process tomato sauce or things like that. If I want to make pickles or preserve peppers or really anything else, I do it this way that you see in this post because it keeps them from being too soft since there is no cooking.
I preserve my hot peppers by using only warmed, almost to the point of boiling, vinegar and then a little garlic ,dry onion, and some dill added to it. No water. I pour that right into my packed sliced pepper jars. It lasts years and stays crisp. Almost taste like the ones from the store but of course way better because it’s made with love and without those nasty chemical preservatives. Of course I learned you can do it without heating the vinegar too to make them extra crispy! Give it a try and let me know what ya think!! I’m going to try it on my bell peppers thanks to this post. So thank you for taking the time to write this page! Have a blessed day!
The thing with me is that I don’t really like the taste of vinegar. It’s so great to preserve vegetables in vinegar but I just can’t handle the strong taste. The way that we preserved those peppers in this post just uses the least amount of vinegar possible which is just as much as I can handle. I hope you’d like this recipe!
Just ate a late lunch, but after reading this article, strangely, I am hungry again.
LOL! Go ahead and have a second lunch, I won’t tell 😉
Thanks for stopping by!
Looks like it’s time for you to invest in some fermenting crocks! Looks delicious!
You know… I never took the time to even learn what they do. I hate stuff so if I can do without something I usually prefer just leaving it at the store. But I need to learn about this because it will probably help me do this better.
Fermenting is one of the oldest methods of preserving foods without refrigeration. Chemical analyses of ancient organics absorbed and preserved in pottery jars from the Neolithic village of Jiahu, in Henan province, Northern China, revealed that a mixed fermented beverage of rice, honey, and fruit was being produced as early as 9,000 years ago, approximately the same time that barley beer and grape wine were beginning to be made in the Middle East.