This is a tutorial for a very simple homemade AC unit that you can make for under $25 and very quickly. It can be powered with a car battery if you live off the grid or it can also be a great solution for an RV or a garage. It’s just enough to cool a medium size room down a bit and break the harsh heat of the summer. Yes, I am aware that I could go for a window unit that costs $125 but I choose to do this instead because fall was right around the corner and I knew we would be getting a good system installed the following summer, I just needed a tiny break from the heat and this homemade AC gave it to me.
It is hot, you guys. As in HOT. I am sure everyone can feel it, but being eight months pregnant, having 3 little kids to run after, and living in humid, central NC in a house without AC… Well, boil me to death and let’s just be done with it!
So, what’s a hot mama to do if she does not have $3000 to buy an AC system for her house?
Why, look for a cheaper alternative, of course. As in much much much cheaper.
$20 and change. Yes! That is in the budget.
I watched some cool videos on YouTube on how to make a homemade AC unit and in the end, made up kind of my own simple design that doesn’t require the use of a drill or any power tool.
Keep it simple, man.
Homemade AC Unit For Under $25

For this project, you will need…
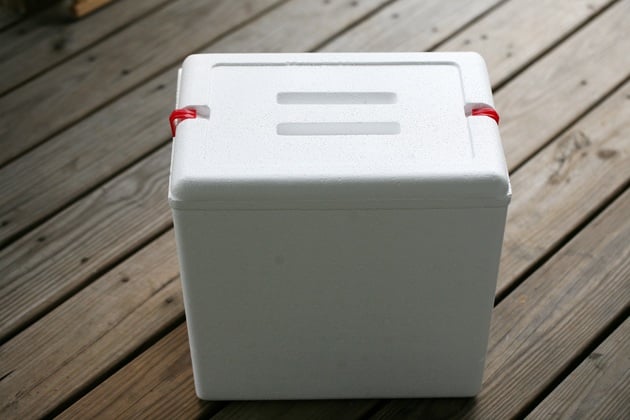
A cooler. Not too small, you want at least one, preferably two 1 gallon bottles to fit in there. This cooler cost me $7 at Walmart.
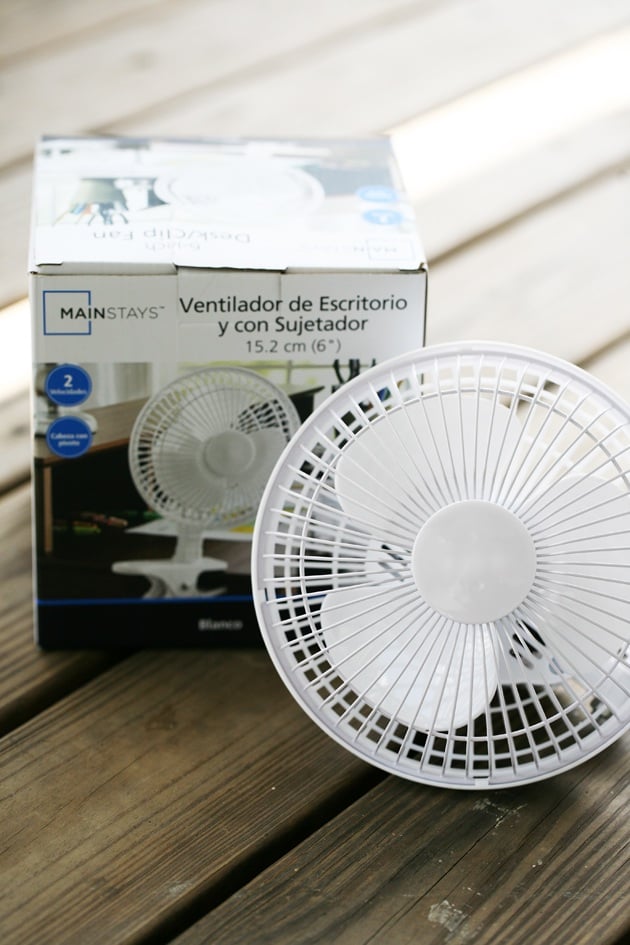
A 6” fan. This one was $10 at Walmart.
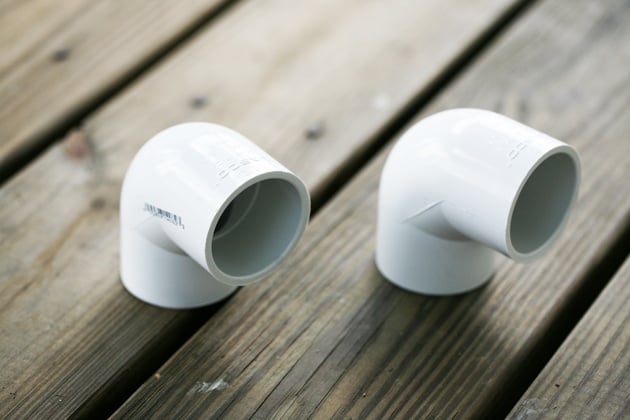
And two 1 1/2” elbows that was $1.72 each at Lowes.
You don’t have to follow this exact design, but it will give you the basic idea and then you can adjust according to what you can find in the store or what you already have on hand.
You will also need a utility knife.
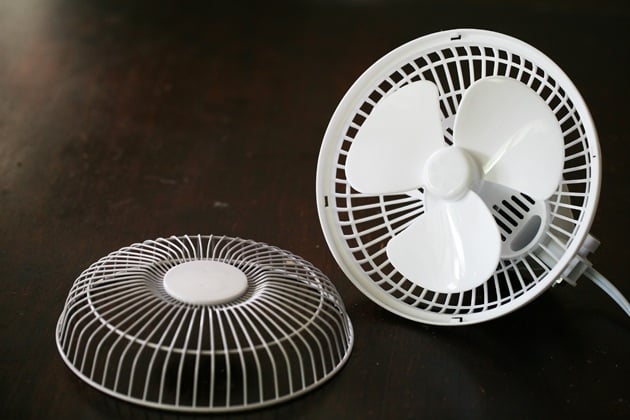
First, I removed the shield (front part of the fan), we don’t need it for the finished unit…
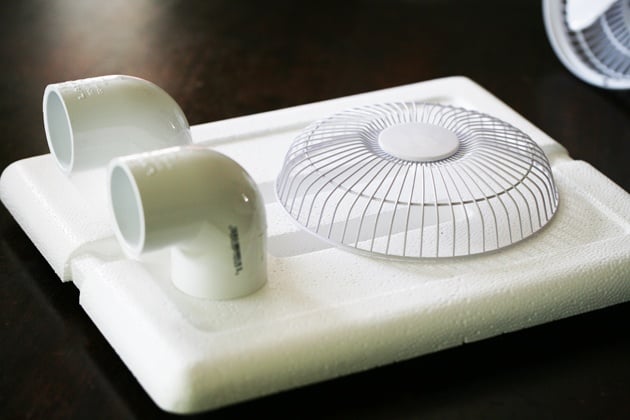
But I did use it to mark where to make the opening for the fan on the lid of the cooler. I also placed the elbows where they should be to make sure it all fits on the lid.
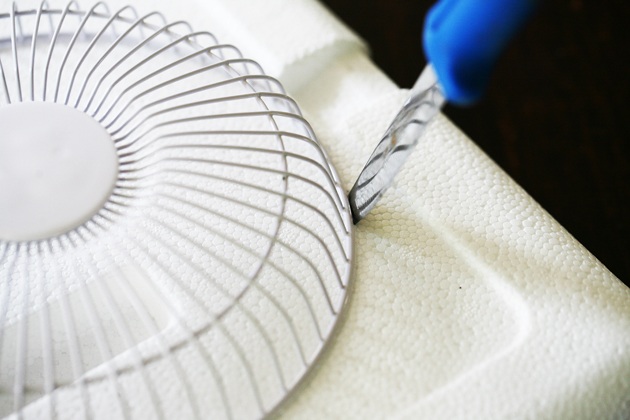
Next, with a utility knife, cut the hole for the fan…
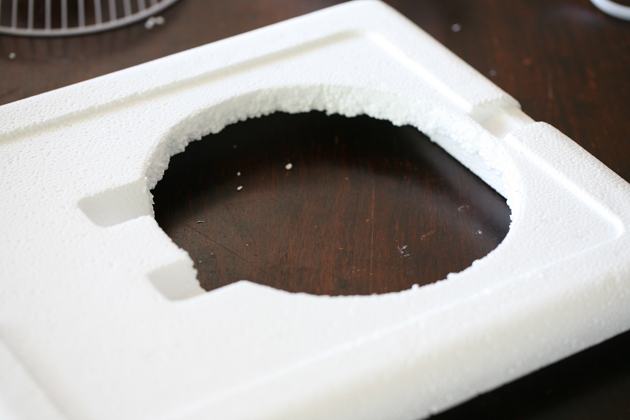
Like so…
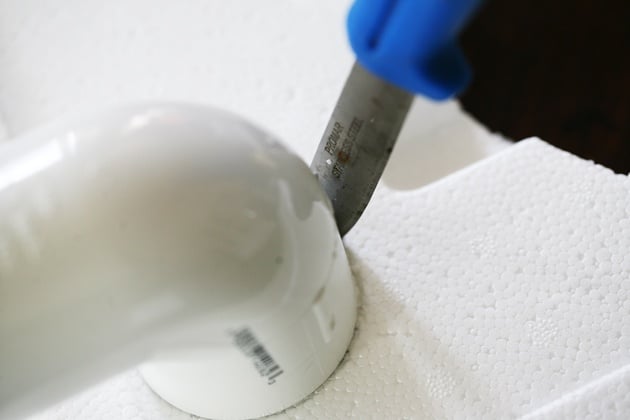
Then, cut two holes for the elbows…
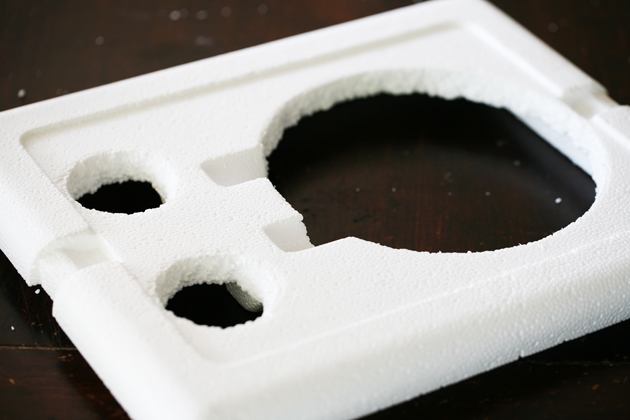
And the lid is ready!
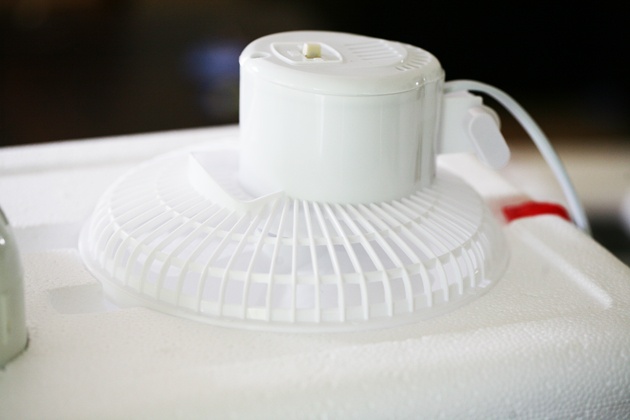
Place the fan, front down, in its hole. I had to adjust the hole just a bit so it would fit snug…
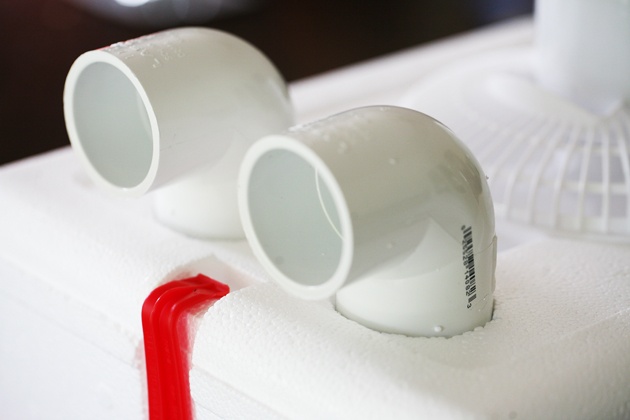
And then place the elbows in their holes.
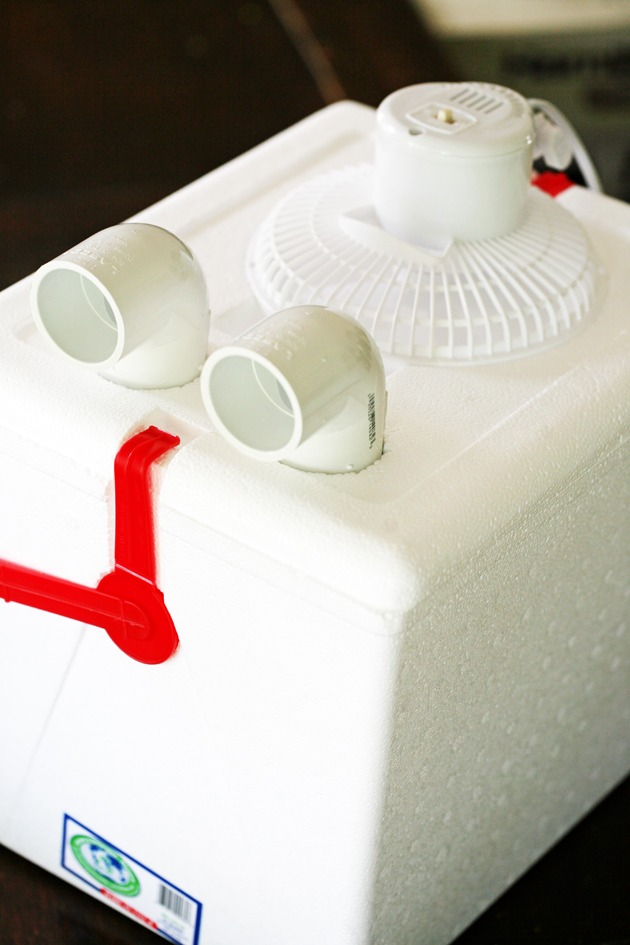
That is pretty much it, the unit is ready.
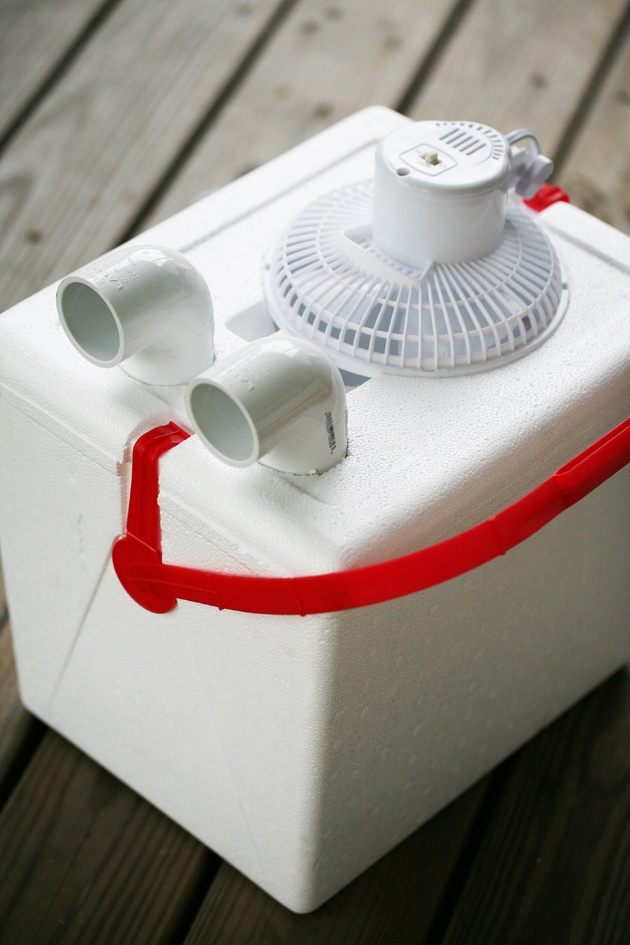
Here is another look.
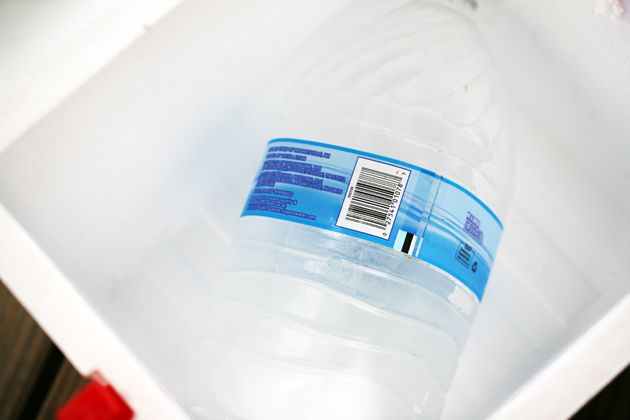
To use it, place one or two one-gallon bottles of frozen water in the cooler, place the lid on, plug in the fan and start it, and let it blow delicious cold air in your face!
Take into consideration that it takes some time for such a big bottle to freeze. I have three or four of them in the deep freezer. Yo can also use a bag of ice instead.
Of course, it’s not as cool as having the real deal but it’s a great relief from hot humid air.
I use it mostly at night because I have a hard time sleeping when it’s hot. And I run it at nap time so my boy can sleep comfortably.
If you live in a tiny home or if you live off the grid, it can be a great, easy, and cheap solution for you. It will cool a room for a couple of hours before you need to replace the bottle. Also, if you live off the grid, a fan will take much less energy than even an AC window unit, so you can easily run it on a car battery or a small solar panel. I think it would also be nice to take it with us when we go camping.
‘Till next week…
Yours,
Lady Lee.

Hi! I’m Lady Lee. I help homesteaders simplify their homesteading journey while still producing a ton of food! I am a single mother of four, I was born in Israel and raised in an agricultural commune called a Kibbutz. Now I homestead in central NC.


I tried it and power it off Battery and I’m very pleased how it works !!! Thank you .
It will cool a small room nicely. Glad it works for you!