**Please welcome Deborah from Grace Garden and Homestead. I am a tiny-winy jealous of this farmer’s wife since she gets to farm 500 acres alongside her husband. 500 acres! Can you believe this? It’s like owning the whole USA. It seems like we share the love of the land as well as the love for tractors, LOL. Today, she will teach us how to patch a tractor tire.
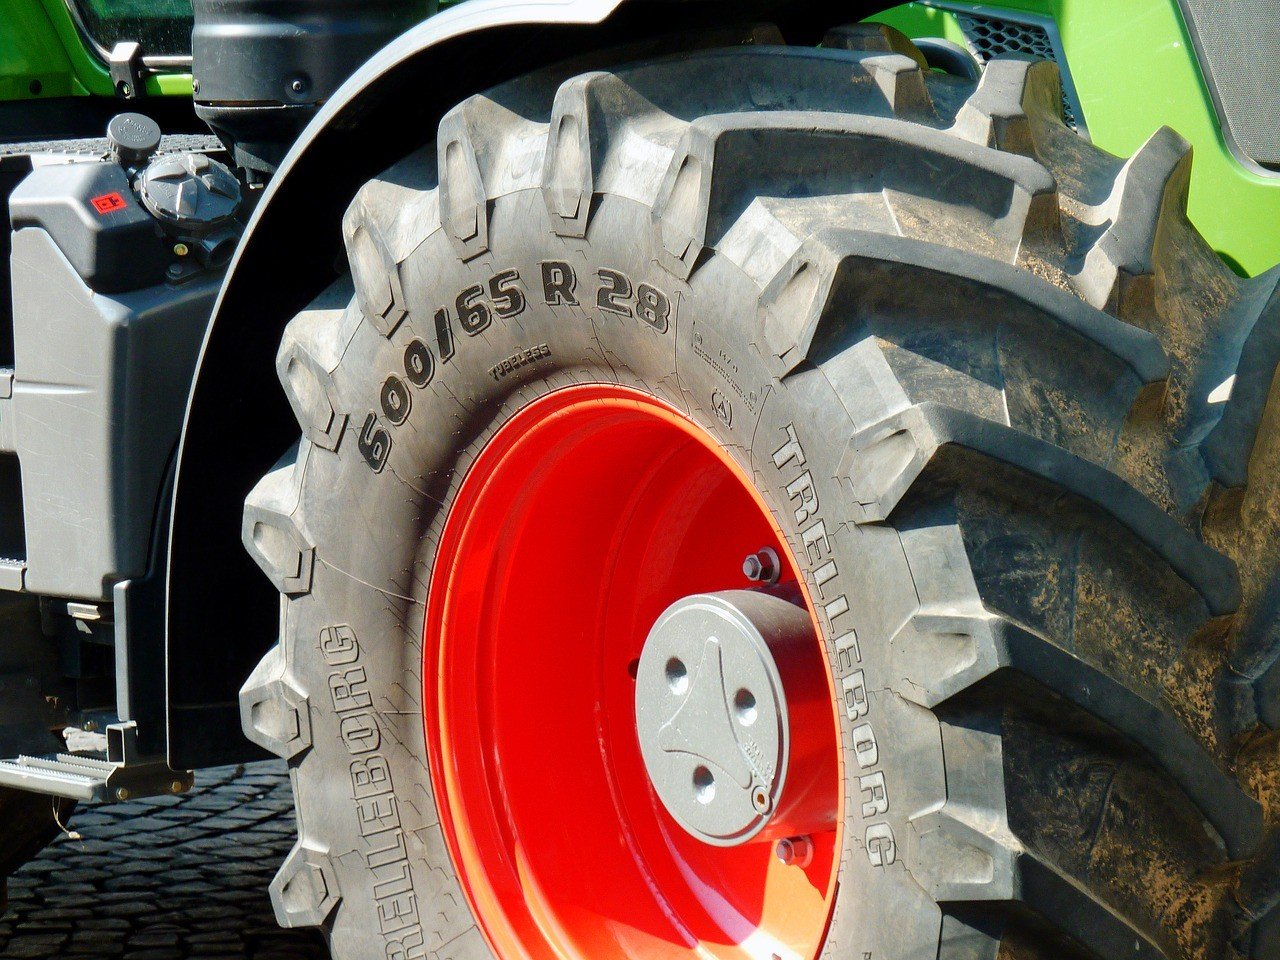
When you get a flat tire on your tractor, it basically shuts you down. At this point, you’ve got two options. The first option is to wait for someone else to fix it—which can take a day or two and hundreds of dollars…
The second option you’ve got is to do it yourself—if you know how. This option saves you not only valuable time but money as well—a lot of money.
On average, we fix 6-10 tires a year on various tractors and implements on our 500-acre family farm plus the custom work we do for others.
An implement tire fix would be about $20-40 depending on who we take it to. One of the larger (non-fluided) tractor tires would cost us $300-400 to have someone else come out and fix it.
Obviously, it’s important for us to fix our own tires as often as we are able. This is a skill I highly suggest anyone who owns a tractor should gain.
After you get your tube out of the tire, you will need:
- A mechanical buffer (this is the one we use along with the base)
(A note on the mechanical buffer: The buffing disk and base shown and linked to is not an actual tire/tube buffing wheel. We have found it to work just as well, be more forgiving on the tube, and have numerous other applications.) - A die grinder or cordless drill for your buffer
- Dawn dish soap and a spray bottle
- Glue and patches—preferably both the same brand (we use this and these)
- Stitching tool
- Core tool
- The means to inflate a tire
Inflate your tube until it’s firm. You can either listen for a leak after turning off your air compressor or use the dish soap solution to find your leak.
To use the dish soap method, put an inch or less of Dawn in your spray bottle and fill the rest with water. Warm water works better because it mixes with the soap quicker, but cold will work too. Swirl the soap and water together, and then take your spray bottle to your tube.
Use a broad spray to spray the tube until it is wet. (If at any point you find the leak to be obvious, you can stop spraying.) Look for bubbles emanating from one spot on your tube, that is your leak.
If your leak is slow, you may need to put more air in your tube to find the leak. Using the least amount of pressure that will still result in finding the leak is a good practice, as using too much pressure can not only blow up your tube but also increase the size of your hole.
Mark your hole with chalk, crayon, or whatever you have.
Now you’re going to have to let the air back out by removing the valve core (with your core tool).
At this point, find a smooth, flat, clean area on your driveway or in your shop to move your work to.
Use your buffer to remove the glaze from the tube around your leak. Do an area slightly larger than your patch. Don’t over-buff or you will ruin your tube. Keep your buffer moving quickly and stop when it becomes black in color. Ten seconds is usually more than enough.
Apply the glue to the buffed area in a light layer while making sure it covers the entire area. Don’t stick anything to it, and let your glue dry. Really. This can take awhile in cool conditions. Go get a cup of coffee if you’re doing this in cold weather.
Once your glue has dried, it will still be slightly tacky when you touch it, but it won’t transfer to your finger.
Take the backing off your patch and center the newly exposed side of your patch over the hole in your tube. Now very firmly (yup, really) roll your stitching tool back and forth over the patch, starting in the middle, and working your way out. You need to do this in various directions until the clear plastic coating detaches from the front of the patch.
This plastic coating may not completely come off, but rather just come loose in several spots. Once this happens, use your fingers to gently remove and discard it. If it doesn’t pull loose easily-keep stitching/rolling until it does.
Now, something caused the hole in your tube. Any debris between the tube and tire, a nail through the tire, a wrinkle in the tube caused by too large of tube for the tire… All sorts of things can deflate your tire.
Examine the inside of the tire itself carefully for the cause of the hole. Remove any objects inside of, or poking through the tire. If a hole through the tire is discovered then follow the same procedure to patch the inside of the tire. This is not done to keep air in, but rather to keep debris out, as even sand grains will eventually wear a new hole in your tube.
Now you can reassemble your tube and tire, install your valve core, and inflate to the proper pressure. I don’t recommend checking the integrity of your patch by inflating the tube outside of the tire as this will stretch the tube beyond normal circumstances and could potentially compromise the integrity of the glue/patch bond. It shouldn’t, but it could.
Congratulations, you’ve just saved yourself a couple hundred dollars. Go ahead and get back to work.


Hi! I’m Lady Lee. I help homesteaders simplify their homesteading journey while still producing a ton of food! I am a single mother of four, I was born in Israel and raised in an agricultural commune called a Kibbutz. Now I homestead in central NC.
Nice fluffy article. In America, most kids that ride bikes know how to patch a tube. The reason I read your article was to learn how to get that gigantic rear tire off the tractor.
That’s the hard part!!!!
your instruction are “how to fix a tube” not “fix a tire”……………