This post may contain affiliate links, view our disclosure policy for details.

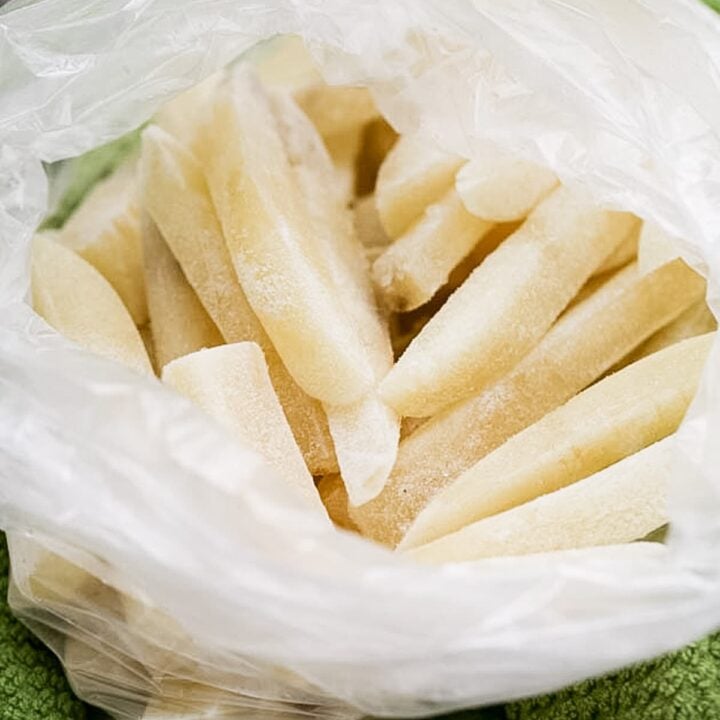
Learn how to blanch potatoes perfectly for freezing. Follow this step-by-step guide to ensure your potatoes stay fresh, firm, and ready to use anytime!
Lady Lee’s Note…
I grow potatoes every year. Even though they take some work and the bugs love them, they are completely worth the effort. Not only they are filling and delicious they also keep very well in storage.
Unfortunately, I do not have a root cellar yet and it’s pretty warm in my house even if the AC is on during the summer because we are constantly opening the doors and going in and out. My potatoes can last a couple of months but after that, they start to sprout and get soft.
I was thinking about how to preserve my potatoes and decided to freeze them as french fries because my kids can never get enough french fries. I usually make baked fries because I hate frying so it’s really a healthy and super simple dish. I’ll tell you how I make it when we talk about how to use your frozen potatoes.
What is Blanching?
Blanching is the process of cooking the potatoes (or any other vegetable) in boiling water for just a couple of minutes before freezing them. It stops enzyme action that can cause loss of flavor, texture, and color. Blanching also helps retain vitamins and cleans the surface of the food of bacteria.
Blanching is a very important part of the preserving process especially if you know that your food is going to spend months in the freezer.
Freezing Potatoes Without Blanching…
I will admit that in the past, I got lazy a few times with a few different kinds of vegetables and just stuck them in a bag and sent them to the freezer. I found that it’s ok if I use them within a couple of months, but if they stay any longer in the freezer they lose their taste and texture and aren’t as great. Potatoes also lose their color (they turn a little brown) and honestly, it’s not very appetizing…
It’s always recommended to blanch vegetables before freezing and if your vegetables are going to spend months in the freezer it really makes a difference. It’s worth taking a little bit of extra time to do it.
What Kinds of Potatoes Can You Freeze…
Always choose potatoes that have been cured and in storage for at least a month. In other words, don’t blanch and freeze your potatoes right after you harvest them. They need time to cure and harden.
On the other hand, the longer the potatoes are in storage the more of their starch converts to sugar. If you blanch and freeze very old potatoes you will still be able to eat them but they might be better for things like mashed potatoes or another dish where you’ll want them soft. If you try to make french fries from them they might not hold that crunchiness that most of us like when eating french fries.
The same goes for the variety of potatoes you freeze. For french fries, go with varieties like Kennebec or Yukon Gold. For dishes where you’ll want your potatoes soft, varieties with thin skin like fingerling and red potatoes will work better.
The bottom line is, you can blanch and freeze every kind of potato but how you use them later might change depending on the variety. Make sure you label your bags so you know what’s inside.
Also, remember that you can blanch sweet potatoes in this way as well. I love blanching sweet potatoes and freezing them like french fries for my favorite oven baked sweet potato fries.
Ingredients…
- Potatoes (10 to 20)
Kitchen Tools…
- Vegetable peeler
- Knife
- Cutting board
- Large bowl
- Large pot
- Skimmer ladle
- Kitchen towel
- Baking sheet
- Parchment paper
- Produce bags (or ziplock bags)
Step-by-Step Instructions…

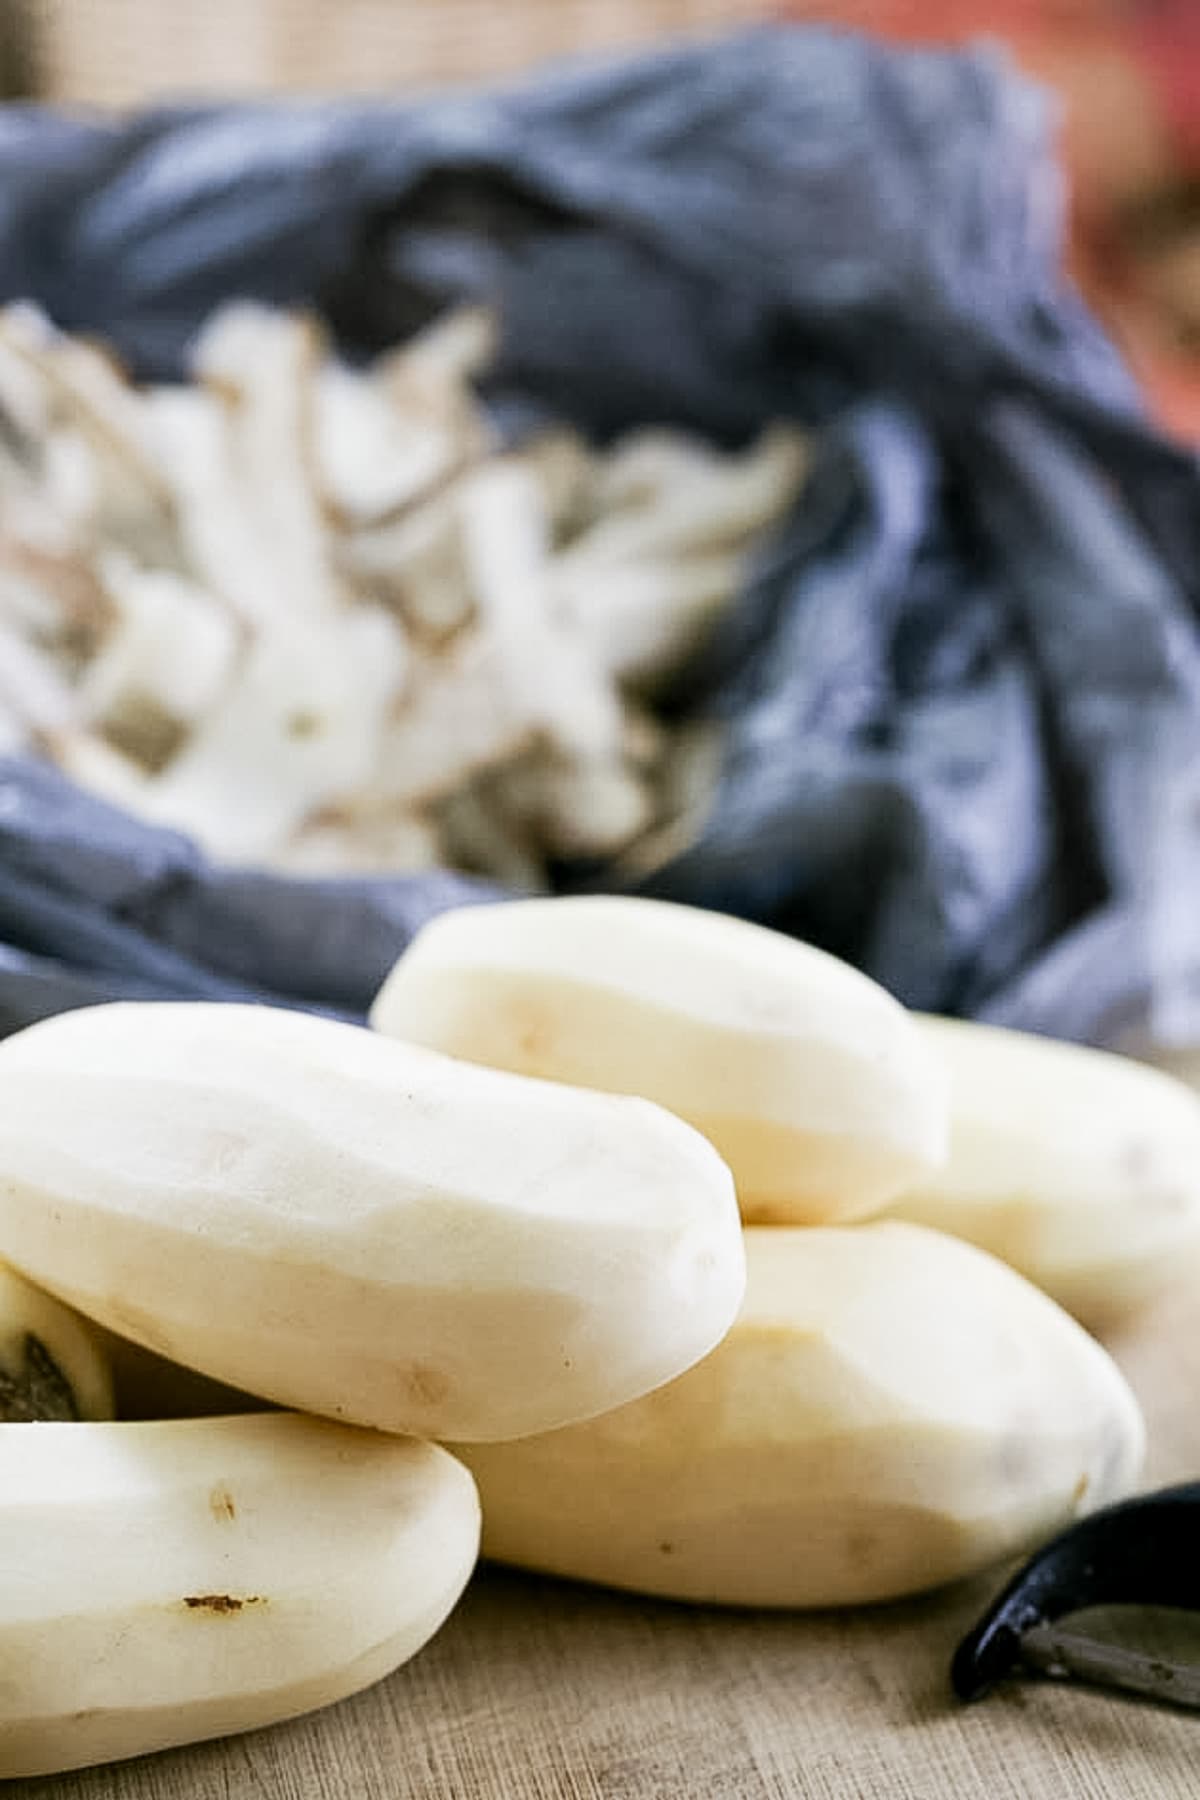
Step one – Prep your potatoes. These are Kennebec potatoes which are my favorite kind of potato. They are great for freezing and homemade french fries. Wash your potatoes and peel them. Then give them another good rinse.
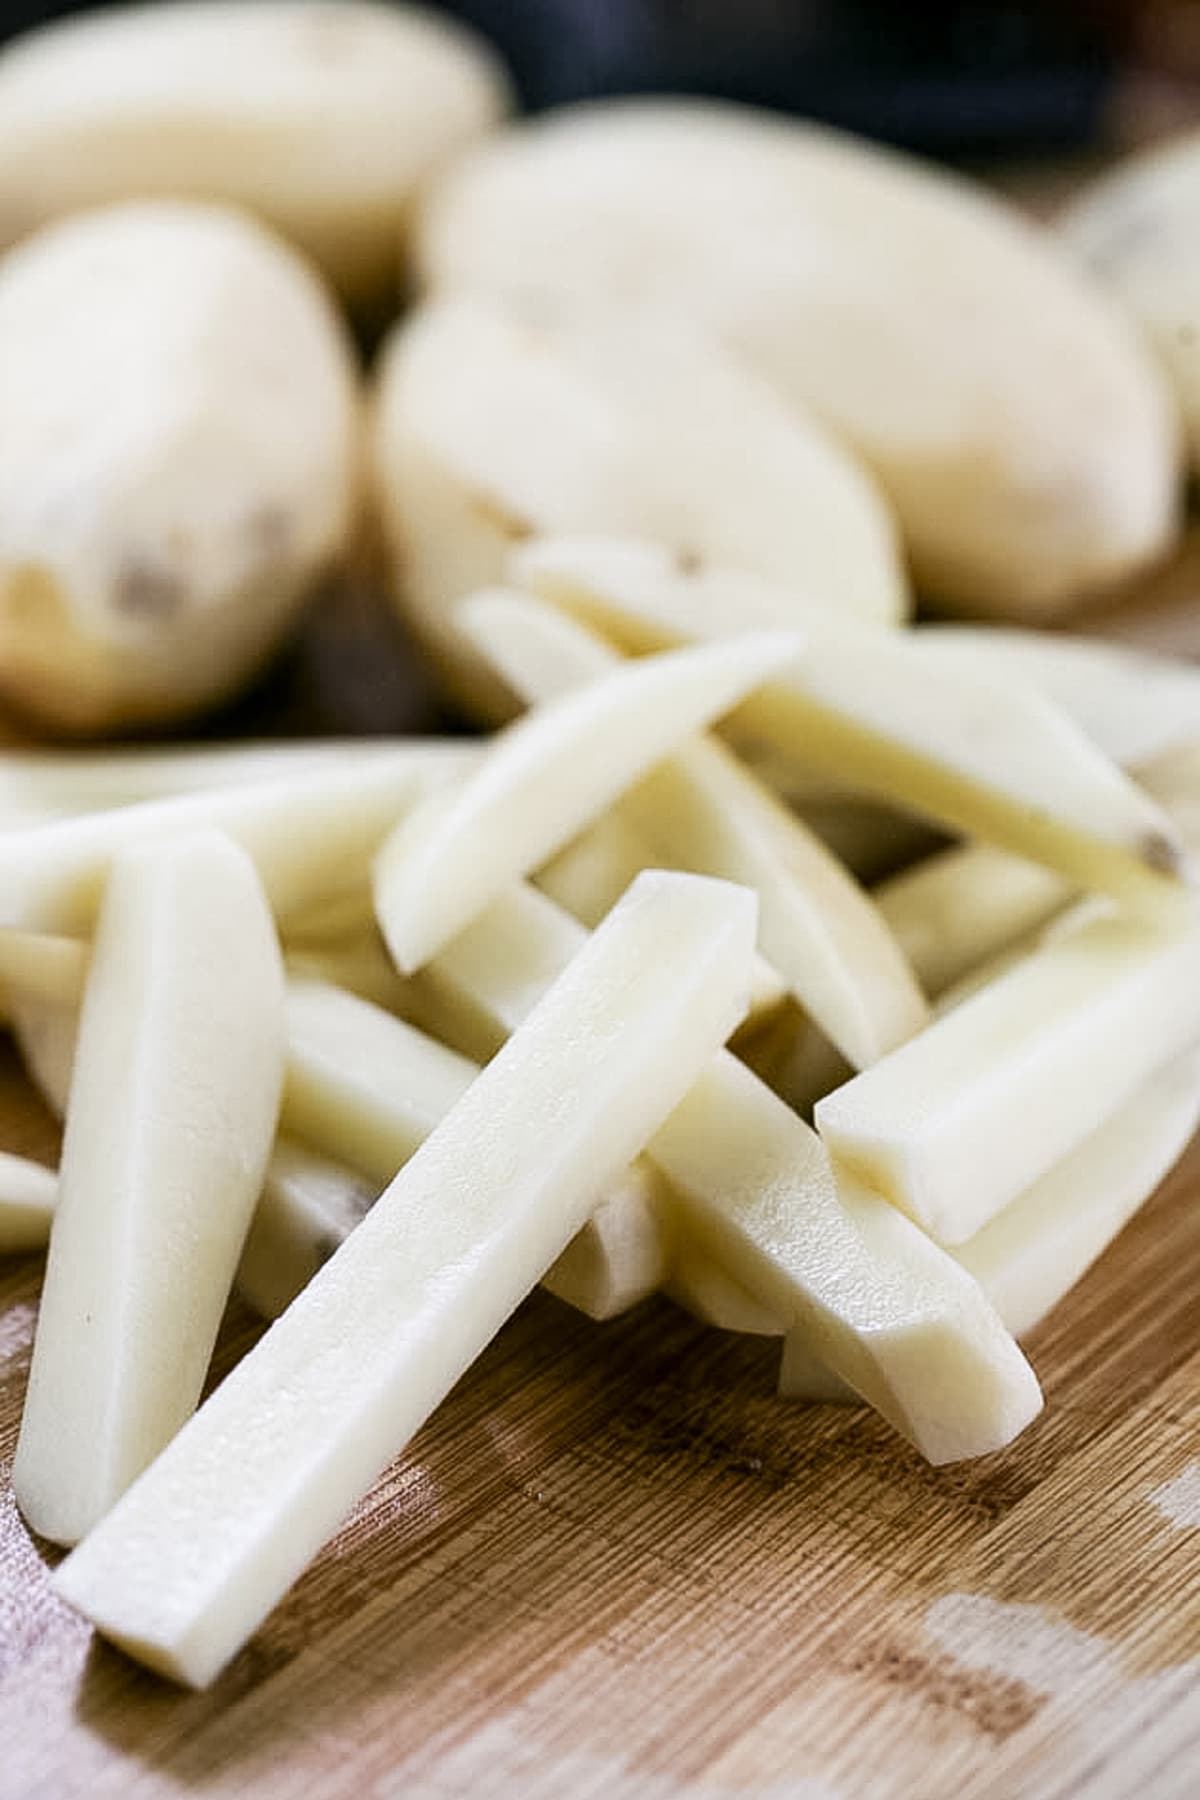
Next, cut your potatoes into french fries. This is how I like to freeze my potatoes since we like baked fries, however, you can cut half-inch round pieces or cube your potatoes. However you like to do it is fine, just make sure your pieces are not too thick or too thin.
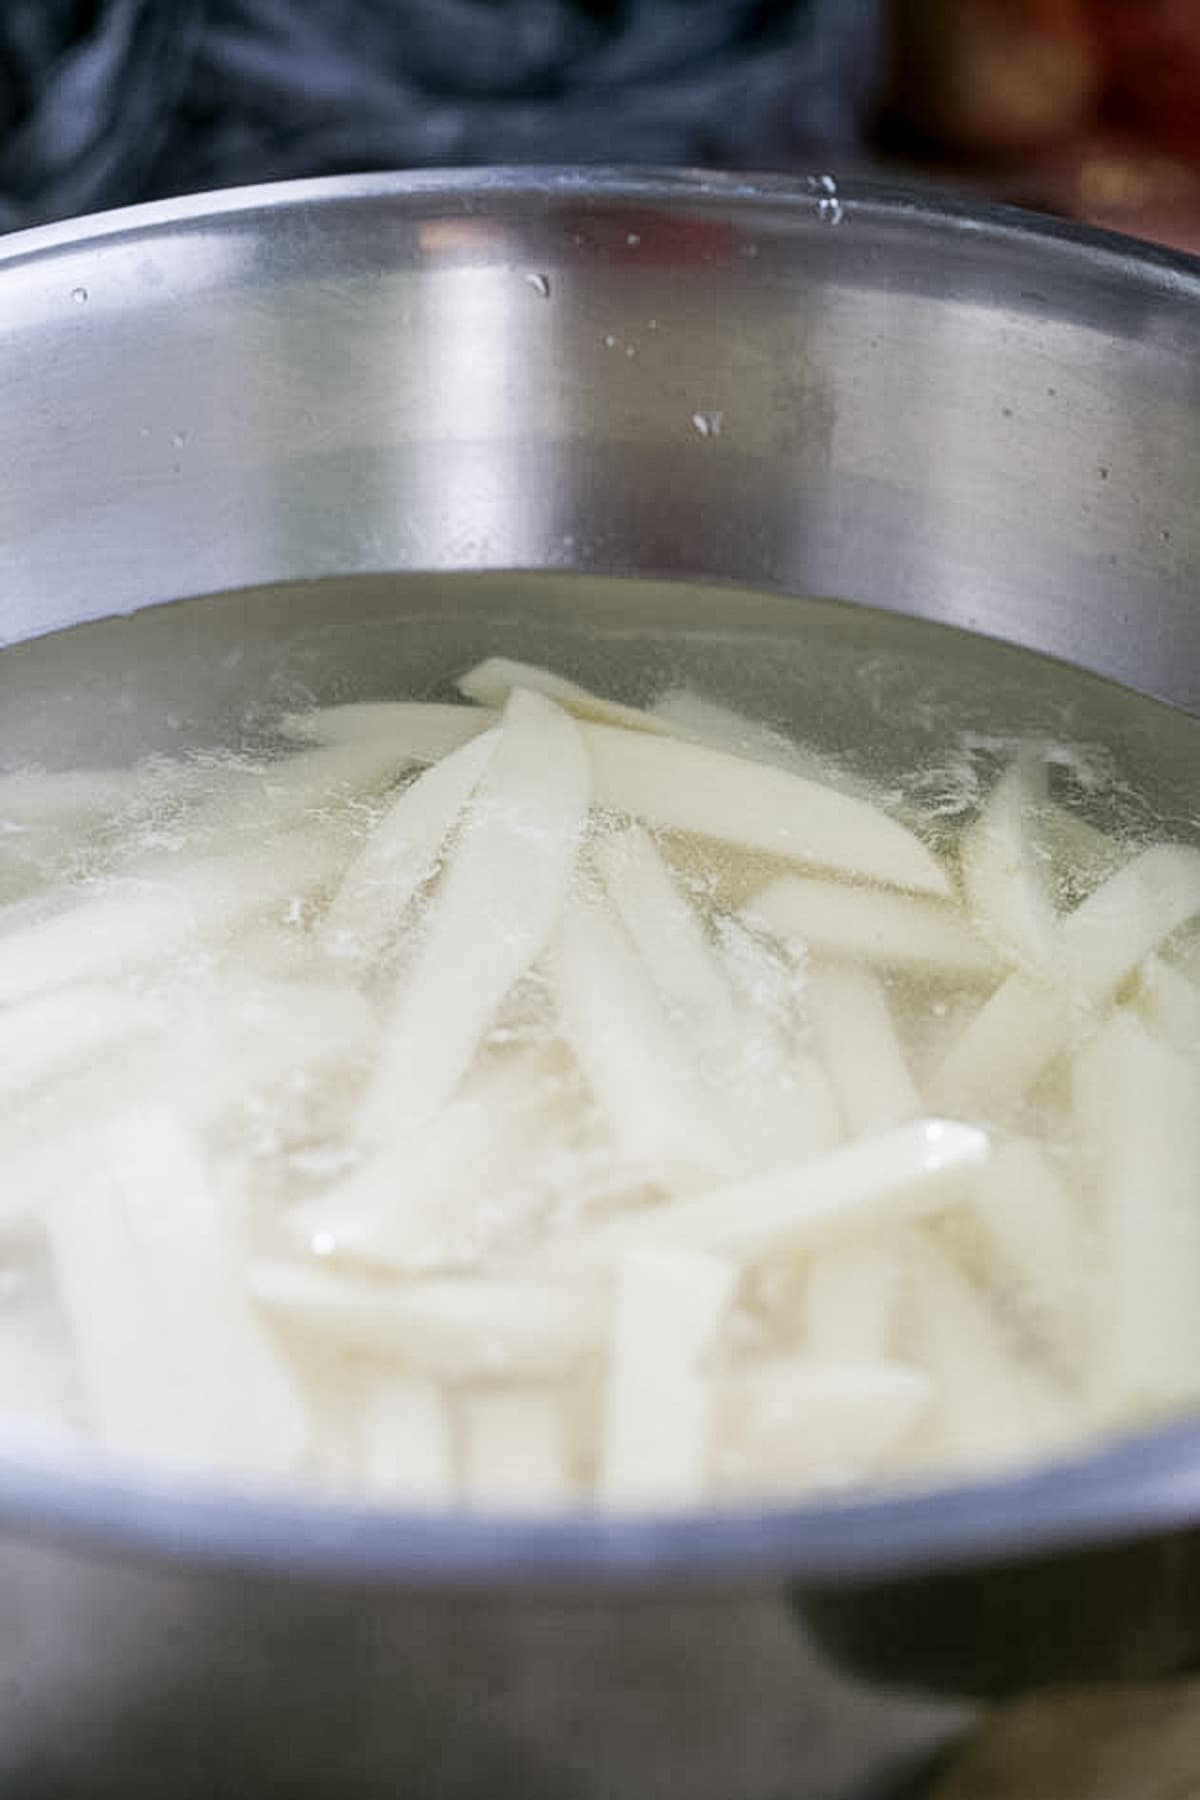
Tip – I recommend not processing too many potatoes at a time. I did something like 15 or 20. Still, it took some time to get all of them peeled and cut, so to make sure that the ones I had already cut didn’t just sit there on the cutting board and turn brown while I worked on the rest, I put all the fries in a bowl filled with cool water. The water keeps them from turning brown.
While you work on cutting your potatoes, place a large pot of water on the stovetop and bring it to a boil. Also, fill another large mixing bowl with cold water and place it on the counter close to the stove. Make sure your ice is ready. You’ll add it to this bowl later.

Step two – boil the potatoes. When the water is boiling in the pot, add a batch of potatoes to the pot. The water will stop boiling for a moment. Once it starts boiling again we want to process the potatoes for 3 minutes. While the potatoes are in the boiling water, add ice to the bowl of cold water.

Step three – transfer the potatoes to the ice bath. Once the three minutes are up, scoop your potatoes with a skimmer ladle from the pot of water right into the bowl of ice water. This stops the cooking process so the potatoes don’t turn too soft.

Step four – dry the potatoes. Let the potatoes swim in the ice water for a few minutes and from there scoop them onto a clean kitchen towel and pat them dry.

Step five – freeze the potatoes. Line a sheet pan with parchment paper and set the potatoes in one layer on the baking sheet. Then, cover this layer with another piece of parchment paper and add another layer of potatoes. You can do as many layers as you’d like, just make sure that there is parchment paper between the layers. Wrap the whole thing in plastic food wrap and place it in the freezer.
It’s important to freeze the potatoes this way first so that the pieces of potatoes don’t stick to each other. If we stick them in a bag after we dry them they are all going to stick together and it will be very hard to use the frozen potatoes later.
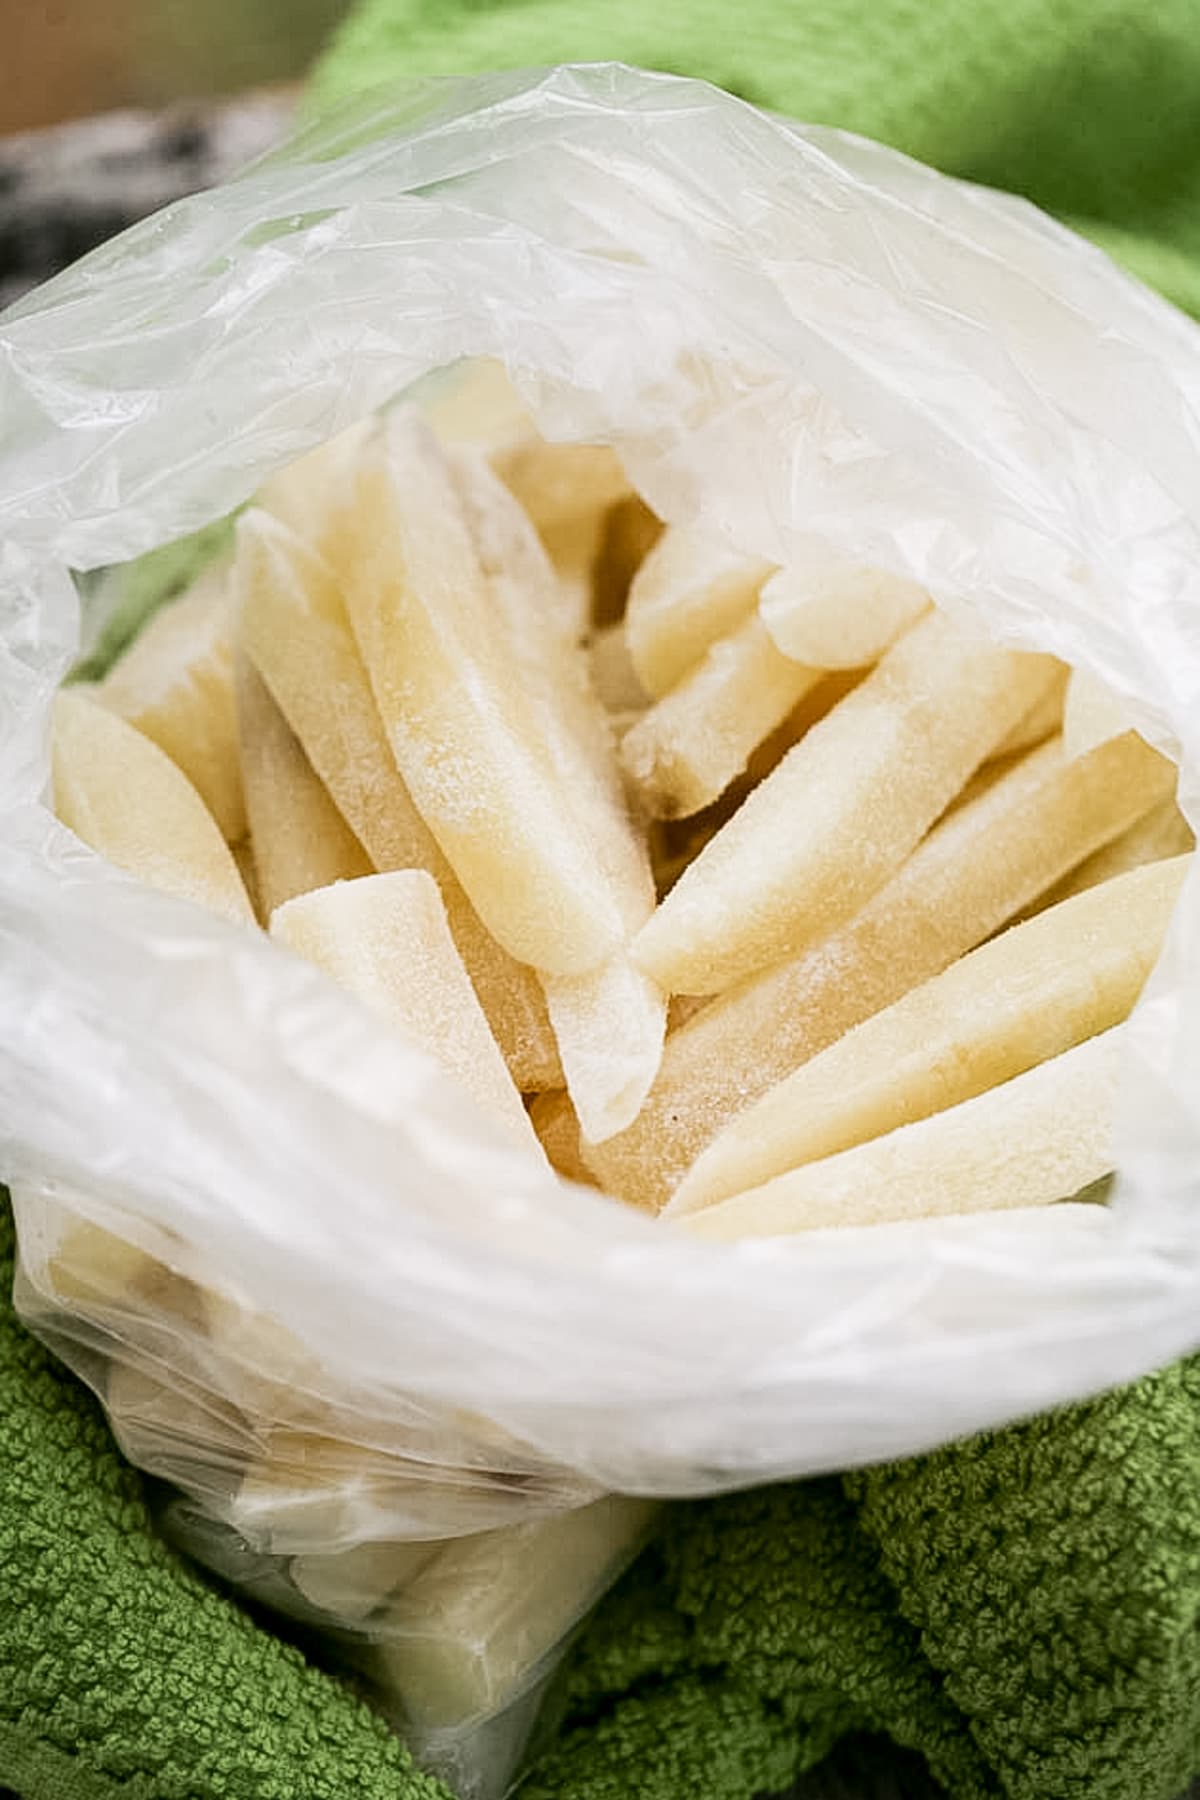
Step six – pack the potatoes. Let the potatoes stay in the freezer overnight to make sure all the layers are completely frozen. Then, remove the baking sheet from the freezer and place the fries in a bag dividing them into portions. Place the bags back in the freezer and you are done!
How to Use Frozen Potatoes…
If you’re making french fries as I do, all you have to do is…
- Heat your oven to 450 degrees F.
- Line a baking sheet with parchment paper.
- Get your bag of frozen fries from the freezer, set the potatoes in one layer on the baking sheet.
- Spray your fries with olive oil or just drizzle it over the potatoes.
- Bake for around 35 minutes or until done to your liking.
- Once you remove the potatoes from the oven, season them while they are still hot. I like to season with salt and garlic powder and sometimes black pepper.
- Serve while still hot, of course!
If you freeze your potatoes for any other dish where they need to be soft (like mashed potatoes), place your frozen potatoes in a pot of water and boil until soft. Then do whatever you want to do with them.
Frequently Asked Questions…
If you take the time to blanch your potatoes, they should last a year and more in the freezer. It is recommended to always use frozen food within a year, however, they can easily last longer.
Absolutely. You can dice them or cut them into larger pieces. You don’t want the pieces to be too large but they can be larger than how I cut mine for this tutorial.
It’s better not to. If you want to bake or roast them, place them on a baking sheet while still frozen and place in the oven. If you want to use them in casseroles (let’s say diced), add them frozen. If you want them mashed, add them to a pot of water right from the freezer and boil until soft.
Yes, any kind. Even sweet potatoes, however, I have a whole tutorial on freezing sweet potatoes in four different ways. Make sure to check it out.
You can, however, the blanching part is a bit more challenging. Shred the potatoes, add them to the boiling water and even if the water stops boiling start your timer for two minutes. Do not wait for the water to get back to a boil. Follow the rest of the process the same way.
I hope you grow a whole lot of potatoes this year and I hope you have plenty to blanch and freeze. It really makes an easy dinner dish!
More Freezing Tutorials…
- Freezing Leeks
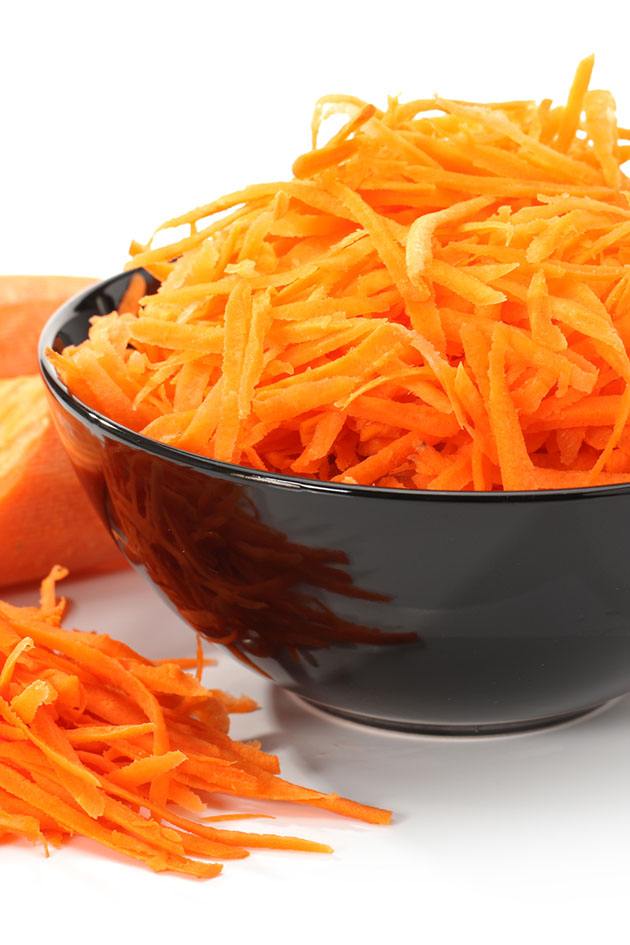
- How to Freeze Shredded Carrots
- How to Freeze Collards
- Blanching Green Beans for Freezing
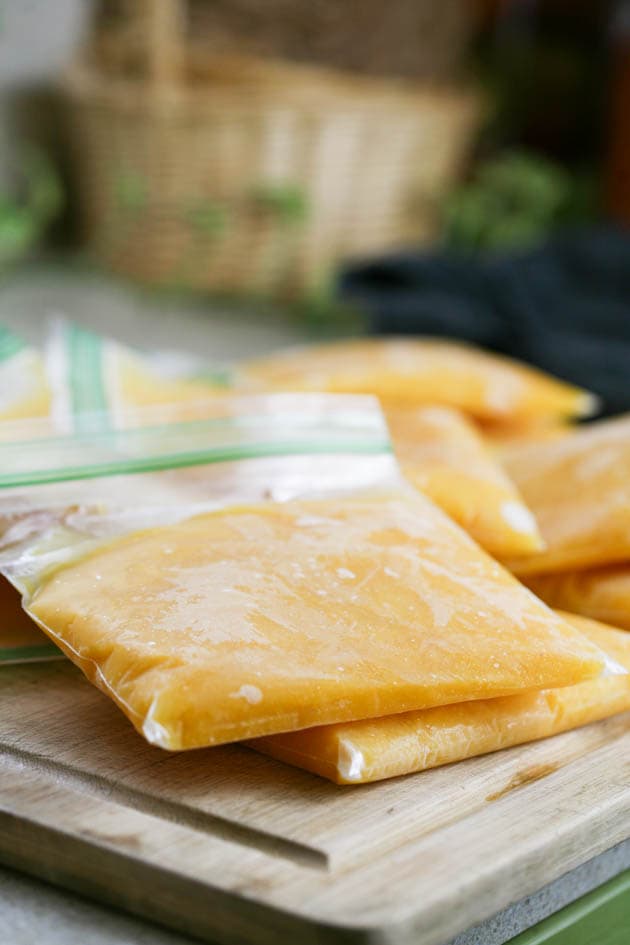
- How to Freeze Pumpkin Puree
- How to Freeze Sweet Potatoes
- How to Freeze Tomatoes
- How to Freeze Carrots
Blanching Potatoes For Freezing
How to blanch potatoes before freezing so your potatoes can keep their quality and last longer in the freezer.
Materials
- 10 potatoes
- A bag of ice
Tools
- Large bowl for ice water
- Large pot for blanching
- Slotted spoon to scoop potatoes from water
- Clean kitchen towel
- Sheet pan
- Parchment paper
- Plastic food wrap
Instructions
- Wash your potatoes and peel them. Then give them another good rinse. Next, cut your potatoes into french fries. This is how I like to freeze my potatoes since we like baked fries, however, you can cut half-inch round pieces or cube your potatoes. However you like to do it is fine, just make sure your pieces are not too thick or too thin.
- While you work on cutting your potatoes, place a large pot of water on the stovetop and bring it to a boil. Also, fill another large mixing bowl with cold water and place it on the counter close to the stove. Make sure your ice is ready. You’ll add it to this bowl later.
- When the water is boiling in the pot, add a batch of potatoes to the pot. The water will stop boiling for a moment. Once it starts boiling again we want to process the potatoes for 3 minutes. While the potatoes are in the boiling water, add ice to the bowl of cold water.
- Once the three minutes are up, scoop your potatoes with a skimmer ladle from the pot of water right into the bowl of ice water. This stops the cooking process so the potatoes don’t turn too soft.
- Let the potatoes swim in the ice water for a few minutes then scoop them onto a clean kitchen towel and pat them dry.
- Line a sheet pan with parchment paper and set the potatoes in one layer on the baking sheet. Then, cover this layer with another piece of parchment paper and add another layer of potatoes. You can do as many layers as you’d like, just make sure that there is parchment paper between the layers. Wrap the whole thing in plastic food wrap and place it in the freezer.
- Let the potatoes stay in the freezer overnight to make sure all the layers are completely frozen. Then, remove the baking sheet from the freezer and place the fries in a bag dividing them into portions. Place the bags back in the freezer.
Notes
How to Use the Frozen Potatoes:
If you froze your potatoes as french fries don't thaw them before cooking them.
If you are going to bake them, oil a sheet pan, set the potatoes in one layer on the pan, oil the potatoes (it's easy to spray them) with the oil of your choice and bake in a 450 degrees F preheated oven for around 35 minutes or until they are done for your liking. Season with salt, garlic powder, black pepper or any other seasoning that you like and serve hot.
If you are going to fry them, lower them into a 350 degrees F preheated oil while they are still frozen. Once done, season and serve hot.
If you plan to use your potatoes for a dish where they need to be soft, for example mashed potatoes, place them in a pot of water and boil until they are soft, then use as desired.
I HAD QUESTIONS – BUT THE EASY QUESTIONS WERE QUICK AND FAST – BUT THE OTHER EXTRAS ABOUT WHAT I OVERTHOUGHT WERE JUST WHAT I WANTED TO KNOW – THANK YOU FOR TELLING ME THE ” THINGS ” I JUST DID NOT KNOW! WITH SKINS – OK? AND THE BIG ONE – ON A 1500 WATT MICRO – HOW LONG?
Yes, yu can freeze the potatoes with the skins on.
I never heated them in the microwave. I always use the oven so not sure about that…
Potatoes rule !!!
French fries on demand.
It’s so convenient to have them ready to go in the freezer!
I would like to say thank you for the time you take to help others. You are the only one that didn’t add a lot of steps and made it very easy to understand. I did save as a PDF file, and will be coming back to you for more information.
Thank you and God Bless.
Thanks for the feedback! I’m so glad this was helpful. I know how busy life is so I am trying to keep things simple for all of us! Thanks for stopping by!
can you leave the skins on for french fries
Yes, I think that you can.
Printed this out which made my printer do 23 extra pages that were blank. What a waste!! Even the pages that had print on them could have been reduced to one and a half, not eight! Please be more mindful of your readers and not contributing to a wasteful environment.
I am sorry that you assume that I am doing any of this on purpose… Because I am not. I sent the recipe card to my printer and it printed it on two pages. Not sure why it came out on 23 at your end. I’ll contact the service that provides the plugin for the recipe card and ask them to see if there is an issue that I can’t see on my end but it worked well for me when I tried to print it.
Printed up 23 blank sheets of paper? How does blank paper have have any printed info on it? Sounds like an oxymoron if they are blank reuse them.
Thanks for posting how to blanch potatoes. I’ve come into a lot of potatoes and wasn’t sure how to preserve them, I am going to try this.
I love having french fries ready to go in the freezer! Makes for a very easy lunch.
Wow negative nancy. This kind lady took the time to put this together for you and your printer did something crazy and it is somehow the fault of the person who published the website. Okay. 🙁
I love you, Angela Reed 🙂