Blanching Green Beans
This post may contain affiliate links, view our disclosure policy for details.
Blanching green beans will allow you to keep your beans as fresh as possible in the freezer for the longest time. In this picture tutorial, I’ll show you how to blanch green beans before freezing so you can keep your harvest all through the winter. There are other ways to preserve green beans, but freezing is my personal favorite because the beans keep their crunchiness and freshness.
I can’t see a garden without green beans! I also grow dry beans if I have room in my garden, but green beans are never an “if” around here, I always have room for them.
My kids eat them fresh off the plant. I tried it a couple of times but I don’t care much for the fuzz so I usually steam them for a couple of minutes and then add butter, garlic, and salt. You can find this delicious, healthy, and super simple green bean recipe here.
We eat them fresh as much as we can and I also ferment green beans, but one of the best things about the bean plant is that it keeps on giving. It seems like the more you pick the green beans the more of them the plant will make. I have no problem with that, of course!
But since I like my beans as close to fresh and firm as possible, I found that I don’t like canning them. In the canning process, they just become too soft for me so when it comes to preserving green beans I prefer freezing them.
If I know that I’ll be using them within a couple of months, I actually prefer freezing my green beans without blanching them first. But if I have a lot of beans to freeze and I want to make sure they last for a long time I’m always blanching my green beans before I freeze them.
Blanching Green Beans For Freezing…

Growing green beans is pretty easy and you can grow your own green beans even in a small space. I really encourage you to do it because they are so delicious when they are fresh off the plant.
Here, in the small town where I live, there are so many of them at the farmer’s market during the season and they are sold very cheaply. Some people by them by the crate and I imagine that they either can them or freeze them. So if you are not growing your own beans, the next best thing to do is look for them at the farmer’s market during the season and then preserve them.
Blanching green beans like we are going to do here will ensure that you can keep them for a long time.
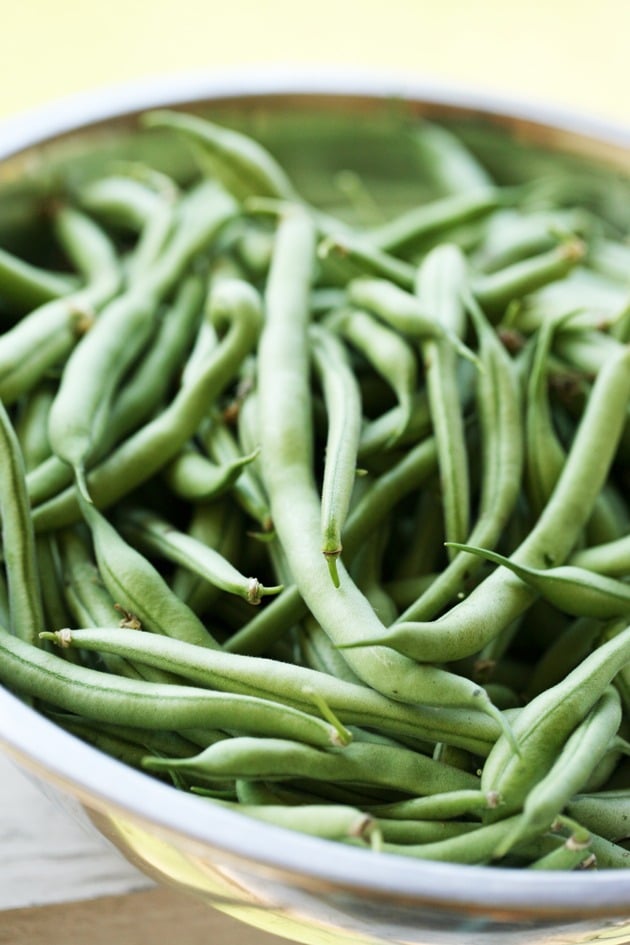
What is Blanching…
Here is a great explanation from The National Center For Home Food Preservation…
“Blanching (scalding vegetables in boiling water or steam for a short time) is a must for almost all vegetables to be frozen. It stops enzyme actions which can cause loss of flavor, color and texture.
Blanching cleanses the surface of dirt and organisms, brightens the color and helps retard loss of vitamins. It also wilts or softens vegetables and makes them easier to pack.”
You can read more here.
So really, the blanching process is done by boiling the vegetables for a short time, then cooling them rapidly in ice water to stop the cooking. Then we pack the food and freeze it. Since we blanched it before freezing it will keep fresh for a longer period of time in the freezer.
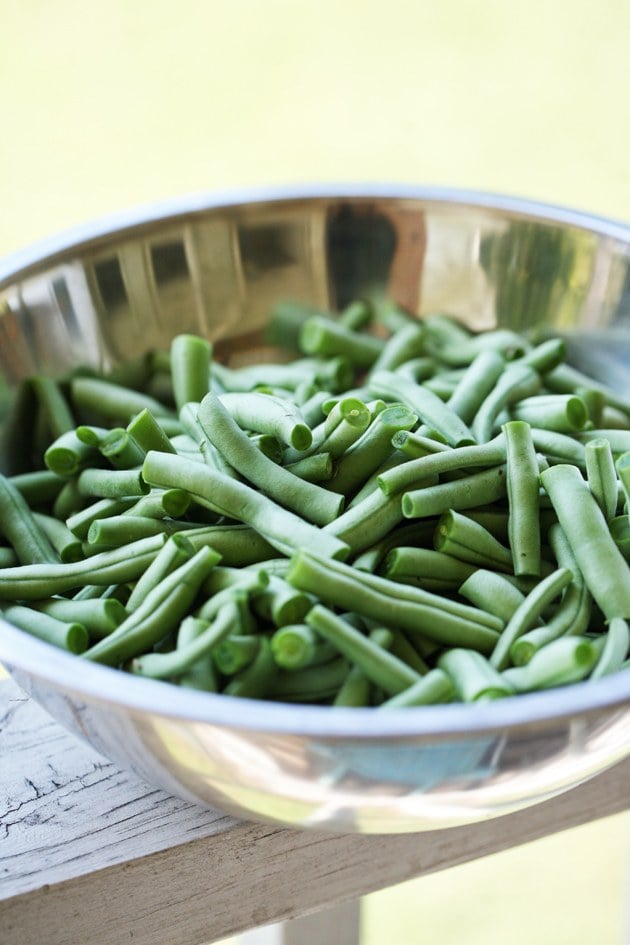
Blanching Green Beans…
So the first thing we want to do is clean the green beans. You can just cut the two ends off or you can cut the beans into smaller pieces. I personally like to cut my beans into two or three pieces.
While you work on cleaning and cutting your green beans, place a pot of water on the stove top. Turn the heat to high and let it boil. Once the water is boiling, lower the heat just a little bit to keep it at a rolling boil.
Also, before you start blanching, set a large bowl filled with water on the kitchen counter close to the stove and add ice to the water. I suggest you do this before you start blanching because the blanching goes very quickly so this way you are set and everything is ready.
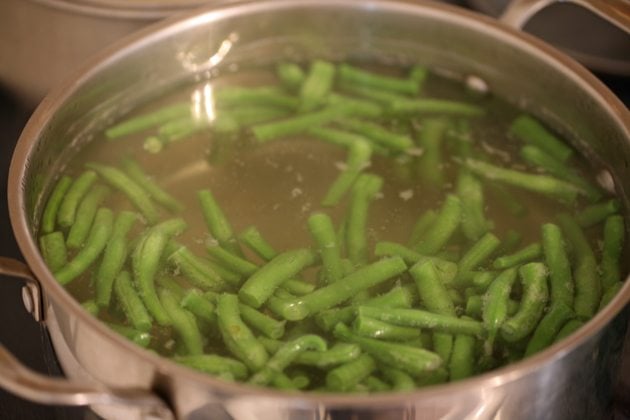
If you have a large number of beans to process, do it in batches. Add beans to the boiling water, the water will probably stop boiling for a couple of seconds but will start boiling again quickly. When the water starts boiling again, set your timer to two minutes.
Some places say to boil green beans 3 minutes and you can definitely do that but I found that two minutes are enough for me. I like that the beans stay really firm.
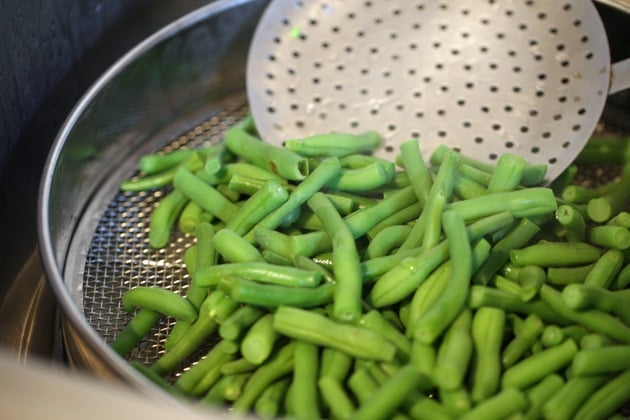
Once the two minutes are up, scoop your beans out of the boiling water straight into the bowl of ice water to stop the cooking. I like to place the beans in a colander that fit inside the large bowl and then lower the beans with the colander into the cold water. It’s just annoying to try and fish the beans from between the ice cubes, so using the colander makes it much easier and quicker.
You want to leave the beans in the cold water for a minute or two…
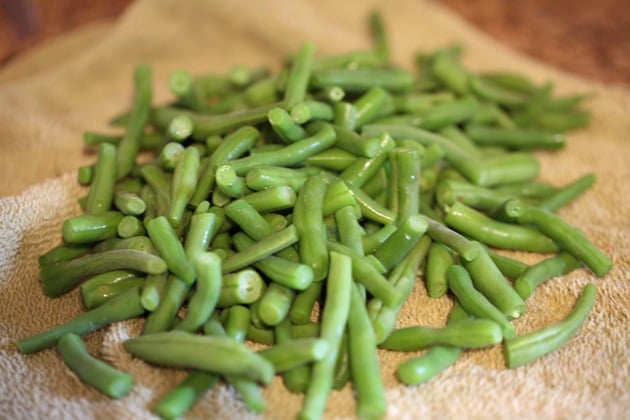
Then transfer the beans onto a large kitchen towel for drying.
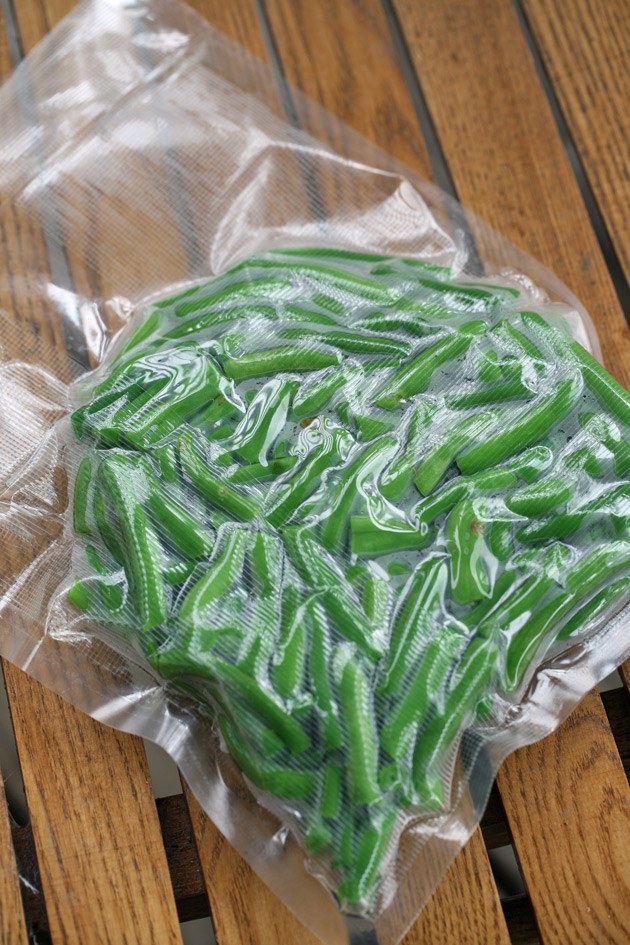
Once your beans are dry, the best way to pack them is in a vacuum sealer like this one (I use these vacuum bags). I found that even if you dry your beans very well the sealer still pulls a lot of moisture out of them and in many cases, it just doesn’t seal.
So you have two options… You can freeze the beans in the food sealer bags first and then seal the bages, after they are already frozen. You can see how I do this in my freezing leeks post.
Or the other option is to place the beans inside of the vacuum bag, then fold a sheet of paper towel and place it inside the bag between the beans and the top of the bag. When you vacuum the bag, whatever moisture that is pulled from the beans will get caught in the paper towel and won’t get in the way of the sealer.
You can see how I do this in my feta cheese post.
That’s it! Your bag of beans is ready for the freezer and you are ready to move on to the next batch. Don’t forget to label your bag before you put it in the freezer. Your beans should last for a long time, probably around a year or so in the freezer.
When you want to cook your beans, just let them thaw and then go ahead and steam them for a few more minutes or add them to a casserole or whatever other dish you are making.
My favorite green bean is this simple and healthy green beans with garlic and butter. It’s like a snack! I make it a lot during the season, and of course, it’s best with fresh beans right from the garden, but during the winter I use my frozen beans. I steam them for just a couple of minutes before I make this dish.
If you liked this post you might also like my post about freezing potatoes for an easy french fries.
Here is the handy blanching green beans printable…

Blanching Green Beans
How to blnch green beans before freezing so your green beans can keep thier quality and last longer in the freezer.
Ingredients
- 1 quart of green beans (or as many as you have but work in 1 quart batches)
- Water
- Ice
Instructions
- Wash your beans.
- Cut both ends and if you’d like, cut your beans to smaller pieces.
- Place a pot of water on the stovetop and turn the heat to high. Bring the water to a boil then lower the heat just a little bit to keep the water at a rolling boil.
- Place a bowl of water close to the stove. Add ice to the water in the bowl so they are ice cold.
- Add beans to the boiling water (work in batches) and boil for 2 minutes.
- Use a slotted spoon to scoop your beans out of the boiling water and add them right into the bowl of ice cold water to stop their cooking.
- Let the beans stay in the cold water for a few minutes.
- Scoop the beans out of the cold water and on to a large kitchen towel. Pat then dry.
- Pack your beans and place in the freezer (see notes below for your packing options).
Notes
As far as packing goes, you have two options... You can freeze the beans in the food sealer bags first and then seal the bages, after they are already frozen. You can see how I do this in my "Freezing Leeks" post.
Or the other option is to place the beans inside of the vacuum bag, then fold a sheet of paper towel and place it inside the bag between the beans and the top of the bag. When you vacuum the bag, whatever moisture that is pulled from the beans will get caught in the paper towel and won't get in the way of the sealer.
Nutrition Information:
Yield: 1 Serving Size: 1 quartAmount Per Serving: Calories: 175Total Fat: 1gSaturated Fat: 0gTrans Fat: 0gUnsaturated Fat: 1gCholesterol: 0mgSodium: 15mgCarbohydrates: 39gFiber: 16gSugar: 18gProtein: 9g

Hi! I’m Lady Lee. I help homesteaders simplify their homesteading journey while still producing a ton of food! I am a single mother of four, I was born in Israel and raised in an agricultural commune called a Kibbutz. Now I homestead in central NC.

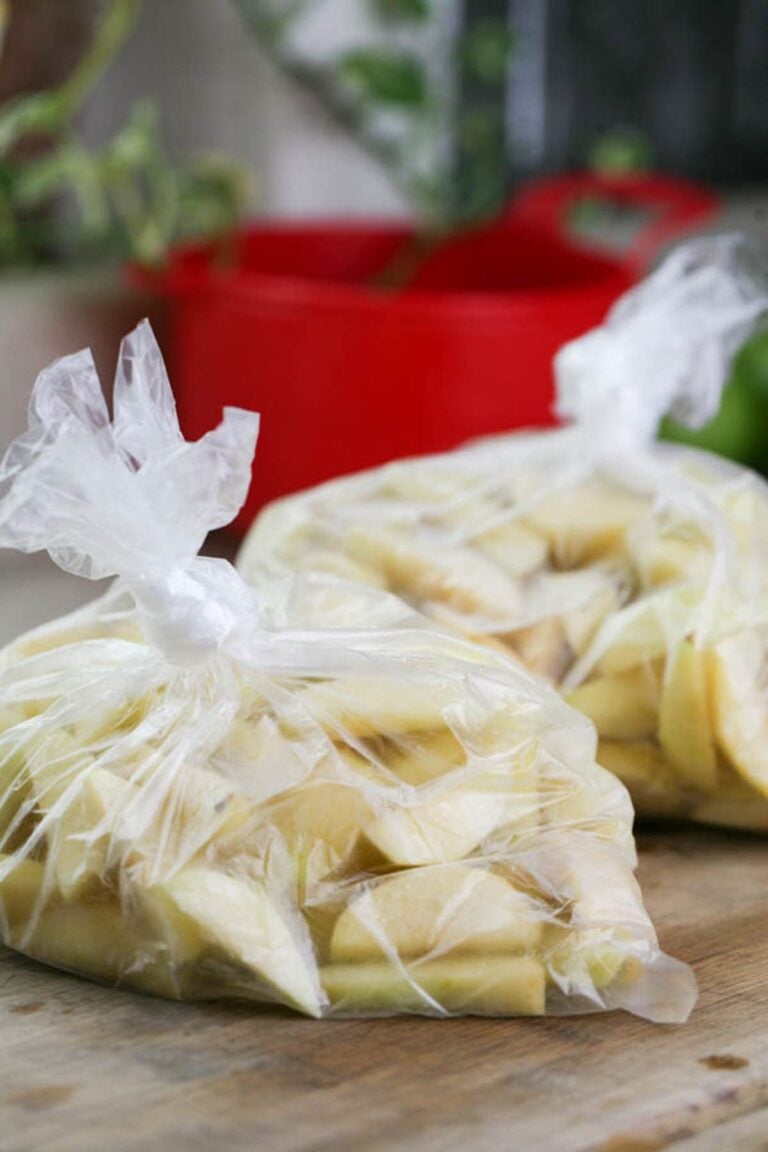
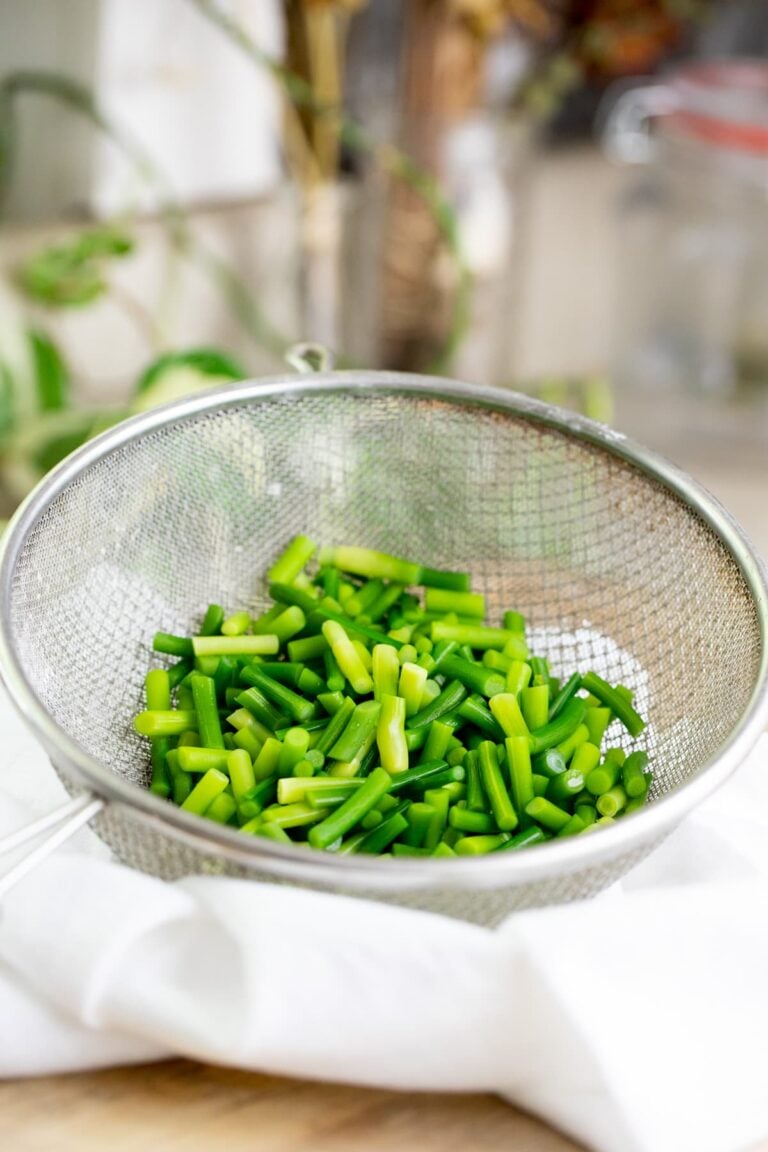
I want to just refrigerate (not freeze) some blanched green beans for a couple days. I’ve read some suggestions to dry the beans, others to cover with a damp paper towel so they don’t dry out. I hate such conflicting information when I’m just looking for a quick easy answer! What are your thoughts?
Blanch, place in a ziplock bag or a plastic container, and refrigerate. They’ll be good for a few days.
Thanks very much Lady Lee, your process of blanching fresh green beans really help me.
Thanks Lee.
So happy it helped!
Spread the blanched and chilled green beans in a single layer on a baking sheet. Don t let the beans overlap or touch one another. Freeze for 1 to 2 hours.
This is what I do when I blanch potatoes but I don’t do this with my beans because I steam them again anyway later…
You say to put paper towel between the beans and the top of th bag. Does this mean the paper towel is sealed in the bag with the beans?
Yes, exactly! Look at my feta post here: https://ladyleeshome.com/homemade-feta-cheese/
Scroll all the way to the bottom, I have a picture of it there.
Interesting. Thank you. This is an easy fix to a very frustrating problem.
Lady Lee,
I read your article on freezing green beans. After you froze them in a zip lock bag, you state to transfer the beans in a vacauum seal.
My question is, are you leaving the beans in the zip log bag and just vacauuming that, or are you taking the beans out of the zip lock and then vacuuming the beans?
I’ve had gardens before but never had a large enough one to freeze my harvest, but now i do and really dont know how to preserve..
Thank you for your time.
Blessings,
Stacey
You will take them out of the ziplock bag and then vacuum seal them in the vacuum bags. You freeze them first because they are moist. If you try to vacuum them before freezing the vacuum will squeeze the moisture out of the beans and it will not create a vacuum or a good seal. So you first freeze, then transfer to the vacuum bags and vacuum seal. I hope this helps. Let me know if you have any other questions.