This post may contain affiliate links, view our disclosure policy for details.

Learn how to freeze apples in just a few simple steps. Frozen apples are a great ingredient to have on hand for baked goods, jams, sauces, and more!
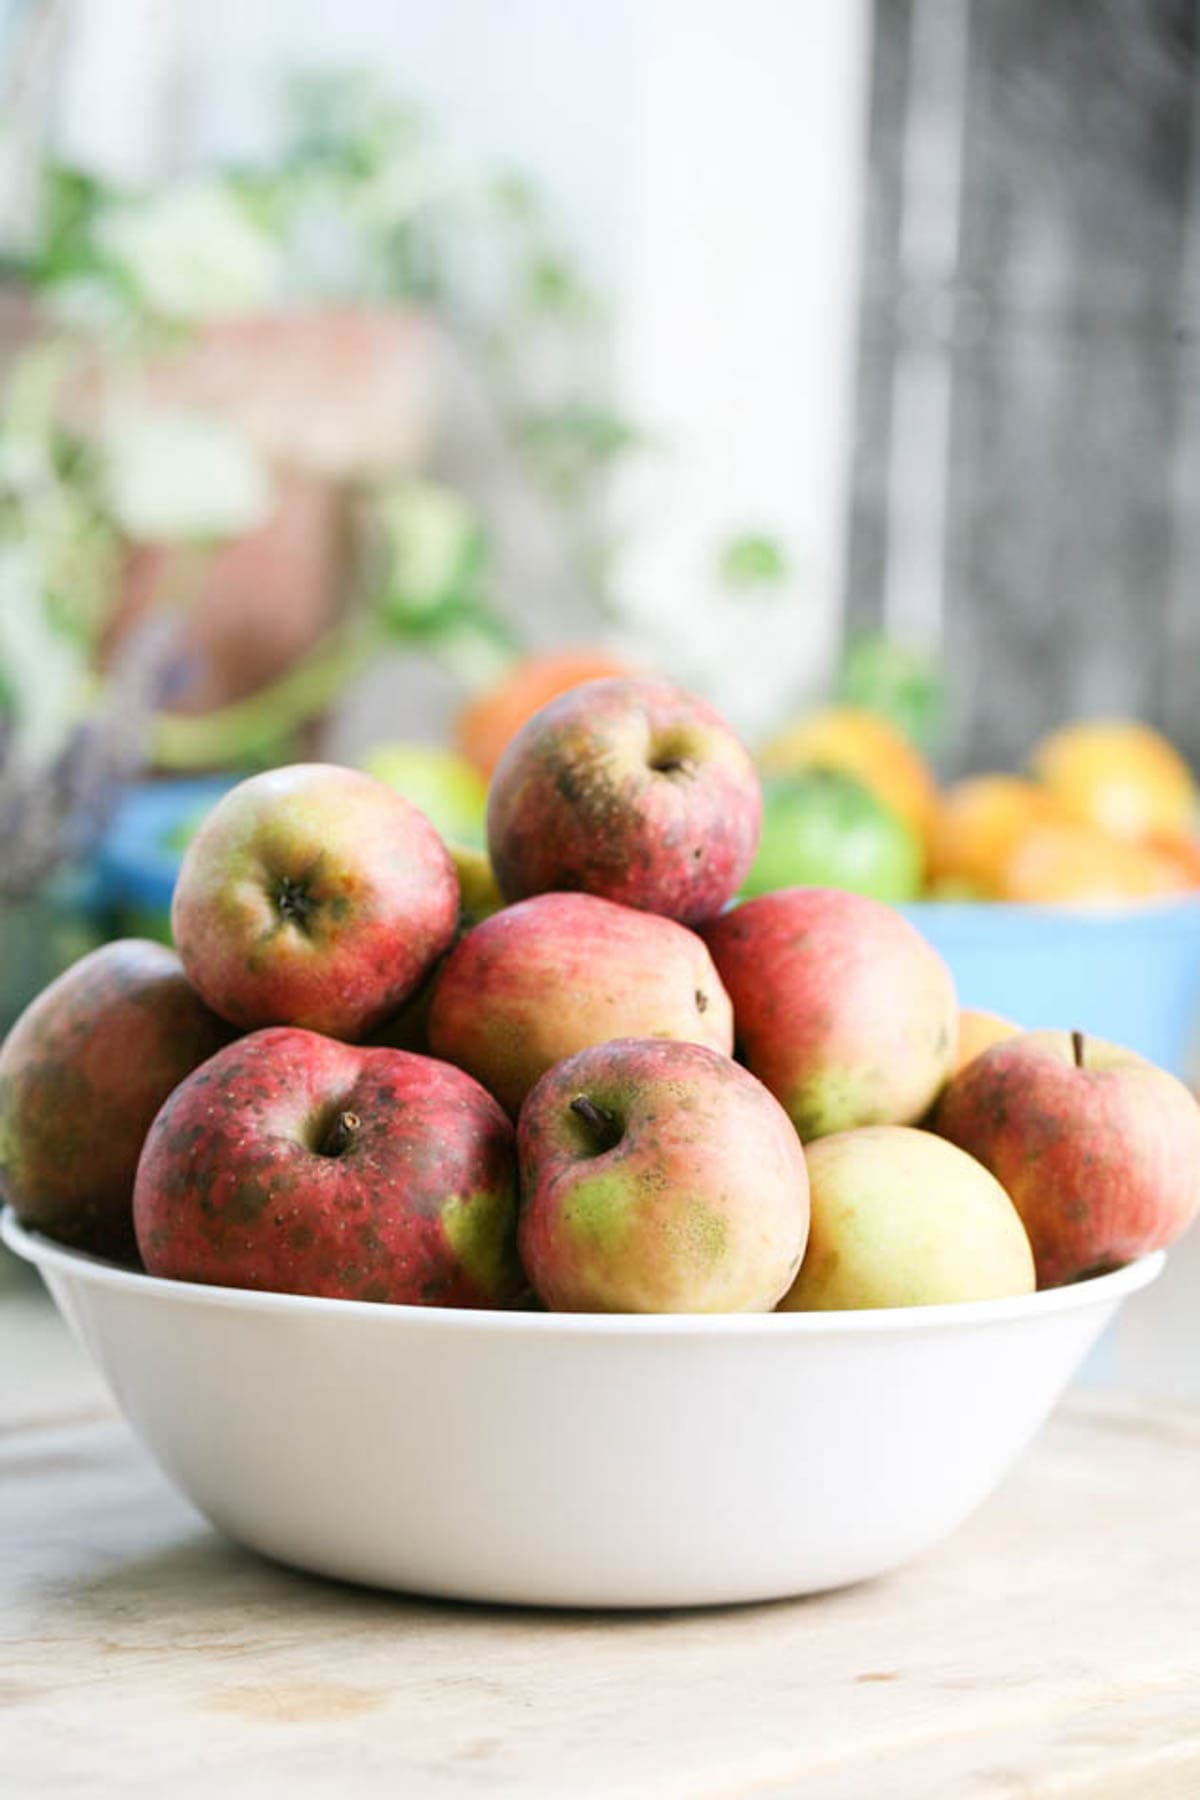
I have an older friend who has a few apple trees in his backyard. Since we’ve met him, we’ve become apple rich. You won’t hear me complaining about that! Every fall, we have an apple picking party and come home with buckets and buckets of apples.
I use many of them to bake pies for the market, we eat many fresh, and we’ve been enjoying some dry apples as a snack as well.
How to Freeze Fresh Apples…
However, there are usually just too many apples for the kids and I to handle, and so, in addition to canning apples, I also love freezing some of them. I especially love freezing apples because it’s so so simple and takes minutes to do and the bags and bags of frozen apples are there for me for all of my baked goods. All I need to do is reach into the freezer, I don’t even have to wait for them to thaw!)
Ingredients…
- Apples – you can freeze any variety of apples. Take into consideration that you’ll use frozen apples mainly for baking, cooking or in smoothies (you’ll find ideas on how to use frozen apples below), so choose varieties that are good for those purposes. For example, Granny Smith apples are great for baking with while Honey Crisp apples are delicious fresh just as a snack. So if you have an option, choose varieties that are good for baking, however, remember that you can follow this tutorial to freeze any kind of apple variety you find yourself with.
- Lemon and water – to prevent the apples from browning, we are going to soak them in a water/lemon bath for a few minutes. Simply squeeze one lemon into a large bowl of water (10 cups or so but you really don’t have to be exact here).
Kitchen Tools…
- Cutting board
- Knife
- Large mixing bowl
- Baking sheet
- Parchment paper
- Ziplock bags or other freezer bags.
Freezing Fresh Apples Step by Step…
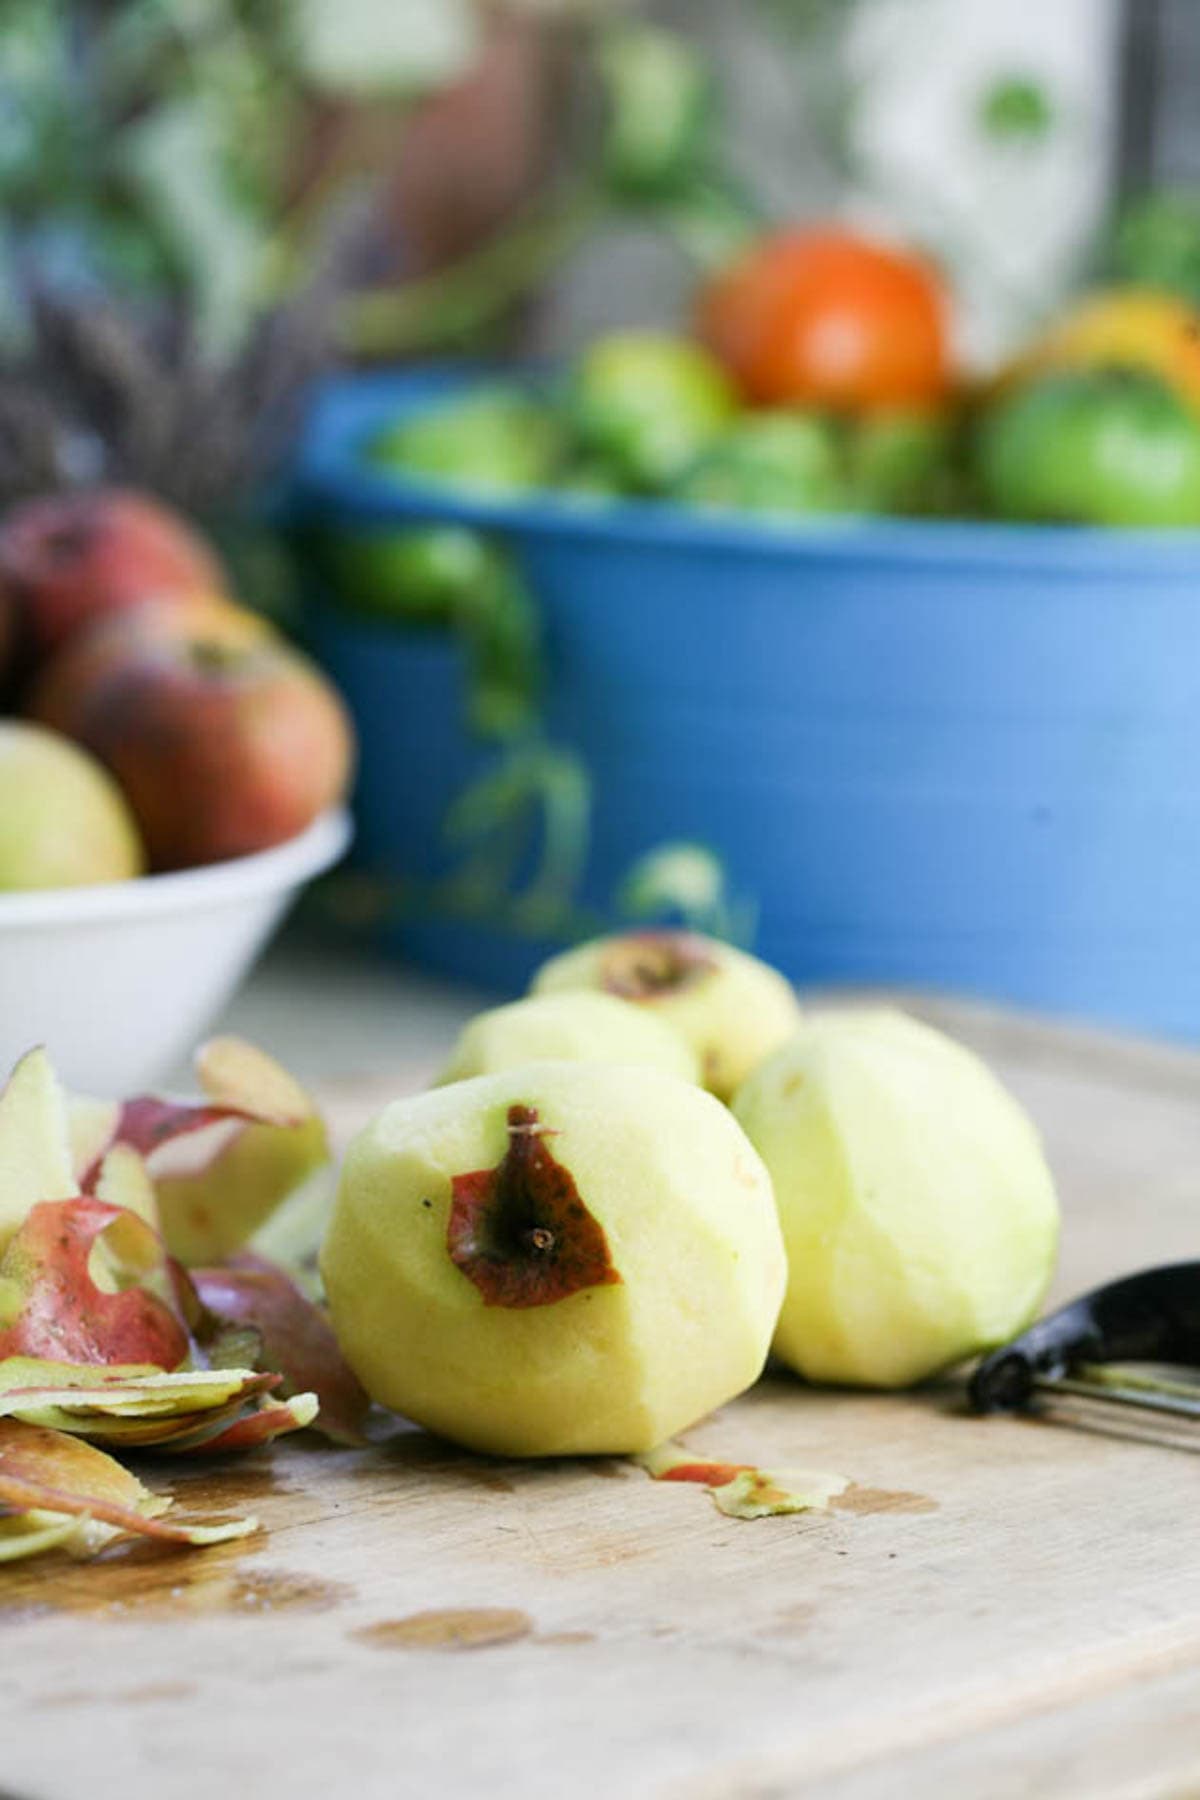
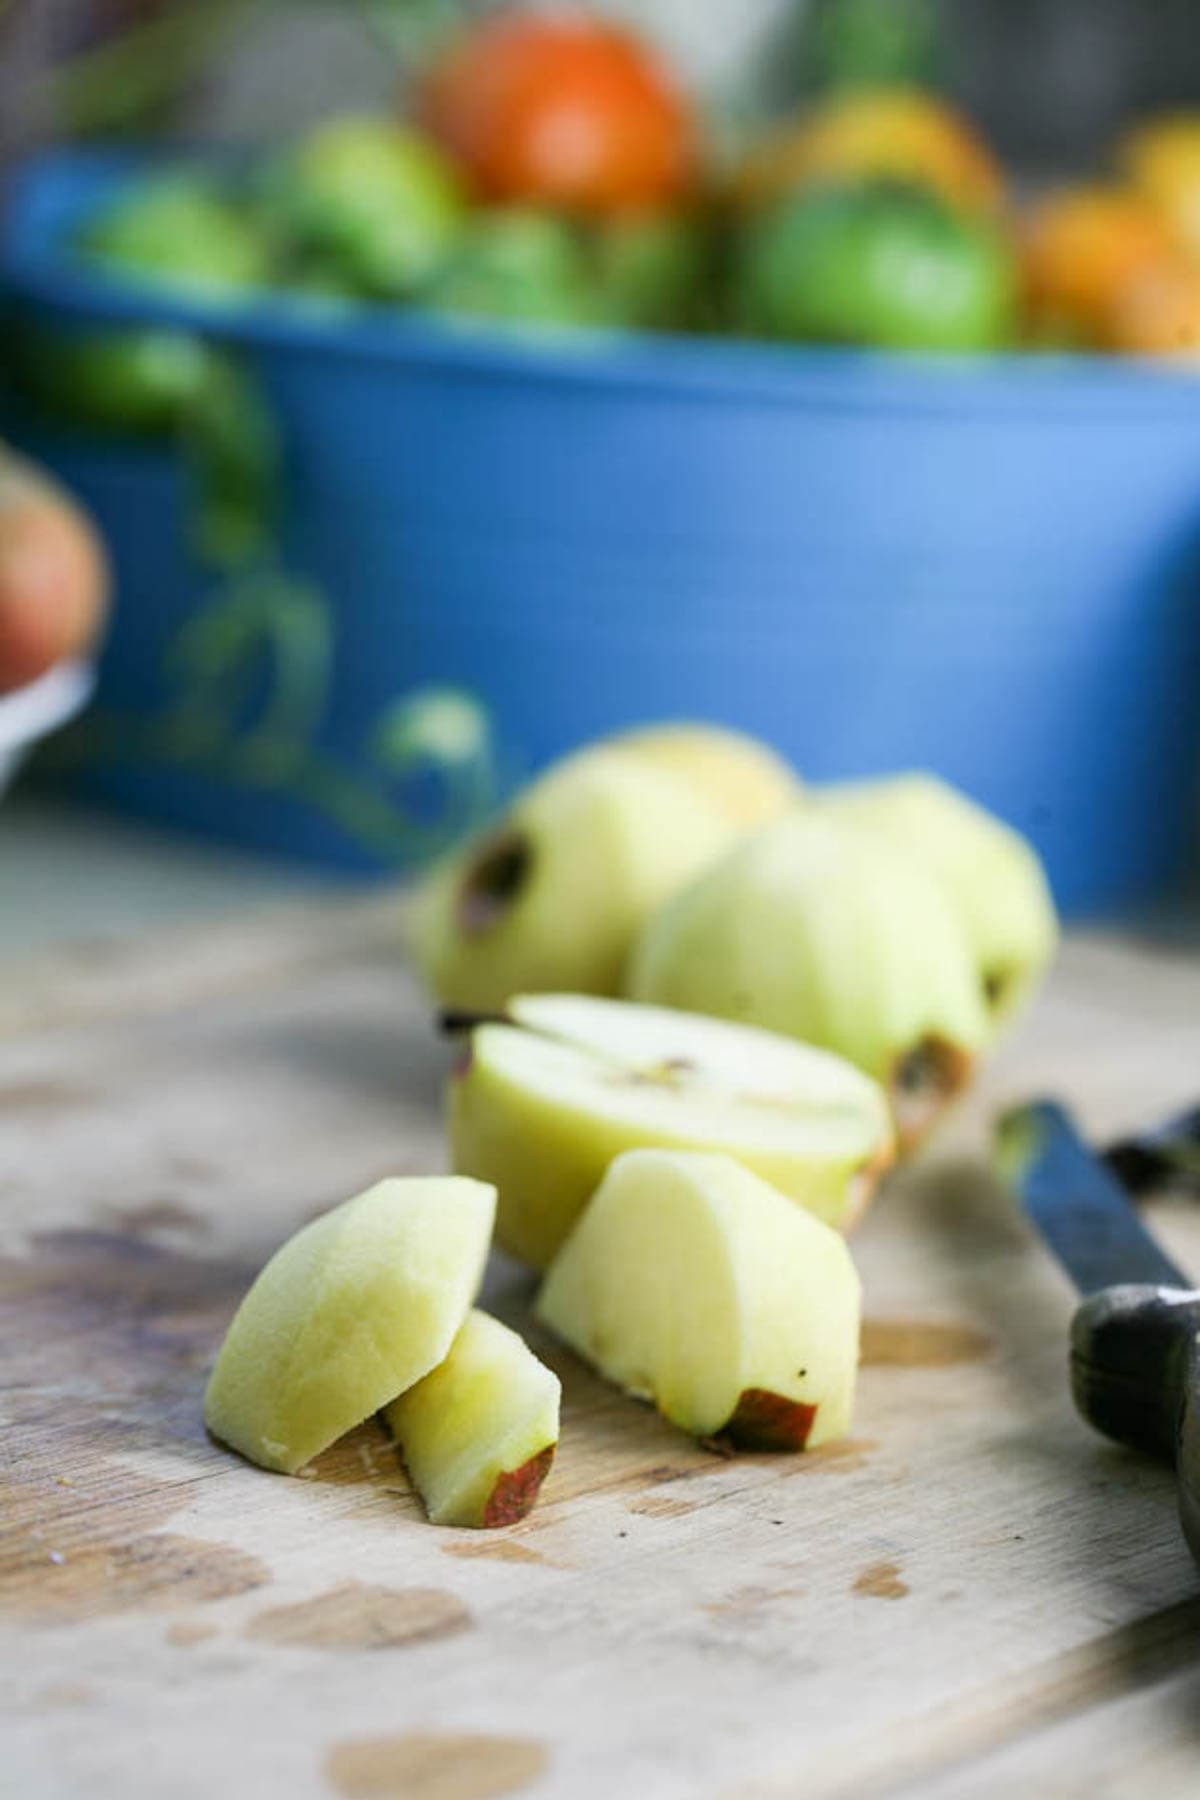
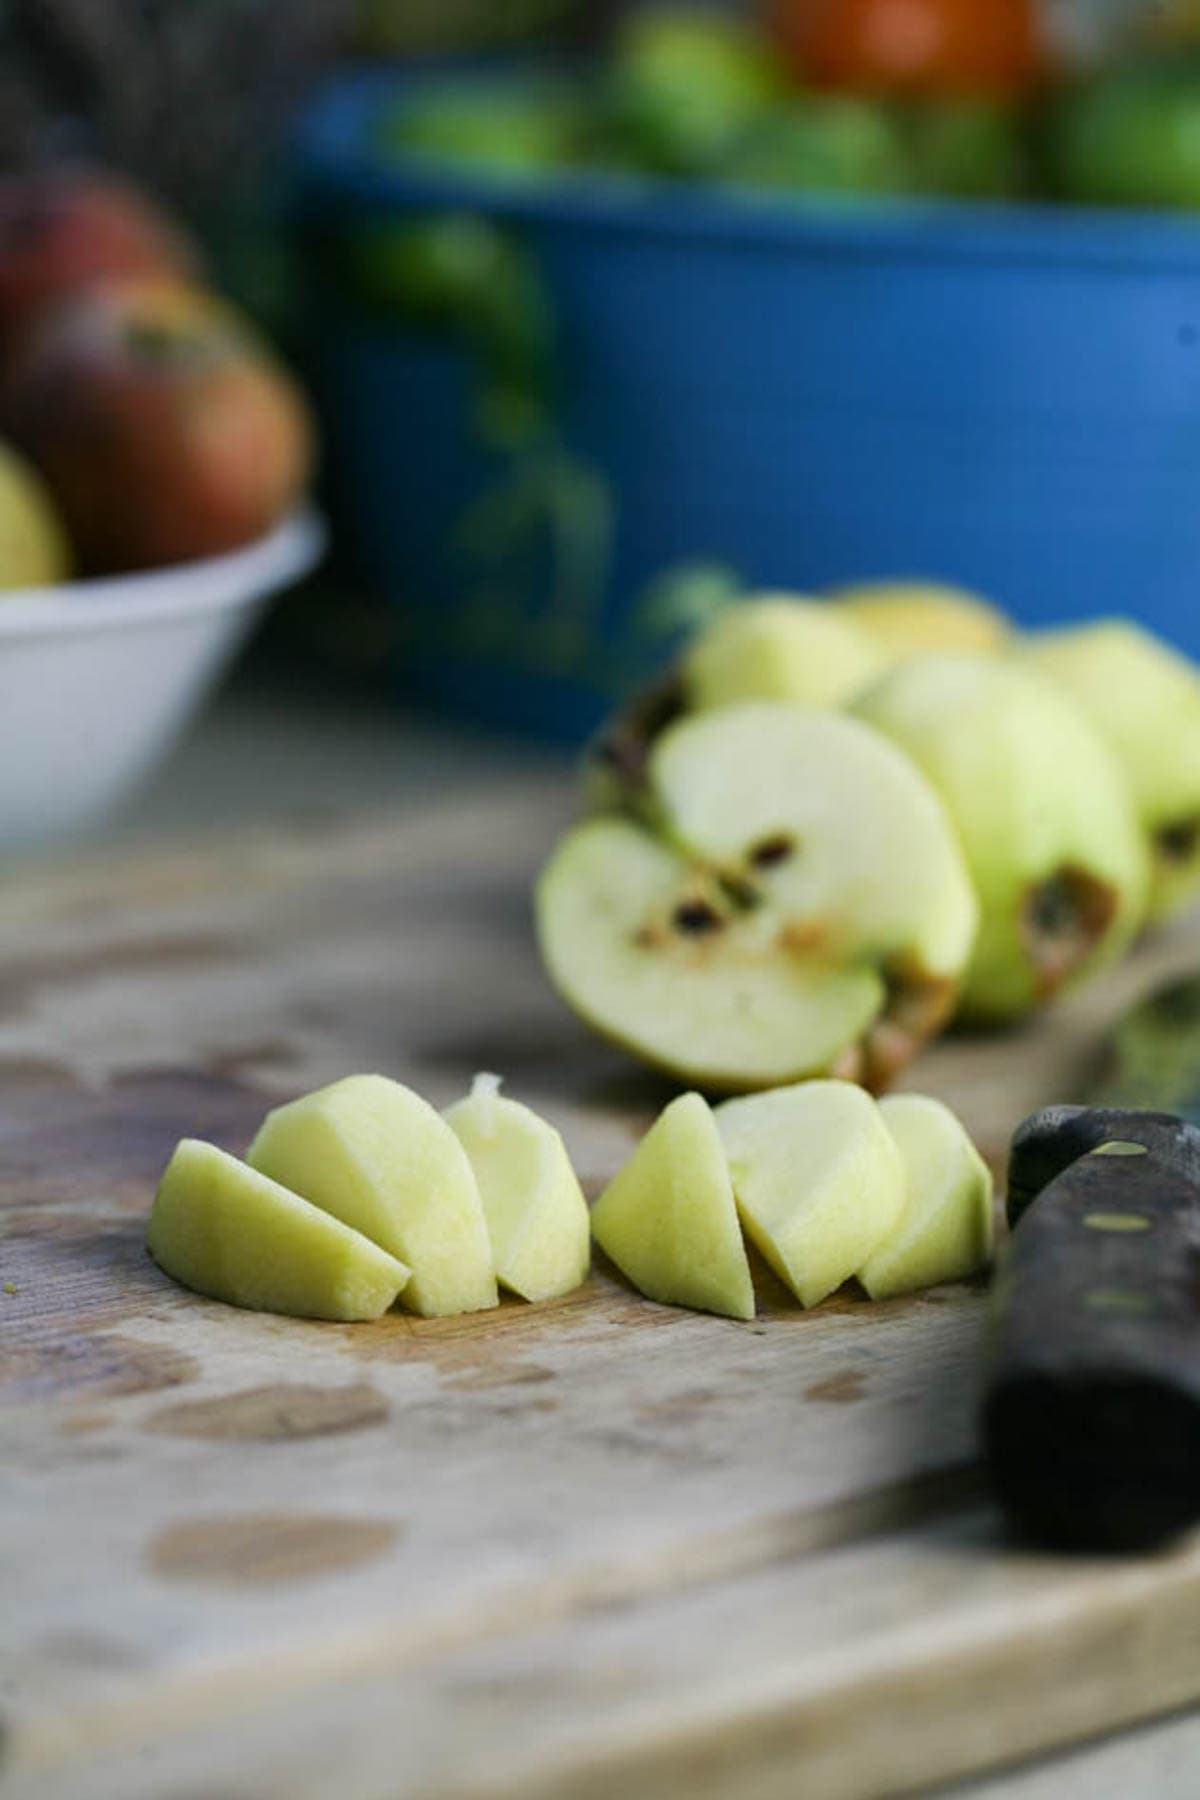

Step one – prep the apples. Use a vegetable peeler to peel your apples. Then quarter them, remove the core, and slice however thin you want. Add the apple slices into the bowl of lemon water as you go to keep them from browning. Remember that you can use the apple skin and core to make your own apple scrap vinegar!
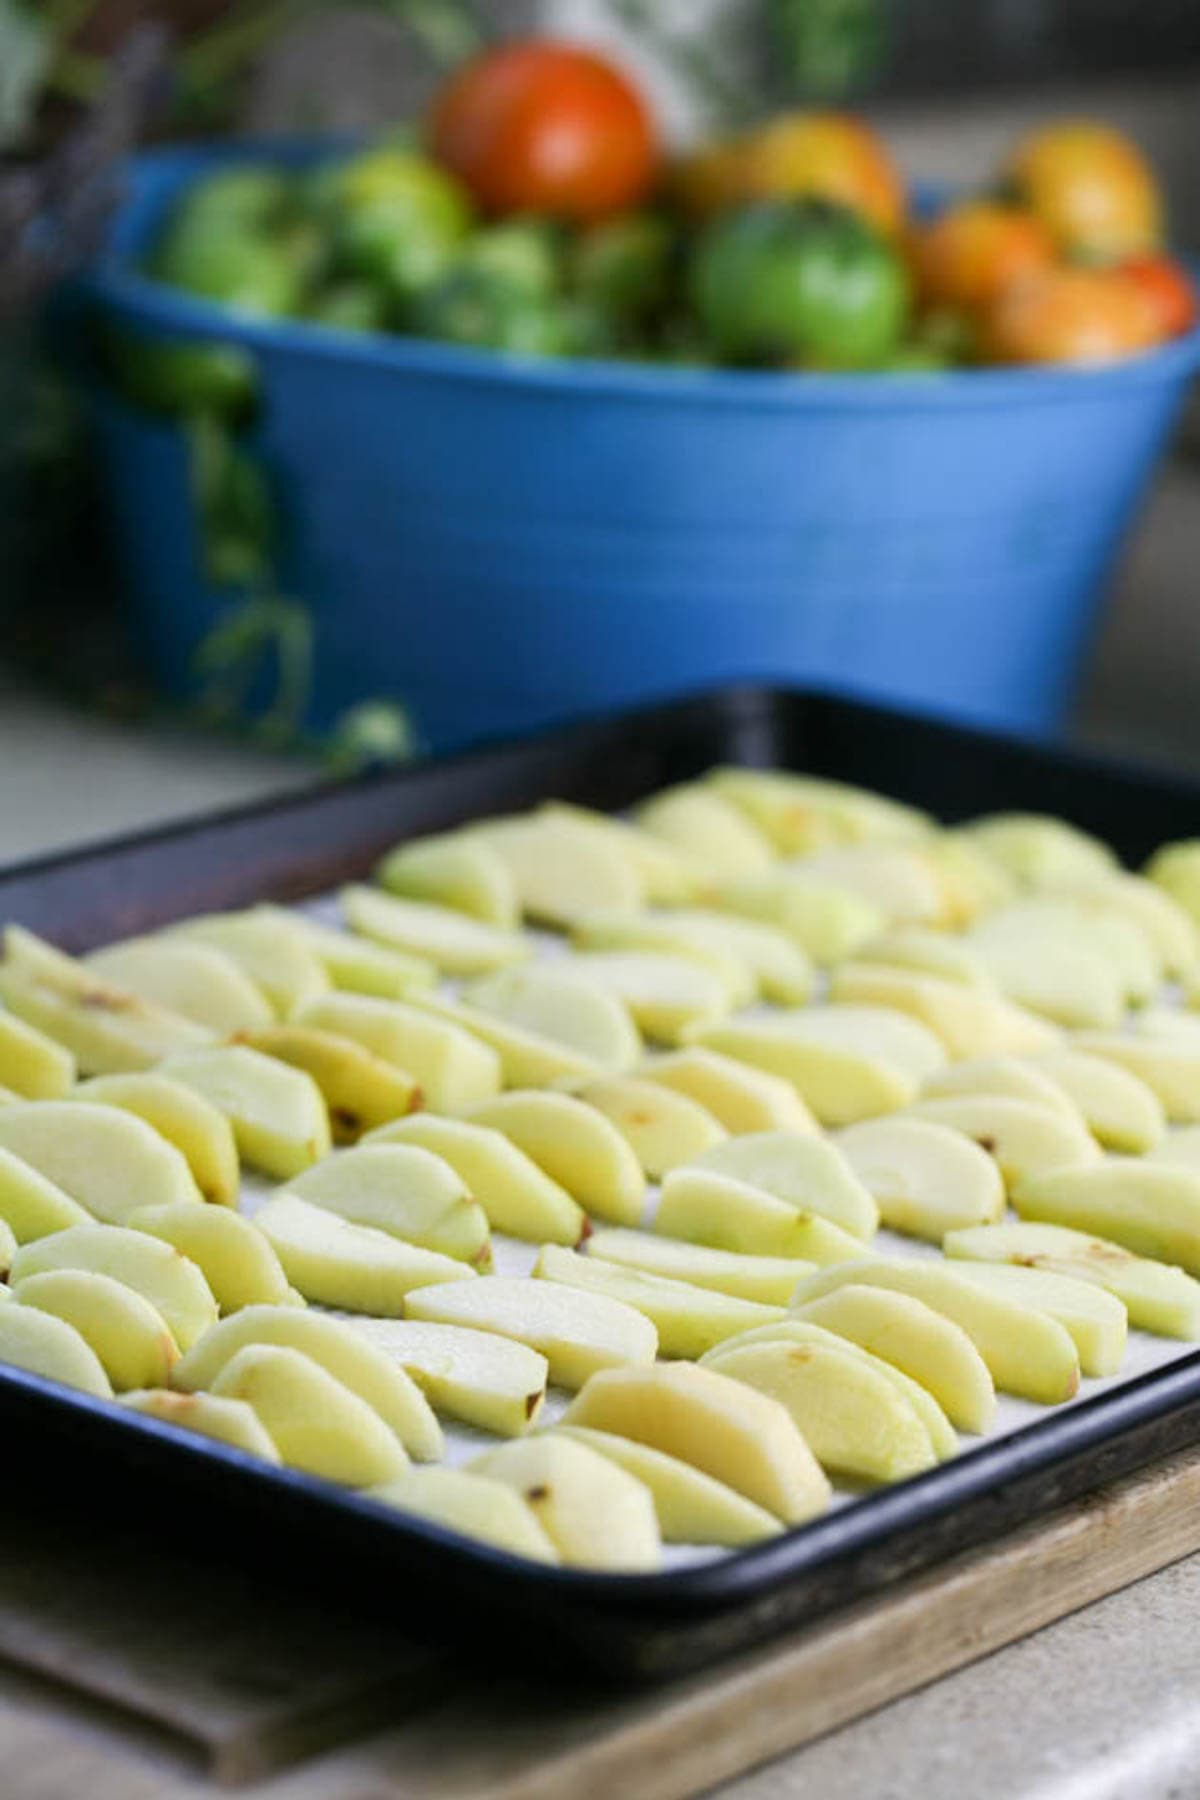
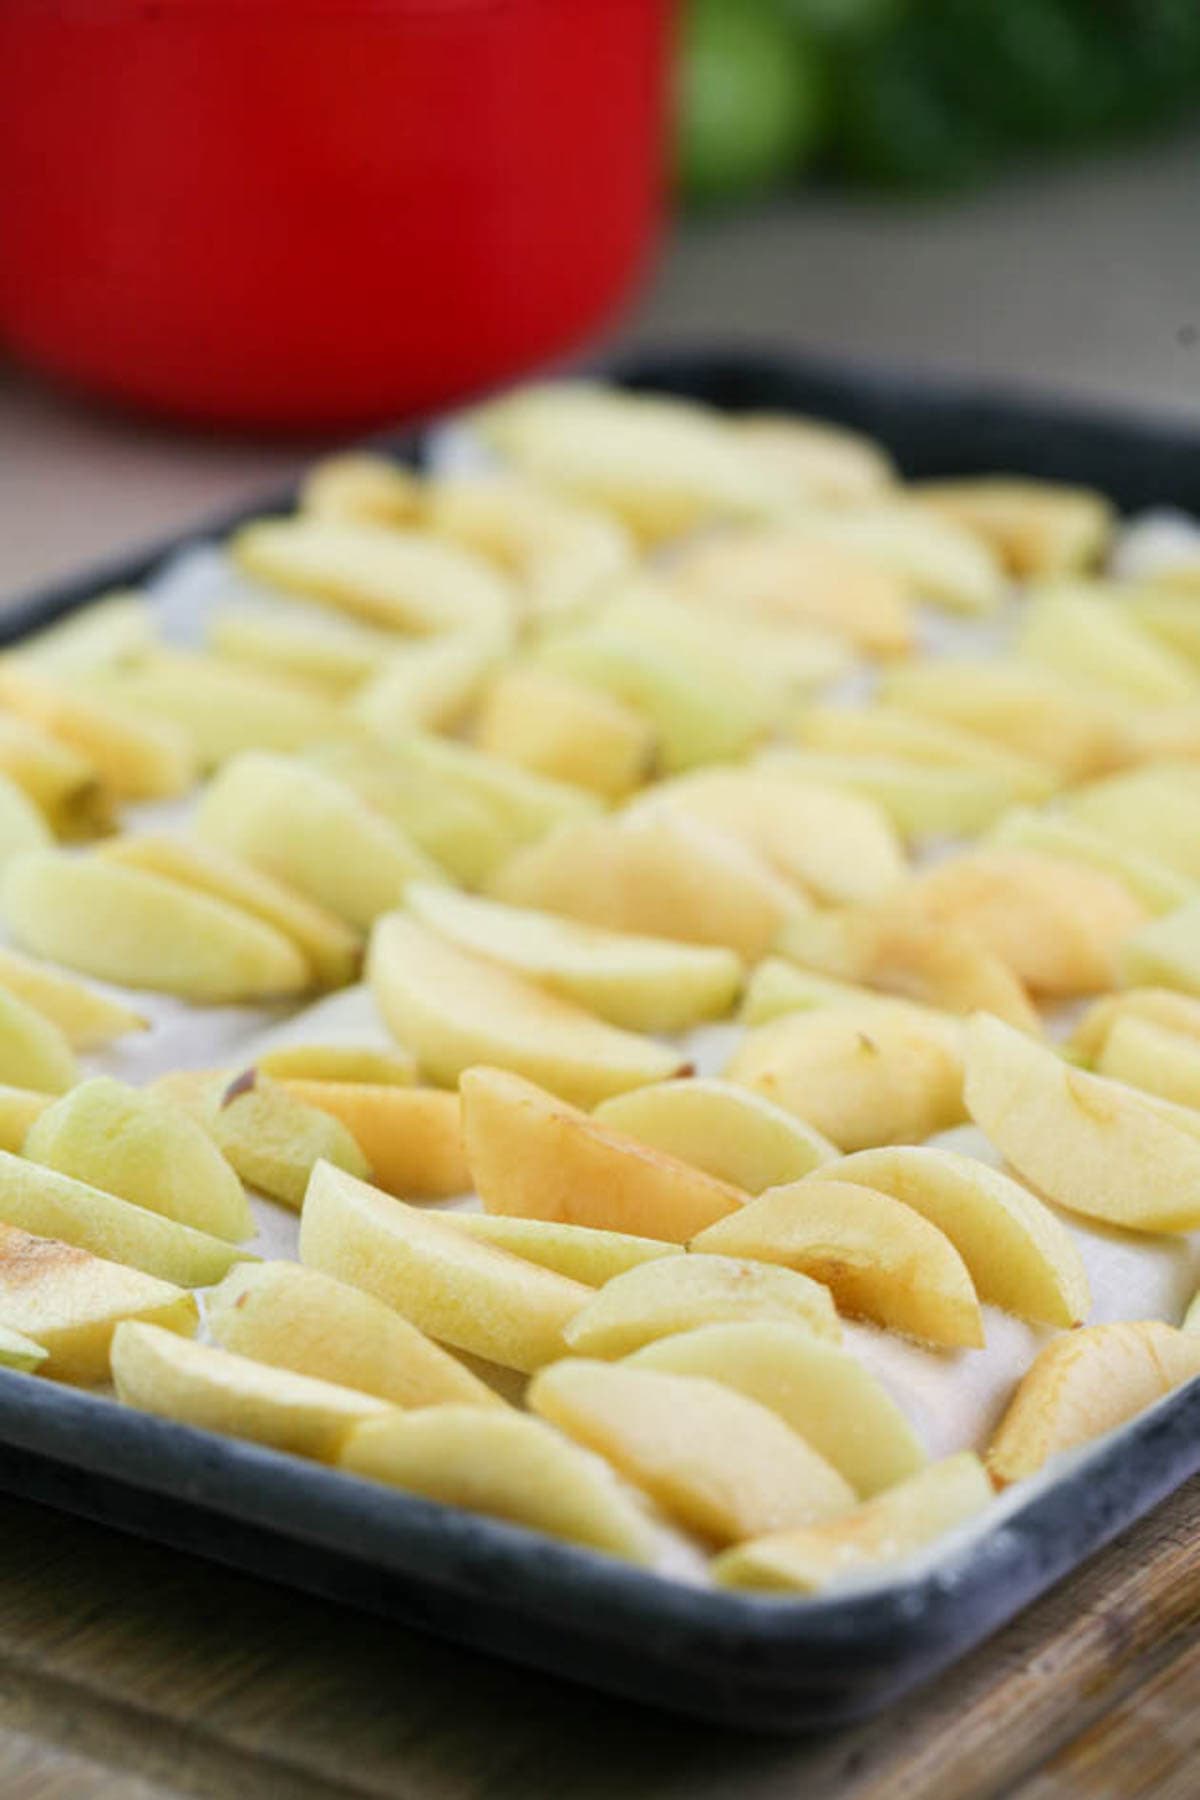
Step two – layer apples on a baking sheet. Transfer the apples into a colander to dry or scoop them out of the bowl of water with a slotted spoon. Set on a kitchen towel and pat dry. Then, line a baking sheet with parchment paper and set the apple slices in one layer, close together yet not touching each other. You can keep on layering by adding another sheet of parchment paper and another layer of apple slices.
Step three – freeze. Wrap your baking sheet with food plastic wrap and set it in the freezer for 24 hours to freeze completely.
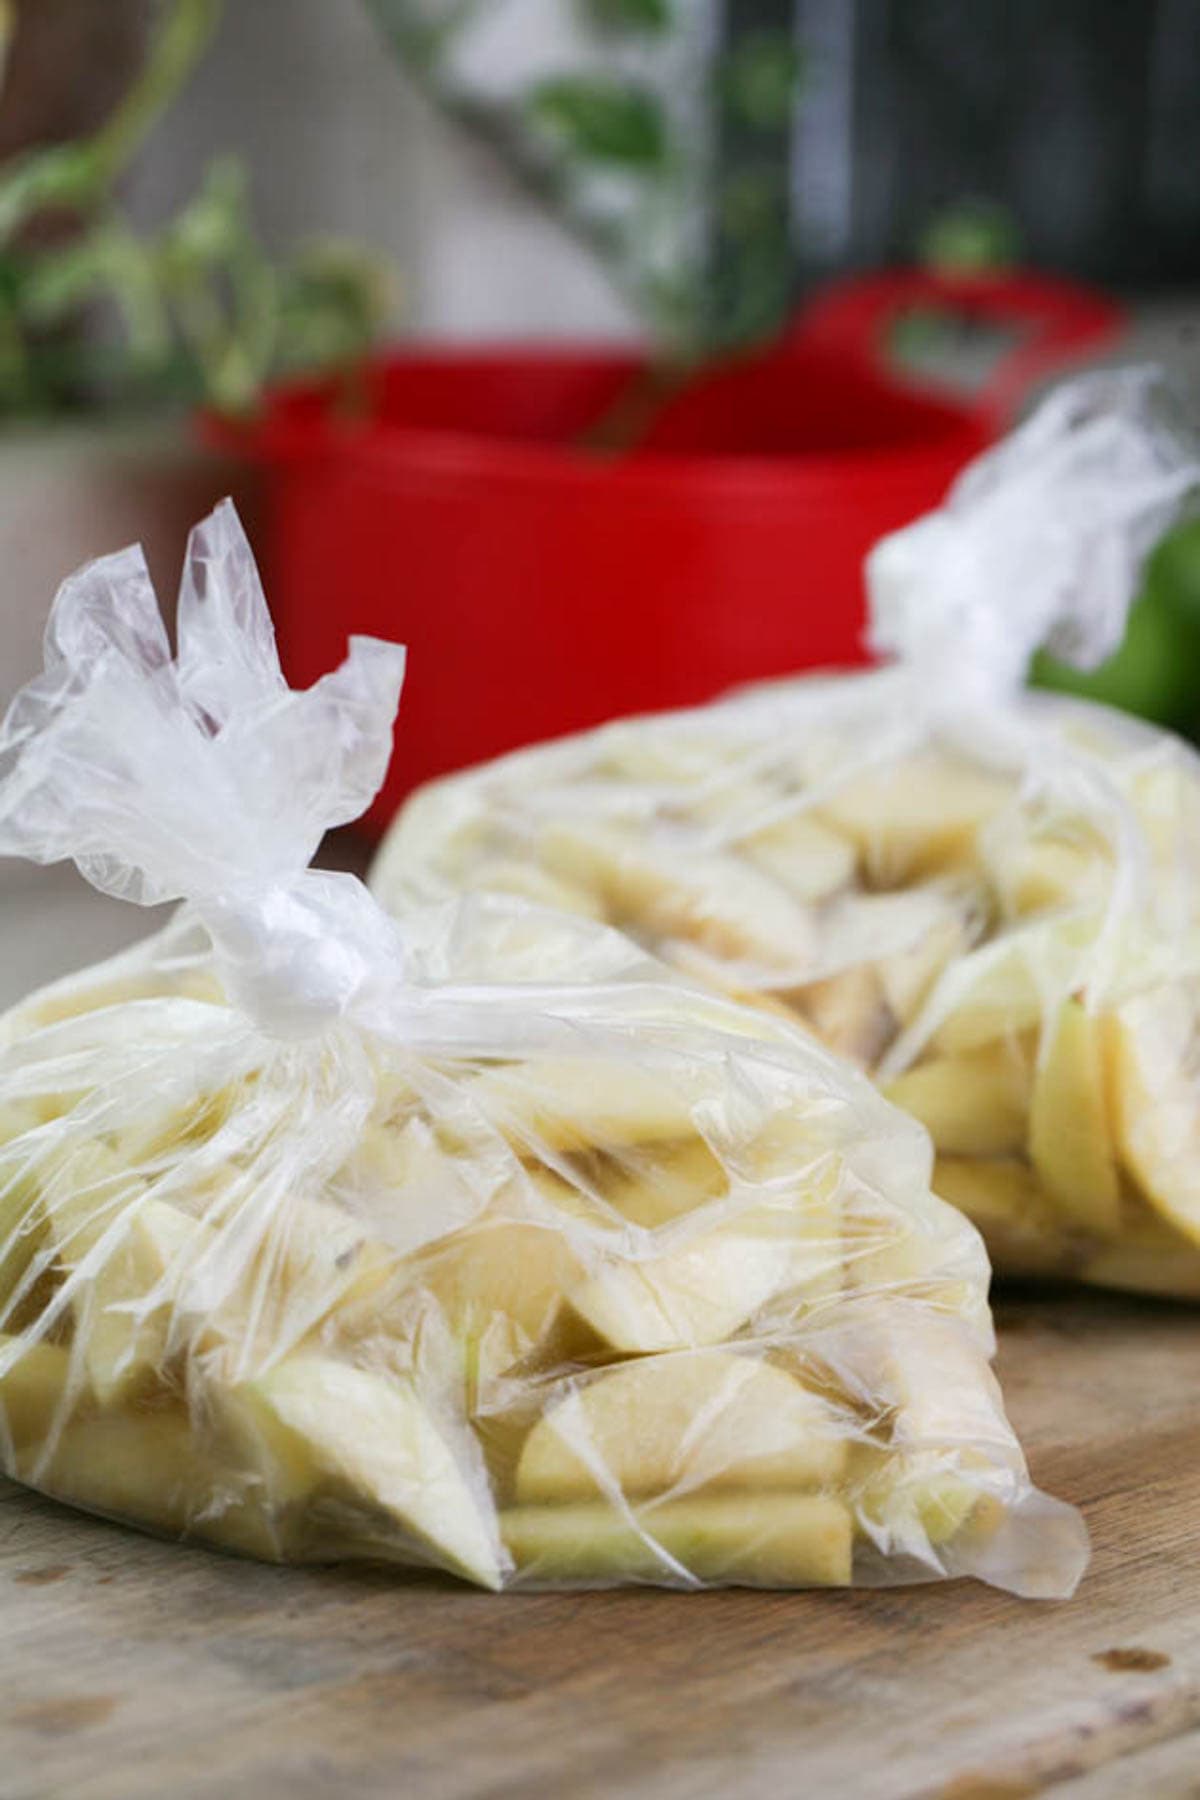
Step four – pack for storage. After 24 hours, remove the baking sheet from the freezer and bag your frozen apple slices. If you know what you are going to use your apples for it might be easier to bag them in the correct portions. However, since we let them freeze in layers on the baking sheet they shouldn’t stick to each other in the freezer bag so you can always remove however many you want.
How to Use Frozen Apples…
- Apple sauce – there is no better snack to have on hand especially if you have kids around! Here is how I make my apple sauce.
- Make apple butter – take apple sauce to the next level and turn it into creamy and delicious apple butter.
- In baked goods – there are so many delicious apple baked goods! Try my favorite apple cake and use frozen apples instead of fresh ones or try this delicious apple pie. Also use your frozen apples in crisps, muffins, turnovers and more!
- Use in jams – apples have a lot of natural pectin in them and they can help us thicken jam naturally. You can throw a few apple slices into pretty much any jam. A couple of favorites that I have here on the blog are my cranberry apple jam (a delicious substitute to the traditional holiday cranberry sauce), and my plum and apple jam.
- In smoothies – what smoothie won’t benefit from a few apple slices thrown in it?
Frequently Asked Questions…
Frozen apples should last for a year or even a little longer!
For most recipes, you do not need to thaw the apples before using them. In fact, it’s better to use them when they are still frozen.
If you soaked your apples in lemon water as I did in the tutorial above, your apples shouldn’t turn brown. The lemon water is what we do to prevent browning.
Yes, you can slice your apples however you want and even dice them. Follow the same method of freezing apples no matter how you decided to cut your apples.
Frozen apples are a great ingredient to have on hand! Many apple dessert recipes are very easy and very quick (like apple pie if you use store-bought crust!), and it’s great to have apples already peeled and cut and ready for baking in the freezer. If you have an apple tree, if you come by a large number of apples, or even if you have a few that needs to be preserved, freezing apples is as simple as it gets!
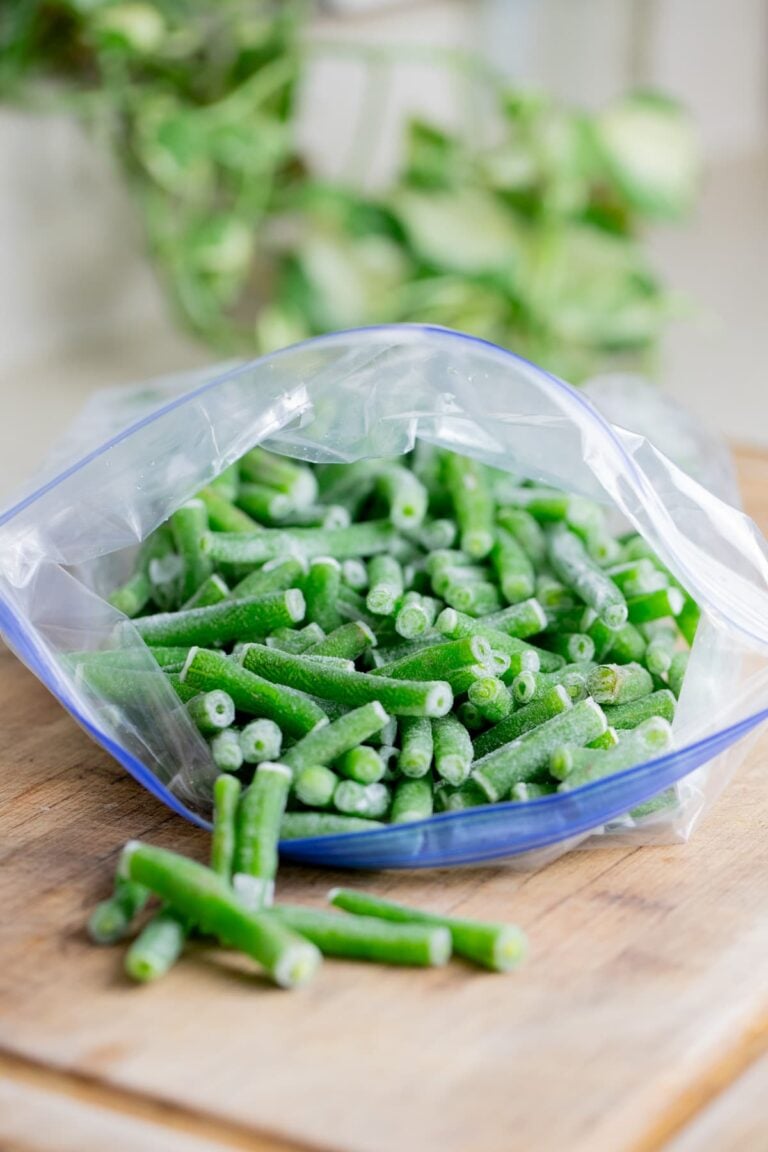
More Freezing Tutorials…
- How to Freeze Figs
- Blanching Potatoes For Freezing (making homemade frozen french fries!)
- How to Freeze Tomatoes
- How to Freeze Pears
- How to Freeze Sweet Potatoes
- How to Freeze Carrots
How to Freeze Apples
Learn how to freeze apples in a few easy steps!
Ingredients
- 10 Apples (or however many you want to freeze)
- 10 cups of water
- Juice of one lemon
Instructions
- Step one - add water and lemon into a large mixing bowl. Use a vegetable peeler to peel your apples. Then quarter them, remove the core, and slice however thin you want. As you work, add the apple slices into the bowl of lemon water to prevent browning.
- Step two - transfer the apples into a colander to dry or scoop them out of the bowl of water with a slotted spoon and set on a kitchen towel and pat dry. Then, line a baking sheet with parchment paper and set the apple slices in one layer, close together but so they aren’t touching each other. You can keep on layering by adding another sheet of parchment paper and another layer of apple slices.
- Step three - wrap your baking sheet with food plastic wrap and set in the freezer for 24 hours to freeze completely.
- Step four - after 24 hours, remove the baking sheet from the freezer and bag your frozen apple slices. If you know what you are going to use your apples for it might be easier to bag them in the correct portions. However, since we let them freeze in layers on the baking sheet they shouldn’t stick to each other in the freezer bag so you can always remove however many you want. Remember to label your bags!
Notes
Frequently Asked Questions...
- Can I freeze any apple variety?
Yes, you can use this method to freeze any apple variety. - How long will apples last in the freezer?
Frozen apples should last for a year or even a little longer! - Do I need to thaw the apples before using them?
For most recipes, you do not need to thaw the apples before using them. In fact, it’s better to use them when they are still frozen. - Will my apples turn brown?
If you soaked your apples in lemon water as I did in the tutorial above, your apples shouldn’t turn brown. The lemon water is what we do to prevent browning. - Can I freeze diced apples?
Yes, you can slice your apples however you want and even dice them. Follow the same method of freezing apples no matter how you decided to cut your apples.
Nutrition Information:
Yield: 10 Serving Size: 1 appleAmount Per Serving: Calories: 96Total Fat: 0gSaturated Fat: 0gTrans Fat: 0gUnsaturated Fat: 0gCholesterol: 0mgSodium: 11mgCarbohydrates: 25gFiber: 4gSugar: 19gProtein: 0g