This post may contain affiliate links, view our disclosure policy for details.

Simple, low sugar strawberry jam with no store-bought pectin. It’s the mother of all jams, the basic of the basics, and it’s a recipe everyone has to have on hand! A true favorite and a delicious way to use the early summer harvest!
I don’t know anyone who doesn’t love strawberries. They are this glorious fruit that no one can say anything bad about. They are bold in their redness and addictive in their taste.
They can be used a hundred different ways… In smoothies (like this strawberry aloe vera smoothie), in a million different kinds of desserts (like this favorite strawberry bread) dry, or fresh as a delicious snack which is our favorite way of eating them…
Simple, Low Sugar Strawberry Jam…
And after all that, if you happen to have extra… Strawberry jam is the way to go! I make this delicious honey strawberry jam (sugar-free), this strawberry mango jam, low-sugar strawberry rhubarb jam, and this mixed berry jam and today, I want to share with you this basic low-sugar strawberry jam recipe…
Ingredients…
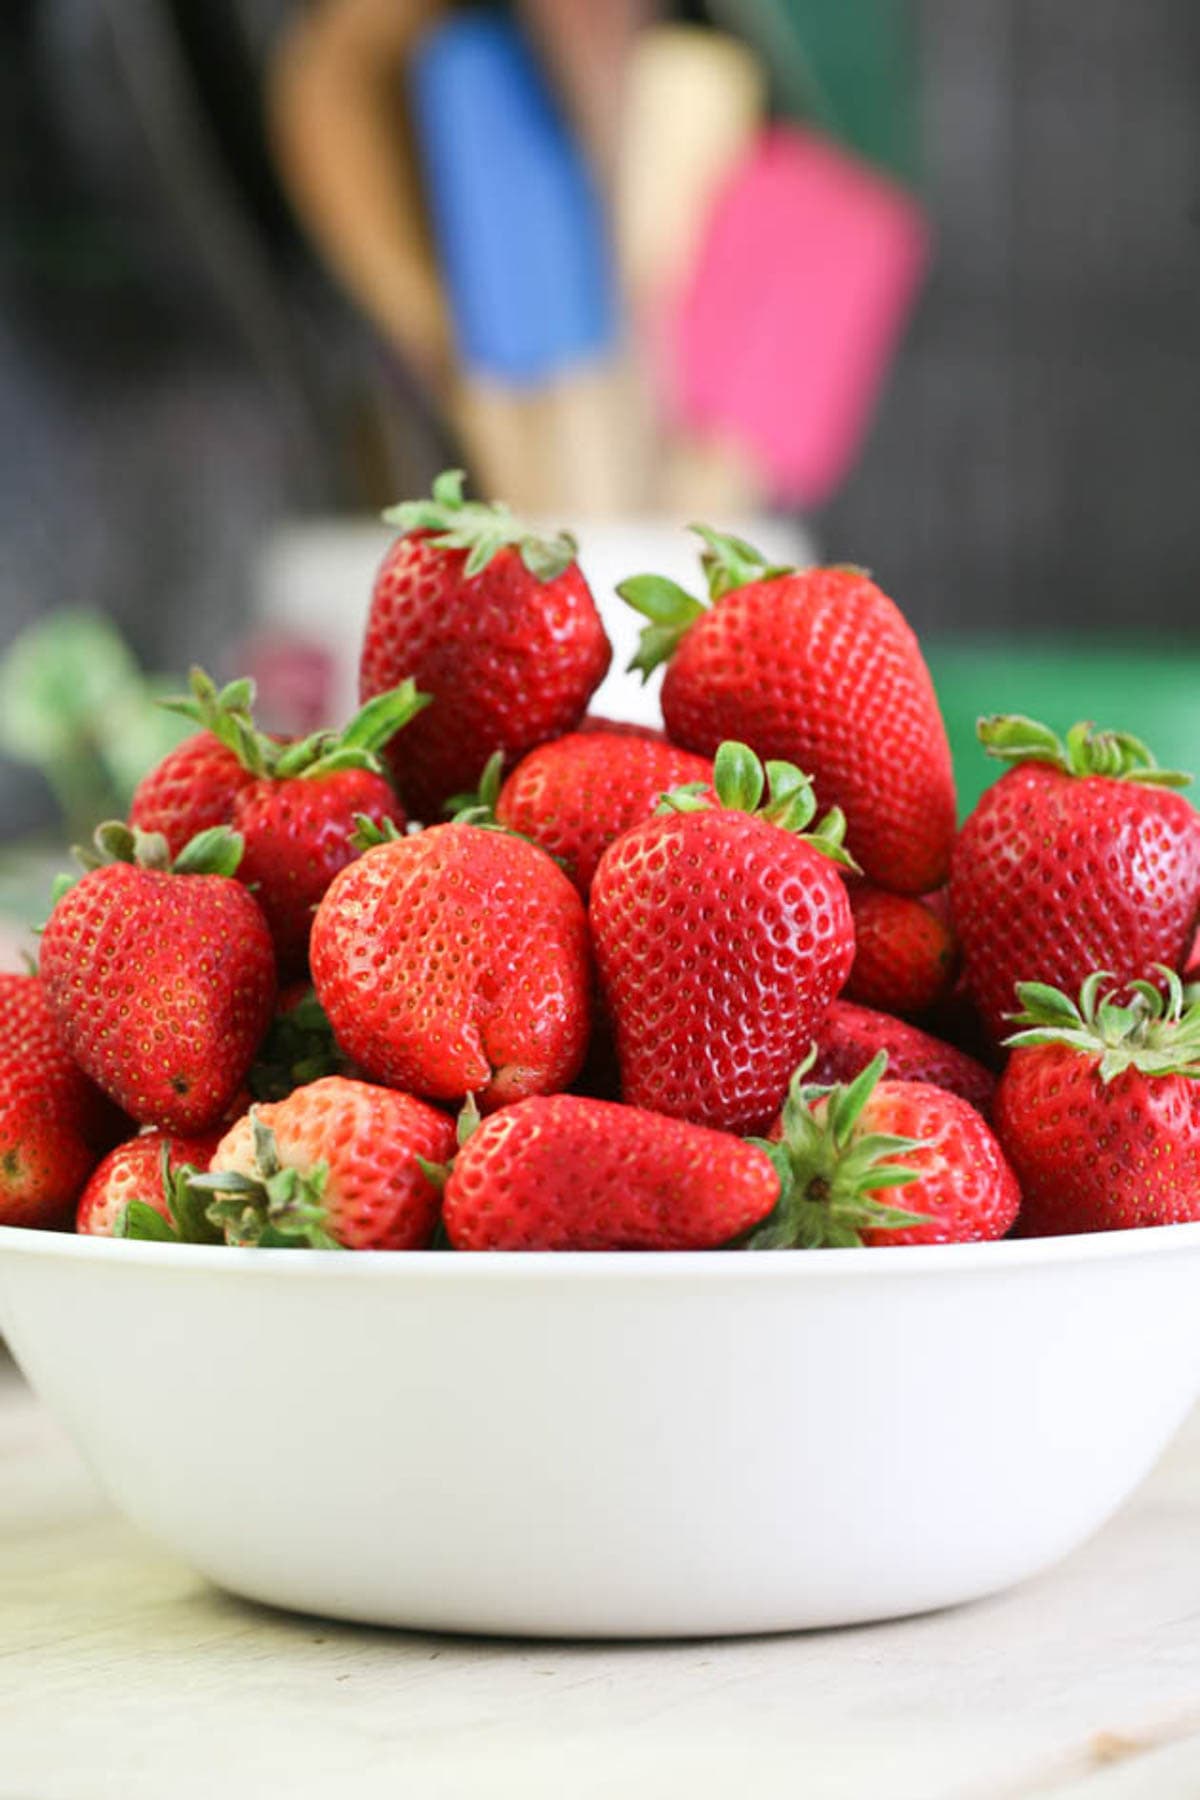
- Strawberries – I used 4 pounds in this recipe. Make sure that your strawberries are red and ripe. Don’t process more than that at once.
- Sugar – I used 1.8 pounds of good old white sugar. The ratio of traditional jam recipes is 1 part fruit to 1 part sugar, however, I find that it’s way too sweet for me. I make jams with a ratio of 1 part fruit to 1/2 part sugar or a little less as I did here. It’s plenty sweet enough and it’s enough sugar for preserving the jam for many months.
- Fresh lemon juice – from half a lemon to raise the acidity just a bit.
- Lemon seeds – 5 or so. Since we aren’t making this jam with the traditional amount of sugar we can’t use store-bought pectin. But there is no need, really. Lemon seeds are rich in pectin and adding them to the jam will help us thicken it.
Kitchen Tools…
- Cutting board
- Knife
- Mixing bowl
- Kitchen scale
- Deep pan
- Spatula
- Potato masher or an immersion blender
- Canning utensils
- Ladle
- Paper towel
- Half-pint jars
- Water bath canner
How to Make Low Sugar Strawberry Jam…
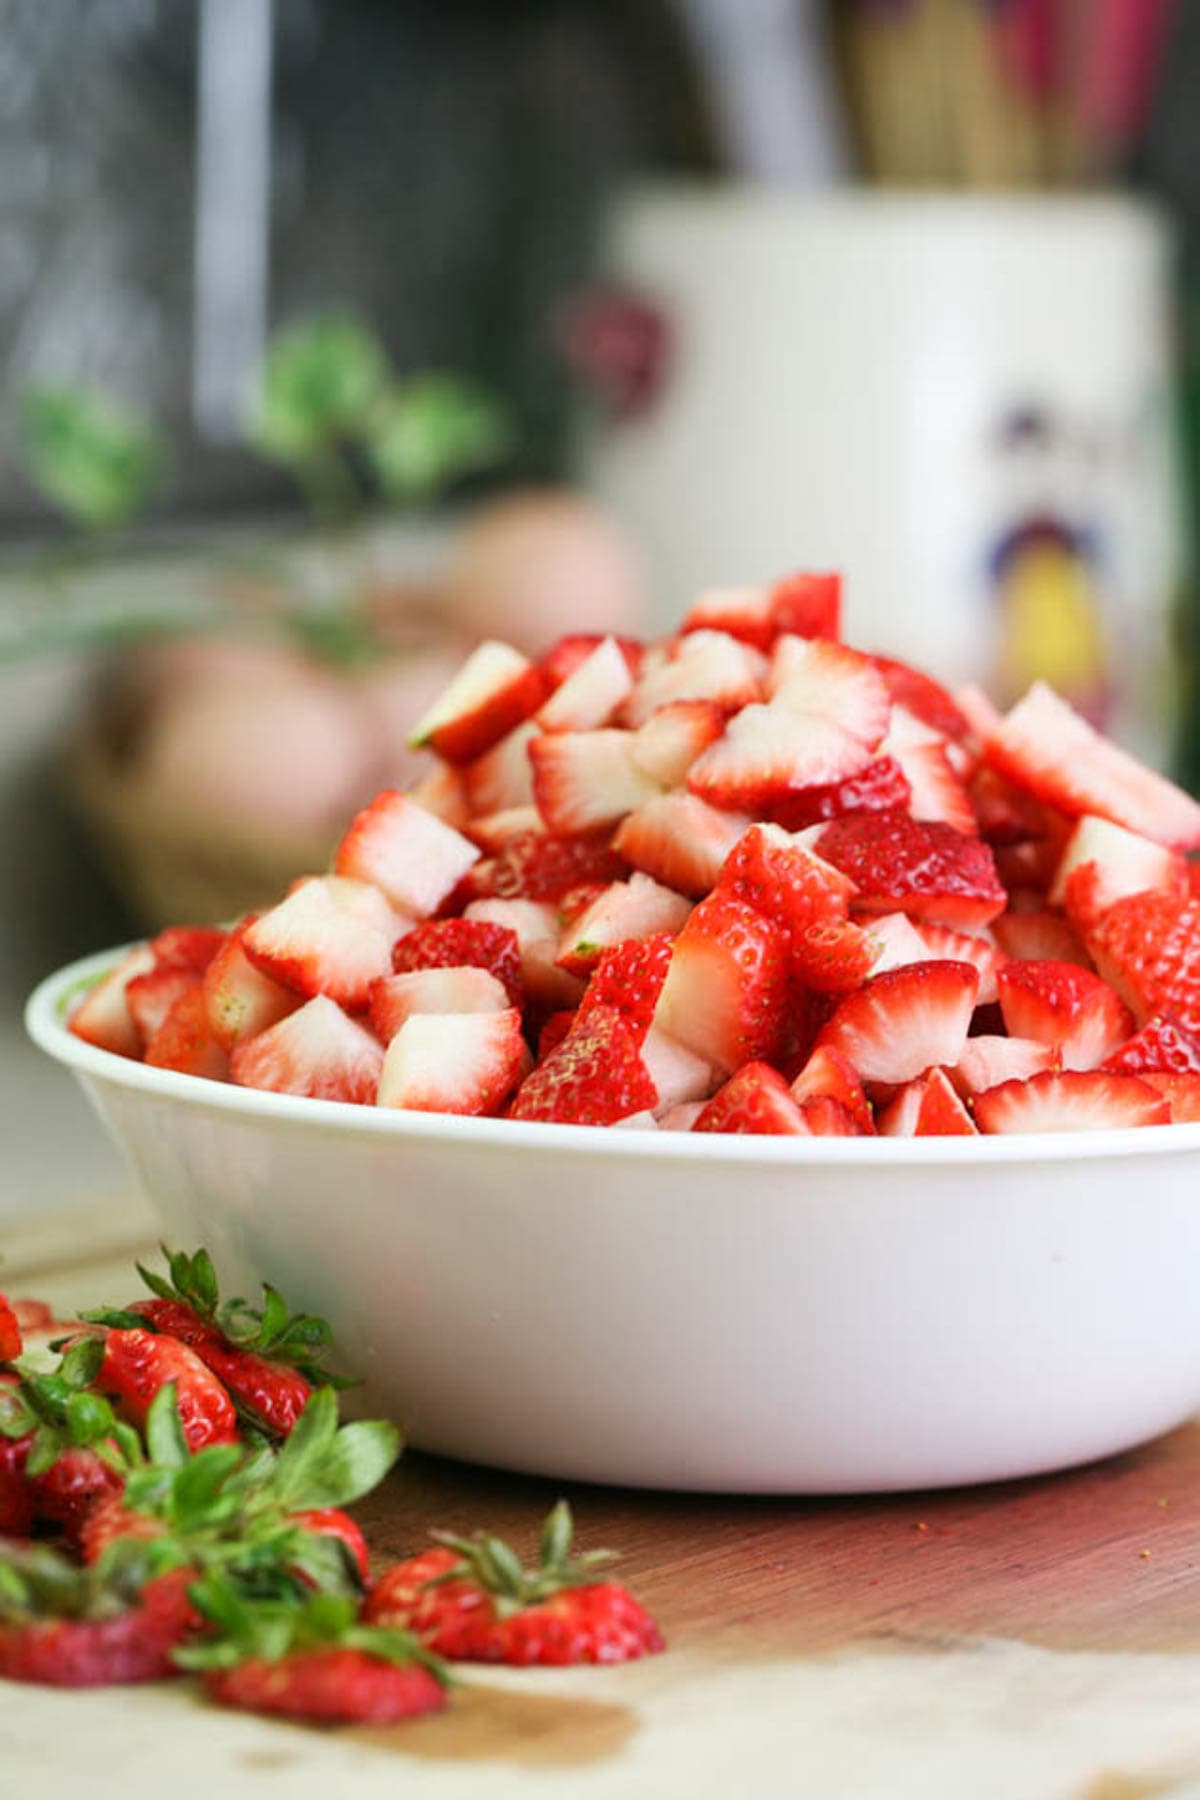
Step one – prep the strawberries. Wash the strawberries well then remove the tops and dice the berries.
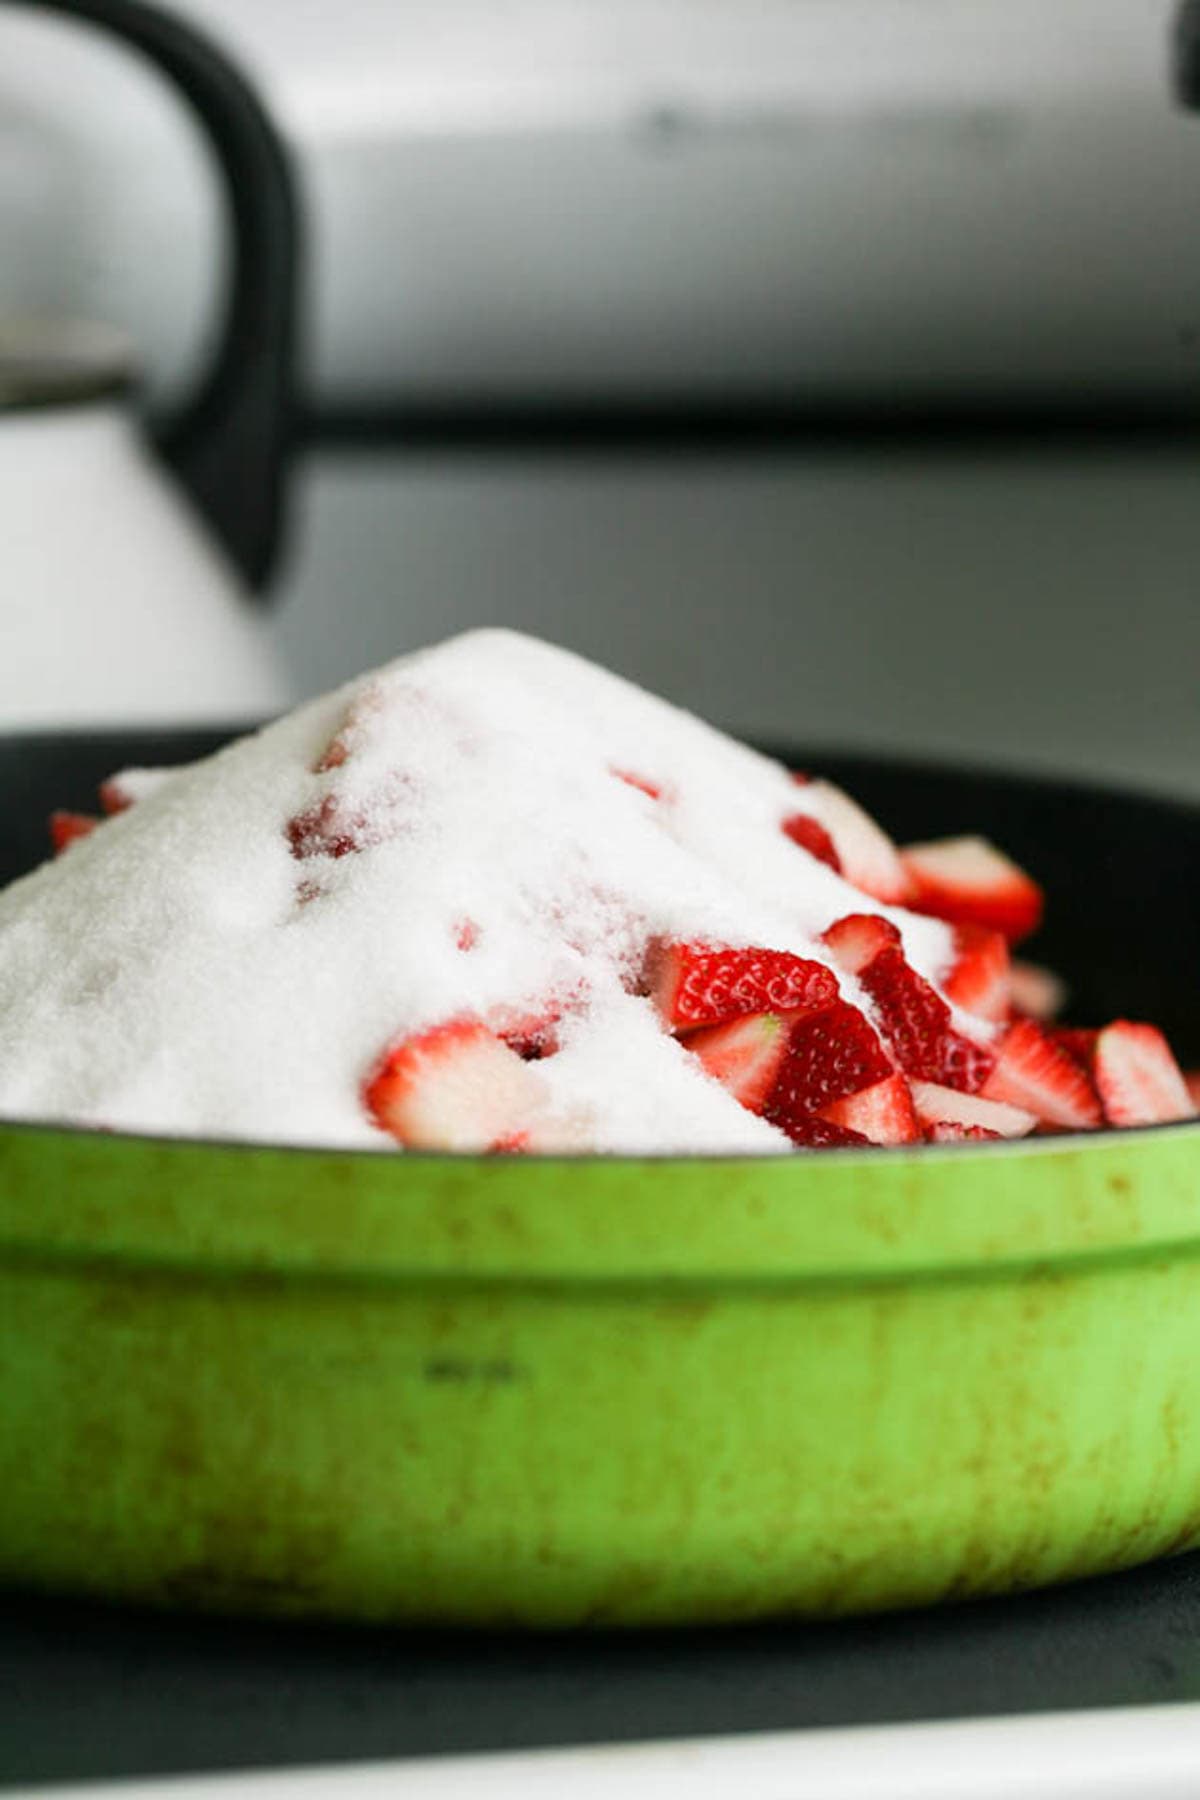
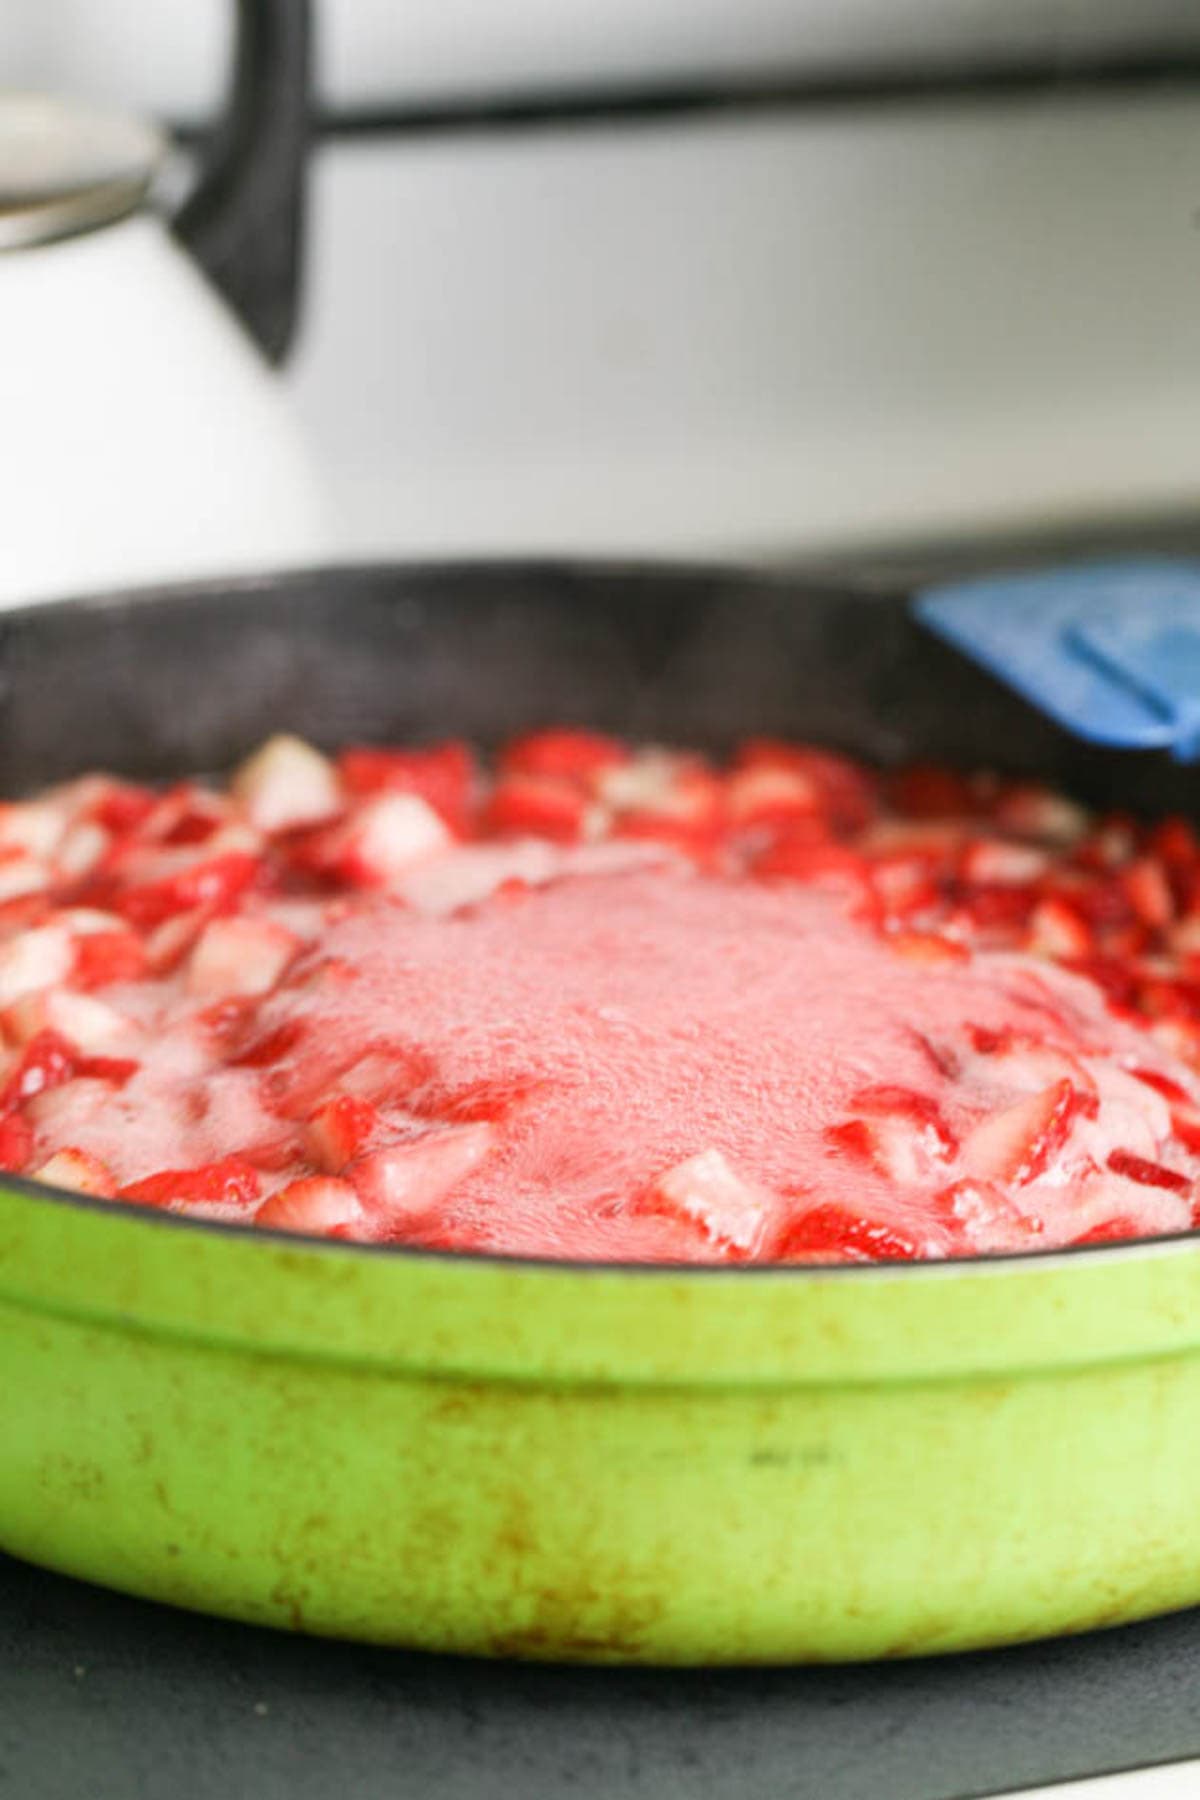
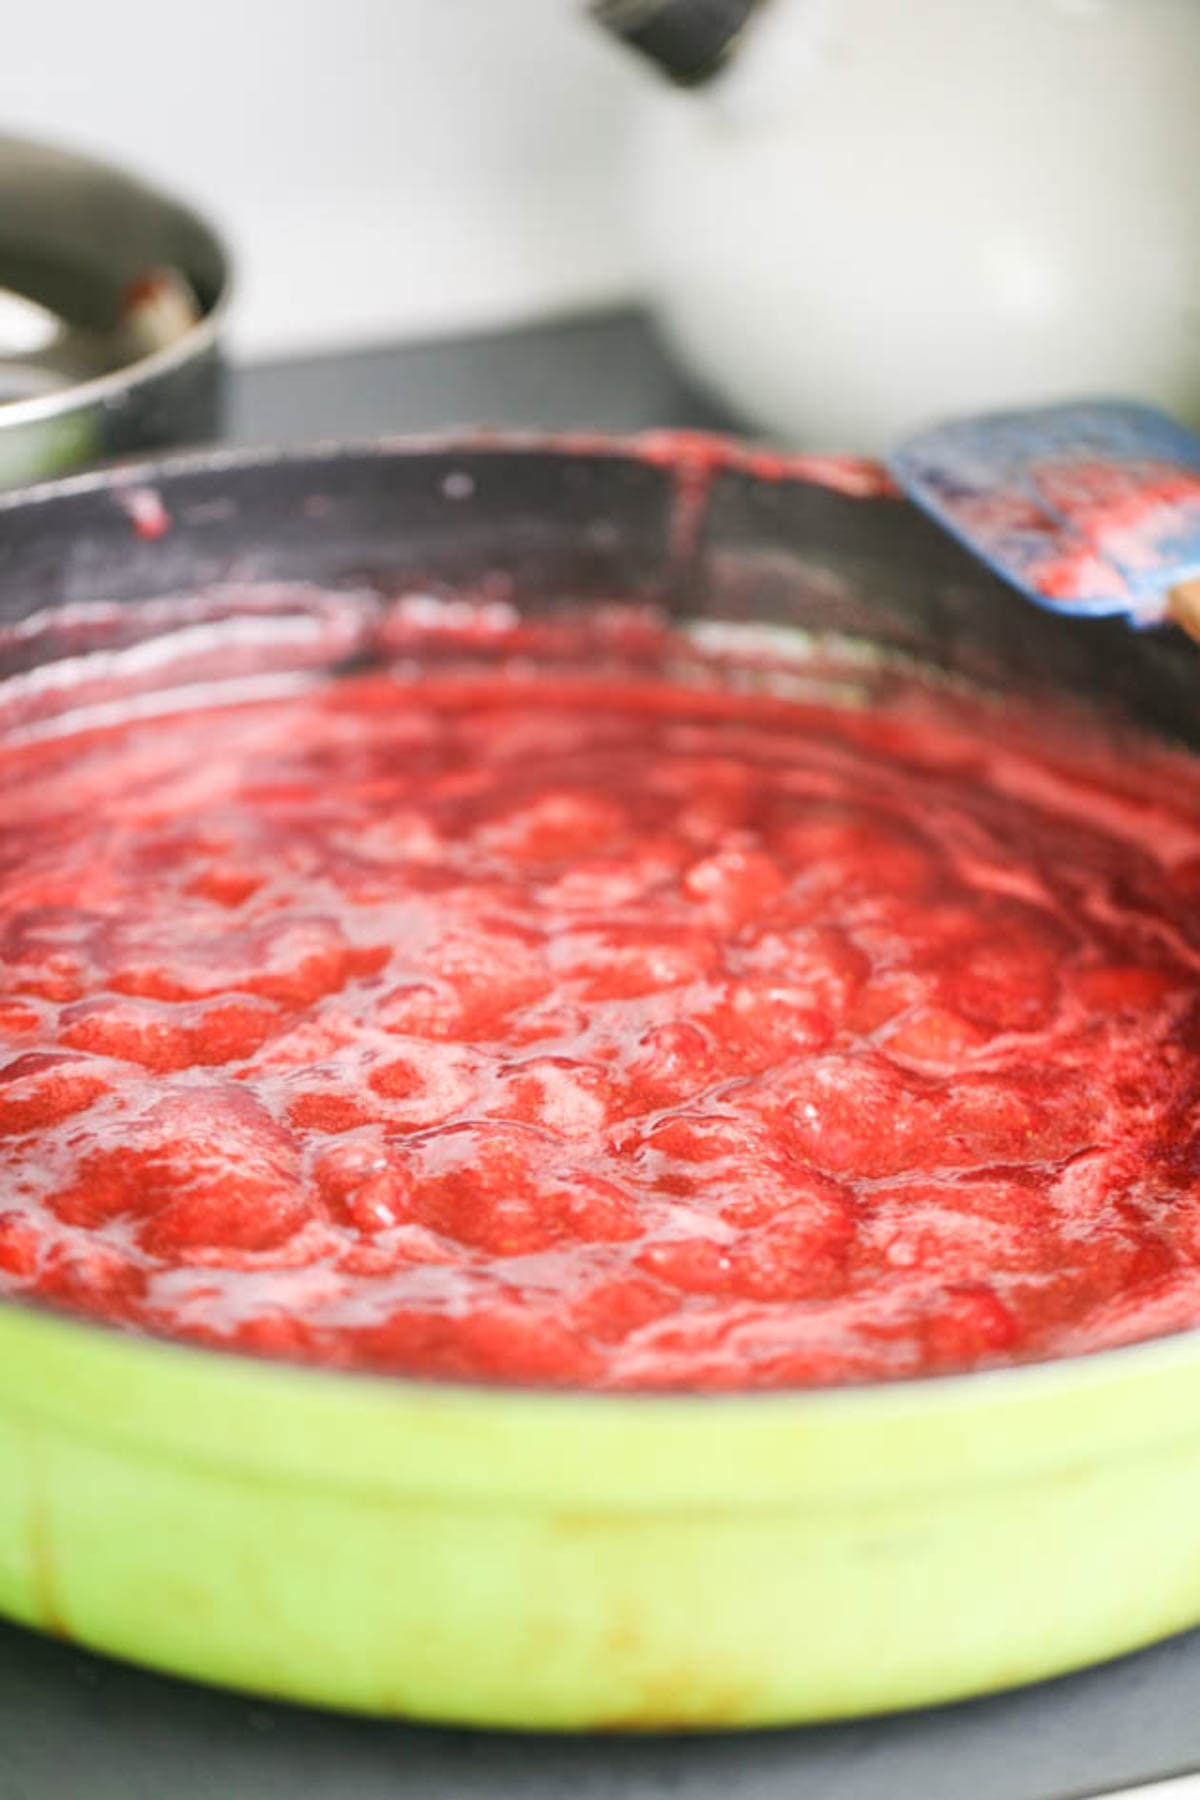
Step two – bring to a boil. Add the diced strawberries to a deep pan and add the sugar. Turn the heat to medium-high and start cooking the strawberries, stirring frequently. After a few minutes, the mixture will start to boil. Let it boil for about 5 minutes, stirring frequently before lowering the heat to just below medium. Cook for 10 more minutes.
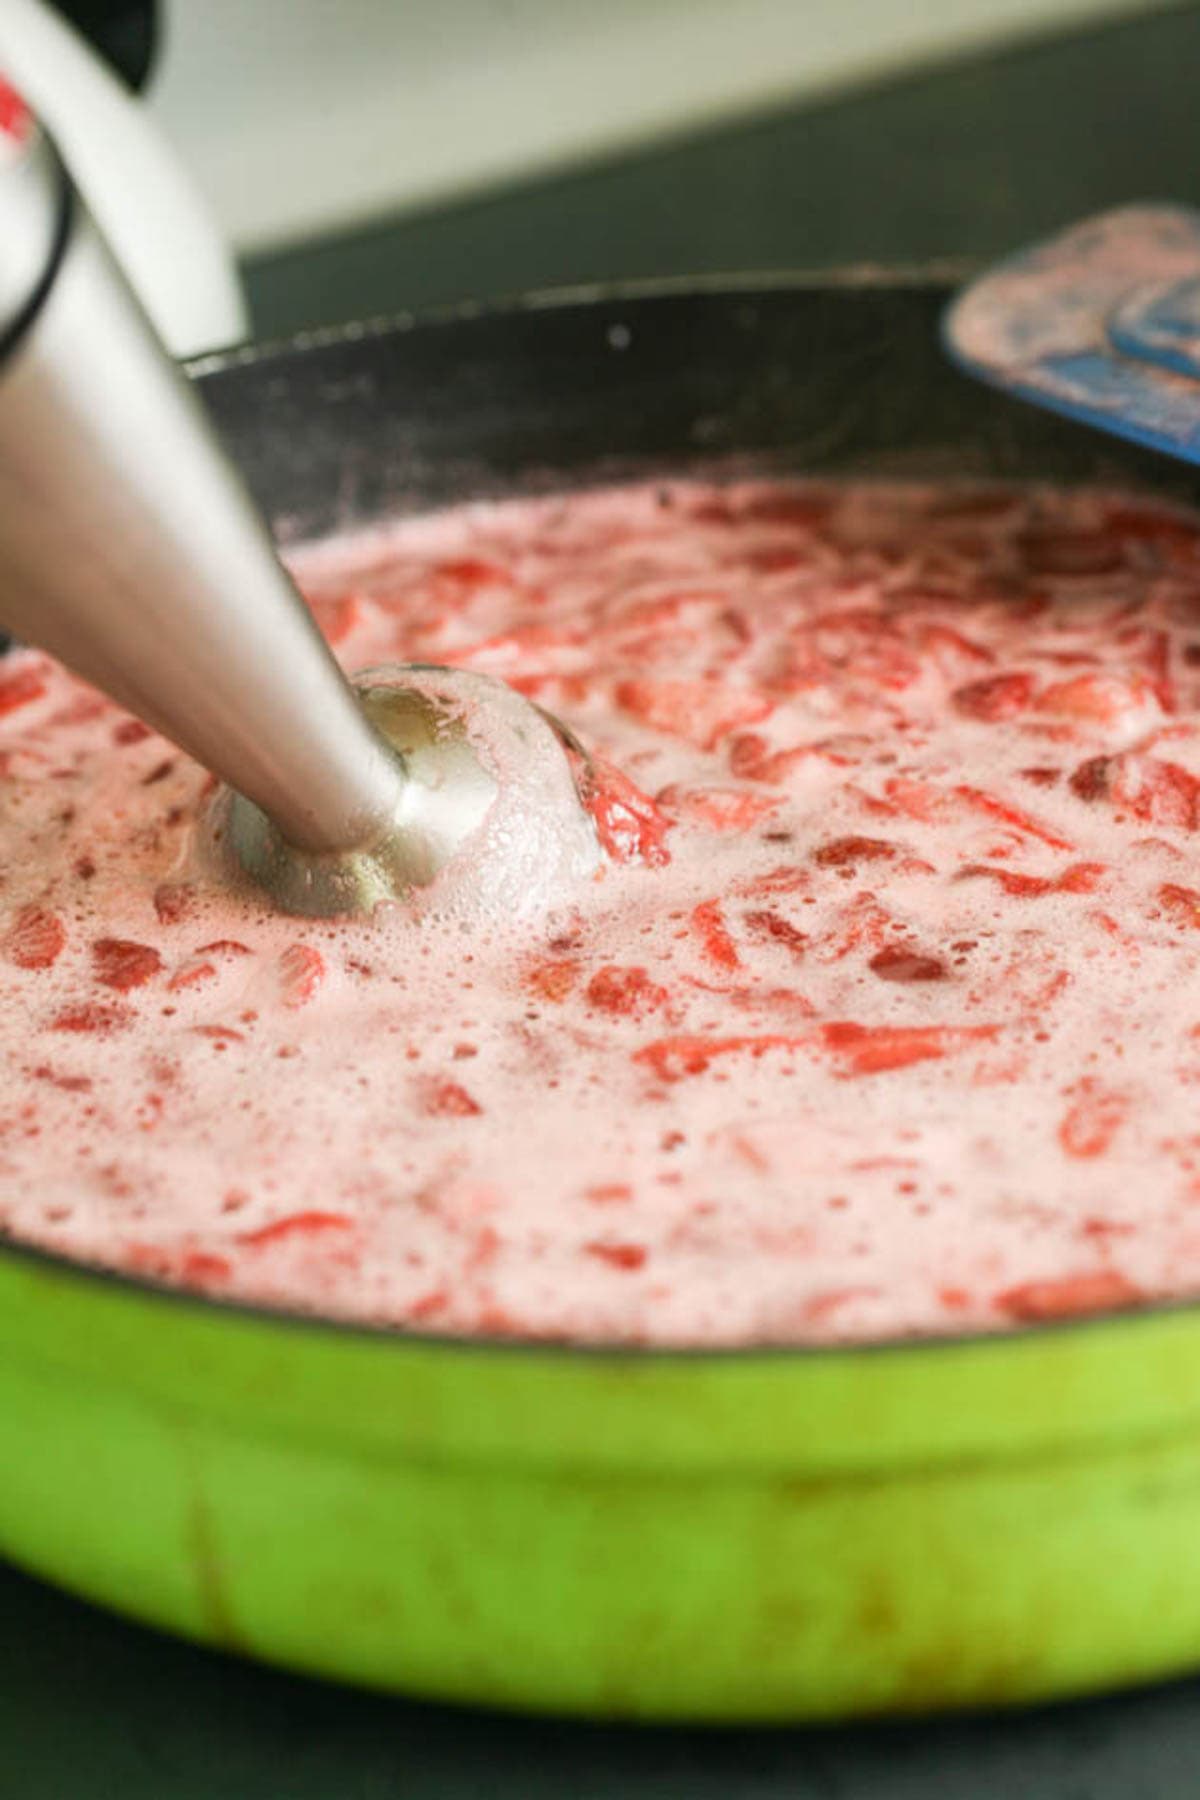
Step three – mash or blend the fruit. At this point, the fruit is soft and you can blend it. I like most of my jams fairly smooth so I prefer to use the immersion blender but if you like larger chunks of fruit in your jam you can just mash it a bit with a potato masher. If you’re using the immersion blender, please be careful! Make sure it’s under the mixture at all times so you don’t splash boiling strawberry juice all over yourself. It’s not fun… Trust me.
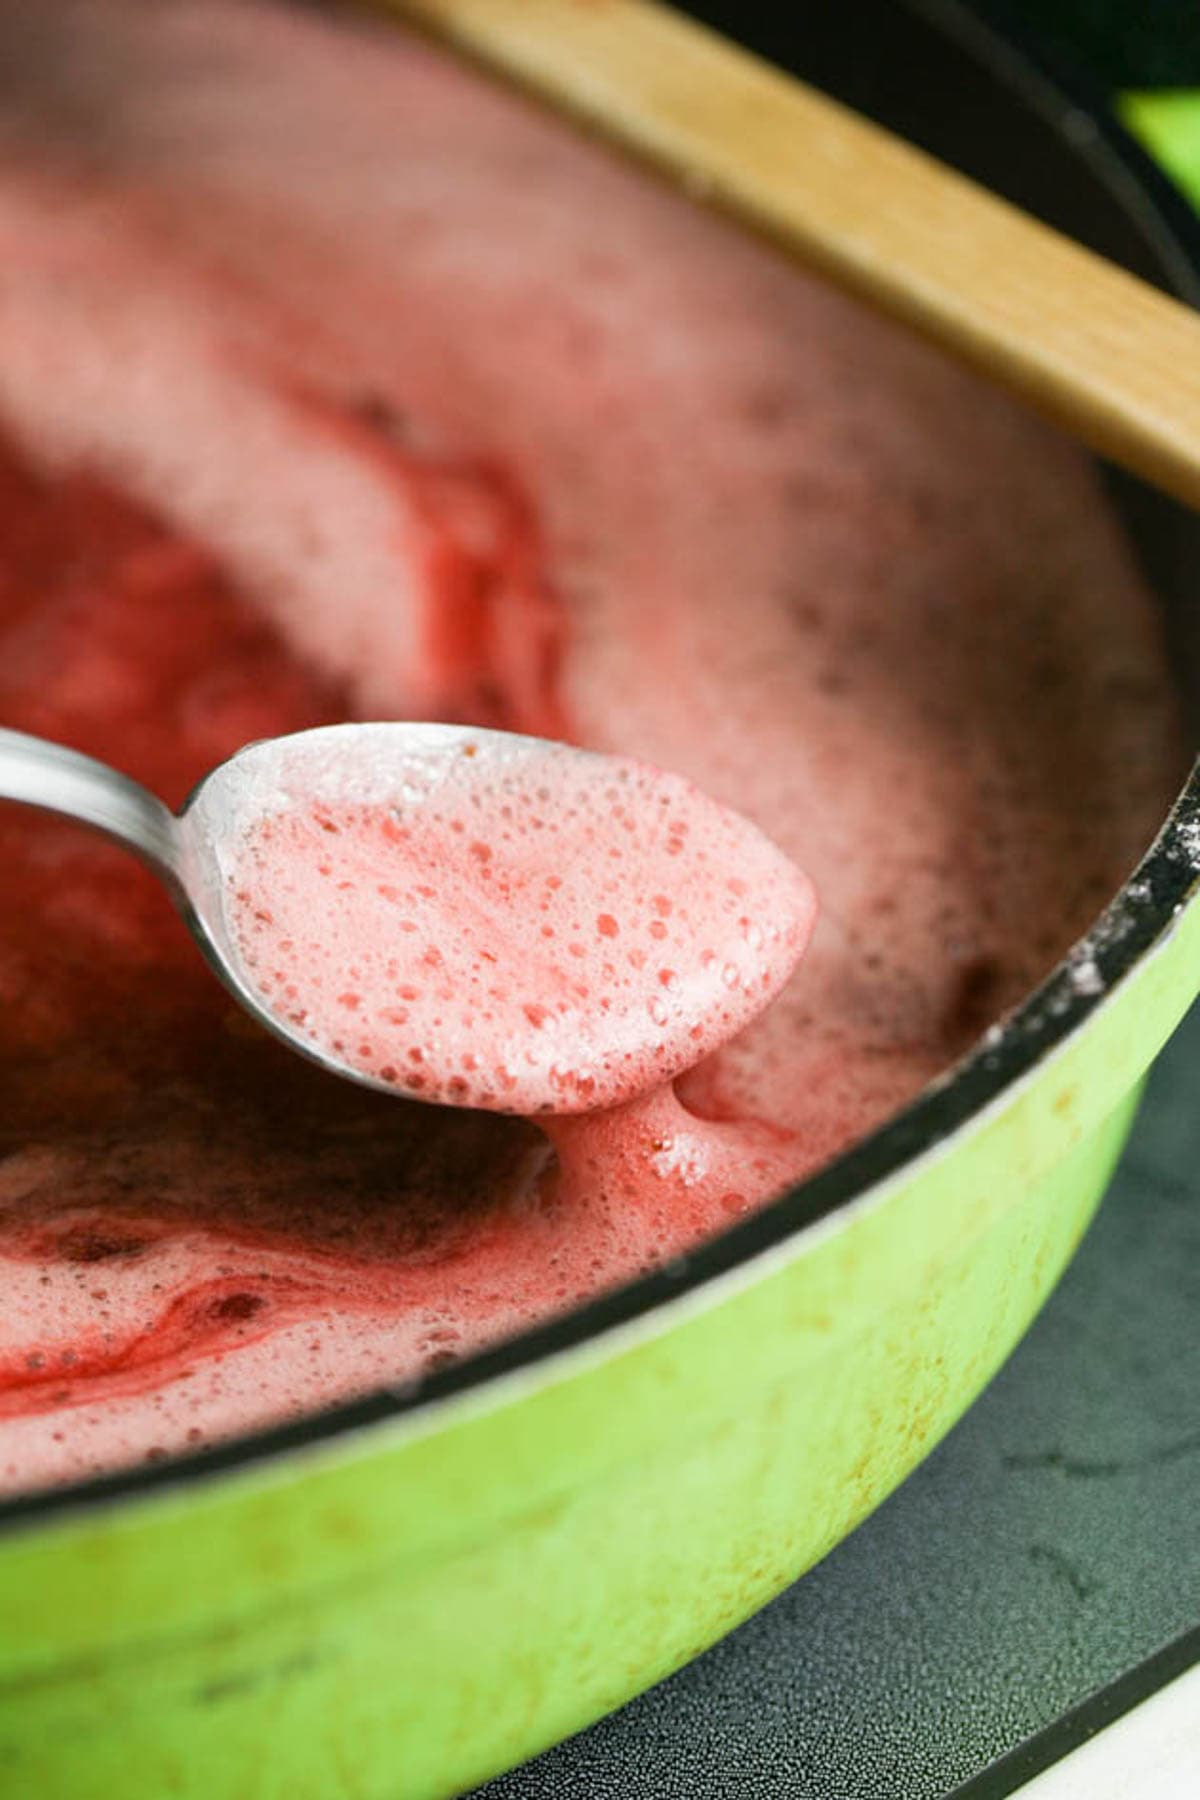
Once the jam is blended and smoothed to your liking, keep cooking it, stirring frequently. You’ll probably notice a lot of foam on top, this happens with strawberry jams. Use a spoon to fish the foam out into a bowl. It’s delicious, by the way! Don’t throw it away, let it cool and use it as you would use the jam. Keep cooking the jam for an additional 35 minutes or so, stirring frequently.
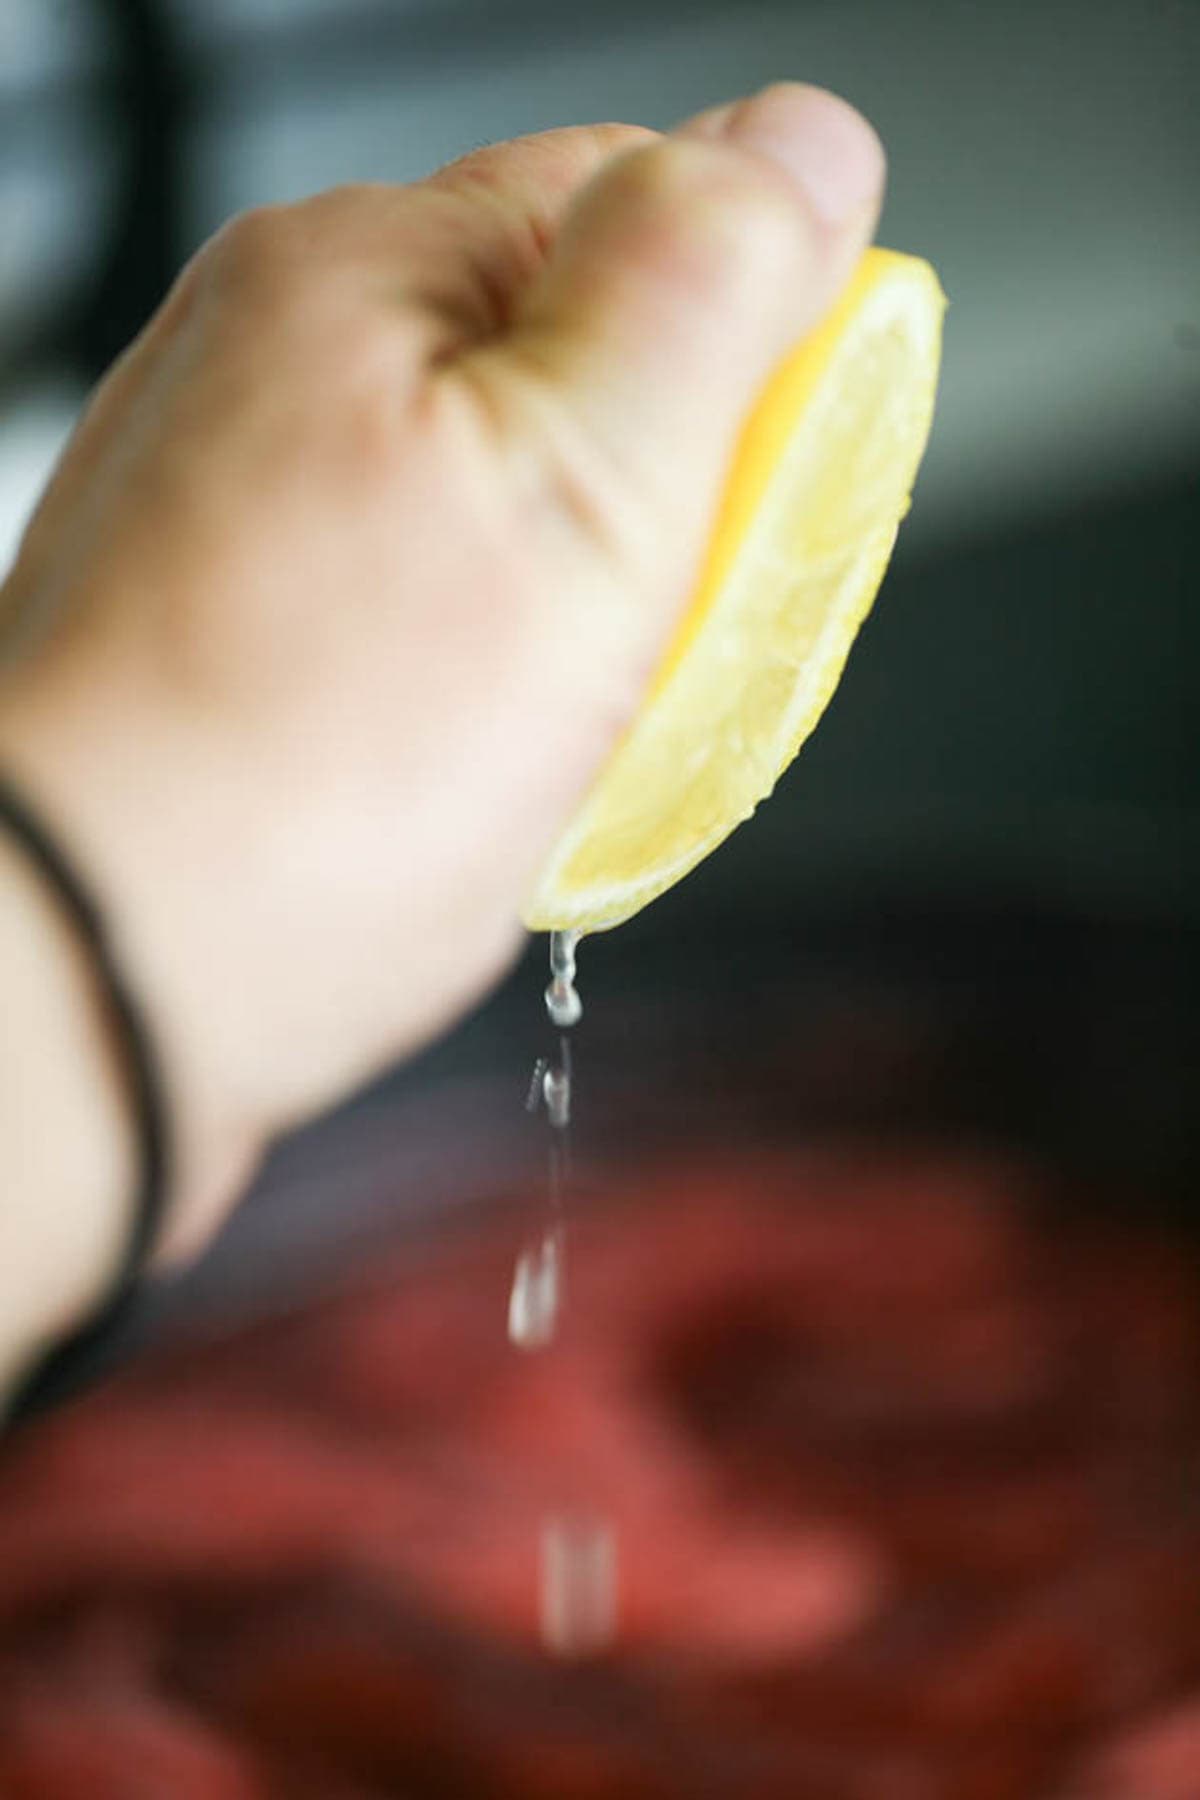

Step four – add lemon juice and seeds. After about 35 minutes, it usually looks like the jam is starting to thicken but is not all the way there. At this point, add the juice of half a lemon and also add 5 lemon seeds to the jam. Stir the juice and seeds in…
Step five – cook until it’s done. Keep cooking, stirring frequently for an additional 30 minutes or so. Take into consideration that cooking time might change a bit depending on how ripe and juicy your fruit was.
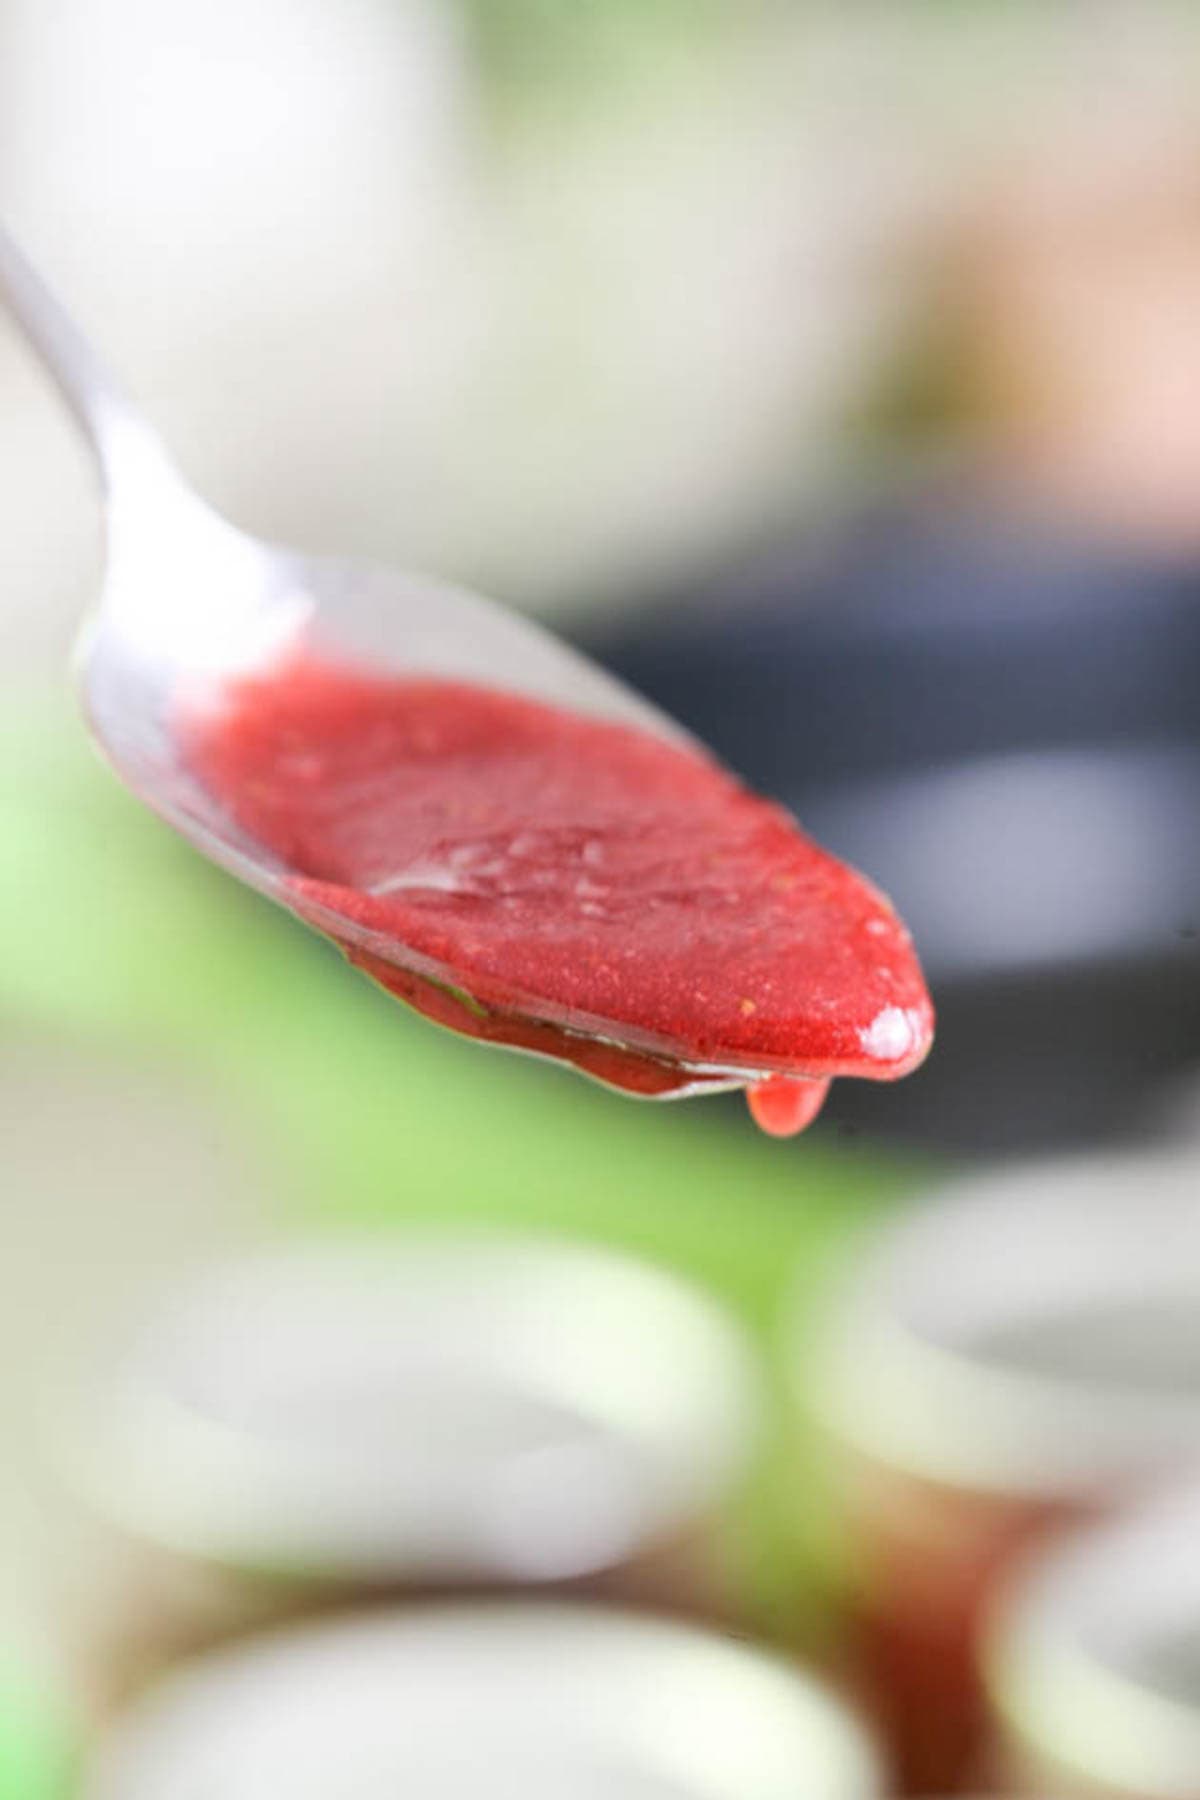
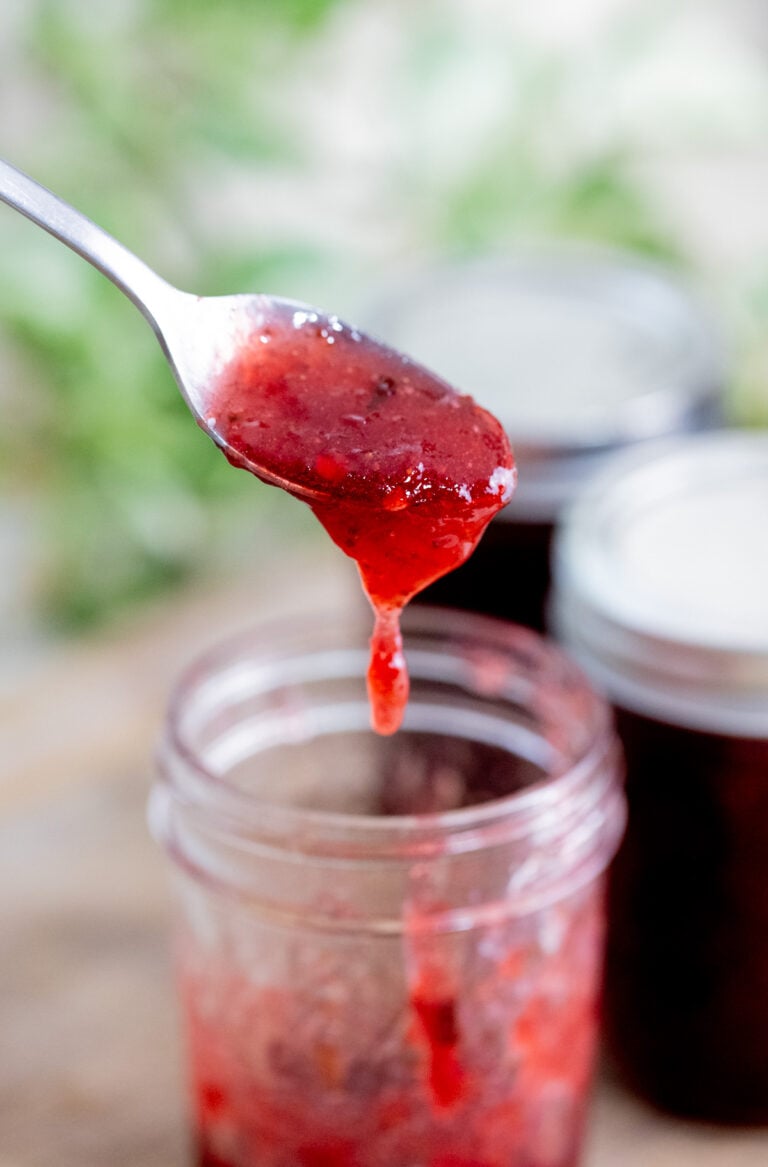
To make sure that the jam is as thick as you want it you can do the spoon test. Scoop a little bit of jam on a spoon and let it cool for a few minutes on the kitchen counter. Then add the jam right back to the pan and watch it as it leaves the spoon. You can usually gauge how thick it is but take into consideration that it will keep thickening as it cools completely in the jars.
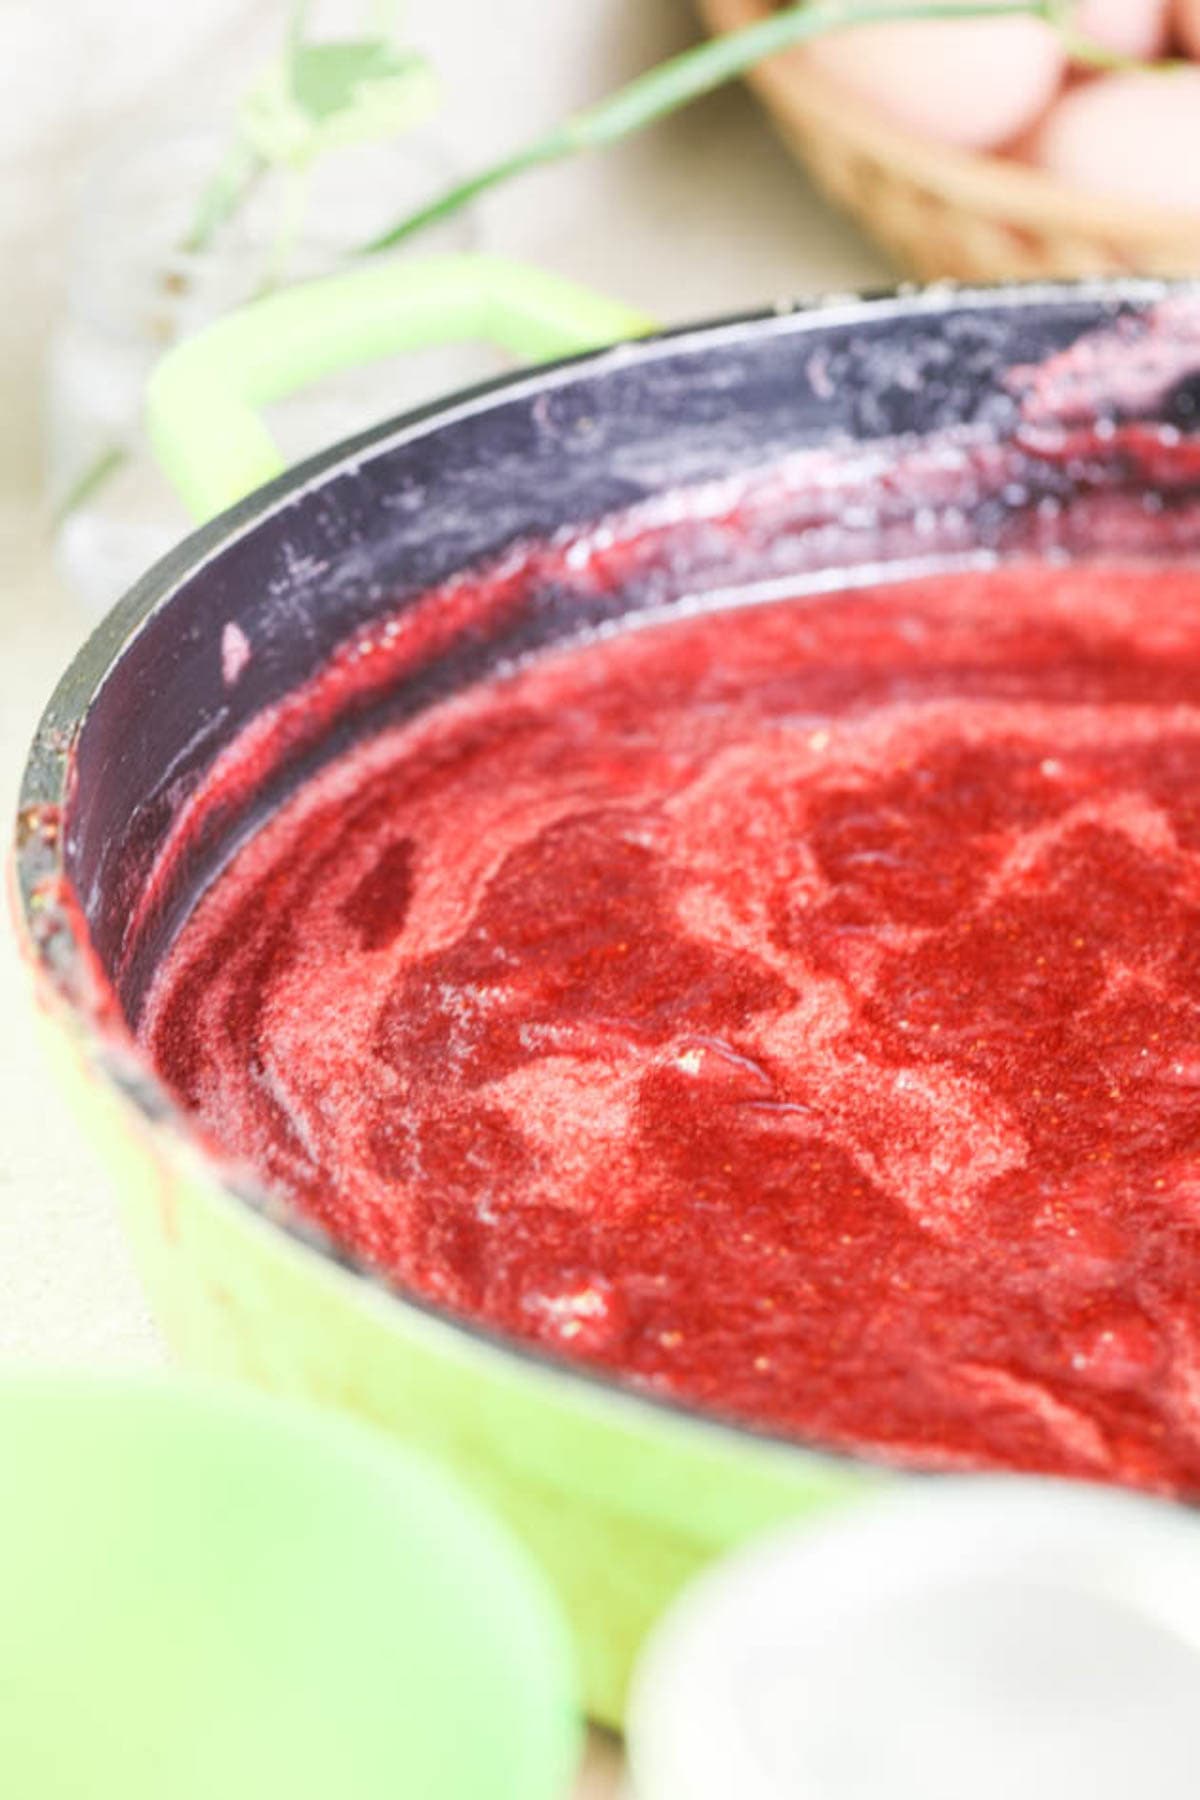
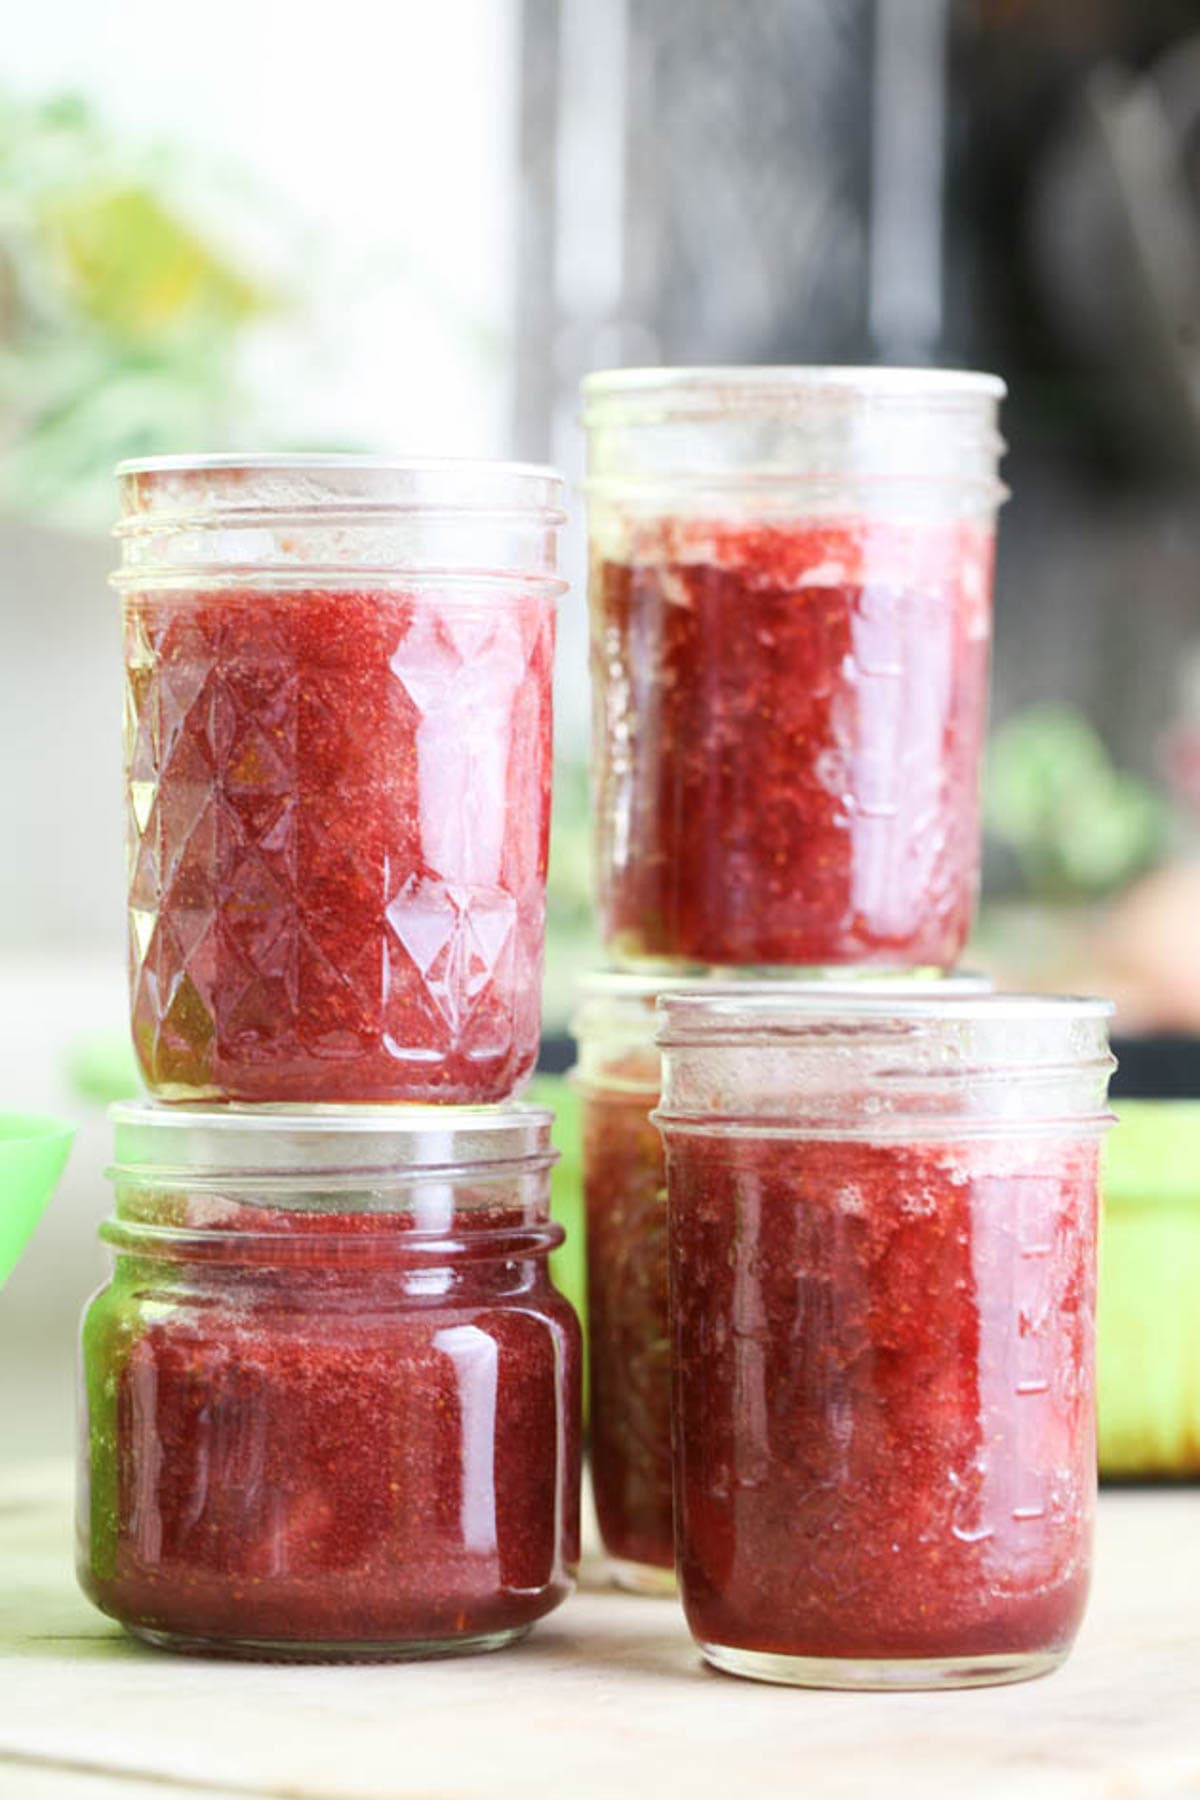
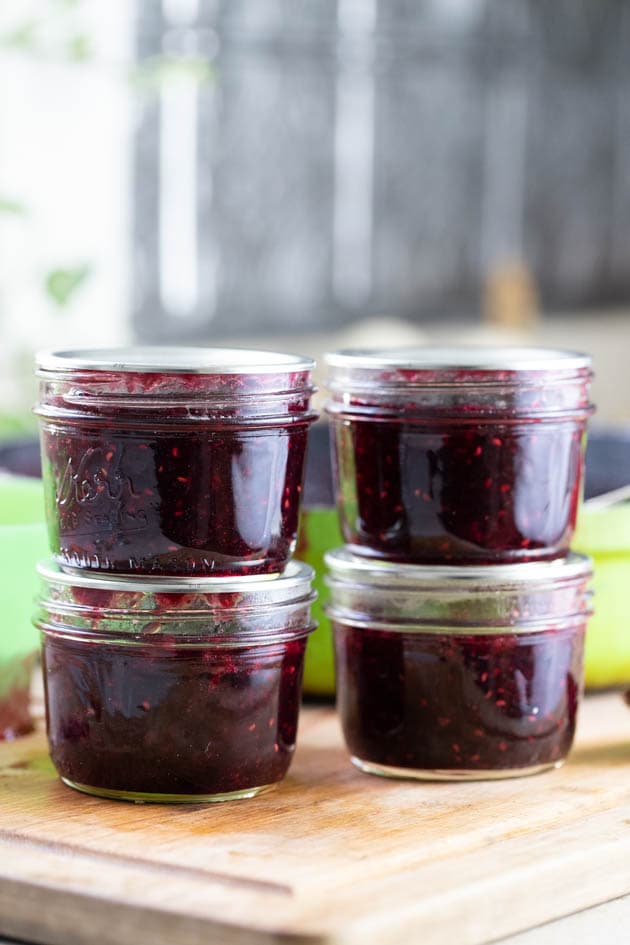
Once the jam reaches your desired thickness, turn off the heat. You don’t have to can this jam, you can let it cool a bit, transfer it into jars and keep the jars in the fridge. It usually disappears very quickly. However, there is nothing like homemade strawberry jam in the dead of winter, so, if you want to preserve this goodness, read on!
Canning Low Sugar Strawberry Jam…
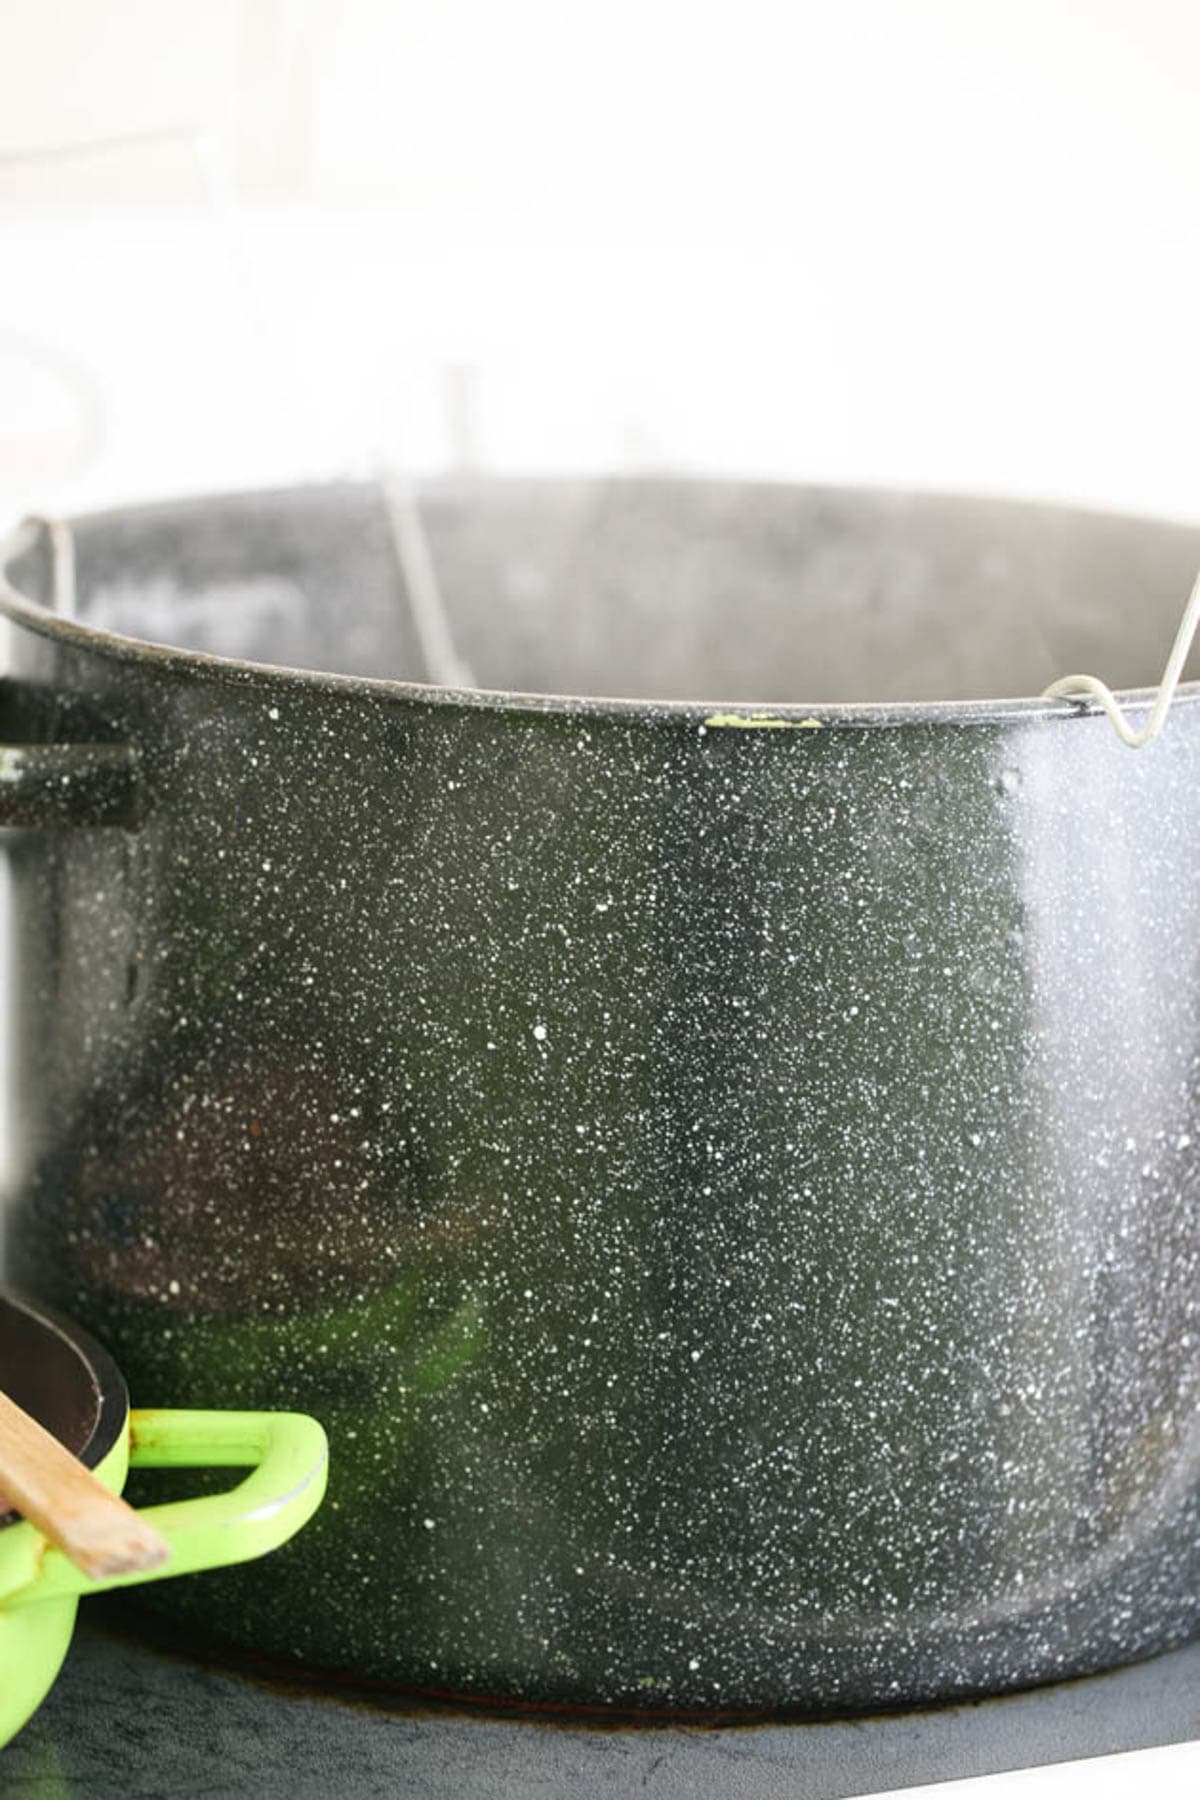

Step Six – prep for canning. While the fruit is cooking, fill the water bath canner with enough water to cover the jars by about an inch. Set it on the stovetop and bring the water to a boil. Also, make sure to wash your jars, lids, and rings with hot water and soap and set them aside. Since we are going to process the jars in the water bath canner for more than 10 minutes, there is no need to sanitize them.
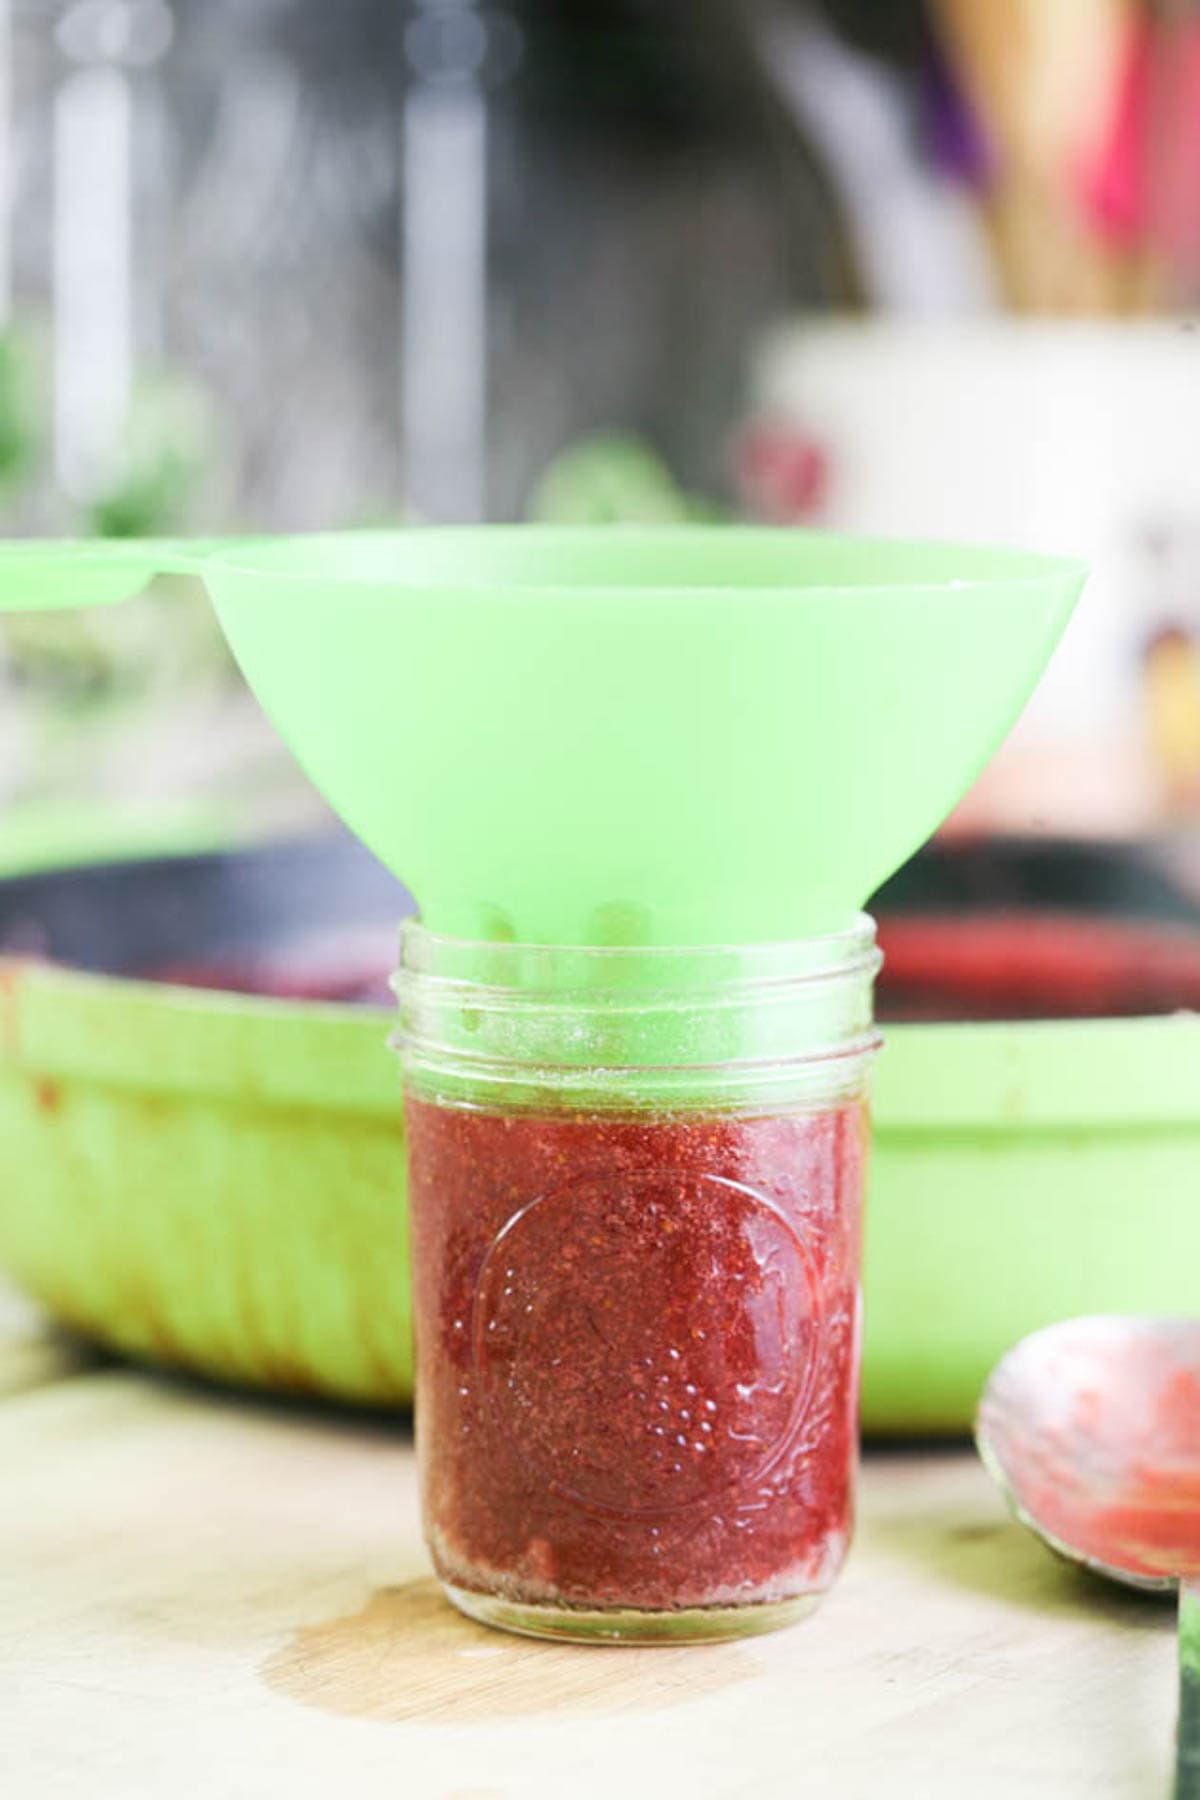
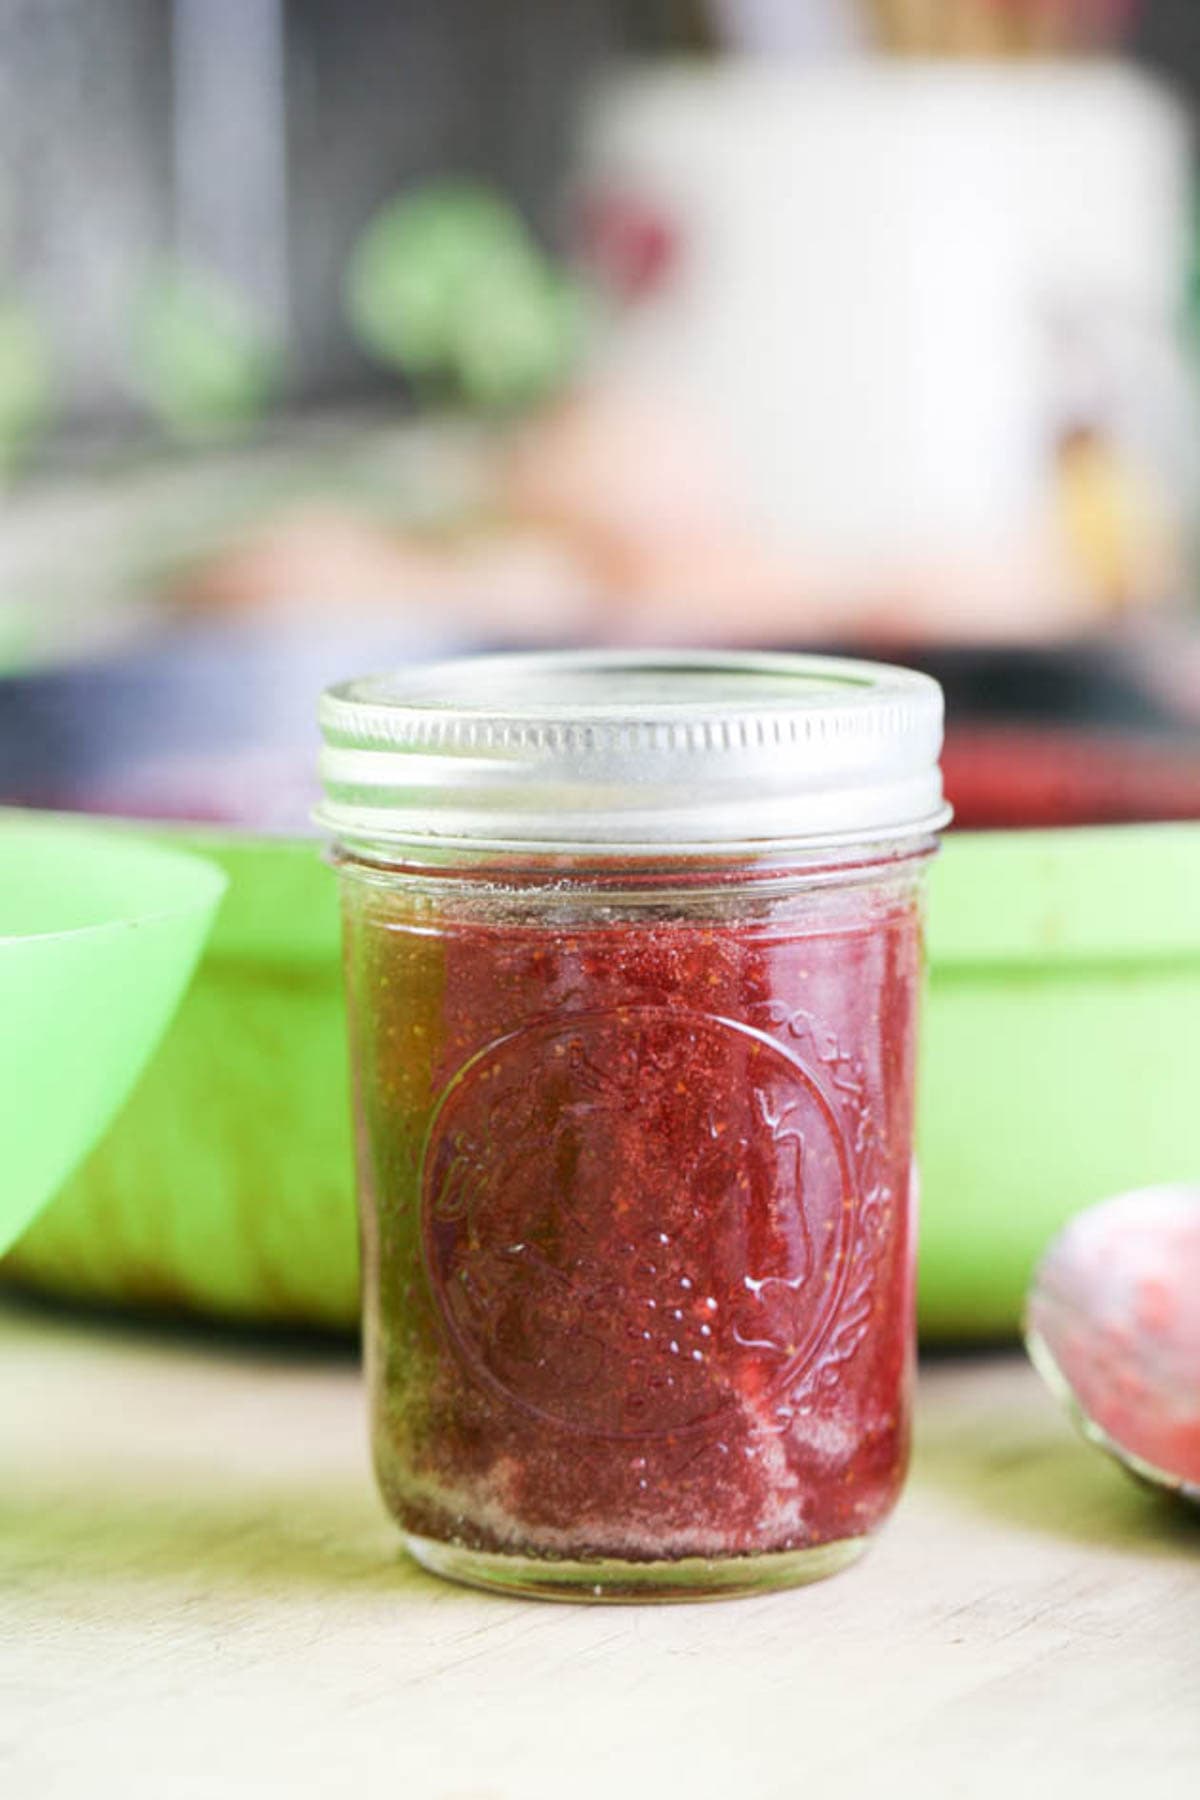
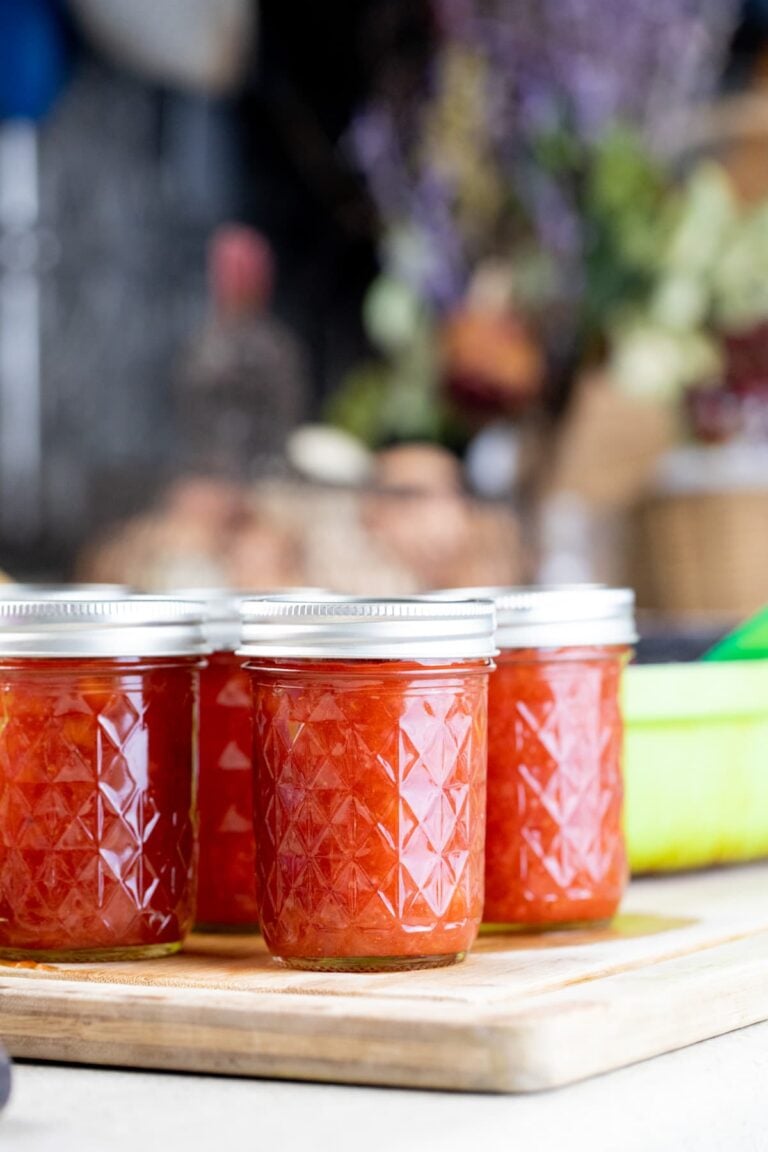
Use the funnel and a large spoon to fill the jars, making sure to leave about 1/2 inch headspace. Next, use the bubble remover to remove any air bubbles that might got stuck between the jar and the jam. Then, use a clean paper towel to clean the rim of my jars. Center the lid and close the jars with the rings.
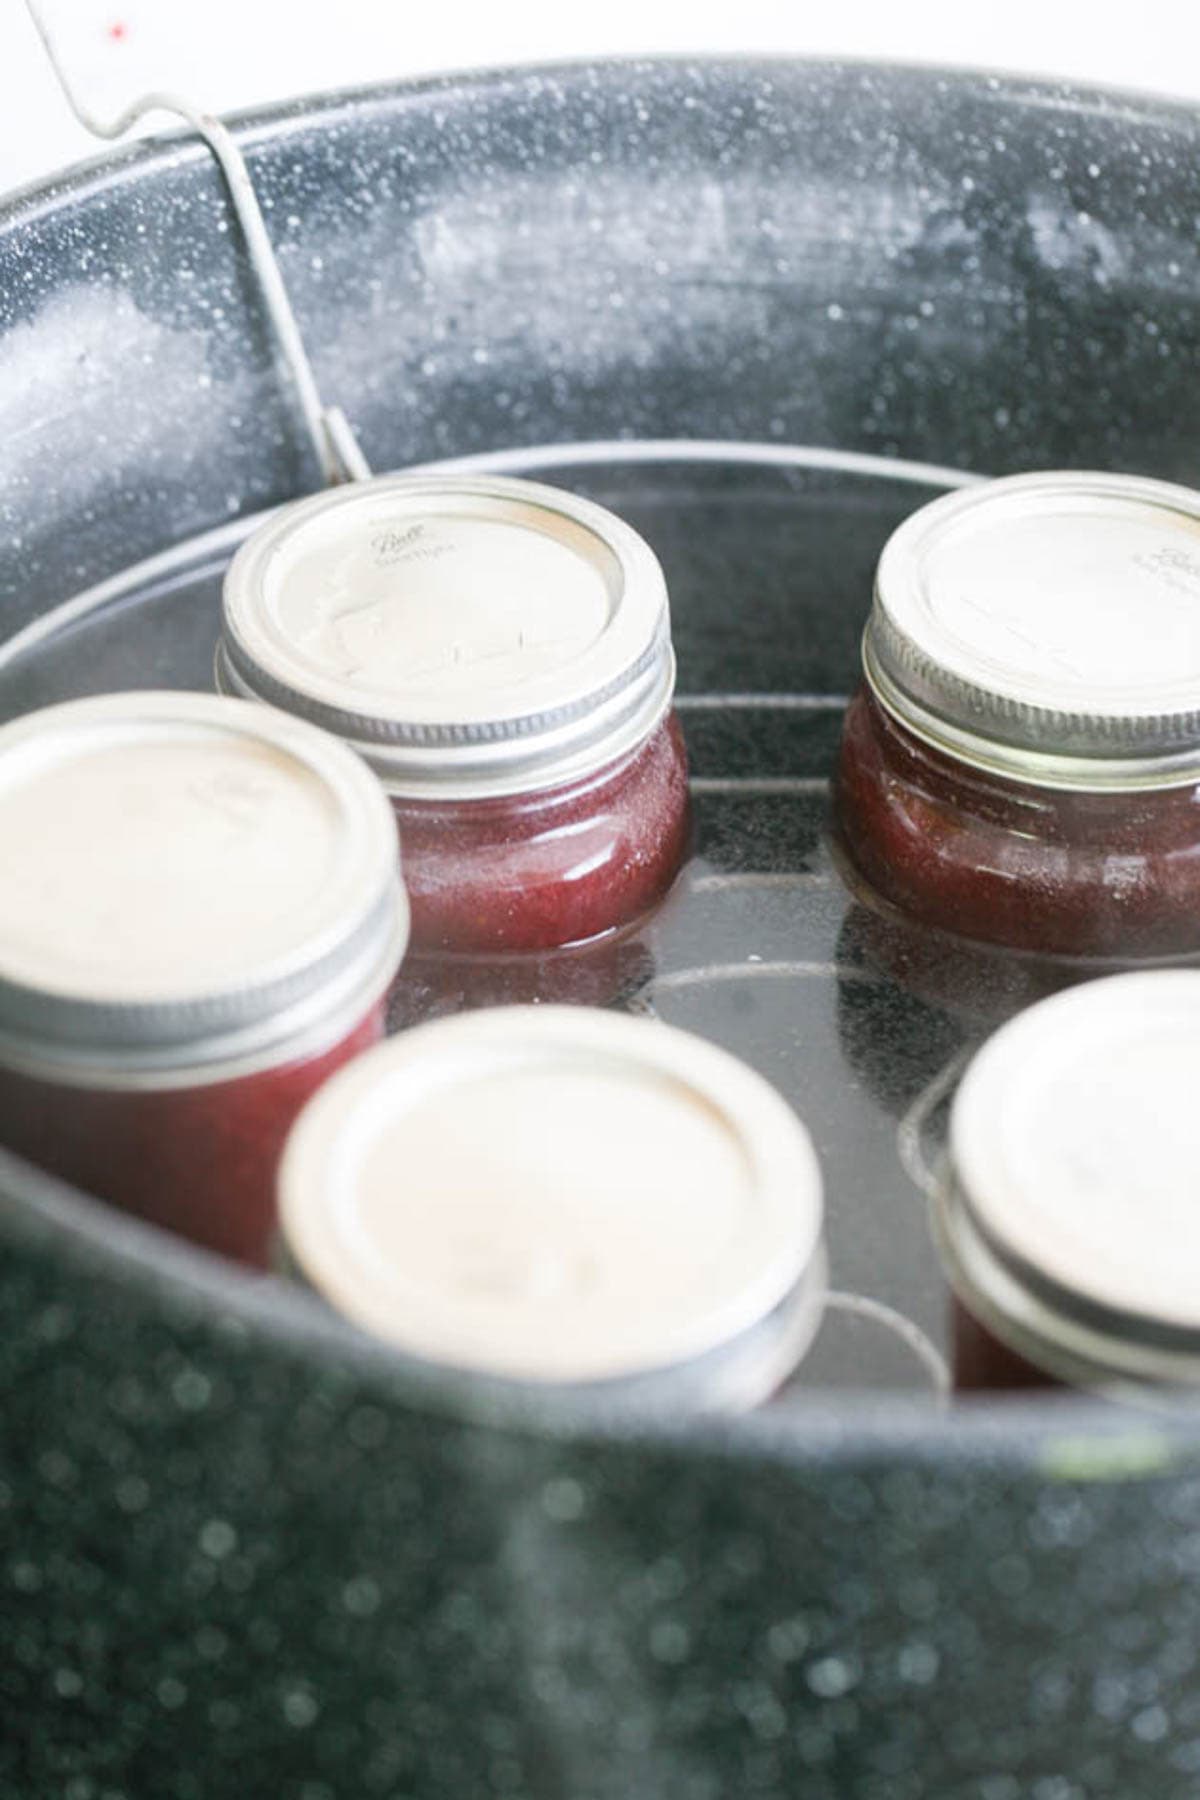
Step seven – process the jars. Set the jars on the rack in the water bath canner and lower the rack into the boiling water slowly. Cover the canner with the lid and process the jars in the boiling water for 15 minutes. If you live above 1000 feet in altitude, adjust your processing time according to the table below.

Once processing time is done, turn the heat off, uncover the canner and remove the jars. Set them on a kitchen towel on the kitchen counter and let them cool undisturbed overnight.
Storing Homemade Strawberry Jam…
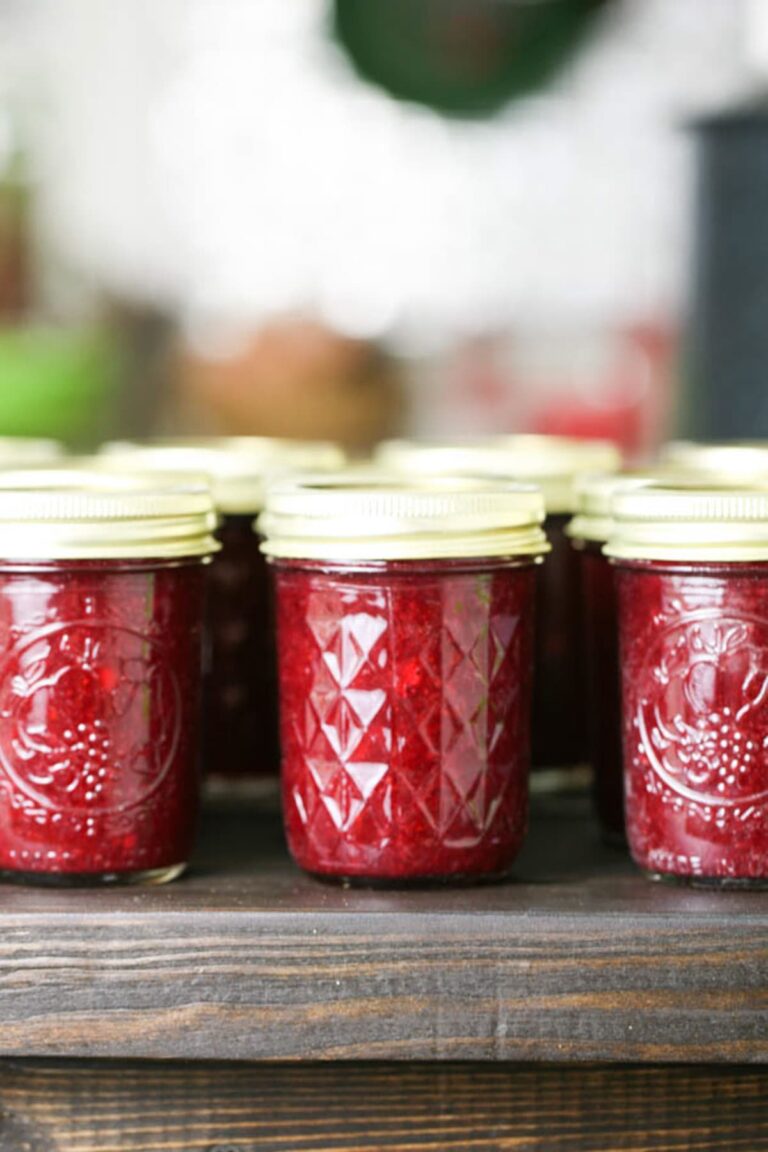
In the morning, before storing the jars, make sure that all the jars have sealed by pressing on the center of each lid. If there is no movement there it means that the jar is sealed. I remove the bands (because they stick and rust and make it hard to monitor what’s going on inside the jar), wipe down the jars, and store them in a kitchen cabinet or in the pantry for up to 18 months.
Serving Low Sugar Strawberry Jam…
- As a snack – we love spreading cream cheese on crackers (or a bagel) and adding some jam on top. It’s an awesome mid day snack for the whole family.
- On a toast – I always drink coffee in the morning and a toast with some jam on it is the perfect companion.
- In cookies – I make these thumbprint cookies and add jam in the center. They melt in your mouth and are absolutely addictive!
- On yogurt – homemade yogurt (made with either raw milk or store-bought) with homemade granola and a tablespoon or so of jam is my go-to meal when I have no energy to cook a “real” one.
- Add it to baked goods – if it’s a baked puff pastry (use jam instead of the sliced pears in this recipe), a turnover, jam filled bars, or any other baked good, this jam will work great!
Frequently Asked Questions…
Yes, vanilla extract works best here. You can add just a couple of teaspoons once the jam is ready.
I don’t. I leave the seeds in the jam. They don’t break down, don’t change the taste of the jam no matter how long it stays on the shelf and once you stop cooking the jam they don’t keep thickening it. You can, however, fish them out when the jam is ready if you’d like, they are usually easy to find.
Honestly… Any fruit! If you find yourself with plums, apricot, grapes, kiwi, oranges… Follow this recipe and it should work every time. Just take into consideration that cooking times will probably change depending on how juicy your fruit is.
Yes, and it’s very easy. Just follow a ratio of one part fruit to one-half part sugar. So if you have 2 pounds of fruit, use one pound of sugar. The only thing that is going to change is the cooking time. And if you make a smaller batch, you can simply keep it in the fridge, it should last for weeks.
That’s it! This low-sugar strawberry jam is really the most basic jam. I always have it on hand because everyone loves it so much. Less sugar allowed us to taste more of the fruit but is still enough to preserve the jam for many months. And as you can see, there is also no real reason to use store-bought pectin. The lemon seeds do the trick just fine. Lastly, it a great way to preserve the summer harvest!
More Jam Recipes…
- Low Sugar Cantaloupe Jam
- How to Make Mulberry Jam
- Low Sugar Fig Jam Recipe
- Chia Blueberry Jam Recipe
- Mango Jam Recipe
- Mango Jalapeno Jam Recipe
- For a list of all the jam recipes that I have here on the blog, make sure to check my low sugar jam recipes page here!
Low Sugar Strawberry Jam
Simple low sugar strawberry jam without store-bought pectin.
Ingredients
- 4 lb strawberries
- 1.8 lb sugar
- Juice from half a lemon
- 5 lemon seeds
Instructions
- Step one - Wash the strawberries, remove their tops and dice them.
- Step two - Add the diced strawberries to a deep pan and add the sugar. Turn the heat to medium-high and start cooking the strawberries, stirring frequently. After a few minutes, the mixture will start to boil. Let it boil for about 5 minutes, stirring frequently before lowering the heat to just below medium. Cook for an additional 10 more minutes.
- Step three - At this point, the fruit is soft and you can blend it with an immersion blender or mash it with a potato masher. Keep cooking the jam, stirring frequently. You’ll probably notice a lot of foam on top, this happens with strawberry jams. Use a spoon to fish the foam out into a bowl. It’s delicious, by the way! Don’t throw it away, let it cool and use it as you would use the jam. Keep cooking the jam for an additional 35 minutes or so, stirring frequently.
- Step four - After 35 minutes or so, it usually looks like the jam is starting to thicken but is not all the way there. Add the juice of half lemon and also add 5 lemon seeds to the jam. Stir the juice and seeds in.
- Step four - Keep cooking, stirring frequently for an additional 30 minutes or so. Take into consideration that cooking time might change a bit depending on how ripe and juicy your fruit was.
To make sure that the jam is as thick as you want it you can do the spoon test. Scoop a little bit of jam on a spoon and let it cool for a few minutes on the kitchen counter. Then add the jam right back to the pan and watch it as it leaves the spoon. You can usually gauge how thick it is but take into consideration that it will keep thickening as it cools completely in the jars. Once the jam reaches your desired thickness, turn off the heat. - Step six - While the fruit is cooking, fill the water bath canner with enough water to cover the jars by about an inch. Set it on the stovetop and bring the water to a boil. Also, make sure to wash your jars, lids, and rings with hot water and soap and set them aside. Since we are going to process the jars in the water bath canner for more than 10 minutes, there is no need to sanitize them.
Use the funnel and a large spoon to fill the jars, making sure to leave about 1/2 inch headspace. Next, use the bubble remover to remove any air bubbles that might got stuck between the jar and the jam. Then, use a clean paper towel to clean the rim of my jars. Center the lid and close the jars with the rings. - Step seven – process the jars. Set the jars on the rack in the water bath canner and lower the rack into the boiling water slowly. Cover the canner with the lid and process the jars in the boiling water for 15 minutes. If you live above 1000 feet in altitude, adjust your processing time according to the table in the notes below.
Once processing time is done, turn the heat off, uncover the canner and remove the jars. Set them on a kitchen towel on the kitchen counter and let them cool undisturbed overnight. - Step eight - In the morning, before storing the jars, make sure that all the jars have sealed by pressing on the center of each lid. If there is no movement there it means that the jar is sealed. I remove the bands (because they stick and rust and make it hard to monitor what’s going on inside the jar), wipe down the jars, and store them in a kitchen cabinet or in the pantry for up to 18 months.
Notes
Adjust processing times according to the table below if you live in altitudes higher than 1000 feet...
Frequently Asked Questions...
- Can I season this jam?
Yes, vanilla extract works best here. You can add just a couple of teaspoons once the jam is ready. - Do you remove the lemon seeds before canning the jam?
I don’t. I leave the seeds in the jam. They don’t break down, don’t change the taste of the jam no matter how long it stays on the shelf and once you stop cooking the jam they don’t keep thickening it. You can, however, fish them out when the jam is ready if you’d like, they are usually easy to find. - Can I follow this recipe with other fruit?
Honestly… Any fruit! If you find yourself with plums, apricot, grapes, kiwi, oranges… Follow this recipe and it should work every time. Just take into consideration that cooking times will probably change depending on how juicy your fruit is. - Can I adjust the quantities of the ingredients?
Yes, and it’s very easy. Just follow a ratio of one part fruit to one-half part sugar. So if you have 2 pounds of fruit, use one pound of sugar. The only thing that is going to change is the cooking time. And if you make a smaller batch, you can simply keep it in the fridge, it should last for weeks.
Nutrition Information:
Yield: 96 Serving Size: 1 tablespoonAmount Per Serving: Calories: 42Total Fat: 0gSaturated Fat: 0gTrans Fat: 0gUnsaturated Fat: 0gCholesterol: 0mgSodium: 2mgCarbohydrates: 11gFiber: 1gSugar: 10gProtein: 0g

Can I use frozen fruit in this recipe?
Yes!
Can I use honey instead of sugar?
Yes, I have that recipe here > https://ladyleeshome.com/honey-strawberry-jam/
I’ve already made your recipe and it turned out great. I liked that it wasn’t too sweet and really easy to make. Now, I would like to make 2 pounds of strawberries. So, my question is, do I still use half a lemon even if I do half the recipe? What about if I double the recipe, is it still just half a lemon?
I’d probably use a whole lemon if you do 2 pounds. And add 6-7 lemon seeds to help it thicken.
Hi Lee, can I use Stevia or Monkfruit for a lower glycemic index jam? has anyone tried this? suggested substitution amounts?
thank you for the great content!
I have never made jam with stevia before so not sure. Hopefully someone else has more input.