Homemade Crock-Pot Yogurt
This post may contain affiliate links, view our disclosure policy for details.
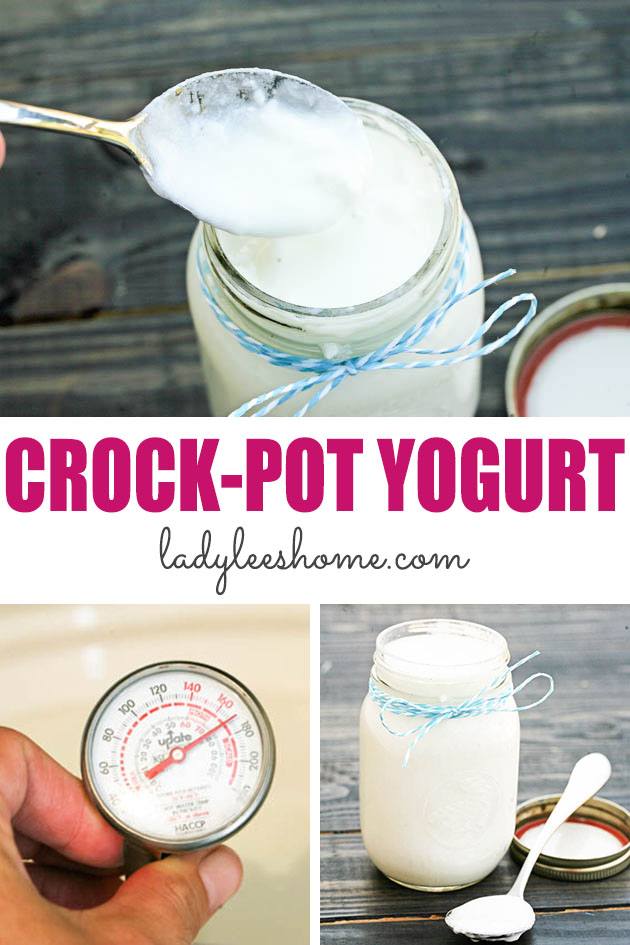
This homemade crock-pot yogurt is easy to make. This method takes some time but the result is always great and it produces a whole lot of yogurt from a gallon of milk. Let me show you how to make yogurt in a crock-pot.
Yogurt is something that I always have in the fridge. For me, homemade yogurt and homemade granola are pretty much the go-to combination for those moments when you realize at the last minute that there is nothing else to eat… It’s also my go-to breakfast… And my go-to meal when my kids are at their dad’s house and I’m by myself trying to focus on work and the gardens.
You’re probably catching my drift here… This homemade crock-pot yogurt is a lifesaver over and over again… Making my own yogurt allows me to decide what consistency I like and homemade yogurt is healthy and also much cheaper than store-bought yogurt.
Homemade Crock-Pot Yogurt…
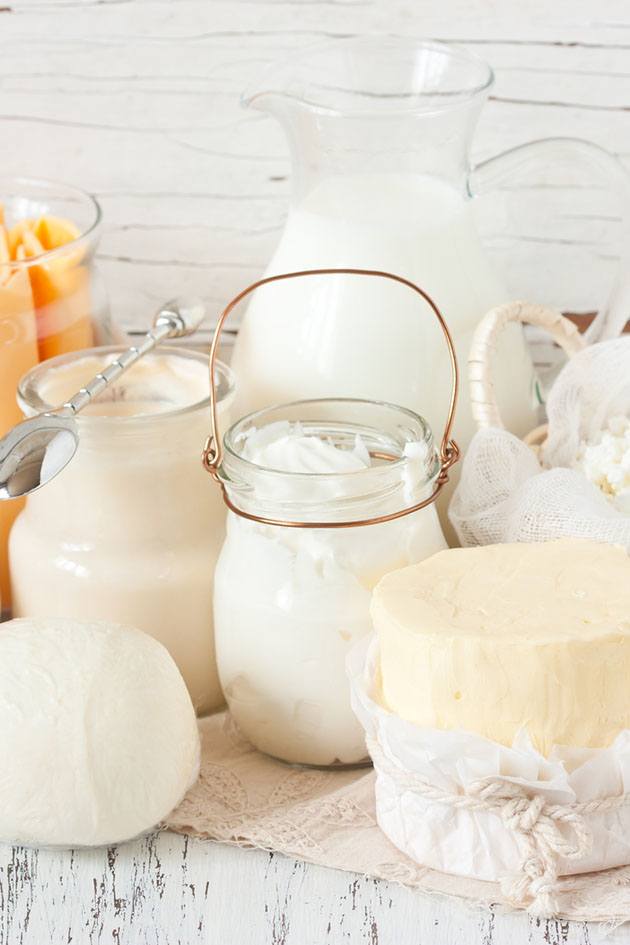
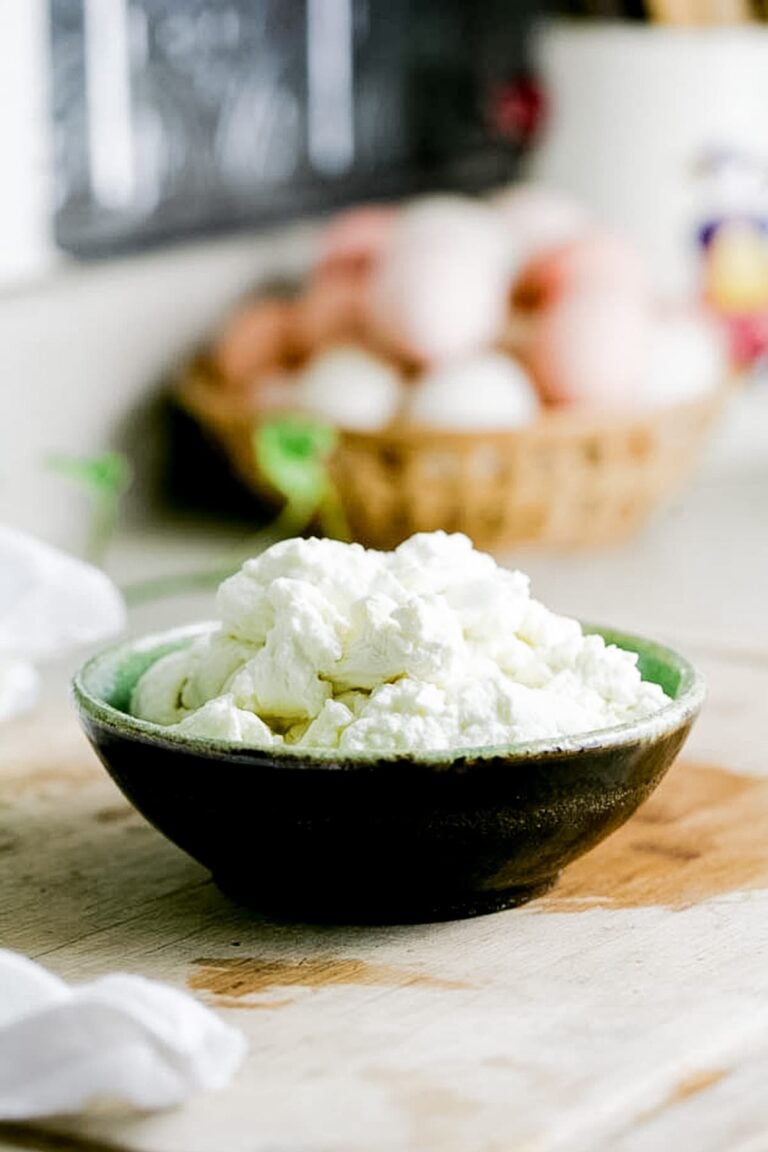
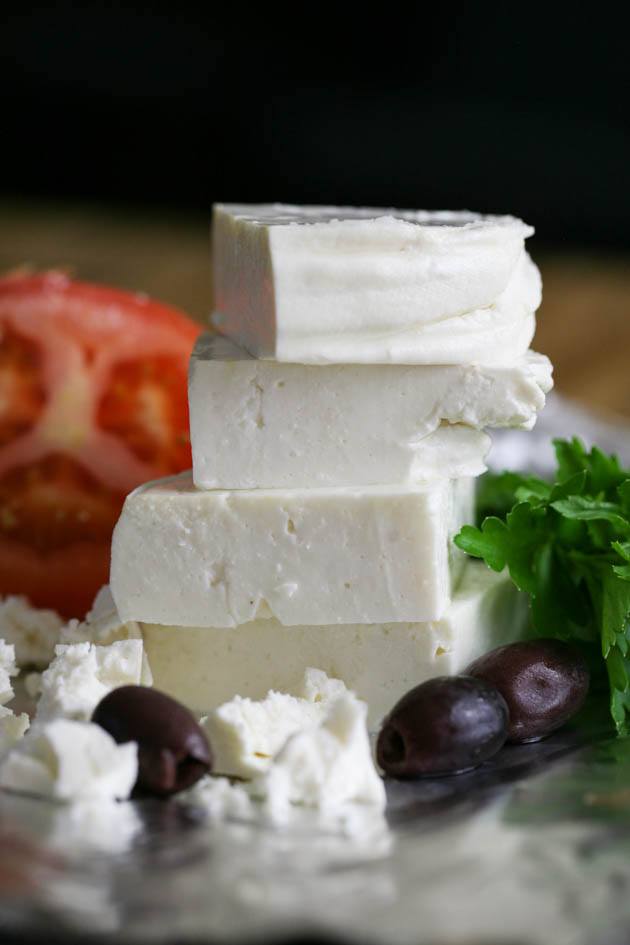
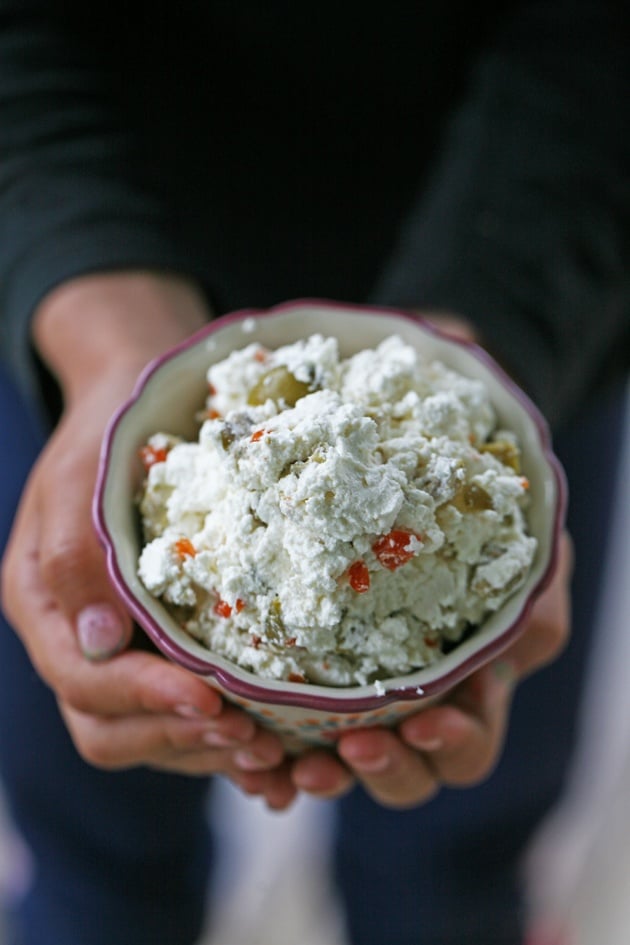
These days, I raise Lamancha goats. They give me amazing milk that I make different kinds of cheeses with. I love making feta cheese, raw goat milk cheese, a soft kind of goat cheese, and another kind of soft cheese. I also use the whey to make ricotta. But when it comes to yogurt, store-bought milk actually works a bit better. Here is why…
Choosing Milk For Homemade Yogurt…
There is a lot of information regarding the best milk for homemade yogurt but my goal is to keep this as simple as possible for you (and me) and send you on your way to making crock-pot yogurt as quickly as possible.
The bottom line is… Raw milk has its own set of microorganisms that competes with the bacteria in the yogurt culture. Therefore, yogurt made from raw milk is usually thinner than yogurt made from pasteurized and homogenized milk (the milk that we find in the store).
It is, of course, possible to make yogurt from raw milk, but let’s make it simple for all of us beginners and make this simple homemade crock-pot yogurt with store-bought milk first.
We are going to use a gallon of store-bought milk in this recipe. You can use whole milk or 2%. If you want to dive deeper into the differences between the kinds of milk for yogurt making you can check out this great post.
Choosing Culture For Yogurt Making…
Aside from the milk, we are going to need just one more ingredient… Culture. Again, my goal is to keep this simple. You can, if you want, find different yogurt cultures but the simplest thing is to use yogurt from the grocery store for your first yogurt batch. After that, as long as you keep one cup of yogurt from your own homemade yogurt to make the next batch you’ll never have to buy yogurt again.
For your first batch, when you choose yogurt at the store, make sure that that yogurt has live culture in it. Most plain yogurts that you find in the store contain live culture in them but it’s just a good idea to check anyway. Look at the label on the container and make sure that it is listing l. bulgaricus and s. thermophilus. Sometimes it will just say something like “contains live cultures”. That’s the yogurt that you want!
We are going to need a cup of live culture yogurt at room temperature.
Why Use a Crock-Pot to Make Yogurt…
You might be asking yourself why you should use a crock-pot to make yogurt… Can’t you just use a stockpot instead? You can definitely use a stock-pot if you’d like. The benefit of the crockpot is that it’s more hands-off than the stockpot.
Whereas with the stockpot you’ll have to stand by and constantly stir the milk to make sure that it doesn’t scorch, with the crock-pot you can just add it to the pot and walk away. Once the milk is hot enough you’ll turn the pot off and walk away again. Then when the milk has cooled enough the culture is added, then walk away again.
The crockpot allows the milk to hold its temperature longer, heating and cooling slowly, and this allows the yogurt to thicken better. I usually start heating the milk in the morning and by the next morning, I’ll have a large batch of yogurt but really, I only spent a few minutes by the pot.
Tools That We Are Going to Need…
We only really need a few things…
A crock-pot – I have an old crock-pot that still works great. Mine can hold a gallon of milk. If you want to process less milk you can use a smaller one. A gallon equals 4 quarts so any crockpot larger than that will work well.
A spoon – some sort of large spoon to stir the milk.
Thermometer – we are going to heat the milk to 180? F so make sure your thermometer can read this temperature.
Cheesecloth – this is optional and depends on how thick you want your yogurt. If you want to strain your yogurt then you might want to use a cheesecloth. I personally don’t strain crockpot yogurt. I get a good set with this recipe so I just refrigerate the yogurt when ready. If you want the consistency of Greek yogurt, you’ll have to use a cheesecloth. We’ll talk more about this later.
Ladle and a canning funnel – to scoop the yogurt into jars for storage.
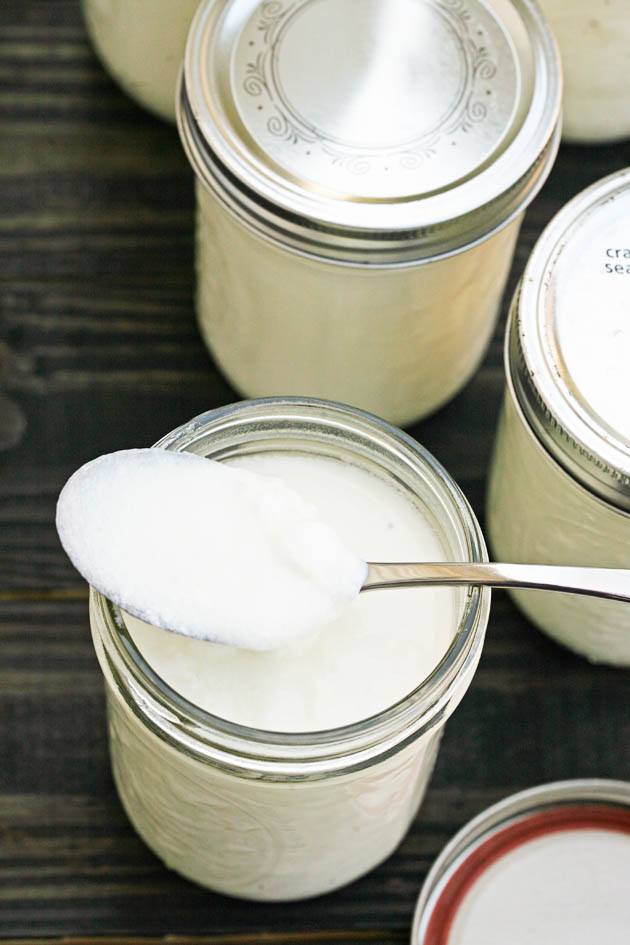
Quart jars – I think that this is the best size but you can use whatever size you want.
For a comprehensive list of cheesemaking equipment, make sure to visit my cheesemaking equipment post.
Ok, we are ready to go through this homemade yogurt tutorial. You’ll find all the steps below, however, if you want to have a better understanding of the cheesemaking process (even though yogurt is a bit different…), please visit my How to Make Cheese at Home post.
How to Make Yogurt in the Crockpot…
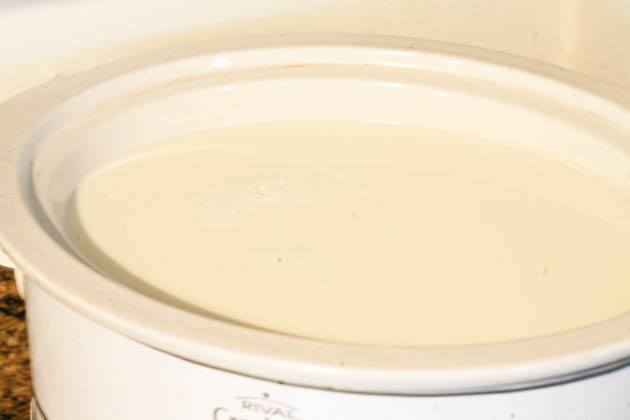
Start by adding a gallon of milk to the crockpot and set it on high heat. Cover the pot and you can walk away…
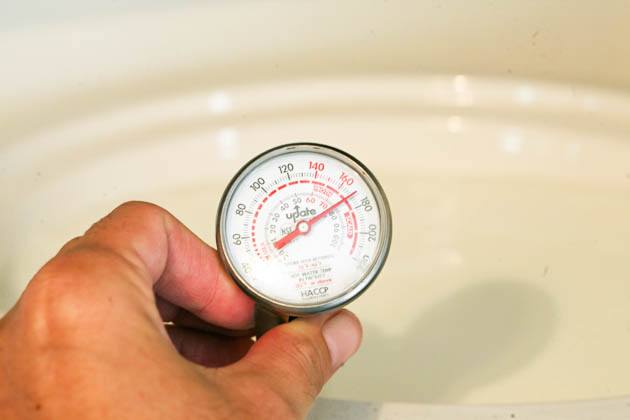
Come back to check the temperature of the milk every 30 minutes or so. You want the milk to reach 180 degrees F. Each time that you come to check the milk temperature, make sure to stir it.
Once the milk reached 180 degrees F, turn the crock-pot off (leave it covered) and let it cool to 115 degrees F. This will take a couple of hours. You might want to set a timer so you don’t forget to check the temperature. Now is also a good time to take the cup of yogurt that you are going to use as the culture out of the fridge so it can come to room temperature.
Once the milk has cooled to 115 degrees F, add the cup of room-temperature yogurt to the milk and stir it to make sure it “dissolves” well with the milk. Then, cover the crockpot with its lid and then with a fuzzy blanket. You want to try and keep the milk as close to 115 degrees F as possible for the next 12 hours or so.
I usually reach this stage somewhere in the afternoon, if I started in the morning. Then I cover the pot and let it rest on the counter undisturbed until the next morning.
To Strain or Not to Strain…
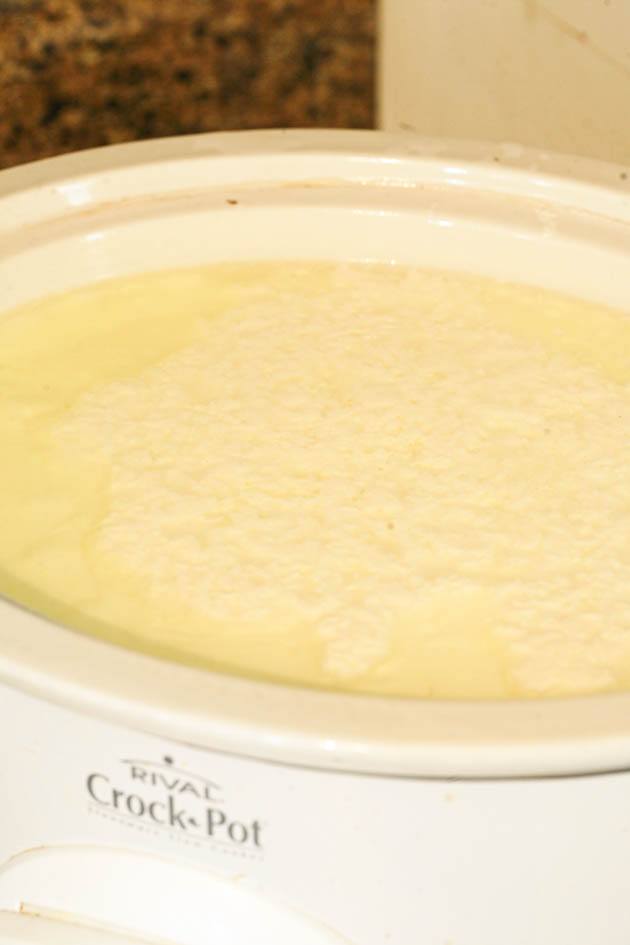
In the morning, you’ll wake up to a pot of fresh yogurt. It will probably be a little thinner than the yogurt that you find at the store and will be covered with this yellowish liquid, which is the whey. Here is what I do… I usually scoop as much of the whey out (with a spoon) as I can before I add my yogurt to the jars and place it in the fridge.
If you find that this is too runny for you and you’d like thicker yogurt, kinda like Greek yogurt, you can line a bowl with cheesecloth (I prefer using flour sack towels) and transfer the yogurt to the cheesecloth. Collect the cloth and tie it and then hang it from one of your kitchen cabinets. Make sure to place a bowl under the cheesecloth to catch the whey.
Then it’s your choice for how long you want to strain your yogurt. The longer it strains the thicker it will be. You can go anywhere from 2 or 4 hours up to 8 hours. This is the best thing about making your own yogurt at home, you get to make it exactly how you like it. You might need to experiment and record the time so you have it written down for next time.
Storing Homemade Crock-Pot Yogurt…
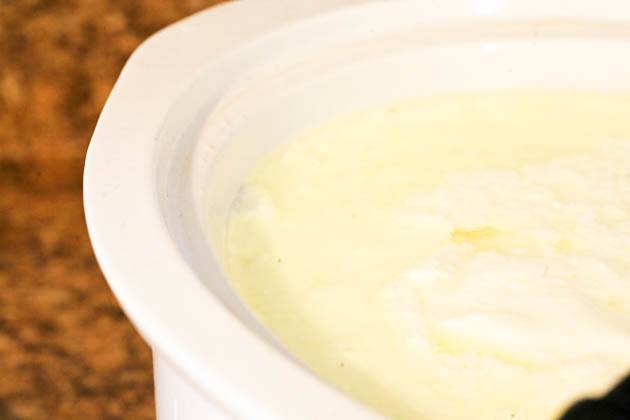
As I said before, I usually take the easy way and just store my yogurt in jars in the morning.
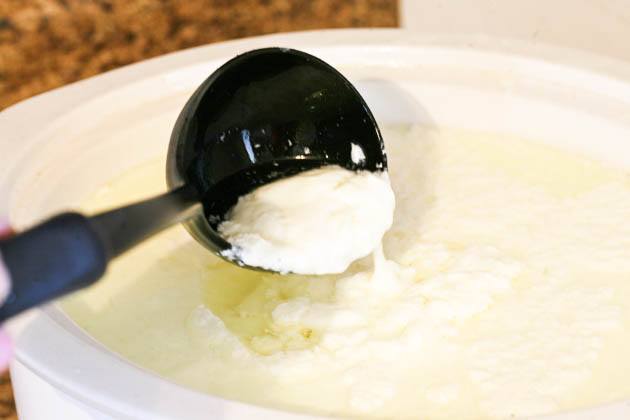
I use the ladle and the funnel to scoop the yogurt into jars. I cover the jars and place them in the fridge.
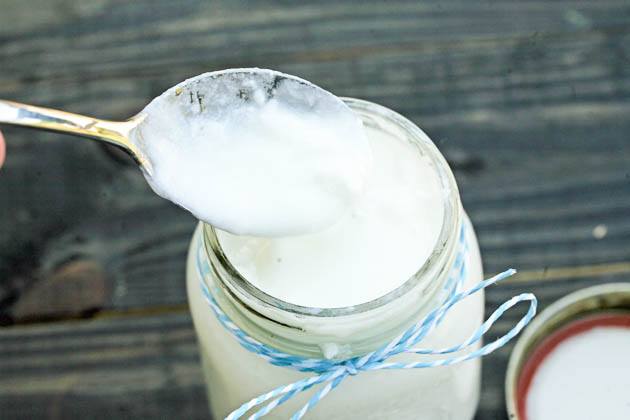
If you do this the same way as I do, you’ll get almost 4 quarts of yogurt. There is really not too much whey but the yogurt is thinner. If you strain your yogurt you’ll get less yogurt but it will be thicker.
Serving Homemade Crock-Pot Yogurt…
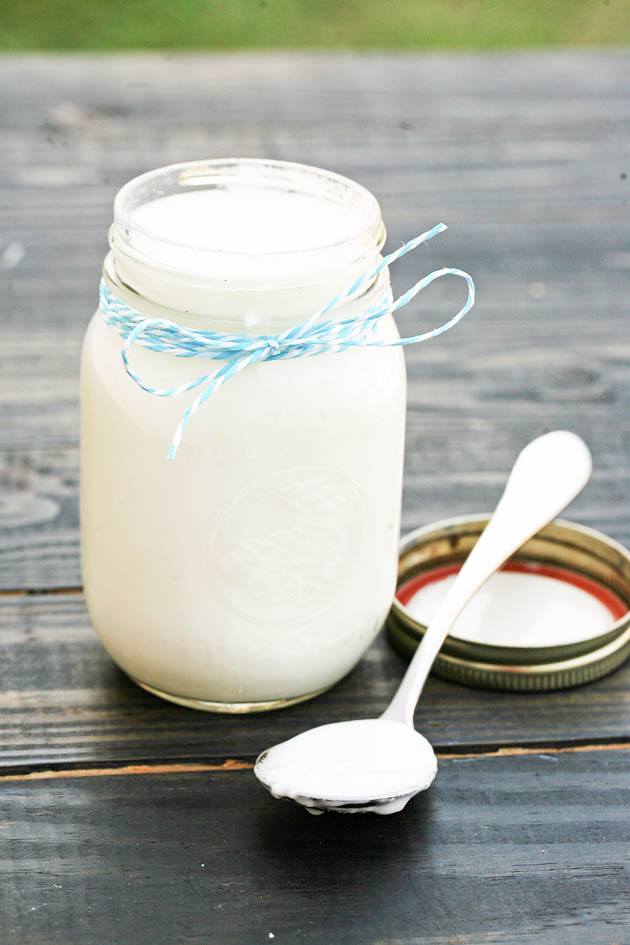
Your yogurt is ready to serve right away but I find that it thickens a bit further if I let it cool in the fridge first. So usually, we wait one day before we start using it.
Oh boy, there are so many ways to serve and use yogurt! Of course, there is the classic yogurt with fresh fruit or dry fruit. With granola or without. There are many bread recipes that will call for yogurt, like naan, for example. There are many salad dressings that call for yogurt and even cakes and other baked goods.
Sometimes I even use this yogurt to make popsicles for the kids. I simply mix it with a bit of agave or maple syrup and add fruit before adding it to molds and sticking in the freezer. It’s so good!
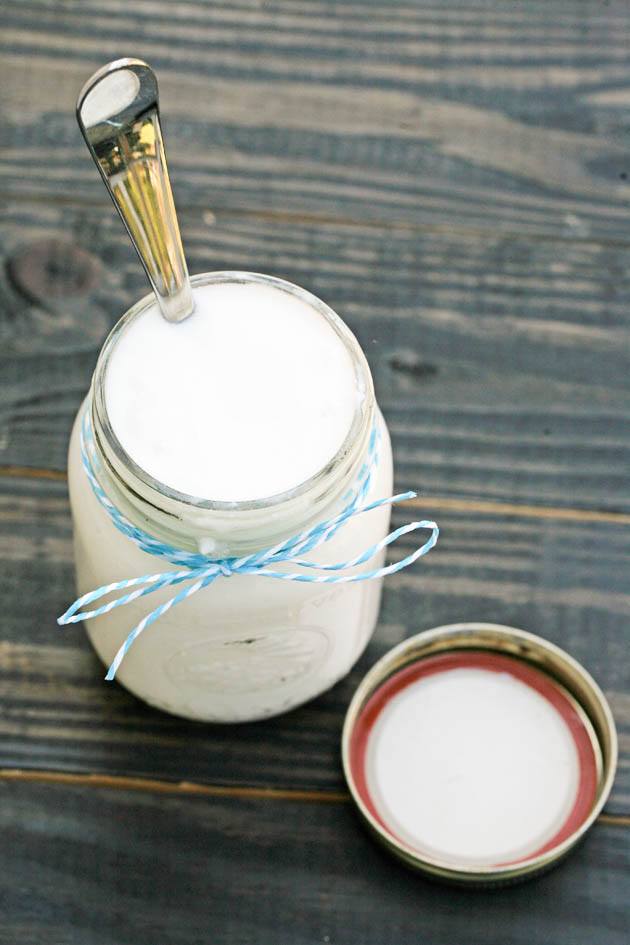
And then, of course, you can flavor it with jam. A few of my favorites are mulberry jam, low sugar fig jam, low sugar peach jam, and chia blueberry jam. I add a tablespoon of jam to about a cup of yogurt. It’s delicious.
Lastly, I really want to try and make vanilla yogurt. It’s just a tiny change in the recipe but I’ve never tried before. Here is a recipe that looks great.
So, if you are looking for a fun recipe, if you are looking to ease into the world of cheese making, if you are looking to save money, or if you are looking to personalize your yogurt experience… This is a great, easy and fun homemade crock-pot yogurt recipe.
You can change it up a bit, you can try to strain your yogurt and make it thicker, or you can try to add flavors to it. Homemade yogurt is a healthy meal or snack and is something that is always in my fridge! If you give it a try, let me know in the comments below how you liked it.
Homemade Crock-Pot Yogurt
Homemade crock-pot yogurt from store-bought milk.
Ingredients
- 1 gallon of store-bough milk (whole or 2%)
- 1 cup of yogurt (make sure that it contains active cultures)
Instructions
- Add your gallon of milk to the crock-pot. Cover the pot and turn the heat to high.
- Let the milk reach 180˚ F. This will take a couple of hours (maybe even a bit longer). Once in a while, come by the pot to check the temperature and stir the milk.
- When the milk reaches 180˚ F, turn the heat off. Keep the pot covered and let the milk cool slowly to 115˚ F. This also may take a couple of hours.
- While the milk is cooling, set your cup of active culture yogurt on the counter so it will come to room temperature.
- When the temperature of the milk reaches 115˚ F, add the cup of yogurt to the milk and mix it in.
- Cover your pot with the lid and then with a large kitchen towel or even a small blanket. We want to try and keep the temperature as close to 115˚ F as we can for the next few hours.
- Let your milk rest, undisturbed in the covered pot overnight.
- In the morning, you'll have yogurt covered with some whey in the crock-pot.
- You can use a spoon, scoop out the whey and then ladle the yogurt into jars and store in the fridge. Your yogurt is ready to use right away but I find that it thickens a bit further in the fridge so I usually let it stay in the fridge for a day before serving it.
If you do it this way you will get about 4 quarts of yogurt but your yogurt will be rather thin. - If you want thicker yogurt, you can line a bowl with cheesecloth and transfer the yogurt to the cloth. Collect the ends of the cloth and tie the cheesecloth. Hang the cheesecloth on one of your kitchen cabinets. make sure to place a bowl under it to catch the whey.
You can strain the yogurt for 2 hours, 4 hours, or even a bit longer. The longer you let it hang in the cheesecloth the thicker it will be.
When your yogurt reaches your desired thickness you can take the cheesecloth down and place it in a clean bowl. Open it and ladle the yogurt into jars for storage in the fridge.
If you choose to strain your yogurt you might get 2 or 3 quarts.
Notes
I usually start heating the milk in the morning. By the time the milk reaches 180˚ F and then cools to 115˚ F it's afternoon. I add the starter culture yogurt and let it be until the next morning.
Remember to save one cup of yogurt from your batch to make the next batch of yogurt. If you do that, you only need to buy yogurt at the store for the first batch.
Serve your yogurt with fresh or dry fruit, with granola or without. You can use it in baked recipes or to make salad dressing. You can use it to make popsicles or in any other recipe that calls for yogurt.
Nutrition Information:
Yield: 16 Serving Size: 1 cupAmount Per Serving: Calories: 134Total Fat: 5gSaturated Fat: 3gTrans Fat: 0gUnsaturated Fat: 2gCholesterol: 20mgSodium: 137mgCarbohydrates: 13gFiber: 0gSugar: 1gProtein: 9g

I can’t wait to try this.
Let me know how it worked out if you can!
I made this yesterday and turned out PERFECT. If anyone is wondering if you can use flavored yogurt. YES you can. I used vanilla and mixed berry.
Awesome! I’ve never tried to use flavored yogurt! Defiantly going to give this a try.
Thanks for stopping by!
I just did this but with 1/2 gallon of raw milk. It is a couple weeks old and a little sour. I woke up and I removed 2 cups of thin whey from the top using this recipe and it looks like there’s still at least 1-2 cups of super thin liquid on top before I get to the yogurt. Is this normal? Salvageable? Anything i can do to thicken it and have more other than have over 1/2 of it whey? Haha help I’m new.
Yes, you can strain it. Look up my recipe for raw milk yogurt. It’s here on the blog. When you use raw milk to make yogurt the yogurt usually turns out thinner. Some people like it that way (because they can easily drink it), but most of the time we strain it. You might need a couple of cheesecloths. I use flour-sack towels from Walmart. They work great.
Thanks for the recipe, I’m really keen to try it! How long would you keepyour homemade yoghurt forin thefridge, before it goes off? Thanks
It can stay in the fridge for weeks! We usually finish it before it goes bad.
I plan on canning some milk and wonder if milk can be used to make yougurt after it has been canned? Has anyone tried this?
I never tried using my canned milk for cheesemaking… I’m curious to know if it works.
Has anyone used raw goat’s milk in the recipe? Does it curdle up and separate as the store-bought does? I am on a long search to make thick homemade raw goat’s milk yogurt and any help would be much appreciated. Will the yogurt get frim enough to strain via a cheesecloth to make greek-style yogurt? thanks!
Ha! I have a raw goat yogurt recipe coming to the blog soon.
Here is the recipe so you have it for now but sign up for my newsletter, I’ll send an email when the step by step picture tutorial is ready.
Bring 2 quarts of raw goat milk to a boil slowly while stirring to prevent scorching (200F-210F)
Remove from heat, cover the pot and let cool to 115F.
Scoop the film that formed over the milk.
Add 1/2 cup yogurt with active bacteria. Cover and let rest overnight.
Transfer to a cheesecloth (I use a flour sack towel), hang until the yogurt reaches your desired thickness (you might need to take it down every few hours, open the cheesecloth and scrape the sides, then hang again.
I hope this helps!
I love this recipe!
I’ve used it several times with both whole milk and with 2%.
Always turns out great.
I strained it the first time but it really does NOT need to be strained.
I add a bit of fruit (strawberries or blueberries) at the end…I’ve also made some with canned peaches… add some Stevia (or sugar) and its delicious.
It is thinner than store bought yogurt but its so rewarding when you see how easy it is to make- WITHOUT any special equipment!!!
Easy and so rewarding!
Agree with everything you said! The yogurt we buy at the store is too thick for me. It’s kinda like cheese… Yogurt should be thin and a little sour. At least that’s how I’m used to it from my home country Israel. Thanks for taking the time to write this! I’m so happy that you like it.
Sounds great. Can’t wait to try it. Thanks.
I like to try this but all I have is favored yogurt fr store can I use it other it has to be plain yogurt
I always used plain… I am not sure if you can use flavored and how it will effect the taste. It will be something to try.
Thanks for stopping by.
You inspire me! There has got to be a dairy somewhere near you where you can get whole milk. My grandpa was a chemist in the dairy industry years ago up in White Horse, Canada and I grew-up hearing stories about drinking fresh ice cold butter milk and making butter from the top cream. I remember eating butter garlic toasted sourdough bread diced with ice cold buttermilk poured over it with fresh cut chives & pepper….and eating gobs of cheese!
I found a farm close to me that sells raw milk but it cost $13 for half a gallon! I can’t afford that. Anyway, I hope to start get milk from our goats in the spring. I never made yogurt from goat’s milk but I am more than willing to try.
How lucky you are to have experienced this amazing food growing up! I love my parents, but they are as city people as city people can ever be! No milking for them. I actually never in my life tried raw milk. I worked at a dairy farm for a few month, but we were not allowed to drink the milk and anyway it went from the machine straight to the tank…
I like the idea of the slow cooker for making yogurt. I am wondering before I try this method if your lids seal like when canning ? I use the same recipe as you exactly but then I put the milk/cultures in pint jars, seal with clean lid/ring then put in water bath that I have heated water to 110F – 120F in a large roaster pan in the oven maintaining the temp. at 110F – 120F for 8-12 hours . When I take them out of the water bath, I take the ring off as in regular canning then clean the lids and edges around lid and refrigerate. I just love homemade yogurt, sometimes I like to make vanilla flavor by adding 1/2 tsp. of real vanilla extract and 1/2 c. agave nectar per. gallon of milk after it reaches 180F then let cool down 110F -120F . Sweeteners can be adjusted to taste . Using honey kills the nutritional properties of the honey due to the milk being to hot even at 110F . Also I hope you save your whey for making bread or even using in place of buttermilk for pancakes even in smoothies. There’s a lot of (wheys) to use it . Thanks in advance about the lids sealing ?
No, the lid doesn’t seal it just covers it. I place a blanket on top to close the little gaps.
I love the recipe for vanilla yogurt. Will try this next time.
Thanks.
Good morning Lady Lee,
Thank you for your responses. Actually what I was wondering about is, when you pour the yogurt into pint jars then put the lid and screw ring on, does the lid pop down in the center making a vacuum seal after they have cooled ? When I make yogurt like I described above, they do seal. Just curious. Cheers have a great day ! ?