This post may contain affiliate links, view our disclosure policy for details.

In this post, I’ll show you how you can quickly turn your raw goat milk into a cheese that you can eat right away or freeze for later. This easy raw goat milk cheese is seriously my favorite way to process goat milk and my favorite way to preserve milk. I make a lot of it since it takes just an hour to make and then freeze the cheese.
I gotta be honest and say that it used to be hard for me to make cheese from raw milk.
I’ve been making cheese for a few years with store-bought milk and it was fairly easy. I assumed that having raw milk would not only make cheesemaking tastier but also easier.
But then I found that many of the recipes I had been using didn’t work very well when I used my raw goat milk.
So I’ve been experimenting and adjusting them a bit and it’s gotten better but I was still looking for a simple raw goat milk cheese that I can make quickly to handle my milk.
Raw Goat Milk Cheese…

I raise Lamancha goats, which are a great breed of milk goats.
I get a little over a quart per milking from each doe… So somewhere around two and a half quarts a day per goat which is a bit over half a gallon.
This is enough for us (a family of five), so during milk season I usually don’t need to buy milk at the store at all. We eat just a little bit of cereal, drink coffee and chocolate milk and so on…
And, of course, I try to make as much cheese as I can.
I think that one of the reasons making cheese with raw milk is a bit hard for me is because you can’t let goat milk sit for too long, even if it’s in the fridge.
After about three days, it gets this ‘goaty’ taste and then when you make cheese the taste gets even stronger.
I know there are a few ways around this. For example, some people say you can freeze your milk, not mix new milk with an older one, separate your buck from does and so on, but really you should try to work with fresh milk anyway.
This means that I have to make cheese every other day and sometimes it’s hard to find the time.
The good thing is that I found a couple of kinds of cheese that takes me very little time to make and that I can then freeze.
The Story Behind This Raw Goat Milk Cheese…

One kind of cheese that is easy to make and doesn’t take much work is this soft cheese (I sometimes make it with cow’s milk and sometimes I make it with goat milk). The other one is the one that I am sharing with you in this post which is a hard cheese.

A few years ago, when we went to visit family in Israel, we visited a ‘professional’ goat herder.
Is there such a thing?
Anyway, this guy spends 10 hours a day herding his 120 goats. In my eyes, he is a professional, no college degree required.
He milks in the morning, opens the gate, travels by foot to the cliffs a few miles away, lets the goats eat, and after hours he uses the dogs to gather them and off they go back home where he will milk them again before finishing the day.
Yup! There are people who still live this way, isn’t that amazing?
His wife receives somewhere between 30 to 40 gallons of milk a day that she processes into simple cheese or yogurt to sell.
She is a professional as well, a professional cheesemaker!
I felt so lucky! The visit with them was amazing, something that I’ll never forget. The fact that they were both kind enough to share their knowledge with me was amazing.
I learned so much about goat care but I especially loved learning how she handles large quantities of milk.
After I came home and tried her recipe, I was amazed at how easy it was to make this raw goat milk cheese and how tasty it is.
But before we start the tutorial let me show you first how I handle my raw milk so you have a better idea of the whole process…
How I Handle Raw Goat Milk…

During the summer I usually milk my goats at 7am and 7pm. If I milk more than one goat, I’ll milk them both into the same bucket.
I bring the milk inside right after I milk…

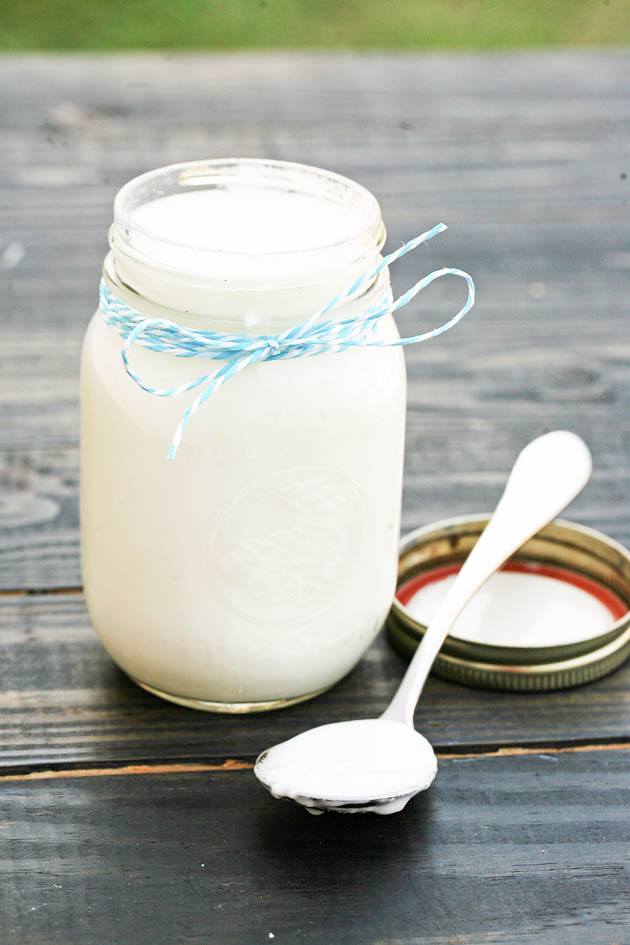
I set a canning funnel on a quart jar and a coffee filter inside it and I run the milk through it from the bucket right into the jar.
Then I close the jar and store the milk in the fridge.
I process two quarts (half a gallon) or four quarts (a gallon) at a time.
Ok, now, before we make this raw goat milk cheese, let’s gather all the equipment that we’ll need…
Tools That We Are Going to Need…
A stainless pot – it’s better if it has a heavy bottom so we don’t scorch the milk when we heat it.
A skimmer – or any kind of stainless spoon for stirring.
A thermometer – we are only going to heat the milk to 80 degrees Fahrenheit so any kitchen thermometer will do here but I am linking to a cheesemaking thermometer just in case you are planning to make other kinds of cheese.
A curd knife – this can be a cheesemaking curd knife or a flat icing spatula or even just a large kitchen knife that can reach all the way to the bottom of the pot.
Measuring cup – 1/4 cup measuring cup to mix the rennet in.
Kitchen gloves – we are going to heat the curds and collect them with our hands. The whey gets hot so I always work with gloves.
Cheese mold – this can be a plastic basket of some sort, a colander, or even a strainer.
A bowl – or a plate. Some sort of dish that we can place the cheese mold with the cheese in and that will catch the whey that is going to come out of the cheese while it’s in the fridge.
Ingredients Needed For This Goat Cheese…
All right, we are going to need raw milk, obviously…
We are also going to need rennet.
And we are going to need 1/4 cup of water.
Will need 1 drop of rennet per 1 quart of milk. The rennet will get mixed into the 1/4 cup of water.
So… If you are processing 2 quarts of milk, dilute 2 drops of rennet in 1/4 cup of water…
If you are processing 3 quarts of milk, dilute 3 drops rennet into 1/4 cup water…
If you are processing 4 quarts of milk, dilute 4 drops rennet into 1/4 cup water…
Are you getting this? Pretty simple, right?
Lastly, we are also going to need a non-iodized salt. This can be Kosher salt, cheese salt, or sea salt.
For a comprehensive list of cheesemaking equipment and ingredients, make sure to visit my cheesemaking equipment post.
Ok, we are ready to go through this raw milk goat cheese recipe. You’ll find all the steps below, however, if you want to have a better understanding of the cheesemaking process, please visit my How to Make Cheese at Home post.
Heating the Milk…

First, I add the milk to the pot.

I set the pot on the stovetop and turn the temperature to medium. I slowly bring the milk to 80 degrees Fahrenheit while stirring almost constantly to make sure it doesn’t scorch.
When the milk reached 80 degrees Fahrenheit I turn the heat off and remove the pot from the heat.
Adding the Rennet…

I add the rennet to the 1/4 cup of water and mix…

Then, I add the diluted rennet to the milk…

And stir immediately.

I cover the pot and let the milk rest for an hour to coagulate.
Cutting the Curds…

After an hour, the milk is set.
If your milk is not completely set after an hour give it a little bit longer.

I use my straight icing spatula to cut the curds.
I cut vertically into 1/2 inch wide rows and then again at a 90-degree angle. It’s important to make sure that your knife reaches all the way to the bottom of the pot.
After cutting, I let the curds rest for a minute or two.
Heating the Curds…

While the curds are resting, I set a cheese mold over a plate or over a bowl to catch the whey.
I brought the basket in the picture above from Israel. I received it as a gift from the lady who taught me how to make this cheese. Lately, I have also started using just a regular strainer. It works well too.

So, after I let the curds rest for a few minutes, it’s time to heat them.
I place my pot on the stovetop and turn the heat to medium-high. I start by gently stirring with the skimmer…

After a few minutes, it’s time to get there with my hands (which is where the gloves come in handy)…

I stir the curds, then let them rest a moment, stir them again, let them rest a moment…
Then I gently start collecting them…

Until all of them stick together and I can collect them in my hand in a big ball.
I have to stop here for a moment and say that this is a really magical moment!
Salting the Cheese…

I transfer this ball to the mold and press a little to squeeze most of the whey out before I salt the cheese.
I use 2-3 tablespoons of kosher salt most of the time but you can also use cheese salt or sea salt.
I sprinkle about a tablespoon of salt on the top and then lift the cheese out of the mold, turn it, and sprinkle the other side with salt before I put it back.
Don’t worry about the amount of salt. It will help get the whey out and will make the cheese hard.
If the cheese is too salty for you when you eat it you can just rinse it under cold water. It won’t ruin the cheese, it will just wash some of the salt away.
I cover my cheese with plastic wrap and set it in the fridge (while it’s still in the mold). It’s ready to eat pretty much immediately but you might want to let the salt dissolve first and the cheese to cool down a bit and harden.
I usually leave it in the fridge overnight before I serve it.
Serving Raw Goat Milk Cheese…

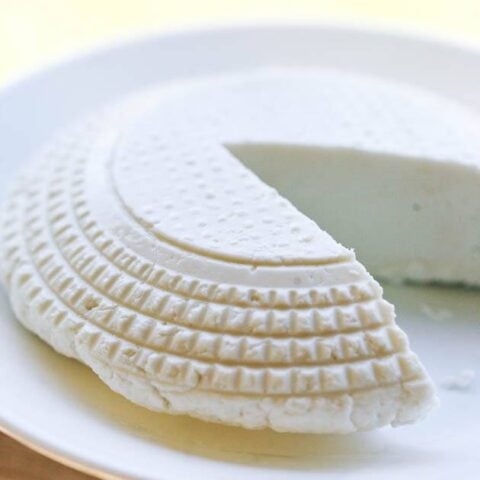
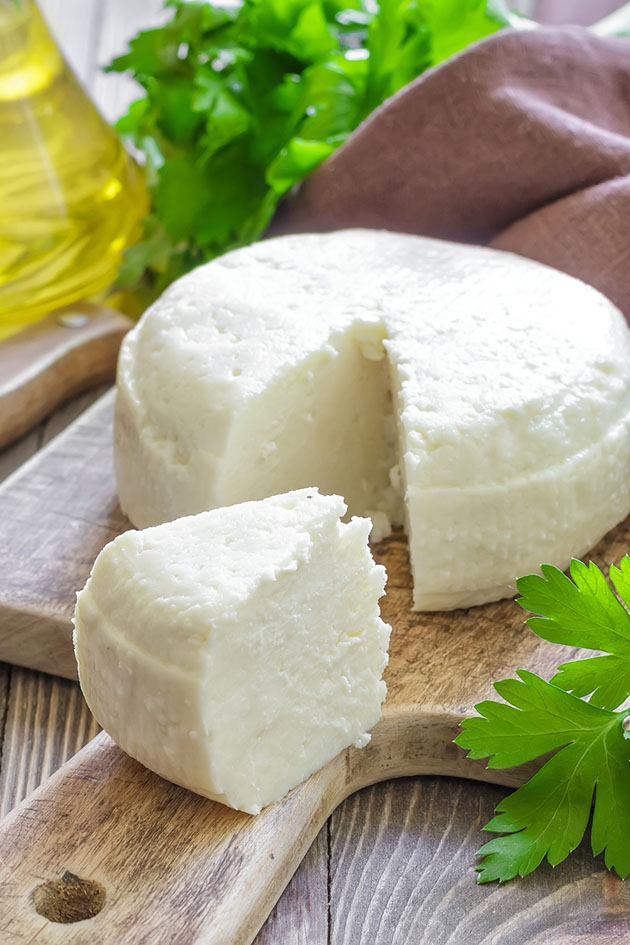
When we are ready to eat the cheese, I take it out of the mold and flip it on a clean plate so the round and nicer looking side is on top.
This cheese is so fresh it squeaks between your teeth!
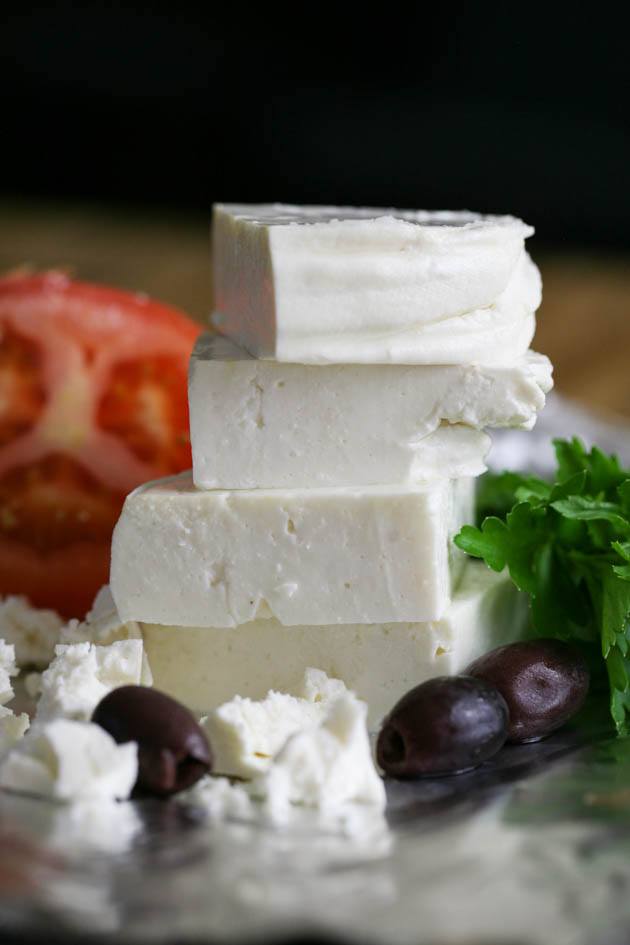
I cut thin pieces and we eat it as a snack or on toast or in salads. It can replace feta cheese in recipes or you can add it to casseroles (here is my favorite zucchini casserole and my pumpkin and feta salad).

It has a very gentle goat cheese taste and I love the texture. It’s not super hard but not soft or spreadable either.
This is a regular cheese at our house. I am pretty sure you can do the same thing with raw cow’s milk as well but I’ve never tried. Also, remember that you can freeze it easily and it will last for a long time.
Just wrap it in plastic food wrap and stick it in the freezer. Let it thaw completely before you serve it.
If you give this a try, comment below and let me know how you liked it.
And if you liked this recipe, make sure to check these ones as well…
Homemade Crockpot Yogurt From Store-Bought Milk
Easy Raw Milk Goat Cheese
Easy and delicious raw goat milk cheese.
Ingredients
- 4 quarts raw milk
- 4 drops of rennet diluted in 1/4 cup cold water
- Cheese or kosher salt
Instructions
- Add the milk to a heavy bottom stainless pot. Set on the stovetop and heat the milk to 80˚F over medium heat, stirring constantly so the milk doesn't scorch.
- Remove the milk from the heat, add the rennet/water mixture and stir well with a slotted spoon.
- Cover the pot and let the milk coagulate for 1 hour. After one hour, your milk should be set. If it's not, give it a few more minutes until it is set.
- Use a curd knife or an icing spatula to cut the curds. Let the curds rest five minutes.
- Place the pot on the stovetop and turn the heat to medium-high.
- Start by mixing the curds with a skimmer or a spoon. After a few minutes, put your kitchen gloves on and start mixing the curds with your hands.
- The curds will start to harden. Keep collecting them into one side of the pot until they start sticking to each other and you are able to collect them into a ball.
- Transfer the ball of cheese to a cheese mold and gently press the cheese to get more whey out (there won't be a lot of it left).
- Salt your cheese from both sides and place back in the mold. Cover with plastic wrap and place in the fridge.
- After a few hours, take the cheese out of the mold and turn it over on a clean plate. If it's too salty for you, you can rinse it under cool water.
- Let the cheese rest and harden in the fridge overnight before you serve it.
Notes
Don't worry about salting the cheese too much. If you find that the cheese is too salty for you when you are ready to serve it you can simply rinse it with cold water.
This will not ruin the cheese. It will just wash some of the salt away.
This cheese is great for freezing. You can wrap all of it or some of it with plastic food wrap and set it in the freezer. It will last for months. Make sure to let it thaw all the way before serving.
I've never tried, but I don't see why you won't be able to do the same with raw cow's milk as well!
Also, just remember to always use 1/4 cup of cool water and then 1 drop of rennet per quart of milk. If you process 3 quarts of milk, mix 3 drops of rennet into 1/4 cup of water and so on.
Nutrition Information:
Yield: 16 Serving Size: 1Amount Per Serving: Calories: 132Total Fat: 5gSaturated Fat: 3gTrans Fat: 0gUnsaturated Fat: 2gCholesterol: 21mgSodium: 175mgCarbohydrates: 12gFiber: 0gSugar: 0gProtein: 9g

Hello! This is my first time making goat cheese and my cheese tastes like goat. Not in a good way. Is there something I can do to prevent that?
You have to make cheese right after you milk. The longer the milk sits in the fridge, the more of a goat taste the cheese will have.
perfect!!!!!! my cheese came out awesome thank you so much for this recipe
Yayyy! So glad it worked for you.
I really want to try to make this cheese. I would like to print out the recipe but when I Push the print icon.It will not do anything I cannot friend it. Is there something I need to do to make it work
Not sure why it won’t work! I send you an email with the print page. See if you can open it this way. Please let me know.
have you ever added fresh chopped herbs into the milk when making this cheese? Wonder I’d you can flavor the cheese this way.
Yes, you can! You can do chopped herbs or powder seasoning.
very helpfull many thanks i milk 2 goats and have a gallon of milk a day to use so will be trying new stuff all the time
It’s easy! I hope you’ll like it.
Made this and it turned out great! Can you add salt to the inside and mix it in? It seemed a bit bland to me and would love to add something. I
I think you can. I find that if you add salt to the outside and let it sit for a day of so in the fridge, the salt will be absorbed by the cheese and it makes it salty this way. But you can definitely try to add it in there and see what happens.
Thank you for your easy to follow guidance. I recently got three mini Lamachan goats and one was in milk! Had to learn quick how to milk a goat and how to use the milk. Had great success with your process for the hard cheese and can’t wait to try the soft cheese receipe.
Yay! The soft cheese is just as easy! Nothing like homemade goat cheese.