Homemade Soft Cheese Recipe
This post may contain affiliate links, view our disclosure policy for details.
This homemade soft cheese is really easy to make. I make it here with store-bought milk but it can be done with any kind of milk. This is a basic recipe for homemade soft cheese that you can season however you want.
If you are new to cheesemaking this homemade soft cheese is a great place to start.
You don’t have to have raw milk, you don’t have to have fancy goat milk (although this cheese will work amazingly well with goat milk), You don’t have to have an expensive cheese press, or cheese molds, or other crazy equipment.
This recipe will produce a lot of soft, spreadable cheese that you can season however you like.
Homemade Soft Cheese Recipe…

Our favorite thing to add to it is olives. So in this post, I will show you how I make it with olives and then at the end I’ll have a list of other things you can season it with instead or in addition to the olives.
Equipment Needed to Make This Homemade Soft Cheese…
Let’s go ahead and gather our cheesemaking equipment before we start making this soft cheese…
I got some of my equipment from Hoegger Supply Company and some of it from Amazon and local stores.
A stainless pot – this pot has to be big enough to hold a gallon of milk and it’s important that it has a heavy bottom so the milk doesn’t burn. There are many fancy cheese pots (they call them cheese vats) but I just use a regular pot and make sure to mix my milk as I heat it.
A thermometer – I use my cheesemaking thermometer but we are only going to heat the milk to 80? F so any kitchen thermometer will work.
Measuring spoons – you’ll need a tad (1/8 of a tablespoon) and a tablespoon.
Measuring cups – to dilute the rennet and calcium chloride if you use it (if you use store bought milk).
And a long, slotted spoon – to stir the milk.
Cheesecloth – this link is to the real cheesecloth but I’ll tell you a secret… I use flour sack towels that I find at the local Walmart as my cheesecloth. They work better than any cheesecloth I have ever owned.
Mixing bowl – we’ll hang the cheese to drain above the mixing bowl.
Ingredients For This Homemade Soft Cheese…
A gallon of milk – again, this can be any kind of milk. In this post, I used store-bought whole milk. I also make this cheese with goat milk.
1/8 teaspoon DVI Chevre Culture – I got mine from Hoegger Supply Company.
Diluted rennet – I am using liquid rennet. We are going to dilute 3 drops of rennet in 1/3 cup of water and then we’ll use two tablespoons of that to make this homemade soft cheese.
1/2 teaspoon calcium chloride – mixed in 1/4 cup cool water. This is optional. You will use calcium ONLY if you make your cheese with store-bought milk. If you use raw milk, there is no need to use calcium chloride.
Here is the thing about calcium chloride…
It’s only used when making cheese with store-bought milk. Since store-bought milk has been processed (homogenized and pasteurized) it will not give a good set without the addition of calcium chloride.
However, soft cheese, since it doesn’t have to have a hard set does not require calcium chloride. So if you like, you can leave this out. I use it because I like my cheese a bit on the firm side.
1 teaspoon salt – use cheese salt or kosher salt (non-iodized salt).
Lastly, green olives or any other seasonings that you’d like. You’ll find a list of options at the end of the tutorial.
For a comprehensive list of cheesemaking equipment and ingredients, make sure to visit my cheesemaking equipment post.
Ok, we are ready to go through this soft cheese tutorial. You’ll find all the steps below, however, if you want to have a better understanding of the cheesemaking process, please visit my How to Make Cheese at Home post.
How to Make Soft Cheese…
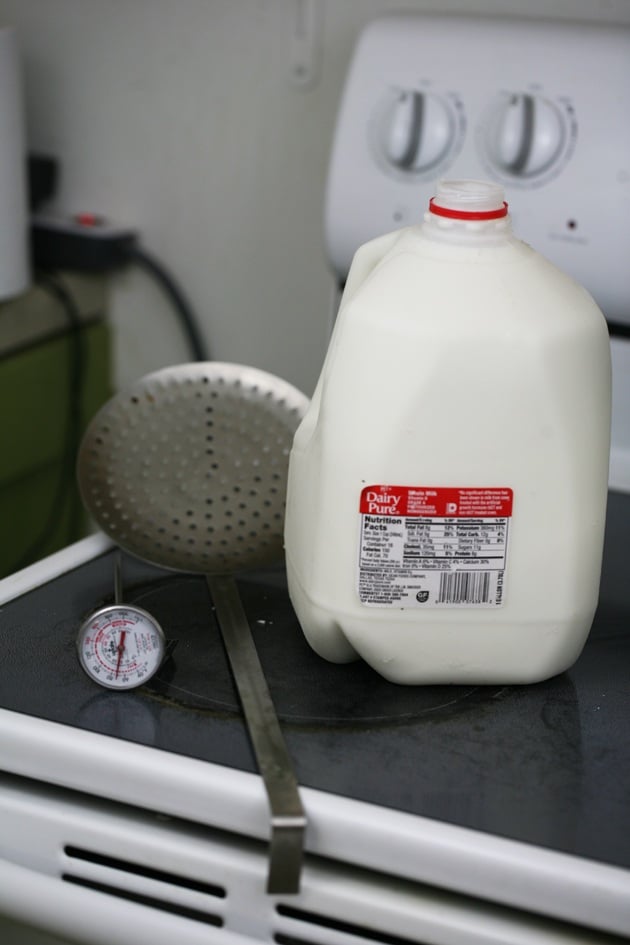
I used a gallon of store-bought whole milk in this recipe but you can make it with 2% milk or, of course, raw cow milk. Goat milk will work great as well.
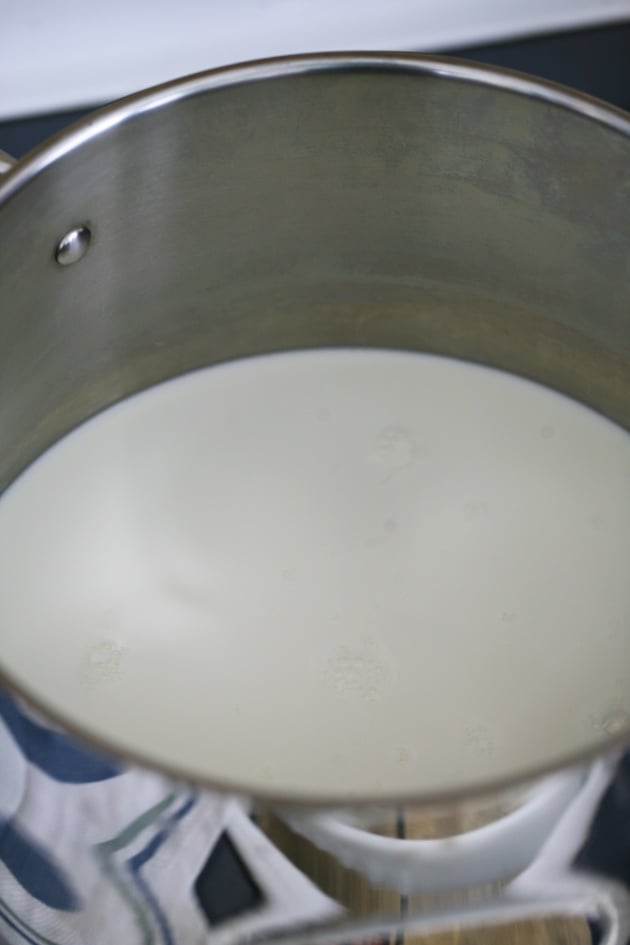
I add my milk to a stainless steel clean pot and with the slotted spoon stir the milk while heating on medium heat to 80F…
Adding the Culture, Calcium Chloride, and Rennet…
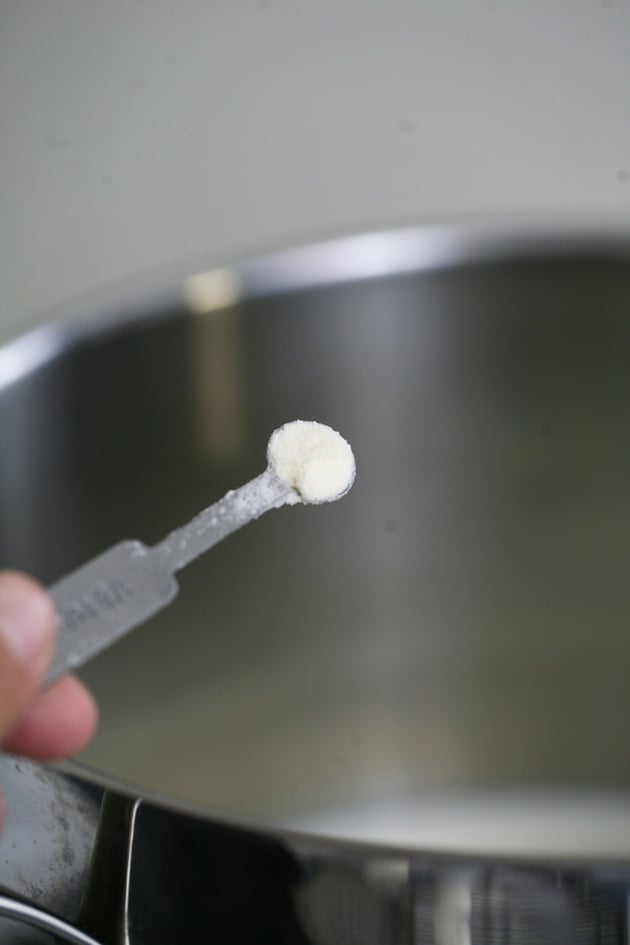
Once the milk is at 80F, I remove the pot from the heat and add 1/8 teaspoon of the DVI chevre culture…
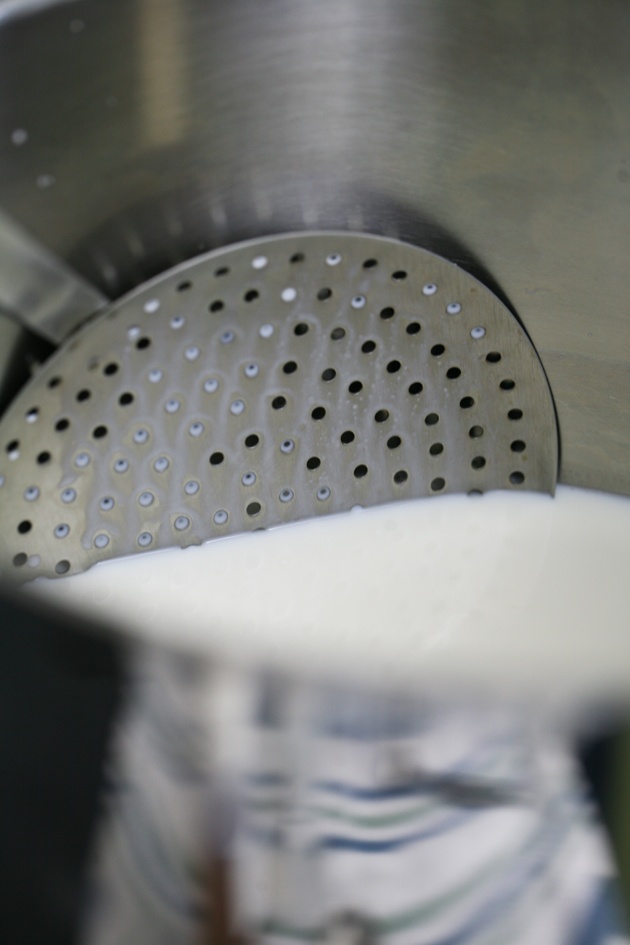
Then, with my slotted spoon I stir it in well until it dissolves in the milk.
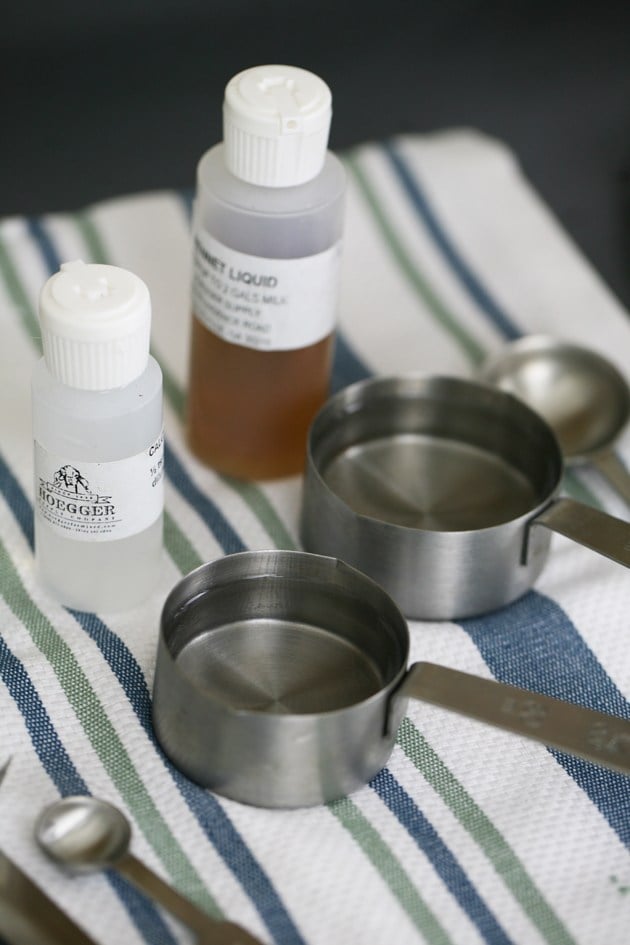
Next, I dilute 3 drops of liquid rennet in 1/3 cup of cool water, and 1/2 teaspoon of calcium chloride in 1/4 cup cool water.
Make sure to leave the calcium chloride out if you are using raw milk.
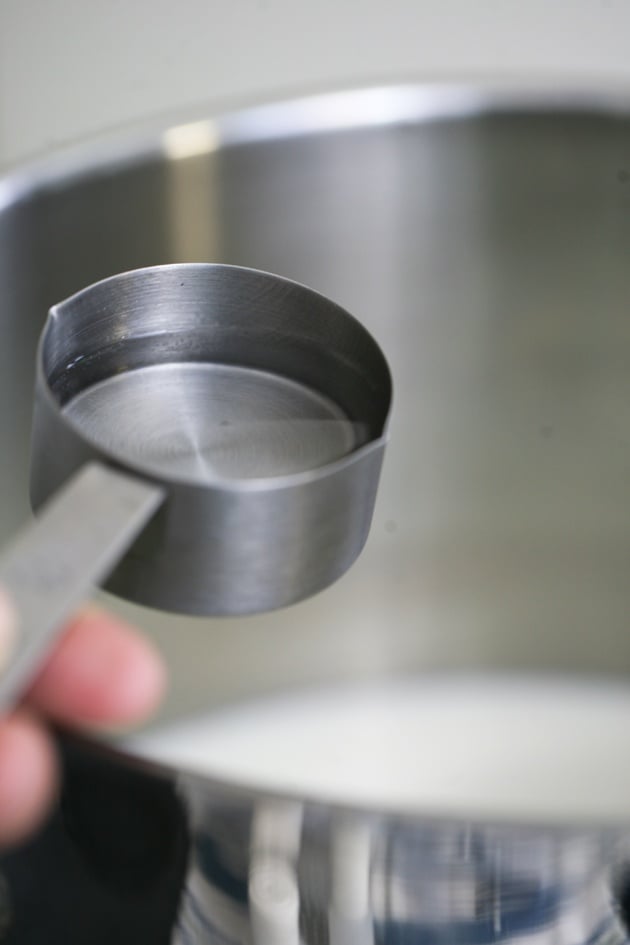
I add the 1/4 cup of water and calcium chloride to my milk…
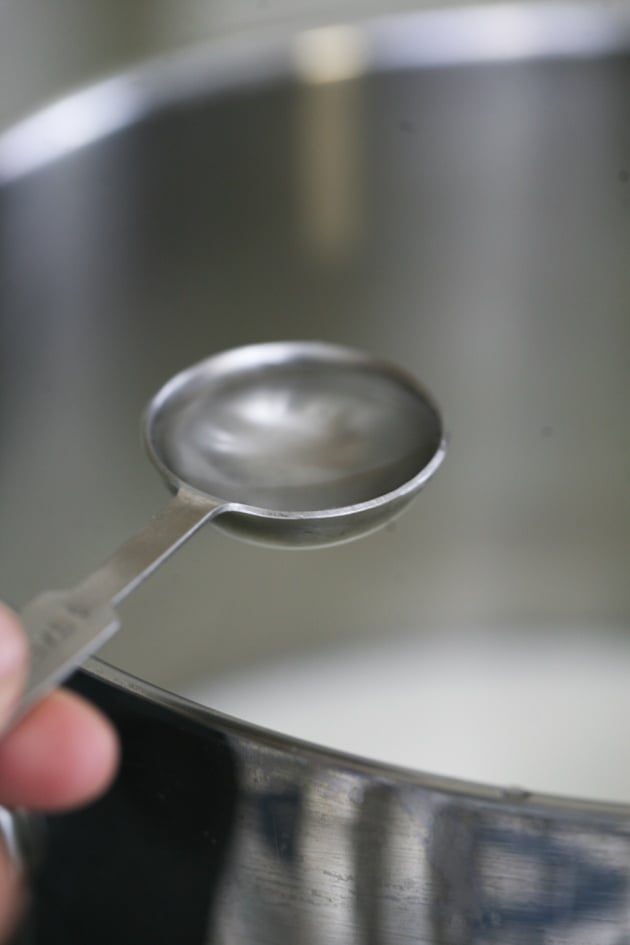
Then, I grab the cup with the diluted rennet and add two tablespoons of diluted rennet to my milk (NOT the whole cup, just two tablespoons).
I stir the rennet and calcium in for a few seconds with the slotted spoon…
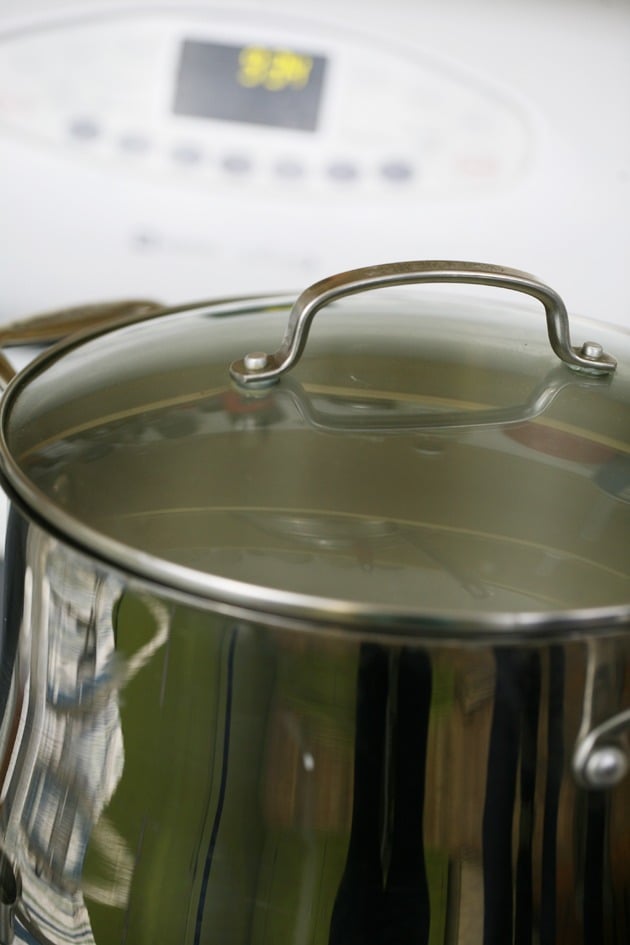
Then I cover my pot and that’s it! For now… I let the milk sit for 8 to 12 hours (usually overnight).
Hanging The Coagulated Milk…
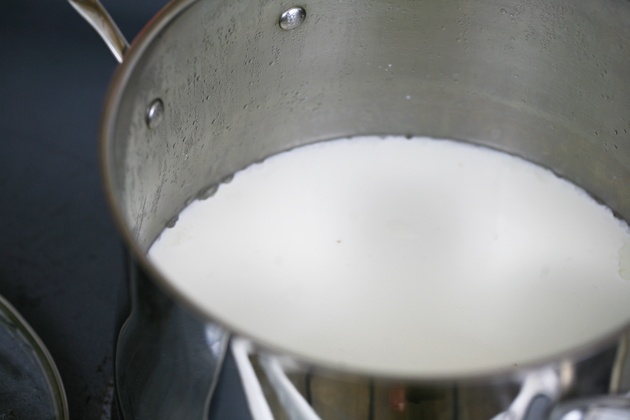
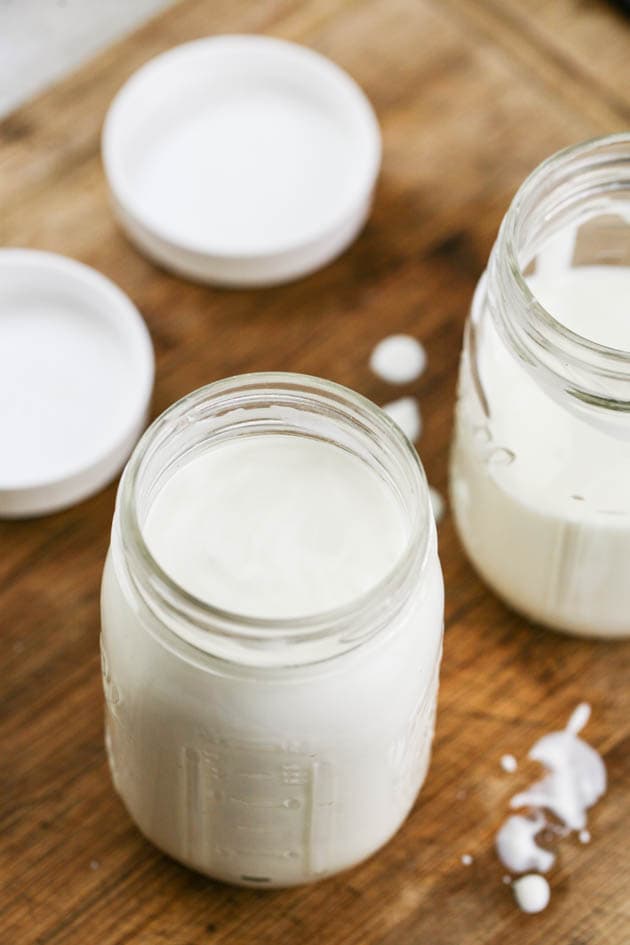
In the morning, my milk looks just like yogurt…
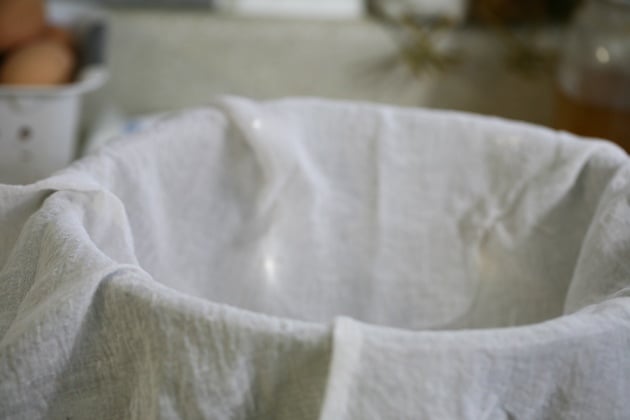
I line a big bowl with cheesecloth…
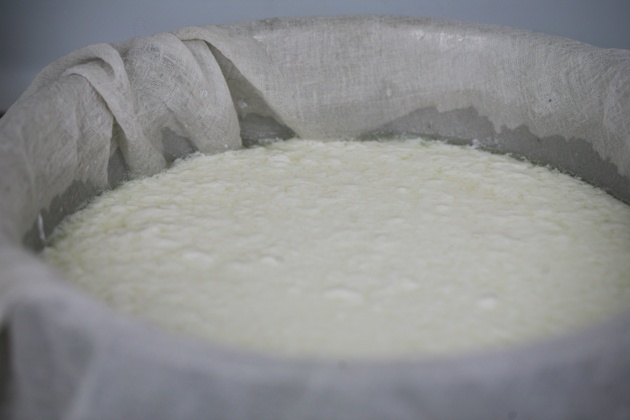
And pour my yogurt-looking milk into it…
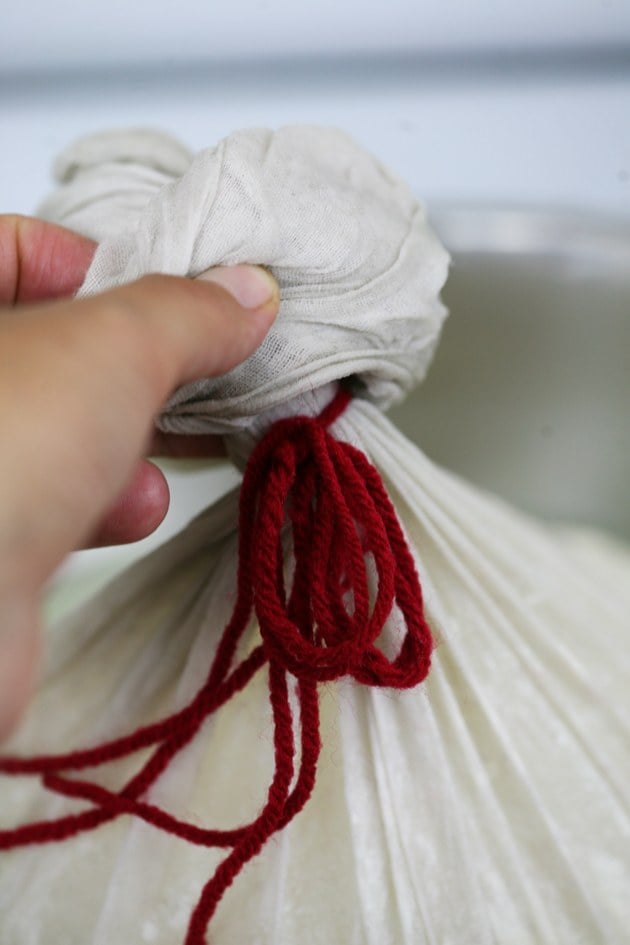
I gather the ends of the fabric and tie the bag. I use yarn but you can use any type of string or shoelace…
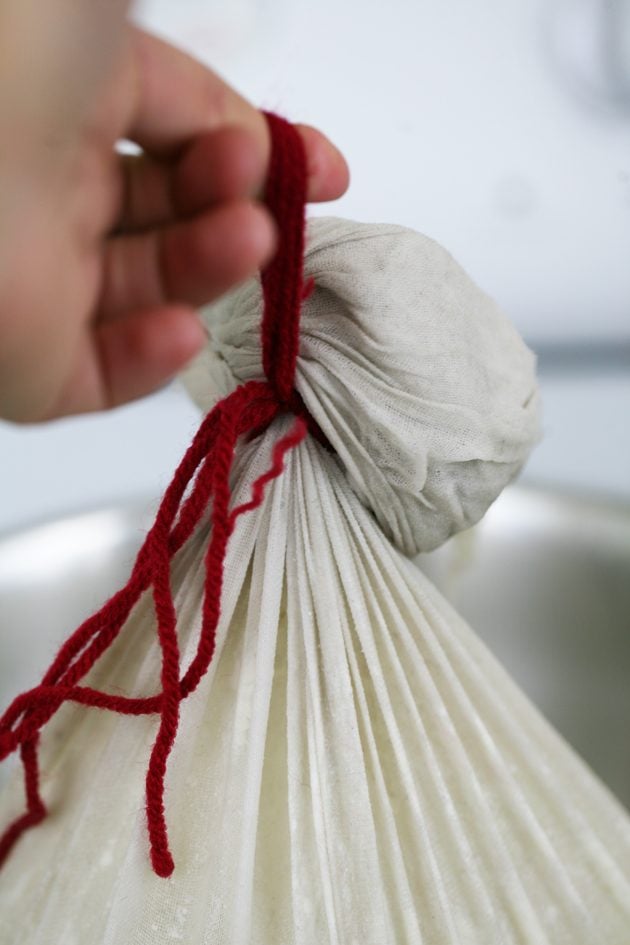
I gather the loops and hang the bag over the bowl (I hang it on the handle of my upper kitchen cabinets) to drain.
The length of time for draining depends on how firm you like your cheese.
I usually leave it hanging for the whole day and get to the last part after the kids go to sleep that night. But I will say that you have to leave it a minimum of 6 hours.
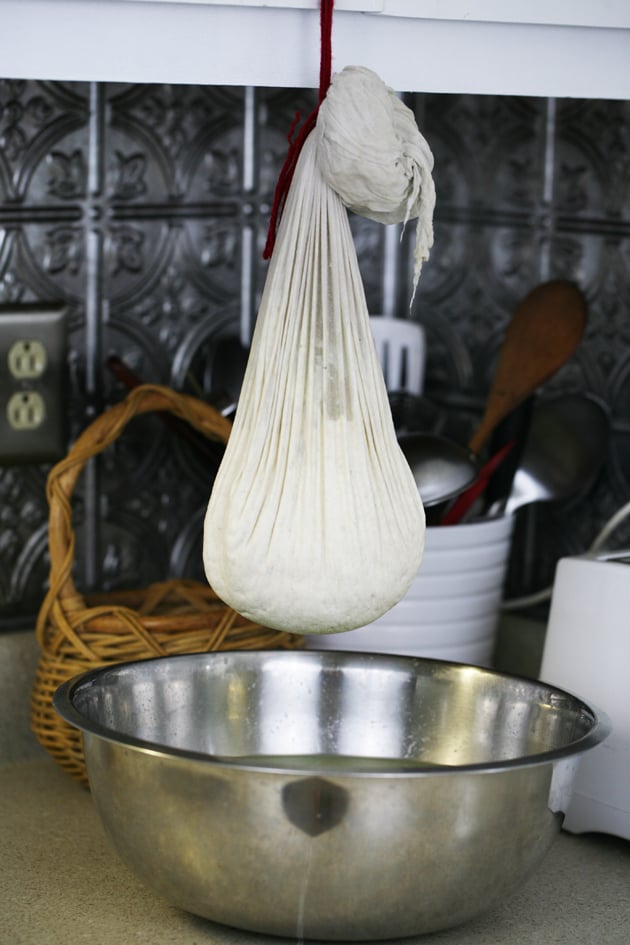
This is how it look after hanging all day.
Sometimes, during the day as it’s hanging, I move the curds inside the cheesecloth a bit by lifting the cheesecloth here and there to help the whey drain quicker.
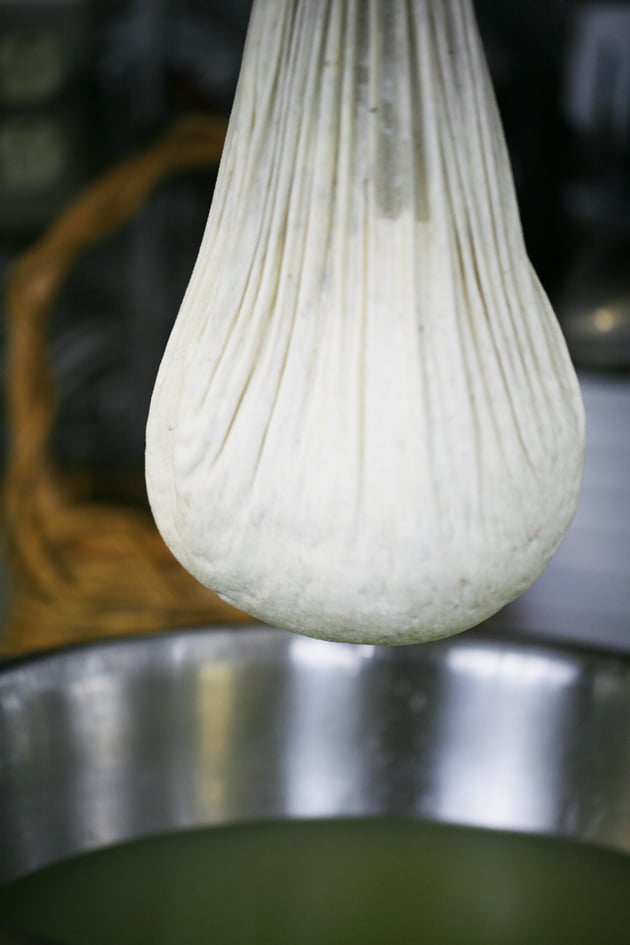
Another look. It’s now ready for the last part.
Don’t forget to keep your whey for bread making or to give to the animals. I give it to my dog and chickens sometimes, however, did you know that you can also make ricotta from whey?
It’s a great way to make one more kind of cheese before using the whey for something else.
Seasoning Homemade Soft Cheese…
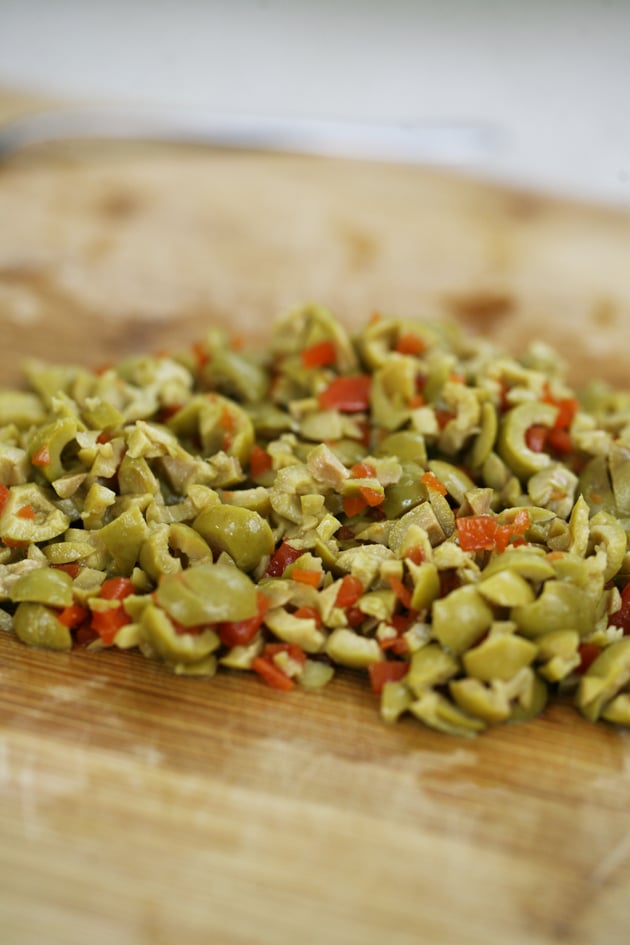
I love adding green olives to my homemade soft cheese. I grew up in Israel and in Israel we have this delicious white soft cheese with green olives that is so popular.
There isn’t an Israeli who didn’t grow up eating spreadable soft cheese with green olives!
There is no way to find it here in the U.S. so this is my way of making my own.
I chop about 1 1/2 cups of green olives (or any other kind of olives) into small pieces and set aside…
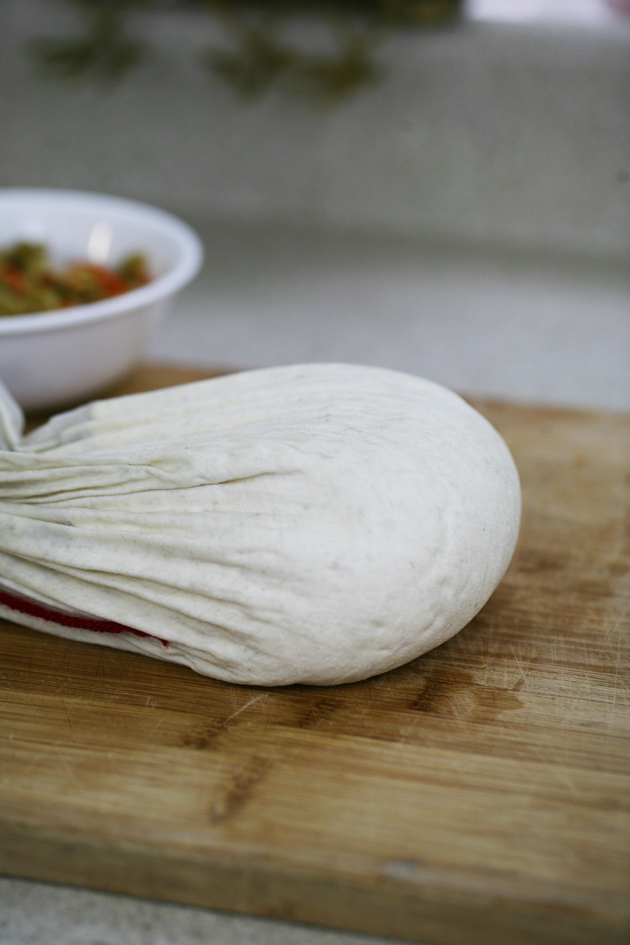
Then, I place my cheese on the cutting board…
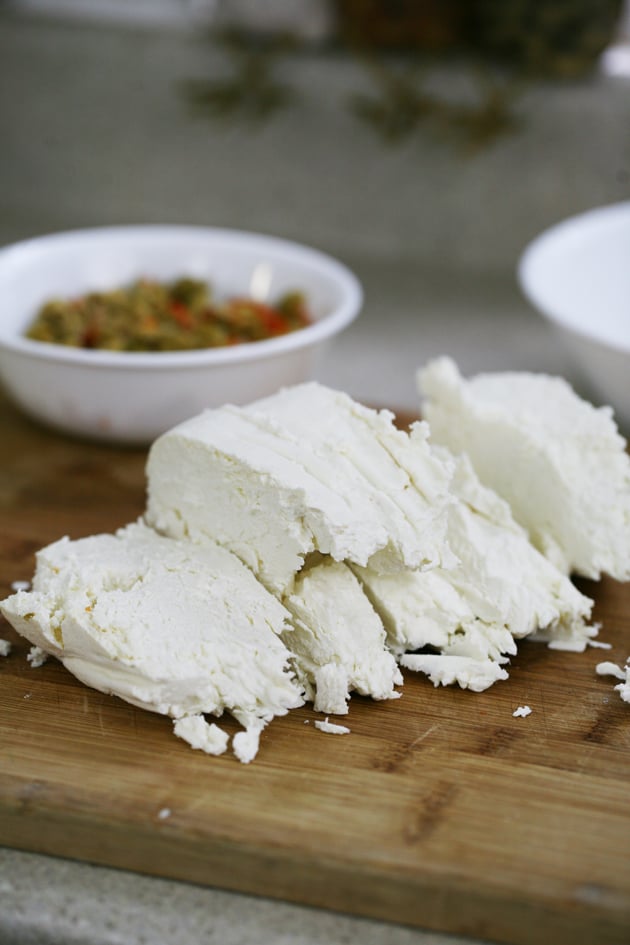
Take it out of the cheesecloth and cut it into big chunks…
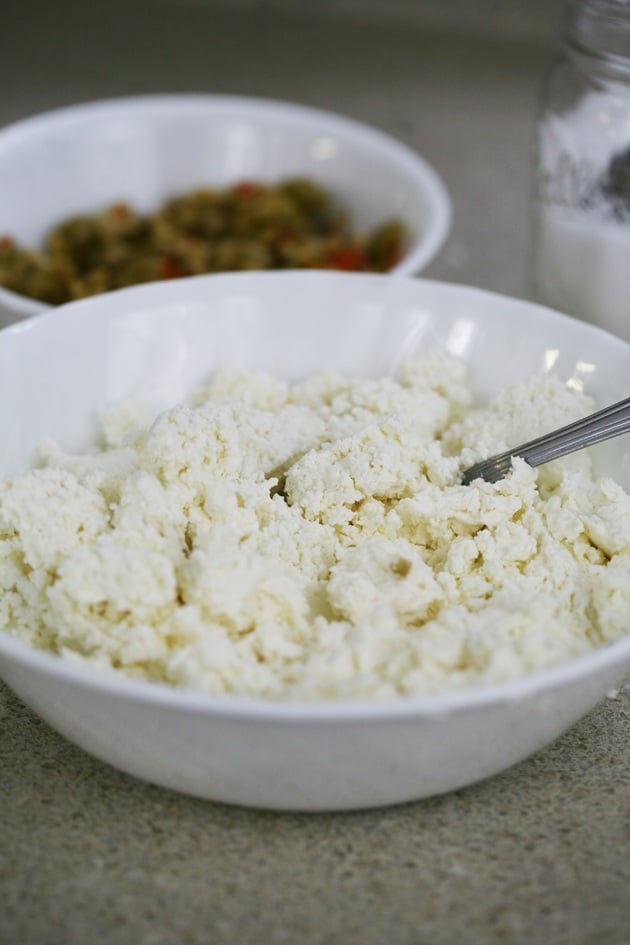
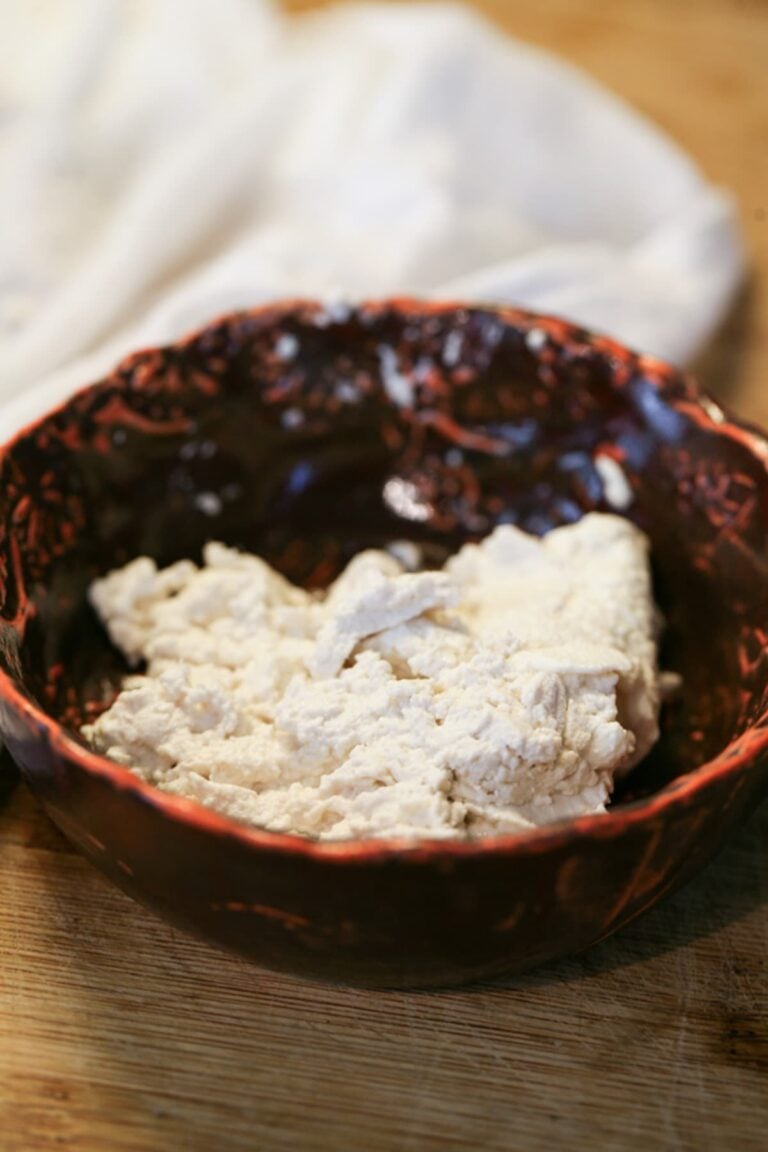
I transfer it to a bowl and crumble it…
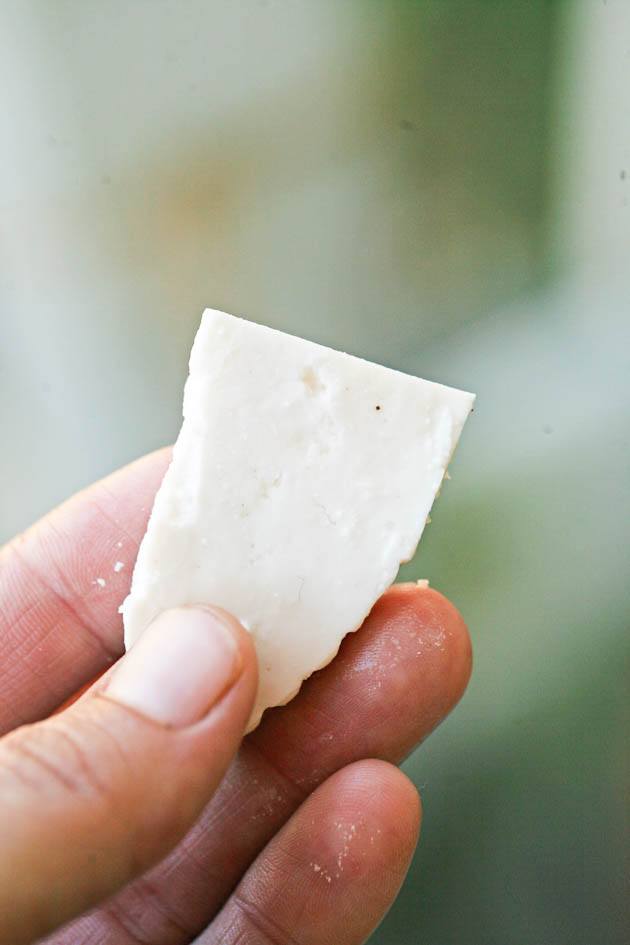
Again, if you want your cheese to be less crumbly and softer, you just hang it for less time.
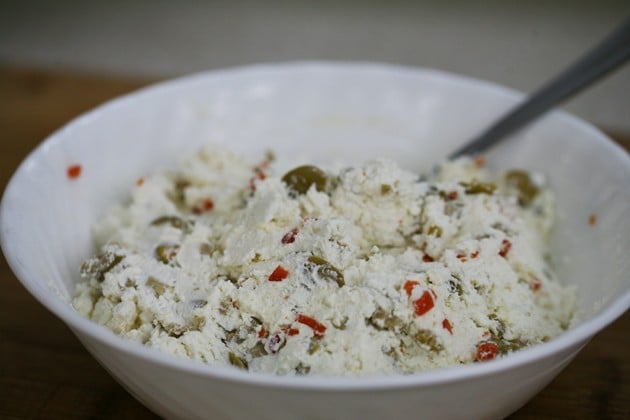
I add a teaspoon of cheese salt or kosher salt and add my olives. I mix it all together and that’s it!
The cheese is ready to eat right away. Of course, I keep it refrigerated.
Homemade Soft Cheese Schedule…
I want to share with you my timeline for making this cheese. It really is just a few minutes here and there…
At night:
- Heat milk.
- Add culture, rennet, and calcium (if using).
- Stir.
- Cover.
- Go to sleep.
In the morning:
- Transfer cheese to a cheesecloth.
- Hang to drain.
That night:
- Transfer the cheese to a mixing bowl.
- Add olives and salt and mix.
- Refrigerate.
Easy-peasy right?
Soft Cheese Seasoning Options…
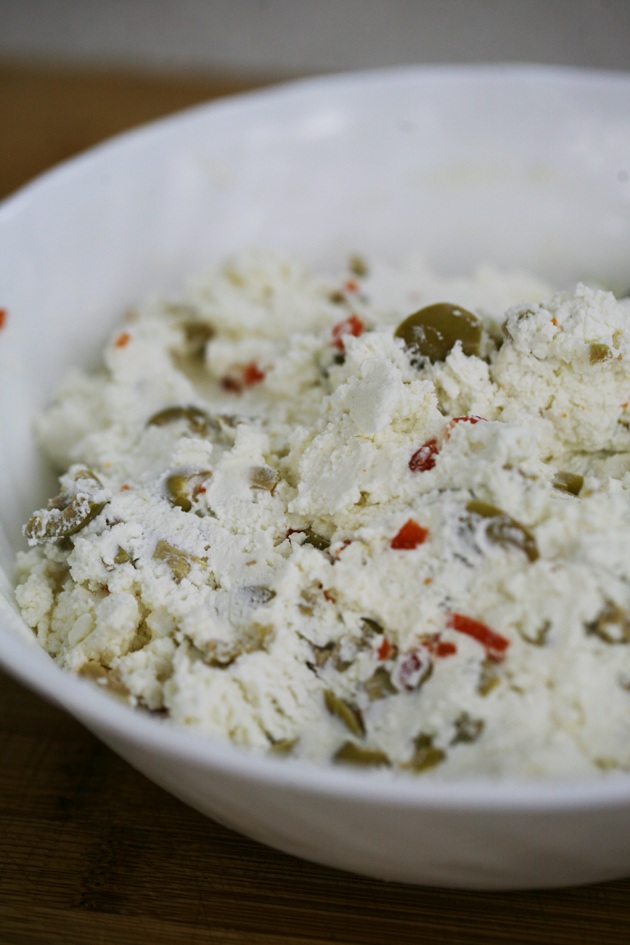
There are a ton of things you can add to this cheese to season it:
- Any kind of olives; black, green, whatever…
- Black pepper or paprika.
- Cayenne pepper or jalapenos if you want spicy cheese.
- Red pepper, green pepper, orange pepper, roasted pepper, you get the idea…
- Garlic, crushed or minced.
- Chives, dill, or green onions.
- Or you can just leave it plain and just salt it a bit…
- Or you can try to make it sweet too. For example, add blueberries or strawberries or raspberries… Or, use dry fruit like cranberries or dried cherries…
If you are going for a sweet option, make sure to add sugar or honey instead of the salt.
Making homemade soft cheese doesn’t have to be complicated.
Make sure you have the right equipment on hand before starting but if you invest a little bit in buying good equipment it should last for a long time.
Also, the rennet and culture will last you for a long time too, just make sure you keep your culture in the freezer and your rennet and calcium in the fridge.
You know those seasoned little containers of cream cheese? If I am not mistaken, those cost between $3-$4.
With one gallon of milk, around $3, you can make a whole lot more cheese, probably 5 or 6 times the amount. 2 cups of cheese = 1lb, this recipe will give you around 3 cups.
You will have the investment in equipment at first, but it should still be much more economical, healthy, and fun to make your cheese at home!
If you liked this post, Make sure to check these as well…
Homemade Crockpot Yogurt From Store-Bought Milk
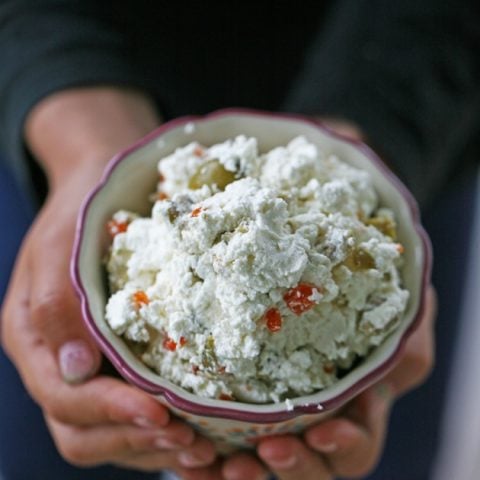
Homemade Soft Cheese Recipe
Simple homemade soft cheese recipe with store-bought milk (you can also make it with raw milk). This is a simple soft cheese that you can season however you'd like.
Ingredients
- A gallon of milk
- 1/8 teaspoon DVI Chevre Culture
- 2 tablespoons diluted rennet - dilute 3 drops in 1/3 cup of cool water
- 1/2 teaspoon calcium chloride mixed in 1/4 cup cool water (only if you are using store-bought milk)
- 1 teaspoon cheese salt or kosher salt
- A cup and a half of Green olives or any other seasonings you'd like to add
Instructions
- Add milk to a stainless steel pot and heat the milk on medium heat to 80˚ F stirring constantly.
- Remove from heat, add culture, and stir to dissolve.
- Add the diluted rennet and stir.
- Add the calcium chloride only if you are using store-bought milk. If you are using raw milk there is no need to add calcium chloride.
- Cover the pot and let it stand overnight (at least 8 hours).
- Line a bowl with cheesecloth and transfer the coagulated milk from the pot into the cheesecloth. Collect the corners of the cloth and tie the cheesecloth. Hang it above the bowl to let the whey drain. Draining usually takes 8-10 hours. Once in a while, you can move the cheesecloth a little bit to help the cheese drain.
- When the cheese has drained to your desired consistency, untie the cheesecloth and transfer the cheese to a mixing bowl.
- Add salt and mix it in.
- Your cheese is ready. You can keep it in a container in the fridge or you can place it on a plastic food wrap and roll it into a cylinder.
You can season it however you want (check notes for ideas for seasonings). If you made a cylinder you can roll it in the seasonings.
I like to add green olives to my cheese so I dice the olives and mix them into the cheese.
Notes
Homemade soft cheesemaking schedule...
Heat the milk and add the culture, rennet, and calcium at night before you go to sleep.
In the morning, hang your cheese.
At night, transfer to a container, salt, and store in the fridge.
Options for add-ins and seasonings...
- Any kind of olives; black, green, whatever...
- Black pepper or paprika.
- Cayenne pepper or jalapenos if you want spicy cheese.
- Red pepper, green pepper, orange pepper, roasted pepper, you get the idea...
- Garlic, crushed or minced.
- Chives, dill, or green onions.
- Or you can just leave it plain...
- Or you can try to make it sweet too, for example, add blueberries or strawberries or raspberries. Then instead of the salt add a bit of sugar or honey. You can also try adding dry fruit like cranberries or dry cherries.
Nutrition Information:
Yield: 48 Serving Size: 1 tablespoonAmount Per Serving: Calories: 45Total Fat: 2gSaturated Fat: 1gTrans Fat: 0gUnsaturated Fat: 1gCholesterol: 7mgSodium: 104mgCarbohydrates: 4gFiber: 0gSugar: 0gProtein: 3g

Hi! I’m Lady Lee. I help homesteaders simplify their homesteading journey while still producing a ton of food! I am a single mother of four, I was born in Israel and raised in an agricultural commune called a Kibbutz. Now I homestead in central NC.


If I’m using raw cows milk, do I need the chèvre culture?
Yes. Follow the recipe no matter what type of milk you are using.
Could you use this cheese as a cream cheese substitute in cheesecake?
The texture of this cheese is somewhere between ricotta and cream cheese so I think that it should work, however, I’ve never tried.
I attempted to make your recipe for ricotta cheese from Whey and all I ended up with was hot Whey. It did not form curds at all, I ended up pouring it down the drain.
What kind of cheese did you make? Is your whey a result of cheese that was made with vinegar?
love this recipe. Sadly my store ran out of Rennet and I had to switch brands. Now my cheese isn’t coming out tbe same. If I double the milk do I double the amount of rennet as well? Yesterday it squeaks when you bite it and the texture isn’t like the soft cheese, my last batch was more like a cottage cheese. Not sure what to adjust.
If you double the recipe you should double everything (the rennet as well). However, I find that different brands of rennet act a bit different… So the rennet is what coagulates the milk. If you find that the cheese has more of a hard texture to it, you might need to use less rennet.
Also, new rennet is stronger than older rennet. So if you just bought a new bottle of rennet it might be stronger than what you had before.
It’s hard to tell you for sure, unfortunately… You’ll just have to experiment.
That’s a BEAUTIFUL THING! I think you just hooked me into trying to make cheese!
Easy, right? And you get so much cheese! I can’t wait to try it with raw goat’s milk. My new La Mancha goat is supposed to be here by the end of the month.