This post may contain affiliate links, view our disclosure policy for details.

Learn how to make creamy, homemade goat cheese with this easy step-by-step guide. Perfect for beginners, using simple ingredients for delicious results!
Lady Lee’s Note…
I love goat cheese! I’ve always loved goat cheese. Where to some people the flavor might be too strong; for me it’s delicious. I use goat cheese in salads and casseroles or just on a cracker or on a toast. It’s one cheese that I had been wanting to learn how to make for years before I started raising goats.
In fact, I so wanted to make it that I ended up making it with store bought cow’s milk! The cheese turned out to be a great soft cheese, you can go through the soft cheese tutorial here on the blog, but it wasn’t really goat cheese… It lacked that goat cheese taste. If you’ve landed here, I assume that you have access to raw goat milk and that you want to learn how to make goat cheese with it…
Well, you have landed in the right place because I am going to show you step by step how I turn my raw goat milk into a delicious soft goat cheese. And I bet that you’re going to be surprised at just how simple it is!
What is Chevre Cheese?
Sometimes, you’ll hear people call goat cheese Chevre cheese. Chevre means goat cheese in French or in other words, cheese that was made from goat’s milk. Chevre cheese, or goat cheese, came from France and is a delicious sort of cheese that is low in fat and high in vitamin A and potassium.
Many people who have difficulties digesting cheese that is made from cow’s milk are able to handle goat cheese easily since it’s lighter, so even if you have someone in the family who stays away from dairy, they might want to give goat cheese a try.
How Much Goat Milk Does it Take to Make Cheese?
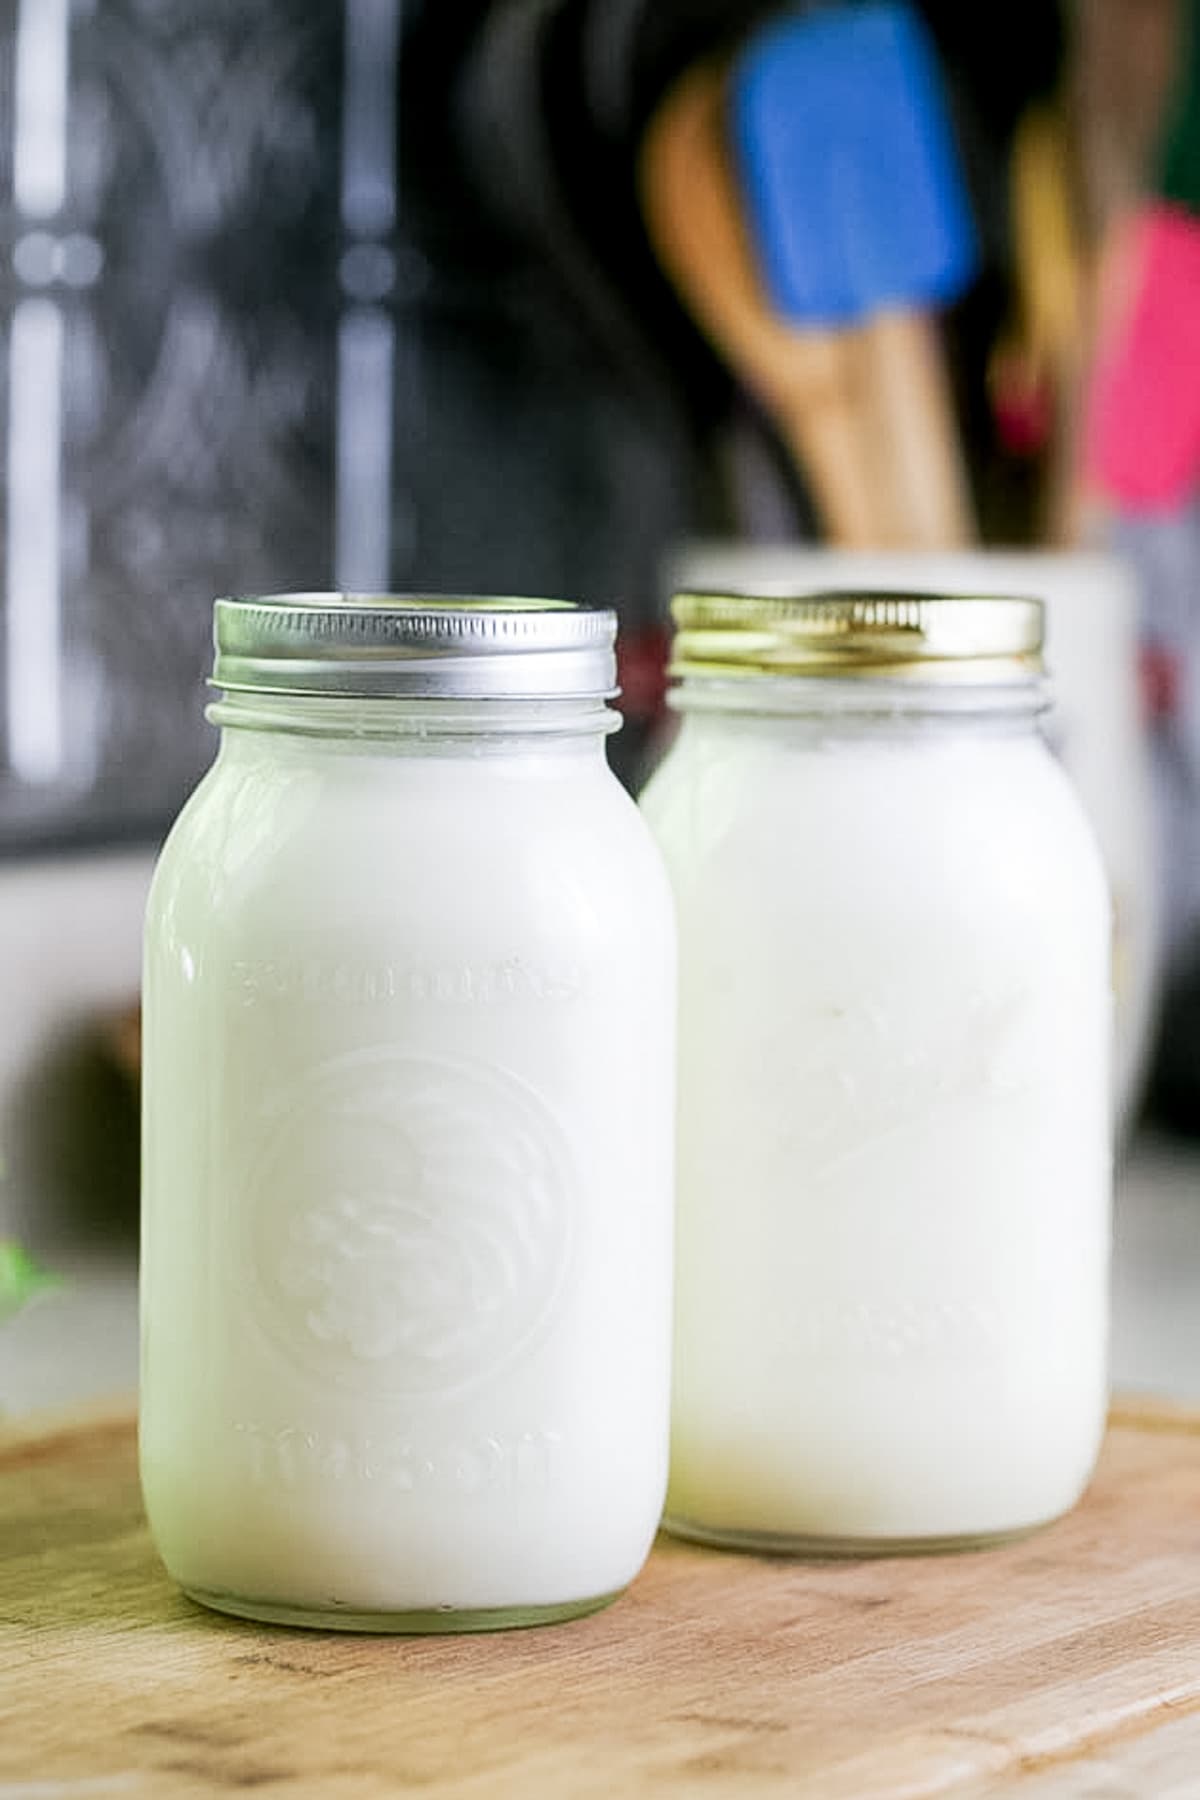
Goat milk is better handled when it’s very fresh. I find with my milk that if I leave it in the fridge for more than 3 or 4 days it starts to get a funny taste that I do not like. So I process cheese when I have two quarts of goat milk ready for processing. You can make cheese with more milk, let’s say four quarts but I wouldn’t process more than that at once, especially if you are new to cheesemaking. I think that handling up to a gallon (four quarts) at a time is a good idea.
So here is what I do… I milk my goats in the morning and evening. I get a quart of milk per Lamancha goat per milking and I have two goats in milk at the moment so it pretty much means that I get about a gallon of goat milk a day. Depending on the kind of goats you keep, this might change of course, but for me, it means that during milking season I need to make goat cheese pretty much every day or every other day.
I make this delicious hard goat cheese, feta cheese, and chevre cheese that I’m sharing with you today. I also make delicious yogurt. And, don’t forget that you can also make goat milk soap. This is another great way to use your raw goat milk.
It takes some work to keep up with raw milk but I love it! It’s kinda like collecting the chicken eggs from the chicken coop, it never gets old and it’s always amazing for me to see the milk turn to solid food. However, if I don’t feel like making cheese, I sometimes can my milk instead.
Ingredients…
- Goat milk – I am useing 2 quarts of raw goat milk in this recipe. You can double it if you’d like to process a gallon of milk.
- Chevre culture – cheese culture comes in the form of powder. Culture is specific bacteria strains that are put together by a culture company for making cheese. Cultures are pretty similar to each other but are classified based on the temperature in which they work. If you want to read more about the basics of cheese cultures, make sure to check this post. We are going to use a dash (= 1/16 of a teaspoon) of chevre culture in this goat cheese recipe.
- Rennet – rennet is used to coagulate or thicken the milk. You can use either vegetable rennet or animal rennet, it doesn’t matter. We are going to dilute 3 drops of rennet in 1/3 cup of cool water and use just a tablespoon of the mixture.
- Salt – I usually salt my cheese a bit. You don’t have to (we will go over seasoning options after we make the cheese) but if you choose to salt your goat cheese make sure to use non-iodized salt like cheese salt, sea salt, or kosher salt.
Kitchen Tools…
- A pot – it’s important that it’s a stainless steel pot with a heavy bottom to prevent the milk from scorching when we heat it. Also, make sure that it’s large enough to hold the amount of milk that you are going to process.
- A skimmer – this can also be a spoon but I find that a skimmer works better to mix the milk and to make sure that the culture dissolved in the milk.
- A thermometer – we are only going to heat the milk to 80 degrees Fahrenheit so any kitchen thermometer should be able to read this temperature.
- 1/16 measuring spoon – we will use this measuring spoon to measure the culture.
- 1/3 cup measuring cup – to dilute the rennet in.
- Large mixing bowl – to line with the cheesecloth and to catch the whey. We will also need it when the cheese is ready so we can salt and mix it.
- A cheesecloth – I linked to a “proper” cheesecloth but just so you know, I am using the flour sack towels from Walmart as my cheesecloth. They work great and are much cheaper. Also, make sure that you have some sort of string to tie and hang the cheesecloth with. I am using yarn.
- Cheese mold – this is also optional. I just bought this cheese mold set and I can’t wait to use it! You’ll see below that I roll my cheese into a cylinder or I just keep it in a container, but now that I have the cheese mold I’ll be able to make it a bit prettier!
For a comprehensive list of cheesemaking equipment, make sure to visit my cheesemaking equipment post. We are ready to go through this tutorial on how to make goat cheese. You’ll find all the steps below, however, if you want to have a better understanding of the cheesemaking process, please visit my How to Make Cheese at Home post.
Step-by-Step Instructions…
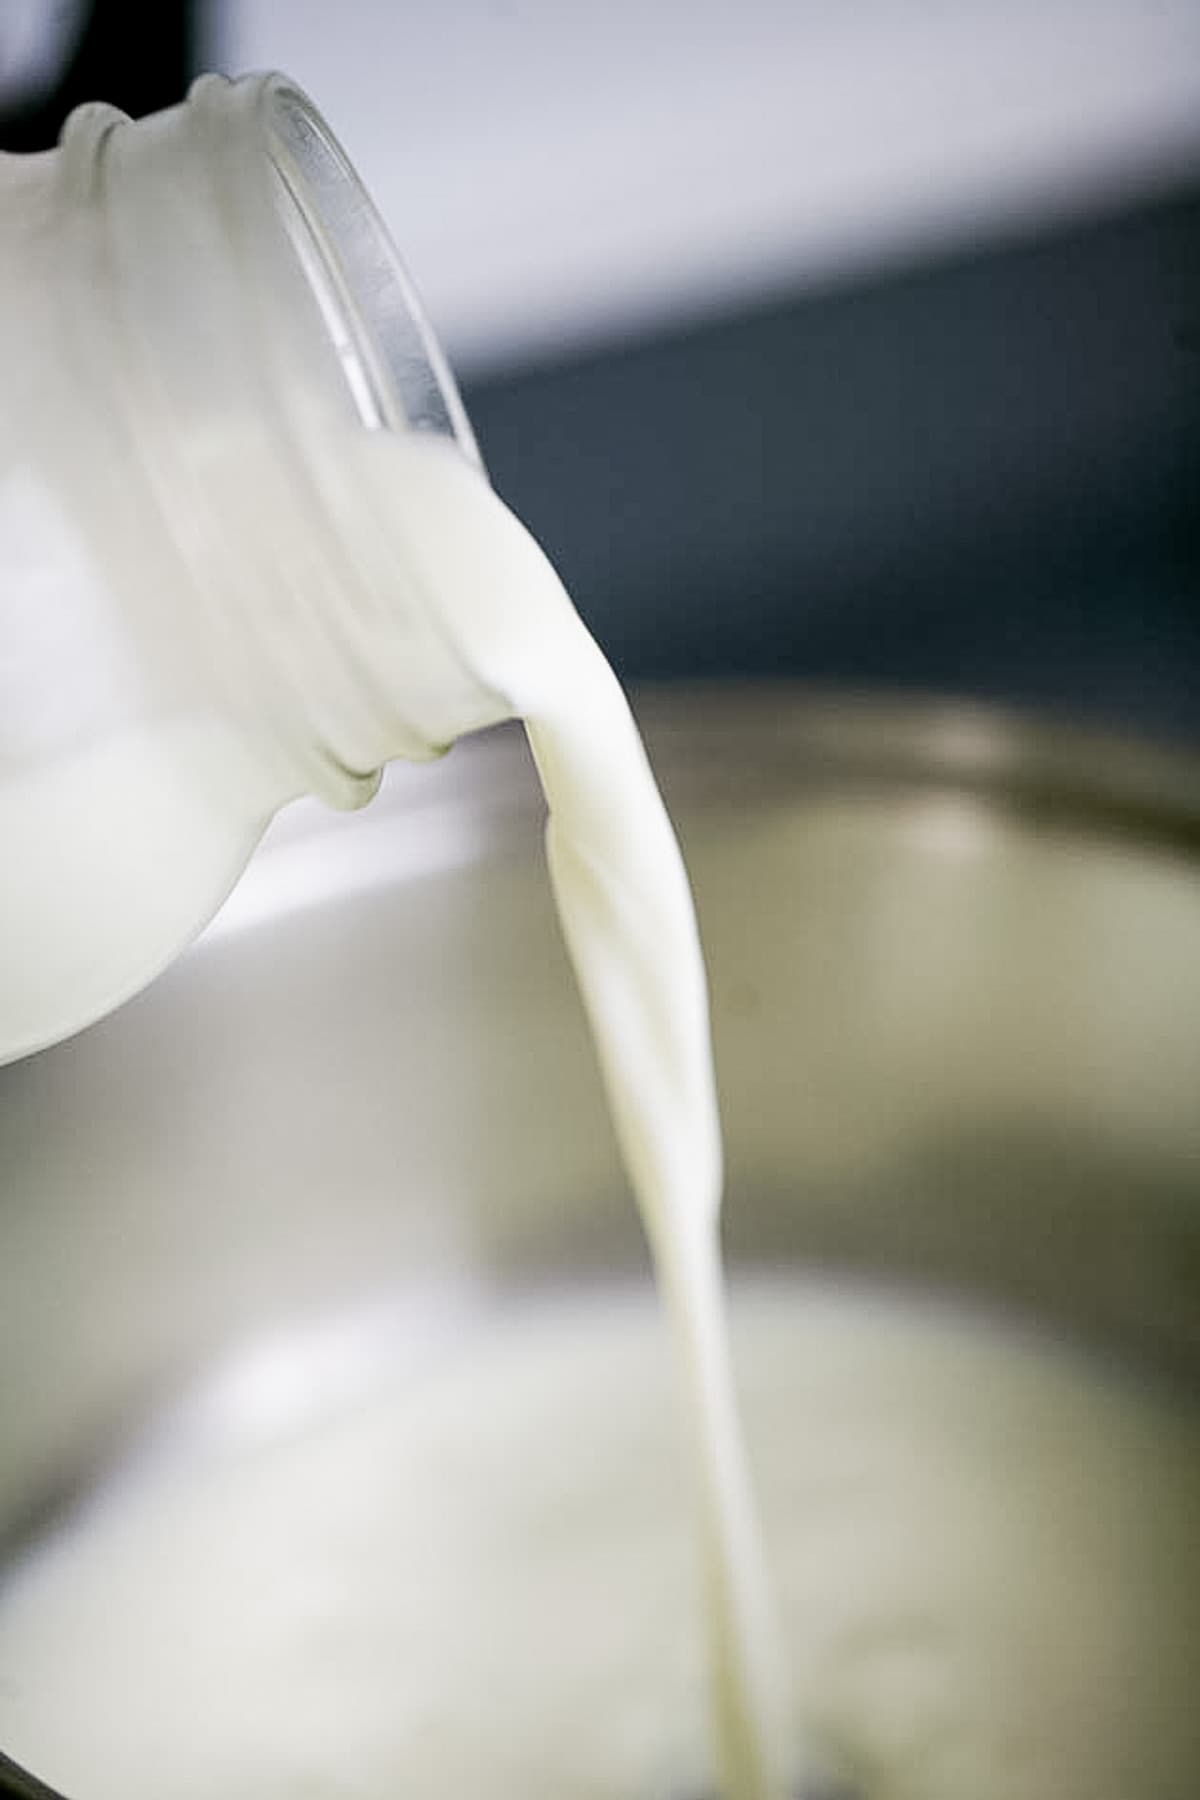


Step One – heat the milk. Add the milk to a pot and place on the stovetop, turn the heat to medium-high and bring the milk to 80 degrees F before removing the pot from the heat.
A couple of tips…
- Stir constantly! Don’t go anywhere, keep stirring so the milk doesn’t scorch.
- Lower the heat and take things slower if you feel that you need to.
- If you just milked your goat and brought the milk inside to make cheese, the milk is probably still warm. Check the temperature, it might already be close to 80 degrees F.
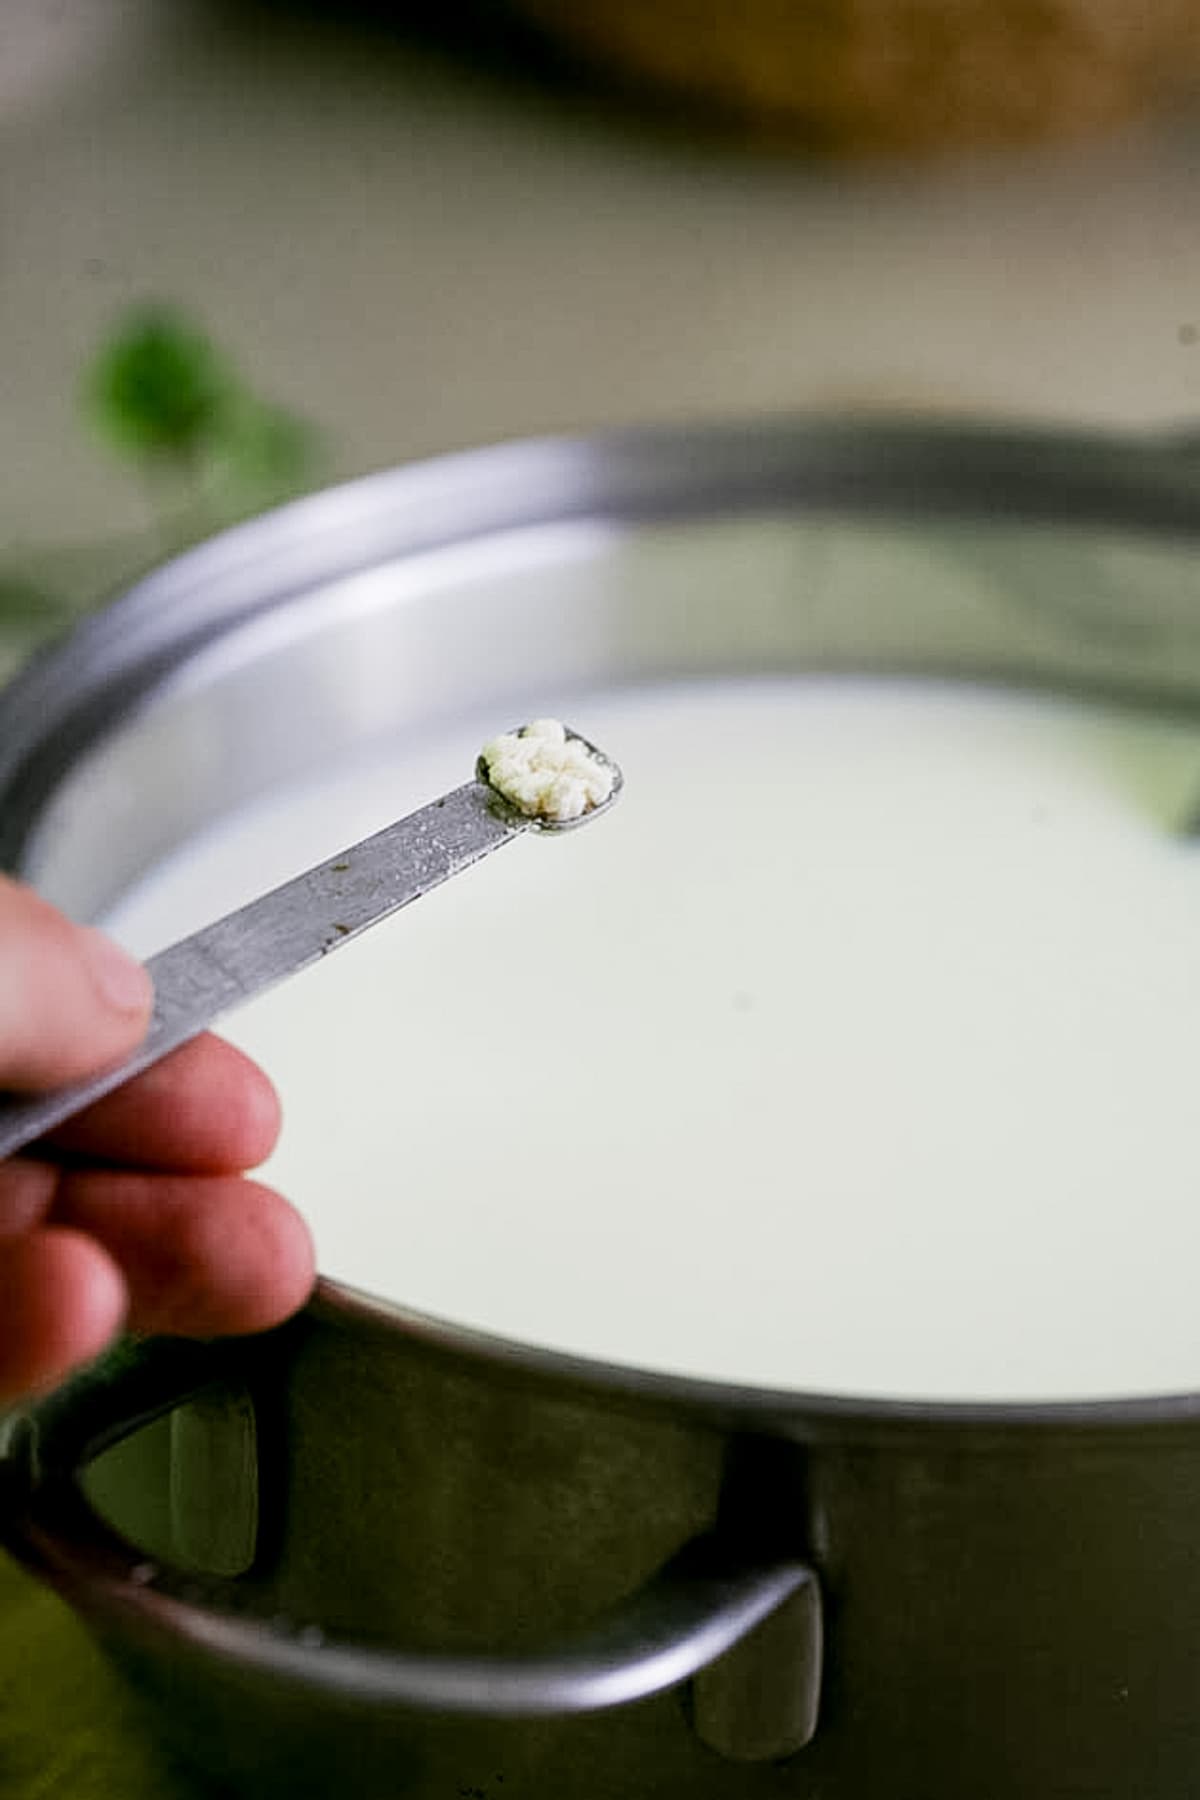
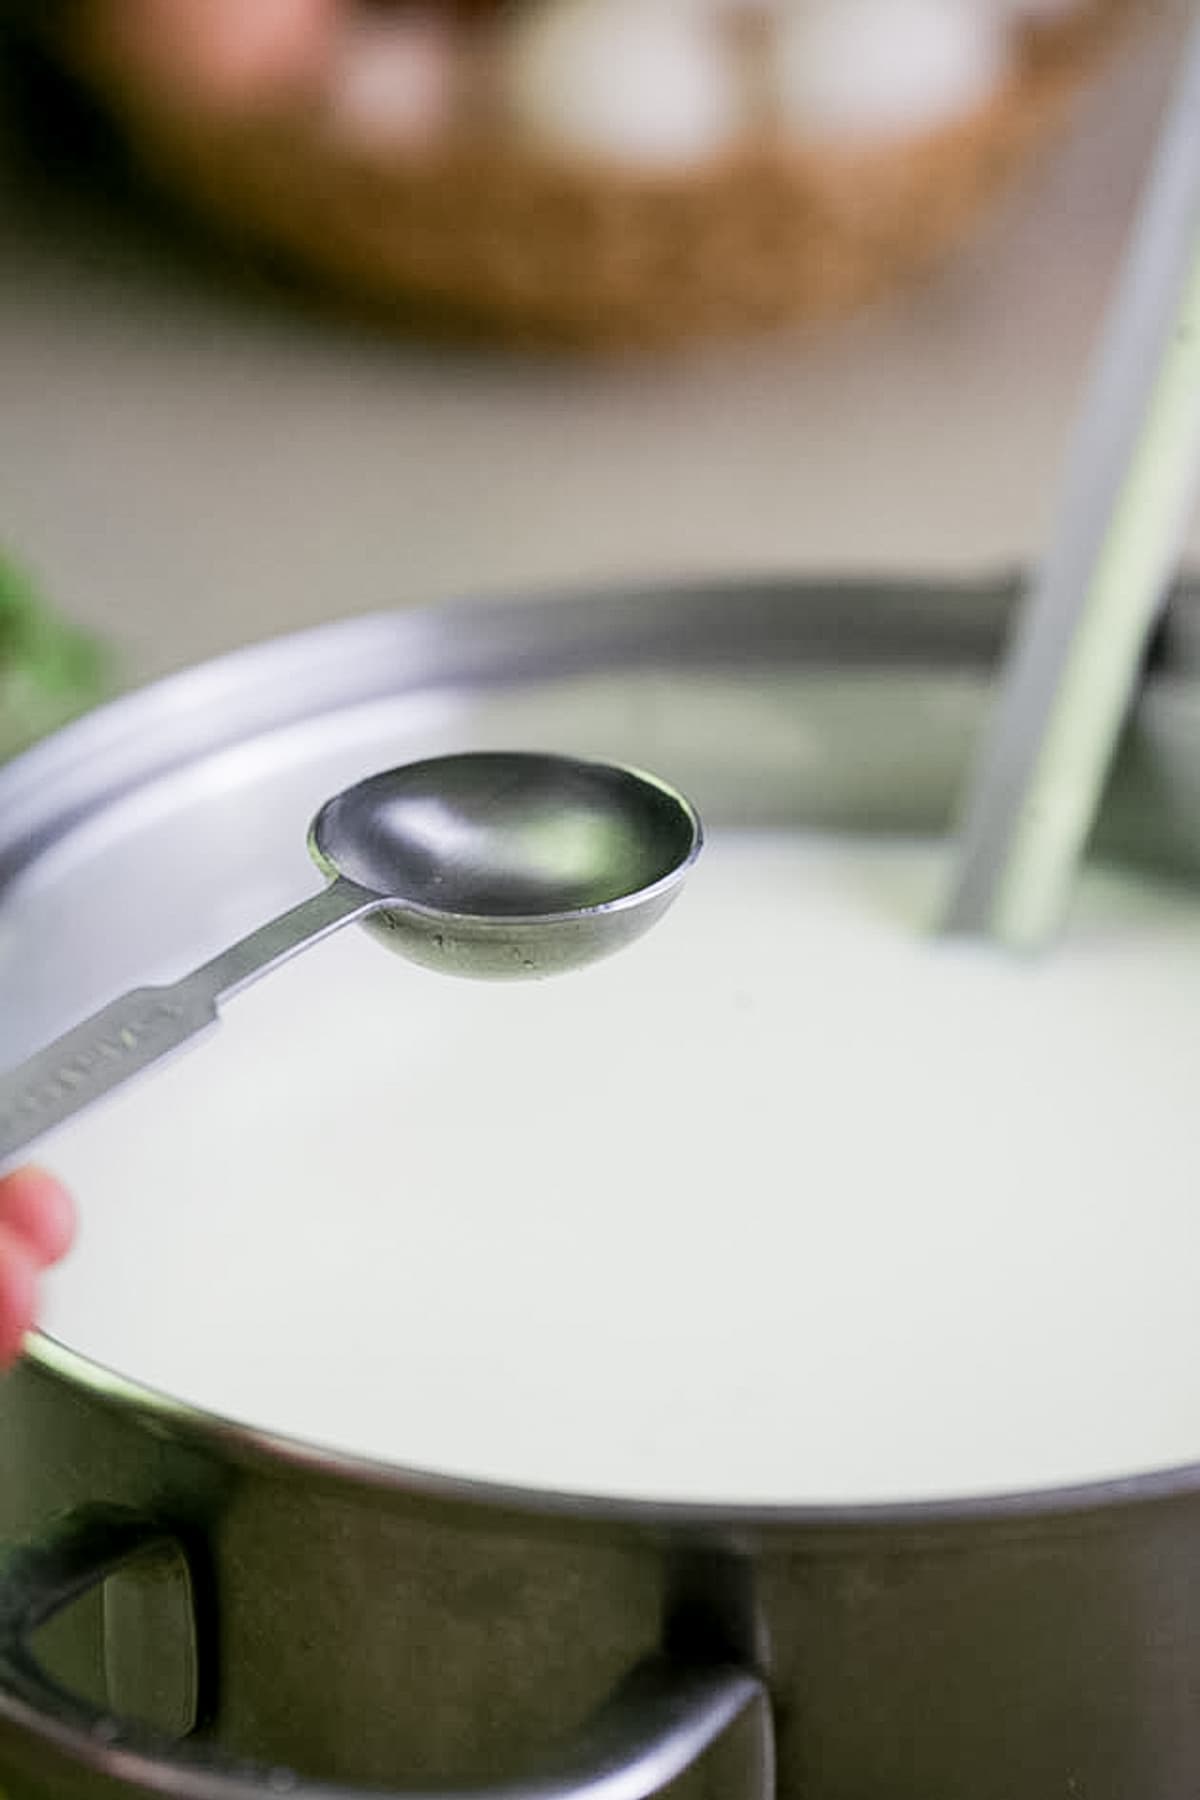
Step two – add chevre culture and rennet. Add 1/16 (a dash) teaspoon of chevre culture and stir it until it dissolves in the milk. Next, dilute 3 drops of rennet in 1/3 cup of cool water, add one tablespoon of the diluted rennet to the milk, and stir.
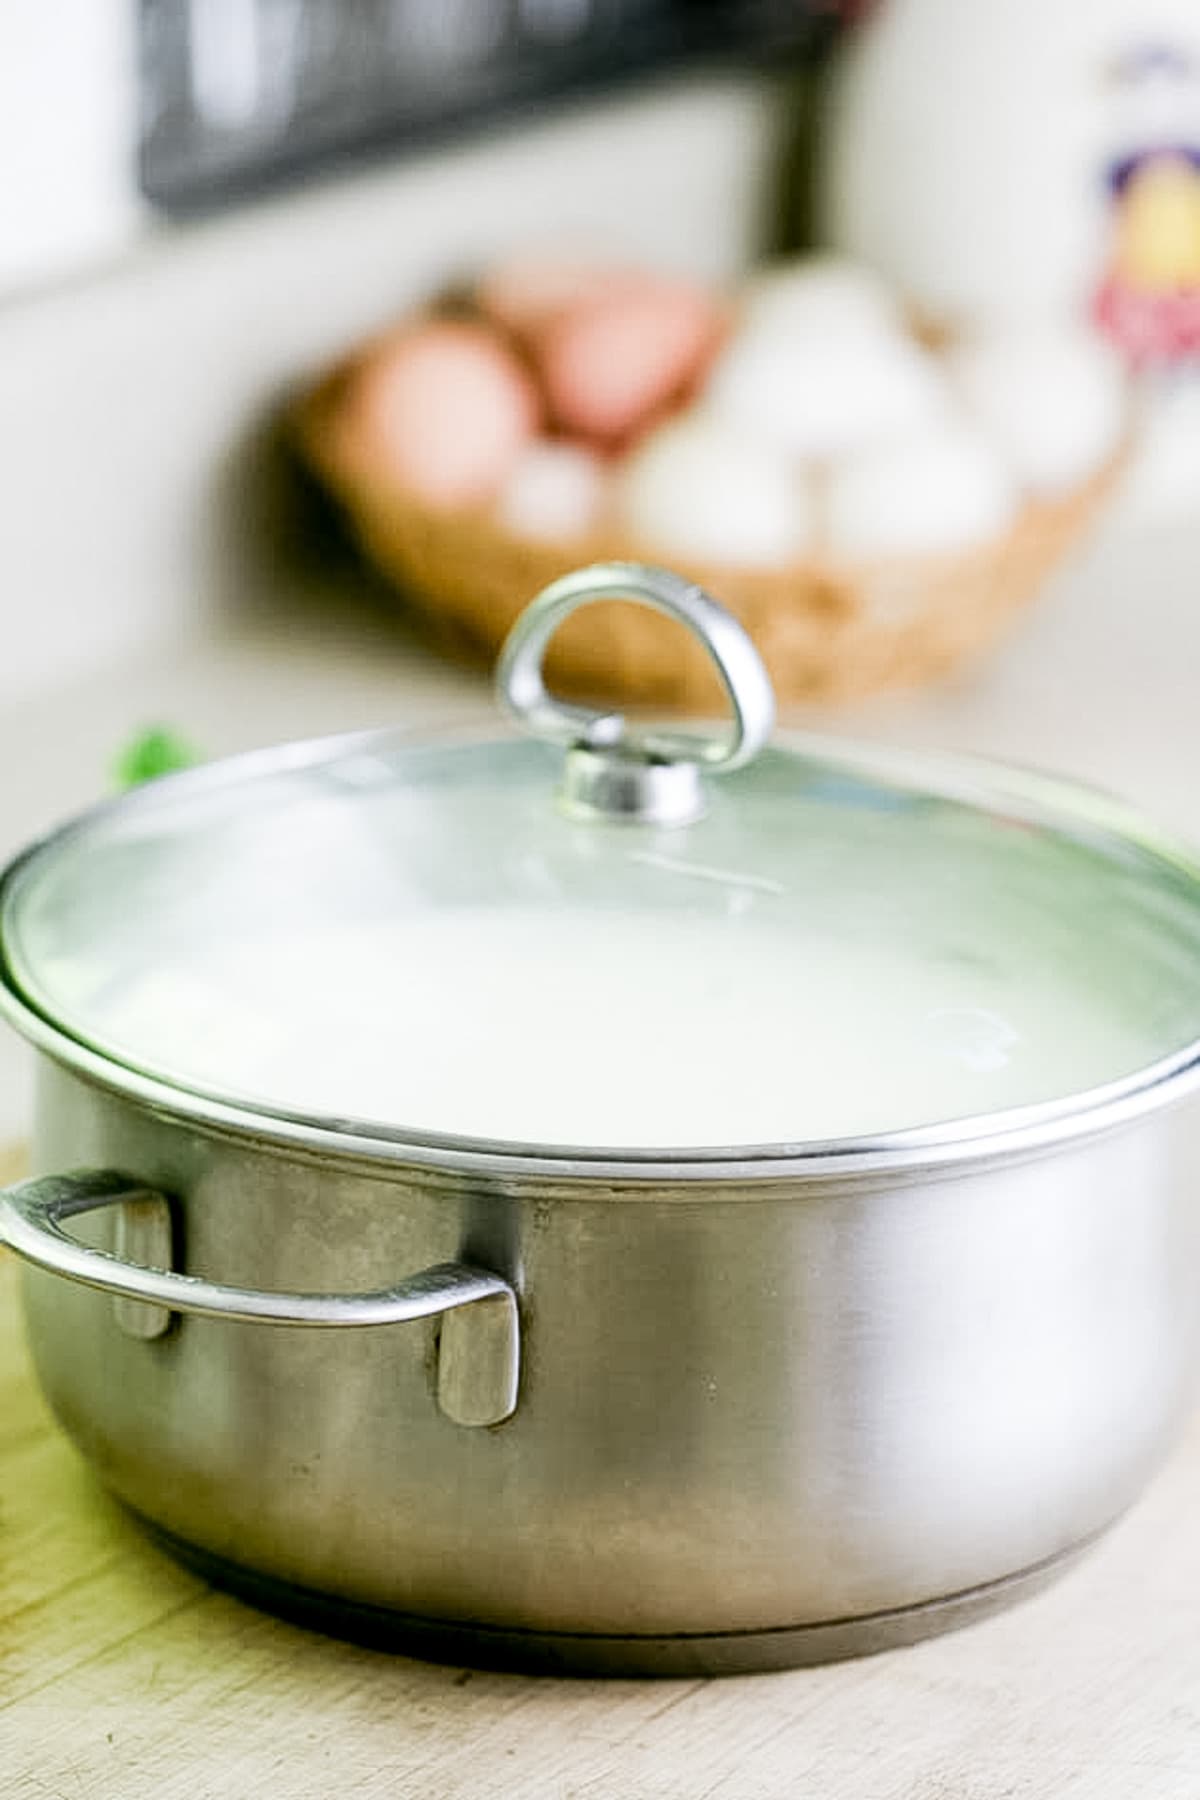
Step three – allow to coagulate. Next, cover the pot and set it out of the way somewhere. Let it rest, undisturbed, overnight. The goal is to try to keep the temperature around 80 degrees Fahrenheit the whole time that the milk rests. I find that it helps to wrap the pot in a fuzzy blanket so I keep a baby-size fuzzy blanket in my kitchen cabinet for cheesemaking. As long as I leave the pot at room temperature and wrap it that’s usually enough to keep it warm.


Step four – hang to drain. In the morning, you’ll wake up to a pot of coagulated milk… It looks a bit like the consistency of yogurt. Set a large mixing bowl on the counter, line it with cheesecloth, and transfer the coagulated milk from the pot into the lined bowl.
Then, collect the sides of the cheesecloth and tie them with yarn before hanging the cheesecloth on the handle of a kitchen cabinet (that’s how I do it but you can get creative here).
Always make sure to place the mixing bowl under the cheesecloth to catch the whey. There are many things that you can do with the whey. I sometimes make ricotta cheese from whey or use it when making bread, and sometimes I give it to my animals. If you are looking for other ideas on how to use the whey, check out this post.
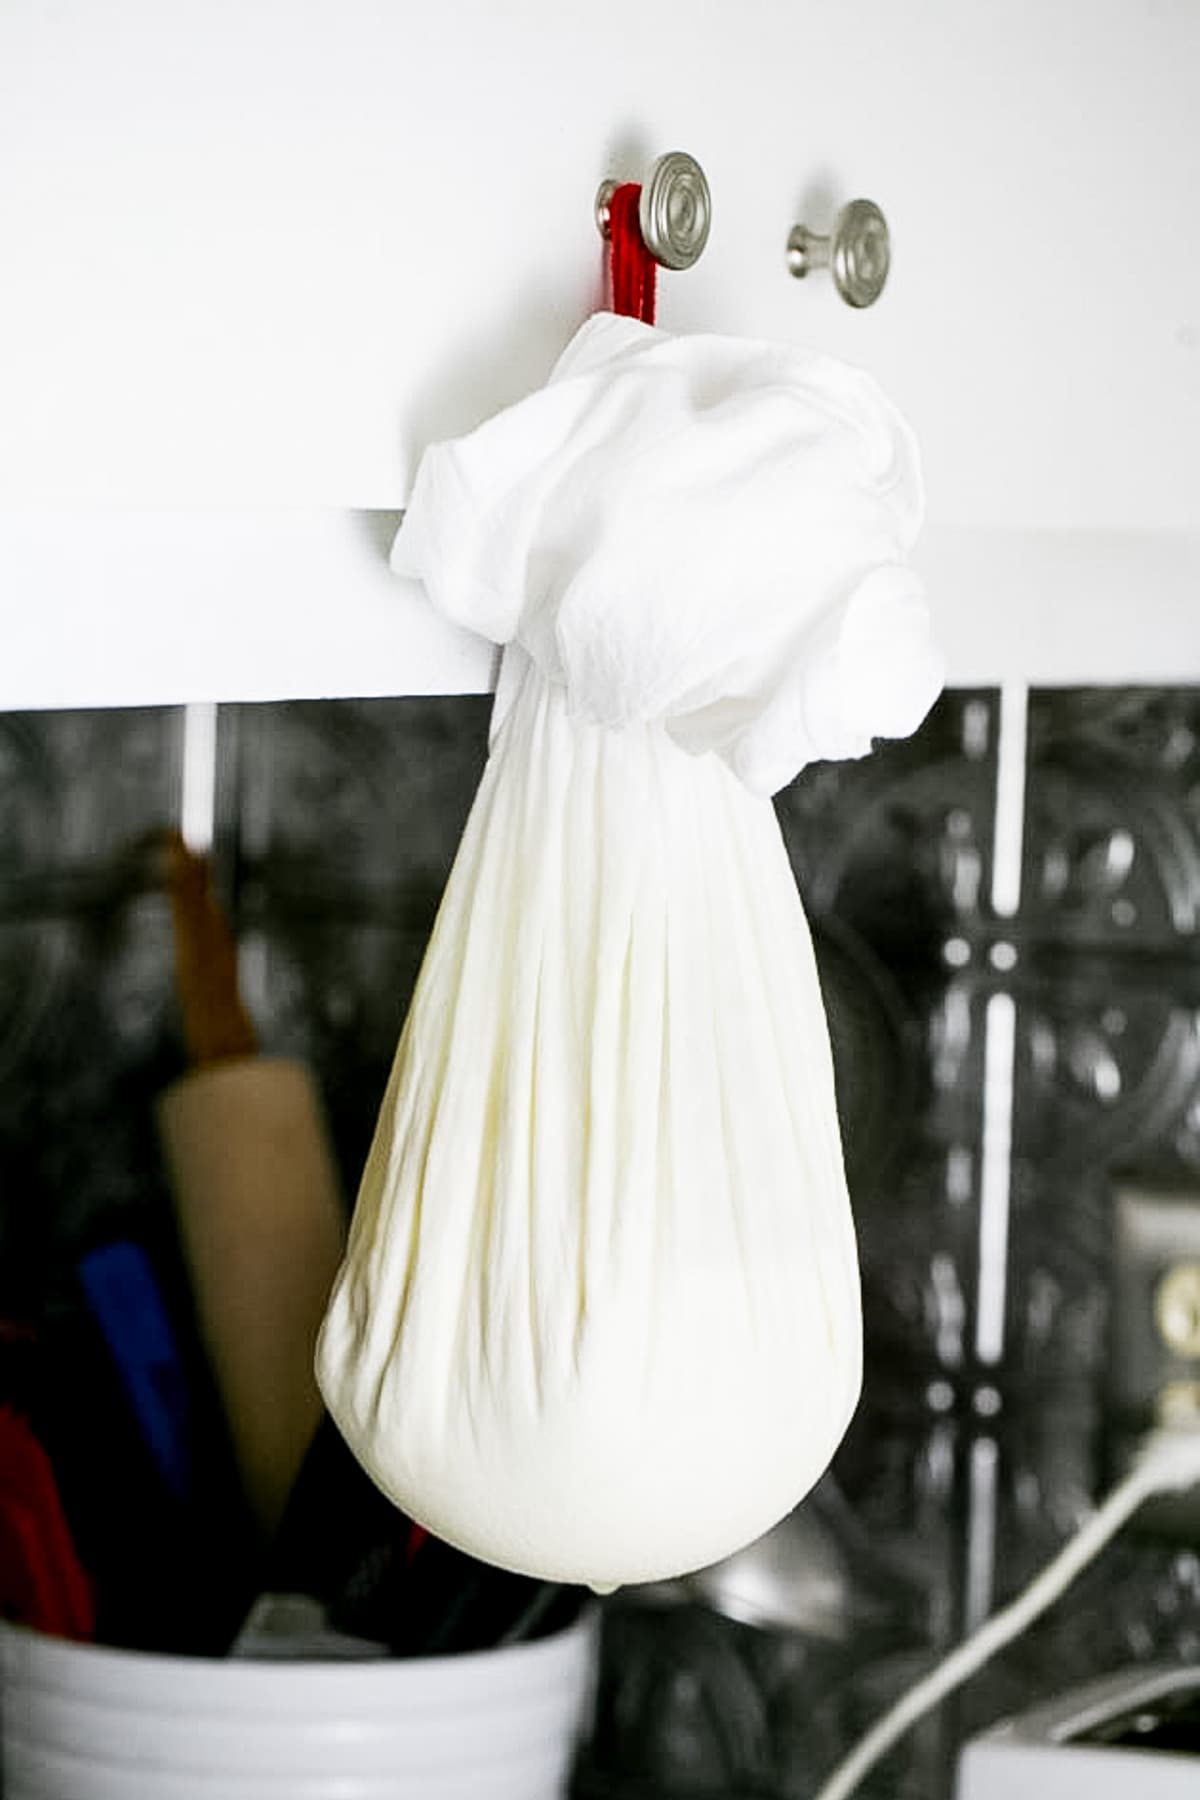

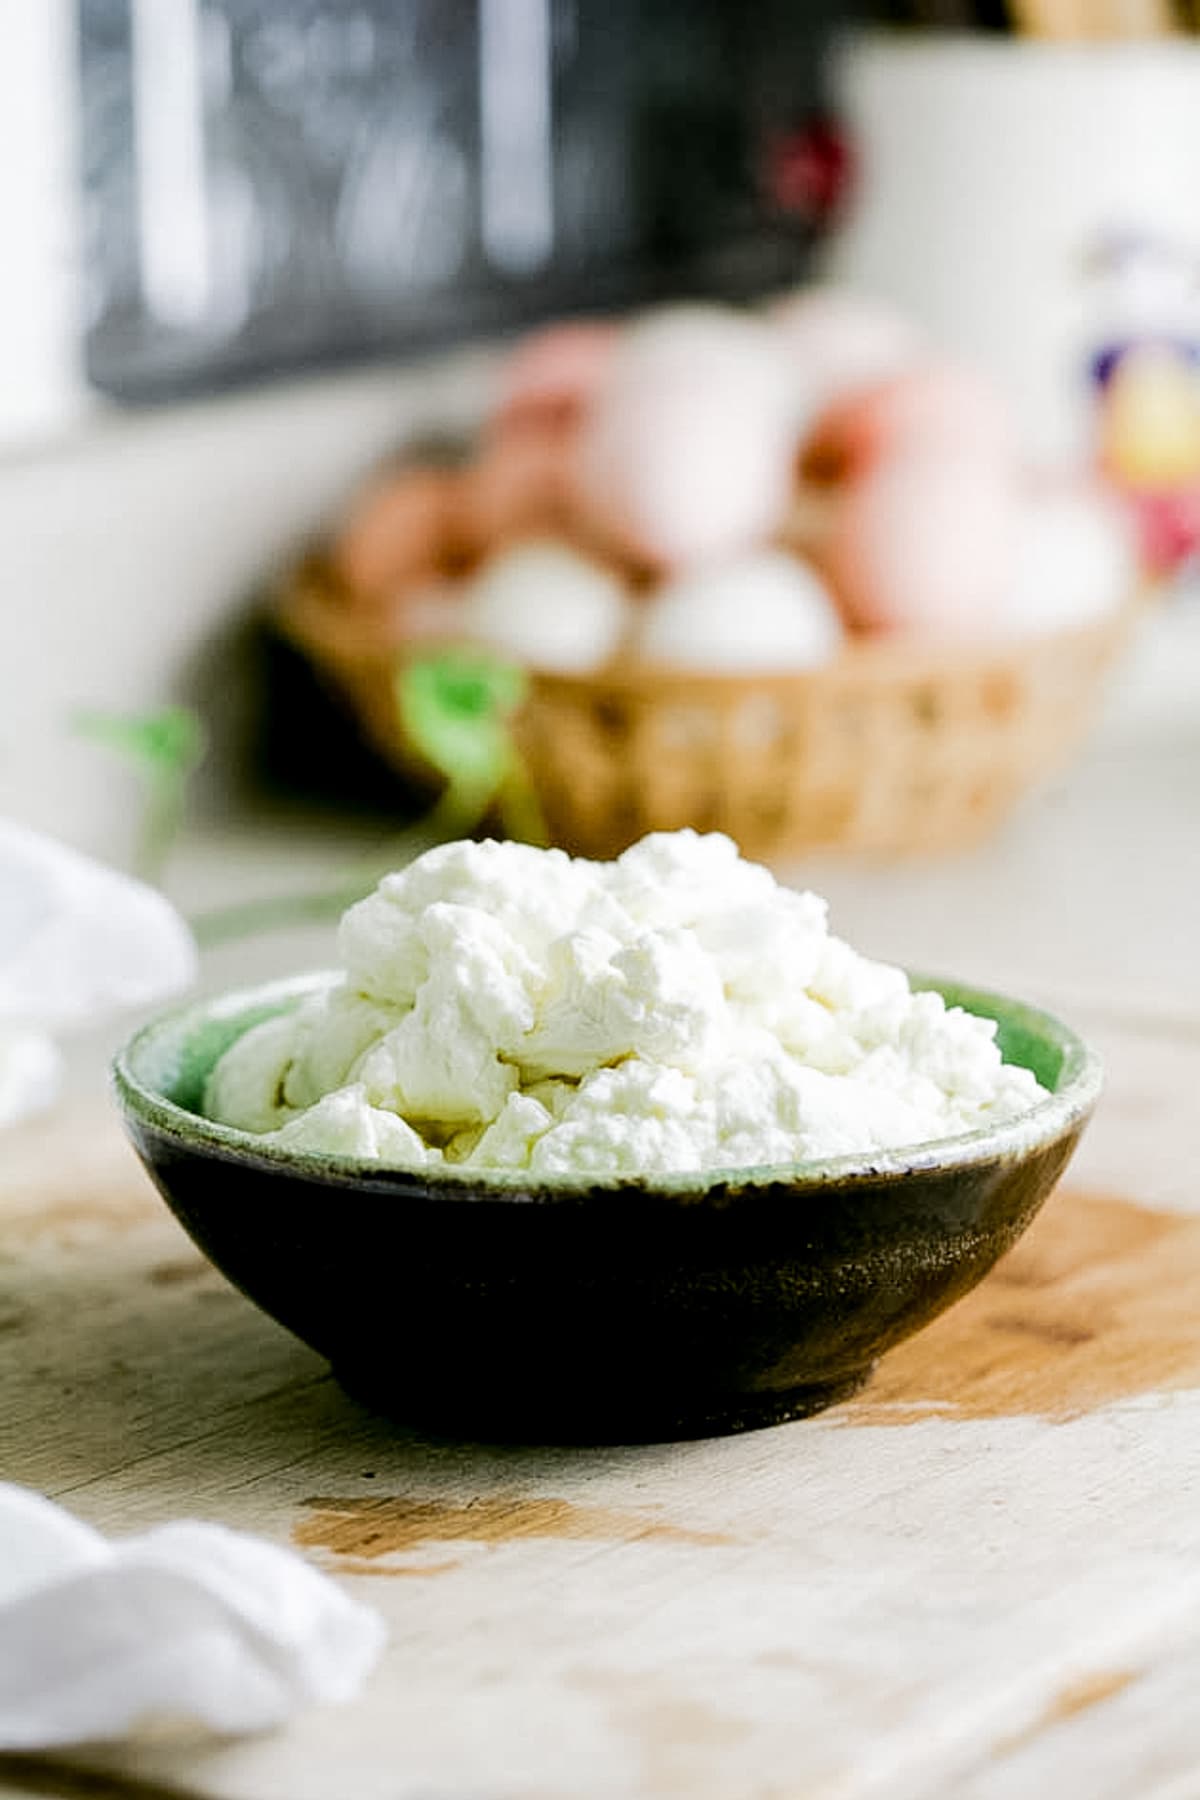
Step five – season the cheese. Leave the cheesecloth hanging the whole day. In the evening, it will look about half the size that it did in the morning. You can help speed this process up by moving the cheese in the cheesecloth every once in a while or squeezing it a bit but I don’t pay much attention to it. I just move on with my day and get back to it later in the evening.
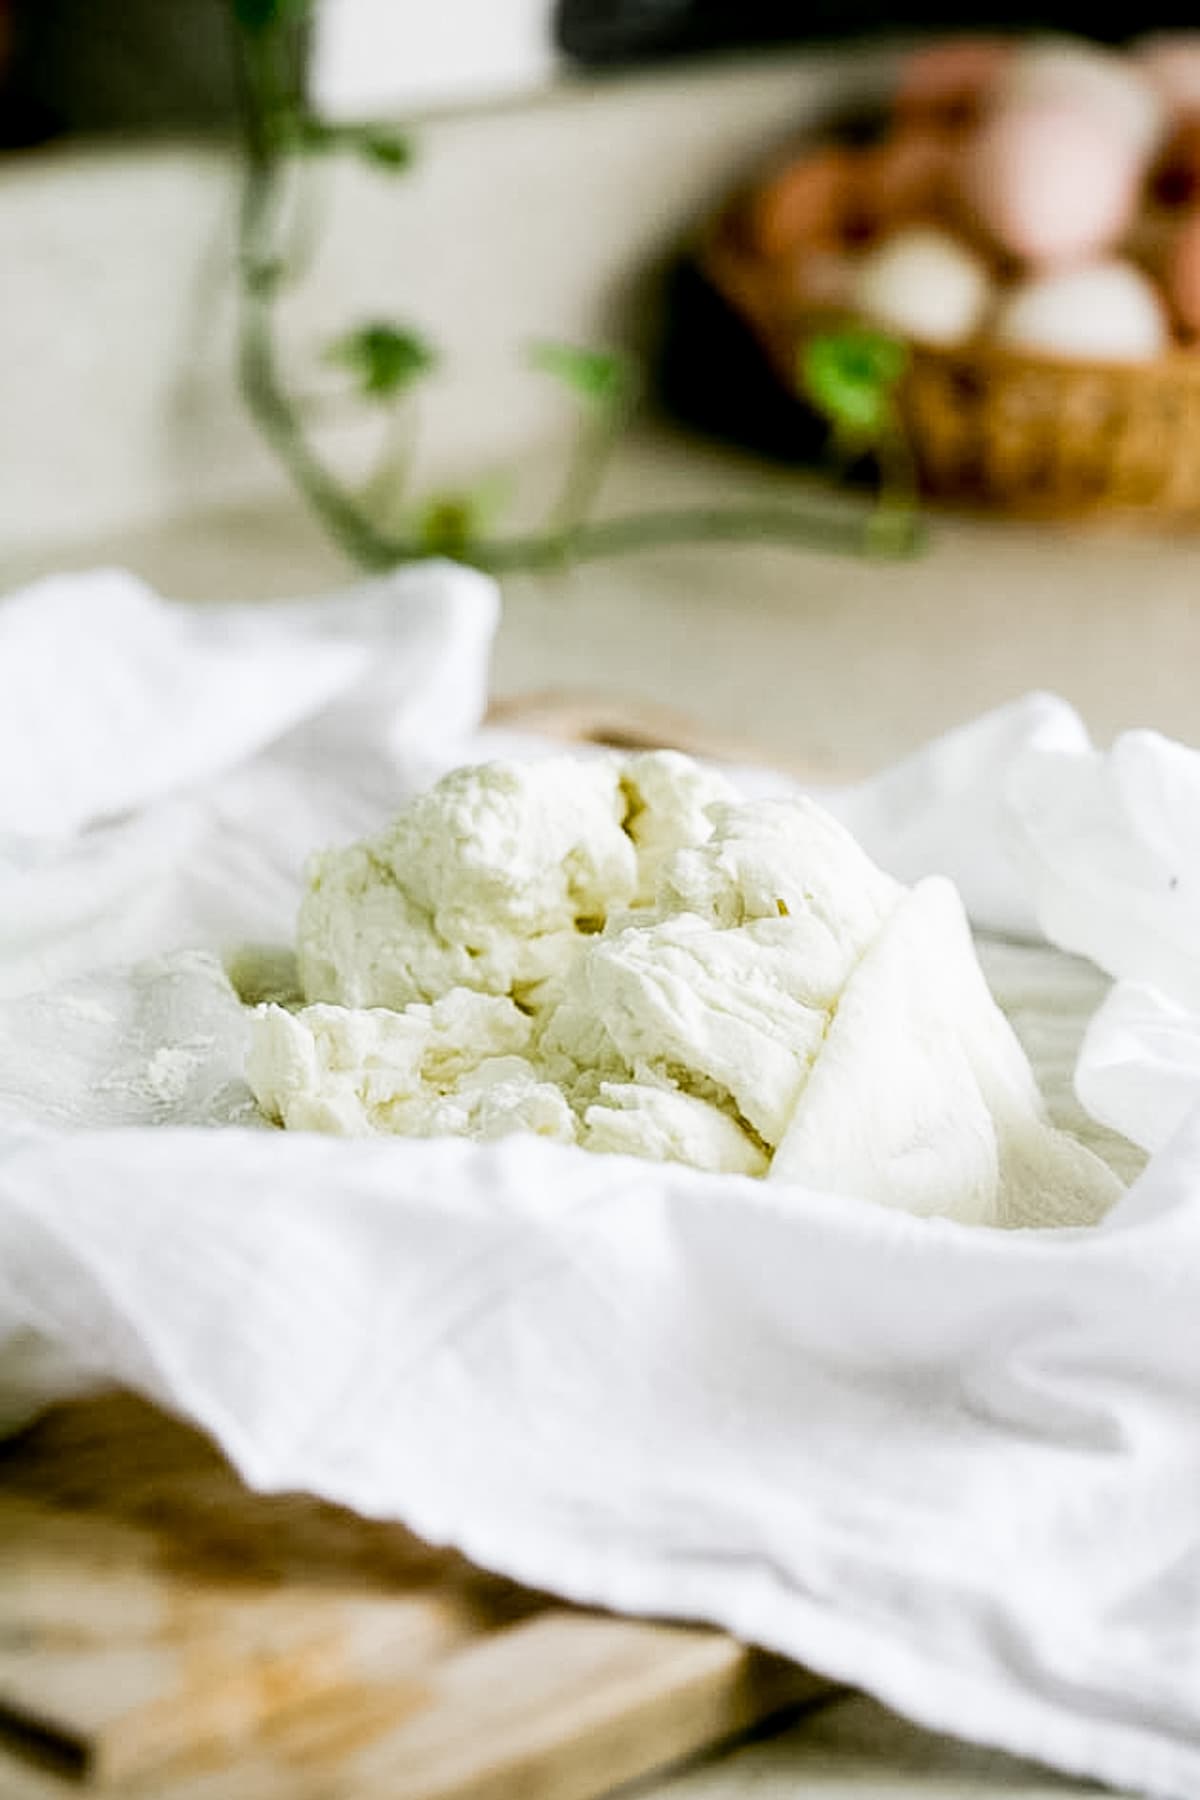
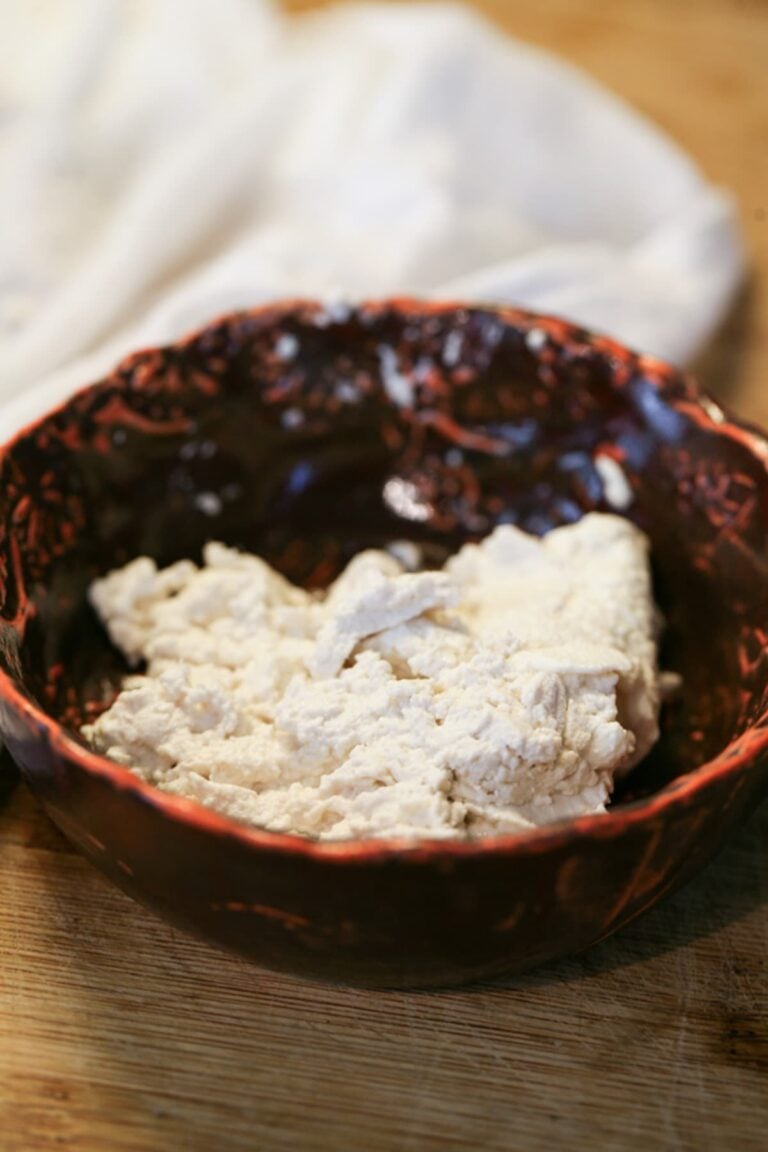
In the evening, take down the cheesecloth and open it, then transfer the cheese to a bowl and salt to taste (about a teaspoon).
Chevre Cheese Seasoning Ideas…
Salt is the basic go to, however, there are a ton of things you can add to this cheese to season it, find some ideas below. Note that you can mix seasonings in or you can make a cylinder as I show below and roll the cylinder in the seasonings to coat it.
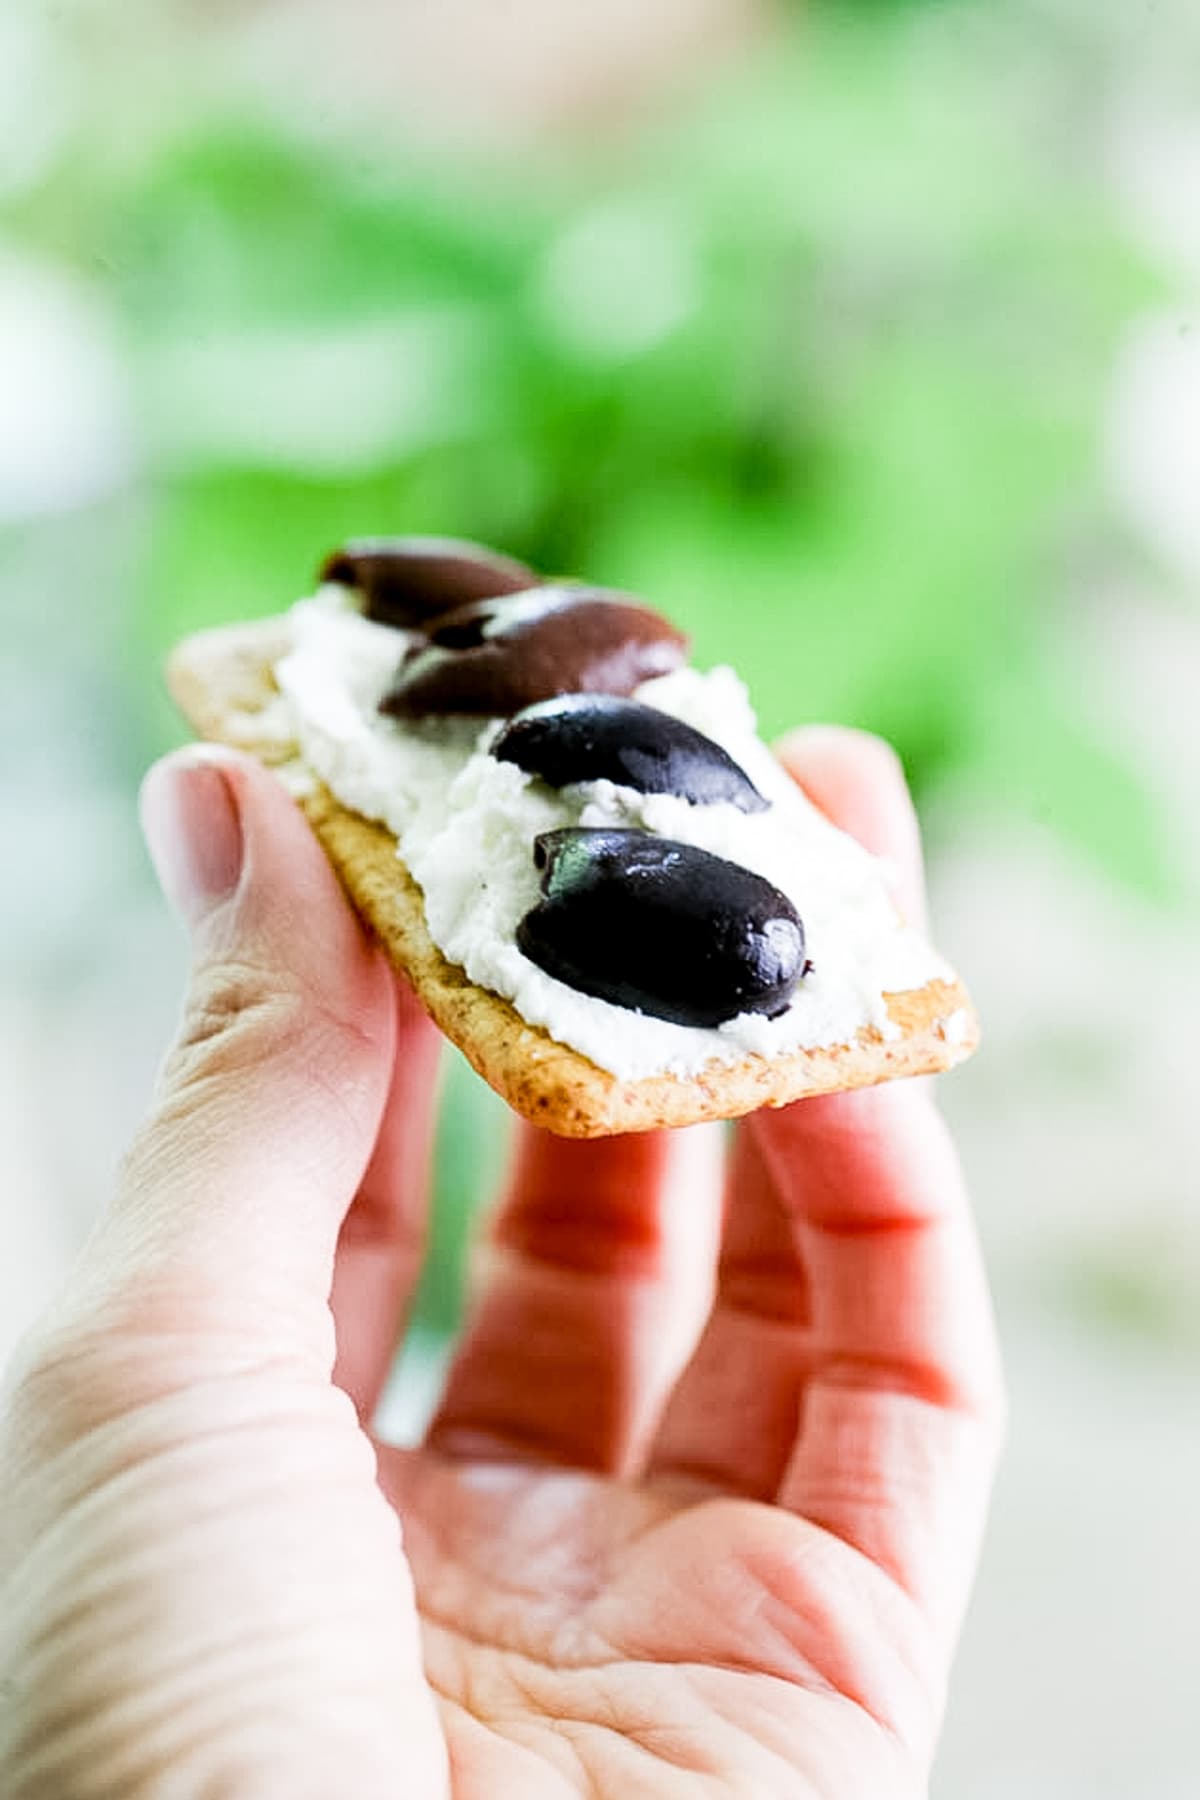
- Any kind of olives; black, green, whatever…
- Black pepper or paprika.
- Cayenne pepper or jalapenos if you want spicy cheese.
- Diced sweet red pepper, green pepper, orange pepper, roasted pepper, you get the idea.
- Garlic, crushed or minced or try to mix in garlic confit!
- Chives, dill, or green onions.
- Or you can try to make it sweet too. For example, add blueberries or strawberries or raspberries… Or, use dry fruit like cranberries or dried cherries. If you’re going for a sweet option, make sure to add sugar or honey instead of the salt.


Storing Homemade Goat Cheese…
In the fridge – either place the cheese in a plastic container, cover it, and place it in the fridge, or you can make a cylinder as I show above. Place plastic food wrap on the counter, add half of the cheese, cover it with the plastic wrap, and roll around a bit. It should last in the fridge for a couple of weeks.
In the freezer – you can freeze this cheese, however, I’ll admit that the longer it stays in the freezer the more it loses its texture and becomes a bit grainy and less creamy. If you do decide to freeze this cheese, use a freezer-safe container and try to use the cheese within 3 months or so.

Serving Goat Cheese…
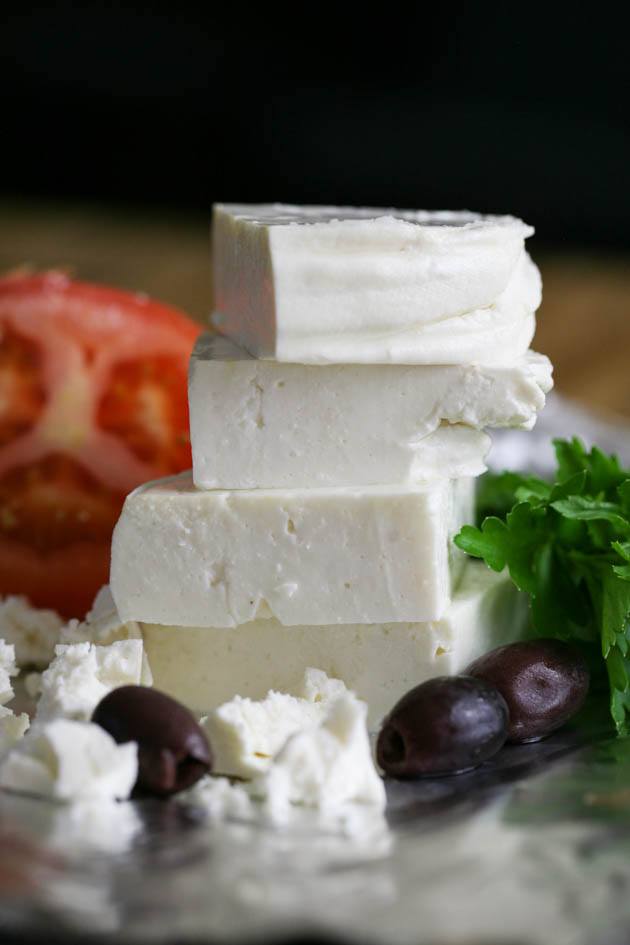
This delicious homemade goat cheese is ready for serving right away, but like most other kinds of cheese, it will benefit from aging in the fridge for a couple of days before you serve it. We eat it on crackers as a snack, we usually add olives, tomatoes, cucumbers, or peppers on top. We do the same on a toast…
- It is great serving a side of fermented beets or fermented radish or turnips with goat cheese toast or crackers.
- It’s a great idea for a snack or a healthy breakfast.
- I often use it in my zucchini casserole or my favorite spinach patties or sprinkle it over my shakshuka.
- I use it in salads all the time! Like this feta and pumpkin salad instead of the feta, or this pumpkin and beetroot salad, or my Mediterranean egg salad or celery salad.
- I haven’t tried to bake with it yet but it’s something that I want to try. Cheesecake with homemade goat cheese? It sounds good to me!
A Schedule For Making Homemade Goat Cheese…
I know that for someone who is just getting ready to make goat cheese for the first time, this might be a bit intimidating. So I like to break it down for you into a simple schedule…
Evening:
- Heat the milk to 80 degrees Fahrenheit.
- Add culture.
- Add rennet.
- Cover the pot with a lid and with a blanket and set it aside to coagulate overnight.
Morning:
- Line a mixing bowl with a cheesecloth and transfer the coagulated milk to it.
- Tie and hang the cheesecloth.
Evening:
- Take the cheesecloth down and transfer the cheese to a mixing bowl.
- Season your cheese and store it in the fridge.
I hope you liked this tutorial and I hope that you’re going to use your raw goat milk to make goat cheese, it’s a great cheese for a beginner. It’s a regular at our house!
More Delicious Recipes (That Go Great With Goat Cheese!)…
- Roasted Chickpeas
- How to Make Red Pepper Paste
- Israeli Eggplant Salad
- Roasted Pepper Salad
- Lentil Patties Recipe

How to Make Goat Cheese
How to make goat cheese (chevre) at home step by step!
Ingredients
- 2 quarts raw goat milk
- 1/16 (dash) teaspoon Chevre culture
- A tablespoon of diluted rennet (dilute 3 drops rennet in 1/3 cup cool water)
- Teaspoon of salt (sea salt, kosher salt, or cheesesalt)
Instructions
- IN THE EVENING: Add the 2 quarts of raw goat milk to a stainless pot. Set it on the stovetop and turn the heat to medium.
- Stir constantly to prevent the milk from scorching. If you feel like the temperature is too high, lower it a bit.
- Bring the milk to 80˚ F and then remove it from the heat and turn the heat off.
- Add the chevre culture and stir to make sure it dissolves completely.
- Add the diluted rennet and stir it in.
- Cover the pot and wrap it in a fuzzy blanket. Place it out of the way at room temperature to coagulate overnight.
- IN THE MORNING: your milk should look kinda like yogurt. Line a large mixing bowl with cheesecloth.
- Pour the coagulated milk from the pot onto the cheesecloth. Collect the ends of the cheesecloth and tie them with a string.
- Hang the cheesecloth on the handle of a kitchen cabinet to drain. Set the bowl under the cheesecloth to catch the whey.
- IN THE EVENING: take down the cheesecloth, open it, and remove the cheese into a bowl.
- You can add a teaspoon of salt or season another way (check notes for ideas).
- You can divide the cheese into two. Lay plastic food wrap on a cutting board, add half of the cheese in the center and wrap it and roll it with the plastic wrap into a cylinder. Place your cheese cylinders on a plate and store in the fridge. If you do it this way it's fun to roll the cheese in seasonings once it had a chance to age in the fridge for a day or so.
- You can also just store your cheese in a container in the fridge. Your cheese is ready to serve right away however, like most kinds of cheeses it will get even better if it has a couple days to age in the fridge. See notes for freezing instructions.
Notes
There are a ton of things you can add to this cheese to season it:
- Any kind of olives; black, green, whatever…
- Black pepper or paprika.
- Cayenne pepper or jalapenos if you want spicy cheese.
- Red pepper, green pepper, orange pepper, roasted pepper, you get the idea…
- Garlic, crushed or minced.
- Chives, dill, or green onions.
- Or you can just leave it plain and just salt it a bit as I did here…
- Or you can try to make it sweet too. For example, add blueberries or strawberries or raspberries… Or, use dry fruit like cranberries or dried cherries…If you are going for a sweet option, make sure to add sugar or honey instead of the salt.
If you'd like, you can freeze this cheese as well. I use plastic snack cups to freeze the cheese in but you can also add a cup or two to a ziplock bag, flatten the bag (makes it easier to stack bags in the freezer), and place it in the freezer.
I do think that the cheese loses some of its texture the longer it stays in the freezer so I usually try to use my cheese within two or three months.
2 cups of cheese = about 1lb.
Nutrition Information:
Yield: 40 Serving Size: 1 tablespoonAmount Per Serving: Calories: 36Total Fat: 2gSaturated Fat: 1gTrans Fat: 0gUnsaturated Fat: 1gCholesterol: 6mgSodium: 81mgCarbohydrates: 2gFiber: 0gSugar: 2gProtein: 2g

I have been using your recipe for a year, making goat cheese, but now I seem to have so much more whey and not as much cheese. Would you be able to tell me why?
Did you change the kind of milk you are using? If the milk you are using has less fat in it (or in other words, it’s more watery) it will produce more whey. For example, goat’s milk from a Nigerian goat has more fat in it than goat’s milk from a LaMancha goat… Can that be the reason?
That is probably it. My goat is not in milk right now so I was getting milk from a friend with a different kind of goat. That makes sense…..thanks so much.