This post may contain affiliate links, view our disclosure policy for details.

Fermented radish is an easy way to preserve radishes. It takes minutes to put together and the end result is a delicious and healthy snack for the whole family. Lacto fermented radish is not as sharp as raw radish so even the kids love it!
I used to grow radish in my garden but I stopped. Radishes are a cold weather crop so you can plant them in early spring and they are great for treating that garden fever all of us feel at the end of winter. I would plant radishes at the beginning of March and they grow so quickly that by early April I had something to harvest from the garden! Add to that the fact that they come in all different amazing colors and pests don’t really like them and you have a winner.
But… We didn’t like eating them. We just didn’t. They were simply too sharp for the kids and I could only eat so many radishes. So a couple of years ago I decided to just stop growing them.
Fermented Radish Recipe…

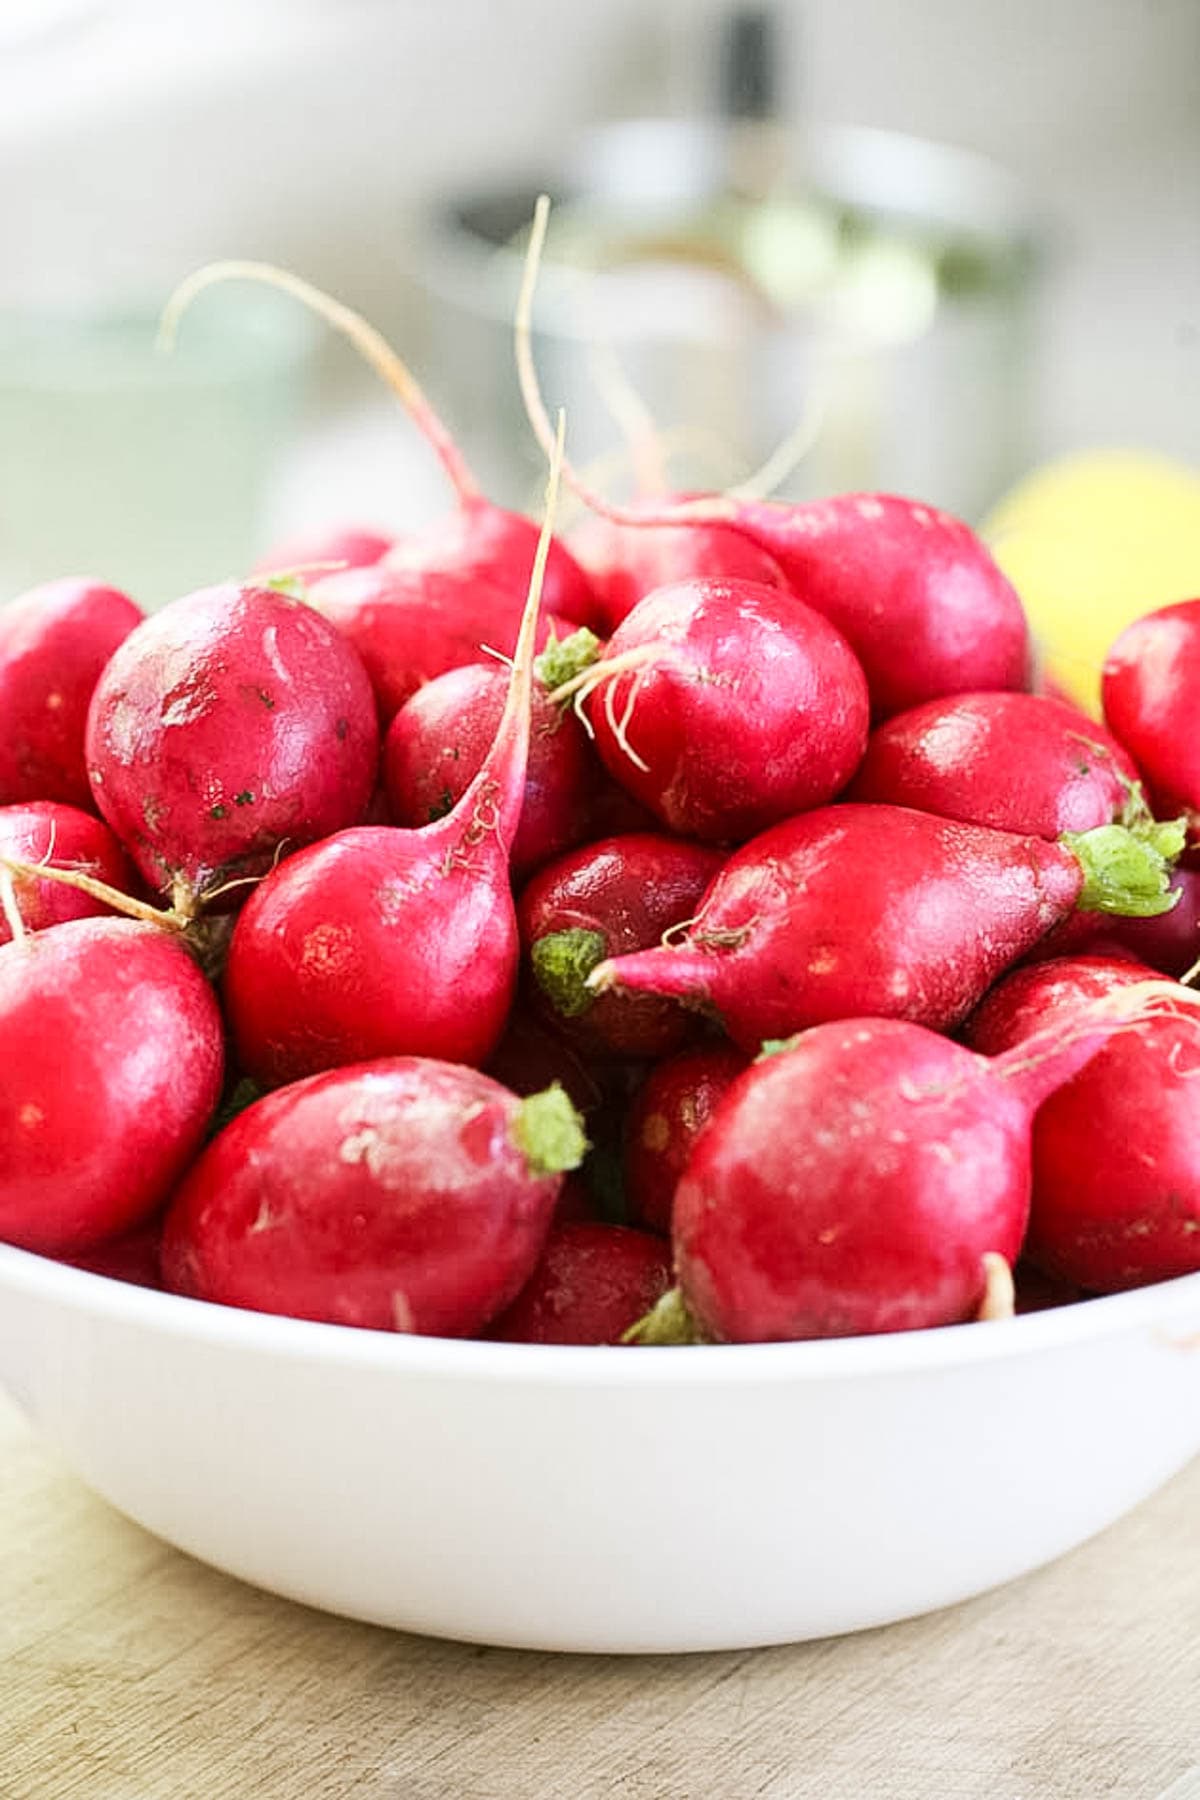
Then a couple of weeks ago, my neighbor stopped by with a ton of radishes to give me. I can’t say no to vegetables so I took them. I washed them, removed them from the wilted greens and ended up with a huge bowl of radishes. It was clear that there was no way for me to consume that many radishes so I had to figure out how to preserve them.
I’ve heard before that the fermentation process makes the radishes less sharp. I figured that if that was true then my kids would help me eat them. It turned out true. Lacto fermented radishes are very easy to make and they are very tasty and healthy. Fermented radish is mild and still holds its crunchiness. It’s a great snack for the whole family.
What is Fermentation?
Fermentation is the process of using microorganisms, such as bacteria or yeast, to convert carbohydrates to alcohol or organic acids under anaerobic conditions. There are a couple of types of fermentation…
Alcoholic fermentation is when we use yeast to break down sugars into carbon dioxide and ethanol. This is the process we use to make beer, wine, and bread.
Lacto fermentation is the process of using bacteria, named Lactobacillus, to convert sugars into lactic acid. This bacteria (some form of it) is actually present in our digestive system naturally and is also present on the surface of plants. Lactic acid is a preservative that helps us preserve foods by preventing the growth of harmful bacteria. Lacto fermentation, which is the process we are going to use to preserve our radishes, also increases the vitamin and enzyme level of the vegetables we ferment.
Adding those foods to our diet can help us introduce additional probiotics, or in other words, beneficial bacteria to our digestive system in a natural way. Beneficial bacteria help us digest food, help us support a healthy metabolism, and an overall well functioning and healthy digestive system which we all know is super important for our overall health and strength.
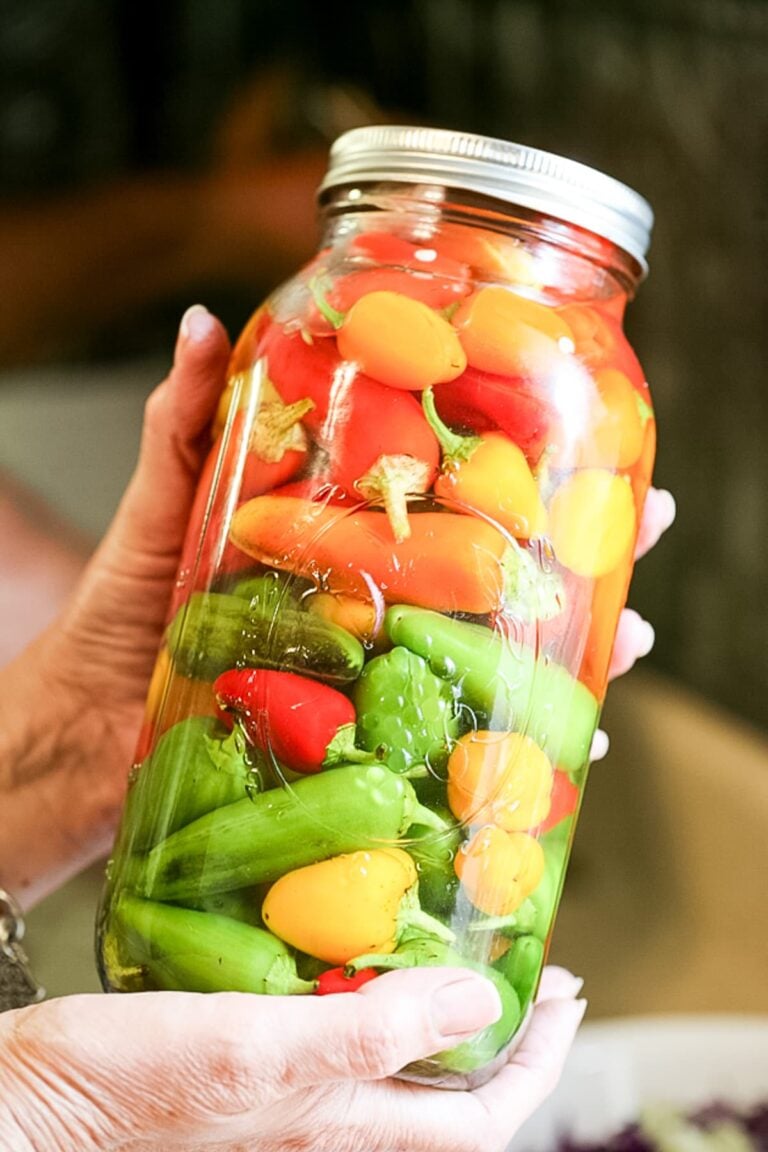
So let’s recap… We take a vegetable (cabbage, cucumbers, peppers, turnips, radishes, cauliflower, even tomatoes…) we let it sit in a solution and steep for a few days, the sugars in the vegetable break down and start promoting the growth of beneficial bacteria. Lactic acid is formed and prevents the growth of harmful bacteria which makes it possible for us to preserve what’s in the jar (in cold storage).
We get to add beneficial bacteria to our gut and are able to keep the food for a longer period! That’s like eating the cake and leaving it whole so you can eat it again. I say, let’s do this!
Ingredients…
- Radishes – use as many as you need to fill your jar. I used a quart jar here and needed about two bunches of radishes to fill it. Radishes come in many different colors and shapes. You can use any kind of radish that you come across, it doesn’t matter if it’s a round radish, a long radish, a yellow radish, purple, pink… And you can also mix them up if you like.
- Herbs and spices – I didn’t use any herbs or spices this time but really, the sky is the limit. You can add a couple cloves of garlic (crushed), dill, thyme, pickling mix, mustard seeds, chili flakes, whole peppercorns and so on…
- Brine – we will need water and salt to make the brine. When lacto fermenting, it’s important that you use non-chlorinated water and non-iodized salt like sea, Kosher, or canning salt. I used 1.5 tablespoons per two cups of water. You can use anywhere from one tablespoon per cup of water for a very salty brine to one teaspoon of salt per cup of water if you want your brine less salty.
Tools…
- Quart jar – I used a quart jar in this recipe but you can follow the same process with any size jar from a pint to a gallon. Make sure that you are using a wide mouth jar so you can fit a fermentation weight in there.
- Two cup measuring cup – to make the brine.
- Measuring spoons – for measuring salt and spices.
- Fermentation weight – you’ll see below that I didn’t have a fermentation weight when I made this jar of fermented radish. I used an apple to hold the radishes under the brine and that was a disaster! There are many tricks and many ideas for DIY fermentation weights but I strongly recommend that you invest a tiny bit of money and get glass fermentation weights. Trust me, they will save you a lot of headache and food.
- Lid – during the fermentation process gas is created. We have to let this gas out once a day (more on this later). There are many kinds of special fermentation lids that let this gas out without you needing to do anything. However, letting this gas out is as simple as twisting the lid open and then closing it back once a day. It takes a few seconds so I choose to just use regular lids. You can also use freezer lids as well (they are actually better since they are plastic and don’t rust).
How to Ferment Radish…
Step 1 – prep the radishes. Remove the radish greens and wash your radishes well in cold water.

Then, slice the radishes. There are no real rules here. You can slice them thin as I did here, you can slice them a bit thicker, you can quarter or half them… Prep them however you want. If you are going to add any herbs or spices, make sure that they are ready to be added to the jar as well.

Step 2 – pack the jar. Wash the jar well with hot water and dish soap. Then add the radish to the jar leaving an inch or two at the top for the fermentation weight. If you are adding any spices or herbs, add them halfway through.

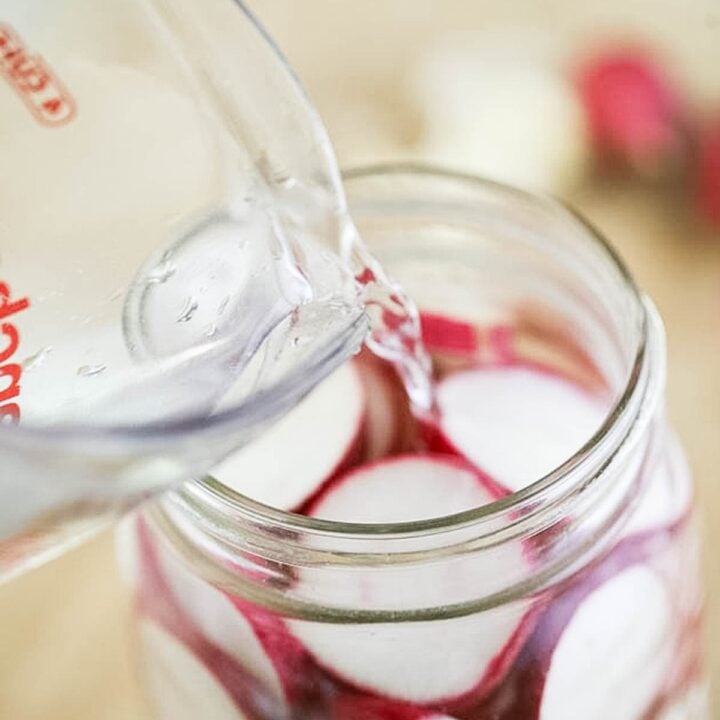
Step 3 – add the brine. Dissolve the salt in room temperature water and add the brine to the jar. We want to have enough brine to cover all of the radishes.
Step 4 – add fermentation weight. As I said before, when we ferment, we want to make sure that all the vegetables are under the brine. To push them down and keep them down we use a fermentation weight.

When I made this jar of fermented radishes, I didn’t yet have a fermentation weight so I used the apple trick. You simply cut the apple to fit the diameter of the jar and you stick it there so it pushes the radishes down under the brine. This can work IF you make sure that the apple itself is also covered with brine (which is sometimes hard to do).

If the apple is not covered by the brine, you are going to have other types of organisms growing in your jar… The kind you don’t want to eat. This was disgusting, people, but I had to explore all the possibilities so I can have a full report for you. So there you have it… The chickens did enjoy this jar of fermented radish and wormy apple.

However, if you do this right and make sure to peel the apple and cover it with the brine, you should be fine. This photo above is from a week later and you can see that the apple also went through the fermentation process and everything in this jar is just fine.
So the conclusion is… Buy fermentation weights so you don’t waste your produce. However, if you are stuck with not enough weights or you are stuck on a deserted island where there is no Amazon delivery service and you just have to ferment radishes… Know that there is this apple trick (it works with cabbage core too in case that island doesn’t have apples).
Step 5 – close the jar and let it ferment. Once the weight is placed inside of the jar and the radishes are covered with the brine, go ahead and close the jar with the lid.

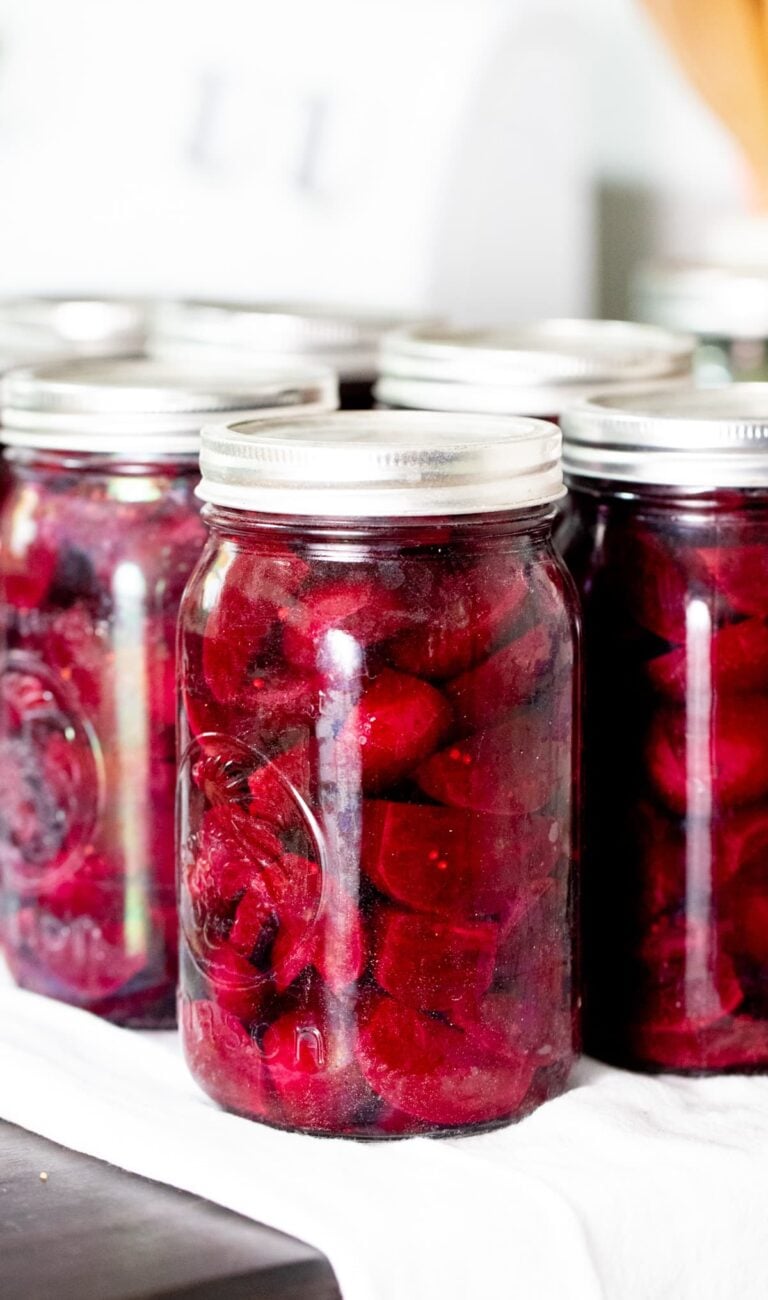
I had enough radishes to make a few jars of lacto-fermented radish so I placed them on a baking sheet but if you just make one jar, you can place it on a plate. During the fermentation process, some brine is going to bubble over and spill out, the plate will catch it and save you some mess. Place the jar at room temperature to ferment.
That bubbling is caused by the gas that is created during the fermentation process. We need to let this gas out once a day during the fermentation process. This is also called burping the jar. Once a day, twist the lid open, wait a few seconds, and then twist it back to close the jar again (there is no need to completely open it).
After a couple of days, you’ll notice that the brine becomes foggy, this is fine and part of the fermentation process. It usually takes a quart jar about a week to ferment. You’ll know when the fermentation process is complete when the brine clears again. It will never be as clear as it was when we added it to the jar but it will be clearer than what it was during the fermentation process.

Storing Lacto Fermented Radishes…
Once the fermentation process is done, store your jar of fermented radish in the fridge or in a root cellar. It has to be stored in a cold location to stop the salt-action or the veggies will become really soft after a few weeks. In cold storage, these fermented radishes will last for months!
Even while the jar is in cold storage, you want to make sure that the radishes stay under the brine. You also want to make sure that you use a clean fork or spoon every time that you go into the jar to scoop out radishes.

Serving Fermented Radish…
- As a snack – most of the time, we simply use fermented radishes as a healthy snack. We just grab a few here and there instead of reaching for chips or cookies.
- Add to salads – that is probably my second favorite use for fermented radishes. Simply add them to any kind of salad! Try adding them to this Israeli beetroot salad, an egg salad, tuna salad, chicken salad, pumpkin and feta salad, celery salad and so on.
- Side dish – they are a great side dish to any sandwich or main meat dish like pulled meat, a burger, stuffed peppers, BBQ sandwich, livers in onions, and so on.
Frequently Asked Questions…
There are no rules! Use whatever you think you might like. Try different combinations and see what you like best. You can add garlic, dill, thyme, sage, peppercorns, mustard seeds, mixed pickling spice, chili flakes, hot peppers, or anything else you can think of.
Yes, it’s ok. It’s surface scum or kahm yeast and it doesn’t hurt the fermented radishes. Simply scoop it up with a spoon and remove as much of it as you can, then keep enjoying your fermented radish. You can also wash the radish in cold water before serving it.
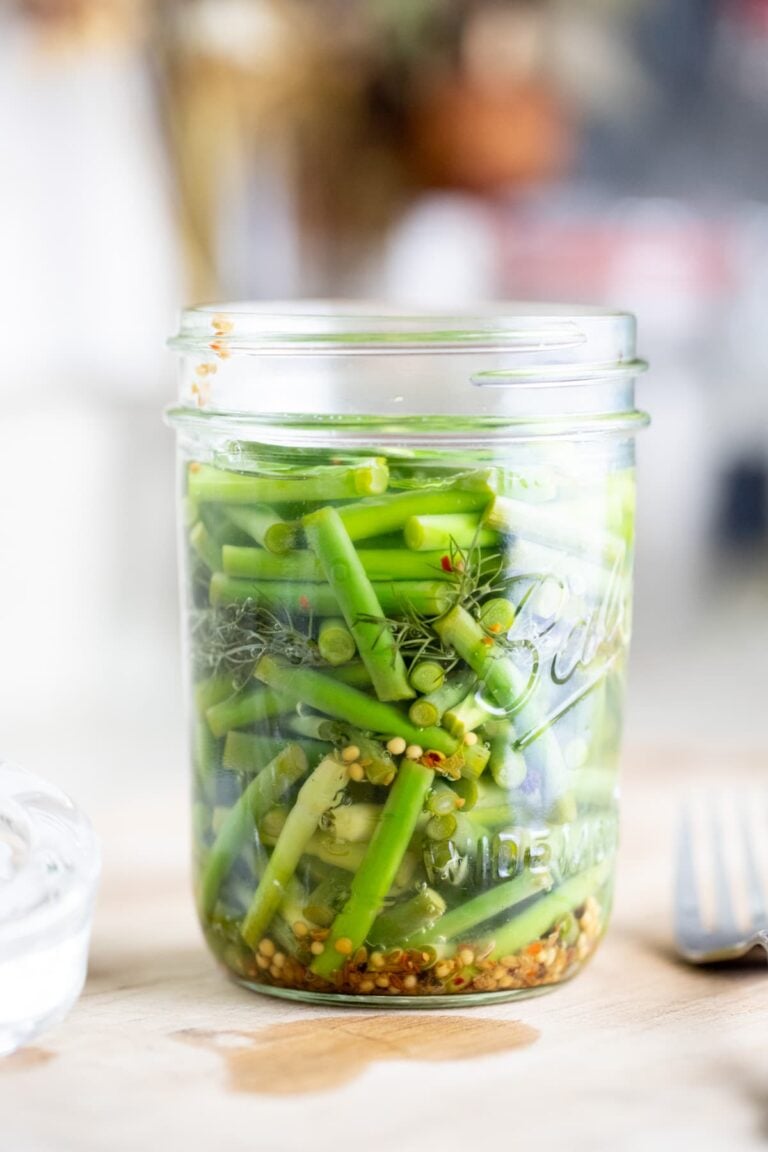
Yes! You can add peppers, turnips, beets, carrots, cauliflower, even cabbage. The fermentation process will stay the same.
Lacto-fermented radishes are not as sharp as raw radishes, they are crunchy, and salty, and filling. They are a really great snack to have on hand and I sure hope that you’ll like them as much as we do! I’m glad to say that I am back to growing radishes!
More Fermenting Tutorials…
Fermented Radish
Easy fermented radish. Can be a great snack or side to any sandwich. This lacto-fermented radish is also a great addition to any salad.
Ingredients
- 2 bunches of radishes
- Herbs and spices of your choice (see notes)
- 1.5 tablespoons of salt (kosher, sea, or canning salt) dissolved in 2 cups of non-chlorinated water
- 1/2 cup vinegar (optional. See notes)
Instructions
- Wash your radishes. Remove tops and tails and slice or quarter your radishes.
- Wash a quart jar with hot water and soap. Pack your radish in the jar halfway, add your herbs and spices and fill the rest of the way with radishes.
- Make the brine by dissolving the salt in the water. Add the brine to the jar leaving one-inch headspace.
- Place a glass weight on top of the radishes to make sure they are all submerged.
- Close the jar with a fermentation lid or a regular lid.
- Place your jar to ferment at room temperature for about 7 days (you'll notice the brine solution becomes foggy and you'll notice some foam and bubbles forming).
If you used a regular lid, you will have to "burp" the jar once a day. This means, that you need to twist the lid open once a day for a few seconds to let the gas (that is created during the fermentation process) out before closing it again (there is no need to lift the lid completely). - After a few days, the solution will clear. It won't be as clear as when you added it to the jar, however, it will become clearer than it was during the fermentation process. This is a sign that the fermentation process is complete.
- If you used the glass weight, you can leave it in there and store the jar in the fridge or in a root cellar for a few months.
- Make sure to use a clean fork every time you reach for fermented radish.
Notes
- Use whatever herbs or spices you think you might like, there are no rules. Try different combinations and see what you like best. You can add garlic, dill, thyme, sage, peppercorns, mustard seeds, mixed pickling spice, chili flakes, hot peppers, or anything else you can think of.
- If you like the taste of vinegar, you can add up to 1/2 cup of vinegar per quart jar. Pack the jar, then add the vinegar, and then the brine. After you close the jar, give it a shake to mix the vinegar with the brine. The rest of the process is the same.
- When lacto fermenting, it's important that you use non-chlorinated water (distilled is fine) and non-iodized salt like sea, Kosher, or canning salt. I used 1.5 tablespoons per two cups of water. You can use anywhere from one tablespoon per cup of water for a very salty brine to one teaspoon of salt per cup of water if you want your brine less salty.
Nutrition Information:
Yield: 1 Serving Size: 1Amount Per Serving: Calories: 24Total Fat: 1gSaturated Fat: 0gTrans Fat: 0gUnsaturated Fat: 1gCholesterol: 0mgSodium: 9544mgCarbohydrates: 3gFiber: 2gSugar: 0gProtein: 1g

Thanks for this. I have made pickles but not radishes – yet. That’ll be the next effort. One thing you may want to suggest in your notes: After removing some of the vegetables the level in the jar goes down and the space is taken up by air (the enemy of a good ferment). In fact some of the fermented vegetables may be exposed to the air. Make up some fresh brine @ the 1/2 tbsp per cup rate and top off the Mason jar to within 1/2″ or so of the top. Then re-seal and put it back in the refrigerator. I usually keep a small amount of a stock brine in the refrigerator just for the purpose of topping off. I make that stock Brine with purchased spring water, not tap water, and pickling salt .
Good tip, thanks!
Dear LL,
Thanks for this recipe! It’s very easy and quick and I’ve used it three times this summer using garlic, coriander seed and celery seed along with the radishes (of course). The garlic was VERY strong and coriander just right. I just put down a batch using the celery seed so I’ll have to return here to evaluate.
So many radishes in my garden still! I’m wondering how many pints of fermented radish a family of 2 can eat in a year. They are delicious but if I fermented all I have it would produce about 16 pints.
Oh, you made my day! I am so happy that you liked it! They are a great, healthy snack or a side for a sandwich. You can definitely change the seasonings and find what combination you like best. Thanks for taking the time to write to me!
So happy to have found you! Then I came across this post! I have so many radishes! My daughter eats the little not “smokey” radishes, but I can only eat so many! Thank you for being who you are and taking the time to share your knowledge. Happy learning! 🙂
Thank you for the kind words!
It’s so easy to ferment radishes and it takes the “smokiness” and spiciness away so your daughter will love that too.
This looks so good! I can’t wait to try this on the weekend. Thanks a lot for sharing!