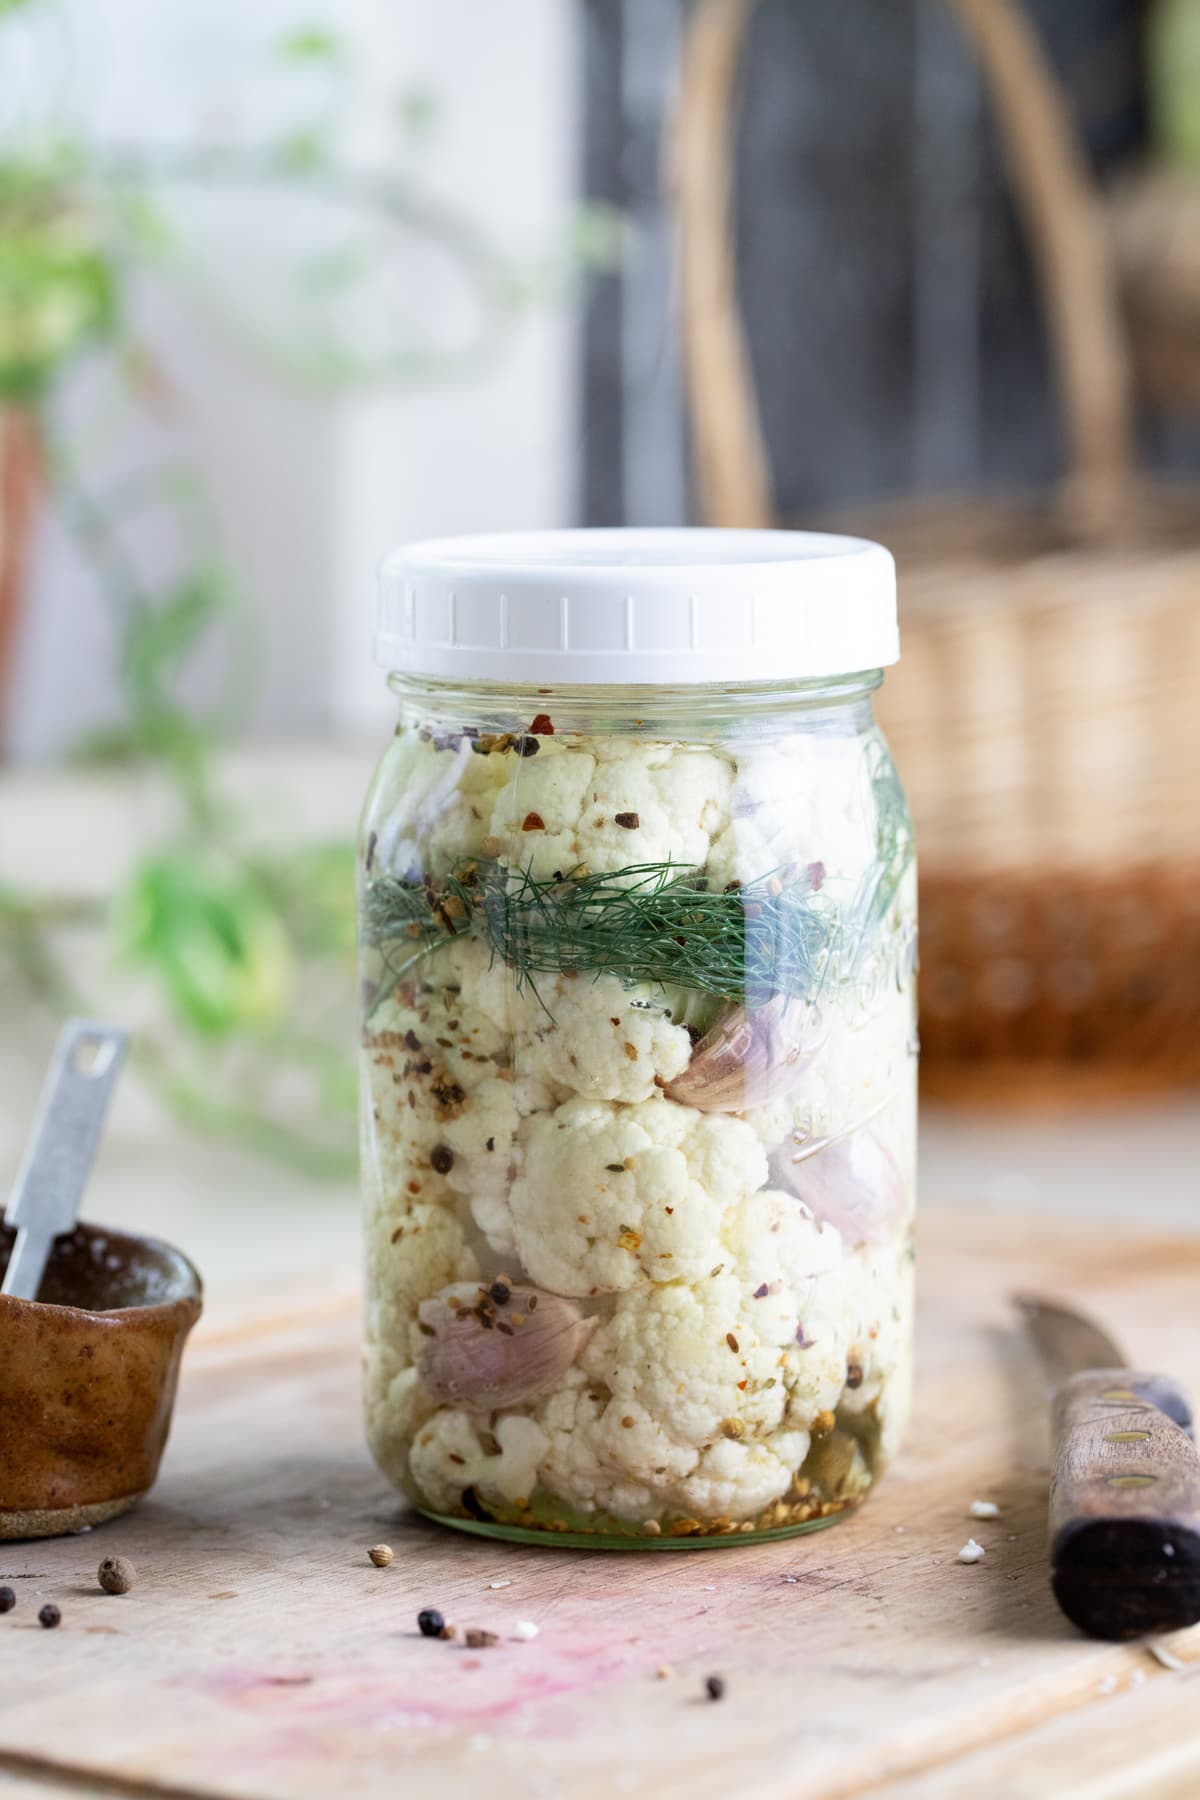
This post may contain affiliate links, view our disclosure policy for details.

Fermented cauliflower is a healthy sort of food that is great to have around. Instead of reaching for something sweet, fermented cauliflower can be a quick and healthy snack! This is also a great way to preserve cauliflower.
Lady Lee’s Note…
Cauliflower is one of those vegetables that you can use in a million different ways… Fried, boiled, baked, as rice, or even as a pizza crust, there are so many ways to use cauliflower.
However, most people don’t like fresh cauliflower, using it means, in most cases, cooking it somehow. Fermenting cauliflower is a way to still keep it fresh but add some flavor to it. It’s very simple to make and ferment a jar of cauliflower and like most other fermented vegetables, if you keep it in cold storage it will last for a very long time which means a healthy snack is right there, ready for you in the fridge.
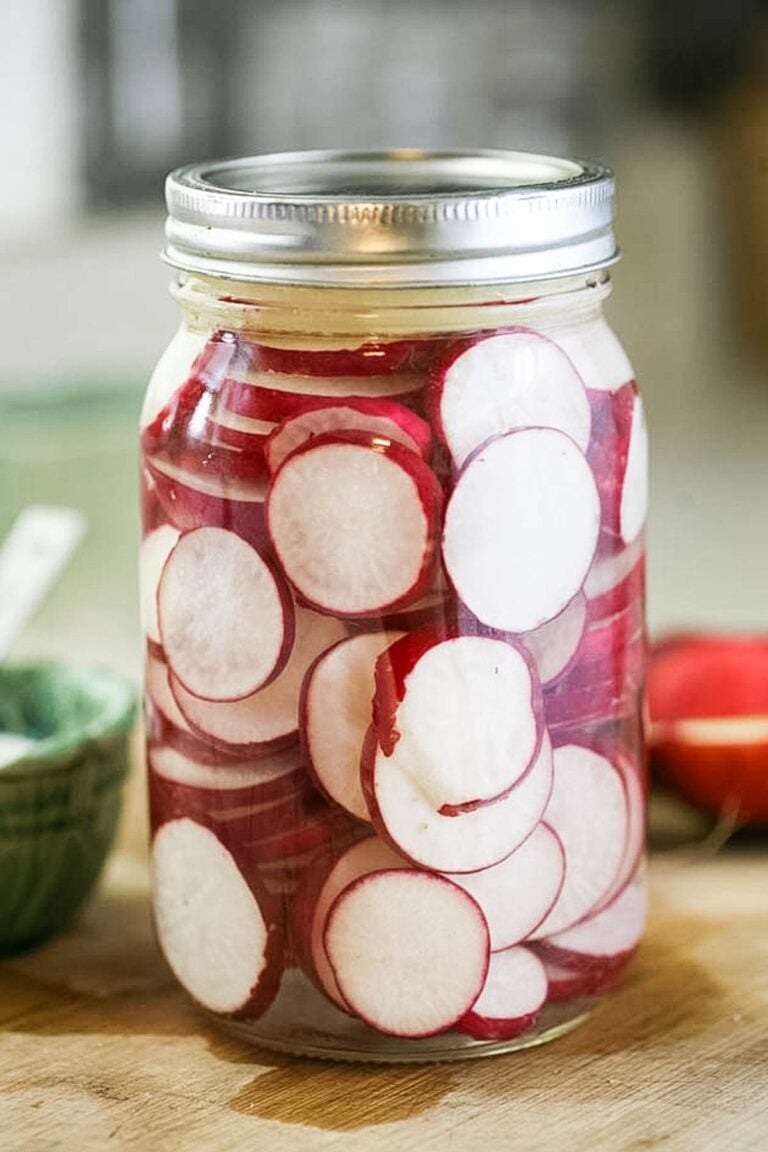
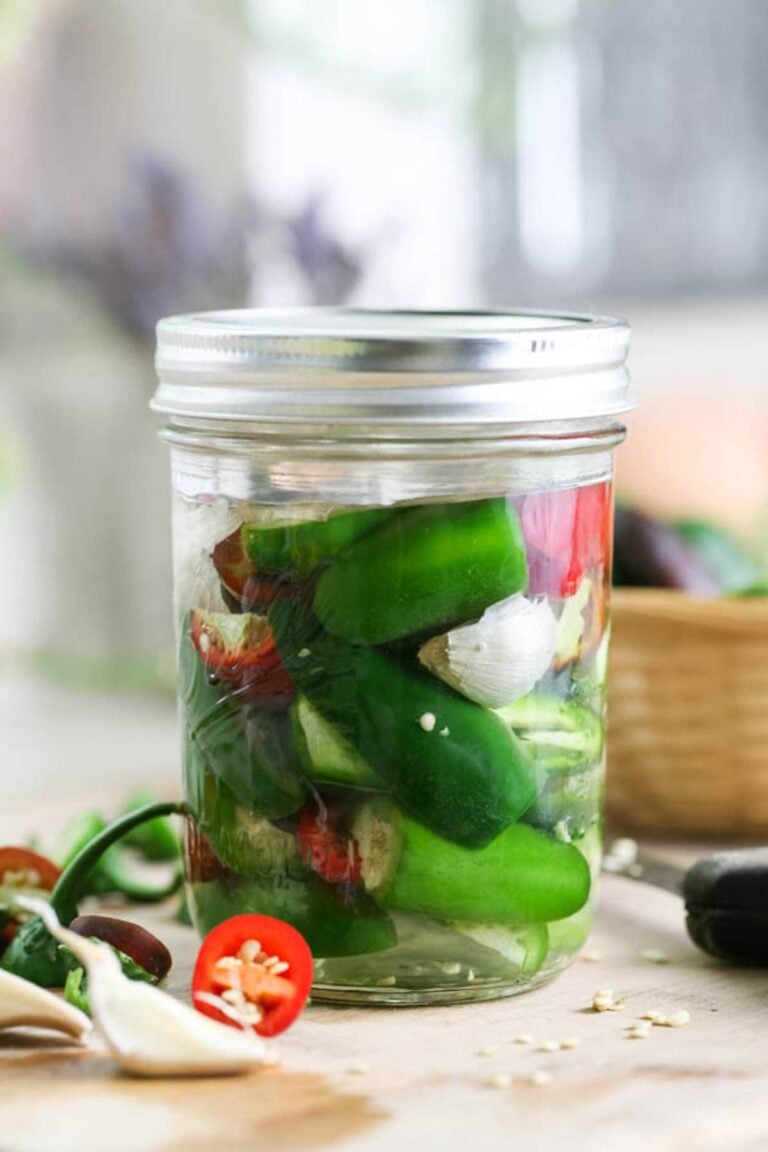
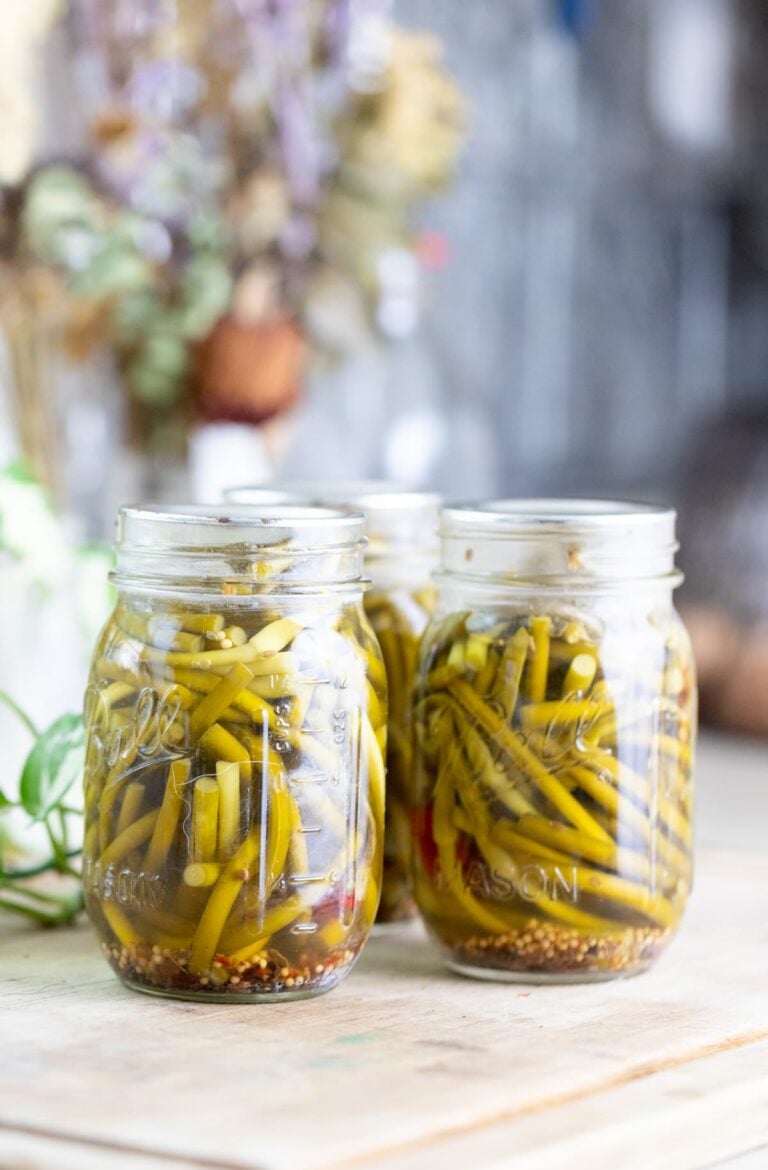
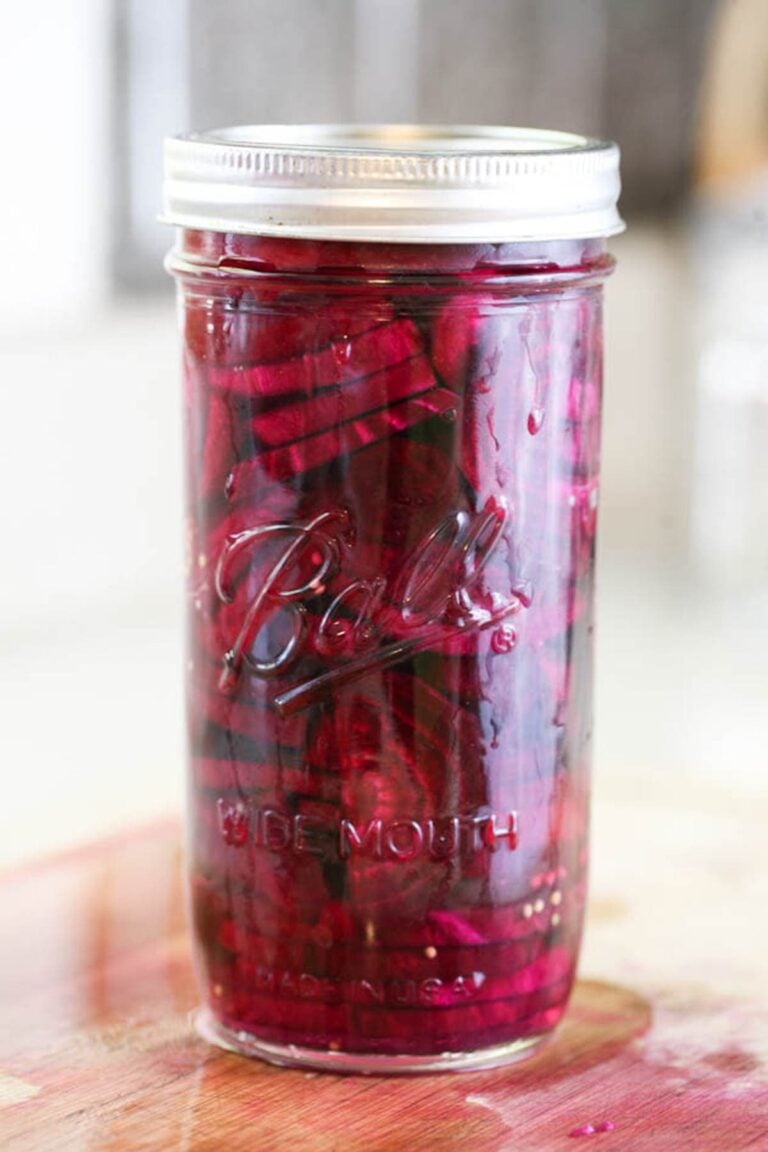
I ferment everything pretty much the same way, with a salty brine. Check out my tutorials on fermenting beets, radishes, green beans, and my favorite fermented cucumbers. We’ll lacto-ferment our cauliflower the same way in this tutorial.
What is Fermentation…
Fermentation is the process of using microorganisms, such as bacteria or yeast, to convert carbohydrates to alcohol or organic acids under anaerobic conditions. There are a couple types of fermentation…
- Alcoholic fermentation is when we use yeast to break down sugars into carbon dioxide and ethanol. This is the process we use to make beer, wine, and bread.
- Lacto fermentation is the process of using bacteria, named Lactobacillus, to convert sugars into lactic acid. This bacteria (some form of it) is actually present in our digestive system naturally and is also present on the surface of plants. Lactic acid is a preservative that helps us preserve foods by preventing the growth of harmful bacteria. Lacto fermentation, which is the process we are going to use to preserve our cauliflower, also increases the vitamin and enzyme level of the vegetables we ferment.
Adding fermented foods to our diet can help us introduce additional probiotics, or in other words, beneficial bacteria to our digestive system in a natural way. Beneficial bacteria help us digest food and help us support a healthy metabolism.
Ingredients…
- Cauliflower – I was able to fit a medium size head in a quart jar.
- Garlic cloves -leave the skin on.
- Dill – dry or fresh.
- Ball pickling mix
- Brine – non-chlorinated water and non-iodized salt.
Kitchen Tools…
- Cutting board
- Knife
- Jar with a lid – I use a wide-mouth quart jar but you can also use a pint jar with a wide mouth. Make sure to use a plastic freezer lid or a special fermentation lid.
- Measuring spoon
- 2 cup measuring cup
- Fermentation weight
Step-by-Step Instructions…
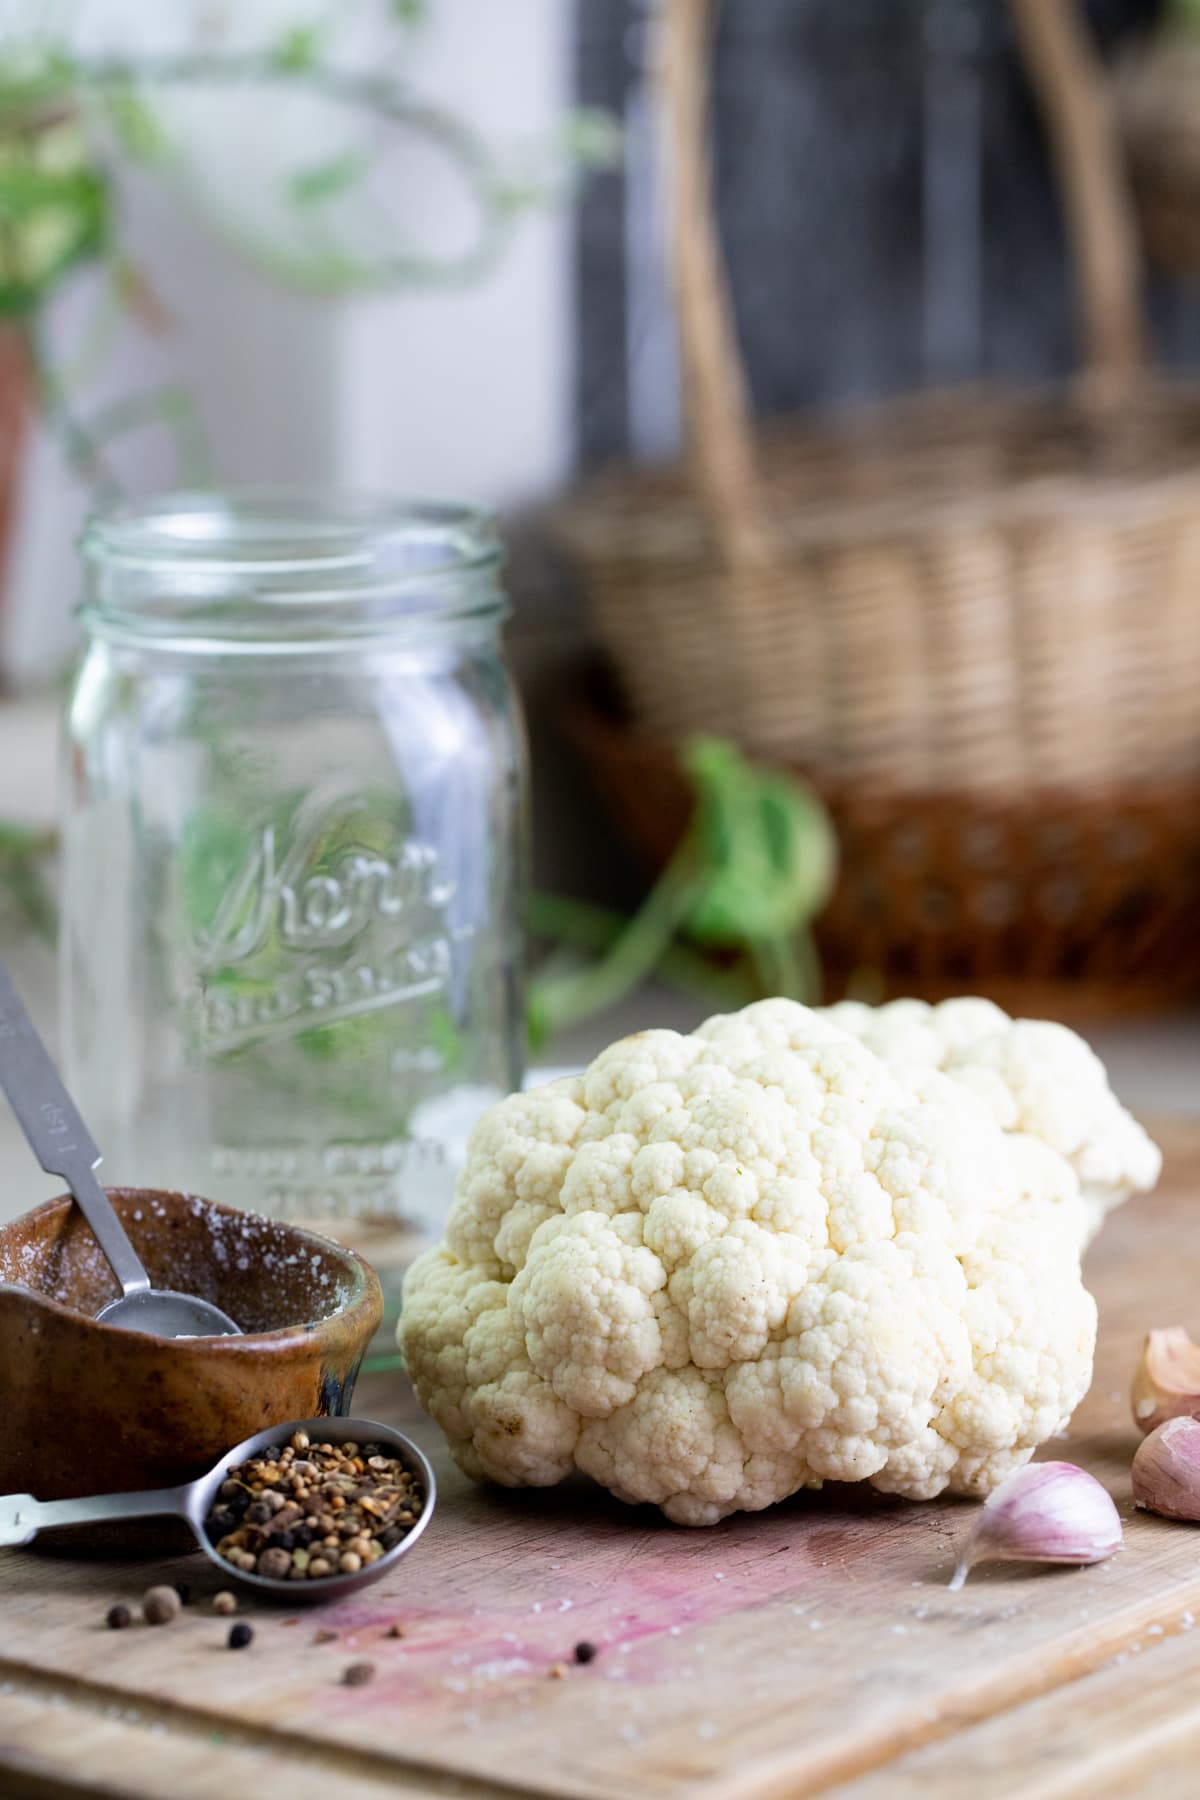
Step one – prep the ingredients. Wash the cauliflower and separate the flowers. Don’t cut the flowers too small, just enough for you to be able to fit them in the jar. Crush each garlic clove but don’t remove the skin. Simply place the clove on the cutting board, place your knife on top of the clove and press the knife down with your hand until the clove is slightly crushed.
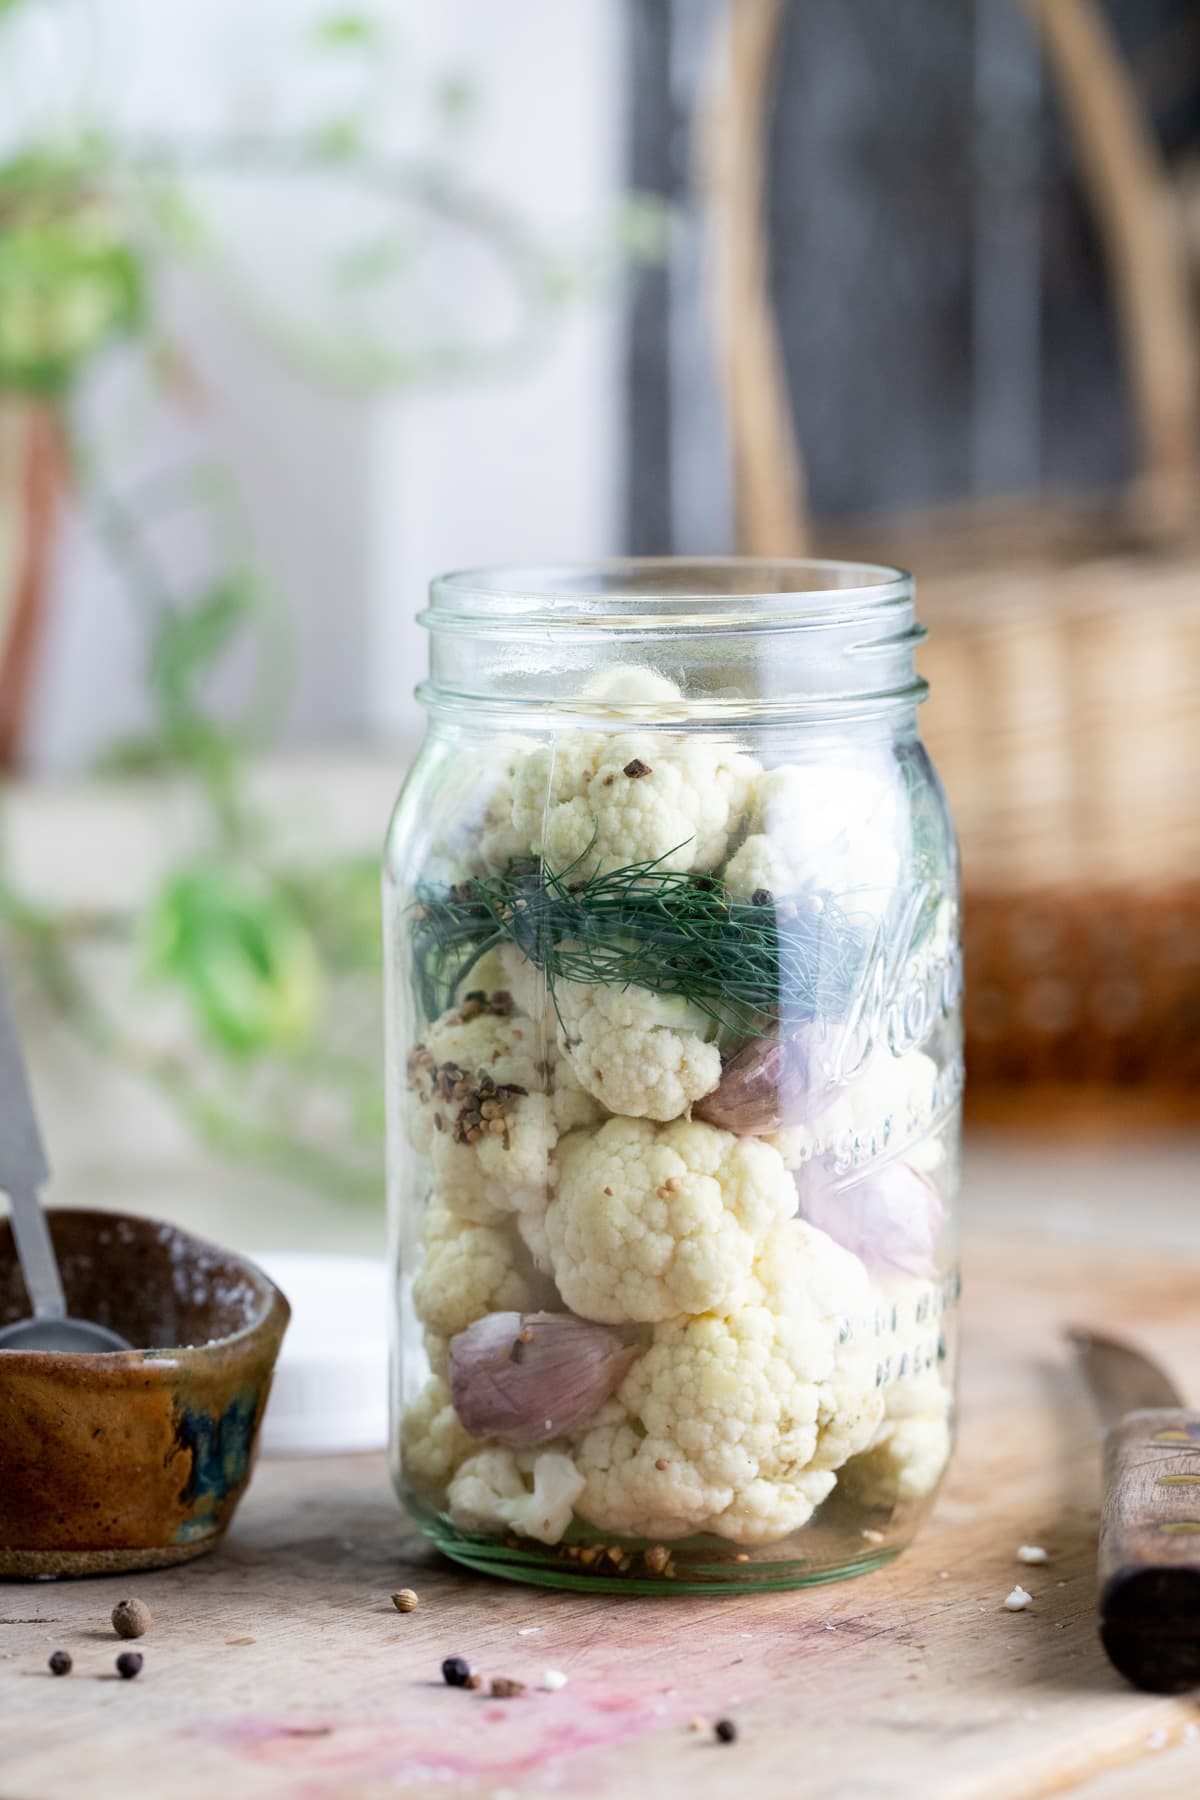
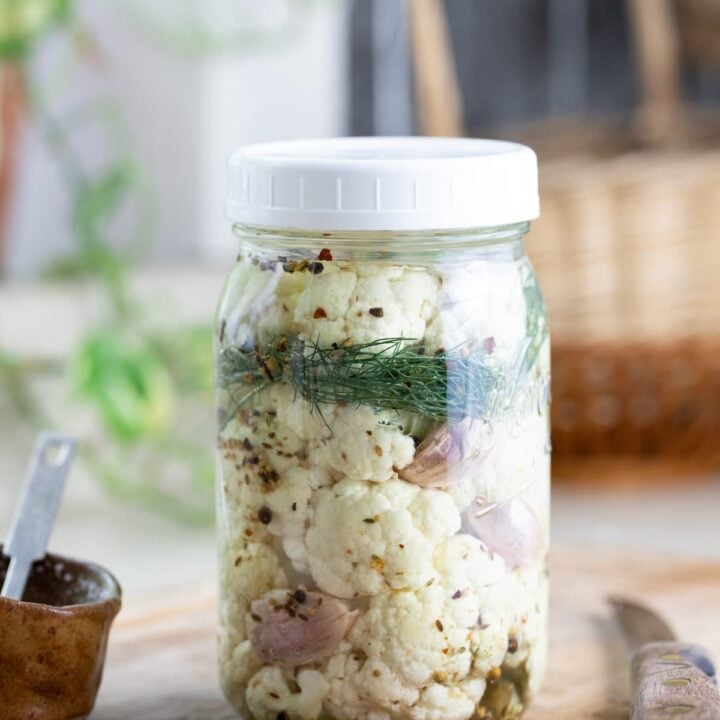
Step two – pack the jar. Pack the jar with the cauliflower and in between add a clove of garlic here and there. Stick the dill somewhere in the middle as well. Make sure to leave about an inch of headspace. Once all the vegetables are in the jar add the spices.
Step three – add brine and close the jar. Make the brine by dissolving one teaspoon of salt per one cup of room-temperature water. Add the brine to the jar until it covers the vegetables. It’s important that you use non-chlorinated water. If you live in the city, make sure to use spring water from the store or distilled water. It’s also important that you use non-iodized salt or in other words don’t use table salt. Instead, use kosher, sea, or canning salt.
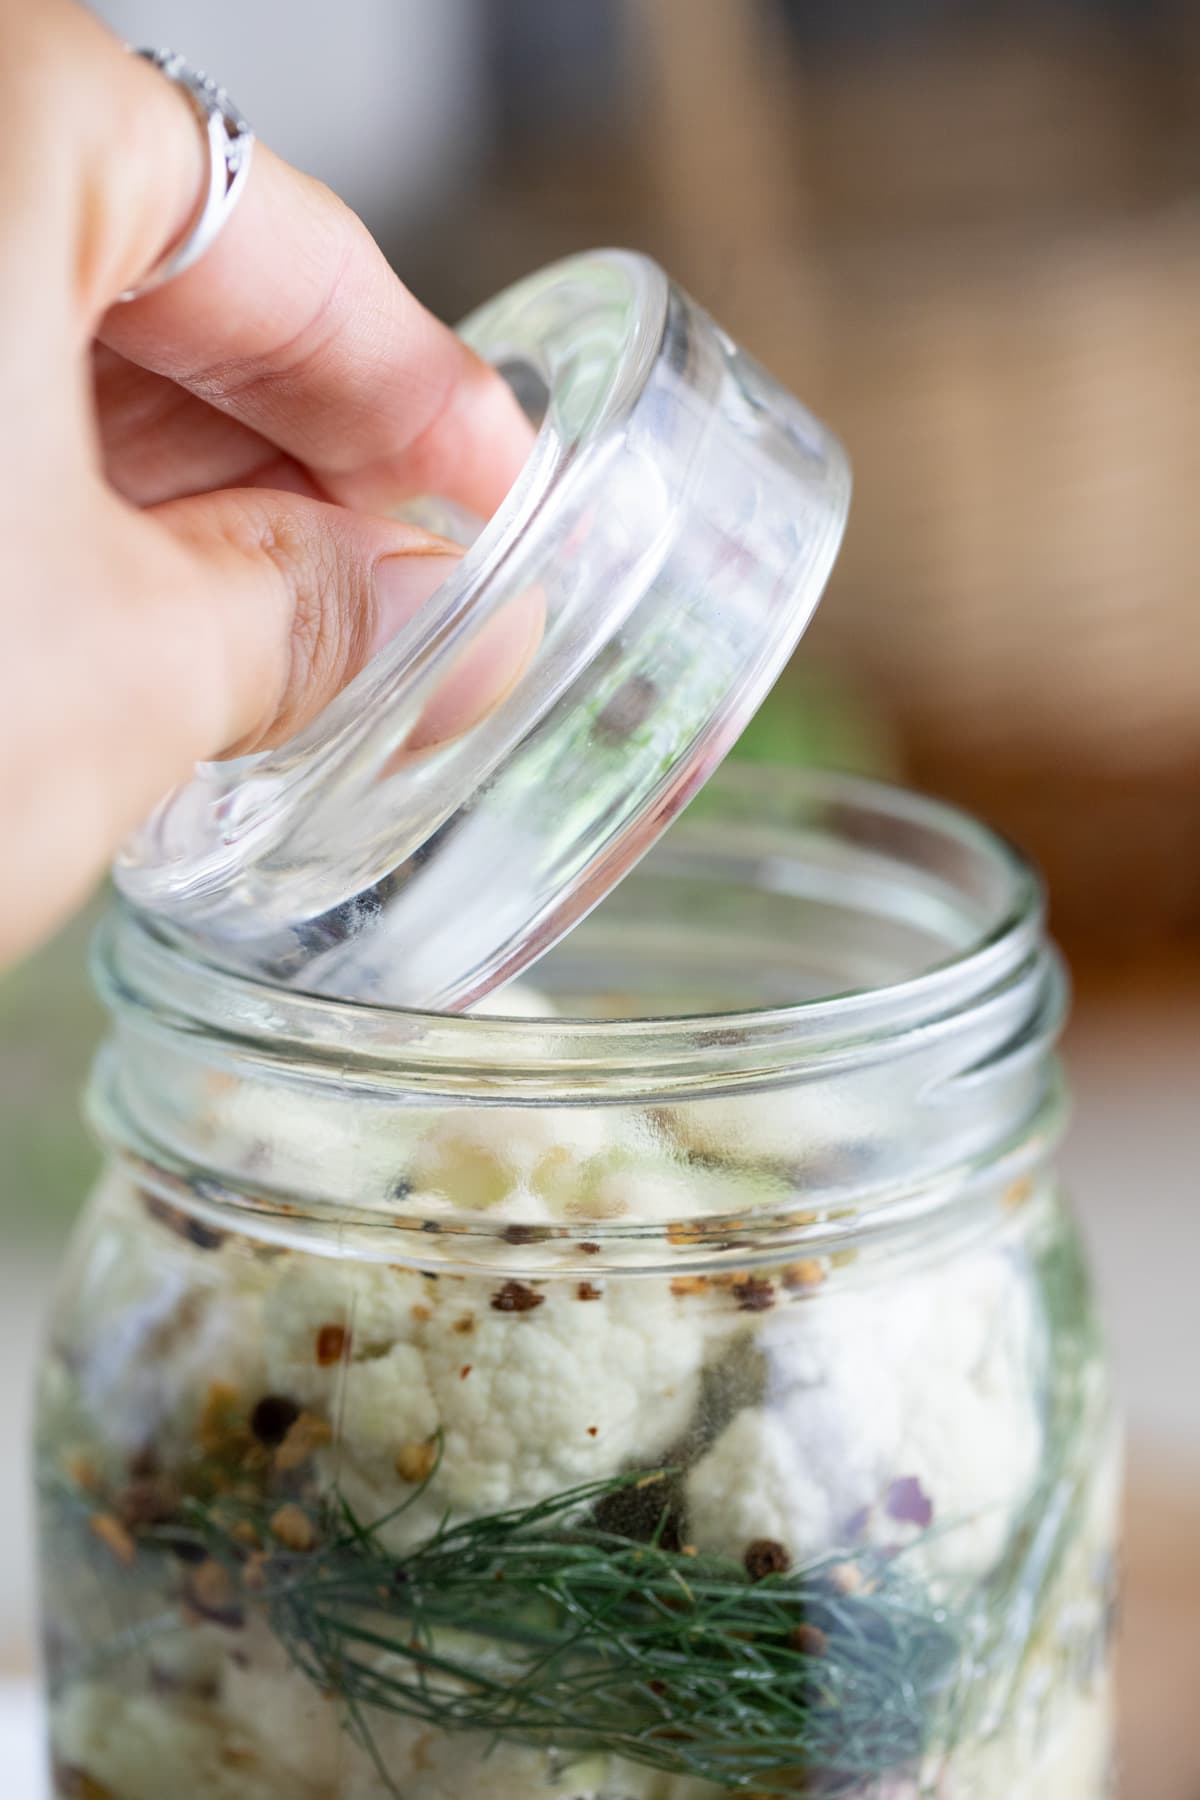
Lastly, place the fermentation lid on top of the vegetables and press them down lightly. Make sure that all the vegetables are under the brine. Close the jar with the freezer lid (or a fermentation lid if you are using one), set the jar on a plate (some of the liquid will spill out during the fermentation process, the plate will help you catch the mess), and place the jar on the kitchen counter at room temperature to ferment.
After a couple of days, you’ll notice some bubbles forming at the top of the jar and the brine will start to look foggy. That’s great, this is how you know that the process of fermentation is on its way.
Remember that if you are not using a special lid for fermentation you will have to “burp” the jar, meaning once a day you’ll need to twist the lid open (don’t lift it) for a couple of seconds before twisting it back. This will let the gases that form inside the jar during the fermentation process a way to escape.
A quart jar will probably take 5-7 days to ferment. Usually, I tell people that you’d know when the fermentation process has been completed because the brine will clear again. It’s never as clear as it is when we add it to the jar but it is noticeably clearer.
How to Store Fermented Cauliflower…
- At room temperature – it is possible to leave the jar at room temperature as long as you make sure that the vegetables are under the brine. Take into consideration that the vegetables are going to soften quickly though. So I say, if you leave the jar at room temperature, use the fermented cauliflower within three weeks or so.
- In cold storage – the best way to store your fermented cauliflower is in cold storage (40-45 degrees F). This can be in the fridge or a root cellar. Make sure that the cauliflower stays under the brine even while the jar is in cold storage and use a clean fork to scoop the cauliflower out when you are ready to enjoy it. Fermented cauliflower should easily last 6-8 months in cold storage.
How to Serve Fermented Cauliflower…
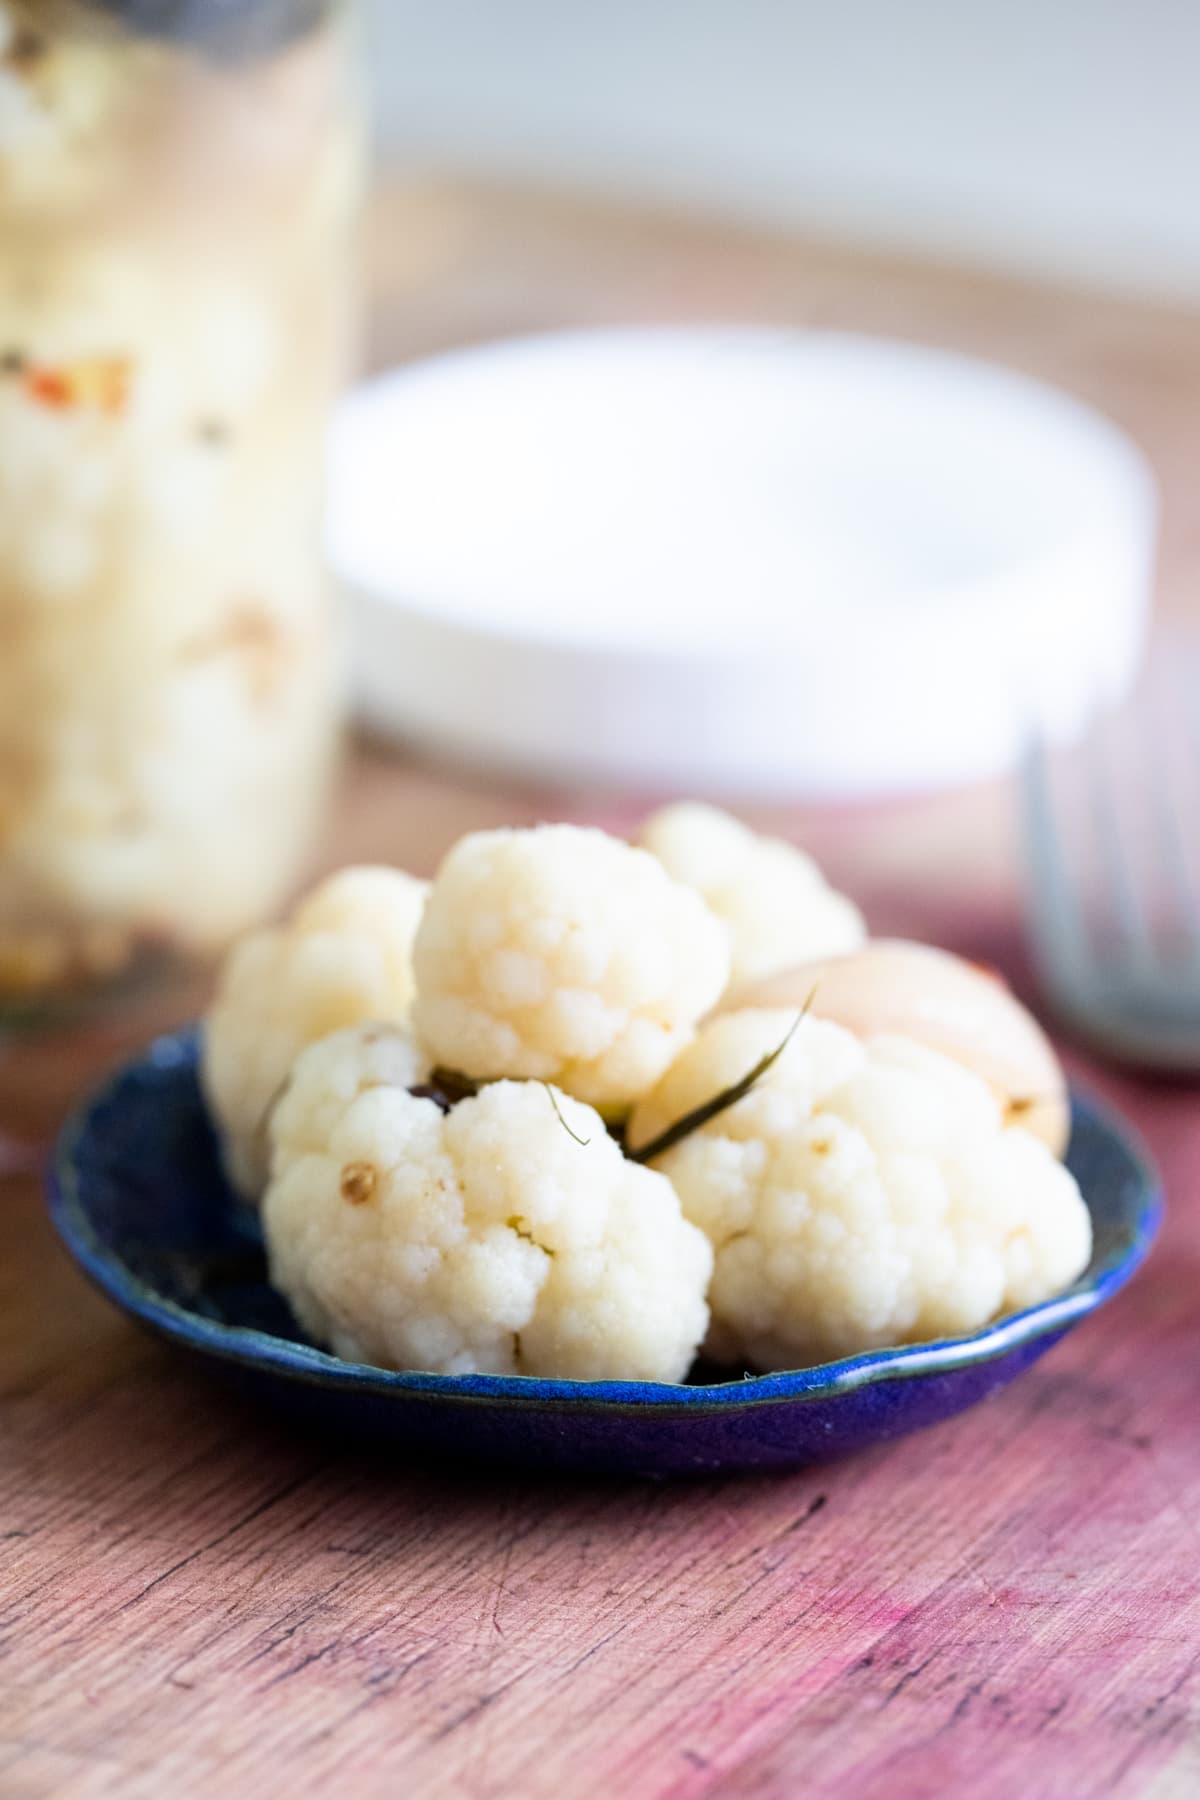
- As a snack – they are firm and earthy and salty. I love scooping a few flowers into a bowl and snacking on them. It’s so much better than reaching for a cookie.
- As a side – fermented cauliflower is a great side for an easy sandwich lunch. Add them as a side to a burger instead of the fries, add them as a side to a meat wrap, or a BBQ sandwich or any other.
Add them as a side to this Mediterranean zucchini casserole, or serve them with zucchini and corn fritters for a simple vegetarian lunch or breakfast. - Throw them in salads – they are a delicious, salty addition to any salad. I sometimes add them to my favorite Mediterranean egg salad or a classic Israeli salad.
Frequently Asked Questions…
You can spice this fermented cauliflower however you want. One combination that I like is turmeric, cumin, chili flakes, and paprika.
Yes! You can add pretty much any other vegetable you’d like to try. Some that work well are carrots, peppers, cabbage, beets, radishes, or turnips. Make sure to peel carrots, beets, or similar vegetables. Their skin contains bacteria that might mess up the fermentation process.
If you notice a white film forming on top of the brine don’t worry! The white film is kahm yeast and is not harmful. It develops when the sugars are used up and the pH of the ferment drops because of the lactic acid formation. Simply scoop it out when the ferment is done. More will develop but just scrape it off when you’re ready to eat your fermented beets.
If your ferment develops raised and fuzzy black, pink, green, or blue mold throw it out. Be sure to clean all the utensils and vessels well.
I will admit that not everyone is going to love fermented cauliflower, but if you are one that loves the taste of fresh cauliflower and likes salty foods, I think that you’ll love it. I hope that you’ll give this recipe a try!
More Fermenting Tutorials…
- Fermenting Turnips
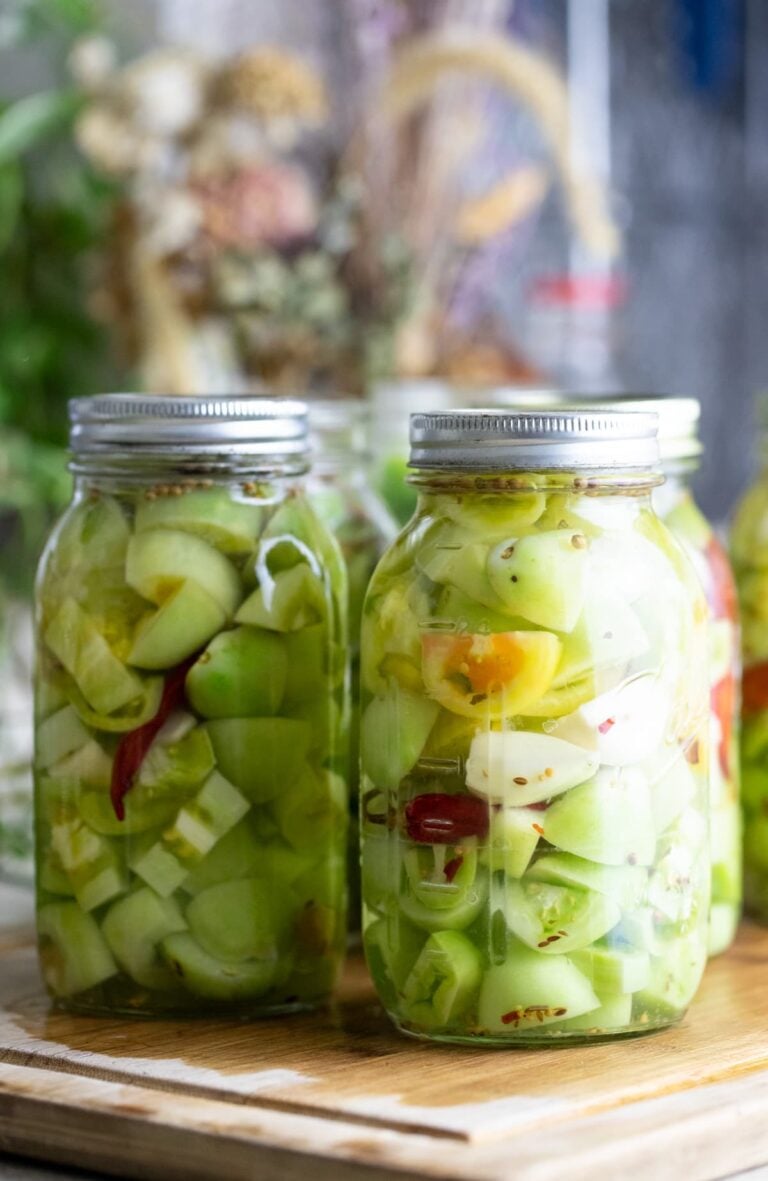
- Fermented Green Tomatoes
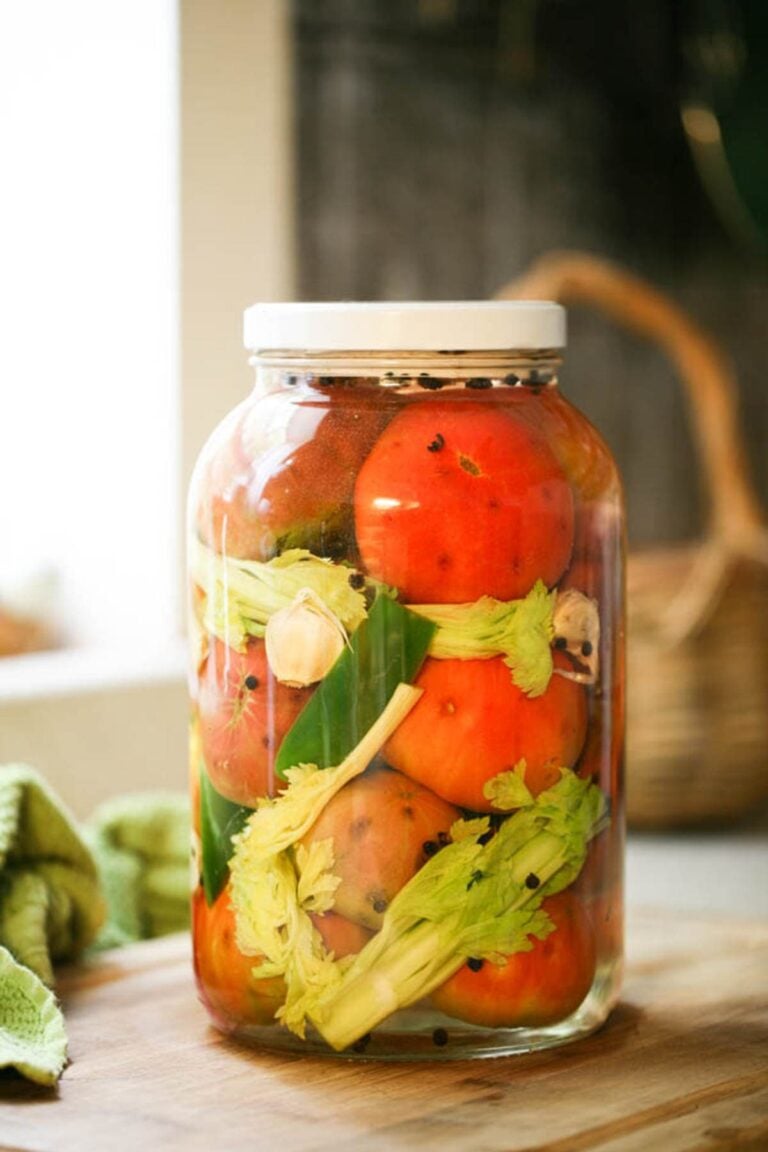
- Fermenting Tomatoes Step By Step
- Fermented Jalapenos
- Preserving Peppers in Vinegar and Salt
- Preserving Whole Lemons
Fermented Cauliflower
Healthy and delicious lacto-fermented cauliflower.
Ingredients
- 1 head of cauliflower (medium size), flowers cut to fit in the jar
- Dill, a couple of fresh sprigs or a tablespoon of dry dill
- 4 garlic cloves, crushed, leave skin on
- 1 tablespoon Ball mixed pickling spice
- Brine: one teaspoon of non-iodized salt per one cup of non-chlorinated water (more in notes)
Instructions
- Step one - Pack the jar with the cauliflower and in between add a clove of garlic here and there. Stick the dill somewhere in the middle as well. Make sure to leave about an inch of headspace. Once all the vegetables are in the jar add the spices.
- Step two - Make the brine by dissolving one teaspoon of salt per one cup of room-temperature water. Add the brine to the jar until it covers the vegetables.
- Step three - Lastly, place the fermentation lid on top of the vegetables and press them down lightly. Make sure that all the vegetables are under the brine. Close the jar with a plastic freezer lid (or a fermentation lid if you are using one), set the jar on a plate (some of the liquid will spill out during the fermentation process, the plate will help you catch the mess), and place the jar on the kitchen counter at room temperature to ferment. After a couple of days, you’ll notice some bubbles forming at the top of the jar and the brine will start to look foggy. That’s great, this is how you know that the process of fermentation is on its way.
- Remember that if you are not using a special lid for fermentation you will have to “burp” the jar, meaning once a day you’ll need to twist the lid open (don’t lift it) for a couple of seconds before twisting it back. This will let the gases that form inside the jar during the fermentation process a way to escape.
A quart jar will probably take 5-7 days to ferment. Usually, I tell people that you’ll know when the fermentation process has been completed because the brine will clear again. It’s never as clear as it is when we add it to the jar but it is noticeably clearer. Store the jar in the fridge.
Notes
Brine:
It’s important that you use non-chlorinated water. If you live in the city, make sure to use spring water from the store or distilled water. It’s also important that you use non-iodized salt or in other words don’t use table salt. Instead, use kosher, sea, or canning salt.
Frequently Asked Questions...
- Are there other spices I can use instead of the Ball mix?
You can spice this fermented cauliflower however you want. One combination that I like is turmeric, cumin, chili flakes, and paprika. - Can I add other vegetables to this recipe?
Yes! You can add pretty much any other vegetable you’d like to try. Some that work well are carrots, peppers, cabbage, beets, radishes, or turnips. Make sure to peel carrots, beets, or similar vegetables. Their skin contains bacteria that might mess up the fermentation process. - What is the white film on top? Is it dangerous? Do I have to throw the whole jar out?
If you notice a white film forming on top of the brine don’t worry! The white film is kahm yeast and is not harmful. It develops when the sugars are used up and the pH of the ferment drops because of the lactic acid formation. Simply scoop it out when the ferment is done. More will develop but just scrape it off when you’re ready to eat your fermented beets. - If mold develops can I just scrape it off?
If your ferment develops raised and fuzzy black, pink, green, or blue mold throw it out. Be sure to clean all the utensils and vessels well.
Nutrition Information:
Yield: 8 Serving Size: 1Amount Per Serving: Calories: 18Total Fat: 0gSaturated Fat: 0gTrans Fat: 0gUnsaturated Fat: 0gCholesterol: 0mgSodium: 276mgCarbohydrates: 3gFiber: 2gSugar: 1gProtein: 1g
great fermenting recipes. is the ratio of salt to water the same for all recipes ie. 1 tsp salt per cup of water?
Yup! It’s all the same.