How to Preserve Whole Lemons
This post may contain affiliate links, view our disclosure policy for details.
In this post, I’ll show you how to preserve whole lemons the way my mom does it. I guess it’s the old Moroccan way of preserving lemons since she is Moroccan and learned it from her mother. You won’t believe how simple it is!
My parents live in Israel, where I grew up. I now live in the U.S. so once a year or so my parents come to visit.
I wasn’t close to my mother when I was growing up so I didn’t have the chance to learn much from her. Now, every time we meet I am so eager to learn new things from her.
She is a foodie through and through. She spends a lot of time in the kitchen and cooks everything from scratch.
What I love best about her cooking is that even though she always makes new stuff, she keeps to her Moroccan roots and keeps making the old traditional dishes that are so familiar to me from my childhood.
One of those dishes, a really simple one, is preserved lemons.
How to Preserve Whole Lemons…
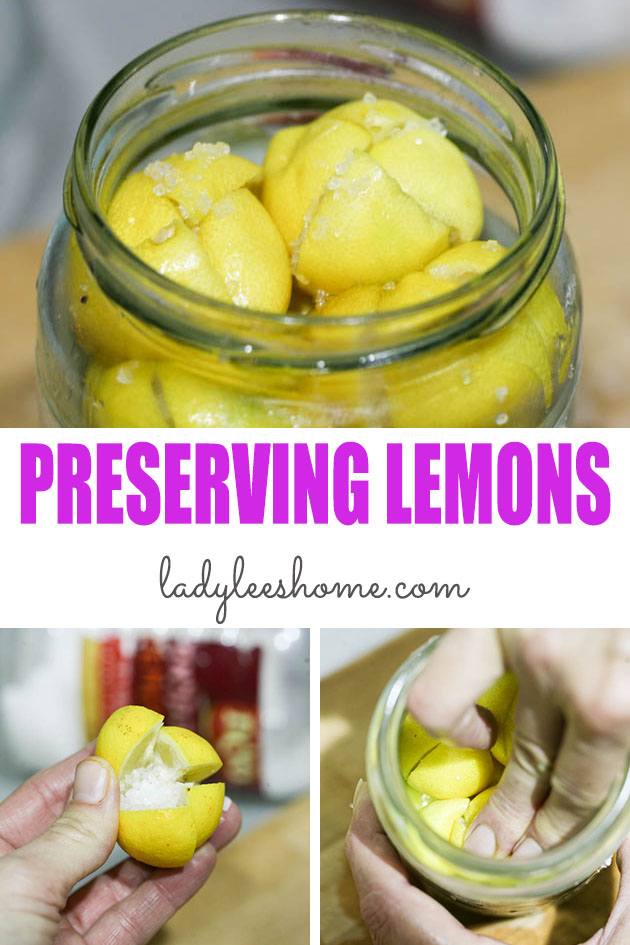
Actually, I’m not really sure that I can call them a dish… They are in the fridge or on the counter all the time, just like mayo is, and you simply stick them in anything that you feel like a lemony taste will be a great addition.
They are very simple to make and you really only need three ingredients. Plus, there are so many ways to use them (we’ll go over a few ways at the end of the post).
Why Bother Preserving Whole Lemons…
Lemons might not be the most common thing for people to preserve. A strawberry jam, or a peach jam, bone broth, or tomatoes… Those things people make and preserve all the time…
Preserved lemons are kind of in the same family as preserved milk or fermented tomatoes… Things that might not be too common but once you try them you ask yourself how the hell you didn’t know about those recipes before.
I wrote before, here on the blog, about how to preserve lemon peels, another favorite recipe that I’ve learned from my mother. But this time, I wanted her to show me how one would preserve a whole lemon.
If you are the lucky owner of a lemon tree, you can easily keep a ton of lemons this way and use them while the tree is not in production. It’s easy to pack a jar with lemons, and it’s a great way to use your harvest.
I also like that we are using the whole lemon. We are not just using the juice or just the peel. Here the whole lemon is edible… The peel and the juicy flesh.
When you grow some of your own food, and you understand how much work went into a meal, you get this urge to use as much as you can. Like the peels of a lemon or the tops of carrots to make carrot top pesto.
It’s a thing with homesteaders, I guess.
But anyway, aside from it being a great way to preserve many lemons, and a way to use the whole lemon, preserved lemons are also really tasty and can be added to many dishes!
Which, in my opinion, is a great reason to preserve whole lemons!
What Varieties of Lemons Are Good For Preserving?
You’ll see below that the lemons I’m preserving are tiny and have very thin skin. They are also very juicy.
They aren’t really lemons, though. What I am using is a limequat (also known “in the street” as Chinese lemon).
I came across them while visiting Israel and fell in love!
The Limequat is a cross between the Key Lime and the Kumquat. It’s a rather small tree that loves warm climates and loves to grow inside in containers.
If you live in cold climates but really want to grow a lemon tree, that’s your tree!
The “lemons” aren’t as acidic as the lemons we buy at the store and it’s really comfortable to use them because they are small.
One lemon has enough juice to season a good size salad (I usually season my salads with lemon, salt, and olive oil), they are easy to squeeze, and I imagine that since their skin is so thin they compost very quickly.
They are also really easy to preserve because it’s easy to pack them into the jar and since their skin is thin, they are preserved and ready to use quickly.
If you can’t get your hands on Limequat I’d choose Meyer lemons. They are common enough. Try to choose smaller lemons that are juicy and if possible, have thin skin.
Other good varieties are Eureka lemons and Lisbon lemons. I’m sure that there are others that are great. As long as the peel is edible, you can preserve the lemons you have.
Another point to consider here is that it’s best if you try to find organic lemons. I personally don’t think it’s a huge deal, we are going to wash the lemons before we use them but organic is always better.
Tools We Are Going to Need…
Before we start, let’s gather our kitchen tools…
Cutting board – I always work on a wooden one.
Kitchen Knife – whatever knife you use is fine.
A jar – I photographed this post while I was visiting my family in Israel so you’ll see below that we used an old jar that used to have molasses in it. Simply because my mother doesn’t have nice mason jars.
I think that the best size jar for preserving lemons will be a quart jar if you can find small lemons. If you are working with medium to large lemons I’d try half a gallon jar or maybe even a gallon jar.
A teaspoon – to measure salt.
That’s all we need! Now let me show you how to preserve whole lemons…
Preparing Lemons for Preserving…
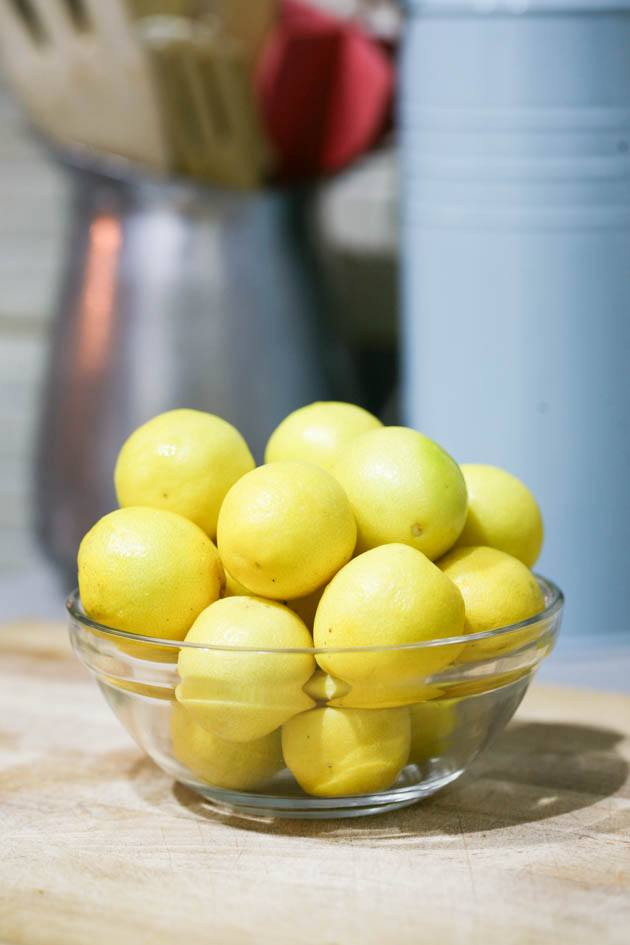
All right, so here are my Limequat lemons that my dad collected from a few trees while walking his dogs (the man comes back home with full hands every time he takes the dogs for a walk… which is twice a day).
Anyway, we started by washing the lemons (or limes in this case)…
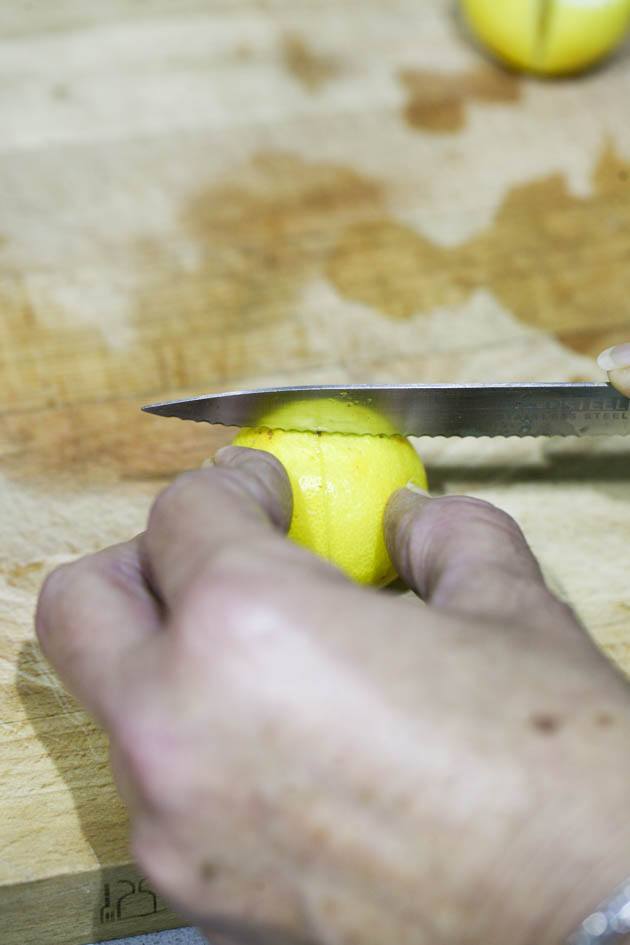
Next, we sliced them into quarters but not all the way through. You want them to remain in tact at the very bottom…
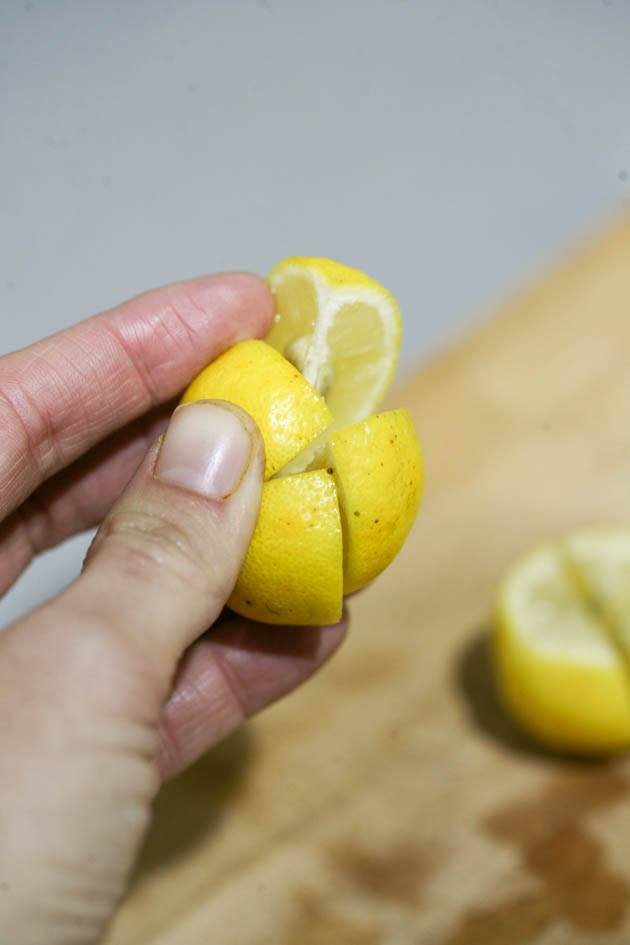
The lemon is still holding together but we can now open it up…
Adding Salt to Each Lemon…
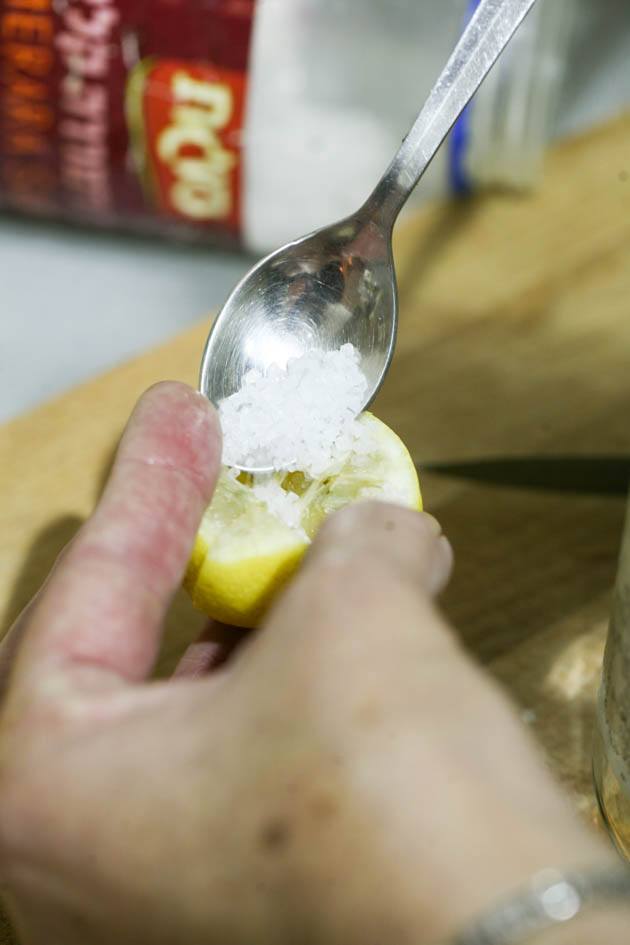
Next, we add 1/2 teaspoon of coarse salt to the center of each lemon.
These Limequat are a tad larger than a ping-pong ball. If you are using larger lemons you can add a little more salt but no more than one tablespoon.
The best salt to use is coarse sea salt or kosher salt.
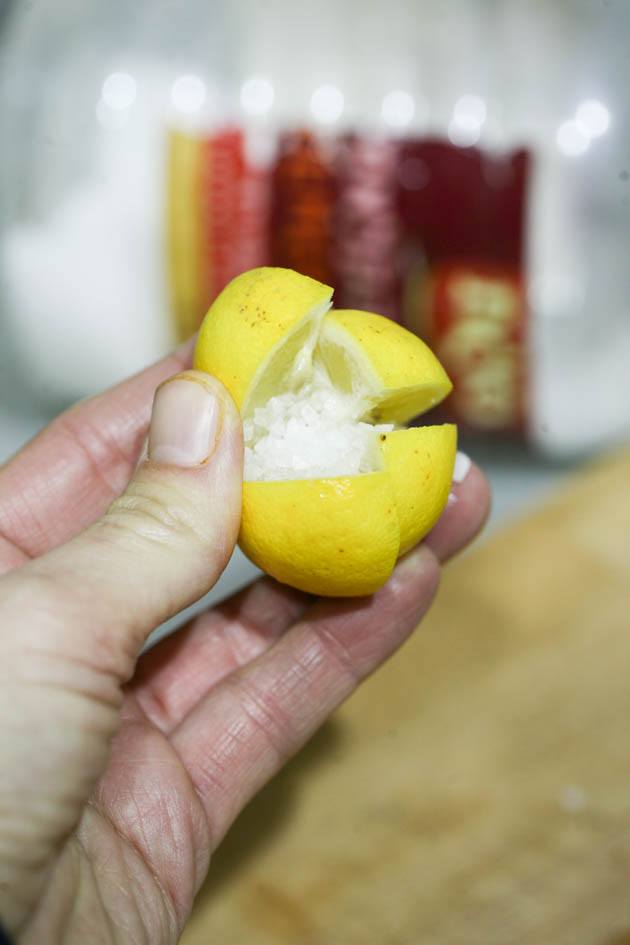
So we add the salt to the center of each lemon…
Packing the Jar…
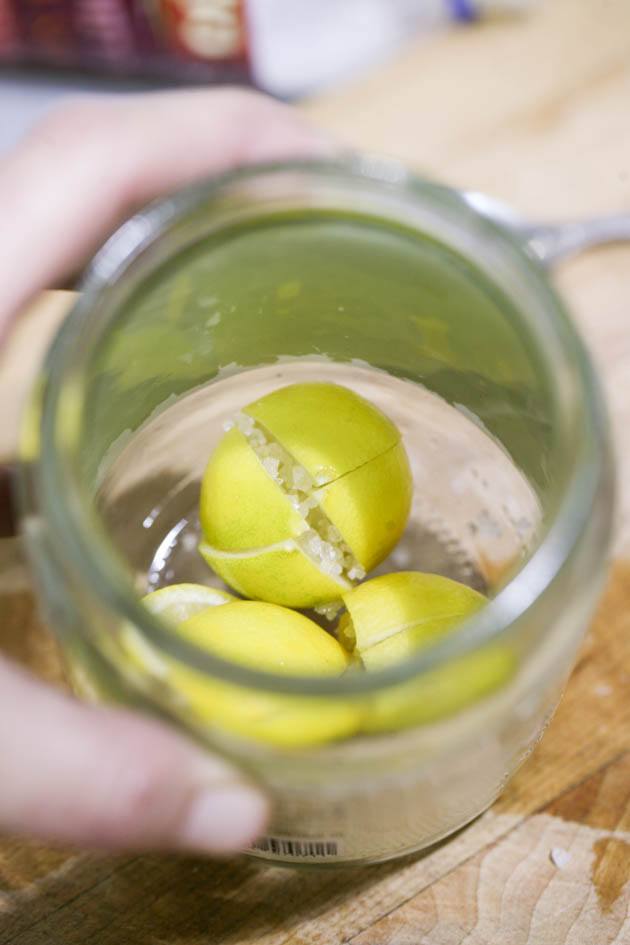
Before we add it to the jar….
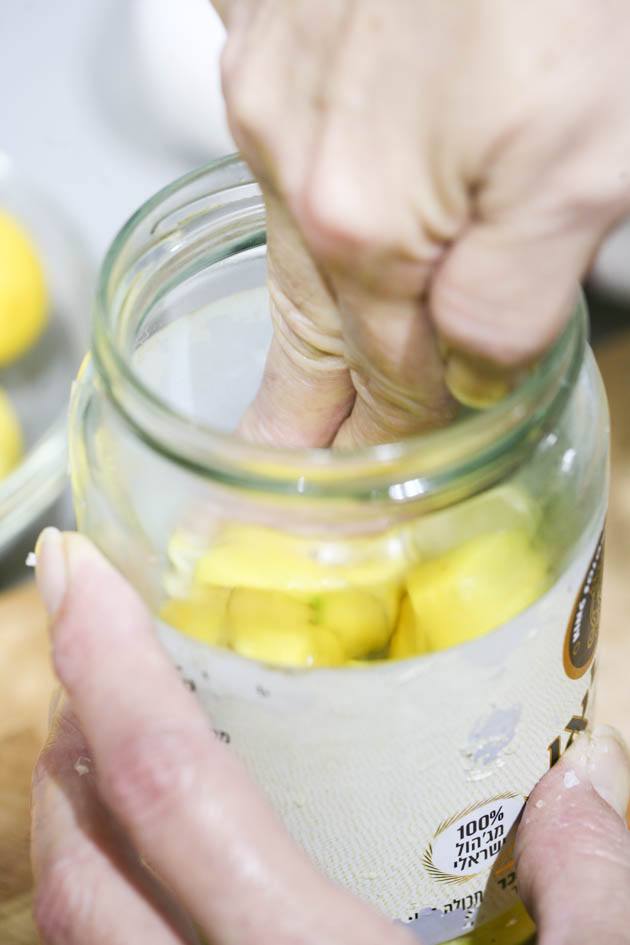
we try to pack them well. We also try to release a little bit of juice that will help jump-start the preserving process.
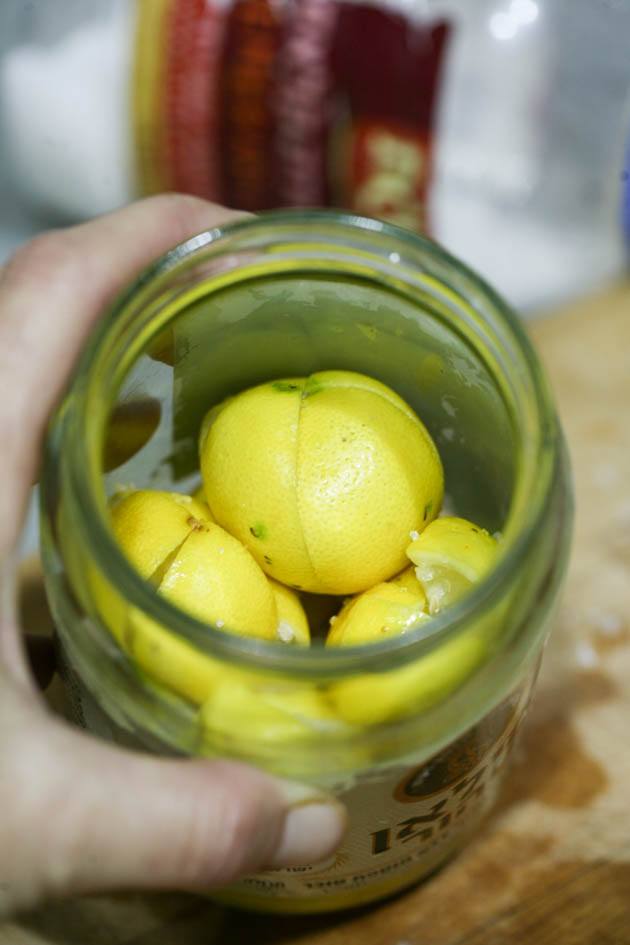
So with each layer of lemons that we add to the jar…
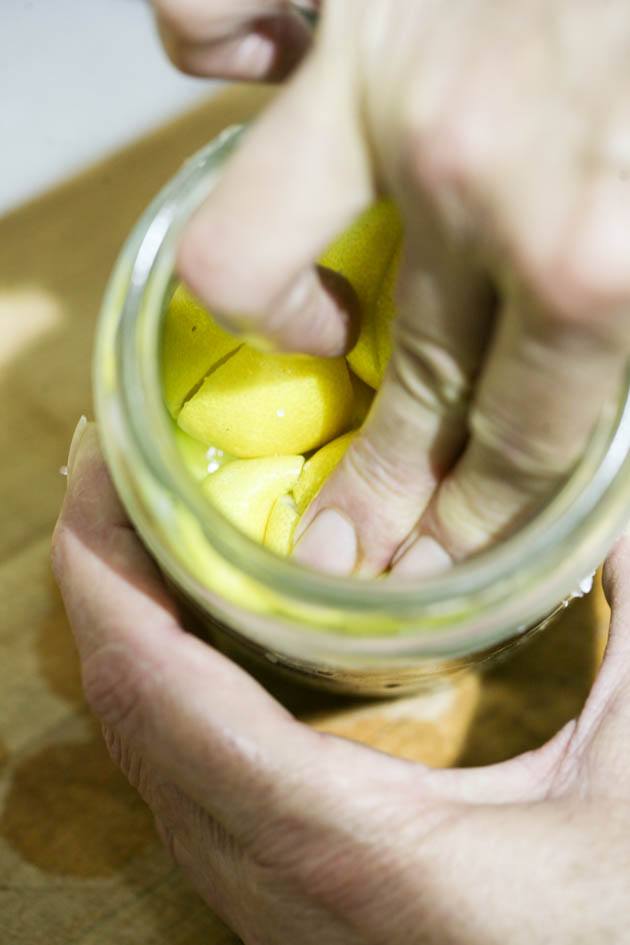
We squeeze them down a bit…
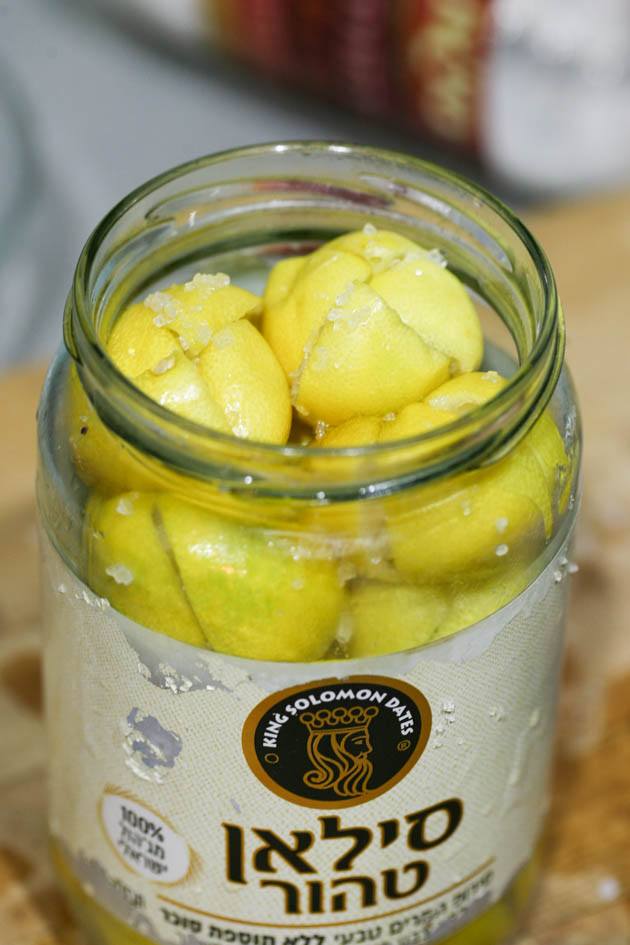
We keep going until the jar is full of lemons, making sure to leave about an inch of headspace.
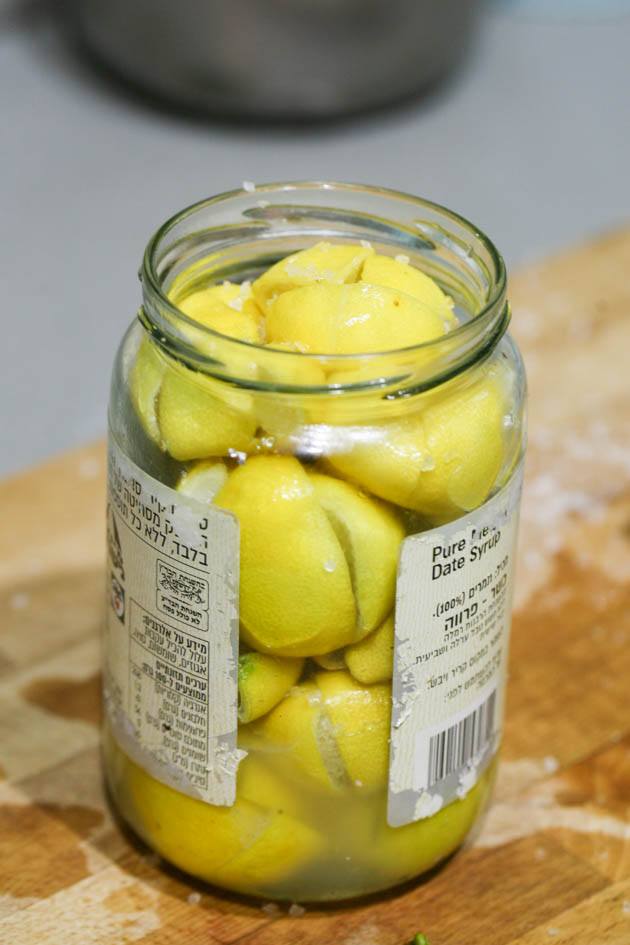
You can see the fresh lemon juice on the bottom of the jar.
Adding Oil to The Jar…
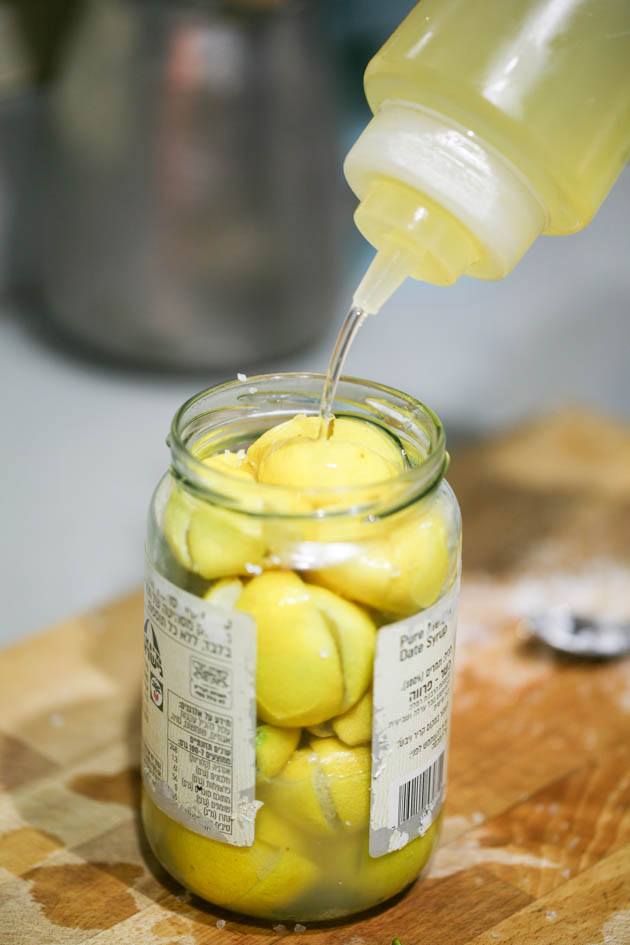
Next, we add canola oil. The goal is to add enough canola oil to fill the gap between the lemons but to leave about an inch and a half of space at the top of the jar because the lemons are going to release more juice.
We want to make sure that we have room for this juice in the jar.
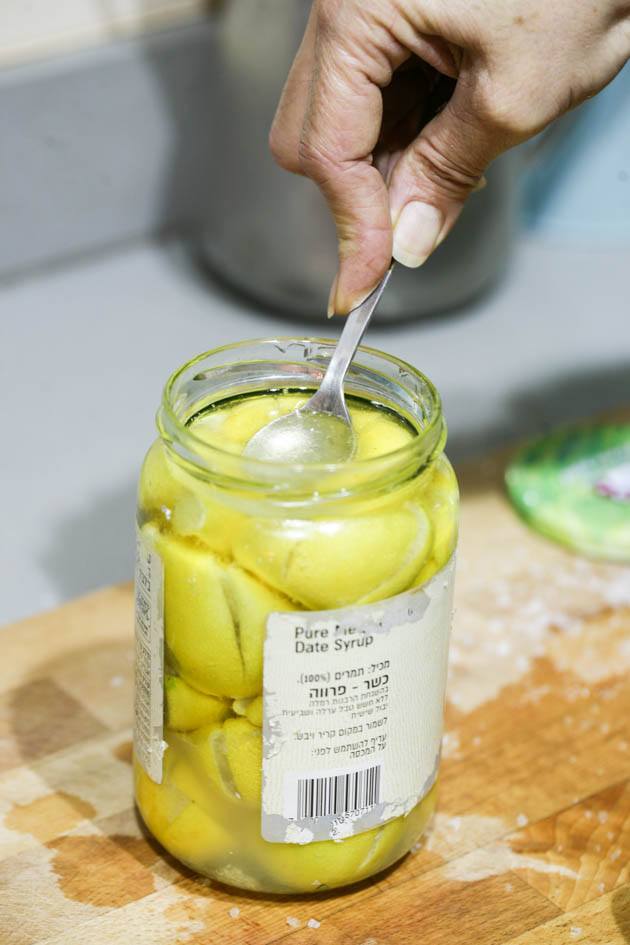
Next, we press the lemons down a bit so they get coated with the oil.
Storing Preserved Lemons…
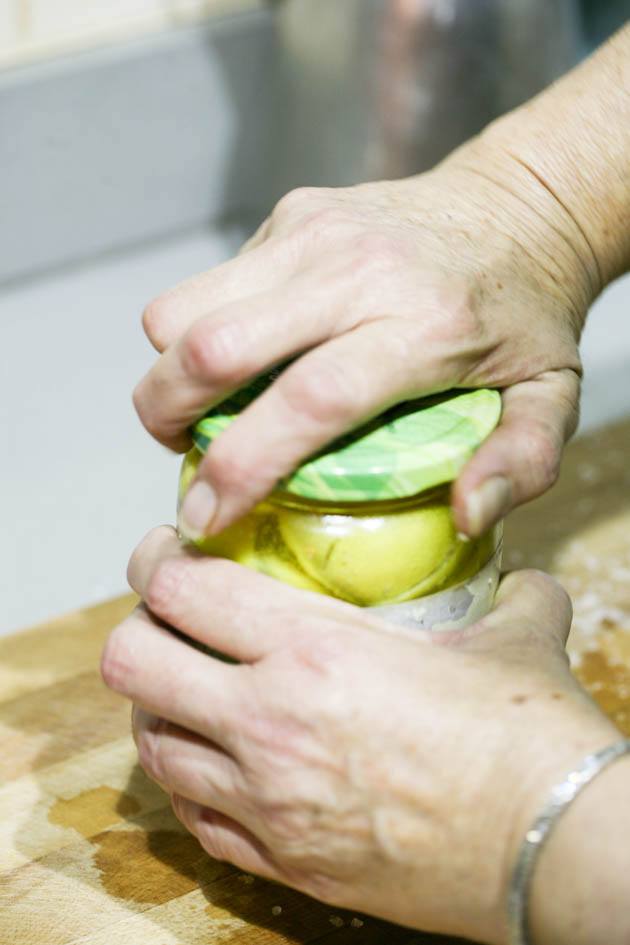
We cover the jar with its lid…
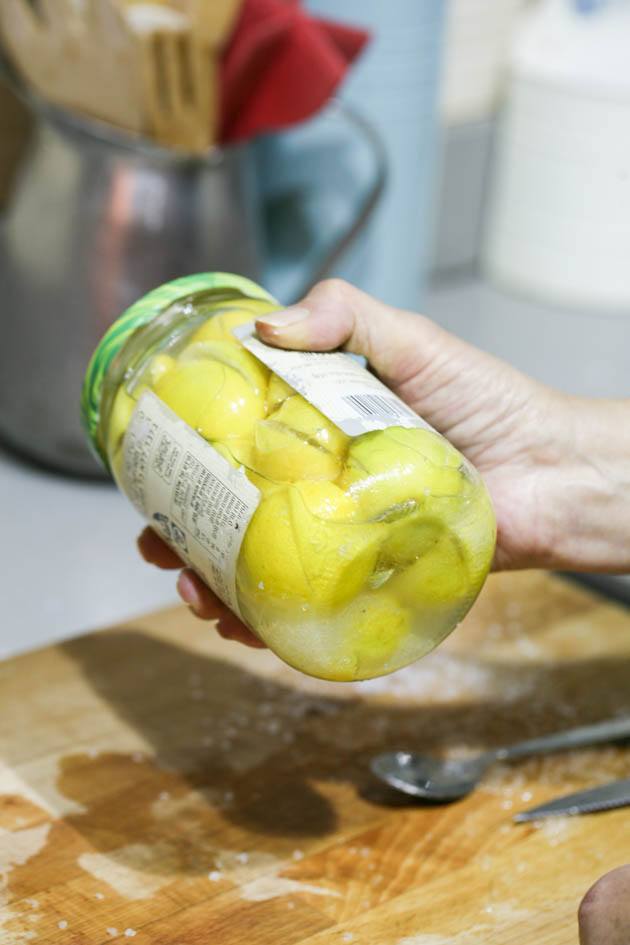
And shake it a few times…
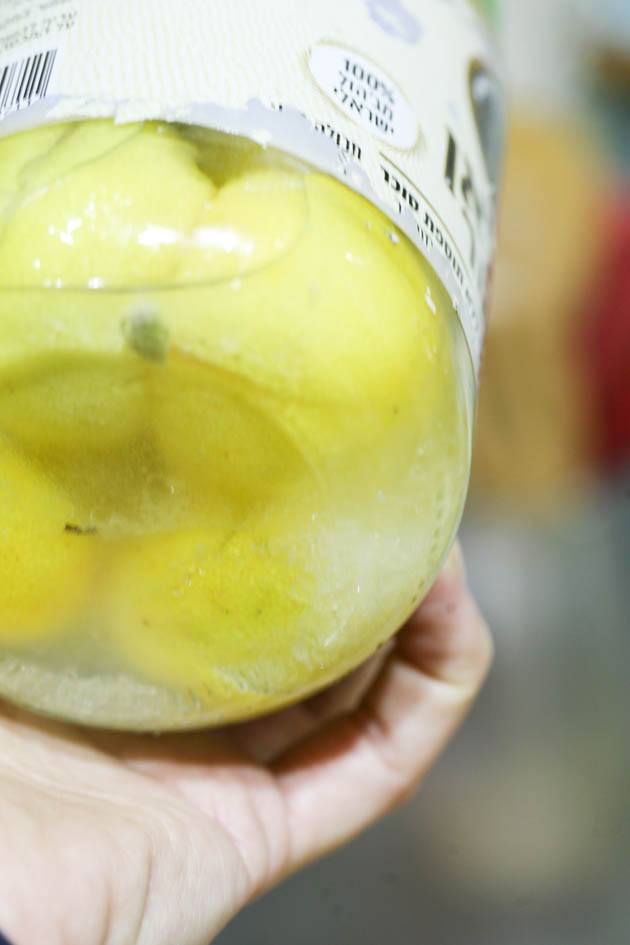
You’ll see some of the salt on the bottom of the jar. You want to make sure to shake the jar every few days to help the lemon juice and the oil mix and to help the salt dissolve.
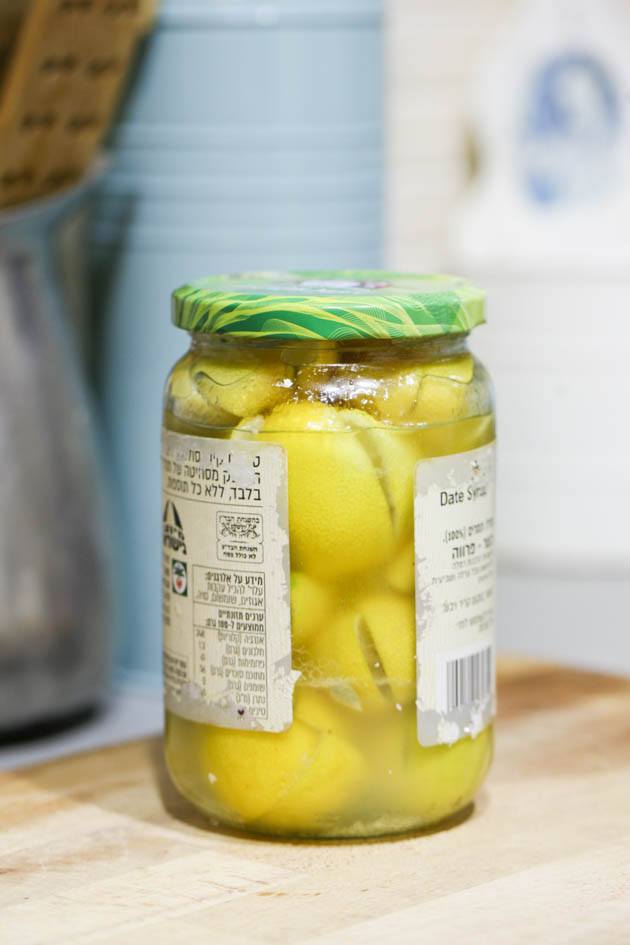
We leave the jar at room temperature. For this kind of small lemons with thin skin, it should take about 3 weeks to soften.
If you are using larger lemons it might take 4 weeks or so for the lemons to soften.
The lemons are ready when the peel is soft.
How to Use Preserve Lemons…
Once the lemons are preserved and ready to eat, you can leave the jar at room temperature since we used oil. It’s best if all the lemons are covered with the liquid.
If you have a cool storage area like a root cellar, you can store the jar there. It will last for many many months.
You can also store the lemons in the fridge. I like doing this if possible because the low temperatures stop the softening process.
After two weeks or so, I try my lemons every few days and when they reach the consistency I like (I don’t like them totally soft), I transfer the jar to the fridge and it stops the lemons from softening further.
When I want to use my preserved lemons I take a few out from the jar (make sure to use a clean fork every time). I shake as much of the oil/juice as I can off of the lemon and then add it to dishes.
I love adding them to a turkey sandwich, Mediterranean egg salad, a tuna salad, or a chicken salad.
I love adding them to a Moroccan chicken dish, roasted chicken with vegetables, or top a fried fish with them (or use them in any other fish dish).
You can add them to the blender with a few more ingredients and make an amazing homemade salad dressing, or you can use them in a creamy lemony pasta sauce.
The possibilities are endless!
I hope that this post showed you how easy it is to preserve whole lemons! And I sure hope that you’ll give them a try. If you love lemons, you’ll love preserved lemons!
If you are looking for more ways to preserve lemons, make sure to check this great post from Practical Self Reliance.
If you liked this How to Preserve Whole Lemons tutorial, you might also like…
Preserving Peppers in Salt and Vinegar
How to Preserve Whole Lemons
A quick and easy way to preserve lemons in salt and oil.
Ingredients
- Enough lemons to fill your jar (more on this in the notes of this card and in the post)
- Coarse sea salt or Kosher salt
- Canola oil
Instructions
- Wash your lemons and your jar.
- Quarter your lemons, but don't cut them all the way. Leave the bottom of the lemons uncut so the lemon is still holding together.
- Add 1/2 teaspoon of salt in the center of each lemon if your lemons are small. If you are using medium-size lemons, add 1 teaspoon in the center of each lemon.
- Add the lemons to the jar and as you pack them, press down to pack them tight and squeeze a little bit of juice out.
- Keep adding salt to each lemon and packing the jar but make sure to leave one-inch headspace.
- Add enough oil to fill the jar leaving one and a half-inch of headspace. As the lemons go through the preservation process they will release some juice so we want to make sure we leave enough room for this juice.
- Close the jar and shake it a few times.
- Place the jar at room temperature for 3 to 4 weeks depending on the size of your lemons. Every few days shake the jar to help the oil and juice mix and to help the salt dissolve.
- When the lemon peel is soft, your preserved lemons are ready to use. You can store the jar at room temperature or in cold storage (root cellar or fridge). Make sure that you are using a clean fork every time that you take a lemon out of the jar.
Notes
Try to use small lemons with thin skin. The lemons that I am using in this tutorial are actually Limequat (a cross between Key Lime and Kumquat). Other good varieties are Meyer lemons, Eureka lemons, and Lisbon lemons.
According to the size of your lemons decide what size of jar you want to use. A quart jar, half-gallon jar, and a gallon-jar are all good choices.
Use your preserved lemons in chicken and fish dishes. To add to sandwiches, to add to pasta sauce, or to add to salads (eggs salad, chicken salad, tuna salad, or fresh salads).
Nutrition Information:
Yield: 1 Serving Size: 1 Quart JarAmount Per Serving: Calories: 184Total Fat: 8gSaturated Fat: 1gTrans Fat: 0gUnsaturated Fat: 7gCholesterol: 0mgSodium: 56595mgCarbohydrates: 39gFiber: 12gSugar: 11gProtein: 5g

Hi! I’m Lady Lee. I help homesteaders simplify their homesteading journey while still producing a ton of food! I am a single mother of four, I was born in Israel and raised in an agricultural commune called a Kibbutz. Now I homestead in central NC.


Just wanted some clairafication. When usuing the lemons in a dish are you using the whole lemon or just squezzing the juice and pulp out .Would also like some other recipes or suggestions on how to use them.. We had bought a tree marked Meyer Lemon but discovered it was really a Limequat. Lov it.
.
We use the whole lemon. The peel will soften and it is delicious!
They go very well with any chicken or seafood dish. If you are making a turkey sandwich, you can add them in the sandwich.
If you roast chicken in the oven, you can add them in the pan.
If you bake fish in tin foil, you can add them in there.
There is also a recipe on the blog for a Meditteranean egg salad where I add those in.
You can really get creative and use them in many ways.
I didn’t get a Limequat yet! Definitely going to. Consider your self lucky!!
Thanks for sharing this. It sounds like a fun thing to try if I can get the right lemons. 🙂
I never use canola oil because it is bad for health. Can another oil, like raw organic coconut oil or organic virgin olive oil be used? Maybe avocado oil if organic? I will only use healthy oils. Why does one need the oil? Thanks.
The oil keeps the bacteria away. It’s a form of preservation.
I am sure that olive oil can work, it’s just more expensive. I usually try to get as much of the oil off of my lemon when I take it . out of the jar before I eat it.
Other oils might work too but I’ve never tried. It might be a good idea to try small batches with different oils and see what happens.
Thank you for explaining. I looked at other recipes after yours and none of them use oil at all, but your explanation makes sense. Think I will try the olive oil. Maybe a jar with it and one without it to see the difference. Thanks again.
I can’t wait to try this!
We love all things lemons in our home. I want to try an indoor lemon tree. We are in Mississippi so it could live outside most of the year.
I plan on purchasing a lemon tree too this year! I am in NC so it will have to be planted in a container so I can bring it inside.
I hope you’ll like the preserved lemons!