This post may contain affiliate links, view our disclosure policy for details.
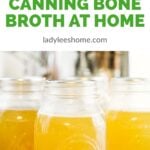
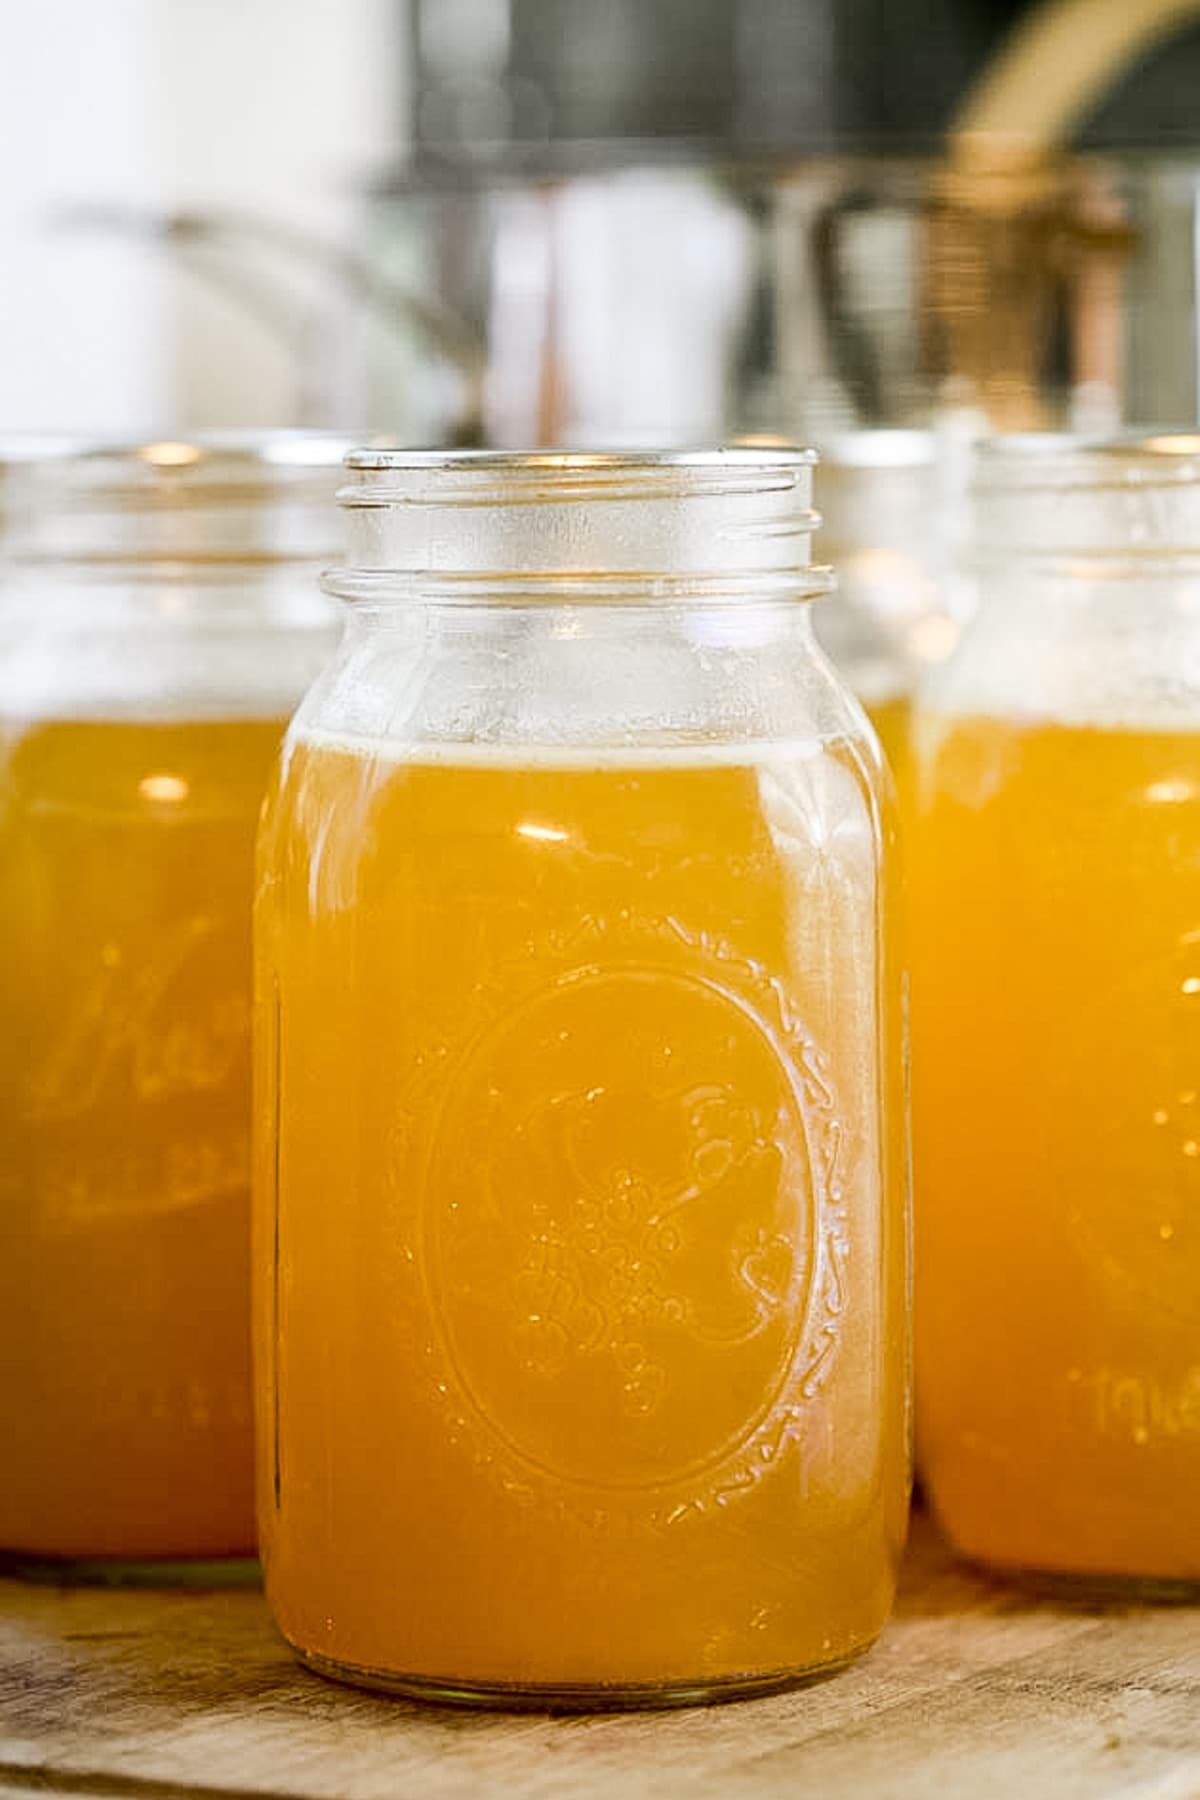
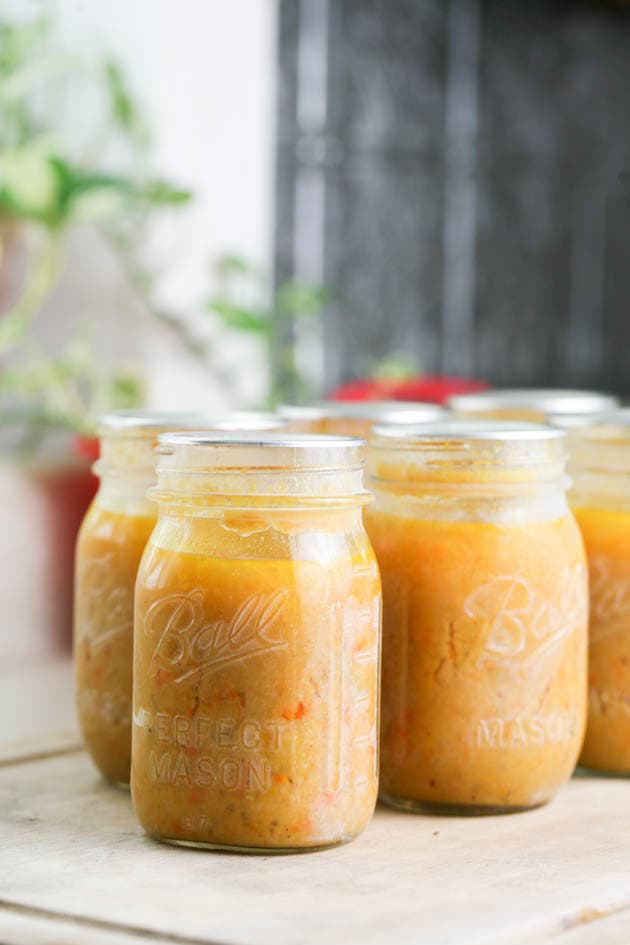
Canning bone broth at home is simple and a great way to preserve it at room temperature. It’s a great ingredient to have on hand, lasts a long time, and is ready to be added to many dishes.
Every fall, I make a huge pot of bone broth (or a few of them). In the past, when we brought home a deer, we would butcher the deer, leave the cuts on ice for a day or so, and then package the meat and send it to the freezer. These days, I take one more step and before sending the meat to the freezer – I remove all the bones.
This allows me to make enough bone broth during the fall to last us until the next fall. It also makes it much easier for me when I want to cook the meat. But, there is no way that I can find enough room in the freezer for all this broth and really, I prefer to can it anyway.
Canning Bone Broth…
First, I have to say that it’s oh so easy to can bone broth! If you have a little bit of experience with a pressure canner (bone broth is a low-acid food so we have to pressure can it) you’ll have this down in no time. If you’re new to pressure canning, don’t worry! I have the step-by-step tutorial for you below and actually, canning bone broth is a great way to start getting familiar with your canner because, again, it’s super easy.
Why I Love Canning Both Broth…
- It saves me room in the freezer – oh the constant freezer real estate struggle! It’s a real thing on the modern homestead. Even more so in the fall when you know that fresh deer meat is coming (if you hunt). Canning the broth makes it possible for me to keep the jars on the shelf at room temperature throughout the year. It’s one less thing that has to go in the freezer.
- I don’t need to thaw it – I am terrible at remembering to thaw stuff. I’ll often go in my kitchen with the intention to cook a meal just to realize that I forgot, yet again, to thaw the ingredients. So, one less thing to need to remember to thaw is a huge win in my book. Canning might take some time but once those beautiful jars of canned homemade bone broth are on the shelf they are ready to go anytime.
- I can adjust the flavor – this is always one of the best things about doing things yourself… You can do them however you want. So if I want more black pepper, or more salt, or no salt at all, or if I want to add garlic or onion to my broth… Everything and anything goes! I can personalize my bone broth however I want.
- It’s a good use for the bones – in this homesteading lifestyle, there is very little waste. As I do this more and more I discover that there is a great way to use many things (like parts of the animal, or rotten vegetables…) that otherwise would be trashed. I always give deer bones to my dog. It’s a great toy and snack for her, but using the bones in the kitchen to produce one more thing makes sense. So I make bone broth for us and then still give my dog the bones after I strain the broth.
- It saves me money – obviously, it’s one less thing to buy at the store. I already have the bones, the onions, the carrots, the garlic… they all grow in the garden.
Kitchen Tools…
- A large pot
- A strainer
- A pressure canner – bone broth is a low acid food so we can’t process it in a water bath. We are going to have to use a pressure canner. I use a dial canner from Presto. Another canner that is very popular is the All American Pressure Canner which is a weighted gauge canner.
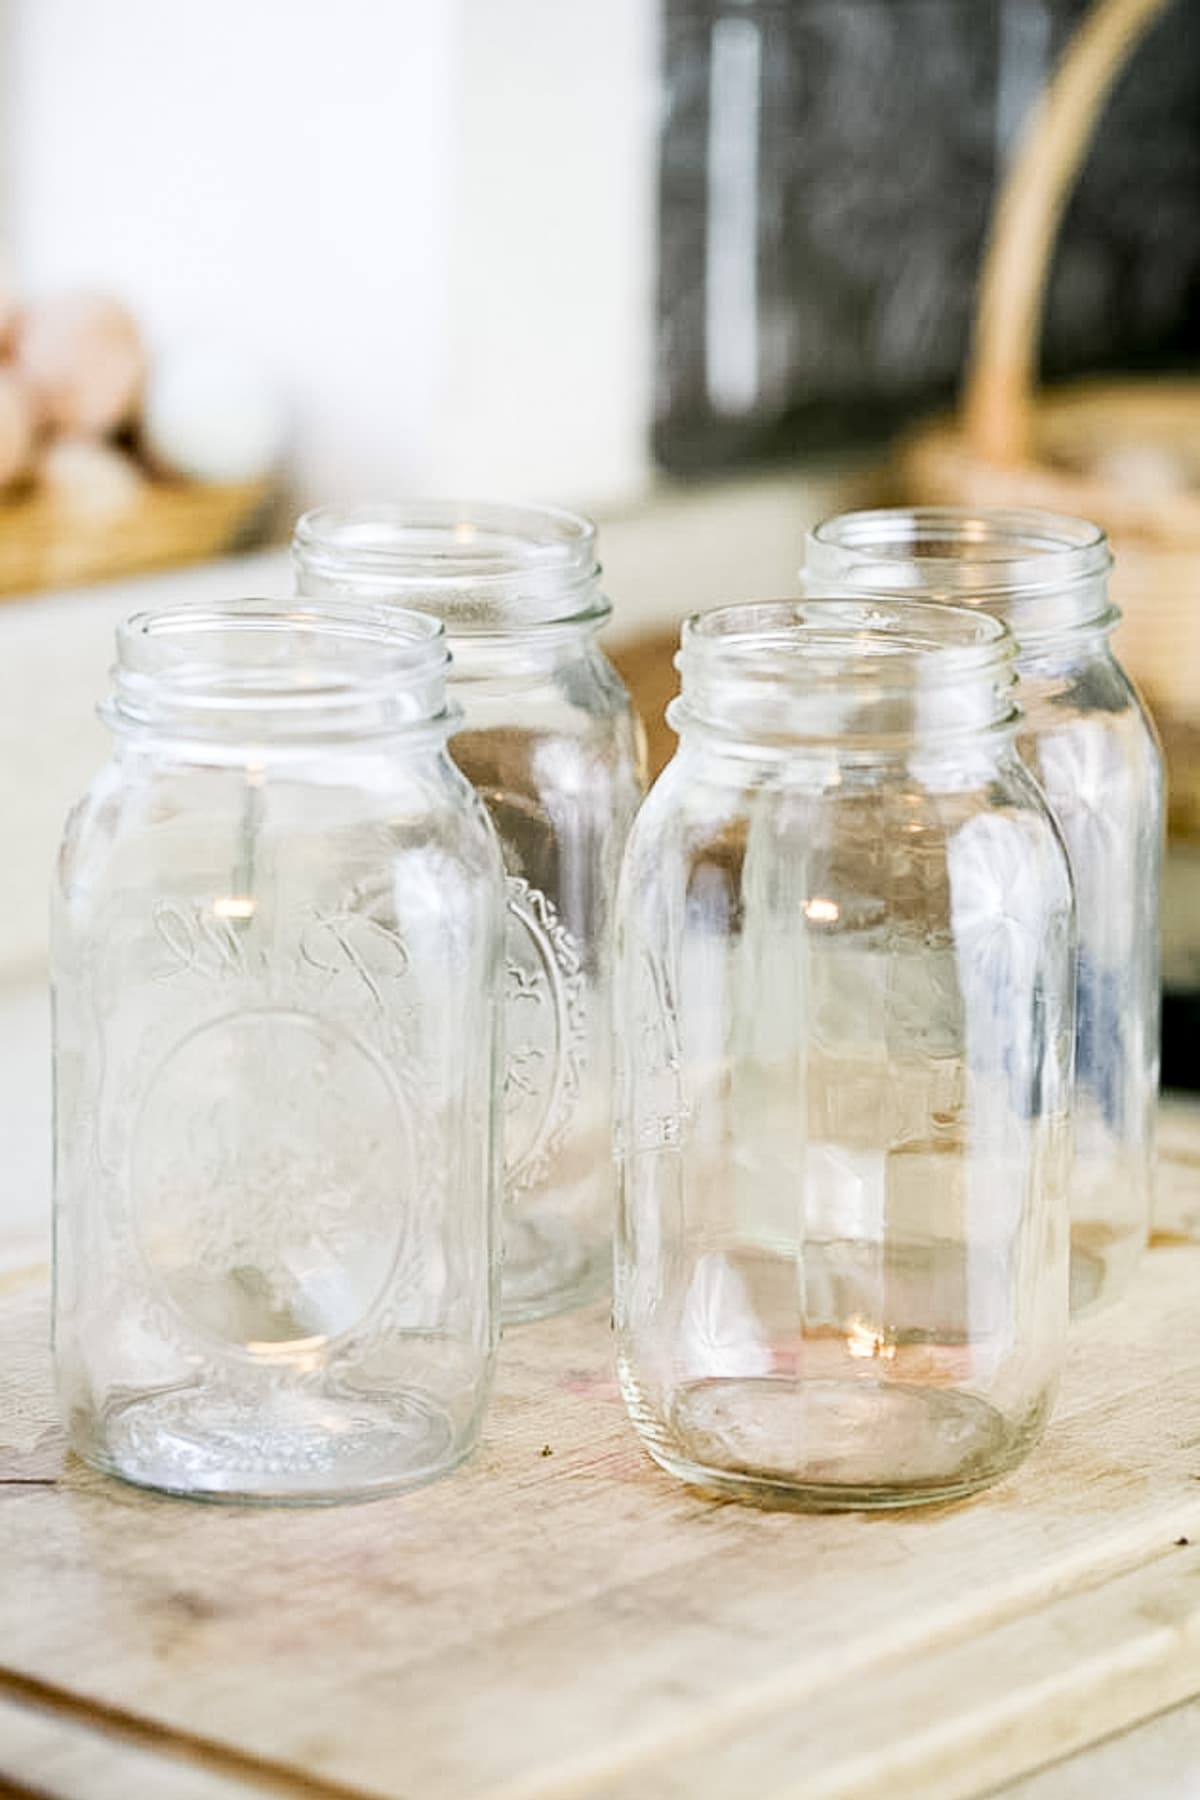
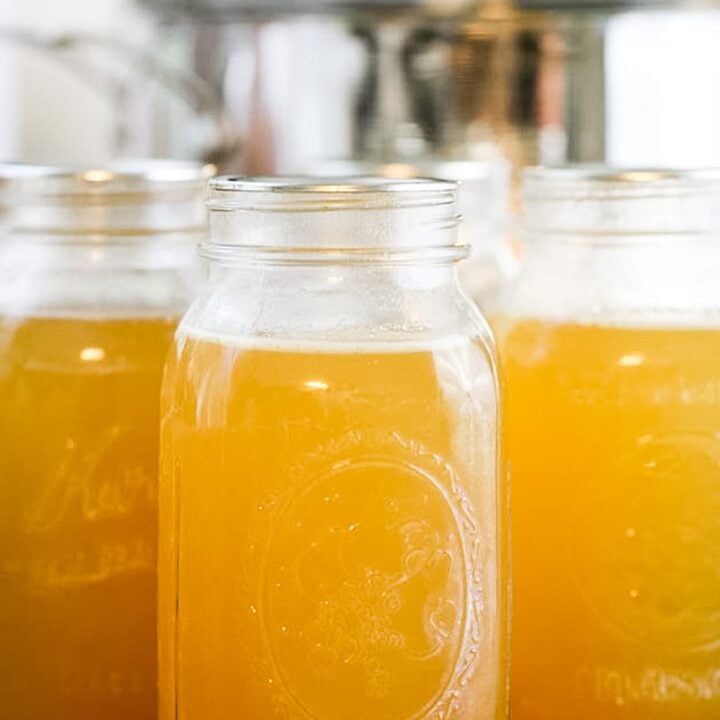
- Quart jars – I used quart jars here but of course, you can use pint jars as well if you’d like.
- Lids and bands
- A ladle
- Canning utensils
- A paper towel
Homemade Bone Broth…
I have another post for you on how to make bone broth and more information about all the amazing health benefits of bone broth. Make sure to read that post if you’re looking for a recipe for bone broth. In this post, we’ll concentrate on what to do with this huge pot of broth after it’s ready.
Of course, you can use some right away. Many people drink a cup of bone broth every morning or every night to support their immune system and for all the other benefits of bone broth. You can also freeze bone broth easily. And of course… can it.
How to Can Bone Broth…
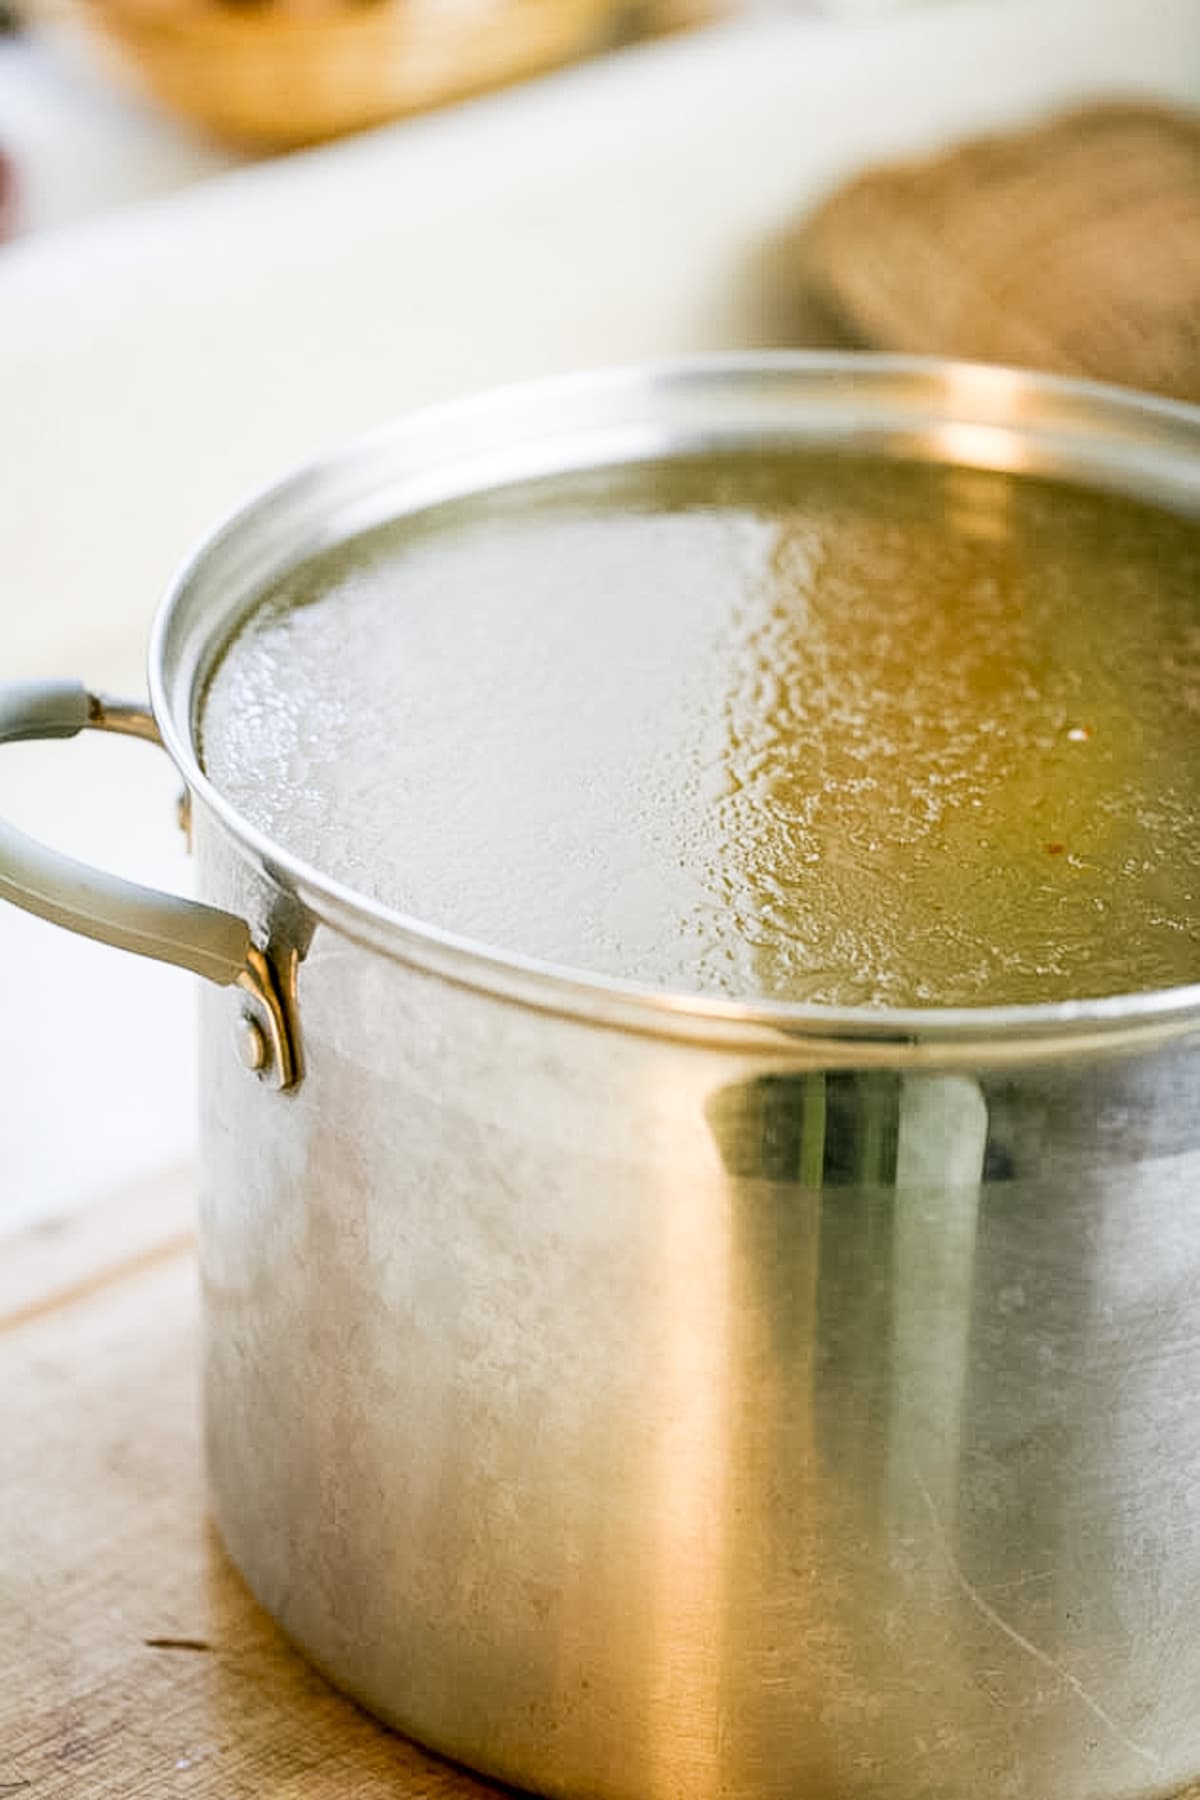
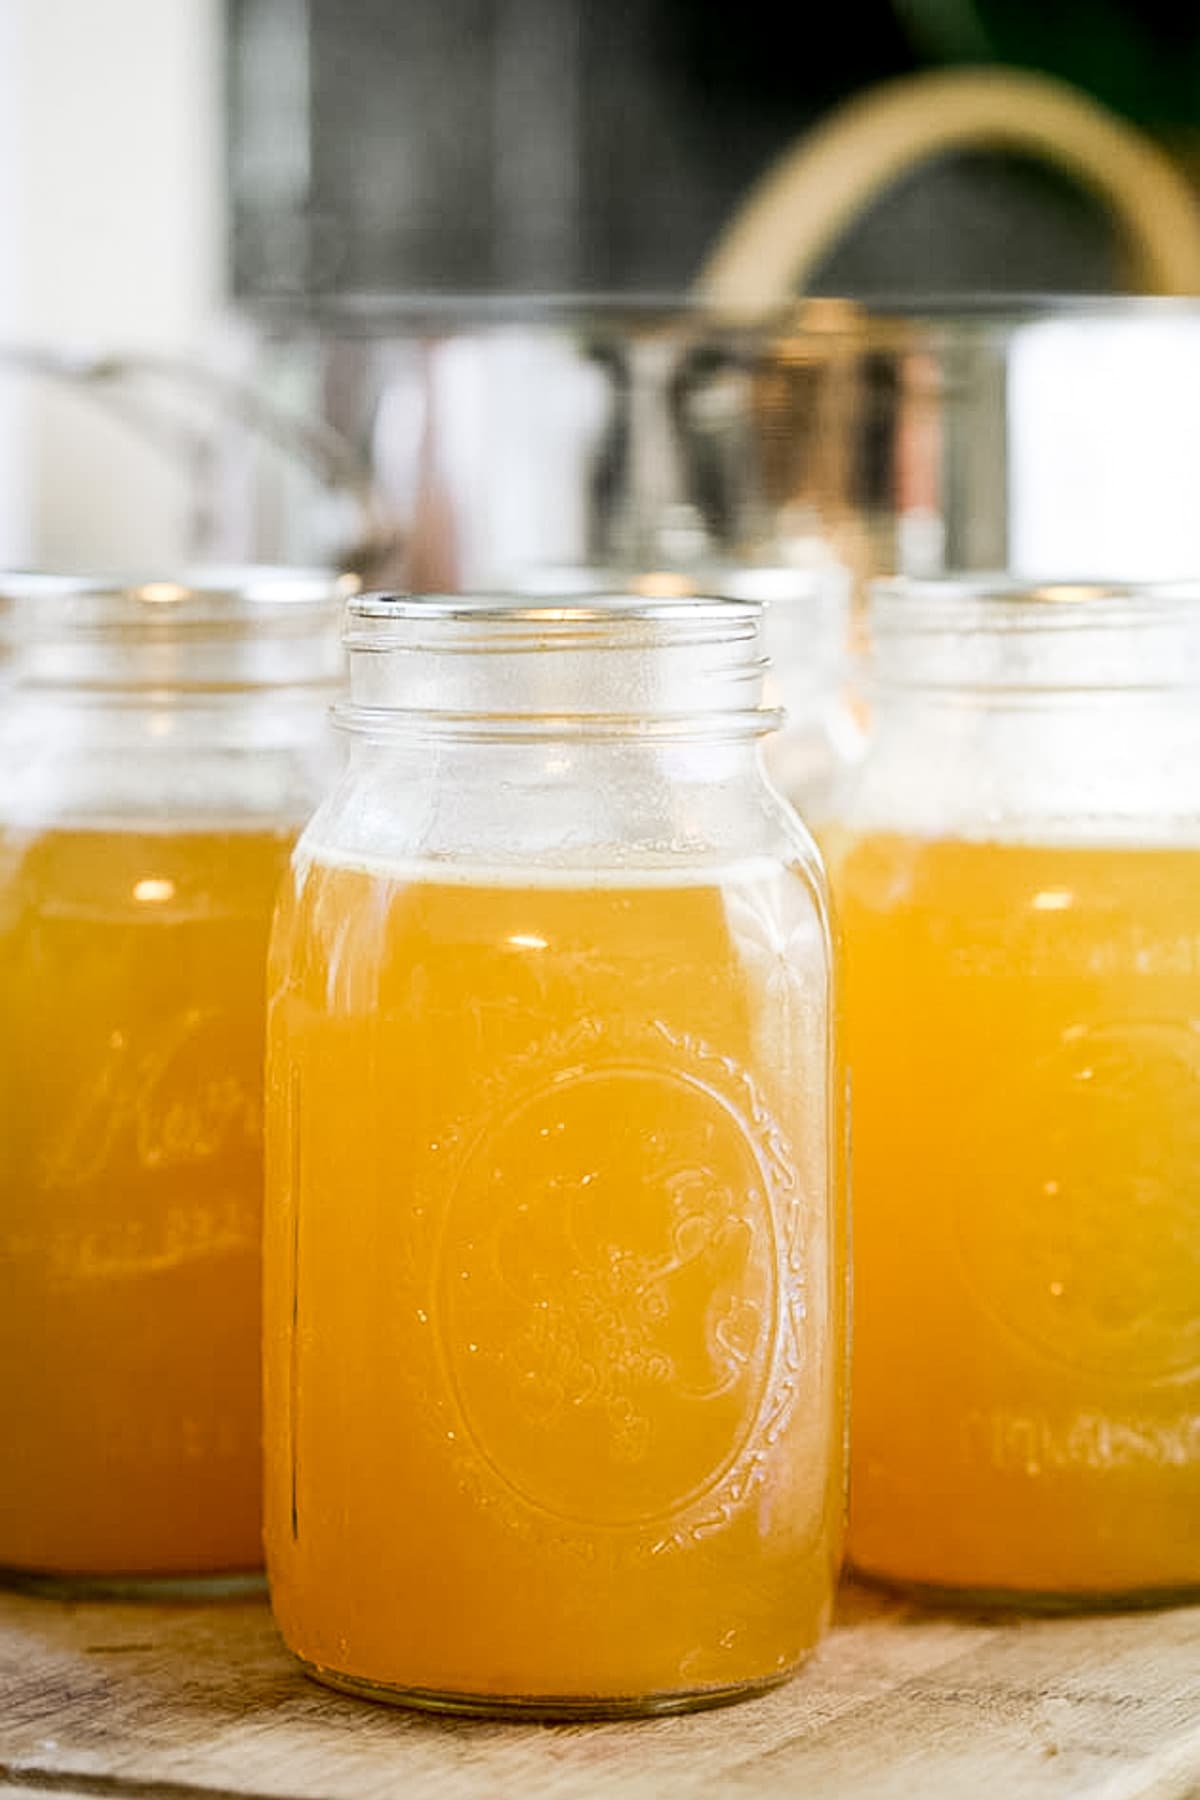
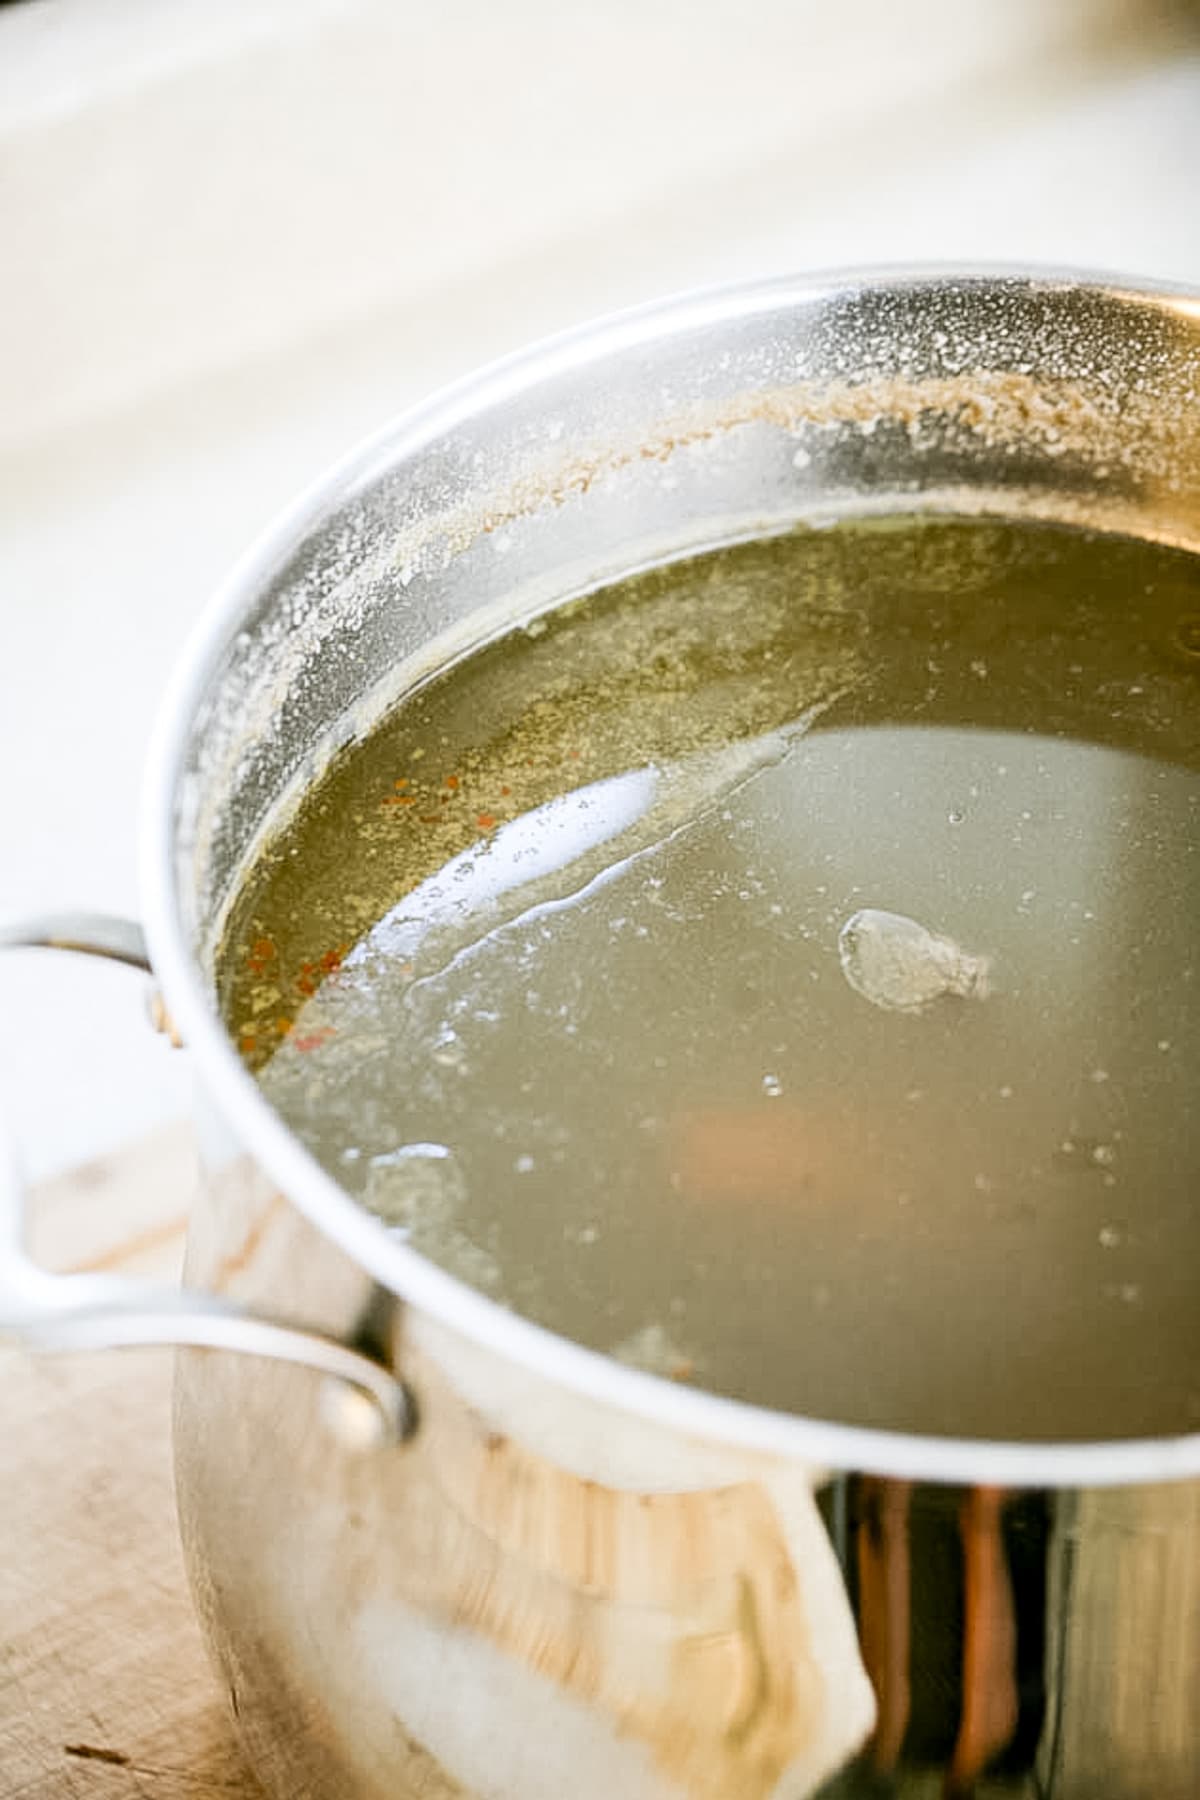
Step one – strain the broth. Remove the bones from the broth, place a strainer over a large pot, and run the broth through the strainer. Leave the pot of strained broth on the stovetop on very low heat to keep the broth warm for canning.
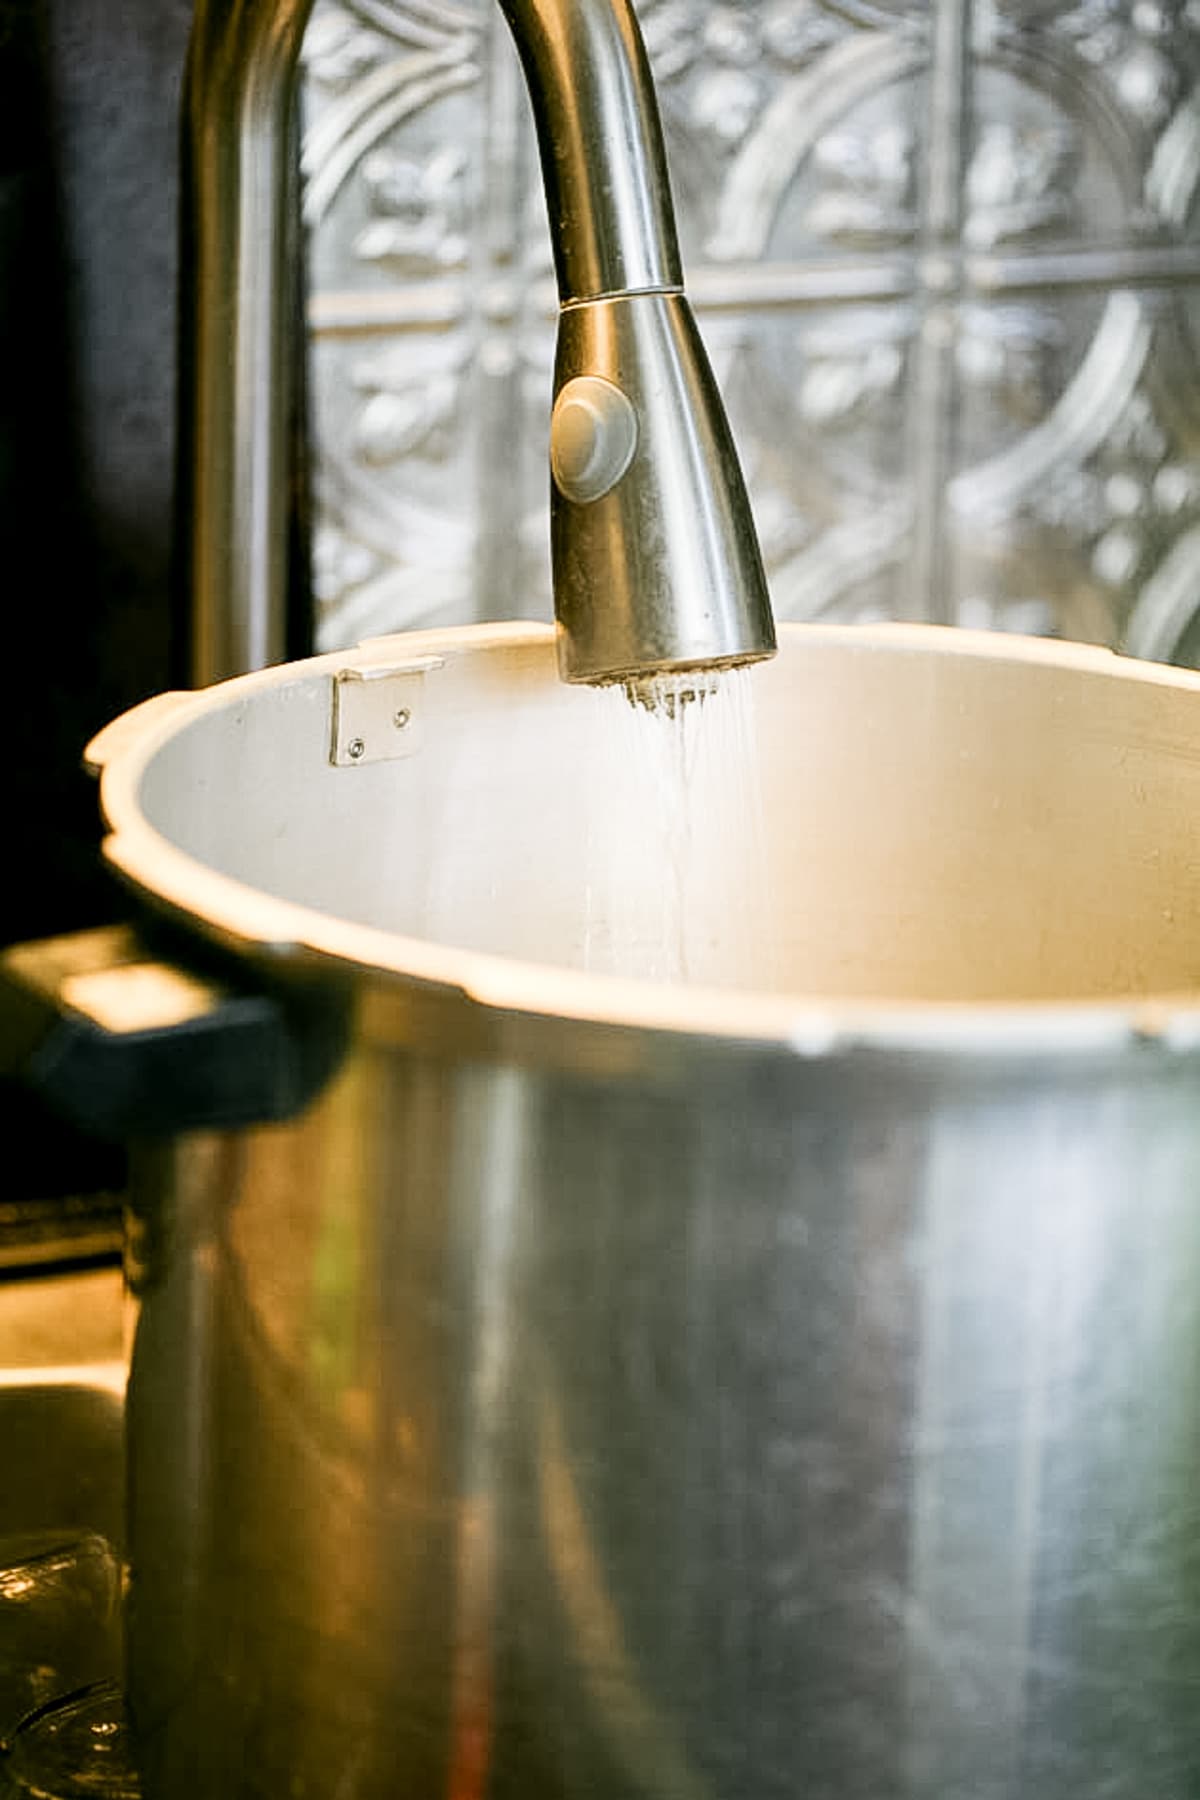
Step two – prep the canner and jars. *I’ll walk you through how I do this with my Presto pressure canner. If you have a different canner make sure to check the manufacturer’s instructions.
Leave the rack in the canner and fill the canner with 2” of water. Set the canner on the stovetop and turn the heat to high, bring the water to a simmer (180-190 degrees F). While the water is heating, go ahead and wash the jars, lids, and bands well with hot water and dish soap.
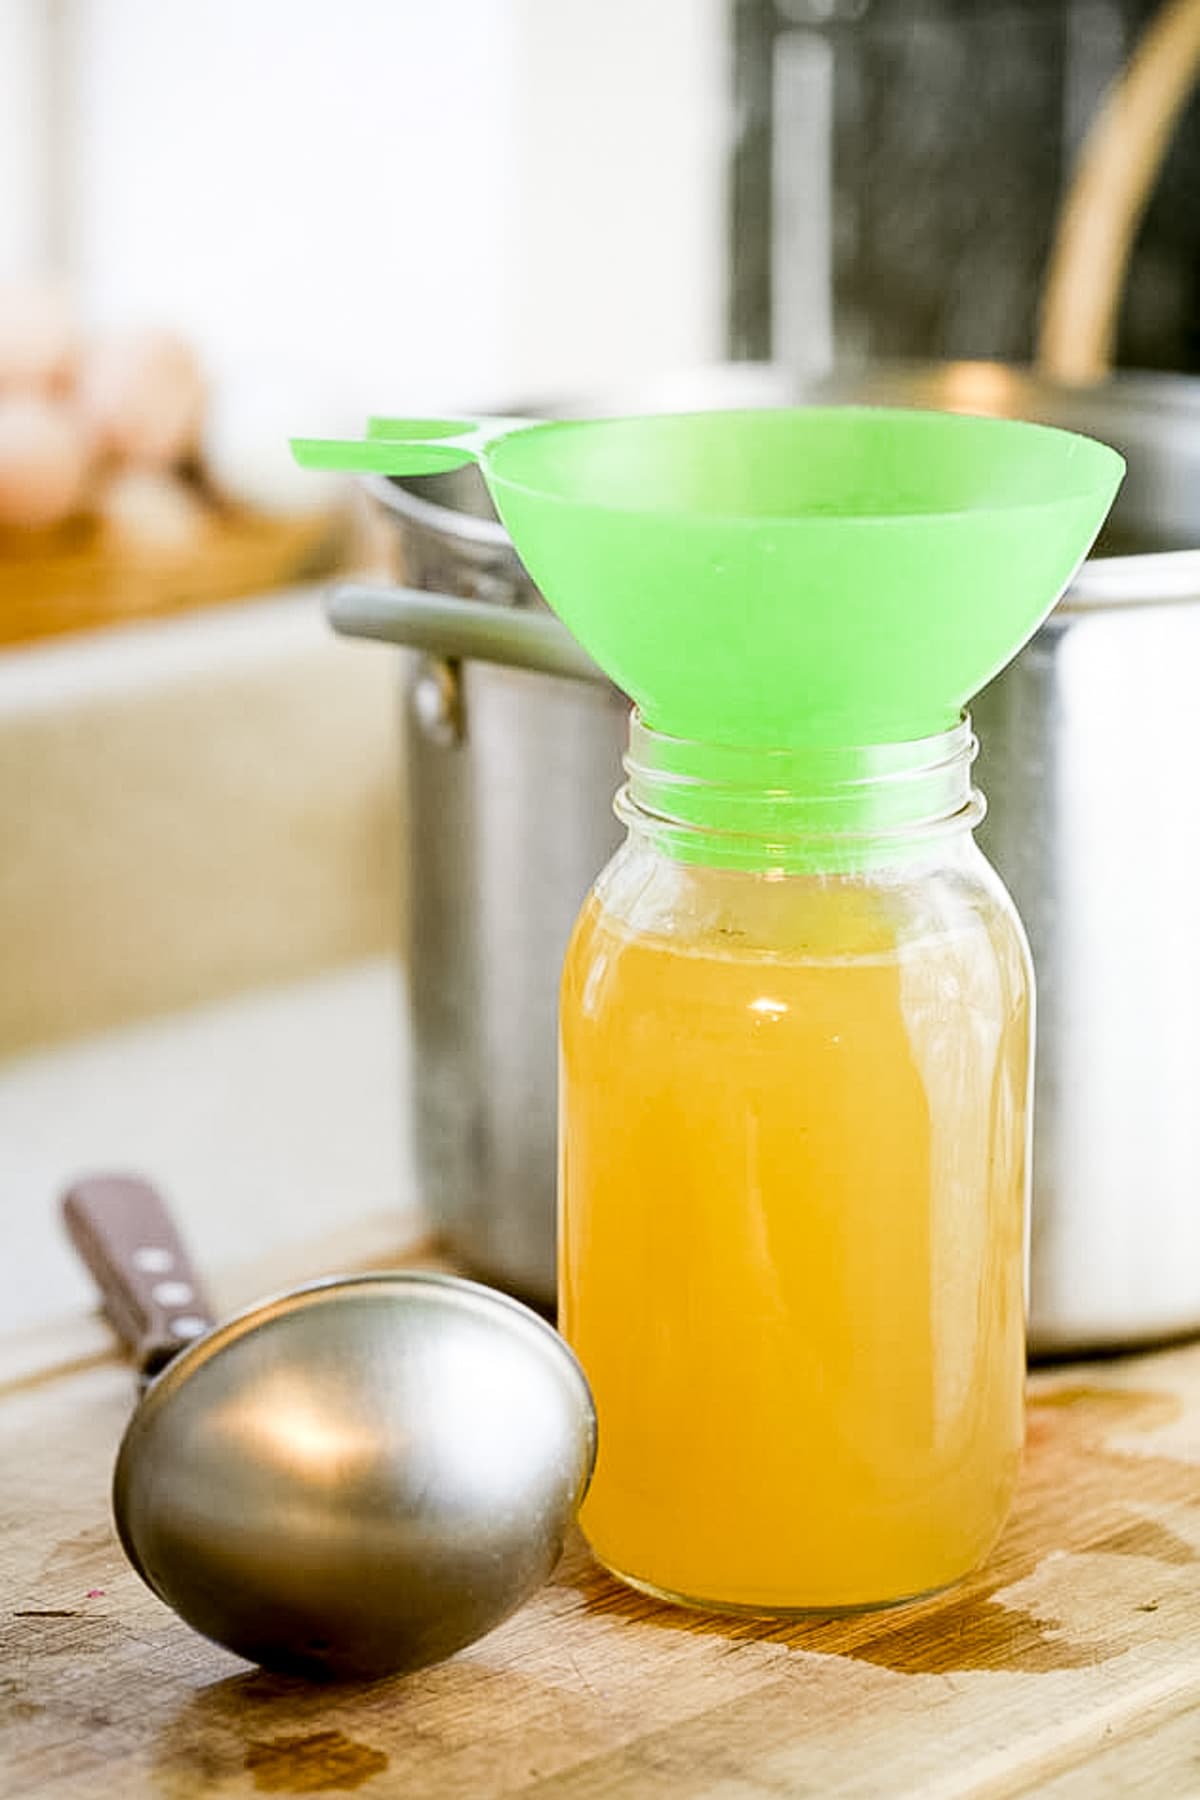
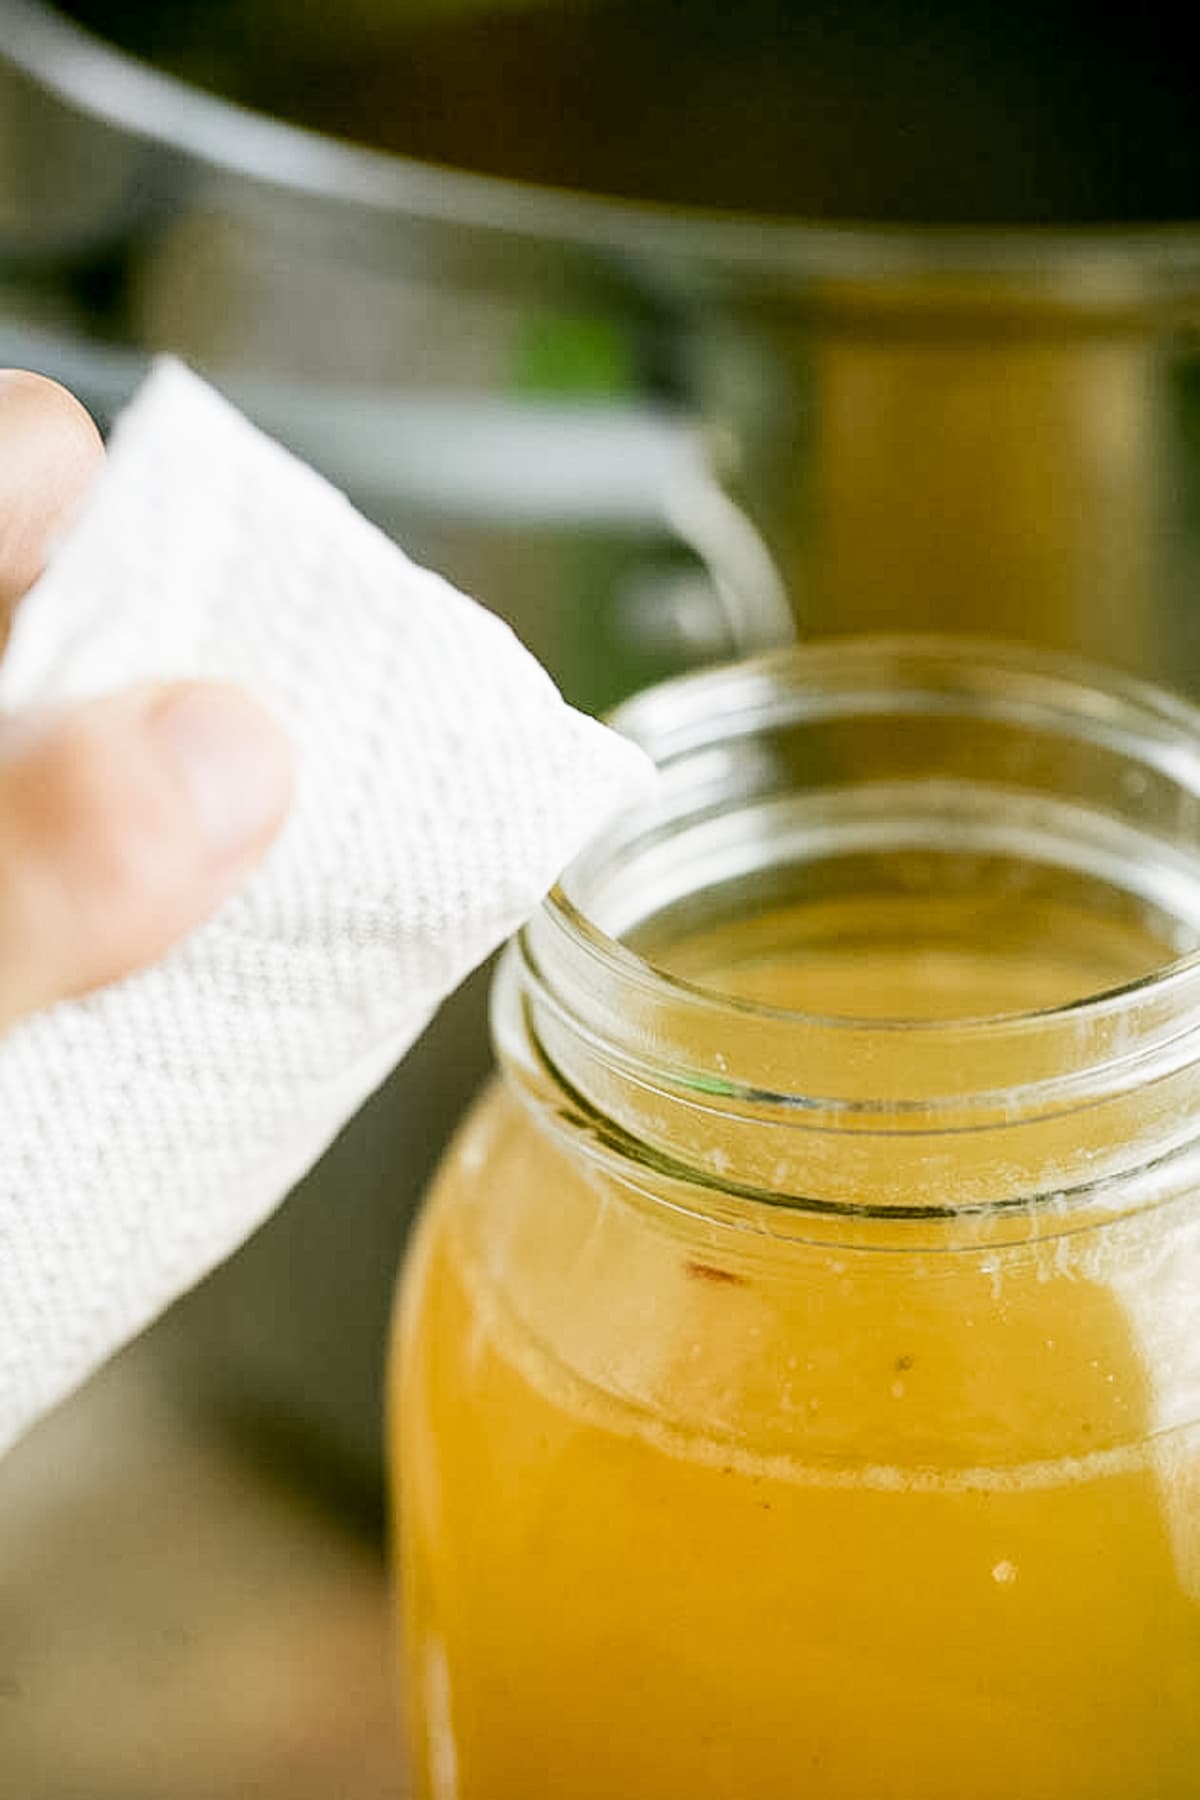
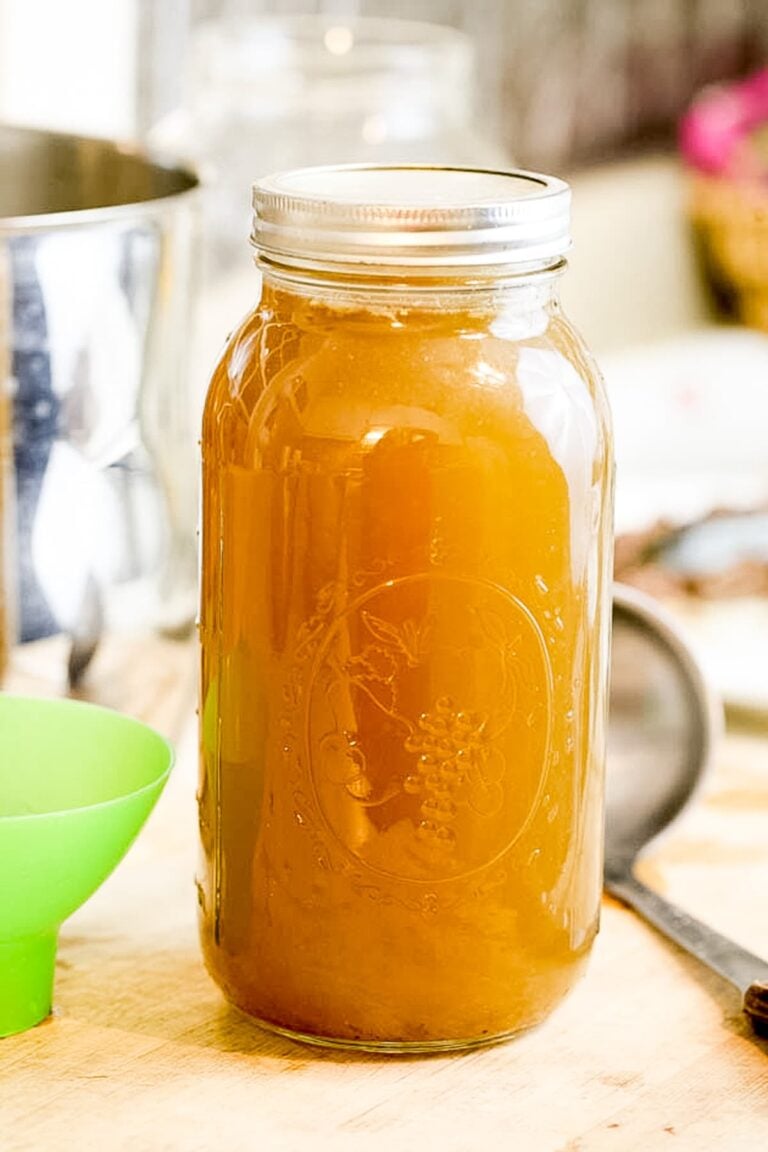
Step three – fill the jars with broth. Use a ladle and a funnel to fill the jars with the broth. Make sure to leave 1” of headspace. Then, clean the rim of each jar with a damp paper towel before centering the lid and closing the jars fingertight with the bands.
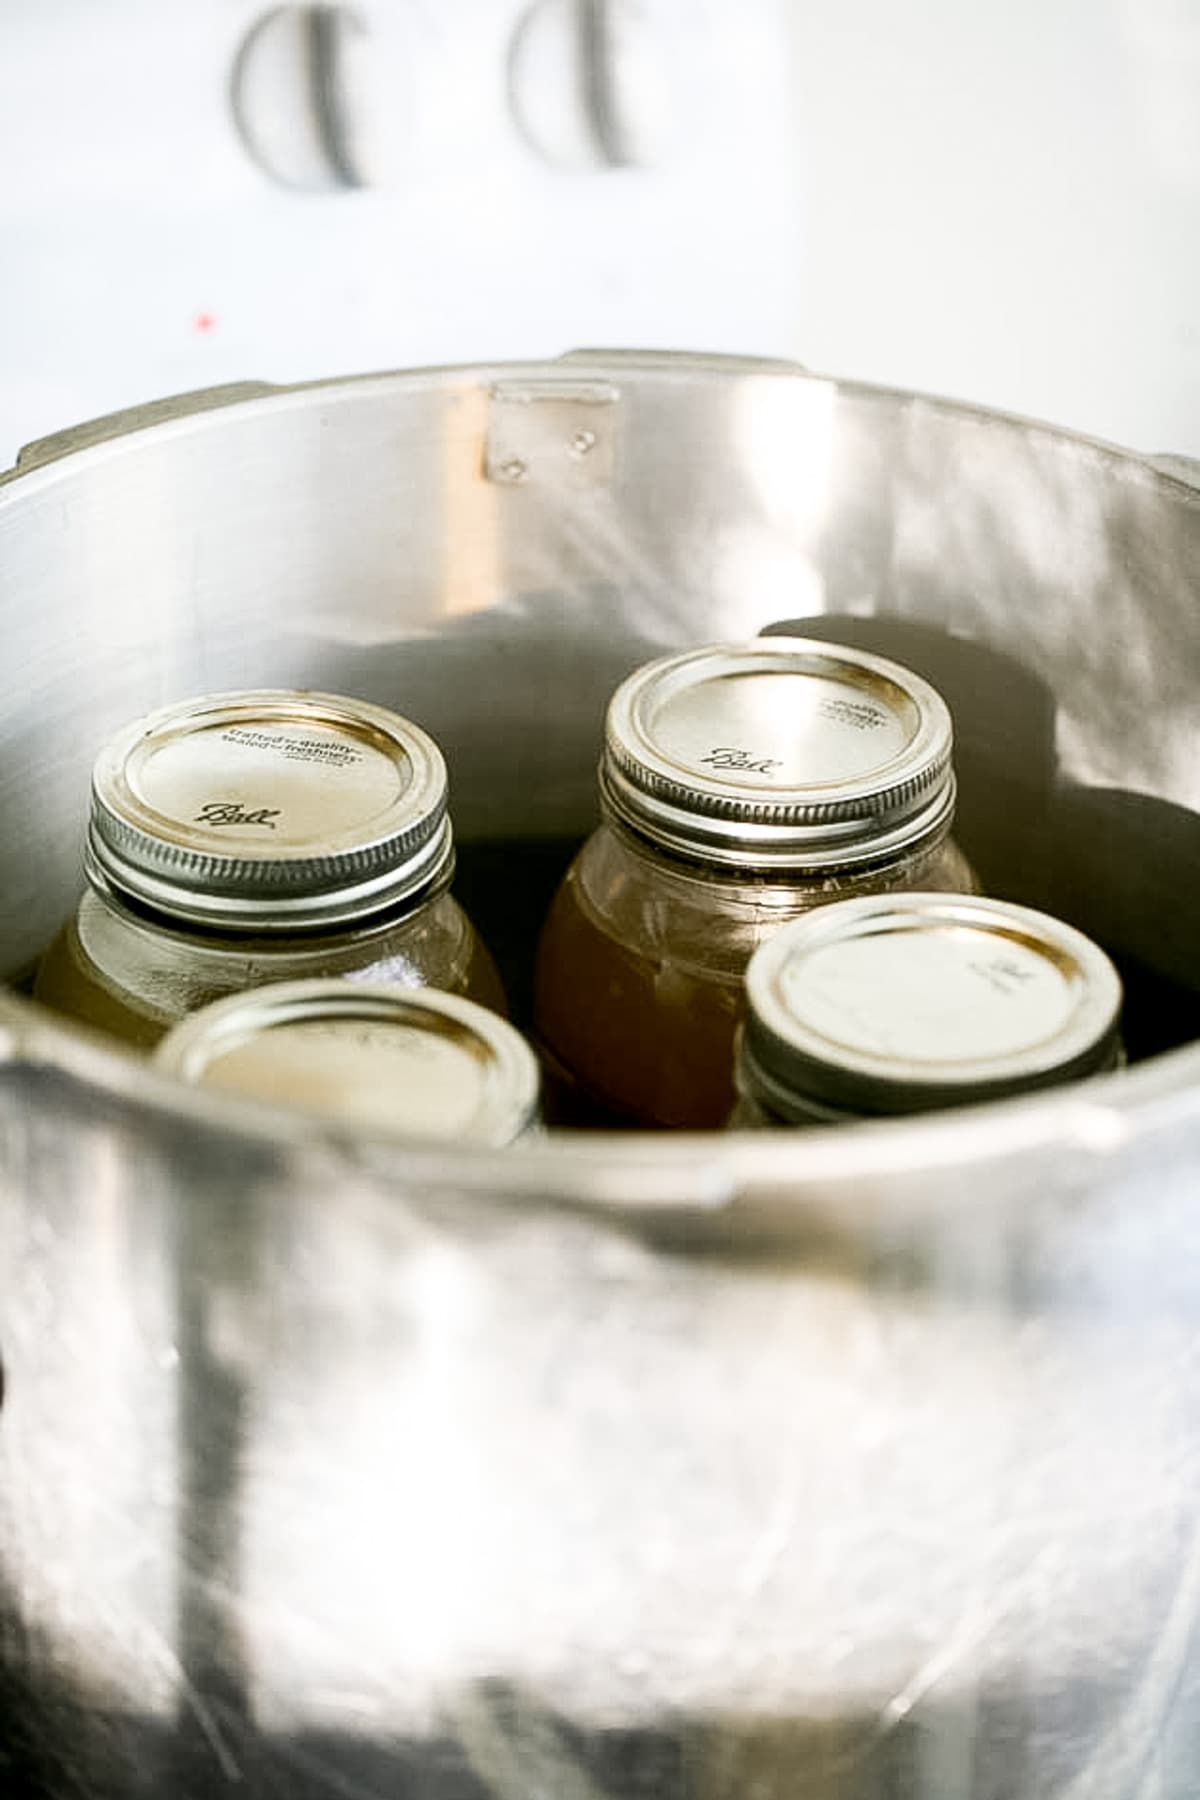
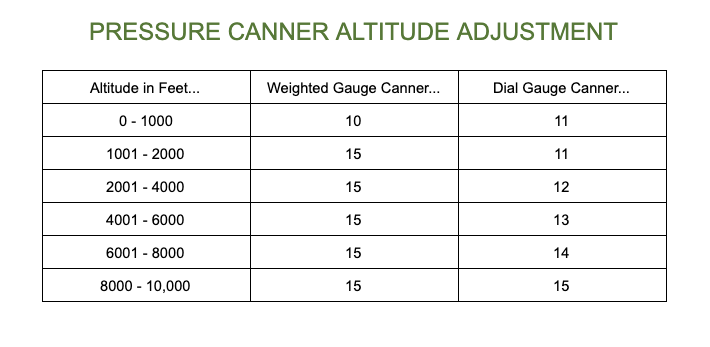
Step three – process the jars. Place the jars in the canner (on the rack) in a way that they don’t touch each other. Close the canner, leave the weight off the vent, lower the heat just a bit to medium-high and wait for steam to start coming out of the vent. Let the canner vent steam for 10 minutes before placing the weight on the vent. Bring the pressure to 11 psi, adjust the stovetop heat to hold this pressure, and process quart jars for 25 minutes and pints for 20 minutes (if you live above 1000 feet remember to adjust pressure according to the table below. Processing time stays the same).
Once processing time is up, turn the heat off and let the canner cool down slowly (it takes a few hours… Just leave it be). When the dial is back to zero pressure and the canner is cool enough to handle, open the lid. Leave the jars in the hot water for 10 minutes (we are making sure that temperature change is gradual so the jars don’t break). Then use the jar lifter to remove the jars from the canner. Place the jars on a kitchen towel on the counter and let them cool completely overnight.
Storing Canned Bone Broth…
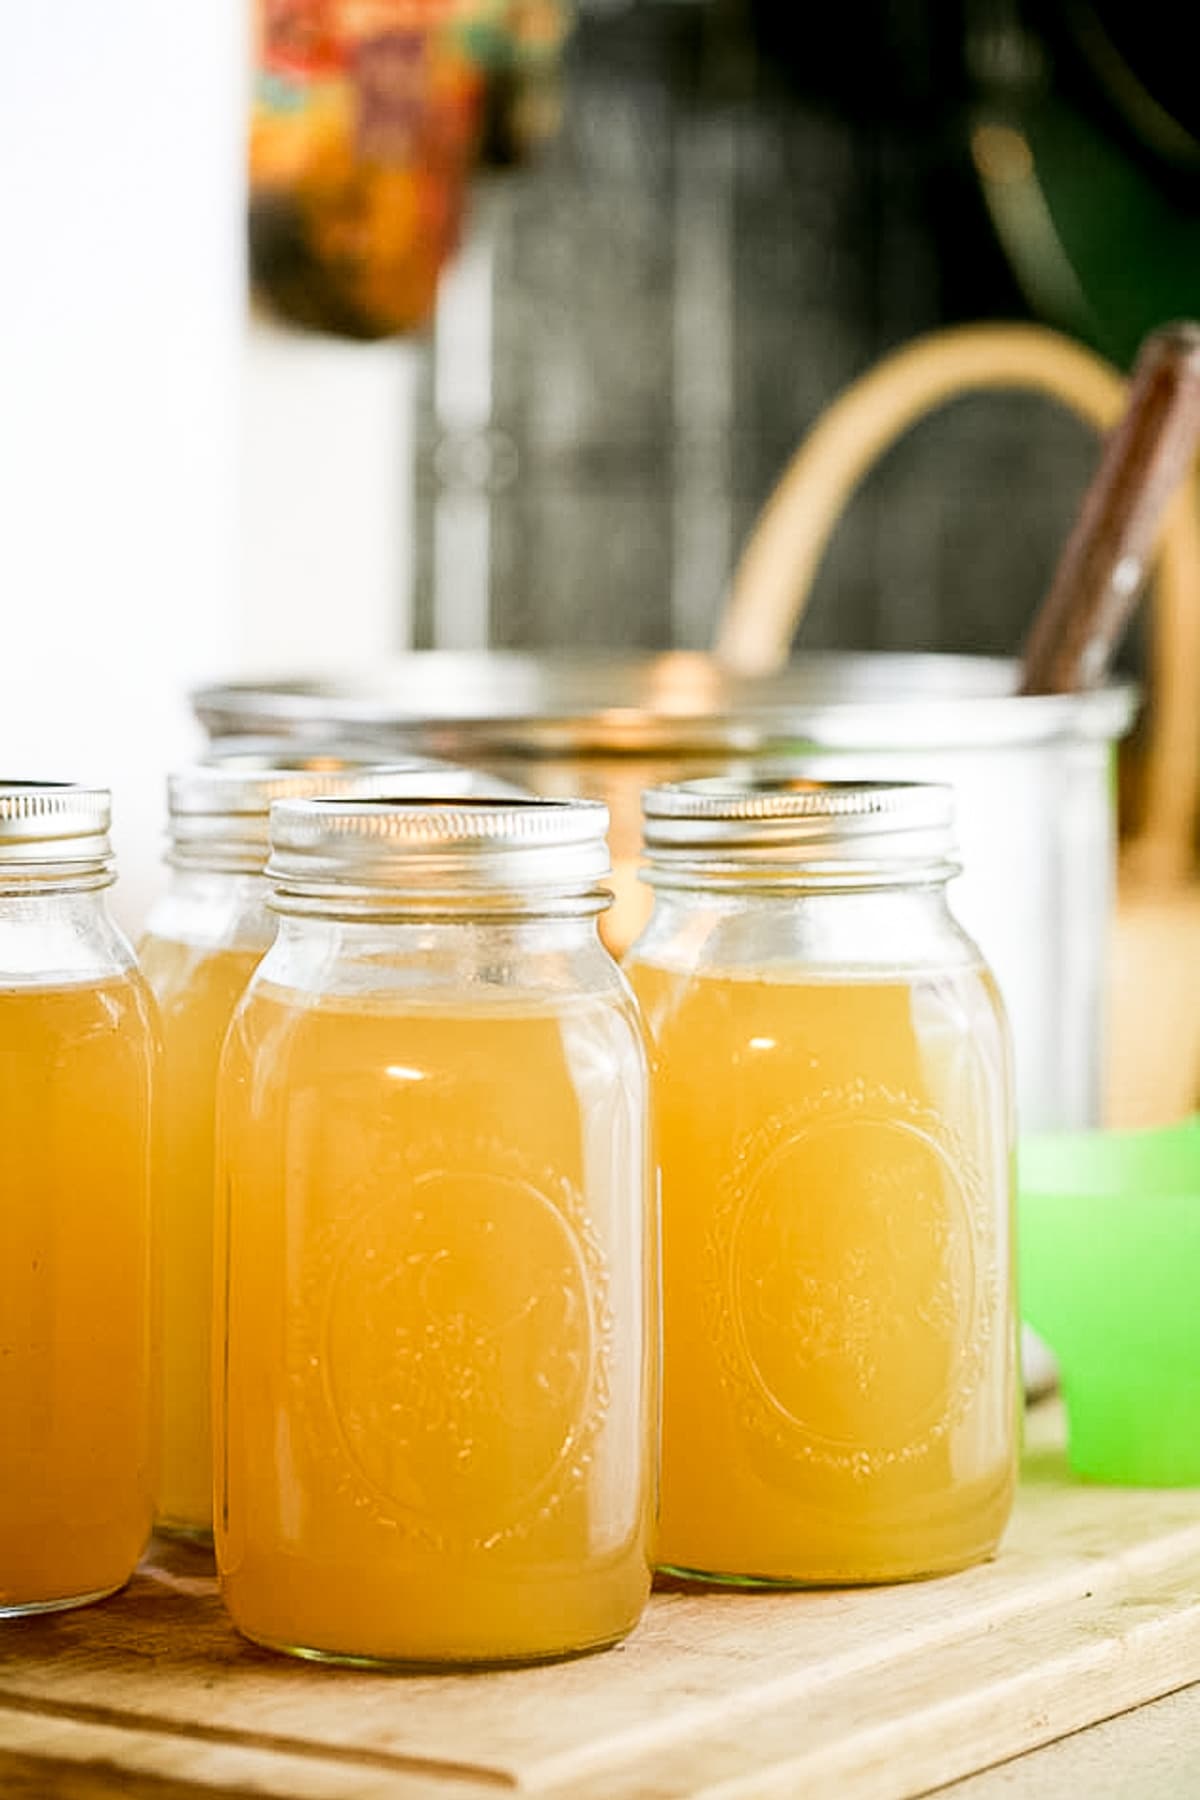
When the jars are cool, check that they have all sealed properly by pressing on the center of each lid. If there is no movement there, the jars are sealed and ready for storage. Wipe them clean, remove the bands (so you can monitor the top of the jars better and because it rusts and sticks to the jar), and store on a kitchen shelf, in a cabinet, or in the pantry. Canned bone broth can last on the shelf for a year or more!
How to Use Canned Bone Broth…
- First, remember that once you’ve opened a jar of broth, if you didn’t use everything in it, store the rest in the fridge.
- Some people drink a cup of bone broth every morning to support their immune system and for the other million benefits of bone broth.
- Use this homemade and canned bone broth the same way that you’d use store-bought bone broth.
- Replace water with bone broth in many recipes like when you make rice, quinoa, or bulgur.
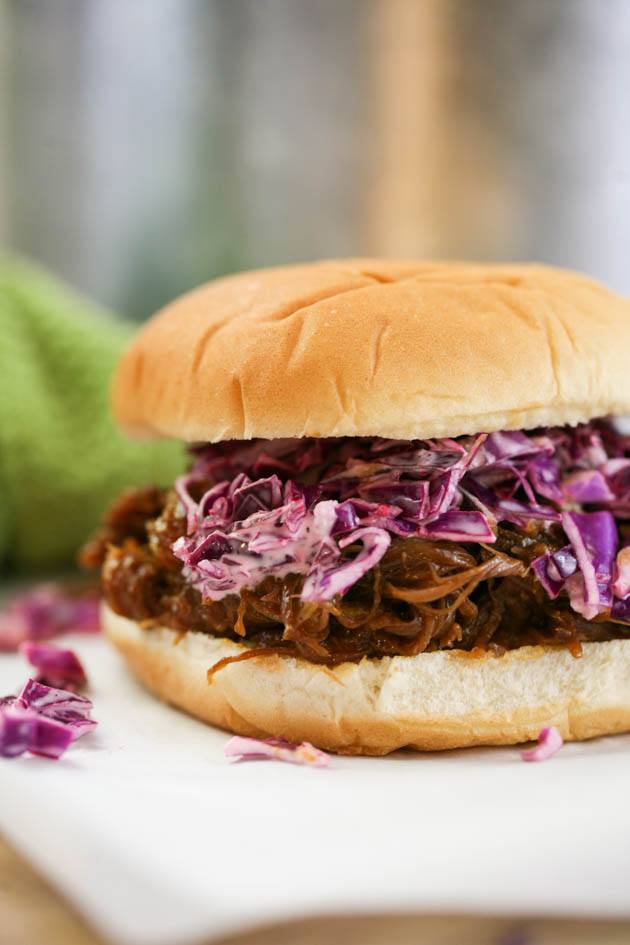
- I use it when I make BBQ venison neck, pulled venison, or Mediterranean stuffed peppers.
Kitchen Notes…
- Pressure canning – there is no way around pressure canning here! Bone broth is a low-acid food and it can not be canned in a simple water bath canner, it has to be preserved under pressure.
- Can with the veggies and/or meat – if you’d like, feel free to can the broth with the veggies and meat. Of course, remove the bones, remove the leftover meat from the bones, add it back to the pot, and can following my how to can meat tutorial. This is great to do if you are planning to use your broth as a soup. However, if you want to be able to add it to different dishes as a broth, I think that it’s easier to do if you can only the liquid.
- Remove fat – if you’d like less fat in your broth, you can let the broth cool. The fat will solidify on top and you can easily remove it. Then, strain the broth, heat the strained liquid a little bit and can. If you are canning beef broth, there might be a need to do this, however, deer has practically no fat so I usually don’t see a need to do this. And be aware… The issue with the fat is that when we process the jars in the pressure canner the broth bubbles inside of the jars and the fat can get between the lid and the rim of the jar and prevent the jar from sealing, so if you have a hard time getting your jars to seal, this may be the issue.
Canning bone broth is a process but it’s not too complicated and is a great way to preserve the broth. I love that it’s homemade the way I like it and I love that it’s on the shelf at room temperature ready to be added to any dish! I hope that you’ll give this a try and if you are using a weighted gauge canner and are looking for more specific instructions for your type of canner you can find them here.
More Pressure Canning Tutorials…
- How to Can Chicken
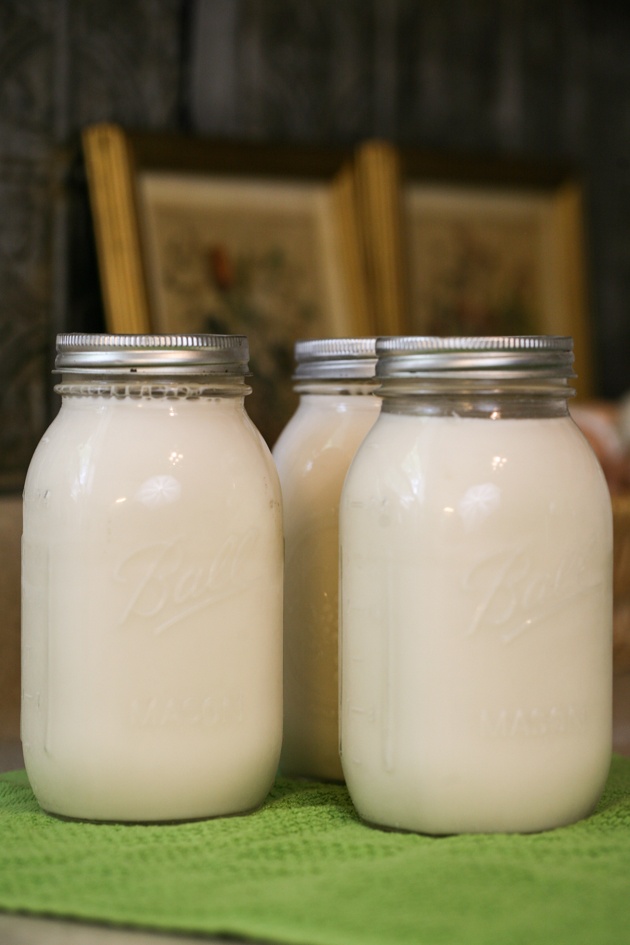
- How to Can Milk
- Canning Poblano Peppers
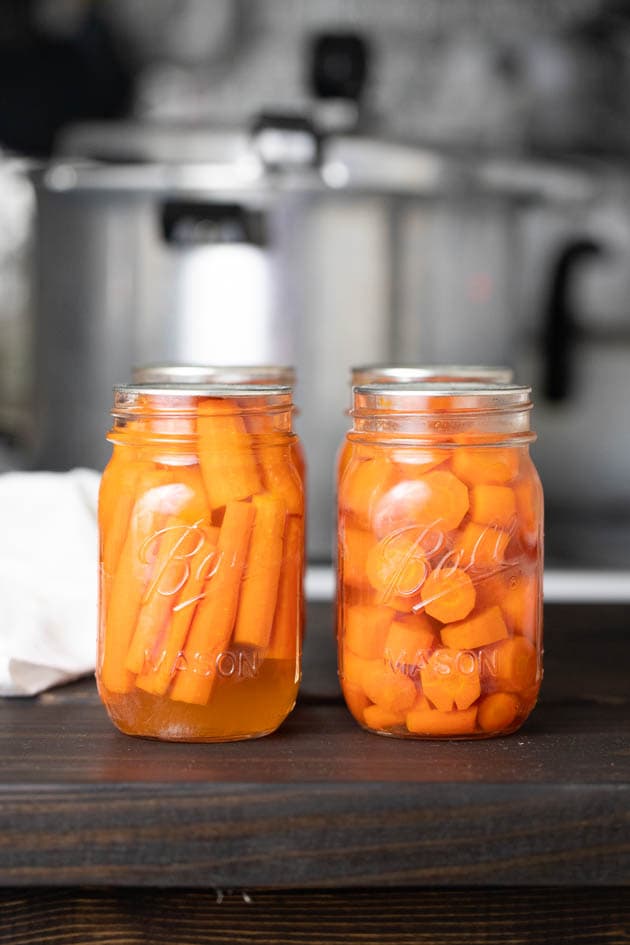
- How to Can Carrots
- Canning Stewed Tomatoes
Canning Bone Broth
Step by step instructions on how to can bone broth.
Ingredients
- Bone broth
Instructions
- After your bone broth is ready, place a strainer over a large pot and strain the broth. Get rid of all the bones and the vegetables you added when you cooked the broth.
- If there is a lot of fat in your broth, you might need to let the broth cool and let the fat solidify so you can scoop it out. Instructions on how to do that are in the notes below.
- Add 2'' of water to your pressure canner. Set it on the stovetop and turn the heat to high. Bring the water to a simmer.
- Wash your jars, lids, and bands with hot soapy water and set on the counter.
- When the water in the canner is simmering (180-190 degrees F), use the funnel and a ladle to fill the jars with the hot broth. Make sure to leave 1'' headspace.
- Clean the rim of each jar with a damp paper towel.
- Center a lid on each jar and close with the band finger tight (not too tight).
- Use the jar lifter to lift the jars and place them in the canner on the rack (make sure that they don't touch each other).
- Close the canner and set the heat to medium-high. Make sure the weight is not on the vent.
- Watch the vent. When steam starts coming out of the vent set your timer to 10 minutes and let the vent release steam.
- After 10 minutes of venting steam, place your weight on the vent and watch the dial (if you are using a weighted gauge canner place your weight at 10 pounds).
- Adjust the heat to keep 11 pounds of pressure for a dial gauge canner or 10 pounds of pressure if you are using a weighted gauge canner for 25 minutes for quart jars or 20 minutes for pint jars. Make sure to check the post for the pressure adjustment table if you live above 1000 feet in elevation.
- When processing time is up, turn the heat off but do not take the weight off the vent or move the canner. Let it cool and come back slowly to 0 pound pressure.
- When the canner is back at room temperature (this may take a couple of hours), open the lid. Let the jars stay in the hot water for 10 more minutes before using the jar lifter to lift them out of the canner.
- Set your jars on a wooden cutting board or on a kitchen towel on the counter to cool undisturbed overnight.
- After your jars have cooled completely, check to see if they have sealed by pressing on the center of the lid. If there is no movement there your jars are sealed and ready for storage.
- Remove the bands, wipe the jars and store in the pantry for up to 18 months.
Notes
Kitchen Notes...
- Pressure canning – there is no way around pressure canning here! Bone broth is a low-acid food and it can not be canned in a simple water bath canner, it has to be preserved under pressure.
- Can with the veggies and/or meat – if you’d like, feel free to can the broth with the veggies and meat. Of course, remove the bones, remove the leftover meat from the bones, add it back to the pot, and can following my how to can meat tutorial. This is great to do if you are planning to use your broth as a soup. However, if you want to be able to add it to different dishes as a broth, I think that it’s easier to do if you can only the liquid.
- Remove fat – if you’d like less fat in your broth, you can let the broth cool. The fat will solidify on top and you can easily remove it. Then, strain the broth, heat the strained liquid a little bit and can. If you are canning beef broth, there might be a need to do this, however, deer has practically no fat so I usually don’t see a need to do this. And be aware… The issue with the fat is that when we process the jars in the pressure canner the broth bubbles inside of the jars and the fat can get between the lid and the rim of the jar and prevent the jar from sealing, so if you have a hard time getting your jars to seal, this may be the issue.
Nutrition Information:
Yield: 1 Serving Size: 1 quartAmount Per Serving: Calories: 164Total Fat: 1gSaturated Fat: 0gTrans Fat: 0gUnsaturated Fat: 0gCholesterol: 10mgSodium: 1945mgCarbohydrates: 2gFiber: 0gSugar: 2gProtein: 37g

Question…
I’ve never attempted to pressure can bone broth before (only stock), and I am trying to find out if after canning this, is it still gelatinous or does the pressure/high temp ‘break’ the gelatin??
Mine didn’t turn into jell in the jars… It stayed liquid. The fat solidified and floated on top which is fine. But the rest stayed liquid.
Hi Lady Lee, My name is Janet Lemming, my husband and I have a small homestead in Pa. I do a lot of canning, even steam canning. I’ve canned many kinds of meat for years. I made and canned ham bone broth last fall. I processed it 90 min for qts. It has meat pcs. in the jars. I didn’t strain it. My question is if you strain it, you only process it for 25 min?
Yes, if there is no meat in it you can process for 25 minutes.
G’Mornin Lady Lee ! We have talked before,..served in the USNavy. Question,…when making my bone broth (Venison or Chicken,)… both gel beautifully ! After canning, per guidelines above, which appear to be pretty much standard, …they are no longer “Gel’d”. Is this normal ?? Preasure cause the change ? I miss the gelled state,…..
Hope all has been well with your family and friends in Israel ?
Thank you Lee! I just made bone broth and canned in my pressure canner with your instructions.
Hope you are good!
Teena
Yay! I hope it turned out good. I’m doing good, I hope you are too.