This post may contain affiliate links, view our disclosure policy for details.
Canning carrots is a simple and quick way to preserve them for months. Canned carrots are stored at room temperature and are ready to be added to any meal or they can be used as a delicious side dish.
We love carrots! I plant them in my garden during the spring and the fall. It took me a little bit of time to figure out how to grow carrots, but I now can say with confidence that I can produce beds and beds of delicious carrots.
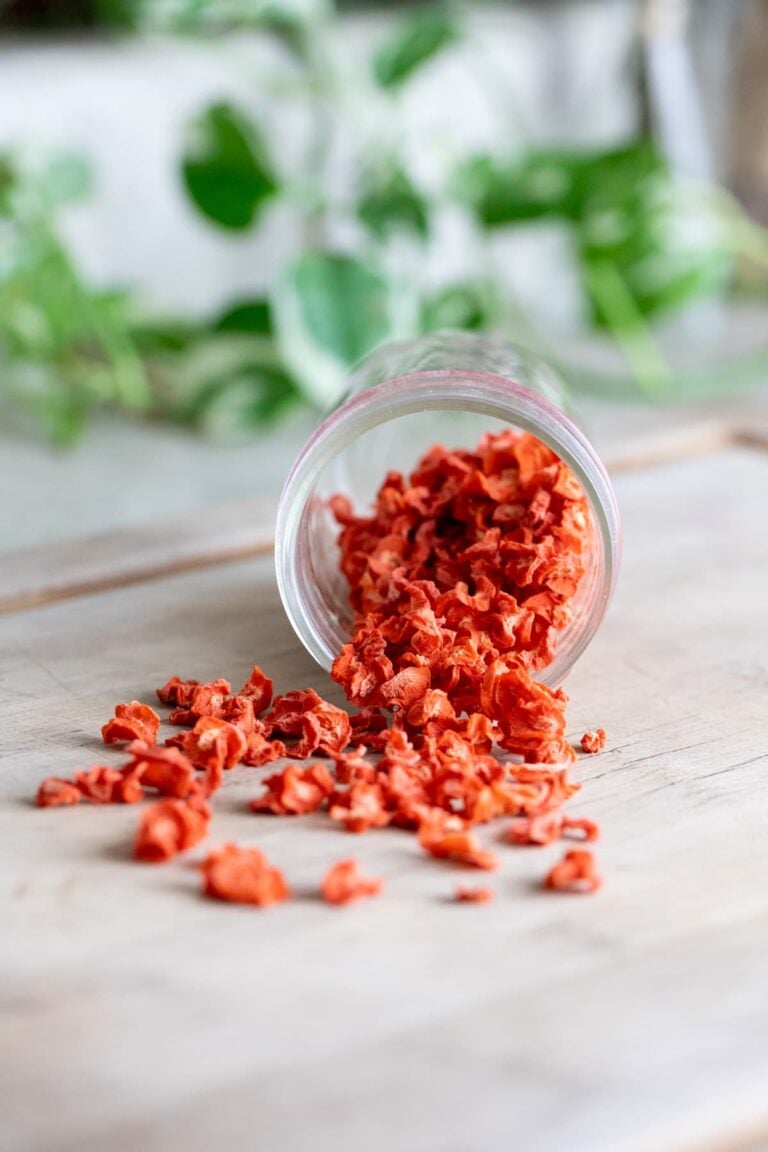
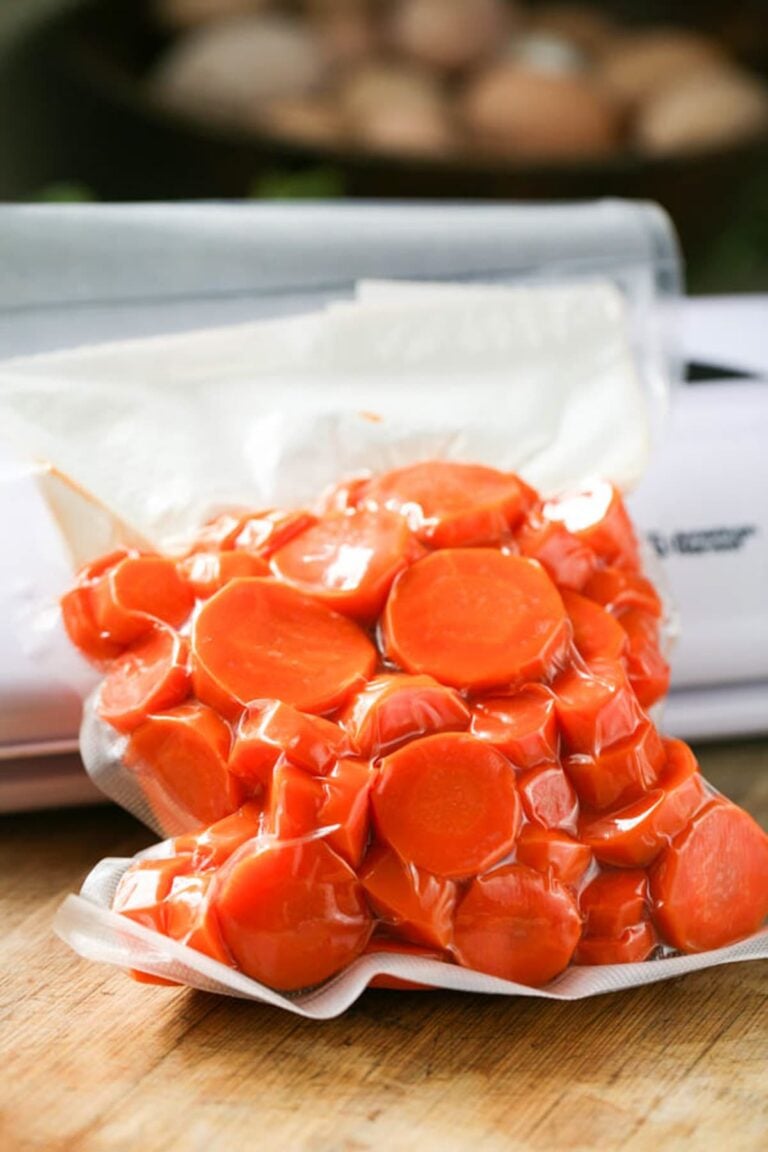
My kids eat most of them right in the garden. They pull them from the soil, brush them or wash them with the garden hose and enjoy them. I also sell many carrots at the local farmer’s market, I freeze carrots, and dehydrate carrots, and pickle carrots, and today, I’ll show you how I can carrots…
Canning Carrots…
Because no matter how many carrots you store, there is always a use for all of them. Here in the South, we can grow carrots in the fall, cover them and leave them in the soil for the winter (then, just harvest right from the garden during the winter). Carrots also store very well in cold storage, so if you have a root cellar or an extra fridge, you can store carrots for many months.
So you might think, then why should I can carrots? The answer is convenience and space. You’ll see that canning carrots doesn’t take a lot of time. It’s simply very convenient to have them already cooked and ready to be added to any meal as a side dish or one of the ingredients and they are also a great, simple, and healthy snack.
Canning carrots will also save you room in the fridge, the root cellar (if you have one), or your garden (if you want to harvest them and plant something else in their place). Lastly, if you have damaged carrots that you want to clean up, canning will allow you to get rid of the bad parts and preserve the good parts.
Row Pack vs. Hot Pack…
There are two ways to can carrots at home… the first is to pack them raw into the jars and the second is to pack them after cooking them a bit.
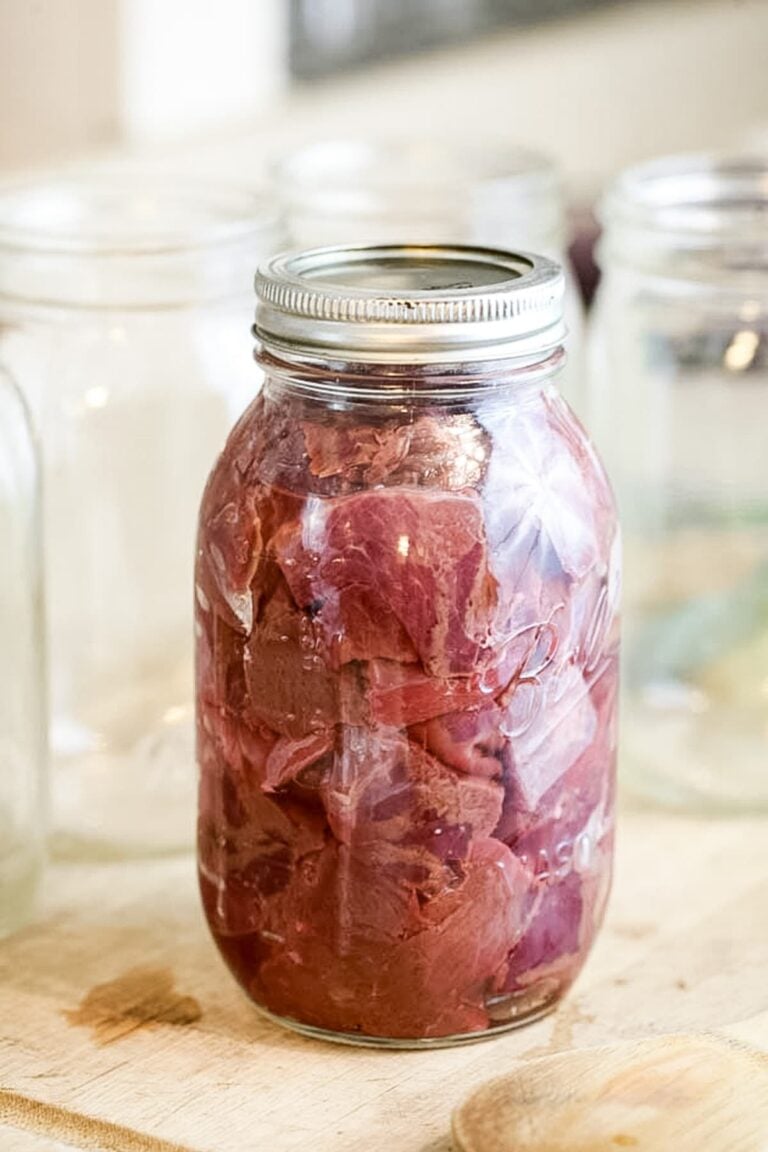
Raw pack method – this is the simplest way to can carrots. You simply pack the carrots into the jars raw, top them with boiling water, and process them (we can can meat this way too).
Hot Pack – means that you pack the jars after you have cooked the carrots a bit. The short cooking process helps remove some air from the veggie or fruit and results in a better quality product. It’s very important to use the hot pack method when you can apples or when you can peaches, if you don’t, you’ll end up with jars less than half full (cause the fruit loses air and shrinks) and fruit that doesn’t look so appetizing.
However, when it comes to carrots, since they are dense and don’t have much air in them, I personally don’t see any difference in the quality if you raw pack them instead of hot pack them. Both methods are simple though, so you can choose whichever one you’d like best.
Ingredients For Canning Carrots…
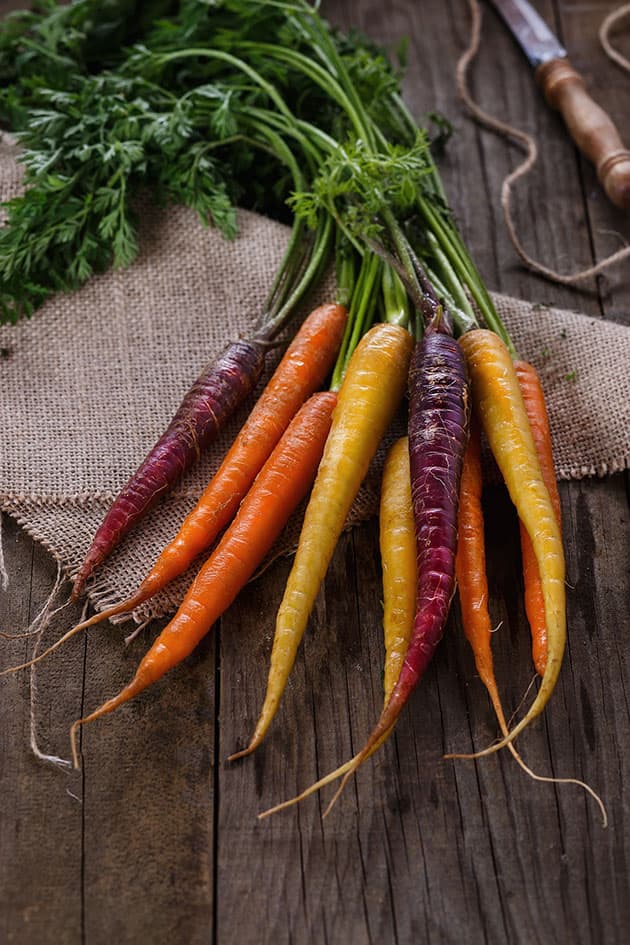
Carrots – carrots come in many shapes and colors. If you are getting carrots from the store, you are probably used to the orange, long carrots, but if you grow them in your garden and if you have ever flipped through a seed catalog, you know that the land of carrots is colorful and interesting!
You can can any kind of carrot that you grow or come across, it doesn’t matter if it’s a white carrot, a purple one (these sometimes lose their color when cooked), or an orange one. It also doesn’t matter if your carrots are long and thin or short and chubby. And it’s also important to note that you can can baby carrots as well exactly the same way.
How many carrots will you need? In my experience, about 3 pounds of carrots will produce 4 pint jars of canned carrots (or two quarts if you prefer to use larger jars).
Salt or no salt? Some people like to season their carrots with salt. I personally leave it out and season the carrots when I use them. If you choose to add salt, add 1 teaspoon to every quart jar or 1/2 teaspoon to every pint jar (before or after you add the boiling water, it doesn’t matter). Make sure that you use kosher salt, sea salt, or canning salt, do not use regular table salt.
Tools For Canning Carrots…
Even though it’s not necessary to peel the carrots, it is recommended so you’ll need a vegetable peeler. You’ll also need a cutting board and a chopping knife to slice your carrots so they can fit in the jar.
You are going to need the canning utensils, a damp paper towel to clean the rim before closing the jars, and of course – jars, lids, and rings. I like using pint jars for canning carrots, but you can also use quart jars.
Lastly, you are going to need your pressure canner. Since carrots are considered a low acid food we are going to have to process them in the pressure canner. I have the simple Presto canner (a dial gauge canner), but this All American canner is another popular one (weighted gauge).
How to Can Carrots…
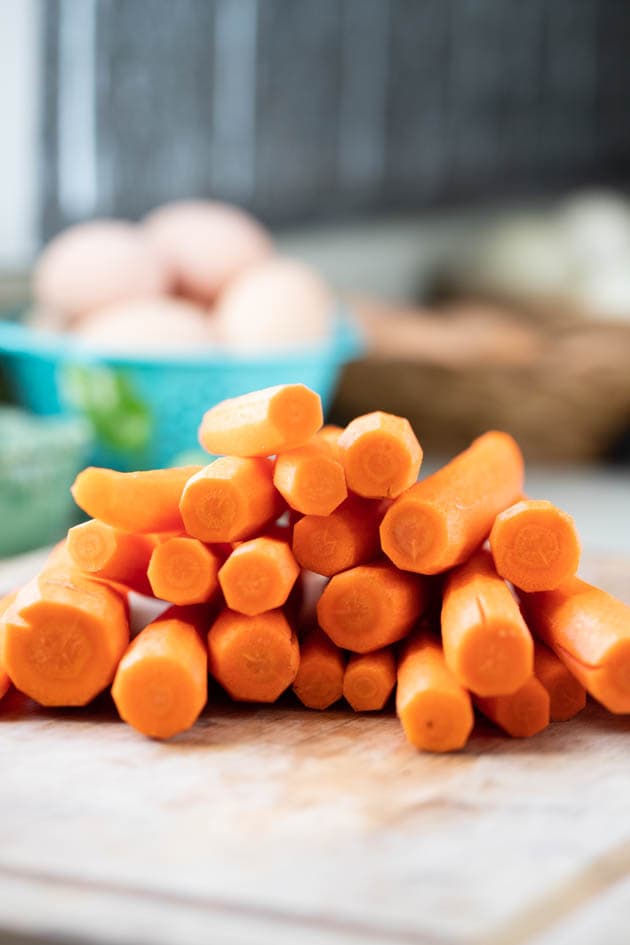
Peel the carrots – start by peeling your carrots. It is possible to can carrots without peeling them but their skin gets a strong taste and becomes a little tough. It’s just not pleasant so I really recommend that you take the time to peel your carrots. If you decided not to, make sure to wash the carrots well.
Heat water in the canner – before we start preparing our carrots, add 2” of water to your pressure canner (or follow manufacture directions on how much water should be there if you are not using the Presto canner like me). Set the canner on the stovetop and turn the heat to medium-high. Bring the water to 150 degrees F.
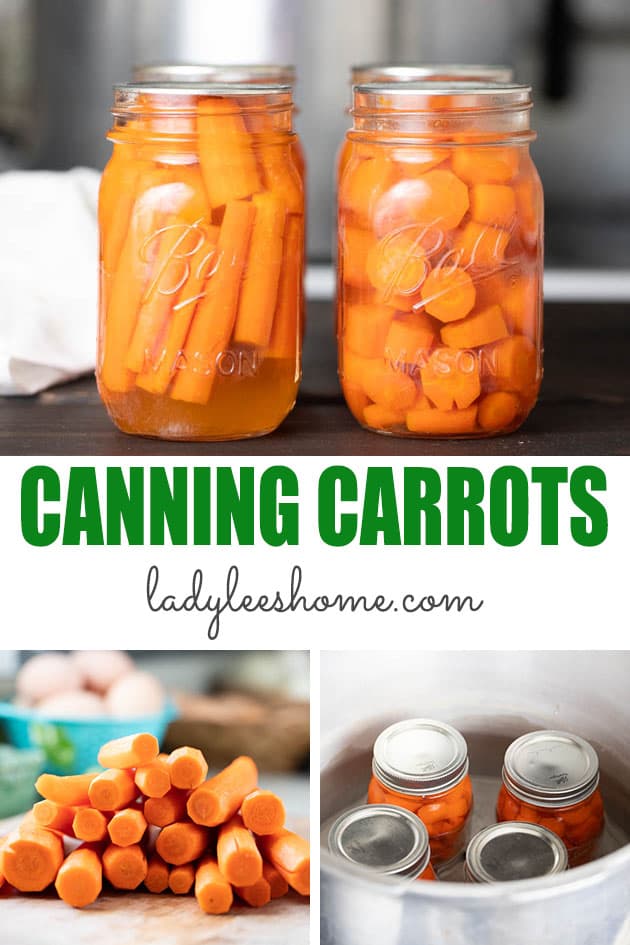
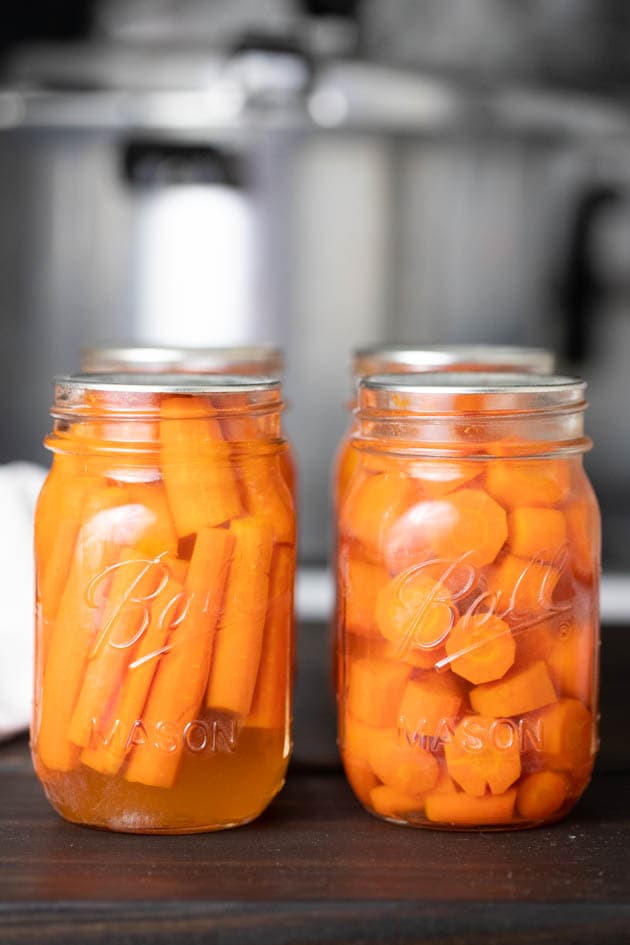
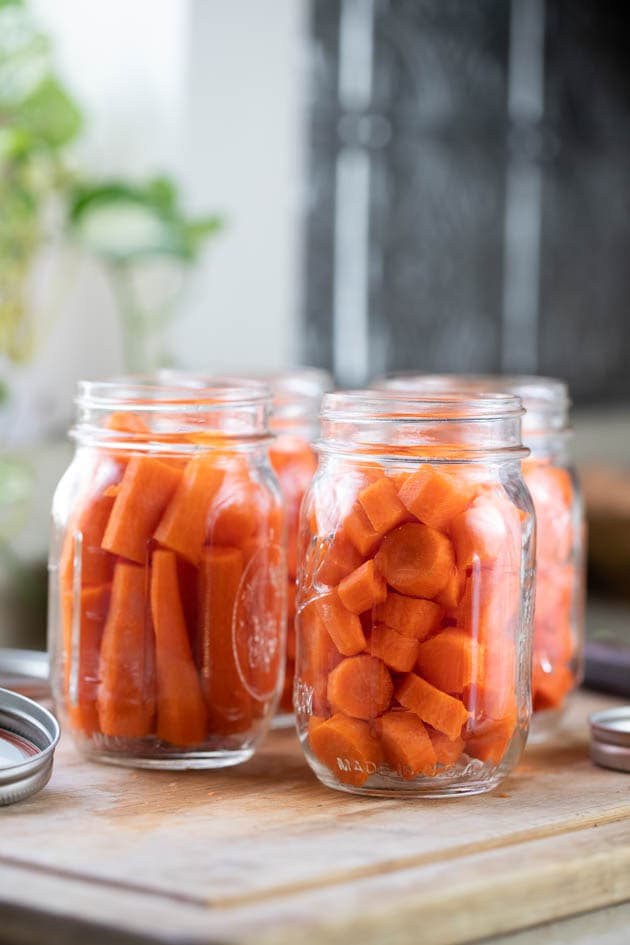
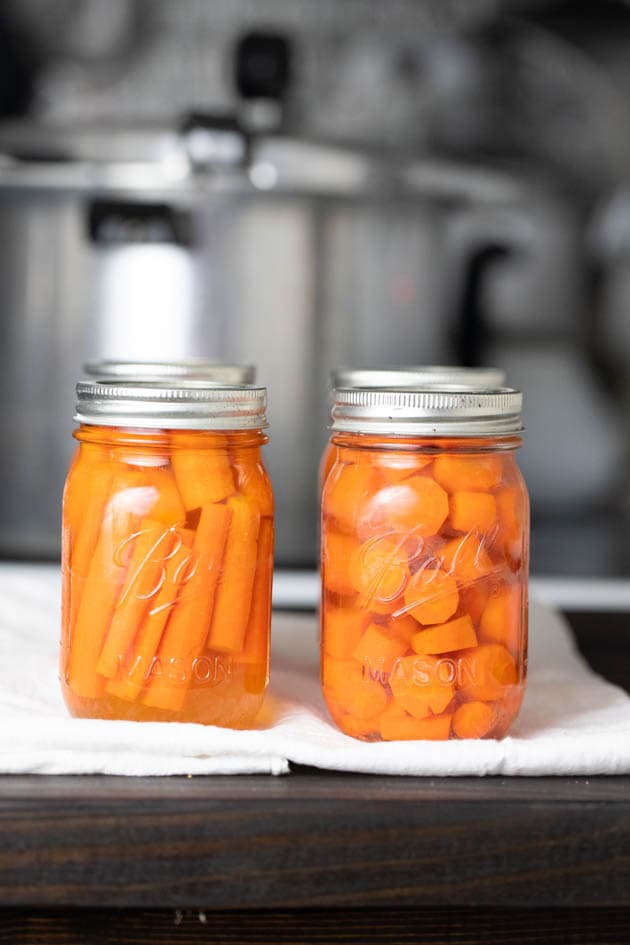
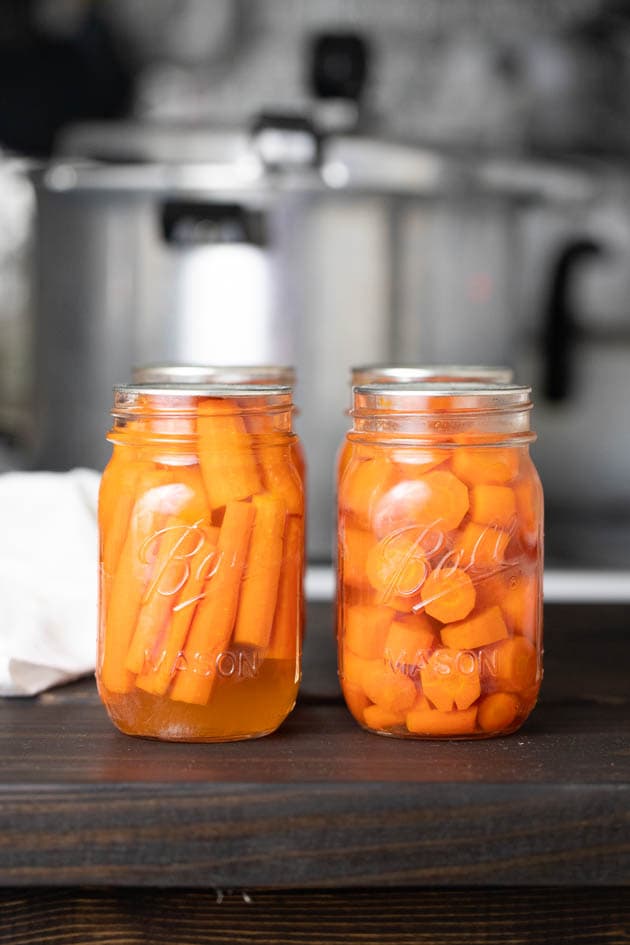
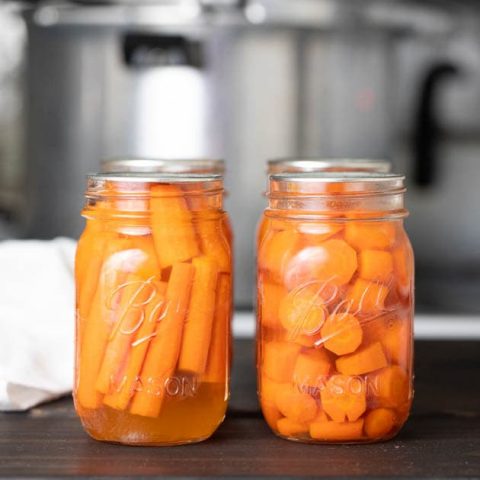
Slice the carrots – the size doesn’t matter here. If you are canning baby carrots and they fit in the jar you can go ahead and just add them to the jar. If you want thin slices, go for it. If you want thicker slices, go for it. If you want to cut each carrot into three or four larger pieces (like in the jar on the left), you can do that too. This is really up to you.
Wash the jars – make sure to wash the jars, lids, and rings with hot water and soap.
Hot pack method – if you choose to continue with the hot pack method, fill a pot with water and bring the water to a boil. Then add the carrots to the boiling water and boil for 5 minutes before scooping them out and adding them to the jars. Make sure to leave 1” headspace.
Raw pack method – if you choose the raw pack method, just add the carrots to the clean jars. Leave 1” headspace.

Add boiling water – pour boiling water over the carrots. If you chose the hot pack, you can use the water that you boiled the carrots in. Again. Leave 1” headspace.
Add salt (optional) – if you choose to add salt, now is a good time to do it. Remember to use Kosher, sea, or canning salt. Add one teaspoon to each quart jar and 1/2 teaspoon to each pint jar.
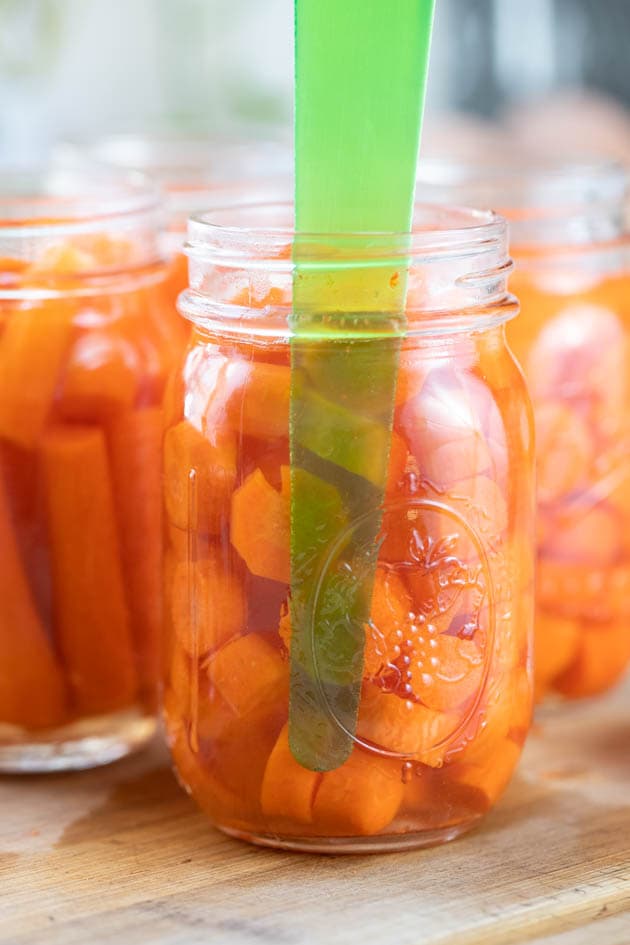
Remove air bubbles – use the bubble remover to remove any air bubbles.
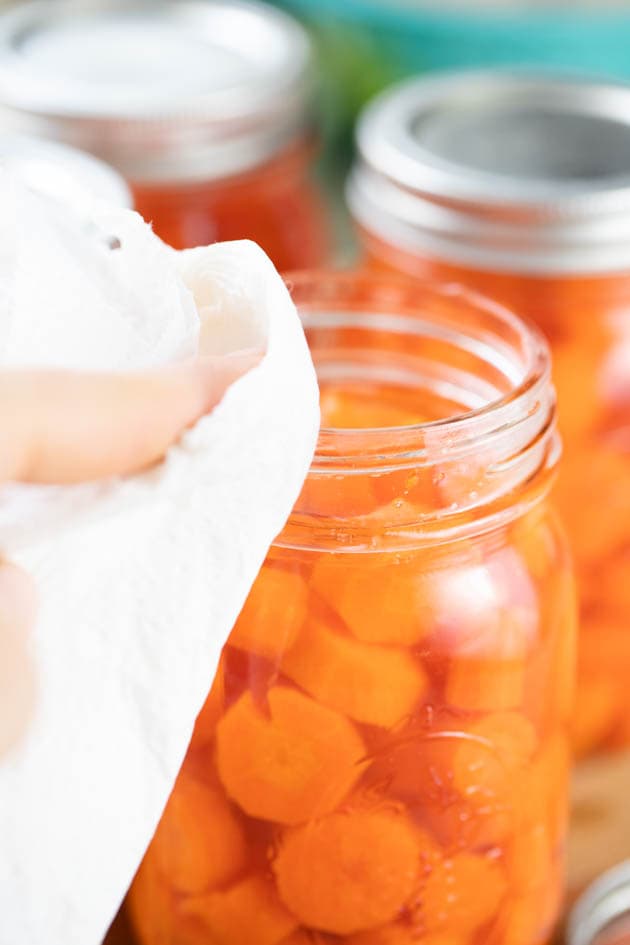
Clean the rim of the jar – use a damp paper towel to clean the rim of the jar before closing it.
Close the jars – center the lid and close the jars with the rings finger tight.
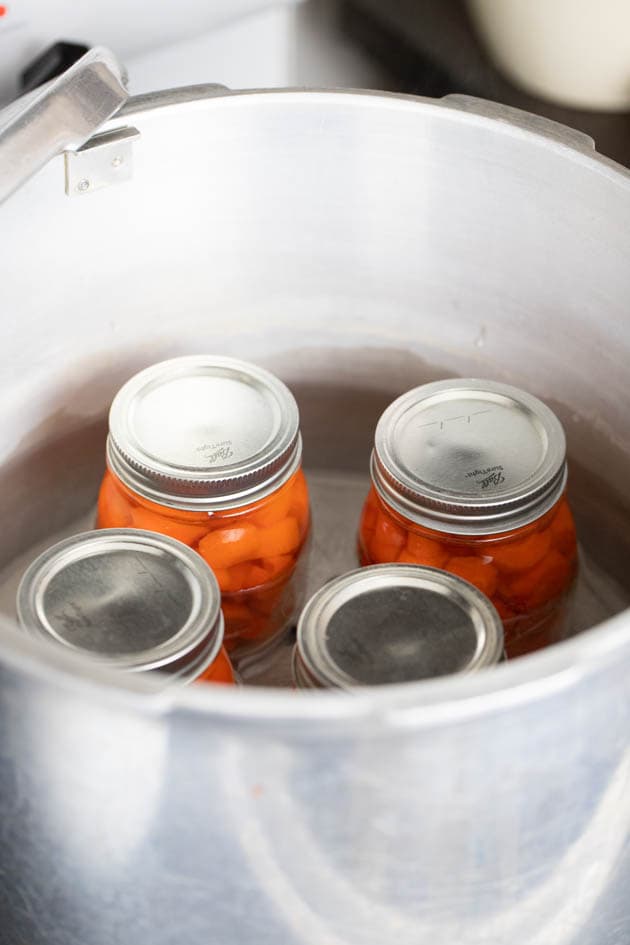
Processing – add the jars to the canner (place them on the rack). Remember that we want the water in the canner at about 150 degrees F. You don’t want the water too hot because the jars are not too hot. Keeping the temperature of the water in the canner and what’s in the jar similar is very important when canning and will ensure that the jars don’t break.
Close the canner and turn the heat to high. Make sure that your weight is off the vent at this point. It will take a few minutes for the water inside of the canner to start boiling and for the canner to start venting steam through the vent. Let it vent for 10 minutes before placing the weight on the vent.
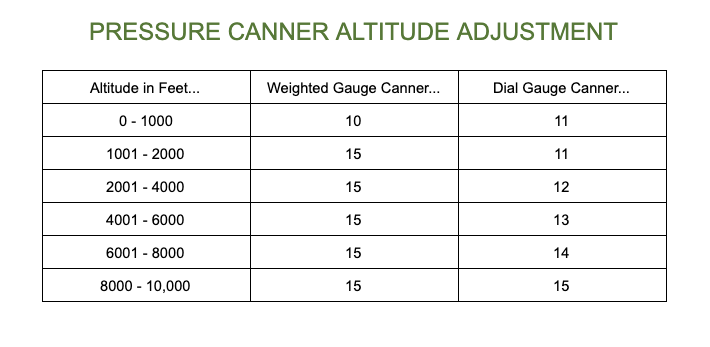
If you are using a dial gauge canner and live under 1,000 feet in altitude, process the carrots at 11 psi. If you are using a weighted gauge, process at 10 psi. Adjust your stovetop temperature to hold the pressure. Change the pressure according to the table above if you live in higher altitudes. Process quart size jars for 30 minutes and pint-size jars for 25 minutes.
Once processing time is done, turn the stove top off but do not attempt to open the canner. Just let it be and cool completely for a few hours. Once it has cooled, open the canner and uncover it but do not remove the jars from the canner. Let them hang in the hot water for 10 minutes or so. Then, use the jar lifter to remove them and set them on a kitchen towel on the counter to cool completely overnight.
Storing Canned Carrots…
Make sure to check that all your jars have sealed before storing them. You can press the center of each lid. If there is no movement there the jar is sealed and ready for storage.
Remove the ring and wipe the jars before storing them in a cabinet, the pantry, or on a shelf somewhere at room temperature. It’s important to remove the ring because it’ll rust over time and can stick and make it hard to open the jars later.
Canned carrots can be stored for up to 18 months.
How to Use Canned Carrots…
You can eat the carrots right out of the jar if you want to. They can be served as a side to any recipe or you can use them to make soups, casseroles, or in any recipe that calls for carrots.
Once you opened a jar, if you are not using all the carrots in it, remember to leave it in the fridge. Also, remember that you can use the liquid in the jar in recipes as well. It’s infused with carrot taste and delicious. You can use it instead of water in any recipe.
Canning carrots is a simple (especially if you choose the raw pack method) and quick way to preserve carrots for a long time. They keep their delicious taste and are always there on the shelf ready for you to use them. I hope that you’ll give it a try!
Make sure to also check my tutorial on how to freeze shredded carrots if you want to have them ready in the freezer for carrot cake, and here is a video tutorial for you on how to freeze sliced carrots.
If you are growing your own carrots, you’ll want to learn how to thin carrots in the garden (here is a video tutorial for this too). And lastly, you should know that you can use carrot tops as well! Here is a recipe for a simple and oh so delicious carrot top pesto.
More canning tutorials…
Canning Carrots
Canning carrots is a simple way to preserve them. They are delicious and are ready to be used as a snack, a side dish, or to be added to any recipe.
Ingredients
- 3 lb carrots (see notes)
- Salt (optional)
Instructions
- Add 2'' of water to your pressure canner (or follow manufacture directions on how much should be there) and set it on the stovetop. Turn the heat to medium-high and heat the water to 150 degrees F.
- Wash the jars, lids, and rings with hot water and soap and set them aside.
- While the water in the canner is heating, prepare your carrots. Peel the carrots and slice them. It doesn't matter how thick or thin you slice them, this is completely up to you. You can even leave them whole if they are small enough to fit in the jar.
- You'll have to choose your packing method (more on this in the post above)...
Hot pack - if you choose to hot pack your carrots, boil a pot of water. Add the carrots and boil them for 5 minutes. Scoop the carrots out and add them to the clean jars. leave 1'' of headspace.
Raw pack - if you choose to raw pack your carrots, simply add them to the jars after slicing them. Leave 1'' headspace. - Add boiling water to each jar (If you chose the hot pack method, you can use the water that you boiled the carrots in). Leave 1'' headspace.
- Add salt. This step is optional, you don't have to add salt. If you want to add salt, add 1 teaspoon to each quart jar or 1/2 teaspoon to each pint jar. Make sure that you are using sea, kosher, or canning salt (not regular table salt).
- Use the bubble remover to remove air bubbles from each jar.
- Use a damp paper towel to clean the rim of each jar before centering the lid and closing the jar with the ring finger tight.
- Add the jars to the pressure canner (set them on the rack), close the canner and turn the heat to high (weight is off the vent of the canner at this point). It will take a few minutes for the water in the canner to come to a boil and for steam to start escaping from the vent. Let the canner vent steam for 10 minutes.
- Place the weight on the vent and bring your canner to the right pressure. If you are using a dial gauge canner and live under 1,000 feet in altitude, process on 11 psi. If you are using a weighted gauge canner and live under 1,000 feet in altitude, process on 10 psi. Adjust your pressure according to the table below if you live in higher altitudes.
Process pint jars for 25 minutes and quart jars for 30 minutes. - Once processing time is complete, turn off the heat and let the canner cool completely (this will probably take a couple of hours).
Once the canner is cool, open it and remove the lid but don't remove the jars yet. Let them hang in the hot water for 10 minutes.
Use the jar lifter to remove the jars. Set them on a kitchen towel on the counter to cool completely overnight. - Before storing your jars, check that they are sealed by pressing the center of each lid. If there is no movement there it means that the jar is sealed. Store unsealed jars in the fridge to use first. Remove the rings (cause they rust and stick) and wipe your jars. Store in the pantry at room temperature for up to 18 months.
Notes
3 lb of carrots fill about 4-pint size jars or 2-quart size jars. You can use this tutorial to process as many carrots as you'd like. Use this measurement as a guide to how many jars you'll need to process.
Adjust processing pressure according to the table below...
Recommended Products
As an Amazon Associate and member of other affiliate programs, I earn from qualifying purchases (there is no change in product cost or charge to you! Thank you for helping me support the blog).


Nutrition Information:
Yield: 4 Serving Size: 1 pint jarAmount Per Serving: Calories: 119Total Fat: 1gSaturated Fat: 0gTrans Fat: 0gUnsaturated Fat: 0gCholesterol: 0mgSodium: 343mgCarbohydrates: 28gFiber: 10gSugar: 12gProtein: 3g
I want to can 1/2 pint jars of carrots do I process them the time needed for pint jars
Yes, half a pint will be the same as a pint.
Are they still crunchy?
Nope. They soften because of the cooking.
When canning raw carrots do I still need to pressure cook them in the pint jars.?
Yes! They are not acidic enough to be processed in the water bath canner.
I noticed that some of the tops of my carrots have some green in them. Do I discard that or are they OK to Can
They are perfectly fine to can. It just means that the shoulders of the carrots were out of the soil as it reached it’s maturity but nothing is wrong with that or with the carrot.
You’re so funny! I just started watching Orlander and now understand all your references.
Oh god! I watched it a million times already. You’re going to love it. I want to jump into the screen and live in that time.