How to Thin Carrots in The Home Garden
This post may contain affiliate links, view our disclosure policy for details.
In this post, we will go over how to thin carrots. We’ll go over two possible ways to do this. I’ll also give some suggestions of things you can do with the precious seedlings so you don’t waste a thing. And, you can watch me thin my carrots too. The video is below. Let’s go…
Carrots are a must in my garden. I plant them twice every year. The first time is in early spring as early as I can work the soil. I love that they are one of the first crops that I can plant.
They love the cool weather and won’t do good in the heat of the South so I plant them as soon as I can to make sure that they have plenty of time to grow before summer comes.
The second time that I plant carrots is in the fall. This is really the most important planting for me because I store my winter carrots right in the garden.
How to Thin Carrots…
I plant a whole lot of carrots in the Autumn garden, they grow and reach maturity right before Thanksgiving. Instead of harvesting them I cover them with a thick layer of straw or dry leaf mulch and leave them in the garden.
The ground is cold by November and becomes a great natural refrigerator for the carrots. All through the winter, I can go to the garden and pick fresh carrots.
Even though I do this, I still make sure to freeze some of my carrots and also freeze shredded carrots so I have them close by and ready to use in soups and to make a carrots cake. I also can carrots and dehydrate carrots so I always have them on the shelf ready as a side or to use in recipes.
So you can see that carrots are a really important crop for us. It’s also a great crop to grow in a kid-friendly garden. It helps make my life easier during the growing season because the kids can go and pull a carrot whenever they want a snack.
This is all great, but let me admit one thing… Carrots are not the easiest vegetable to grow (learn how to grow carrots).
The main reason is that the seeds are tiny and because we have to make sure to keep the ground moist from the time of planting to the time of germination.
How to Plant carrots…
I prefer planting carrots in raised beds (here is how to start a raised garden bed where grass is growing or in other words, on your lawn).
The first reason I prefer to grow carrots in a raised bed is that the carrots have enough room to grow straight and long. The soil in the raised bed is loose and deep and it’s great for carrots.
You can definitely achieve the same thing in a row or a raised row (here is the book), but I find that it’s easier to achieve in a raised garden bed and that my carrots always look better if I plant them in a raised bed.
The second reason that I like planting carrots in raised beds is that I can sprinkle the tiny seeds all over instead of planting them in neat rows which, since carrots don’t need much space between them, is a great way to fit a whole lot of carrots in a rather small space.
So I make sure to add some good compost to my raised bed and if I need to, I stick a garden fork here and there to loosen the soil a bit. I never till my garden.
Then, I sprinkle the tiny seeds all over and cover them with a little bit of soil or compost before tamping the ground a bit to make sure the seeds have good contact with the soil. Once my seeds are planted, the hard part begins…
Carrot Seed Germination…
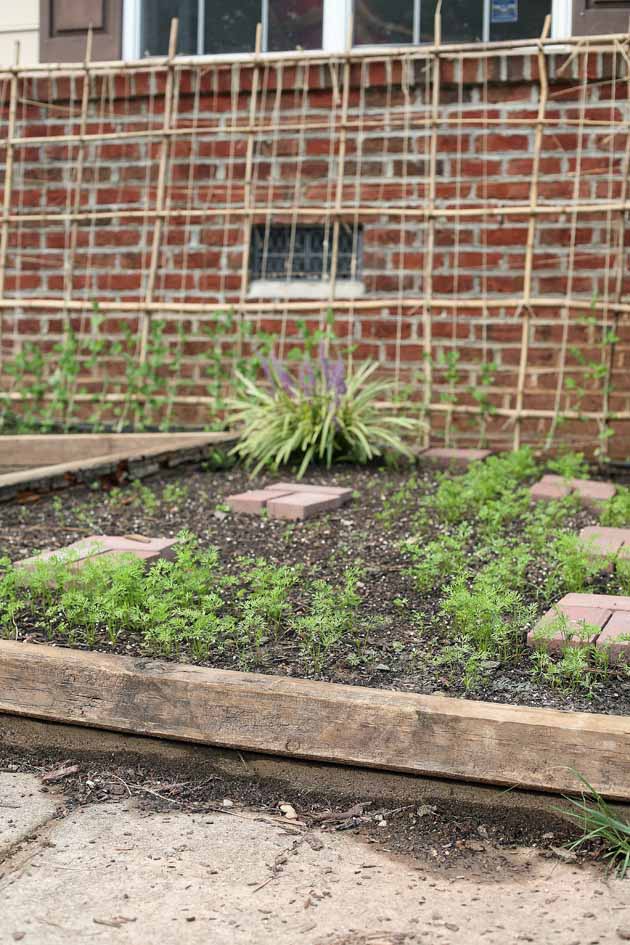
It takes carrots a loooooong time to germinate, somewhere around three weeks for most carrot varieties. The hard part is that while we wait for them to germinate we must make sure that the soil stays moist the whole time.
This always gets me… I hate just standing there and watering and I always forget to do it with my carrot beds because there is nothing there! There are two things we can do to help with this problem a bit.
The first is to plant pelleted seeds. Pelleted seeds are seeds that are coated with an inert white looking material to make them uniform in shape (this makes it easier for the farmer to plant the seed with a machine).
The coating also holds moisture around the seed. Using pelleted carrot seeds makes it easier not only to plant the seeds (because with the coating they are larger) but it also helps to improve the germination rate because it’s easier to keep the seeds evenly moist for the germination period.
The second option is to set up a drip irrigation system that turns on automatically for 15 to 30 minutes a day and waters your garden for you.
I personally love doing both. I use pelleted seeds and set an irrigation system.
Thinning Carrots…
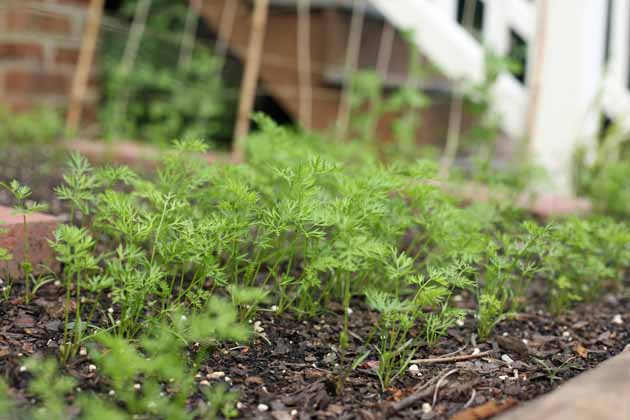
Ok, so after I’ve planted my pelleted carrots in a raised bed and made sure to water them well to keep the ground moist, I usually end up with a great germination rate and a bed full of tiny carrot plants.
Another important thing here is to make sure to weed the carrot bed well during this time because the tiny carrot plants can’t hold their own against the fast-growing weeds.
Once the carrots are older and the carrot tops cover the ground we probably won’t need to weed this bed at all, but as long as the seedlings are small we need to make sure we are on top of weeding.
Once the carrots are three to four inches tall, it’s time to thin them…
Why it’s Important to Thin Carrots…
If you are planting non-pelleted carrot seeds you know that those seeds are tiny and it’s really hard to space them correctly at planting time.
I used to try to do that and after a couple of seasons, I realized that it takes me less time to thin carrots than to try and space the seeds while planting.
If you are using pelleted seeds it’s easier to space the carrots correctly at the time of planting but I still think that you should at least inspect the bed to make sure each of your seedlings has enough room around it to grow and develop into a beautiful carrot.
Thinning means eliminating some of the seedlings so that the remaining seedlings have enough room to develop well.
Let me tell you, thinning might be the hardest job for a gardener! Pulling precious, beautiful seedlings is mentally difficult but it’s a job you must do or you’ll end up with lots of above-ground greens and not too many carrots to show for them.
But don’t worry! I’ll show you what you can do with the greens that you pull so you don’t waste a thing.
Watch Me Thin Carrots…
How to Thin Carrots in Two Stages…
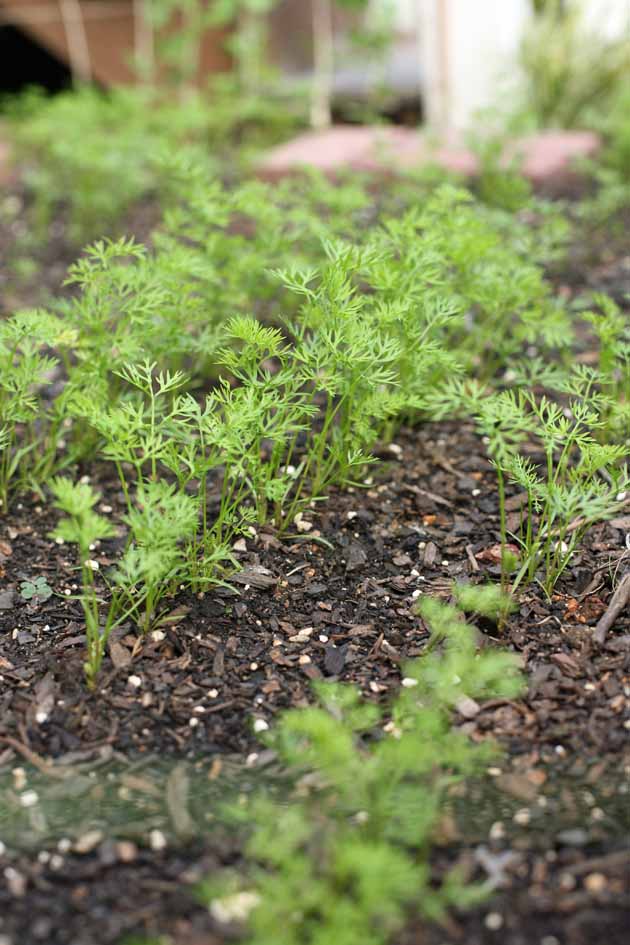
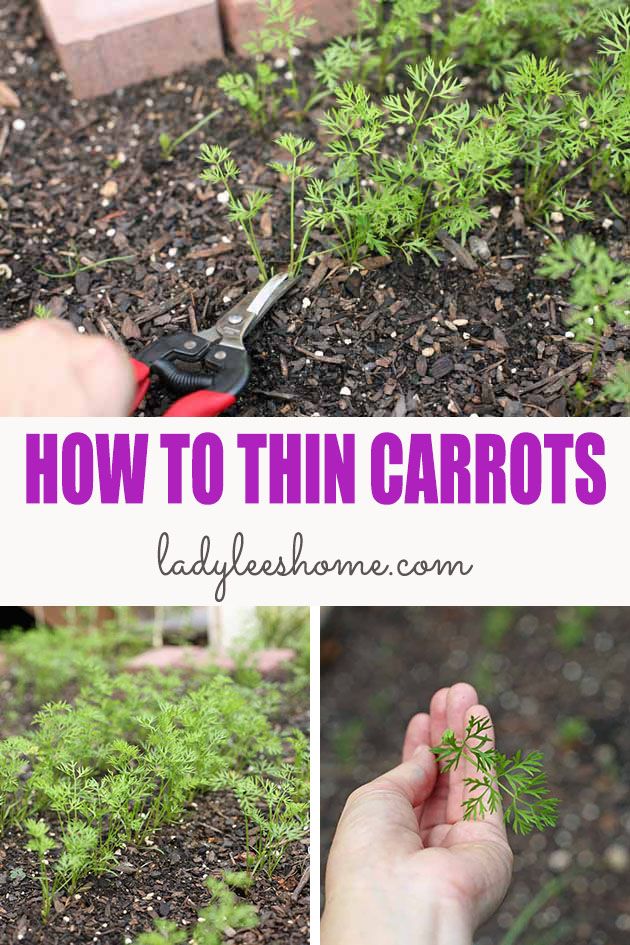
My favorite way to thin carrots is in two stages… Stage one is when the seedlings are about 4” tall.
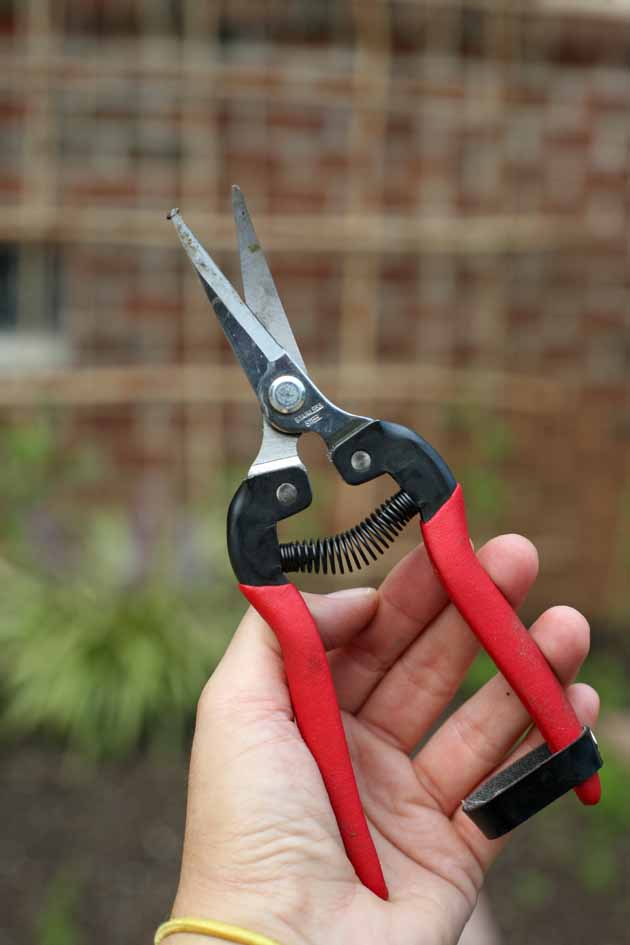
For this first thinning, I use this awesome tool from Johnny’s Selected Seeds. They are actually grape and tomato shears, but they are great for thinning carrots too.
You can pull the seedlings that you want to thin by hand, but sometimes the roots under the ground are tangled and by using the shears and cutting above the soil we make sure not to disturb the seedlings that we choose to keep.
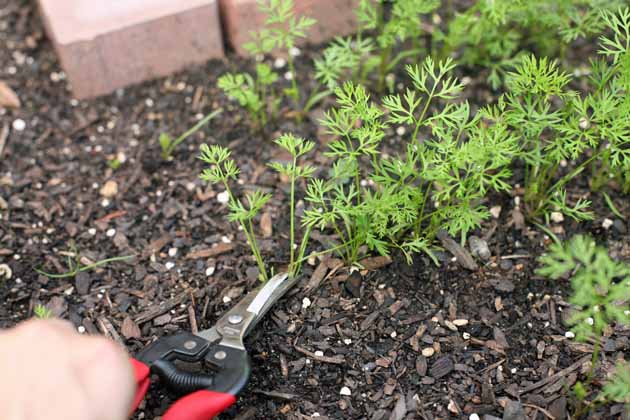
We want to thin carrot seedlings to be one inch apart. However, in this two-stage thinning method, in my first go-around (when the seedlings are about 4” tall, I thin the seedlings to about 1/2 inch apart.
I go around my bed and use the shears to clip the seedlings that I don’t want at their base, as close to the soil as I can.
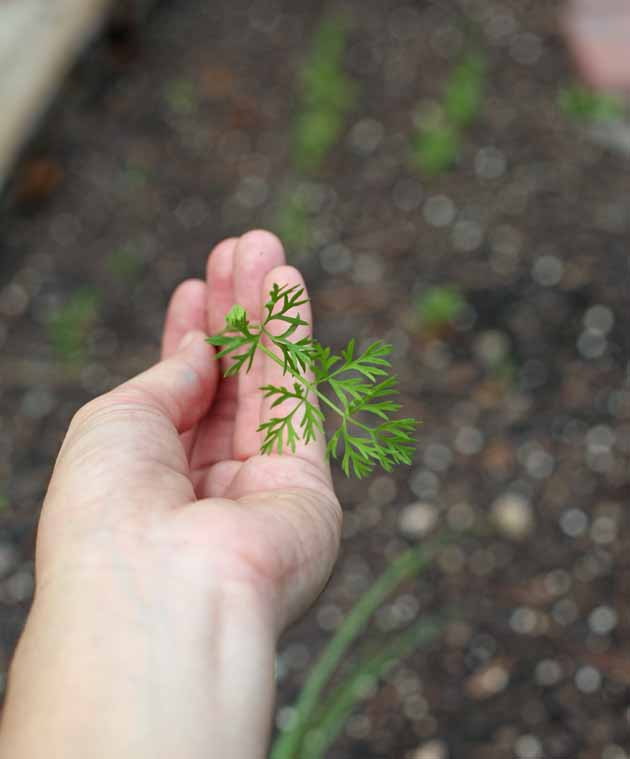
These little sprouts go right in my salad! They are tasty and have a gentle taste of carrot, are very healthy and a great addition to any salad.
If you choose not to use the seedlings, just make sure to clean the soil of any cut carrot tops. Don’t leave the carrot seedlings that you thin on the ground in the carrot bed. The fresh smell of cut carrot tops can invite the carrot fly over, and we don’t want that.
I let the rest of the seedlings that remain in the bed grow for a few more weeks until they actually develop a root.
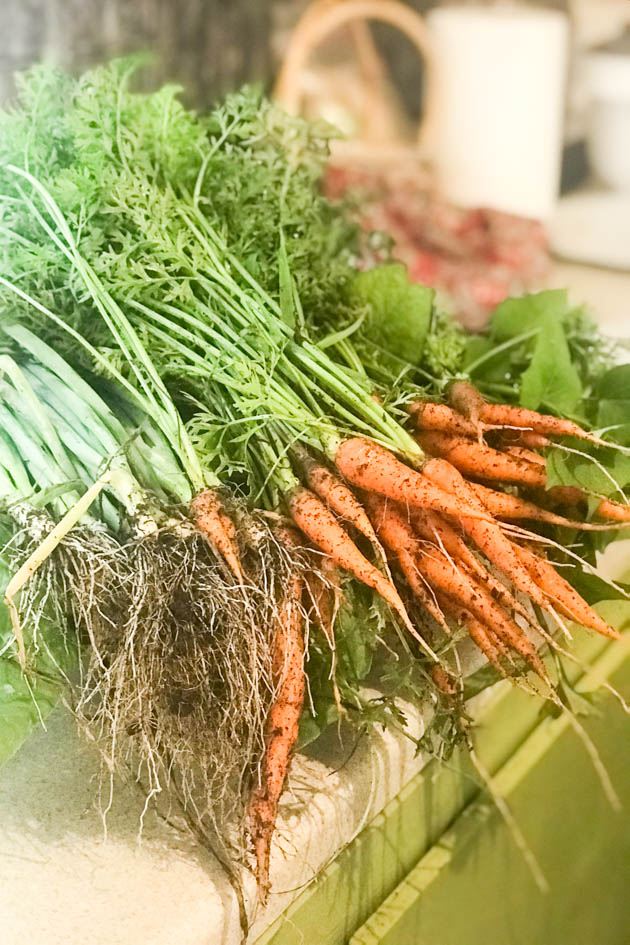
Then, it’s time for stage two which involves thinning my carrots to be about 1” apart by pulling some baby carrots out. I almost never use the little carrots in cooking, they are mainly a great snack for the kids and myself so we eat them fresh.
The young greens are also amazing and there is no reason not to waste them. I make a delicious carrot top pesto with them that I promise you’ll love. In fact, I’m pretty sure that you won’t be able to tell the difference between the carrot top pesto and basil pesto!
Now, the carrots that I have left in the bed, which are spaced about 1” apart have enough room to grow to full maturity.
Replanting Carrot Seedling…
You probably won’t find a farmer that does this simply because it takes too much time. But for the small home garden it’s totally possible.
Wait until your seedlings are about 5-6” tall. Choose an overcast day or maybe do this later in the evening, so the newly transferred seedlings are not exposed to direct sun right after being transplanted. Also, make sure to wait until the ground is very soft after a rainy day.
Choose the seedling that you want to thin and gently pull it out (try to loosen the soil around it first), making sure not to break the root.
Stick a pencil deep into the soil where you want to transplant the seedling and place the seedling in the hole so only the green part is above ground. Pack the hole around the seedling. I found this nice video that shows how to do this.
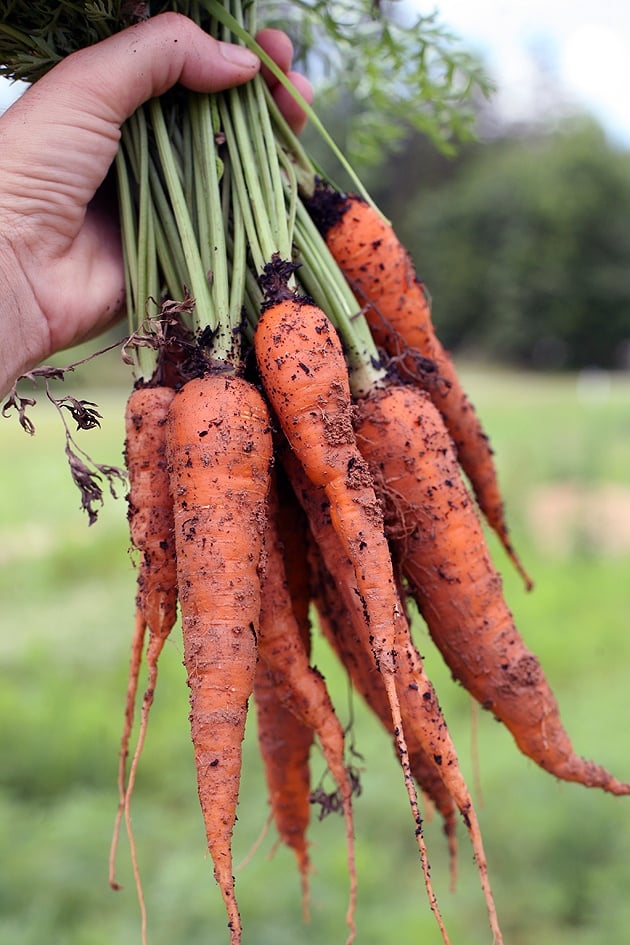
Carrots are not an easy crop to grow. It’s hard to space them, they take forever to germinate, they are very fragile at the beginning, and they need thinning. But after that, you can pretty much forget about them.
They are very hardy and fun to pull out of the ground. And, of course, delicious! They are a great storage crop and store very well in cold storage or even in the ground as I explained at the beginning of this post. Even though they require some work in the beginning, they are definitely worth it!
I hope this post was helpful! If you have a different way of thinning carrots I’d love to hear about it. Make sure to share it with me in the comments below.
Other gardening posts you might like…


Thank you so much for all these helpful tips!
You are welcome!
This is my first time growing carrots in my garden and your article was VERY helpful. I had no idea how to thin them. I actually did so incorrectly, but now know the best and correct way to do so, Thanks for a great and helpful article
Oh! I am so happy that you found it helpful. Carrots are not the easiest to grow but they are worth it for sure. I posted a video showing how I thin carrots on my YouTube channel a few weeks ago. I didn’t get the chance to add it to the post yet. You can watch it here: https://youtu.be/JMDpfBo1m7g
As a new gardener this was extremely helpful. Thank you so much for taking the time to write it.
Carrots are not the easiest thing in the world to grow! If you don’t get it right the first time just keep on trying. I’m so happy this post helped.
Thank you for such helpful tips. Especially the thinning out process. This is my second year of trying to grow carrots. I learn something new every year. Thanks again.
You are welcome!
My carrots need to be thinned but I want to avoid the carrot fly at all costs. My carrots are in a raised bed with several vegetables and herbs and I want them to be protected. I honestly don’t want to buy fleece to cover the carrots. I’m intrigued by how you shear the carrot stems at the soil level to thin. If I do this, is the carrot fly still a threat? Thank you!
Well, the fly is still a threat to the remaining carrots… The little tops that you cut at soil level to thin you can eat or throw in the compost pile. Just make sure not to leave them on the soil next to the other carrots.
Also, you can spray with neem oil, that will keep the fly away!
Thank you for making this post! I’m planting carrots this winter and wanted an alternative to “just getting rid of them”. Just what I needed to read. Thanks again!
You are welcome Emma. make sure to read my carrot top pesto recipe too. I think you’ll like it. it’s a great way to use the carrot tops.
Thank you for the replanting information. That is so helpful to me in my small garden.