How to Make Raised Beds Cheaply From Pallet Wood
This post may contain affiliate links, view our disclosure policy for details.
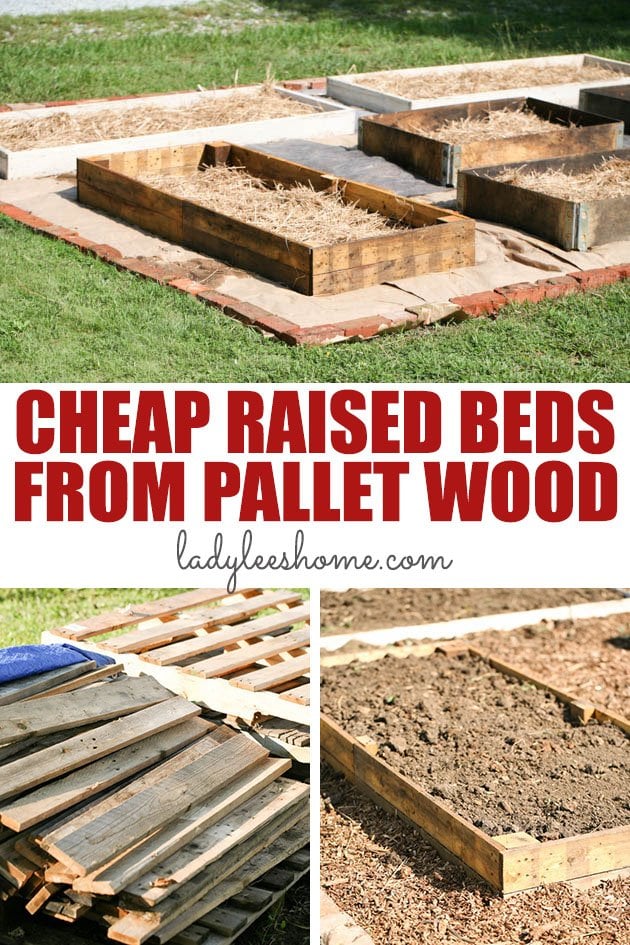
In this post, you’ll learn how to make raised beds cheaply from pallet wood. Seriously, it’s a quick project. I love the look of the bed (I love the look of pallet wood!) and the height of it is just right. But best of all, it was free to put together!
I planted a huge garden at my farm earlier this spring. It’s right across the road from the house we live in and I consider those 20 acres as my personal playground. I get to play with the tractor and plant whatever the heck I want.
It all was going great, I set up a huge Back-to-Eden garden full of glorious wood chips and simple but super awesome trellises. I planted the whole garden with wonderful seeds and it all germinated beautifully.
Then, I flew to Israel with the kids to visit my family. I had a good friend keeping my garden while I was there. All was well. Until I got back and as we say in these lovely parts… Shit hit the fan.
How to Make Raised Beds Cheaply From Pallet Wood…
The shit didn’t hit the garden! The garden would actually benefit from almost any kind of poop you’d put on it. It hit me!
Long story short… Separation, divorce, yadda, yadda, yadda… I had to let the big garden go for the summer cause there was simply too much drama to handle.
But then the storm died and August came rolling in and I always plant a fall garden in August.
But the garden at the farm was a big mess. It was buried under a jungle of weeds and it would have taken me weeks to clean it up. So I figured I’d start fresh and this time I’d take it easy (this my friends, is shocking if you know me!). Small, close to the house, easy to care for… Those were my thoughts.
My house is surrounded by grass so if I wanted a garden close to the house I’d have to set the garden on the lawn and use raised beds. I had a huge budget of $0 for this project.
Setting Up A Raised Bed Garden…
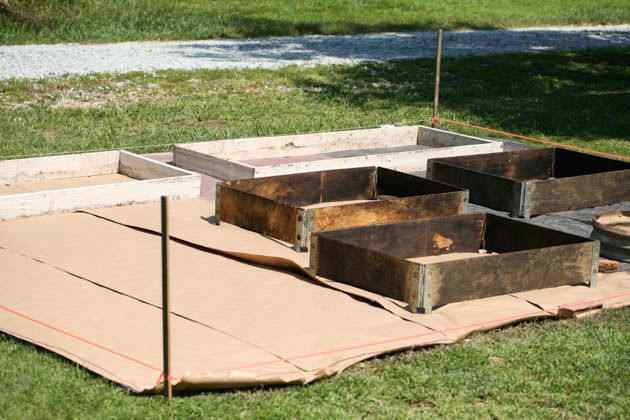
I looked around and gathered some frames (wooden and metal) that I had laying around and transferred a couple of wooden beds I had at the farm across the road to where the house is but still, I was missing one bed.
Pallet Wood For Homesteading Projects…
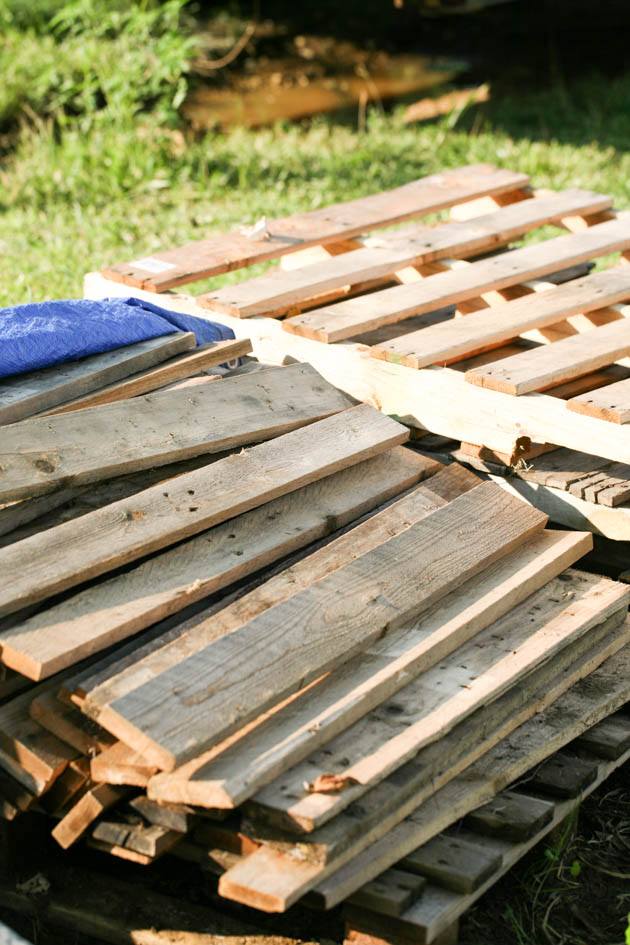
Every time I miss something I turn to my pile of pallet wood. One reason is that my kids play with this wood all the time and they take things from the house and leave them in between the planks, so really, you can find a whole lot of missing items there.
The other reason is that it simply holds many answers for someone with a project in mind and a huge budget of $0. I’ve built a chicken coop with pallet wood, I’ve built garden beds, I am in the midst of working on a smoker – it’s a never-ending source of activity and material.
I try to make sure my pile of pallet wood is always full. I get some of my pallets from car dealers here and there or from a feed plant we have in town. I go and get my chicken and goat feed and pick up a few pallets if I need them.
Now, this may sound all glorious, but let me tell you… I discovered that pallets don’t breakdown themselves. It was a shocking discovery, but what was even more shocking was to discover that I didn’t have super-hero pallet breaking abilities like all the lovely people on YouTube that show you how to break a pallet apart in 2.46 minutes.
Not me, sir. More like 30 minutes (and that’s after I rounded down, ya know). Anyway, I still like doing it because I like the look of the pallet wood, it’s free, and I am in no hurry to go anywhere.
But I just wanted to make sure you know all this in case you don’t possess the superpowers of pallet breaking as well.
Breaking Apart Wooden Pallets…
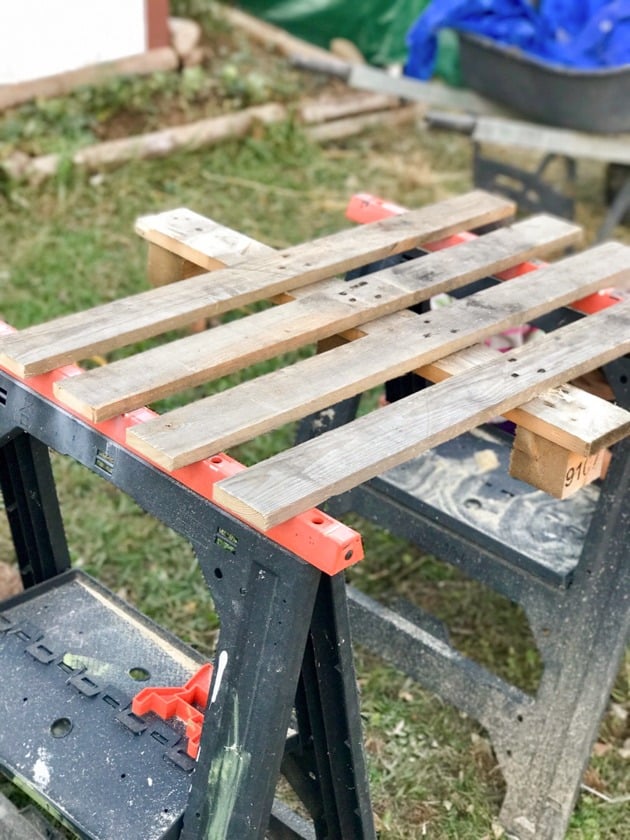
To break the pallets, I mark all my boards to 37”, then I cut the two ends with a circular saw (those pieces go to the firewood pile), and then I wrestle with the planks until I release them from the middle plank. Lastly, I hammer out any nails if there are any still left in my boards.
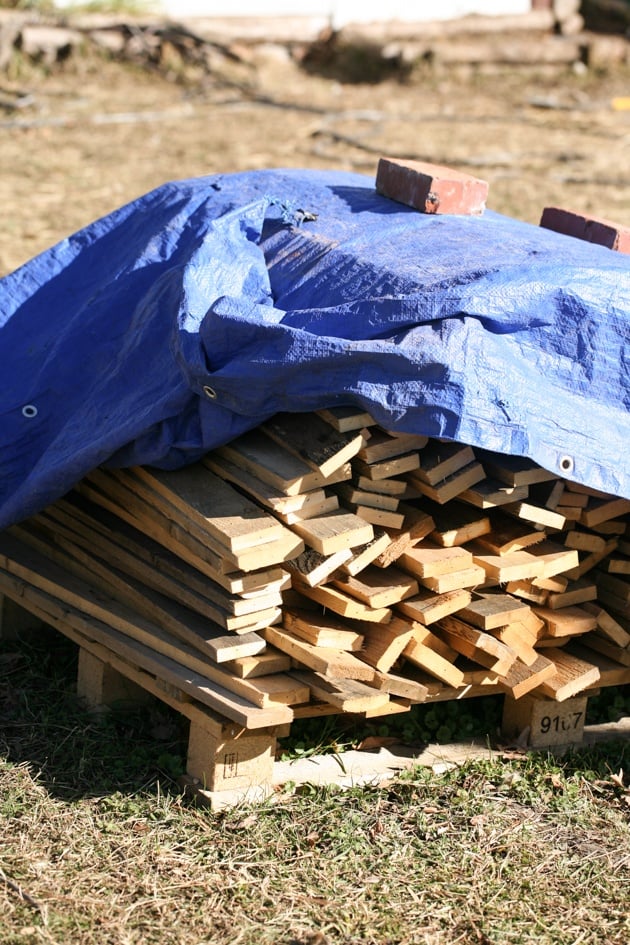
They go in a beautiful pile that is covered with a tarp and are always there for me, ready to go. Before we start building the raised garden bed, you might be wondering…
Is It Safe to Build a Raised Garden Bed From Pallet Wood?
The answer is yes and no. Very helpful Lee, thank you.
The thing is, there are many different kinds of pallets and they are all treated differently. See in the picture above the little stamp on the square block on the bottom pallet? This is what you are looking for for the answer.
If the stamp says HT it means that the pallet was treated with heat and not chemicals and it is safe to use. If it says MB it means that it was treated with Methyl bromide fumigation which is a pesticide that is no good for us.
If there is no stamp it means that it’s a domestic pallet (it didn’t come from overseas) and those are usually safe to use. This is the short answer, if you want to dig in further you can visit this article.
Take into consideration that there is a lot you can do with a treated pallet. There are many projects that do not involve growing food that you can use those pallets for. Also, I think it will be annoying to whoever is giving you free pallets if you start sifting and sorting them at pick up time.
Personally, I just pick up whatever I can and look for the stamp when I unload at home. Most of the pallets I picked up so far had no stamp on them.
How to Make Raised Beds Cheaply From Pallet Wood…
**Update – this garden bed lasted 3 years. Some of the boards needed to be replaced after three years and I decided to just replace the whole bed. This was because I used untreated pallet wood. If I had used the treated ones it would have probably lasted longer.
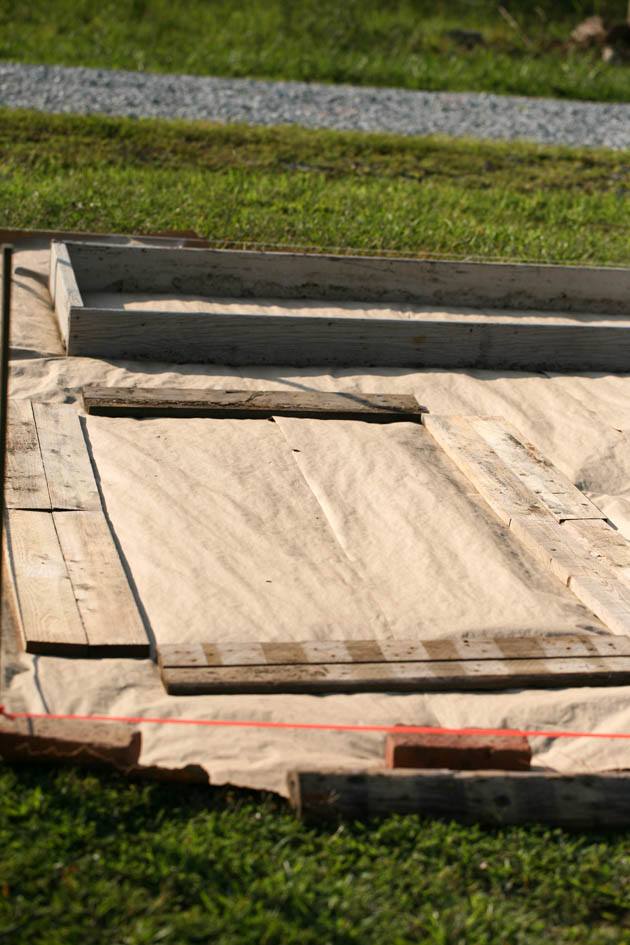
Once you have the planks it’s super easy to make the bed. As I said before, I have all mine already cut to 37” long. Magically it all fit perfectly in the space I had.
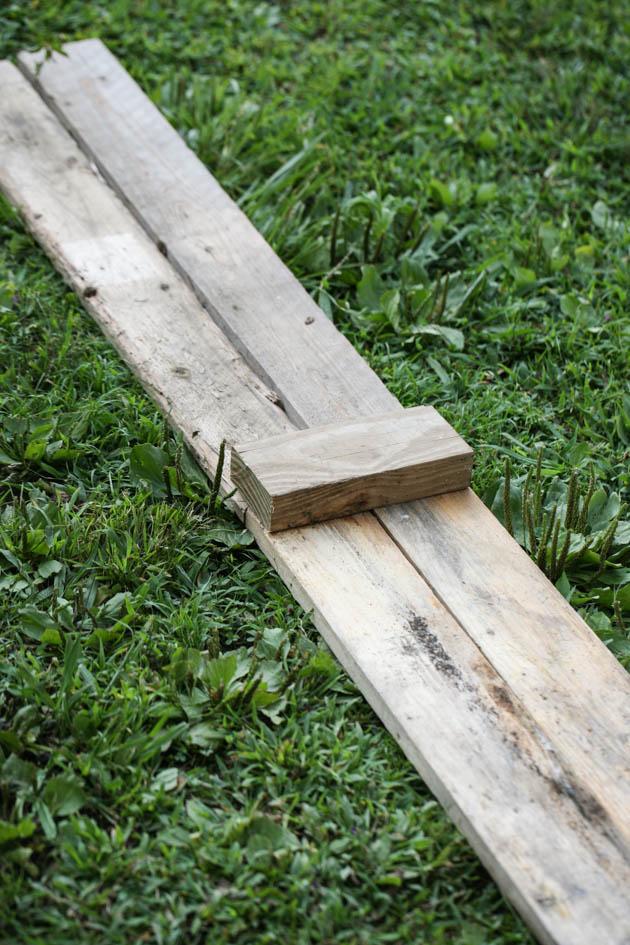
I found some scrap pieces of 2 x 4 lumber and used a miter saw to cut them to the height of two pallet wood planks…
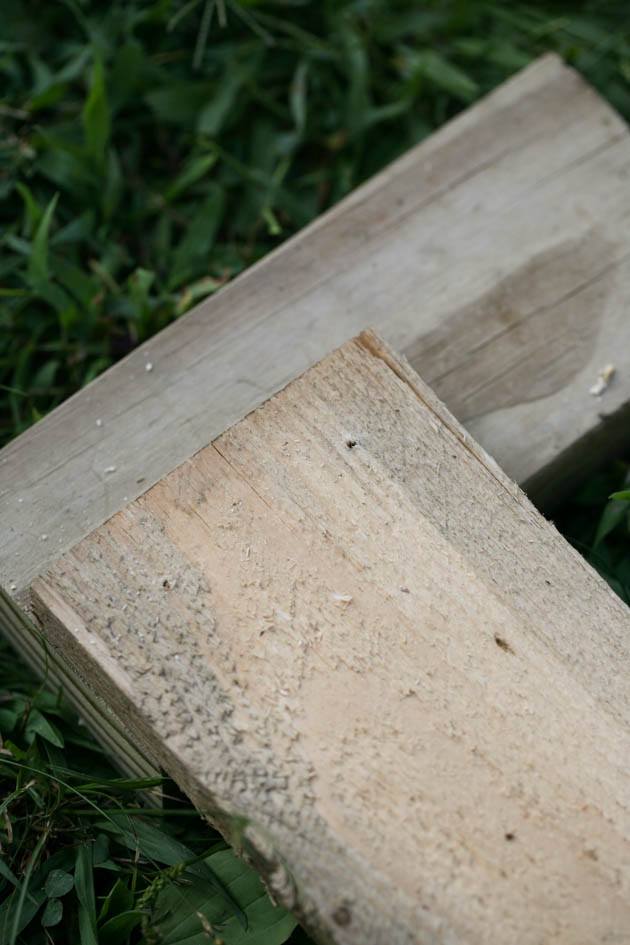
I drilled a couple of pilot holes and used deck screws to connect the pallet wood to the 2 x 4.
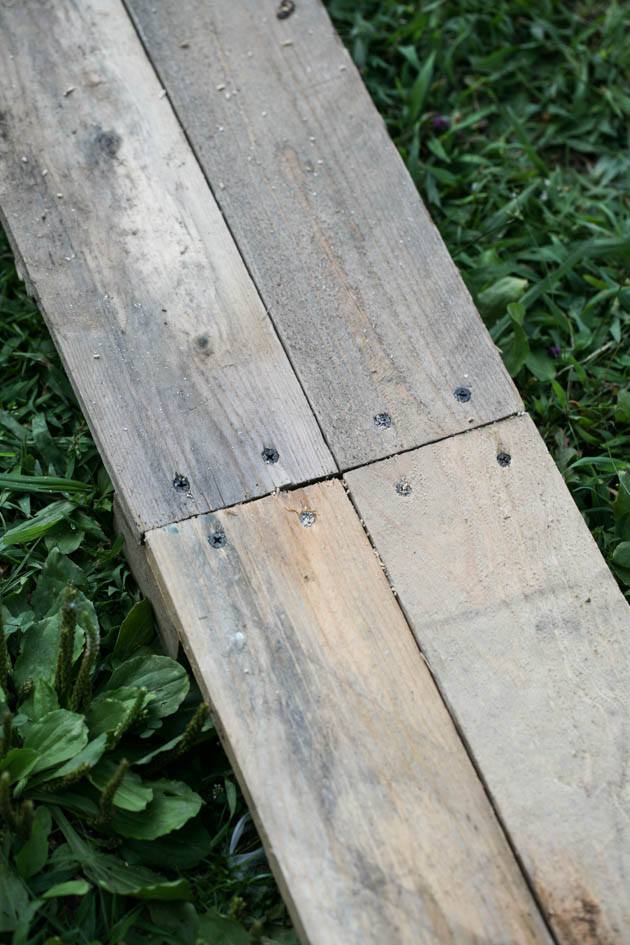
This is how it looks from the outside. I did the two long sides of the bed this way and then moved on to putting the whole thing together…
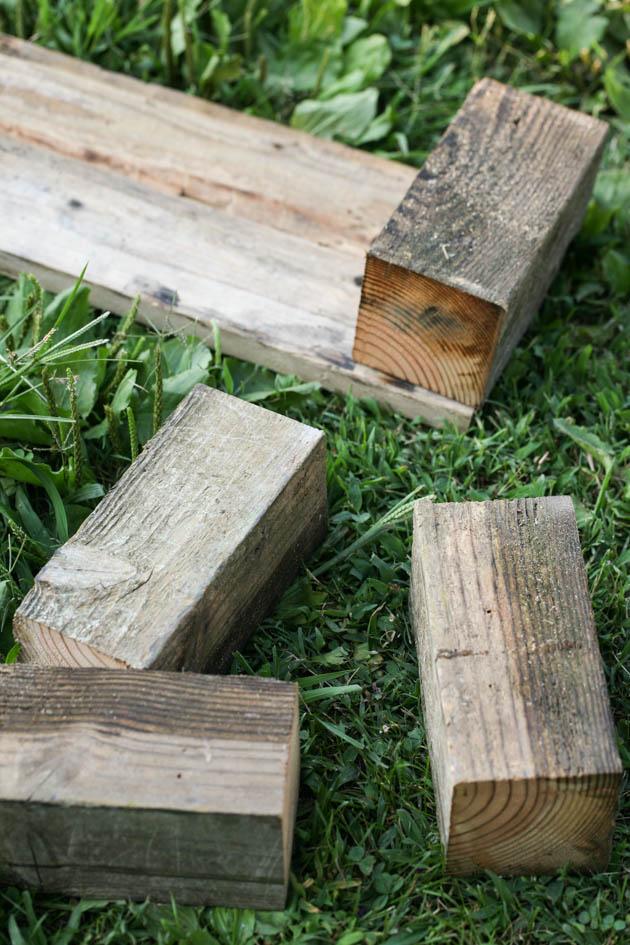
I found some scrap 4 x 4 lumber and used the miter saw again to cut four pieces to the height of two pallet wood planks. I then drilled a couple of pilot holes in each plank and used deck screws to screw one 4 x 4 piece to the end of each of the long sides I worked on before.
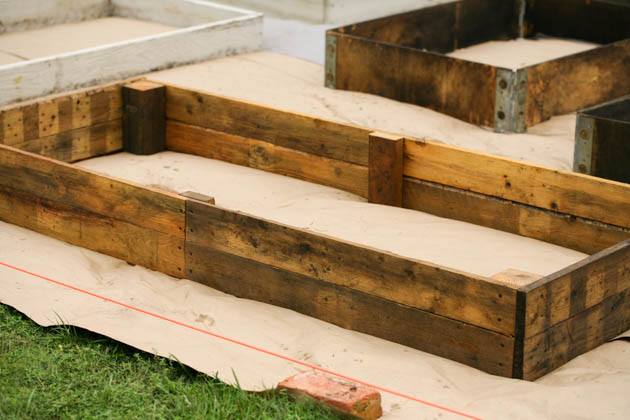
Lastly, to close the rectangle, I screwed the two planks of the short sides of the bed to the 4 x 4s following the same process of drilling pilot holes and using the deck screws.
I know there are screws that you don’t have to drill pilot holes for but I haven’t had a chance to put my hands on them yet. I have a huge box of deck screws in the shed so I use them for now. It’s better to take the extra minute and drill the holes to make sure the wood doesn’t split.
I also like using screws for everything instead of nails since I like to know that I can easily break things apart and put them back together if I ever need to.
Super simple, right? It only took 30 minutes or so to put this together since I had the planks ready to go. Now you might be wondering…
Should I Paint or Stain My Pallet Wood Garden Bed?
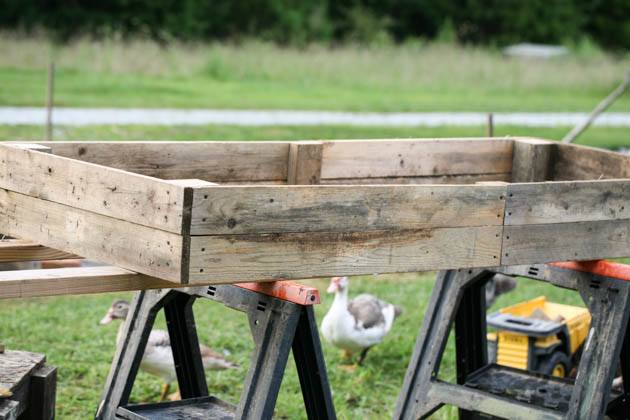
I did… I don’t have a super exact answer for you. Some people don’t feel comfortable doing this cause they think the chemicals in the paint will leach into the soil and will affect their vegetables. Some say it doesn’t matter and some use non-toxic, low or zero VOC paint.
It’s up to you. If you are using heat-treated pallet wood you can just leave it as it is and not mess with it. If you want to protect the wood from the elements you can stain or paint it. Personally, I think breathing is probably more toxic.
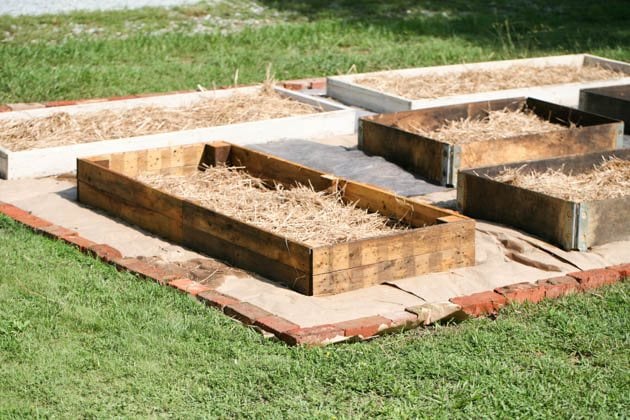
It fit perfectly into my space and it is a perfect height. I placed some straw on the bottom (it decomposes fast and feeds the plants)…
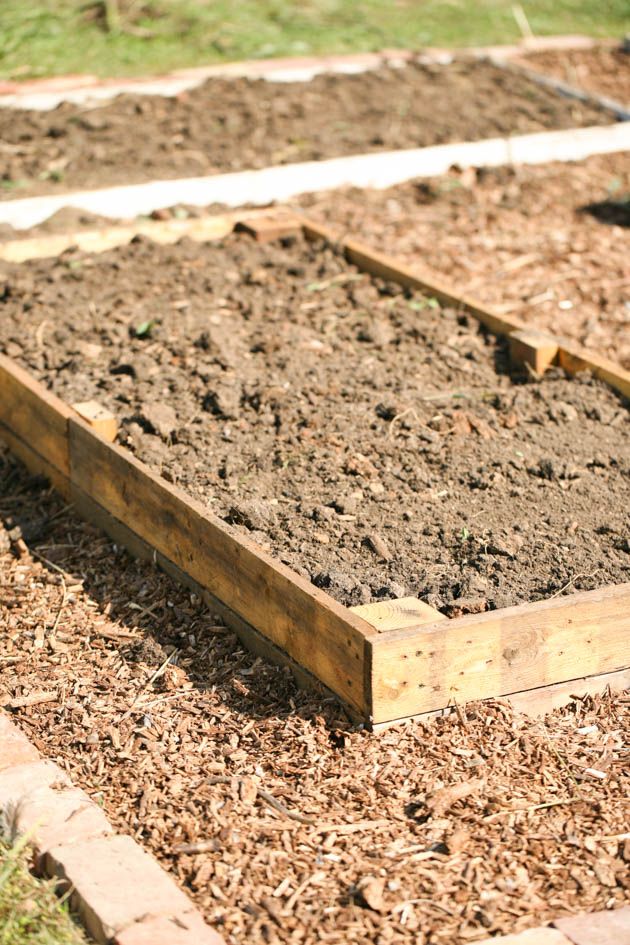
Filled it full of aged cow manure, planted my seeds…
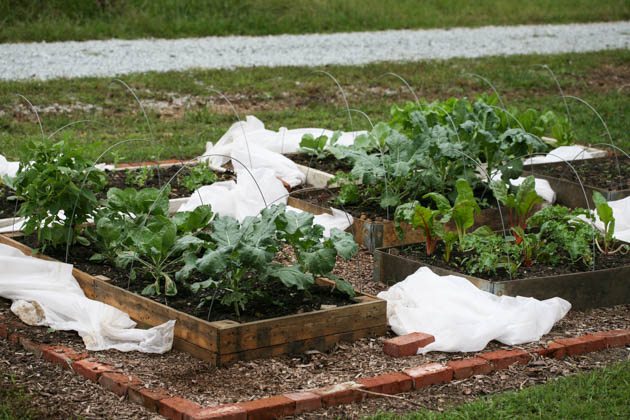
And enjoyed my fall harvest!
What do you think about building raised beds from pallet wood? What do you think about pallet wood for homesteading projects in general? Do you use it? If you do, please share what kinds of projects have you been using it for. I’d love to know!
Here are a few more gardening posts that you’d like…
Easy Garden Preparation, the No-Till Way
12’x30? DIY PVC Greenhouse For $360
Affordable Deer Fence and Creature Fence For the Garden

The Garden Workbook is Here!
In part one of this book, we’ll go over how to set up and grow your best garden yet.
Part two consists of 16 garden printables to help you plan, record, and manage your garden properly!

Hi! I’m Lady Lee. I help homesteaders simplify their homesteading journey while still producing a ton of food! I am a single mother of four, I was born in Israel and raised in an agricultural commune called a Kibbutz. Now I homestead in central NC.




What is the paper under the beds?
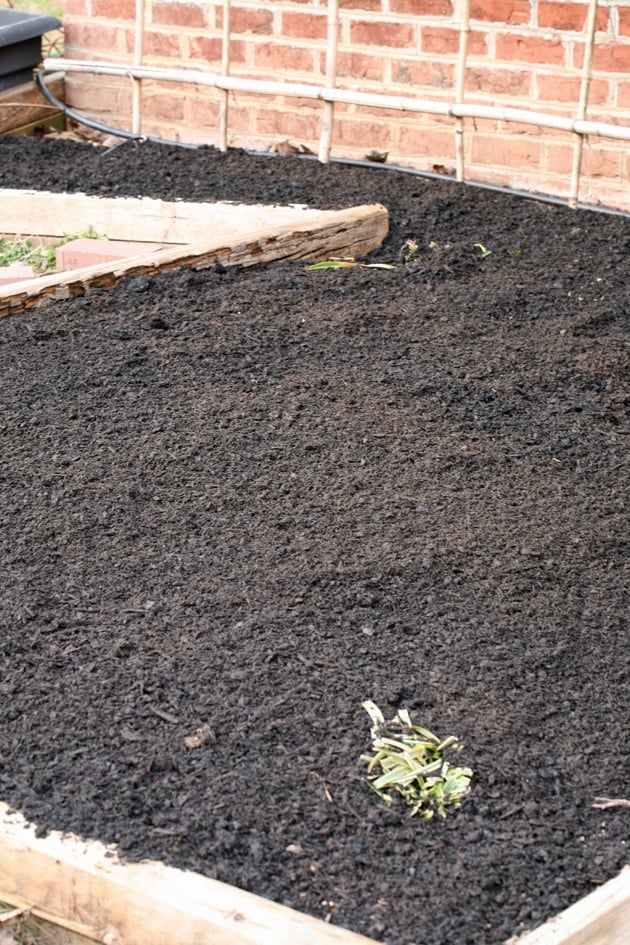
That’s a garden that I started over part of my lawn so I used paper and weed fabric and whatever I had in the shed to put on top of the grass to kill it. On top of that comes mulch between the beds and soil/compost in the beds.
Might want to point out that this method allows the creation of arbitrarily deep beds, by using longer corner posts and more side slats.
However, at some point tension pieces may be needed across the midpoint of the sides to prevent bowing.
Yes, good point. You can keep adding boards and go as high as you want.
You have a beautiful pallet garden! I appreciate the use of the free wood. And all your advice is spot-on! I’m also a woman forging on by myself, and plan to build raised beds in my yard to reduce bending down in the garden. I’m no spring chicken anymore!
Thanks for a great, simple project.
You are welcome! Gardening is health, keep on doing it!
Thanks for the great information. I have HT pallets and am planning on using them as they are, no paint or stain, how long do you think they’ll last.?
My bed is 3 years old and does not show any sign of breaking down… I think that they’ll last a long time. Since the investment is so small I feel like it’s really worth your time.
My partner and I have found it harder to get up and down to plant and weed even raised beds as we hit the age of 70 so we made 4’x4′ beds out of full sized pallets, fastening the corners together with 1×6 boards and lining the inside with landscape fabric. Now this left a lot of space to fill, so we save up all our plastic recycling and got more from friends and filled each raised bed we made 1/3 or more with empty pop bottles, water bottles, etc. Then we got in touch with a tree service that had done work for us and asked them to dump a load of wood chips on our land the next time they had one. They brought a load that afternoon. Most tree services are glad to find a place to dump wood chips. We filled the raised bed with wood chips to within 12 inches of the top of the bed then filled it the rest of the way with a good soil mixture. Now we can work our gardens at waist height and it’s much easier on us.
That is a great idea! It is a lot of space to fill but you found a creative solution. I have another idea… Look at the way I built my top-bar bee hive here: https://ladyleeshome.com/diy-top-bar-hive-from-a-barrel/
You can do the same thing and fill the half barrel with soil. Just make sure to remember to drill drainage holes.
What a great idea! So glad I saw this article and read the comments!
Happy, you liked it, Cheryl! I am getting ready to plant my Fall garden in that bed. It will be the fourth planting in it and it’s still looking like new!
Could you post a photo of your waist high raised beds?
Thank you this was amazing!
You are welcome! I’m happy you liked it.