This post may contain affiliate links, view our disclosure policy for details.
In this post, we will go over five simple steps that will show you how to start a raised garden over a lawn. If you want to turn your lawn into a productive vegetable garden look no further! It’s a simple and quick project with a huge return.
Maybe you are here, reading this, because you live in the suburbs or in the city and all you have around your house is a tiny plot of grass that you would like to turn into a productive vegetable garden. I am with you! I think it’s a much better use for the space.
I used to live in the city and back then I had a few raised beds right in my front yard. I want to say that I was thankful for the little bit of space I had to grow some fresh veggies for my kids blah blah blah blah…
The truth is, I hated it with all my heart! I didn’t want to live in the city, I was raised in an agricultural commune for crying out loud. I didn’t fit in the city. I wanted back in the country! Where there are open spaces and I can have a farm, not just three raised beds.
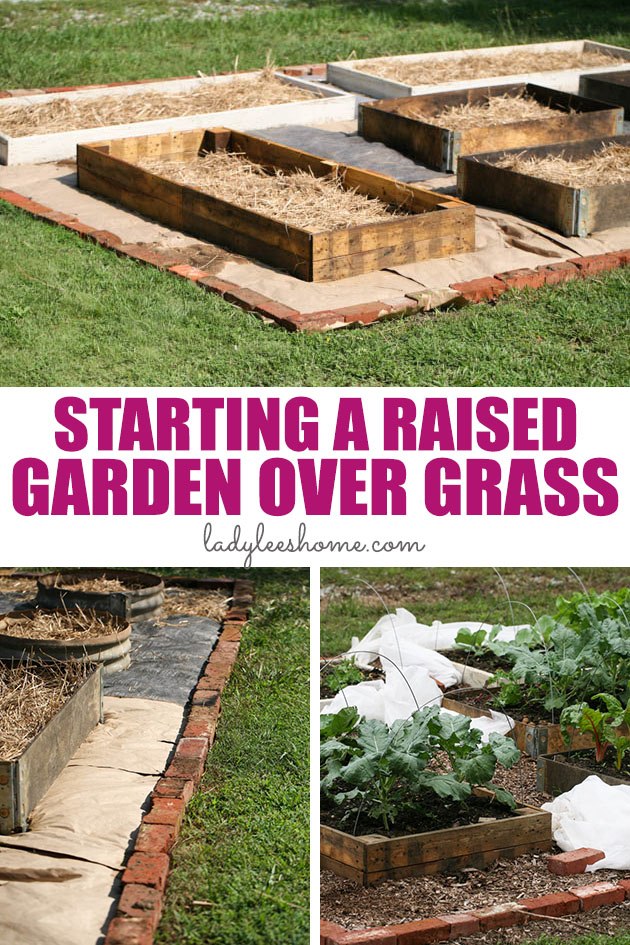
How to Start a Raised Garden Over Grass…
I told myself that once I was back in the country I would never grow anything in raised beds on the front lawn. Never. I’d have this huge garden with 100 ft rows and it would be a “real” garden.
That did happen, and when we finally moved to the country I did have my huge garden. And then after a couple of years of growing this way, I realized that I needed to build a raised garden on the lawn by the house. Yes, kinda like the one I had when I lived in the city (insert a face-slap emoji…).
There was and there is, nothing wrong with my large garden but I realized that there are some crops that I don’t need so much of and that I want to have close to the house.
For example, lettuce mix. For my kids and myself, I don’t need too much from this crop. I realized that a small bed would do just fine.
This is a cut-and-come-again kinda crop, meaning you cut the leaves above soil level and they will grow again. I can do this a few times so I don’t need to plant too much to last us for a while.
Since their harvesting time is pretty flexible, it makes sense to have this crop close to the house so it’s easy to harvest it whenever I feel like making a salad.
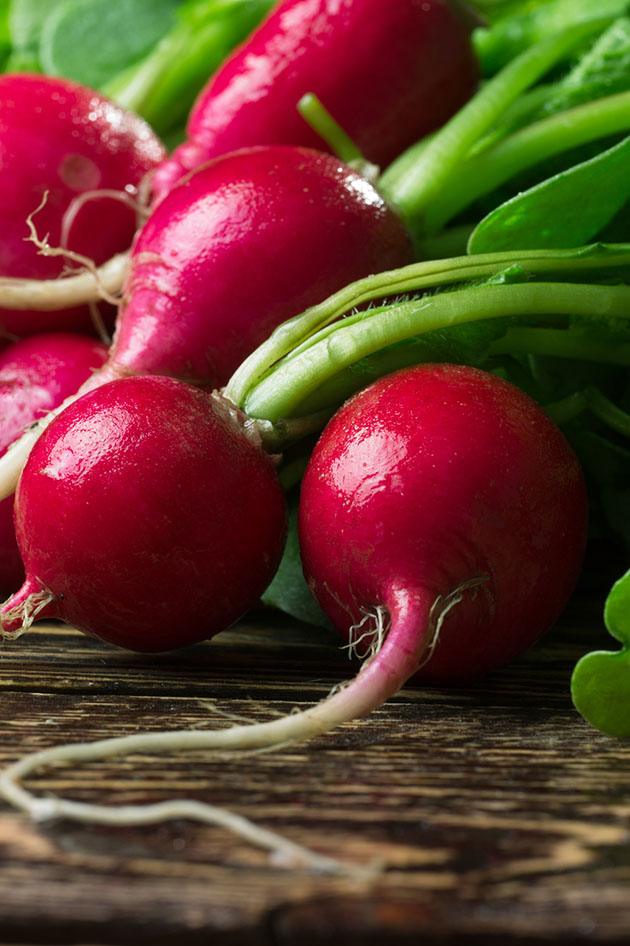
I also don’t need too many radishes, rutabagas, or kohlrabi… We eat just a little bit from those.
Another great reason to have a smaller garden close to the house is for winter crops. Here in the South, there are a few crops that I can plant in the fall, cover, and leave in the ground the whole winter. For example carrots and green onions and kale.
If I do that in this small garden that is close to the house it’s so much easier to cover the crops and harvest them during the winter.
You can also use a space like that for herbs you’d use in tea like mint and lemon balm. Or culinary herbs like oregano and thyme, things you’d like to have close to the kitchen.
There are so many benefits for this kind of garden that I discovered that even though I have a large garden I’d like to have a smaller one as well, close to the house.
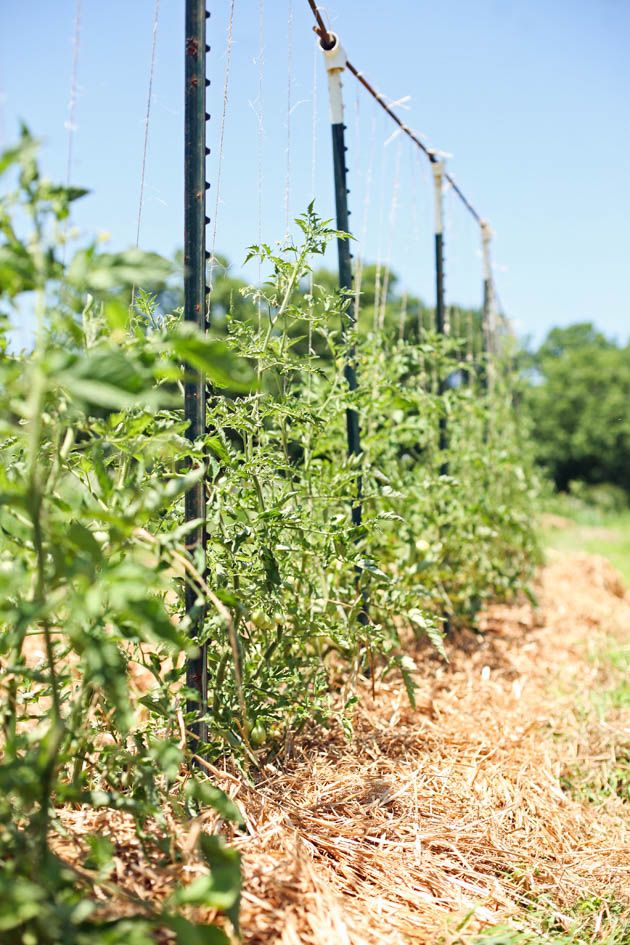
If a small lawn space is all you have and you want to grow some of your own vegetables, this would be a great space for anything. You can grow tomatoes, peppers, cabbages… Really anything.
Ok, let’s learn how to start a raised garden over grass, shall we?
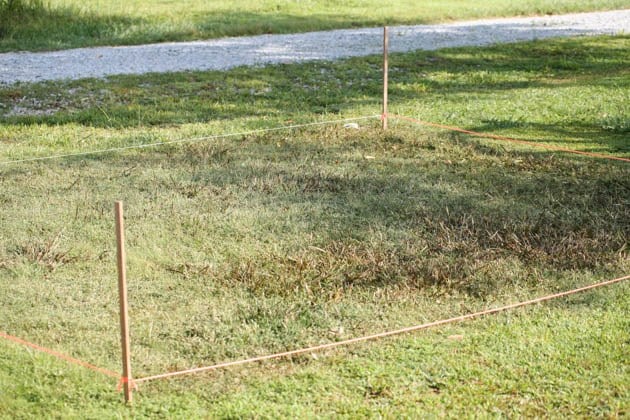
Step 1 – Choose Your garden Location and Mark it…
You probably have a good idea of where you want your garden to be. There are a few things to consider like how much sun this area gets, how easy will it be to water this garden, and so on. Take the time and make sure to choose your garden’s location carefully because its success depends on it.
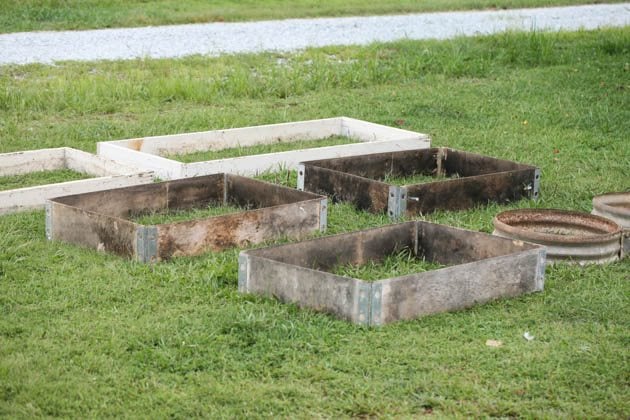
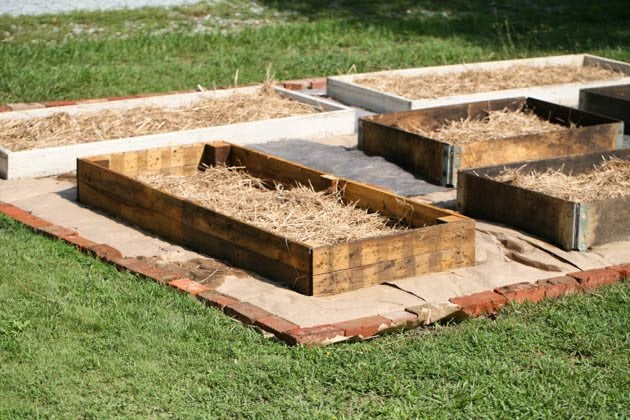
Marking your garden space is easier if you already have your garden beds. I had three brown frames laying around and also two metal rings you see on the right side in the picture above. I decided to use them for this garden.
The two white beds I built a while ago to place in the large garden but they didn’t work well there so I decided to move them.
If you don’t have your beds yet, you might need to do some measuring and marking and decide what size beds you’d like.
This process that I’ll show you here works better with raised beds. You could kill your grass and till it and plant rows of vegetables, but usually, the soil under the grass is not great for vegetable growing.
Taking the time to build a few beds and add good soil in them will give you much better results and an easier start I think.
Your beds can be very simple. Most vegetables don’t have deep roots and will do great in 8” – 12” of good soil.
You can also look around the yard or your neighborhood and find things that can be used as beds. I have no clue what those metal rings were meant for… They’ve been here since I bought this house and I didn’t get rid of them because I had a feeling I’d be able to use them for something.
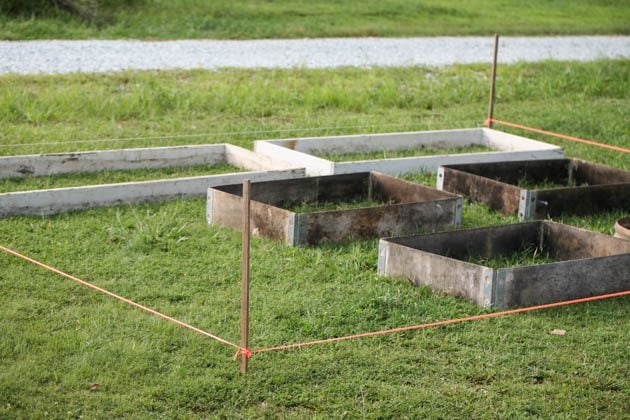
So I placed my beds on the ground and used marking tape to mark my garden area. You can see that there is a missing bed, I’ll show you in a minute how I built another bed for that space.
Step 2 – Kill the Grass…

After I marked my garden area I removed the beds. Now I have to kill the grass in this area…
This is an optional step. You don’t have to do it. You can move on to step 3 and just lay a good barrier over the grass. It will die but I decided to also spray the grass and kill it that way as well.
I used 30% Pure Vinegar to keep things organic, but if it’s not super important to you, you can use any spray that would kill the grass. I needed to wait a few days for the grass to die back.
Step 3 – Lay a Barrier…
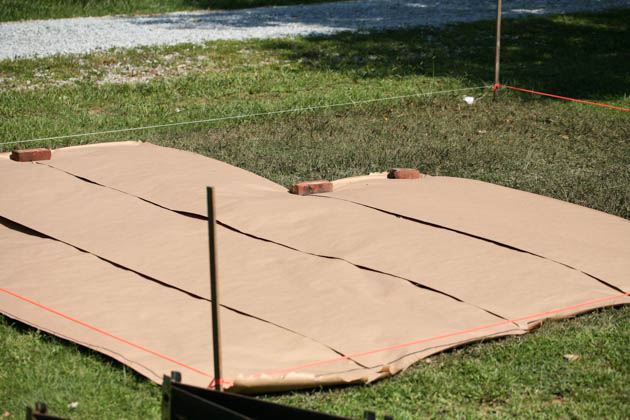
I found a roll of brown, thick paper in the shed, so I used that…
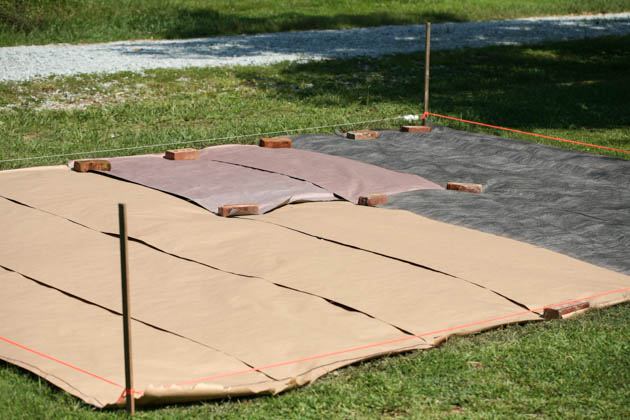
It wasn’t enough so I went back to digging in the shed and found a roll of landscape fabric so I used that the rest of the way.
You can use landscape fabric or in other name weed barrier fabric, or you can even just put down cardboard boxes. There are a million of them for free on Craigslist.
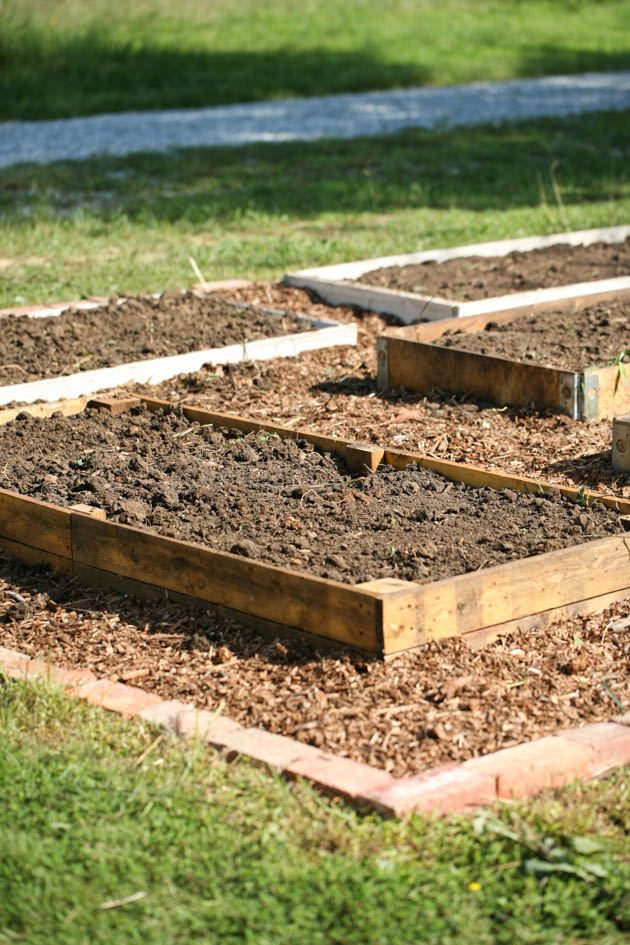
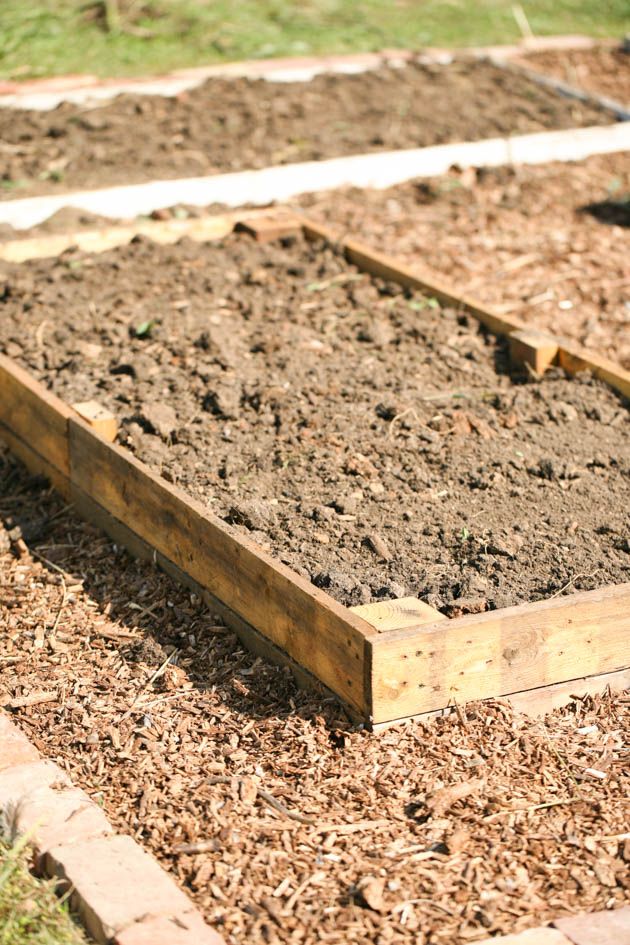
Step 4 – Place Your Beds and Fill Them With Soil…

All right, now I placed my garden beds where I wanted them. Again, you can see that I am missing a bed in the front…
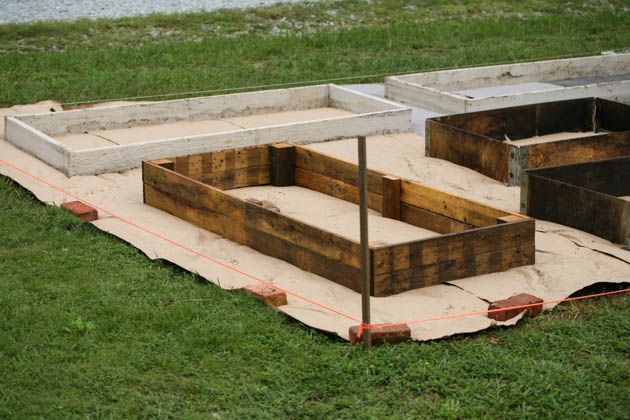
So I built another one from pallet wood that I had on hand. It’s such an easy and fun project. You can see how I built this raised bed from pallet wood here.
I also removed the marking tape and made a frame for the garden from bricks.
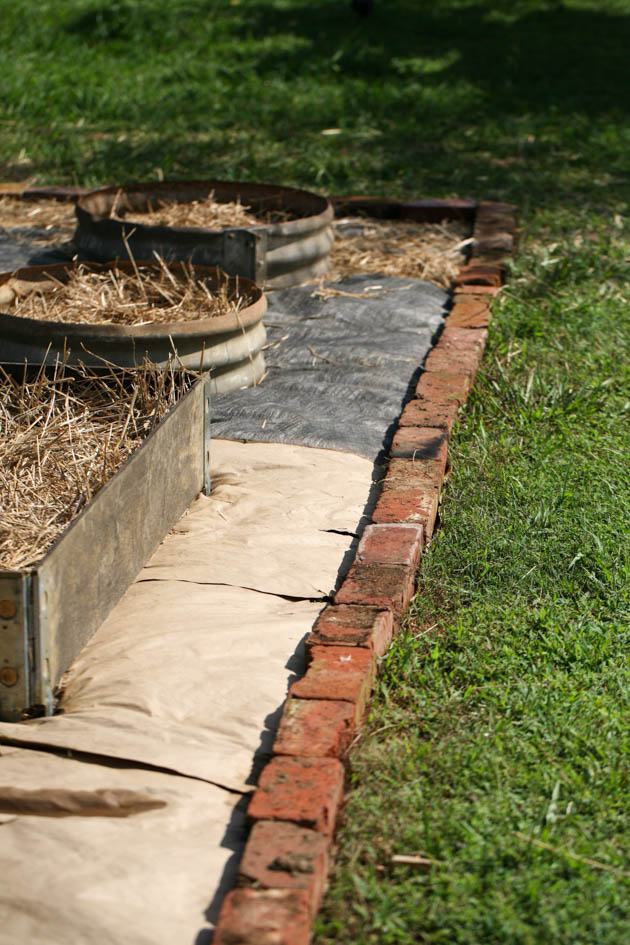
I had those around too. They are not expensive (and you might be able to find free bricks on Craigslist) and I like that they give me a clear vision of where the grass ends and the garden starts.
I will be spraying vinegar constantly around the bricks to keep the grass from crawling back into the garden.
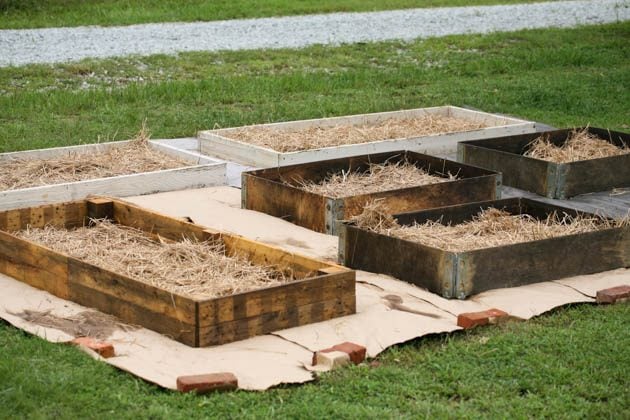
Now we want to fill the beds with soil. I placed some straw on the bottom of the beds. You don’t have to do this but I love using straw anytime I can. It will decompose quickly and will feed the plants I grow here.
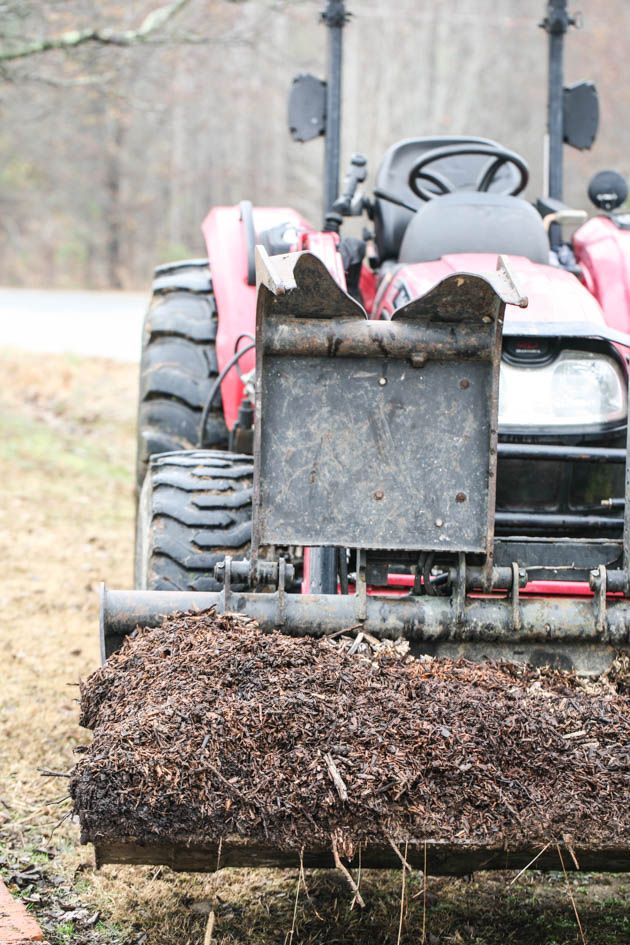
Ignore the mulch for a second, please. I was so busy filling the beds that I forgot to take a picture.
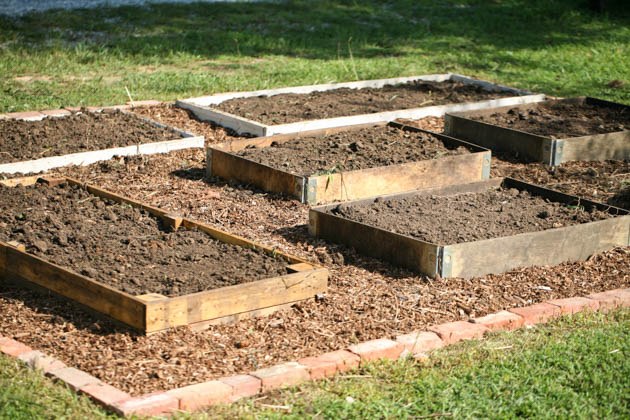
Anyway, I had two large piles of old cow manure at the farm across the road that I meant to spread on the big garden I had there but never got to it. So I used the tractor to bring the manure over and I filled the beds with it.
I am telling you, cow manure will be the thing that will save the world. There is nothing like it. I have an unlimited supply of cow poop from my neighbor and I feel like I’ve won the lottery. I dump it everywhere but inside the house.
You can fill your beds with garden soil but do me a favor and mix in some cow manure or compost or maybe another kind of good manure. You can also throw in some worm castings which is another kind of poop that will save this world.
Step 5 – Mulch Around the Beds…
I have another neighbor who cuts wood for a living and dumps all his wood chips on my farmland across from the house. So I scooped some of that goodness and brought it over.
We want a good, thick layer of mulch in between the beds. I think that I needed three tractor scoops for this garden (about 12 bags). Of course, you can buy wood chips, but you can also use leaves which are free and work well too.
The mulch will hold the grass and weeds back but take into consideration that you might still have little strands of grass here and there trying to sneak in. It’s easy to remove them.
I remove them by hand in the beds and I keep the mulched area sprayed with vinegar and I also spray vinegar around the bricks to prevent the grass from coming too close to the garden.
You should know that vinegar kills everything. It doesn’t know to distinguish between your grass and your radish so keep it away from the vegetables.
Yahoo! We are ready to plant. It cost me nothing to set this garden up since I used things I had around the homestead but even if you don’t have those things at the moment they are very easy to come by and affordable.
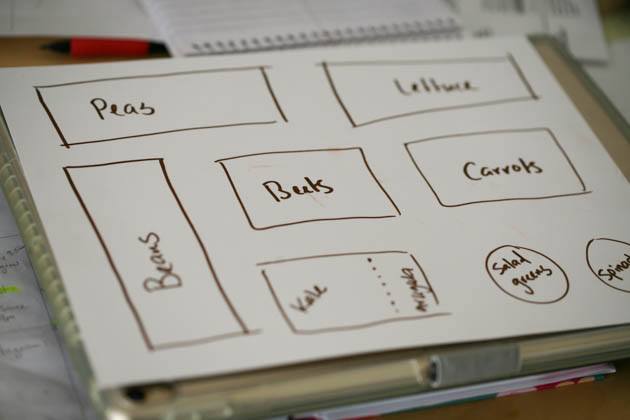
I spent a few days working on it before fall and made a quick garden planting plan. I found that I like giving each crop a whole bed instead of mixing them up but you can do it any way you want.
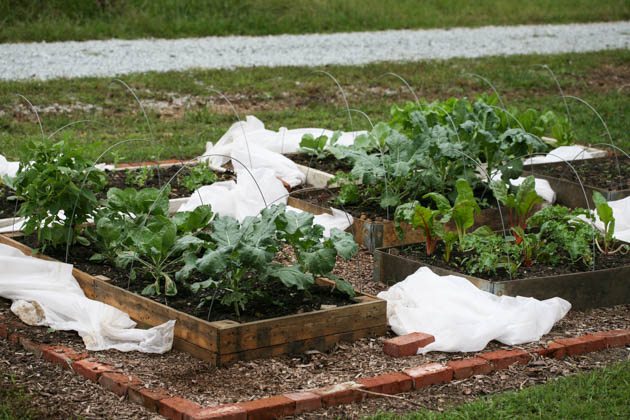
A few weeks later, we were ready for harvest! This garden served us well all the way to Thanksgiving. After Thanksgiving, I put my gardens to sleep for the winter.
I am looking forward to using it again in the spring. I really enjoyed having a smaller garden close to the house. It was super easy to care for and to plant and harvest. This one is right outside my back door. I might set up another one in the front this spring.
I also have to note that no one misses the grass! Not even the kids.
It might be a concern to you that you are taking space that your kids can run around in but I tell you, my kids love to play in a garden!
My kids constantly pretend they are insects, they build fairy homes between the plants, and I often find stuffed animals in the garden. I have no problem with it. This space is much more interesting for them than plain grass.
Ok, tell me about your gardening project in the comments below! Are you planning on turning your front yard or back yard lawn area into a productive garden?
Here are a few more gardening posts that you’d like…
How to Plan a Vegetable Garden in 7 Simple Steps
The Complete Guide to Indoor Seed Starting


A very helpful and interesting article. Lots of little thing I did not know and will use.
Thank you.
I’m glad it was helpful!
Hi! Stumbled upon your post and have learned much already from your style of presenting. On the vinegar; how to concoct or where to buy? Thank you. Sue Massachusetts
You can find 30% vinegar on amazon. There is also a link to the one I used in the post.
Thanks for stopping by! And I’m glad that this was helpful!
Love your article!
Thanks! So happy that you liked it!
I love this article how do I either save it to my page or have it sent to my email?
Dianne, you are welcome to join my email list, if you scroll up in the article you’ll see a signup box after the 12th paragraph (it is pink and green). This article will be in my February newsletter.
You can also save the URL: https://ladyleeshome.com/how-to-start-a-garden-where-grass-is-currently/
If you are on Pinterest you can also pin the first image. And I’ll also send you a quick email with the link so you have it.
I am glad you liked it!