How to Create a Planting Schedule For a Vegetable Garden
This post may contain affiliate links, view our disclosure policy for details.
Learn how to create a planting schedule for your vegetable garden. A planting schedule might take a bit of time to put together the first time but I promise you that if you do it and make sure to update it during the season it will save you a ton of time and money in the following years.
A successful garden starts with good planning. It’s important that you know when you are going to start your seeds indoors, when are you going to transplant them into the garden, how many plants you need, when are you going to sow seeds directly in the garden and so on…
Germinating seeds indoors at the end of the winter and growing them into strong seedlings is not only hard work but it’s also not cheap. There is no reason to plant more than your garden can handle and you want to be sure you know what you are doing so you don’t end up leaving your plants in their cells for too long or not long enough.
How to Create a Planting Schedule For Your Vegetable Garden…
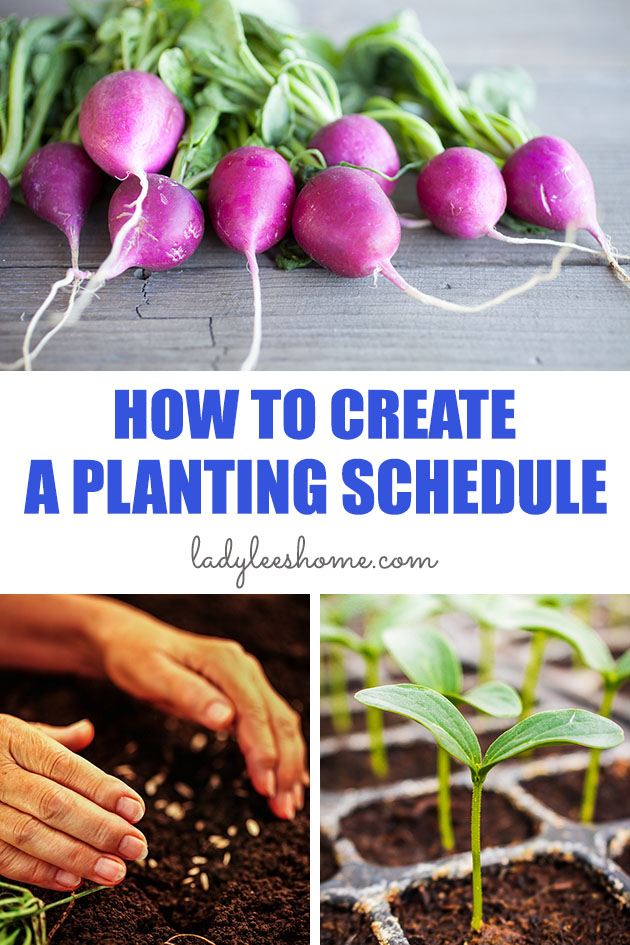
On the same token, if you have a warm spell in the middle of March and you go out and plant your beans only to see the little plants that germinated die on a cold night in April… Well, you wasted many seeds and you could have saved yourself some time and work.
But this garden planning business is tricky… There are so many variables, like your soil mix (we’ll talk about this later), the weather outside, the amount of room you have indoors for seed starting and so on.
As the saying goes… Practice makes perfect. I am not really sure that there is such a thing as perfect in gardening… However, each growing season, year after year, if you keep a garden record, within a couple of years you’ll have a much better understanding of your area, the weather and your plants.
My goal in this post is to help you set up your first planting schedule. It doesn’t matter if you are a new gardener planning your first garden, if you just moved to a new gardening zone, or if you’re an experienced gardener that wants to become a bit more organized… This is the process I used to create my planting schedule and I hope it will help you create your first planting schedule as well.
The key here is that you save this schedule! You want to be very particular about recording your dates and you can be sure that if you take the time to do it this year, next year’s garden is going to be so much easier to plan because you already have all the dates written down.
It will also be much easier to improve next year’s garden and the years after that because you have the data to work with. For example, if you noticed that your kale was ready for transplanting too early you can make sure to change your indoor seed starting date for kale for next year.
A good schedule and record-keeping is really a solid basis for a productive vegetable garden.
A Planting Schedule Sheet Done For You…
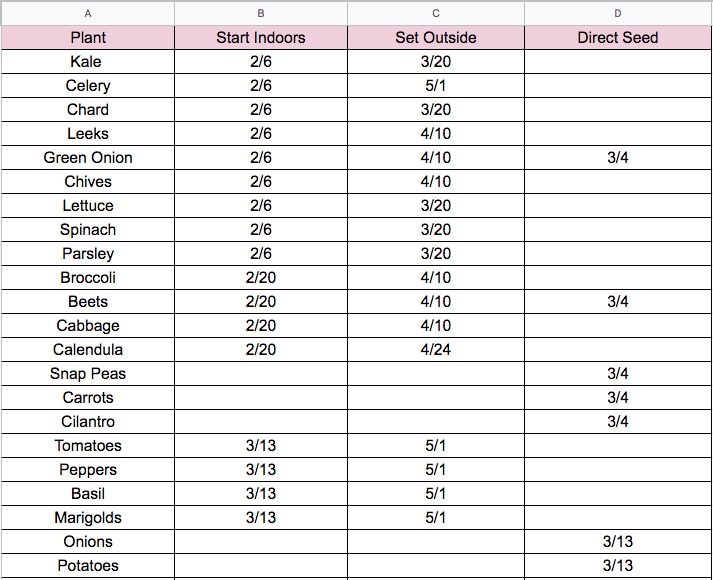
I use both a Google Sheet and a paper sheet to make my garden schedule. The Google sheet is there for me in case I’m traveling and want to go over things or in case I lose the paper sheet. The paper sheet (which is my favorite) goes with me to the garden and back.
I use the planting schedule printable that is included in my Garden Workbook that you can purchase here. I make myself a binder with the schedule and the other sheets and this binder travels with me around the homestead during the season. If I have anything to update, I make sure that I update both the printable and the Google sheet.
My Google Sheet is available for you! Click HERE to make a copy of it to your Drive account. I left my dates in there so that you’d be able to use them as a guide or maybe you are my neighbor and can use my planting schedule altogether (I garden in zone 7b).
If you are in a different growing zone just delete the dates. This post will guide you through the process of finding the right dates for your area.
If for some reason the link above doesn’t work please let me know in the comments below so I can fix it. Once you click the link it should prompt you to make a copy of the table to your Drive account. You can then edit and personalize it.
What to Know Before You Start Working on Your Schedule…
There are a few things that you need to know before you start working on putting a schedule together. We went over those things in my post How to Plan a Vegetable Garden in 7 Simple Steps. You are welcome to read that post to get a better understanding, I’ll just go over them briefly here…
Last frost date – you should know the last frost date for your growing zone. The last frost date is the last date that your area is likely to experience freezing temperatures. It gives us a good idea of when it’s safe to plant outdoors.
To find your last frost date just Google “last frost date (your town and state).” Or you can also use your county name. Most of the time the first search results will be from the local University or Cooperative Extension. You can also insert your zip code into this tool and find your first and last frost date.
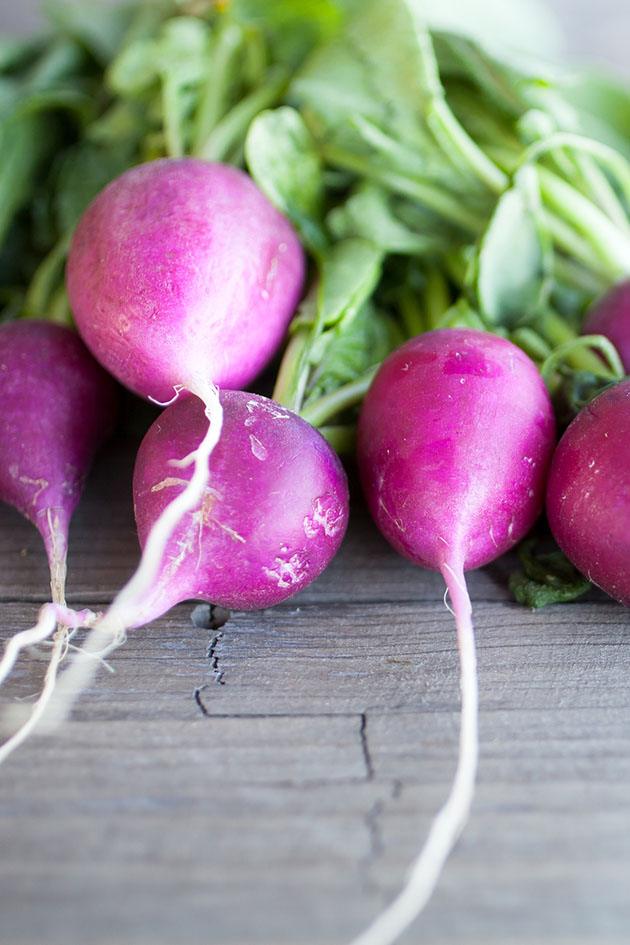
Vegetables you want to grow – also before we start, you want to have a list of vegetables that you want to grow. You can see in my schedule sheet that I don’t have radish. It’s a common vegetable that you should add to your sheet if you grow it but we don’t really like eating radish (although, we tried fermented radish recently and it was really good! And also, I might start to grow it for the market…) so I don’t grow it and there is no reason for me to spend time on figuring planting dates for this crop.
Planting Schedule For Indoor Seed Starting…
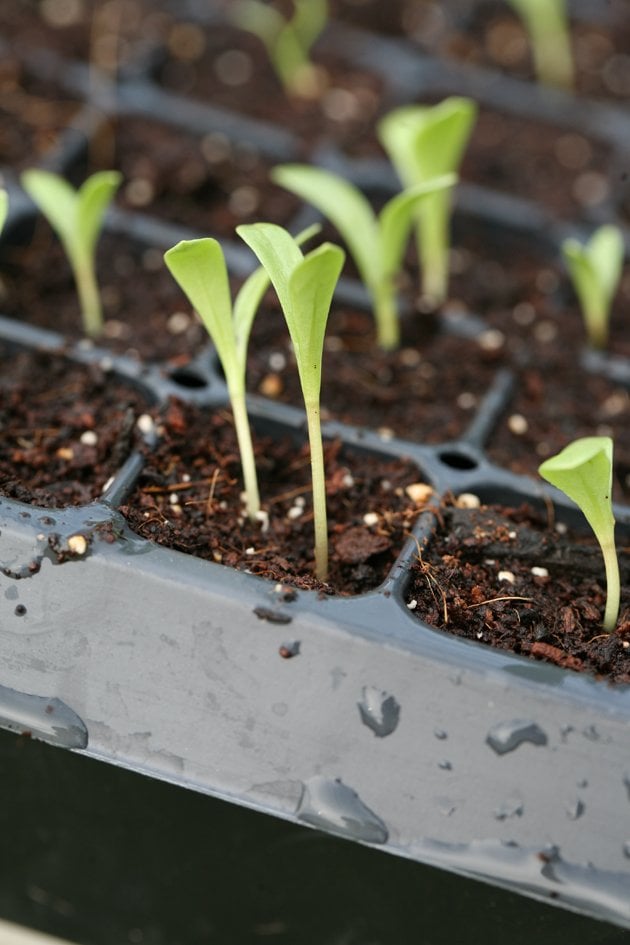
Step One – OK, our first step is to create a schedule for the seeds we are going to start indoors. If you are wondering which seeds you should start indoors and how to do it, read Starting Vegetable Seeds Indoors Under Lights and check out my DIY grow light stand.
With your last frost date in hand, head over to Johnny’s Selected Seeds website. Enter your last frost date into the Seed Starting Date Calculator and you’ll get a list of all the vegetables you can start indoors, when to plant the seeds and when to transplant them.
Now, this is a magical tool that I absolutely love but with all due respect to the computer it doesn’t know your area as well as you do and it doesn’t know your personal schedule so we are going to have to adjust a few things.
Step Two – Go to your scheduling sheet and make sure all the vegetables you want to grow this year are there and delete the ones that you are not interested in growing. Go back to the table on Johnny’s site and copy the planting and transplanting dates for the relevant vegetables into your sheet.
Step Three – Now look at your schedule and adjust the dates according to your “life” schedule. For example, I make every other Wednesday in the spring my planting day. It helps me stay organized and by grouping my garden work I am able to do other things in the garden and keep the rest of my life going in the spring and during the growing season.
So if the date that I got from Johnny’s is 2/4 and it falls on a Sunday, I will change it to the following (or closest) Wednesday since Wednesday is my planting day. If you work full time you might want to change the dates to a Sunday… Whatever works for you.
Also, notice that the table gives you a range of dates, I encourage you to choose a specific date within this range and stick to it. Don’t write a range of dates in your schedule.
A couple of things to consider…
There might be some things that will affect the dates of planting.
Here is an example from my experience…
I mix in worm castings with my seed starting soil and recommend that everyone who starts seeds indoors do the same, it’s like giving steroids to plants only it’s natural. The seedlings love it and it gives them a boost that makes them grow stronger. The thing is… It also makes them grow faster.
If I start my tomatoes in early March like the table suggests, since I used worm castings in the seed starting soil and this wonderful compost makes them grow faster my tomatoes will be ready for transplanting too soon, before the weather outside is warm enough for them.
So from experience, I know that I need to push all my planting dates later by a week to two weeks since I am using worm castings.
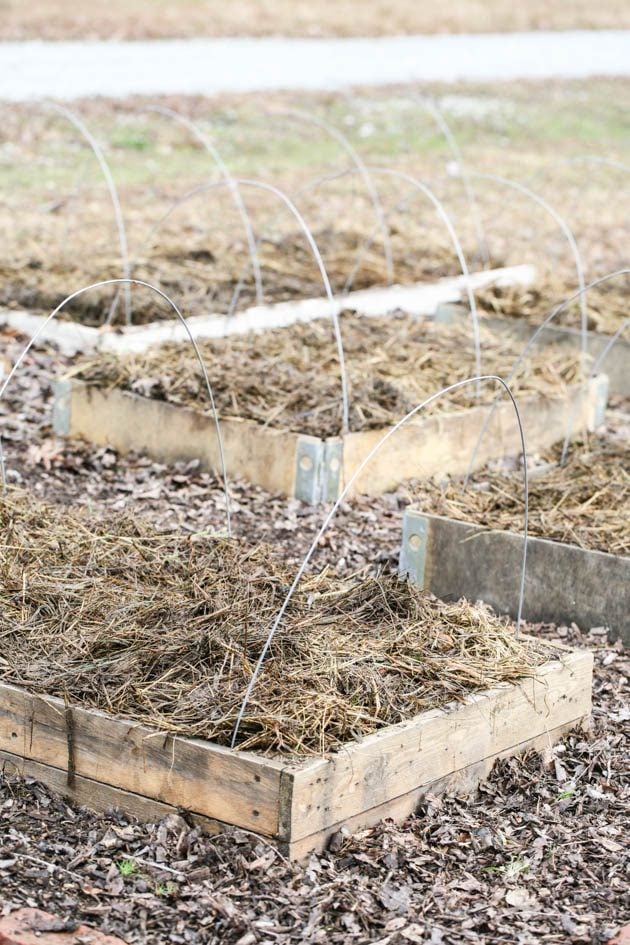
Let’s look at another example. Let’s say I have a few raised beds that I can easily cover with agriculture fabric and protect the plants that are growing in there. I may decide to plant my lettuce seeds a week or so earlier than the suggested date because I know that I can set them out a bit early and cover them to protect them on cold days or nights.
Those are just a couple of examples… Again, start with a basic schedule as a guideline and as you plant and grow and harvest, each year you’ll learn what works best for you and you’ll be able to go back to the table and adjust dates.
Planting Schedule For Direct Seeding…
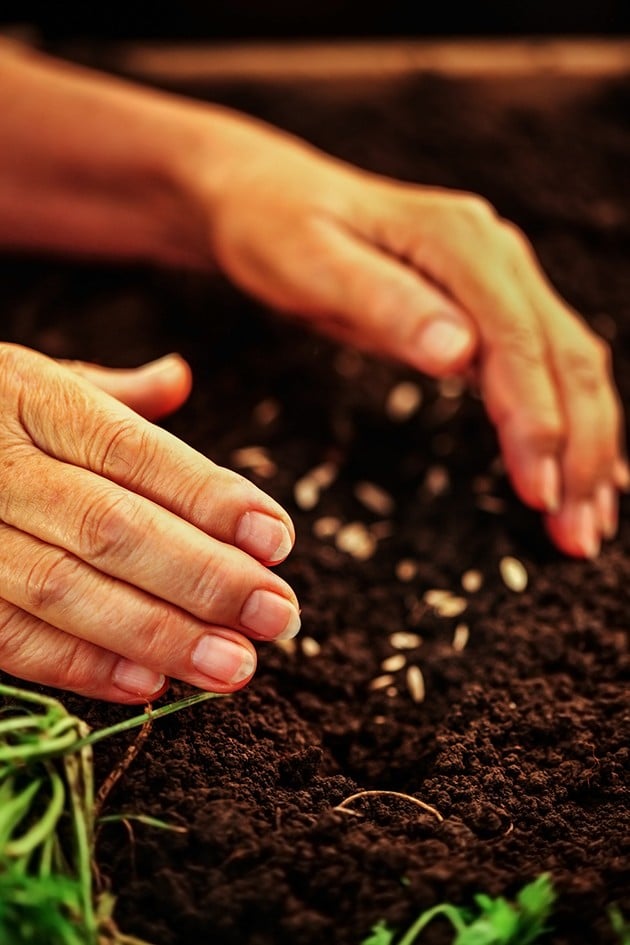
Now that you have your indoor seed starting schedule set and you know which seeds you are going to start indoors you are left with the ones that are direct seeded into the garden.
Step One – Your best source for finding the correct date of seeding directly in the garden is your local cooperative extension. If you are in central NC here is a good form you can use: Central NC Planting Calendar.
Even if you are not in NC this form can give you an idea of what you are looking for. You can try to Google something like “outdoor planting dates for (your county or town)” and a guide from your local extension should come up. Of course, you can always call them and ask them to email you the information.
Step Two – Now that you have the information, go back to your schedule and write down the planting date for the relevant vegetables. Look at your dates and now adjust them to fit your schedule as we talked about above (round to the nearest Wednesday or Sunday or whatever fits your schedule).
Again, most sources will give you a range of dates, make sure to look at your calendar and choose a specific date.
That’s it! Your garden planting schedule is done. But don’t forget that it’s an ever-evolving schedule that you should come back to during the season many times. Come back to record actual transplanting dates, come back to it to make notes for next year or to change the dates of next year’s planting…
The best part is that you’ll have it all ready for next year! Oh, the amount of time it will save you… I am getting so excited just thinking about it!
You are welcome to take a look at my schedule by clicking HERE. I’ve added a few other pieces of information for myself like the recommended flat size (information is for small farmers and large scale vegetable gardens) and such… Things that I know my brain is not going to be able to remember. If you have any questions feel free to comment below or reach out.
If you liked this gardening post, make sure to check these ones as well…
How to Make Toilet Paper Roll Seed Starter Pots
Best Varieties to Grow in a Kid Friendly Vegetable Garden


Nice post
Thanks for the feedback! And thanks for stopping by!
TY! TY! TY!!!
You are welcome!
Life’s too short to grow veggies you don’t like. Just say no to radish! Seriously though, I like them and they are such short days to maturity that they are a good one for high yield and variety. I like the planning sheet. What a great resource. Thanks for this very thorough article.
You are welcome! Thanks for visiting.