This post may contain affiliate links, view our disclosure policy for details.
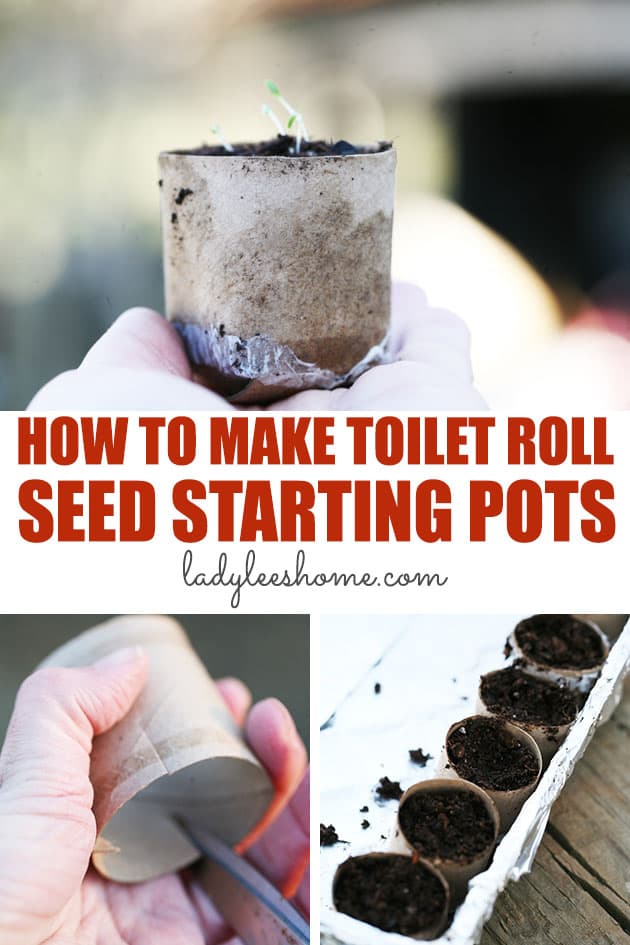
In this post, I’ll show you how to make toilet paper roll seed starter pots. There are four different ways to do this and they are all super easy and fun. The pots are biodegradable and so at transplanting time you don’t need to remove the seedling from the pot.
A couple of years ago I came up with the idea of creating a kid-friendly vegetable garden. I wanted to create a space where my kids can go wild and dig and experiment with growing food without messing up the “real garden”.
I wanted the kids to be involved in the whole process from planning to harvesting and I was looking for a fun way for us to start seeds indoors, something a bit more creative than filling a 72 cell flat with soil, and came up with the toilet paper method.
How to Make Toilet Paper Roll Seed Starter Pots…
It was a fun project back then. I didn’t expect too much of it but I was surprised to see how simple it was to make the pots and how easy it was to transplant the seedlings to the garden.
Benefits of Toilet Paper Roll Seed Starter Pots…
Save money – seed starting equipment isn’t cheap! Even though you can use it year after year, it’s still an investment. If you are growing on a smaller scale, and you start seeds indoors, this is a great way to save some money on seed starting equipment, assuming that you use toilet paper…
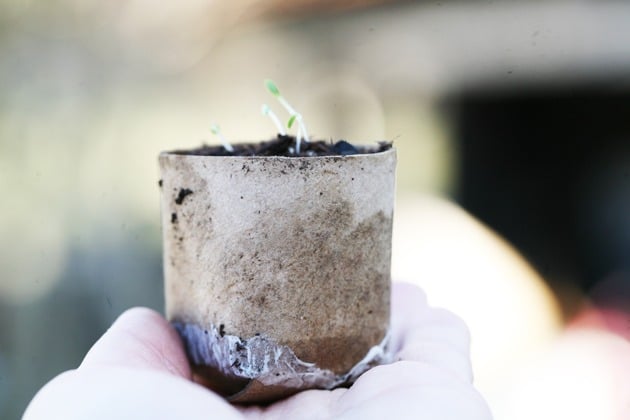
Grow healthy seedlings – these rolls hold a nice amount of soil so you can grow your seeds to good-size strong little plants before transplanting them to the garden. They have more than enough room to develop.
Biodegradable – toilet paper rolls are biodegradable. I think that this is my favorite benefit! You don’t have to take your young plant out of the pot to transplant it, you just plant the whole thing in your garden and with time the roll will decompose.
Option to start seeds that we usually direct seed – since we don’t have to remove the plant, we can try to start seeds that we usually direct seed in the garden, like beans or peas, for example. These plants don’t like to be transplanted, but since we don’t have to remove them from the pot, they do very well in toilet paper rolls.
4 Ways to Use Toilet Paper Rolls For Seed Starting…
There are 4 different ways to use toilet paper rolls as seed starting pots. They are all very simple ways. You can use whichever way you like or whichever way is right for the seeds that you are starting.
Method 1 – Tall Roll, No Bottom…
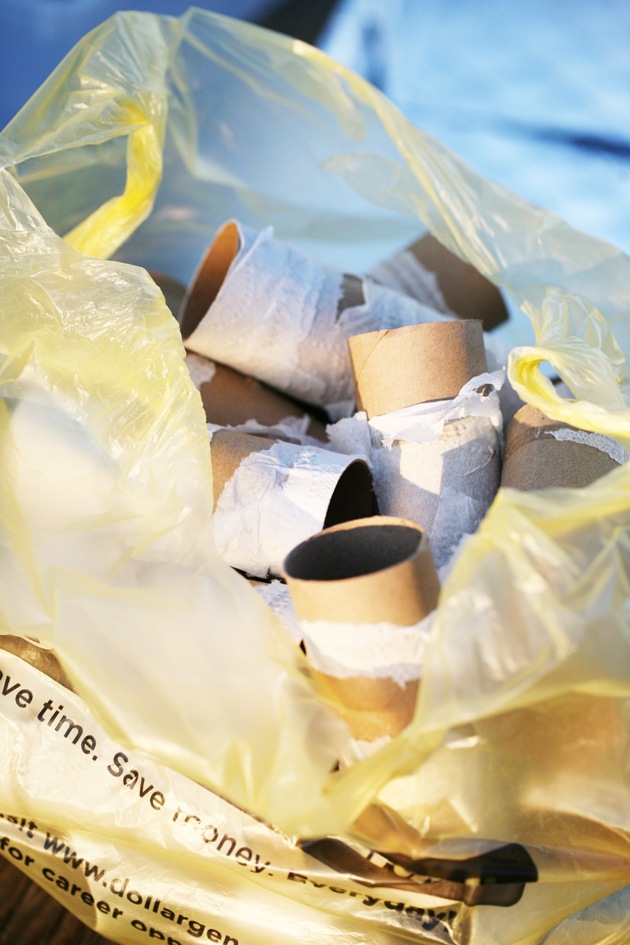
Collect your rolls…

Take a plastic bin (I used the basic 6 qt bin you would use inside the house to organize stuff) and place the rolls in it tight together. Fill the rolls with seed starting soil (we will go over that part soon) and plant your seeds in the center of each roll.
You can start seeds like corn and beans and peas this way. They are larger seeds that usually are direct seeded, but since the roll holds a nice amount of soil and you don’t have to remove the plant from it when transplanting, those seeds will do good in the tall roll.
Method 2 – Short Roll, No Bottom…

The next method is similar but instead of using the whole roll, you use half the roll. Many crops like lettuce, for example, don’t need so much soil when started indoors, so instead of using the whole roll, we can simply just use half.
It’s easy to use the regular seed starting leak-proof trays for this…
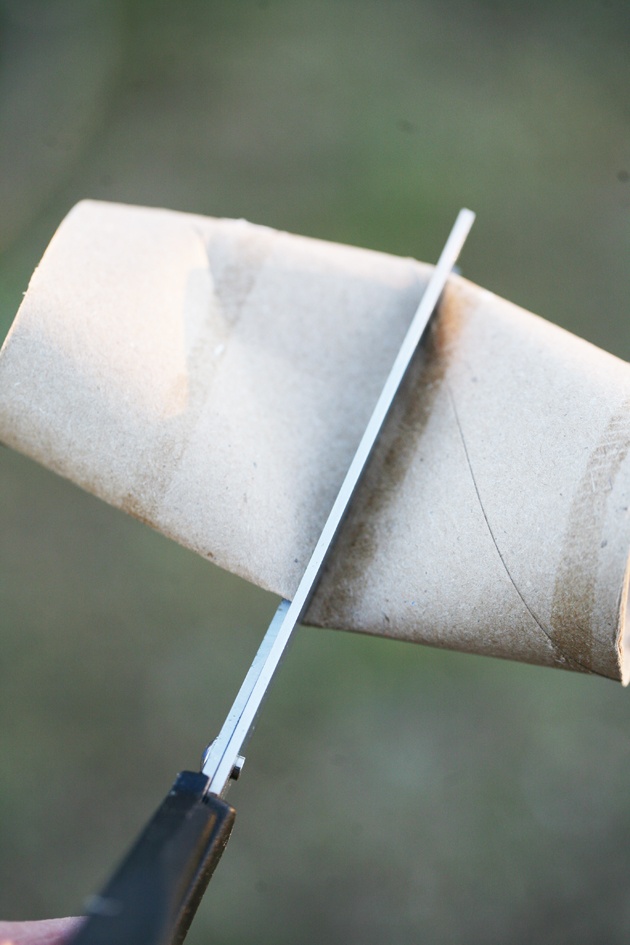
Cut each roll in half…
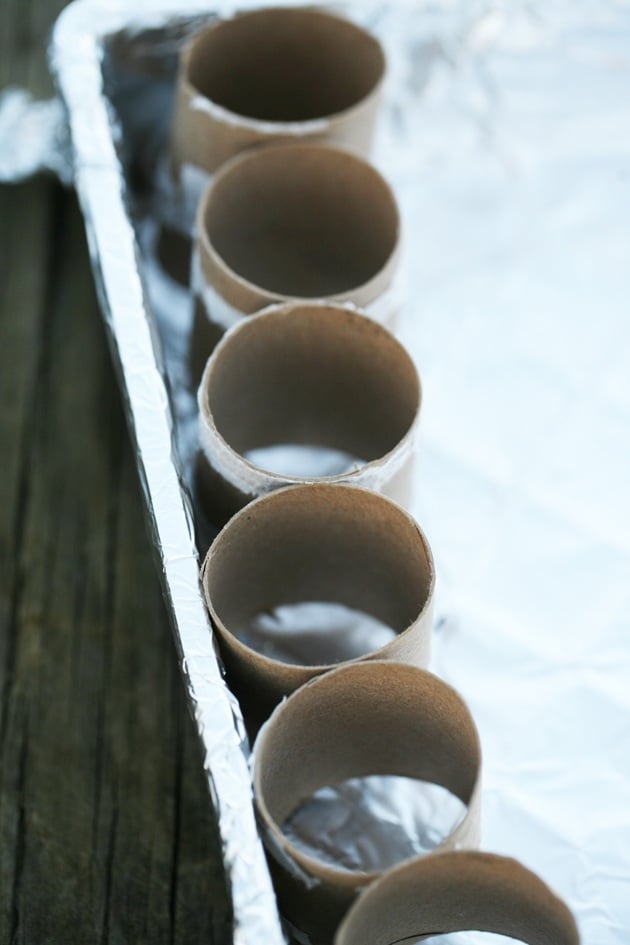
And placed the rolls in the tray. I could fit about 80 half rolls in this tray. Then I filled the rolls with soil and planted my seeds.
Method 3 – Tall Roll With a Bottom…

The third method is to use the whole roll but close it at the bottom, this will help to keep the soil around the roots when lifting the roll to transplant. I show you how to close it below…
Method 4 – Short Roll With a Bottom…

And the fourth way to do it is to use half a roll and close the bottom. This is what I ended up doing because this little pot holds enough soil to start most seeds.
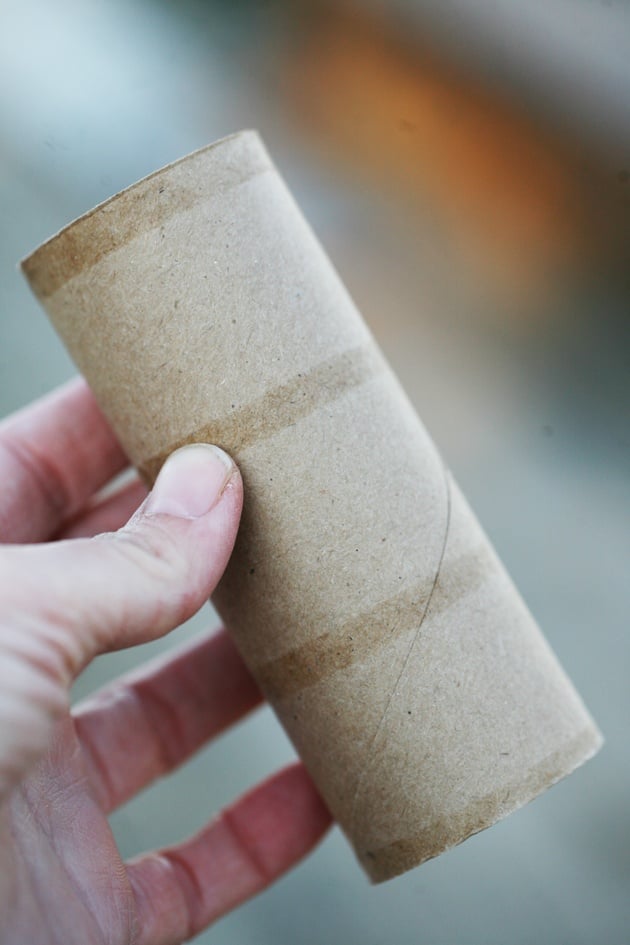
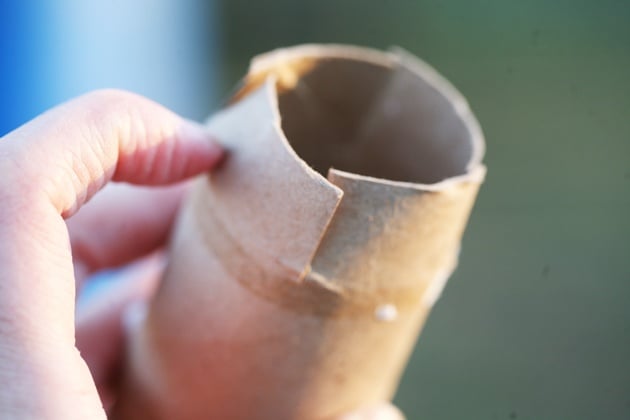
Grab a roll…
Cut it in half (or don’t if you chose to go with method 3)…
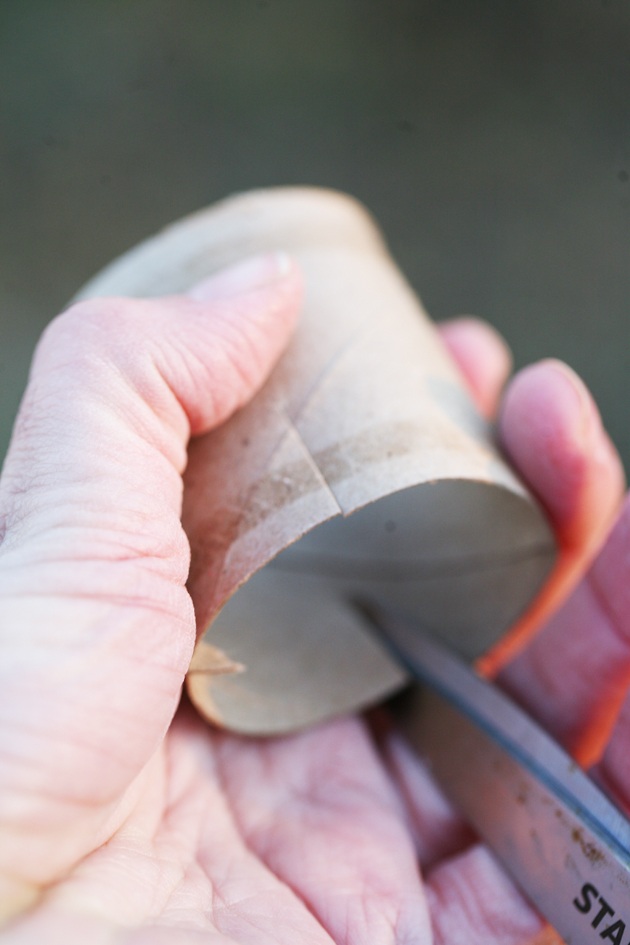
Make two half an inch cuts across from each other on the bottom of the roll…
Then one cut in the center of each of the halves you created. So basically, we divided the bottom of the roll into four equal parts.
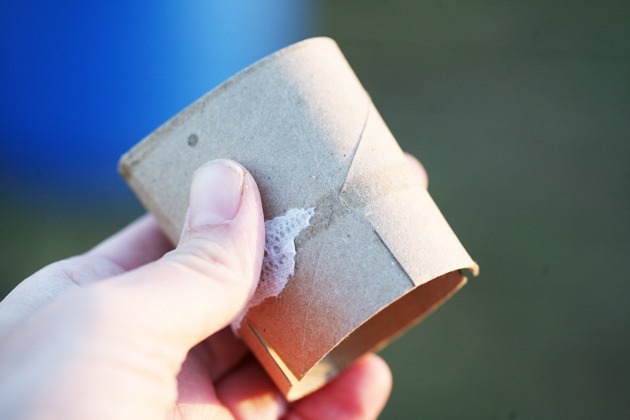
Start by folding the first section in…
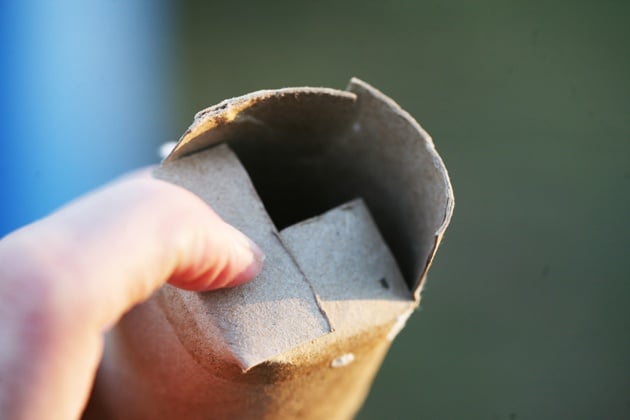
Over the second section…
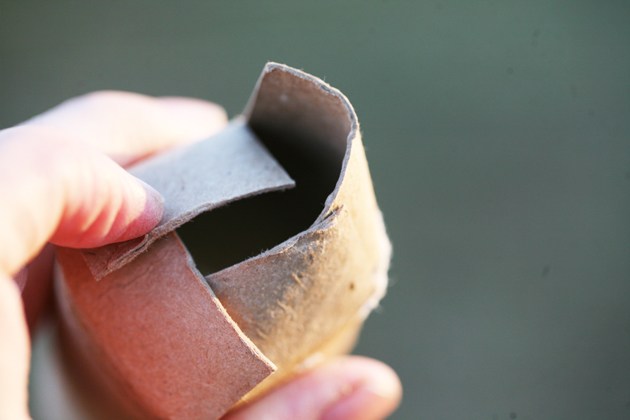
Then the third section goes over the first while one corner of the last section goes under the second section and the other corner above the third.
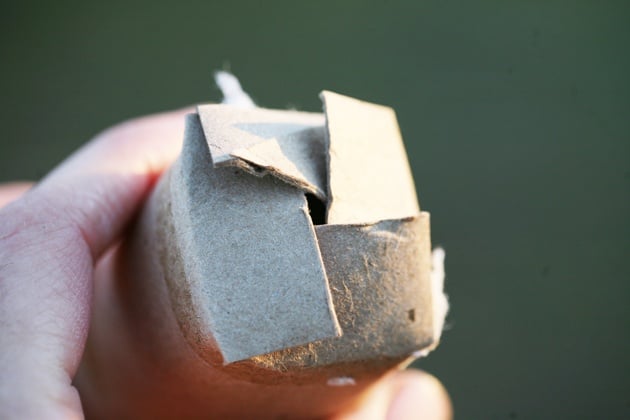
It holds nice together but if you can find a biodegradable tape to use on the bottom it would be even better.
Organize all of your pots on the tray or whatever container you plan to use, fill with soil and plant your seeds.
How to Start Seeds in Toilet Paper Rolls…
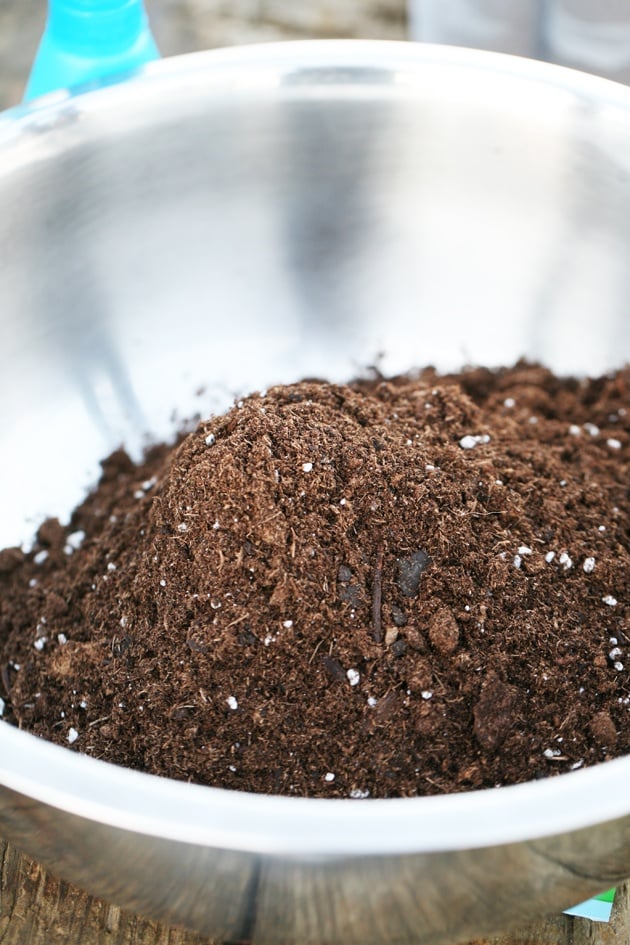
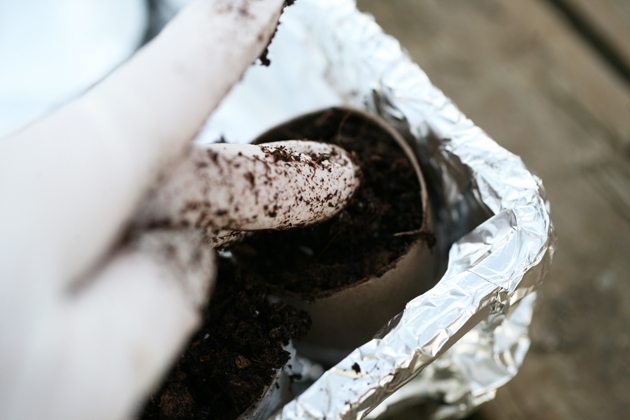
To fill the paper rolls I use an organic seed starting soil that I buy at a local plant nursery and mix it with some worm castings that I get from Amazon. Mix the soil and castings in a large mixing bowl…
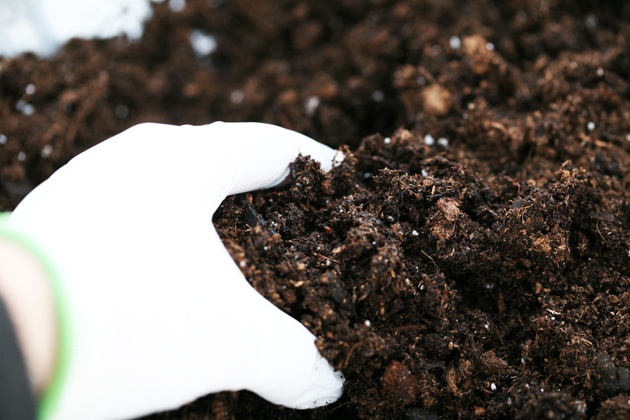
And add a little bit of water to make the mixture wet.
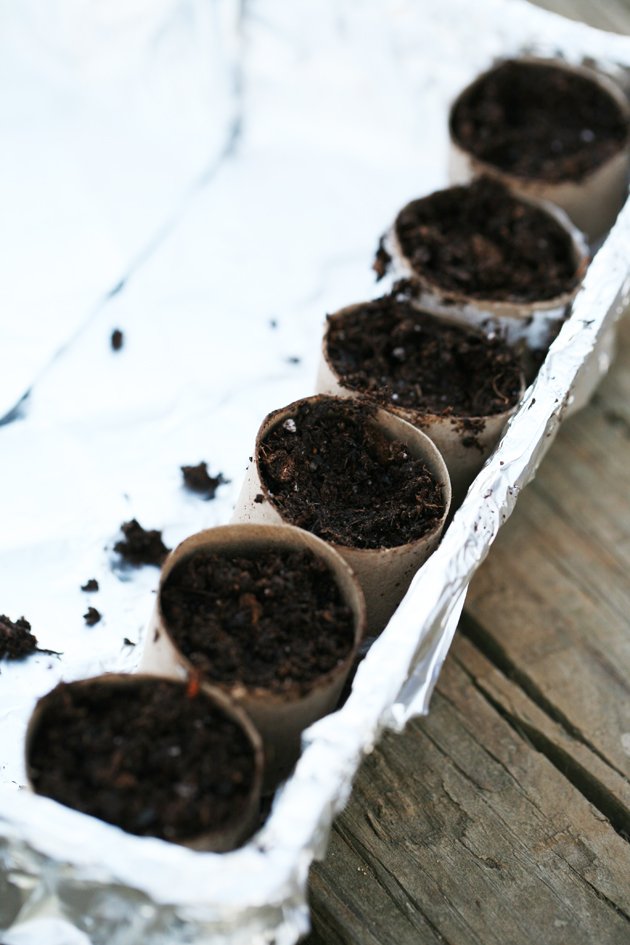
Fill the pots with the soil mix…
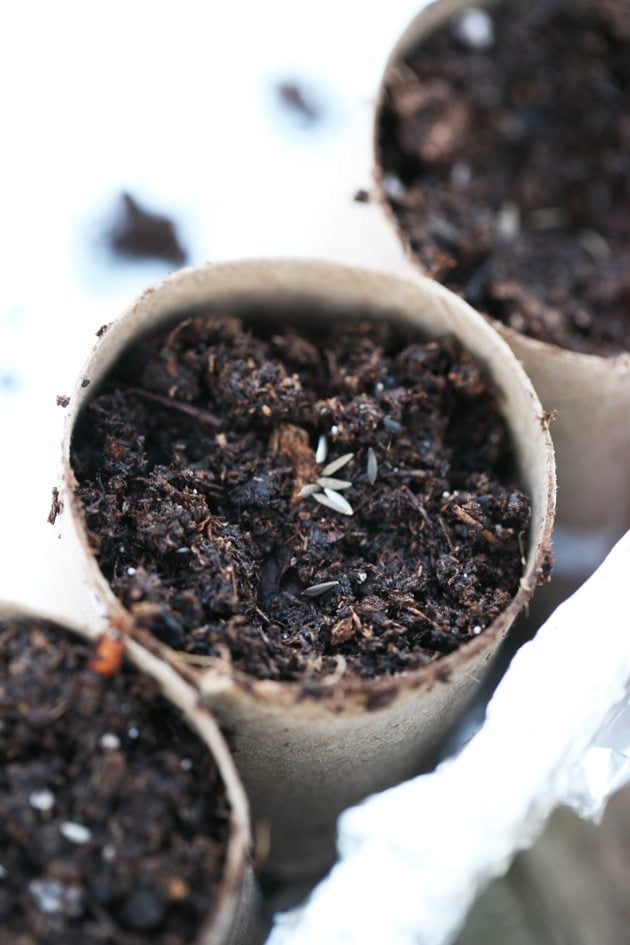
And plant your seeds in the center.
Lastly, cover them with some more soil and tap it down. From here, the trays should be placed in a greenhouse or on the seed starting shelves under the grow lights. Keep a close eye on them, make sure to water them, and when they are ready transplant them to the garden.
I love to re-purpose stuff and I love even more when these re-purposing projects actually save me time and make my life easier. Starting seeds in toilet paper rolls is really a win-win. They are easy to handle, a perfect size, free, and make transplanting really easy which is a huge job for every gardener.
I’ve been doing this for a few years. I usually start collecting my toilet paper rolls around December and by Feb I have enough. I don’t plant only in rolls, I also use plug flats from Johnny’s Selected Seeds, but I still always have a few trays of toilet paper pots. They save me some money and they are fun and easy.
More gardening content for you…
How to Plan a Garden in 7 Easy Steps
How to Create a Planting Schedule For a Vegetable Garden
What do you cover the tray with? From the picture it looks like aluminum foil. I have toilet rolls without bottoms. I want to plant stringless green beans, zucchini, yellow squash and collard greens. I live in southeastern Wisconsin. Should I use short or long toilet rolls? Does the tray have to have holes for drainage? Do the trays need covers? Thank you for your help.
I did the tin foil because I didn’t have a solid tray.
All the plants that you mention are large plants so I would do a whole roll.
Just place the rolls in a bin (no need for drainage holes), fill with seed starting soil and plant.
No need to cover the tray… I am assuming that you are placing it in the greenhouse or in the house…
thanks for this … very helpful
You are welcome!
How much water do you use to water them and how often?
Just like when you plant seeds any other way. About an inch of water a week. For the first couple of weeks after planting you have to make sure that the soil stays moist until the seeds germinate and while the seedlings are small.
Hi Lee
I know what you are talking about.
I am 68 and was raised on a farm in MN.
As far back as I can remember my grandpa taught me how to garden because I always followed him around so he started teaching me everything he knee.
One of the first things he taught me was how to start seeds in empty tissue rolls. He usually used the whole tube since he was a farmer after all, sometimes he would be too busy to get the seedling’s in the garden when he wanted to so this gave him a little more time and gave the seedlings extra time to get stronger.
All I know about gardening I owe to him. I think it was the best education I could have ever learned. I have always showed others what I was taught. Grandpa always share what you know to those who are willing to learn but don’t waste time on the others. They will come around in their own time.
I do thank you for sharing your time and knowledge so others can learn how great it is to garden.
Thanks again
Mike Ballinger
Sounds like you had a great teacher!
Using the whole roll is a great idea if you need to be a bit more flexible with transplanting time. There is much more soil there for them to grow in for sure.
I LOVE learning from older people. Experience is invaluable and greatly underappreciated in my opinion.
Thanks for stopping by and sharing this story with me!
How fo you water them? Spray bottle or direct light pour? thanks!
Just direct. Once the seeds have germinated the plants grew a bit you can also bottom water them.
Interesting! Toilet paper roll used for planting is such a brilliant idea. Thank you for sharing these tips and hacks. Hope to read more valuable tips from you.
I learned something new…
Was hoping to have more guidance as to which seeds were better suited for the long and short toilet rolls I have corn, beans and peas for the tall open and lettuce for the short open. I am completely new to growing.
Generally, large seeds for the larger rolls and small seeds for the short rolls.
So yes, corn, beans, peas, will be best in the tall rolls.
Lettuce and other greens, beets, green onions, and so on will be better in the short rolls.
Perfect post. I like a post you are most valuable information and This is really great work.
Brilliant ? thanks for the awesome idea. It’s remarkable how easy my chilli’s grew. So amazing ?
I decided to try and start seeds inside for the first time. Do you have to have the seedlings under a lamp or could they just sit by a window?
It’s 100% better if you start seeds under lights. It can be done on a windowsill as long as it gets at least 8 hours of good sunlight a day but the results are not as consistent as when you have the proper grow light set up.
For me, it a lot of work to start seeds indoors and I prefer taking the time and investing a little bit in setting up the right grow light selves than using the window. Did you see my simple shelves? They took a bit of work and a little investment but I’ve been using them since 2015 and I love them. Here is the link: https://ladyleeshome.com/diy-grow-light-stand/
But again, if you are only starting a few plants and you have a good window it can work.
Hi Flower 🙂
I have only seen a small sample of your page today (https://ladyleeshome.com/ ) and i can honestly say
you are brilliant !
and
your kids are super cute 🙂
( and I thought i was the only one in the world that uses toilet roll cardboard inserts for his seeds LOL )
( I have a piece of your country in my garden …. a Oasis greenhouse made in a Kibbutz. …poss 30y old ? 🙂
Please keep up the good work and I look forward to reading your stuff 🙂
byeeeeeeeeee 🙂
….and a fourth way is to take either the full rolls or the half toilet paper rolls and do exactly what you described BUT put them in a biodegradable, cardboard, shallow box. This way, not only are the toilet paper rolls able to be planted, but the entire ‘tray’ can be planted!
But if you plant the entire try how do you space the plants? They are too close together…
Hi Lee,
It’s a good idea and a nice project. I am inspired to go out and create in my garden. Thanks so much for sharing them!
You are welcome! Thanks for stopping by!
I’ve been saving toilet paper rolls and the big heavy weight Plotter paper rolls for when I direct seed into the garden. I’ll have to use a chop saw to cut the Plotter rolls but the idea is to keep cutworms and other bugs from my seedlings. I’ve seen copper bands put on the outside to keep out slugs & snails and petroleum jelly applied to the rims to deter bugs from crawling over the rims. I’ve got a pretty good system down with my planting mounds, prepare the soil mounds and water the area well. Take a gallon milk container (mini greenhouse) with the bottom cut out and template the planting mound with it, pull some of the soil from around the template mark, lift the milk jug and insert the paper planting band(s), plant the seeds in the bands and cover with the milk jug. A hole is put in the milk jug cap and you run a bamboo stick into it and down into the milk jug and into the soil. You can close the cap to conserve heat but don’t let them over heat. This secures the jug from wind. I then back fill the milk jug to secure it and keep bugs out. The soil is moist enough that I don’t need to water and if I do I can make a water trough on the outside. I then sprinkle DE around the jug. Works like a charm!
Oh wow, Sheri, that sounds like a good system. I definitely need some help in the keeping-the-bugs-away department. I might try this.