This post may contain affiliate links, view our disclosure policy for details.
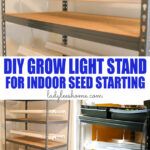
This simple DIY grow light stand for indoor seed starting is very easy to put together. It allows you a lot of control over the tiny seedlings which in return results in strong, healthy, and productive plants. This unit will serve you for many years.
The first year that I planted a large garden for the market, I had my beds set up, the soil worked, my seed order was on its way, my tools and equipment were ready…
But I remember feeling like I was lacking, or in other words, not as on top of things, when it came to planting.
Yes, I had a garden plan but I knew that it wouldn’t be enough. I’d invested a lot of money and time and I needed to make sure that I would have the best harvest that year.
I had to find a way to make sure that my seeds would germinate and that the plants would survive to harvest.
Simple DIY Grow Light Stand for Indoor Seed Starting…
I knew from experience that the stage in which the plants are most vulnerable is the seedling stage, especially when they are in an open field, exposed to the elements and the deer and bunnies.
DIY Grow Light Stand Video…
The Germination Room…
I was reading the book The Market Gardener by Jean-Martin Fortier back then which is an amazing book for small farmers or home gardeners that want to produce a lot of food and garden on a larger scale (yet still a small space for a market farm).
In the chapter on seed starting, Jean-Martin mentioned that they were starting almost all of their farm seeds indoors because it gave them greater control of spacing and germination and the health of their seedlings.
I knew all that already, but what caught my attention was the fact that even though they had a greenhouse they were starting all of their seeds in a germination room.
I’d never heard of a germination room. Until then, when I thought of market farms I usually thought about greenhouses and hoop houses.
The germination room was a small, temperature-controlled room where they start the seeds before they move them to the greenhouse. This gave them optimal results when it came to germination rates because they could control the temperature and the humidity in the small space.
I didn’t have the budget for a greenhouse but I had a small room at the farm that I could turn into a germination room so I figured I’d just skip the greenhouse stage and grow all my seedlings in that room until it was time for them to be transplanted to the garden.
In years before, I came across all those grow light shelving units you can buy at the home improvement stores and even tried a few, but they weren’t going to cut it.
I needed something with more room and something a little more heavy-duty for the farm. I was looking for an affordable, sturdy shelving unit that would fit the size of the fluorescent lights I wanted to use and after gathering all of my supplies I set up 3 shelving units, a heater, and a fan in that room and turned it into my germination room.
It worked so well! I was able to grow more food than I could handle that year. Now, my garden is smaller and I don’t need all three shelving units so I decided to move one of them from the farm to the house so it’s easier for me to care for the seedlings.
I discovered that in one DIY grow light stand I can grow more than enough for the home garden and beyond.
This is the third year I am using this system and it’s time for me to share it with you. It works very well and the little time you’ll invest in setting it up is totally worth it.
Supplies You’ll Need For This Grow Light Stand…
We are going to talk in more detail about each of the things that you’ll need to build this grow light unit but I wanted to link them all here for you first…
A Shelving Unit…
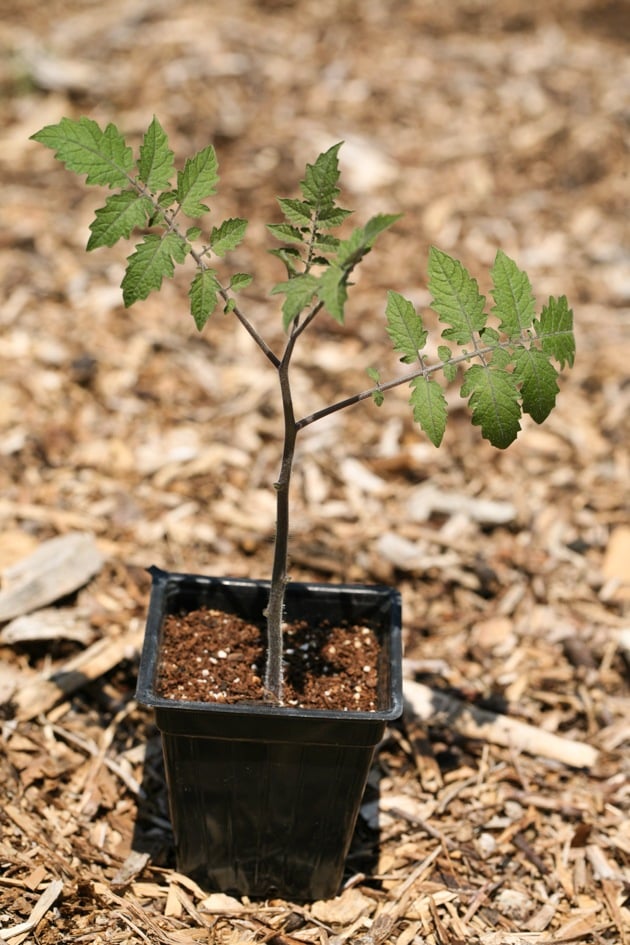
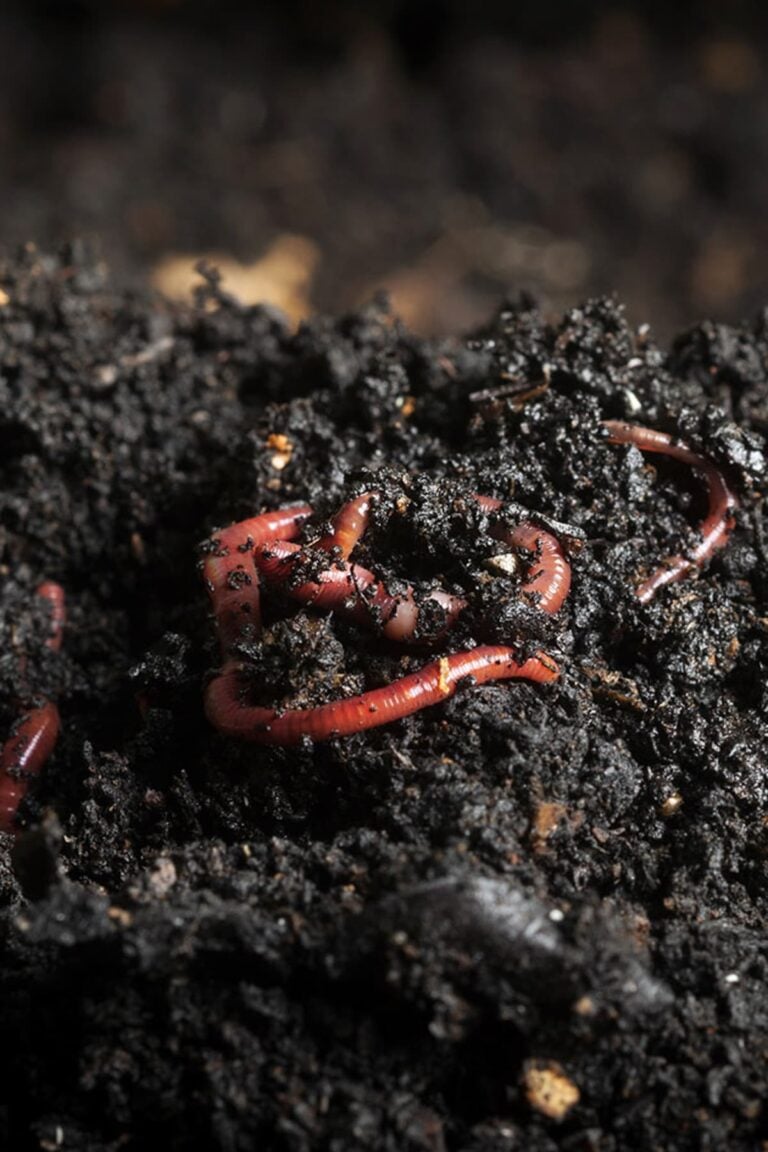
Seedlings need three things in order to grow strong… Plenty of light, good food (I mix my seed starting soil with worm castings), and water/humidity.
The whole point of the grow light system is to make sure you can control those three things. It’s a shelving unit that is close to you, often inside your house where you can check on the seedlings often.
There are many ways to do this and you can take the concept and adjust it to your space and needs but the basic idea is that we need shelves to hold the seed trays and lights that we can adjust as the seedlings grow.
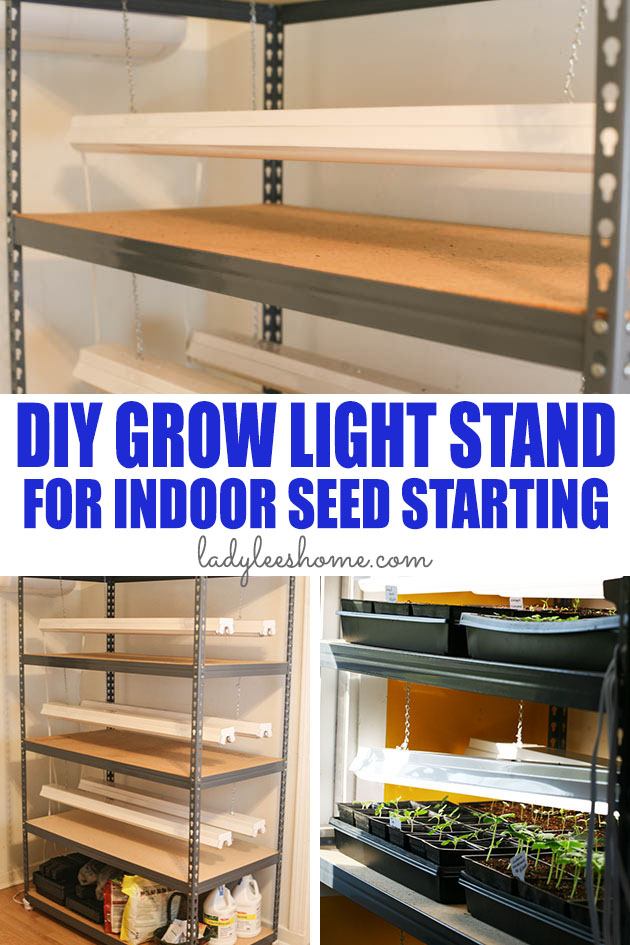
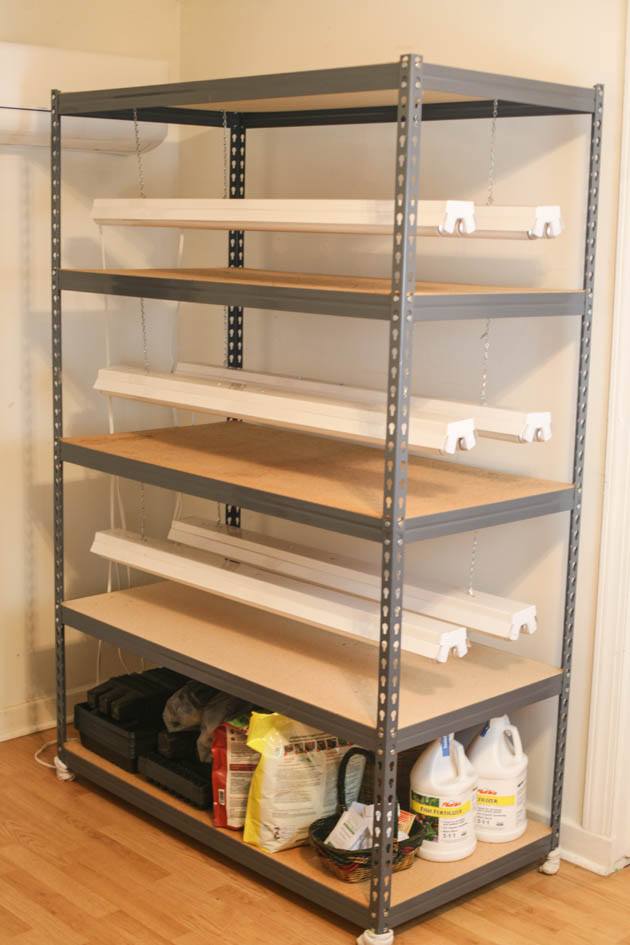
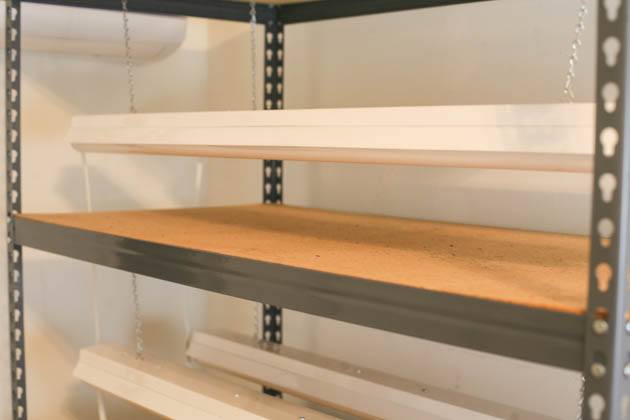
I knew that I wanted to invest in a unit that would hold a good number of trays and that will last me for years. I choose this metal shelving unit that has 5 shelves. It’s 4 feet wide and two feet deep which means I can fit four seed trays on each shelf.
Depending on the seeds I am planting, each tray can hold anywhere between 36 to 128 plants. This gives me more than enough room to grow for the home garden (I actually only use three shelves for seed trays which means a total of 12 trays).
The shelves are adjustable so when you build the unit you want to make sure you leave a good amount of space between the shelves so your plants can happily grow strong and tall.
The shelves themselves are not real wood which is a bit of a bummer but they seem to be strong enough (this is the third year that I am using them). Even if something happens to them it should be easy enough to cut a wooden board to size and replace them.
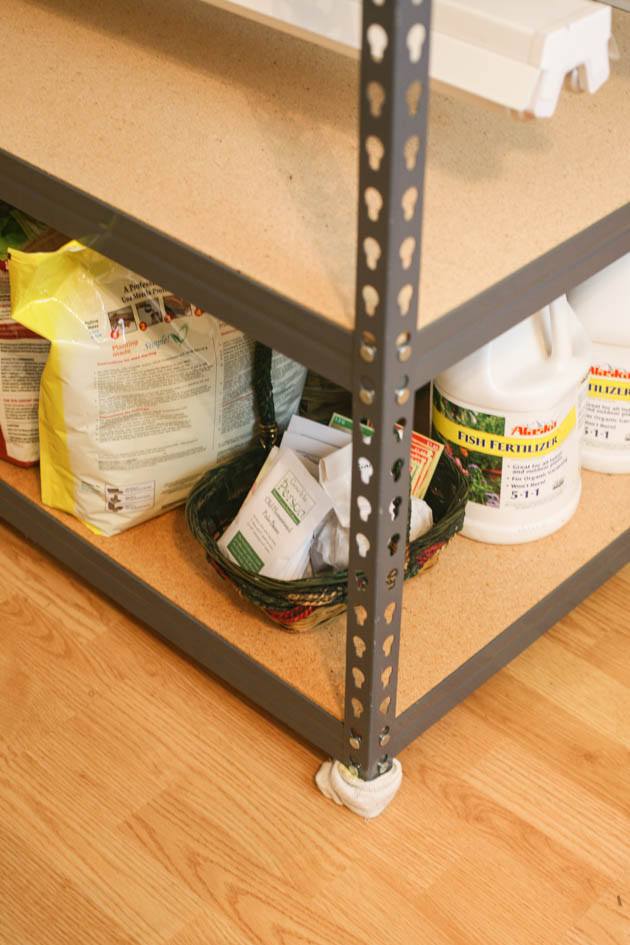
The metal on the bottom is pretty sharp so I put a couple of baby socks on each leg to make sure they don’t damage my floor. I can also easily slide it along if I need to clean behind it or under it.
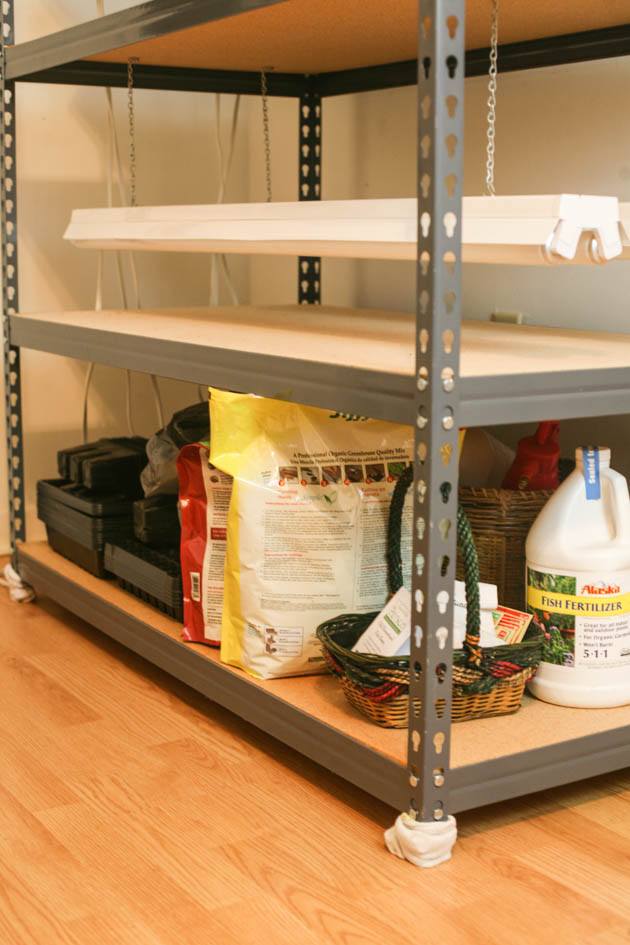
I use the bottom shelf to store all of my seed starting supplies and I also have an available shelf on the top which I am thinking I might use to hold my filled canning jars since I don’t have a pantry. It might not be the prettiest thing inside the house but there is a lot of room in this unit and I plan to use it during the year not only for seed starting.
The Cool Fluorescent Lights…

We do not want to cook our seedlings, so it’s important to make sure to choose cool fluorescent lights. I got mine from the local Lowe’s (I linked to Amazon above). They are the bright white daylight shop lights and are 4 feet, perfect for the size of the shelving unit.
They came with little screws that we screwed to the bottom of each shelf. Honestly, we could have probably done a better job on this part but so far so good… The lights are not heavy so the tiny screw seems to be doing ok.
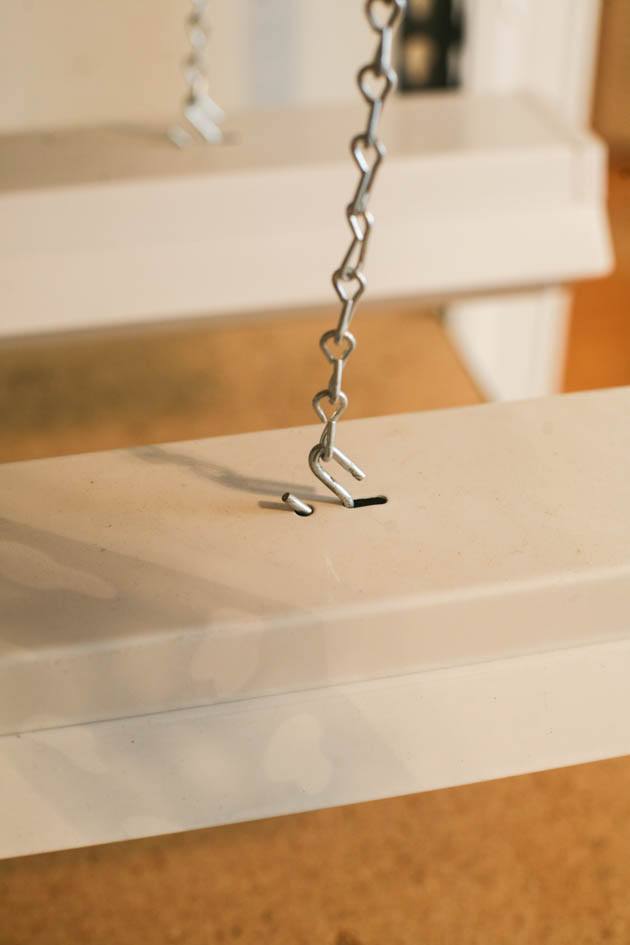
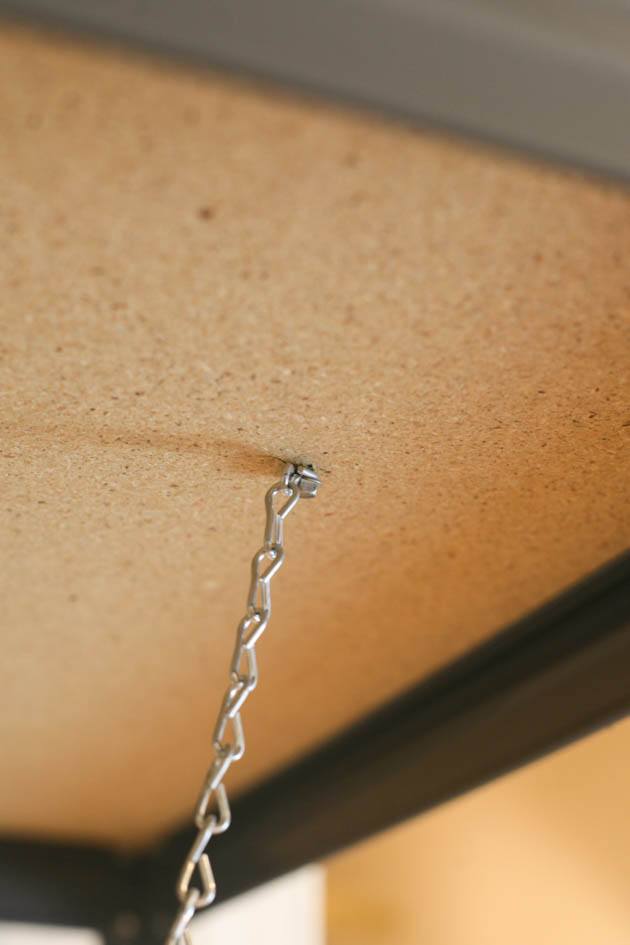
They also come with this metal hook…

And a chain. When you get your lights you want to make sure that the hook is open so you can move the lights up and down. We want the lights to always be two inches away from the seedlings, so as the seedlings grow you need to be able to lift the lights.
How This DIY Grow Light Stand Work…
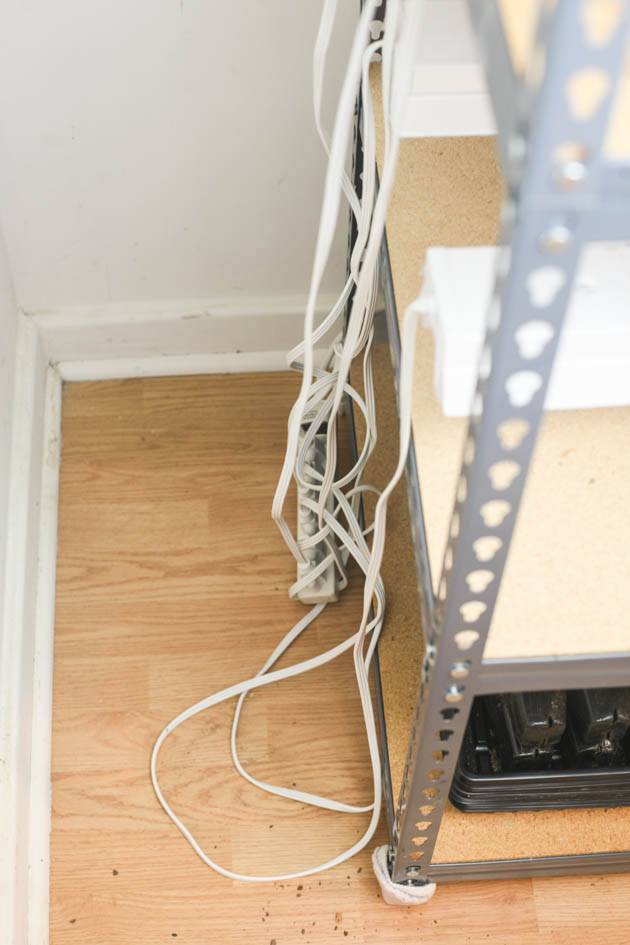
I set the shop lights in a way that all of the cords are on the same side. I have six lights in total so I plugged all of them into a six-outlet power strip…
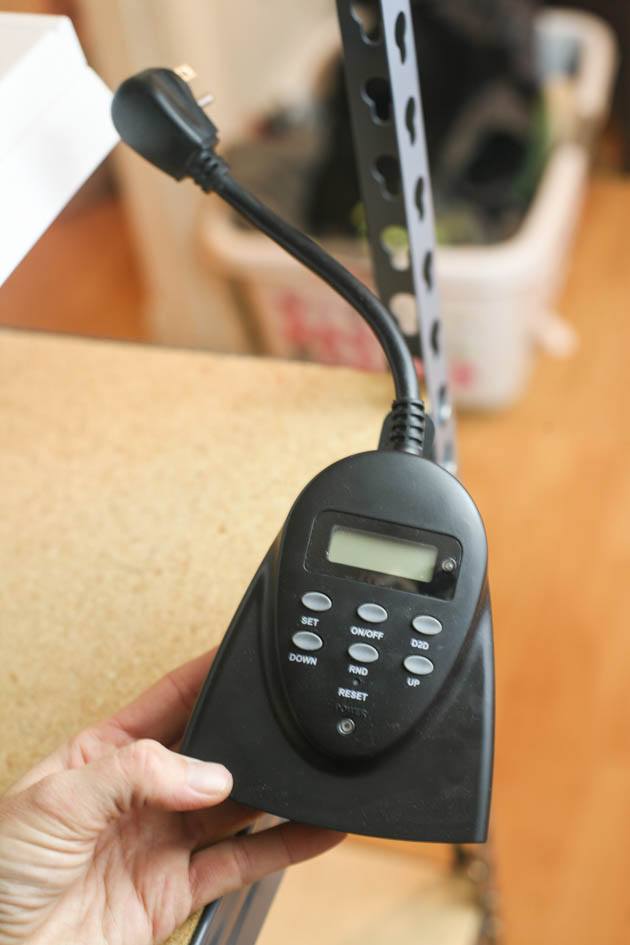
This strip is connected to a digital countdown lighting timer that is set to automatically turn on at 8 am and off at 8 pm which gives the seedlings 12 hours of light.
You can go up to 14 hours of light but keep in mind that vegetable seedlings do need at least 8 hours of darkness. I find that my seedlings do great with 12 to 14 hours of light.
I love this timer! It makes my life easier since I don’t need to remember to turn the lights on and off every day.
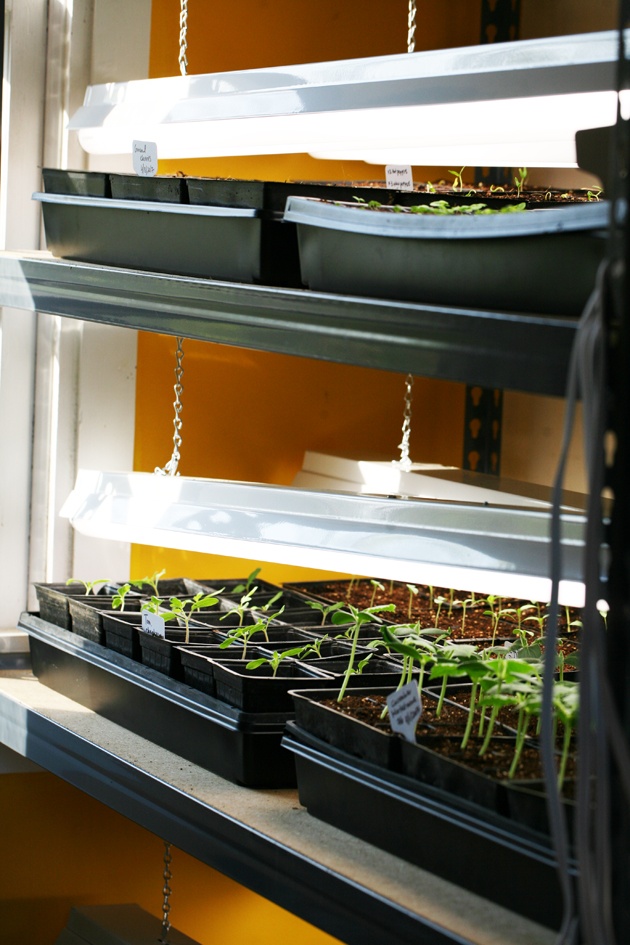
To keep the shelving unit in good condition, I use leak proof trays from Johnny’s (you can reuse them every year, they are really good quality) and every time I water I pull the tray out on a nearby table, water and return the tray to the shelf making sure I turn it or change it’s location so all the seedlings in the tray get enough light.
You want the lights on as soon as the seed starts to germinate! This is super important and this is why I just keep the timer plugged in and working from the moment I plant the seeds.
So really, I plant, place the tray on the shelf and the lights are already on for 12 hours a day even if the seeds haven’t germinated yet. This way I don’t need to constantly check to see if the seeds are germinating I just know that whenever they decide to come up they have plenty of light available.
Are Heat Mats Required?
Another thing that you might see around are heat mats. These are electric mats that you place under the tray to warm the soil and help the seeds germinate.
They are totally optional and in my opinion not really a justifiable expense for the home gardener. If you can keep the temperature in the room around 70 degrees your seeds should germinate just fine. It might take them a couple more days but it’s no big deal.
Controlling Air Flow…
One last suggestion… It’s a good idea to keep a small fan in the room to make sure the air is flowing. Airflow is really important to prevent mold and disease.
I know this is a bit of an investment but it’s totally worth it. I plan to use this unit for many more years. I can grow a good number of plants here and I can use it to give extra light to my herbs and other houseplants during the winter months.
If you want to check out another way of setting up a seed starting grow light system make sure to visit my friend Rachel at Grow a Good Life, she has a great post about this topic as well.
More Information to Help You Start a Productive Garden…
This DIY grow light stand is an important part of growing a great garden. But if you are at the very beginning of this process, make sure to consider these few important things before planning your garden. Then choose where to plant your garden before you make a solid garden plan.
After the plan is in place, you’ll want to create a planting schedule. In that planting schedule, you’ll list when you should start your seeds indoors on this grow light stand (You can use plastic plug trays or try soil blocking).
Then prep your garden the easy way before transplanting your seedlings. From that point on, it’s caring and loving your plants all the way to harvest time!
Hi Lee, thank you do much for your helpful information. I’m excited to get started to get grow lights in preparation for some beautiful seedlings. Jill
It’s a great investment if you grow a good size garden. Happy that this was helpful! Thanks for stopping by.
Thank you Lady Lee! I’m just looking for an indoor seedling growing system for a small garden. You do not use expensive “grow lights”–but shop lights? Is it just fluorescent lights or some special kind?
Carolyn
Nothing special… Just cool fluorescent (daylight white) shop lights I got from Lowe’s!