This post may contain affiliate links, view our disclosure policy for details.
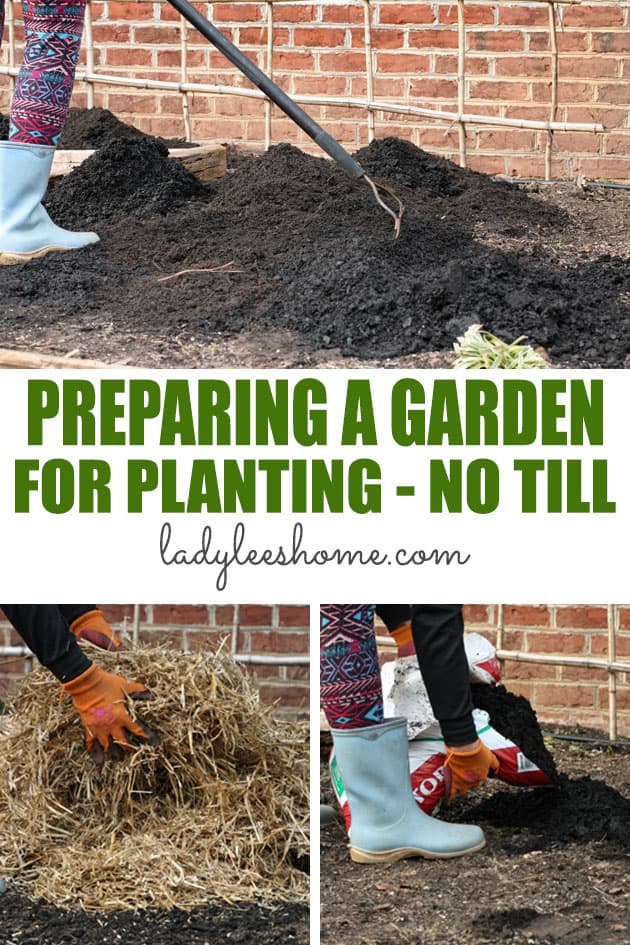
Preparing a garden bed for planting without tilling is so easy! It’s healthier for the soil and it’s much less work for the gardener. And, the plants love it. So really, this garden prep method is a win no matter which way you look.
Sometimes we do things in a traditional way because, well, that’s what everyone is doing so it must be the right thing to do. Sometimes it is.
But then sometimes you decide to try a different way, it works, and you ask yourself, why in the world did I work so hard all this time, following the traditional method.
That’s how it is with traditional soil preparation. Why they teach us we should “work” the soil before planting I have no idea. Mr. Soil doesn’t want us to poke around, I assure you.
Preparing a Garden Bed For Planting…
Before I share with you how I prepare my garden soil easily without tilling it, let’s learn why tilling is really not that healthy for our garden soil…
Disadvantages of Tilling Garden Soil…
Exposing weed seeds to the sun – some people till their garden to get rid of weeds. By doing that, they actually make the problem much worse because now, not only have they mixed the new weed seeds in the top layer of the soil, they also bring dormant weed seeds that were buried deep in the soil to surface level, exposing them to the sun and allowing them to germinate.
Disturbing earthworms and other organisms – imagine you are a hard-working earthworm. You dig beautiful tunnels so the roots of plants will have oxygen, you eat bad soil and poop good soil, you eat decaying plants and poop compost, you make sure the compost can find its way to the root level of the living plants in the garden, you interact with other organisms, you make babies and teach them how to work hard for mother nature… You know, you’re living a good life in your natural environment.
Then one day a scary machine with huge teeth enters your home and ruins the place. It’s an earthquake, a hurricane, a tornado, all your hard work is gone and you have to start again, that is if you can still find all the parts of your body.
Friends, this makes no sense what so ever!
Loss of nitrogen – many crops leave nitrogen behind, which is very beneficial to the following crops. Tilling the soil can cause the release of this nitrogen into the atmosphere as nitrogen oxide, a highly potent greenhouse gas, or can cause it to drain into waterways.
Erosion – if done regularly, tilling can cause the soil to erode.
Poor water retention – tilling reduces the amount of water the soil can retain because it breaks it apart into a non-natural stage.
Hard work and expensive – a good tiller may cost $400 to $600, money that will be much better spent on good compost or mulch. And those machines are, simply put, not much fun to work with.
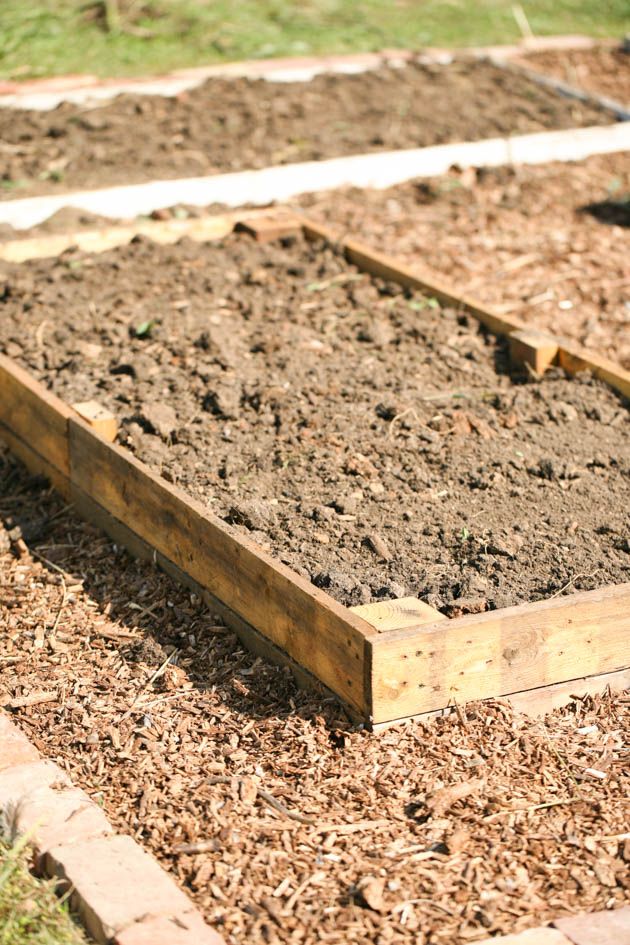
How to Prepare Your Garden Space for Planting Without Tilling
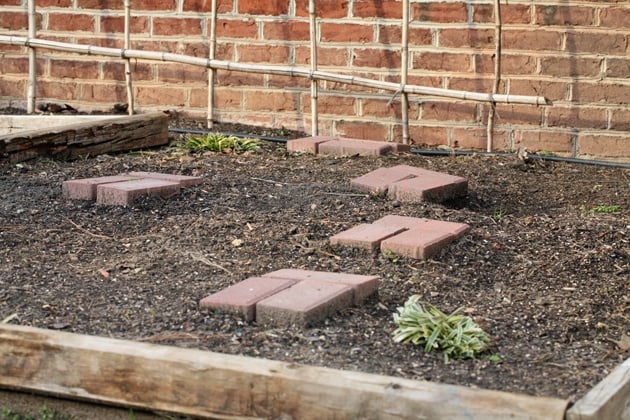
The space that you’ll see below, is a small garden space I had to the left of the front steps of our house when we lived in the city. Back then I only had a few garden beds in the front yard but I was able to grow a good amount of food there.
Even though I garden in a much larger space now, I still prepare my garden soil the same way. And it doesn’t matter if I prepare traditional rows, wooden raided beds, raised rows or beds or whatever… The process is exactly the same.
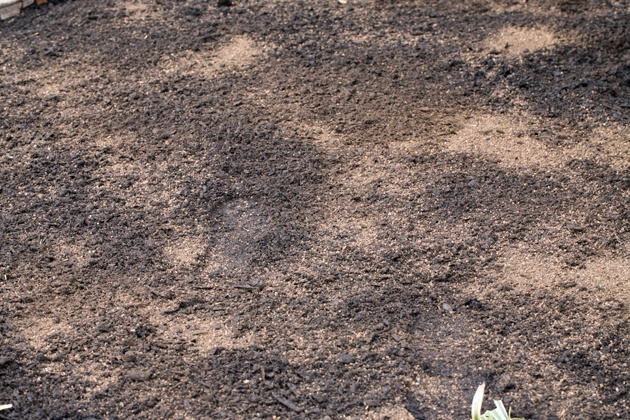
Step 1 – Clean the Bed…
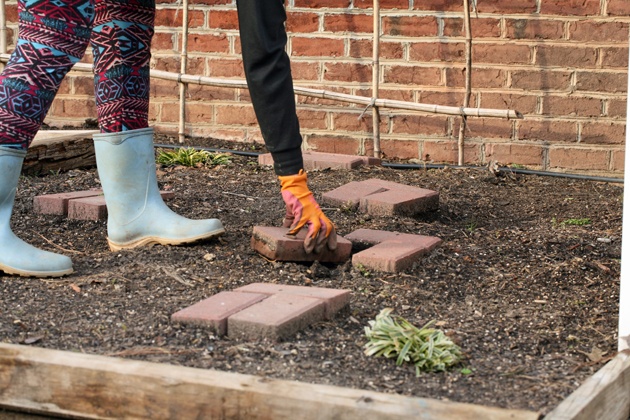
In that odd-shaped bed, I first removed the stepping bricks that I placed there to step on. If there is anything else on the soil, remove it. There might be some old plants or whatever… Remove everything and expose your garden soil.
Step 2 – Add Garden Soil…
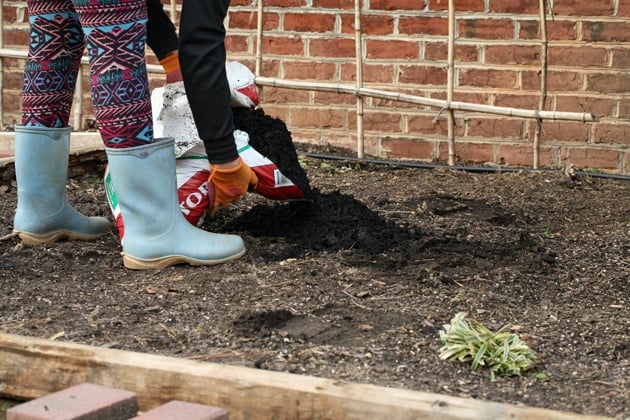
This step is completely optional. Sometimes, as we harvest plants from the garden we lose some of the soil in the bed (usually because some of it stays on the roots of the plants that we pull out). I find, that every few years, I need to add a little bit of soil to my beds.
This was a new bed and the year before we didn’t fill it with enough soil, so I added about 6 bags of soil that year. I used the basic soil from the garden store because I grow organically and I didn’t want the fertilizers they add in the garden soil.
Step 3 – Add Compost…
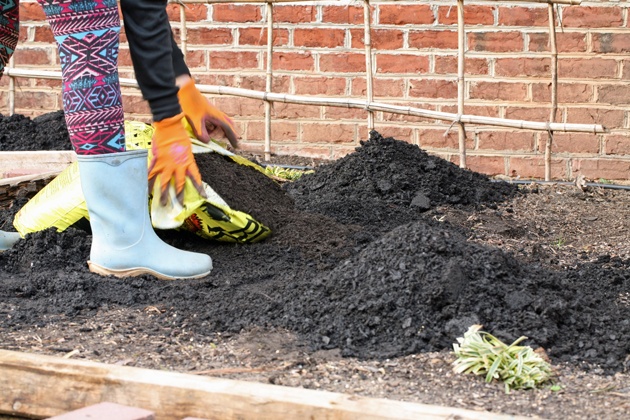
Next, add compost. The more the merrier. I usually use my animals’ manure. You can buy composted cow’s manure (like I did when we lived in the city and didn’t have animals yet), or compost from a local plant nursery or another local source… Or you can use your own compost if you make it yourself.
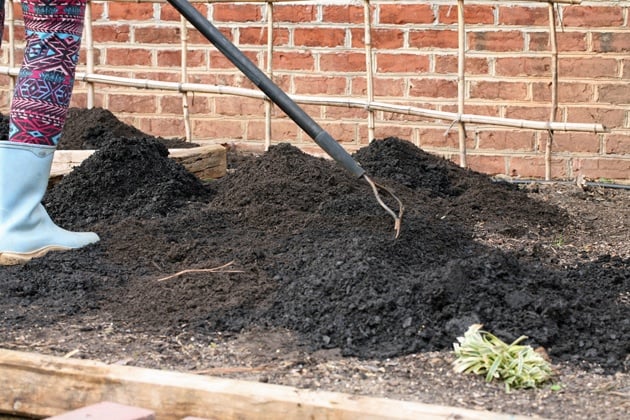
With a rake, mix the soil (if you added any) with the compost…
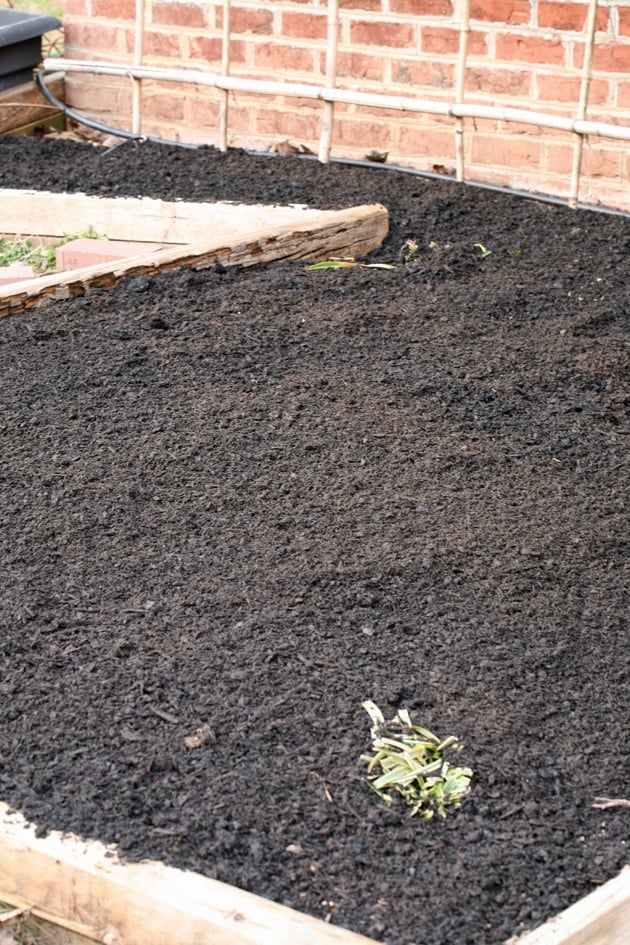
And spread it evenly all over the bed.
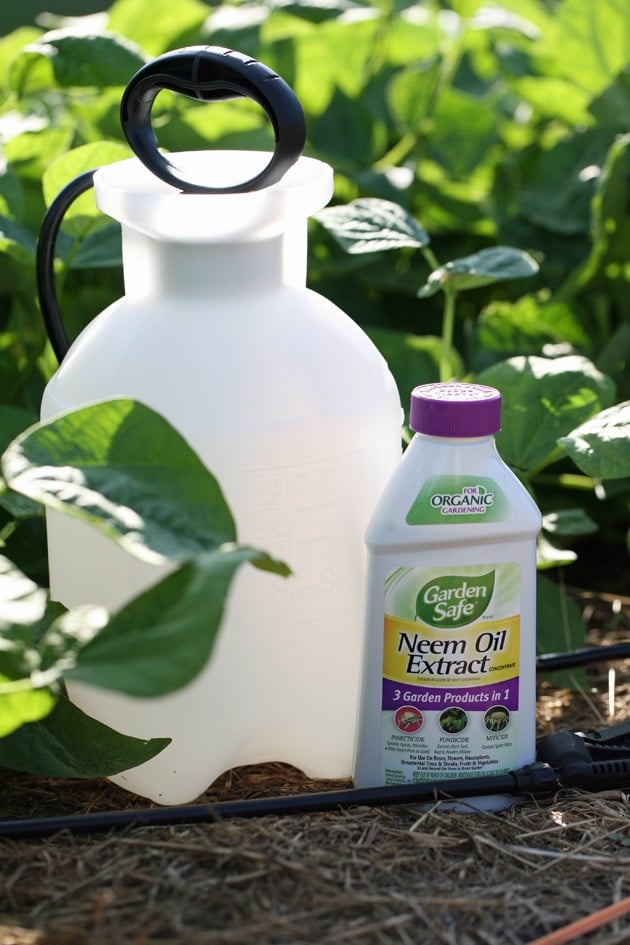
Step 4 – Add Plant Food…
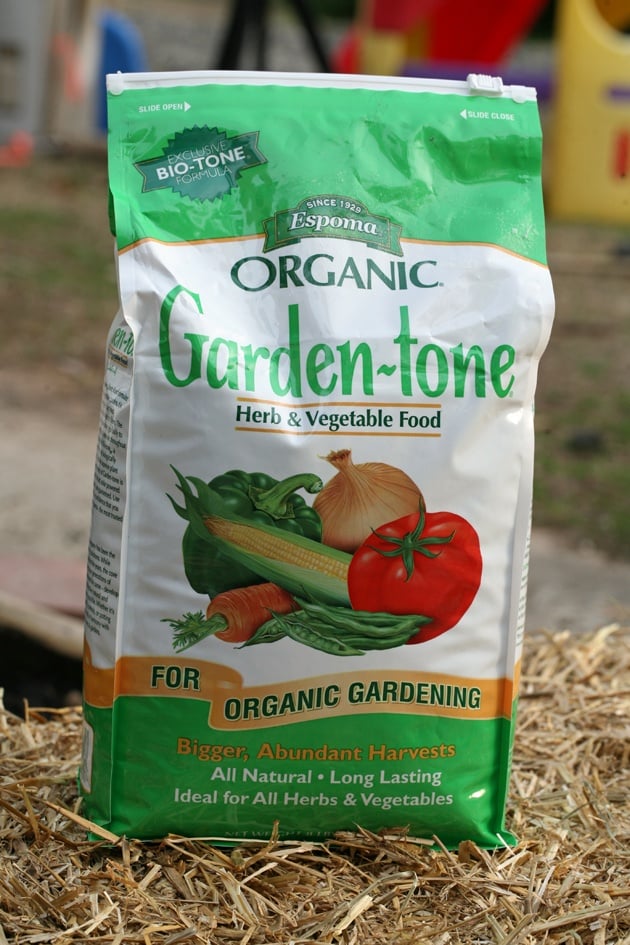
Yes, compost is plant food, but let’s be even nicer to our plants and take it one step further by adding some more concentrated and rich plant food.
I love Espoma. I add this Garden Tone when I prepare the bed or sometimes just before planting.
Read the instructions on how much to use on the back of the bag. Then just spread it on top of the soil. Water, worms, and other organisms will carry it down to root level for you.
Another great option that I use a lot is worm castings. I actually love it even more than the Espoma fertilizer! It’s very very rich and it’s available to the plants immediately. I either spread some on top of the soil or add it at planting time in the transplant hole or around each plant.
Step 5 – Mulch Your Garden Bed…
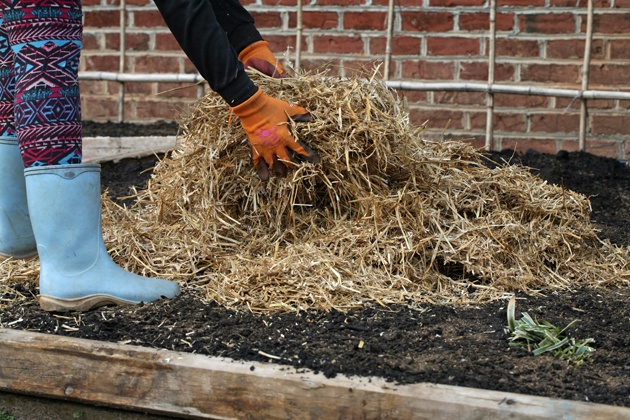
Lastly, mulch. Mulching is a very important part of no-till gardening. You can use dry leaves, wood chips, grass clippings… But my favorite is straw.
Mulch keeps the soil moist and soft, it eliminates weeds almost completely, and it’s composting right there in the garden, providing your plants with food.
It’s a pain in the you-know-where at planting time, to be honest. You have to move the straw, plant, wait for the plant to germinate, and bring the straw back around it. In very large gardens, it makes it impossible to use a seeder so it’s probably not a good idea to use it, but for small gardens, where you plant by hand, mulch is great and worth the extra time.
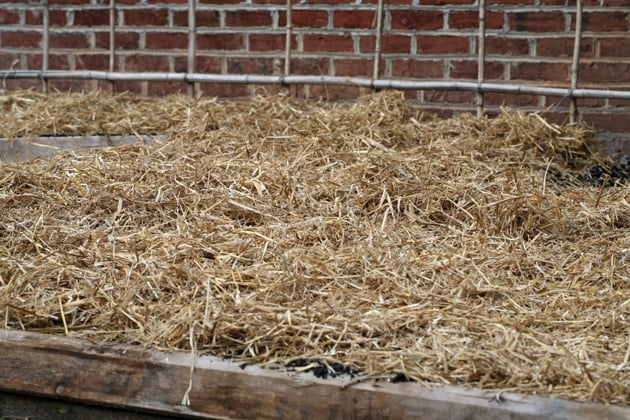
With straw, a layer of 6”-8” is a good start. The straw breaks down and turns into compost right there in the garden, so you will have to keep adding straw once in a while.
One note about using straw… It contains some wheat seeds, and when those wheat seeds germinate in your garden, please don’t come to find me.
Yes, it’s a pain. Yet, for me, straw mulch is worth it. To minimize the painful experience, open the bale and spread the flakes a couple of weeks before you use the straw in the garden. Let it stand in the elements, in the rain and in the sun and most of the seeds will germinate in clumps. Then, before you use the straw in the garden, remove the clumps of green grass.
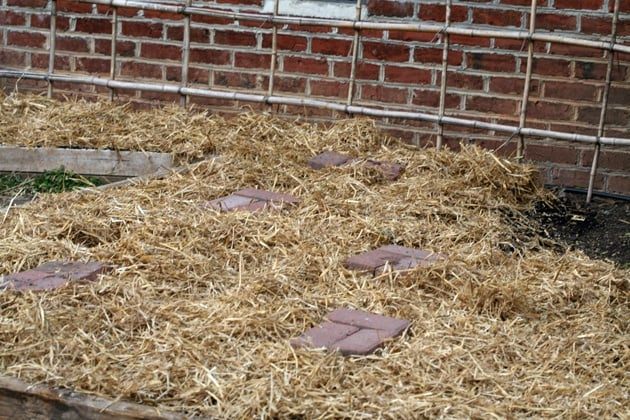
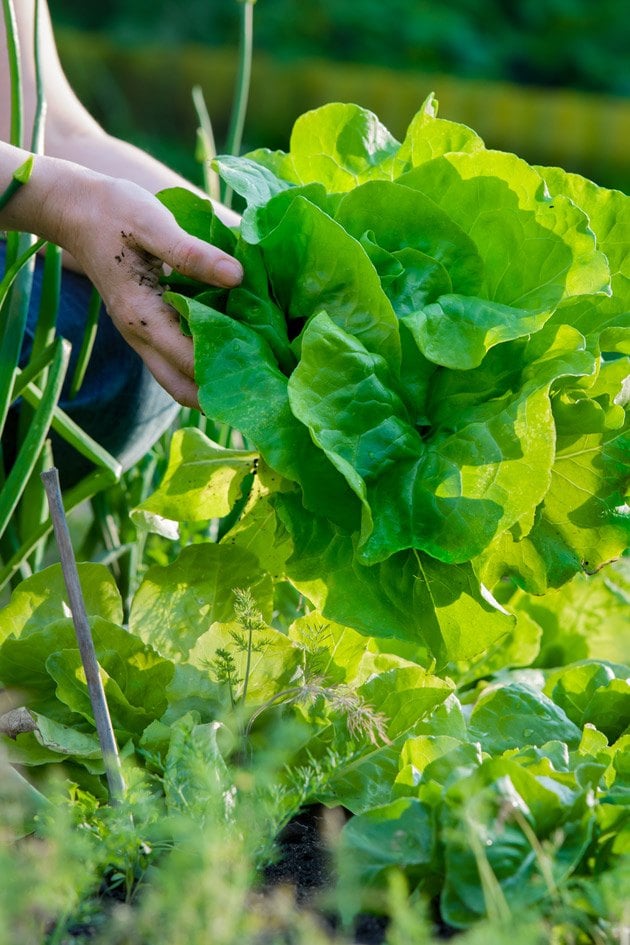
That’s it! Your garden space is ready for planting. In this bed, I had to replace the bricks so I knew where I could step, but of course, in a regular bed or row you won’t need to do that.
From now on there is nothing else you have to do besides planting, harvesting, and adding straw (there might be a few weeds here and there). You can move the straw back at the beginning of the season or in the fall and add more compost if you like, before replacing the mulch.
It really is the easy way to garden. And you should move the straw back once in a while, stick your fingers in the soil and feel and see how amazing it is! This is also the same way that I prepare my garden for winter.
Here are a few more gardening posts that you’d like…
How to Start a Raised Garden Over Grass
How to Create a Planting Schedule For a Vegetable Garden
Hi and thanks for such wonderful advice>
We have a small farm in Costa Rica, where almost the entire farm is sloping.
The farm has not been worked in more than 30m years, with only brush and grass cutting.
We want to grow many, many things, both to eat and to enjoy their beauty.
The irregular sloping is going to cause us to “contour plant”… Do you have any advice on that?
We don’t want to “till” but, we will have to create some swales, and all of our rows will have to maintain the contour of the slope. Otherwise, we will have terrible soil erosion.
Any advice will be sincerely appreciated,
Robert Torbert & Gabriela Acosta
Quinta Santa Rosa
Barva; Heredia Province (searchable on Google Maps)
Costa Rica
40302
WhatsApp: +506 7124 3003
That’s tough! It’s not going to be easy to work this garden either but you can do it. The only thing that I can think about are terraces. They will help reshape the ground. It’s hard to say tho, without seeing the land.
Hi Lee! Starting a new garden in Orange County NC, and running into the issue of horrible clay everywhere! I’ve cleared a large area (about 20X30) where I plan on growing a few different vegetables/flowers, but I’m running into financial constraints with the price of putting compost or even plain topsoil to fill that much area!! I came across this article, so I will not be tilling the area, but any tips on filling it in with a suitable medium for growing? Without breaking the bank?!
Yes! Look in your area for a horse farm. Call them and ask if you can come to get their old horse manure/shavings. Most won’t have any problem with that. Build your beds with that and plant right in it. Another option is to look for old hay. Some hay farmers have bales that were rained on and they can’t sell. Sometimes they’ll let you have them for free or for $1 a bale (but even a new straw bale cost just $5 and goes a long way). Spread the hay where your bed is and either plant into it if possible or use it to fill the bed and spread a little bit of soil on top so you can plant into something. Straw and hay decompose quickly and create amazing soil.
You can also combine the two, fill the bed with straw and spread horse/cow manure on top. The only trade-off is that you might have wheat growing in your garden because the hay/straw often has some leftover seeds in it. All it means is that when it sprouts you’ll have to weed it. It’s easy to do, just takes some time.
Facebook marketplace, Facebook local gardening or equine groups, a Google search of local horse farms, and craigslist are good places to look.
I hope this helps!
LIron,
About nitrogen leaching of wood chips: another video claimed that this only happens if you put the wood chip[s deeper in to the soil, or plow them in. If they are simply placed on top,this doesn’t happen.
Alan
I am super excited to do this. I planted seeds a few weeks ago in seed trays and they are sprouting into beautiful seedlings. I used great potting soil and put coconut husks on the top to keep the soil moist and warm. As soon as the winter passed here, I will be plating these seedlings in the garden and am going to use this technique. Thanks for the clear and descriptive method explained and shared here. Kind Regards Nancy
You are welcome, Nancy. It will work great, and next year the soil under the straw will be even better. I need to add this to the post, if you plan to use straw for mulch, but your bale a few weeks before planting. Place it close to the garden and open it. Let it stand in the elements for a couple of weeks so all the seeds inside germinate and die before you use it in the garden. This way you won’t have a field of wheat in your garden 🙂
I am so excited to try this! My son actually owns a tree stump removal business and I imagine he would be thrilled to give me his wood chips, as he has to dispose of them after each job! Thank you so much for all the information!
Oh I envy you!
I called so many tree cutting businesses around and no one is willing to drive by here and give me their chips 🙁 I use hay right now.
If you have a truck maybe you could drive there and they would dump it in your truck. Just a thought.
I live in NC also. Western part. Some of the cities offer free mulch. Hickory does anyway. It’s not ground as much and you have to let it compost some before using but I’m sure it will work. Hope you can find a source.
Yeah, someone mentioned it to me in the past. I need to call around and check. I tried our county, but they don’t offer wood chips. Also, someone told me that the electric company might offer them when they clean tree branches around wires.
I tried calling several tree trimming companies to see if they gave the shredded mulch away for free. One company said they had a tree trimming in my area and they delivered it to my driveway free.
That is awesome! We have a couple of services like that but they only deliver if you are in the city. We are too far out in the country for them. They won’t come all the way here.
Hi there! Interesting take on no till gardening. I agree with you on not using the tiller and even the methodology behind no till gardening. But it stops being organic when you put down fabric or a rug to cover ground before laying down your soil. Just use gold old plain cardboard and over lap the entire area to be planted, wet it down thoroughly, next cover with newspaper, not glossy inserts just newspaper, wet that down thoroughly, repeat rach one more time. Then if you have mulched leaves place those all over newspaper, if not pinebark fines or pinebark mini nuggets can be spread around, then add your soul/compost mixture and them mulch the top after you plant. Straw can act like a warm home for mice in the winter months and they love brand new roots to munch on. Never had trouble with pine bark though. All of the materials I listed breakdown naturally and create ” black gold” it’s truly amazing and the plants thrive. Not being critical but to have an organic garden, you need to be sure all the materials are biodegradable and replenish the existing soil with nutrients. The fabric is horrendous on plant roots and will tear them to shreds. Do away with the fabric and save yourself the added aggravation. The stepping stone bricks are a fabulous idea to get around to your plants and harvest your bounty!
I never had a problem with mice in the hay. I love how it is decomposing so fast and how it keeps the soil moist, but lately, I started to be a bit concerned about the chemicals they spray the hay with and what it might do to my plants. I would love to use wood chips but my garden right now (we moved since this post) is too big to cover with wood chips that come in bags from the store. It will be too expensive. I am trying to find another source for wood chips in the area. Hopefully, I’ll be able to find one.
If i read her post correctly she took the old carpet OFF before potting down the mulch, etc.
Can I plant in the garden right away, or do I have to do this a couple months ahead of time?
You can plant right away.
The paragon of unatrsednding these issues is right here!
Fun post. I found you via pinterest of course. ? we were late to the game and covered our grass with thick cardboard that covered some furniture we got from Ika. ( only About a month ago?) Have you watched the Back to Edwn film? That’s how we heard of no tilling. You should look it up. You can watch the film free on their site. This is our first garden on our own and I am so excited! I am in utah and hoping the random wind storms don’t blow our covering away. (Used to live in NC btw. I made a garden with my dad about 8 years ago and did the tilling etc. It was horrible in that clay. I wish I had known about this back then.
Yes, I watched the film. His garden looks amazing. I tried to find a source for free wood chips here but still have no luck finding one. Straw is much cheaper and does a great job too so I use it instead, but it’s the same concept. The only problem with the straw is that sometimes it has seeds inside that germinate and you end up with a small feild of wheat. It’s not too hard to pull the wheat, just annoying.
In our city we have huge piles of free mulch from Christmas tree recycling and the city trimming trees. You might be able to find wood chips through your city and\or county website?
Tried that. They don’t have any…
I really want to use straw but how can you be certain it hasn’t been exposed to any pesticides or chemicals which will then go into your soil, and then veggies?
To my knowledge, most wheat crops are sprayed with two main kinds of pesticides: 2,4-D and Harmony. Both of those have a half-life of less than 14 days, meaning it takes them less than 14 days to break down. Usually, farmers will not harvest during the 30 days after spraying. So by the time they harvest the chemical is long gone (don’t forget most wheat crops that are baled are meant to feed livestock). The straw I use is probably a few months old, whatever chemicals it had on it are long gone so I feel it is safe to use it in my organic garden.
It’s great if you can find a local farmer to buy from and ask them exactly what they spray with and when. Then do a little bit of research on this chemical before you use their hay/straw.
I worry the straw becomes wet and compacted I planted garlic in the fall and the straw seemed to clump and smother it. Do you mix periodically the straw so it dries some?
No, I don’t mix it with anything. Actually, one of the benefits of mulch is that it keeps the ground moist. However, I will tell you this, last year I planted garlic in straw mulch and it didn’t work. Not because it clumped it but because it was too wet for the garlic and most of my garlic rot before I could harvest it. Maybe wood chips will work better with garlic, I am not sure but the straw definitely kept it too wet for my garlic (I guess it also depends on how much rain you have).
I am quite excited to try, at your suggestion, the no till type of organic gardening method. This will be wonderful, as we do not have a tiller. I have put in garden for about 8 years now. A kind neighbor has usually tilled for us, when he had time. No I won’t have to wait for him. I can do my planting, as I choose.
I also didn’t know just how to prep the soil & you’ve helped with that, too!!
I really am anxious to get out in the garden and try your proven method! I always say, work smarter, not harder! looking forward to the results for us.
Will this method work well for flower gardens, too? Thank you for inspiring me to, go play in the dirt!!
Yes Linda! It will definitely work for flowers too. I have a bulb garden that is done the same way and the weather here in NC is getting warmer so my bulbs germinated last week and starting to flower. I also have a herb garden that is done the same way. With herbs, it’s even easier because you plant them once (rosemary, thyme, mint etc…), and the only thing you have to do is keep adding mulch around the plants.
The only downside with using straw as mulch is that sometimes you land on a bale that has a lot of seeds and they germinate. But it’s no big deal weeding them.
Good luck, let me know how it worked.