This post may contain affiliate links, view our disclosure policy for details.
This soil block recipe is simple and the blocks hold together very well. The four ingredients for this soil block recipe are easy to come by and affordable!
Lady Lee’s Note…
Back in 2017 I set out to plant a market garden. I’d done a whole lot of research and came across soil blocks. I had read a lot of great things about the system especially when it came to how healthy the seedlings were.
I wanted to try soil blocking so I ordered a soil blocker and started gathering my supplies. I got stuck when it came to the soil-blocking mix. I knew I couldn’t use any potting or seed starting mix. To buy the premade soil-blocking mix was way too expensive for me and the recipe that I thought I had to follow back then was just too complicated. There were too many ingredients in it and the whole process suddenly seemed complicated.
So I gave up. I set the soil blocker on the shelf in the shed and just ordered some plastic flats that I could fill with seed-starting soil that I could easily get at a local plant nursery. And this is what I’ve done ever since. And it worked well (read more about seed starting).
Last year, my sister-from-another-mister who is a relatively new flower farmer decided to try starting her seeds in soil blocks. I wasn’t very involved in the process at the beginning but one day I stepped into Kelli’s growing room and was just amazed at how many soil blocks she could fit on one growing shelf.
She shared with me a simple recipe for the block mix, I could see that it was working because her blocks were holding together just fine and the plants seemed really happy. I decided it was time to give soil blocking another try! (The basic recipe can be found on The Gardener’s Workshop soil block nutrient bag (link below), I modified it by adding one more ingredient).
What is Soil Blocking?
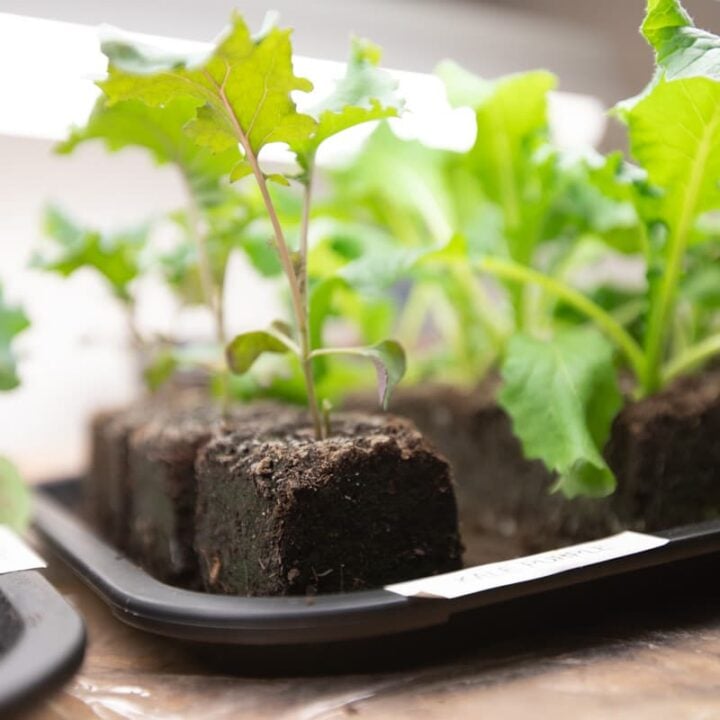
Think about planting a seed in a brownie. You make the blocking mix, it has to be a certain consistency so it doesn’t fall apart… Then, you use a soil-blocker, which is a metal hand-held device to form the soil blocks. You push the blocks out of the device onto a tray and plant your seed in the center of the block. Elliot Coleman developed this system for the small market gardener. You can read more here.
Benefits of Soil Blocking…
- Less plastic – this might be my favorite benefit of soil-blocking! No more plastic plug trays. They are not my favorite… I don’t like when I have a lot of things to store. They aren’t always easy to clean, and they break easily. Soil blocks will be happy on whatever tray you put them on, I’ll give you some options below.
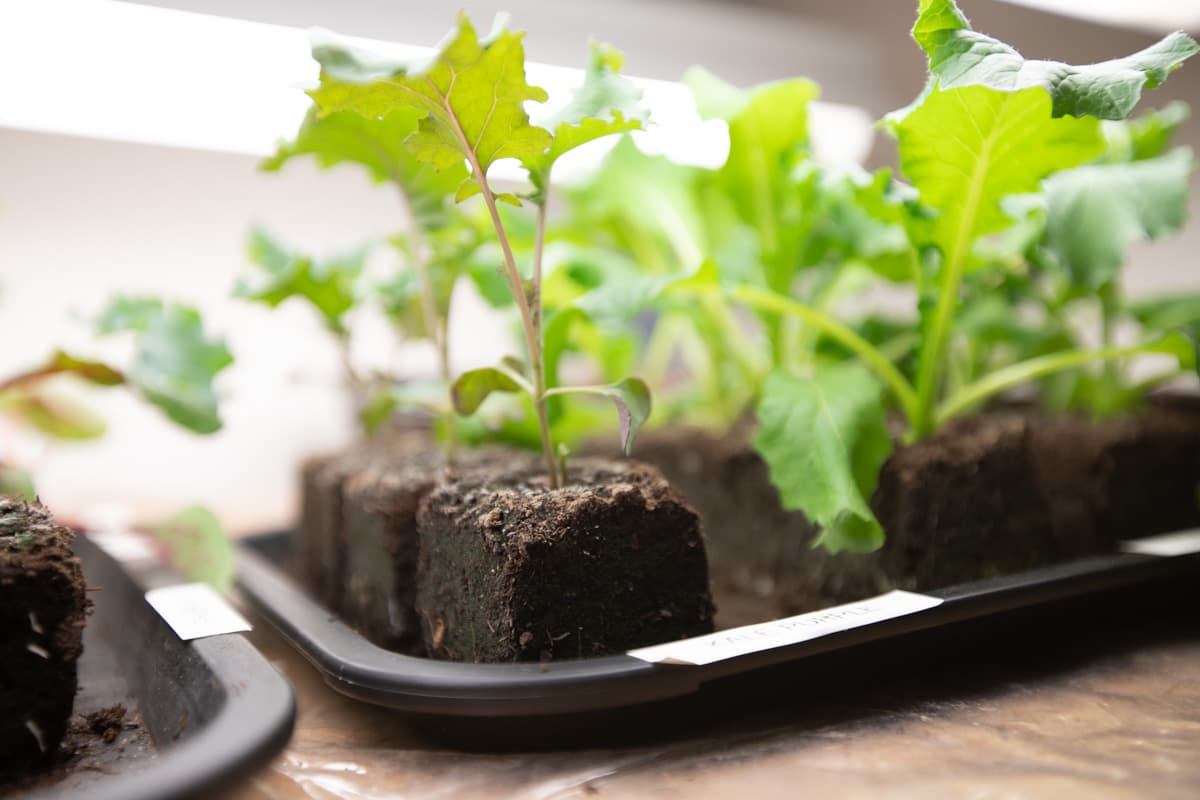
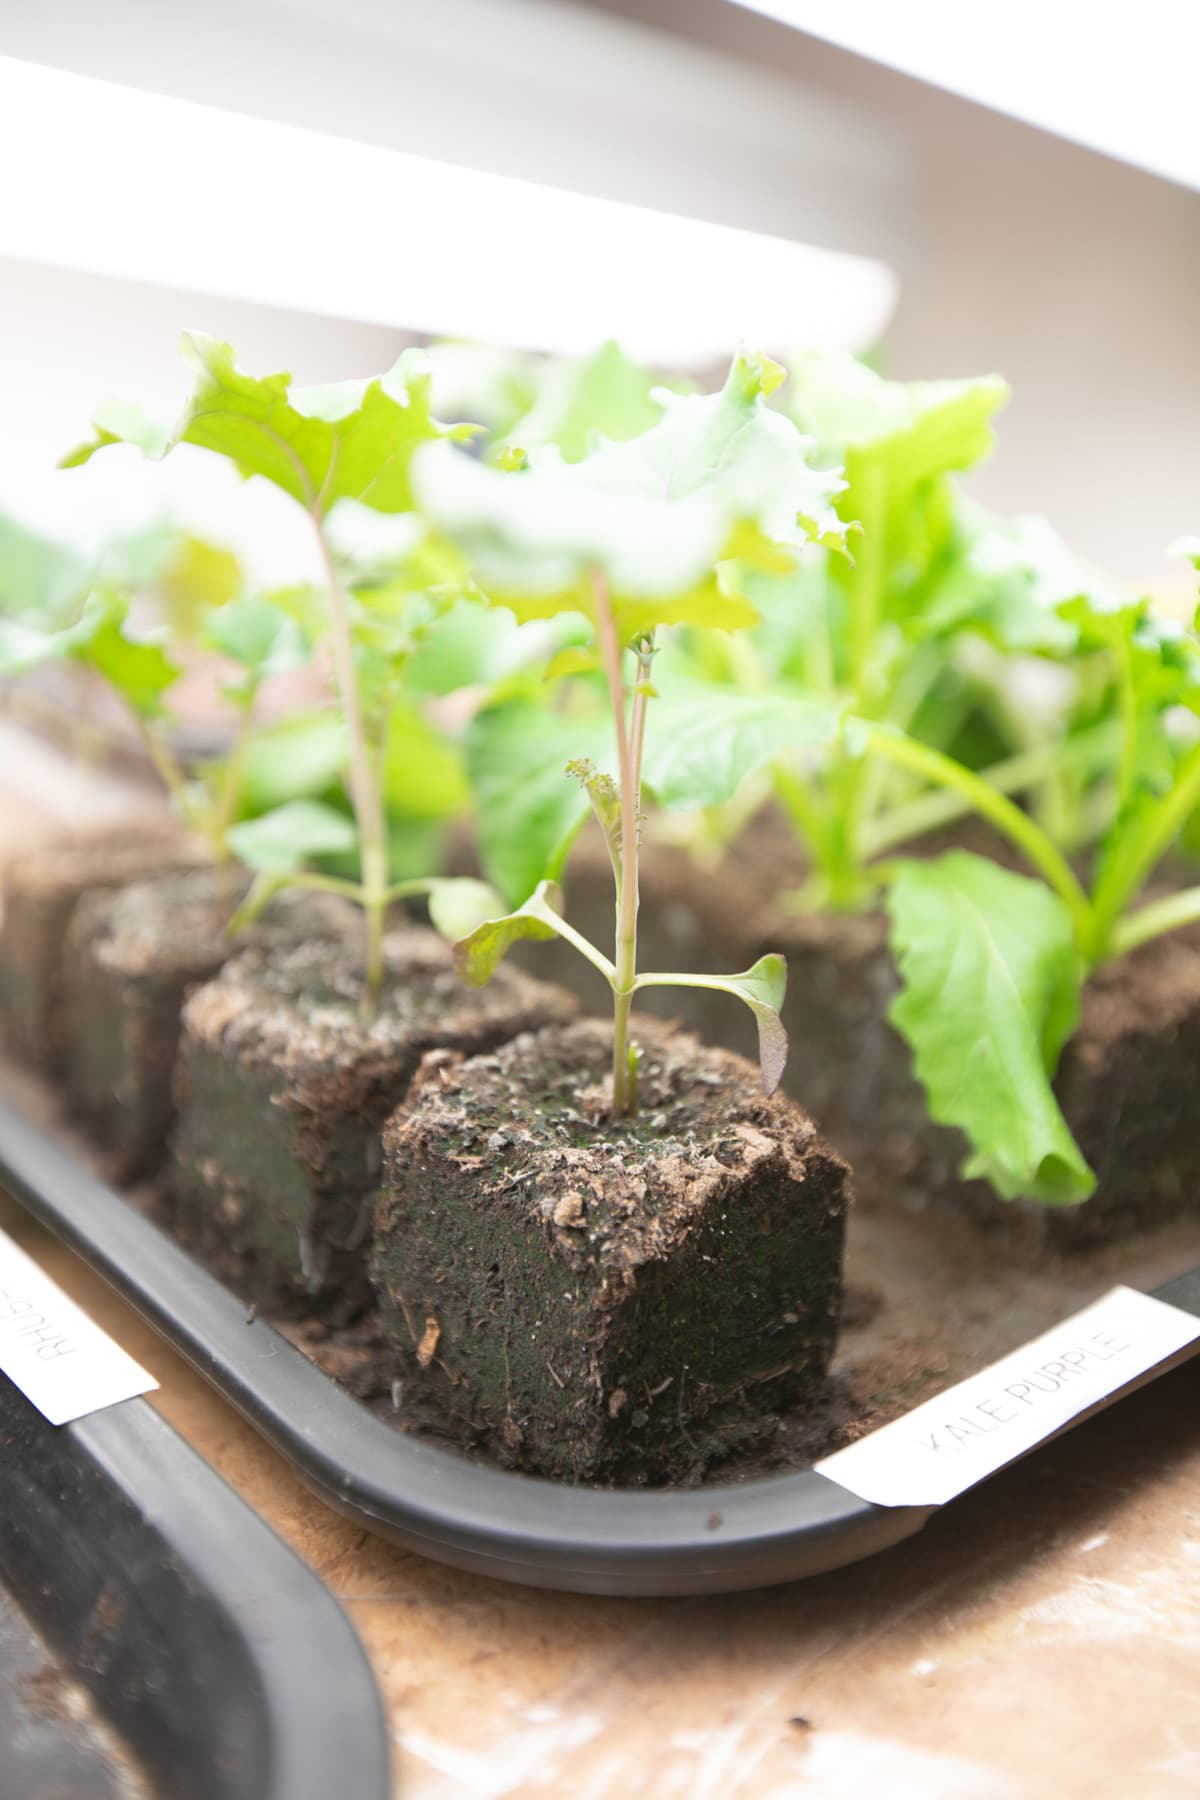
- Healthier plant babies – since the blocks are open on all sides there is more oxygen available for the baby plant. Also, we make the soil block mix with a lot of compost which gives the plant a strong jump-start.
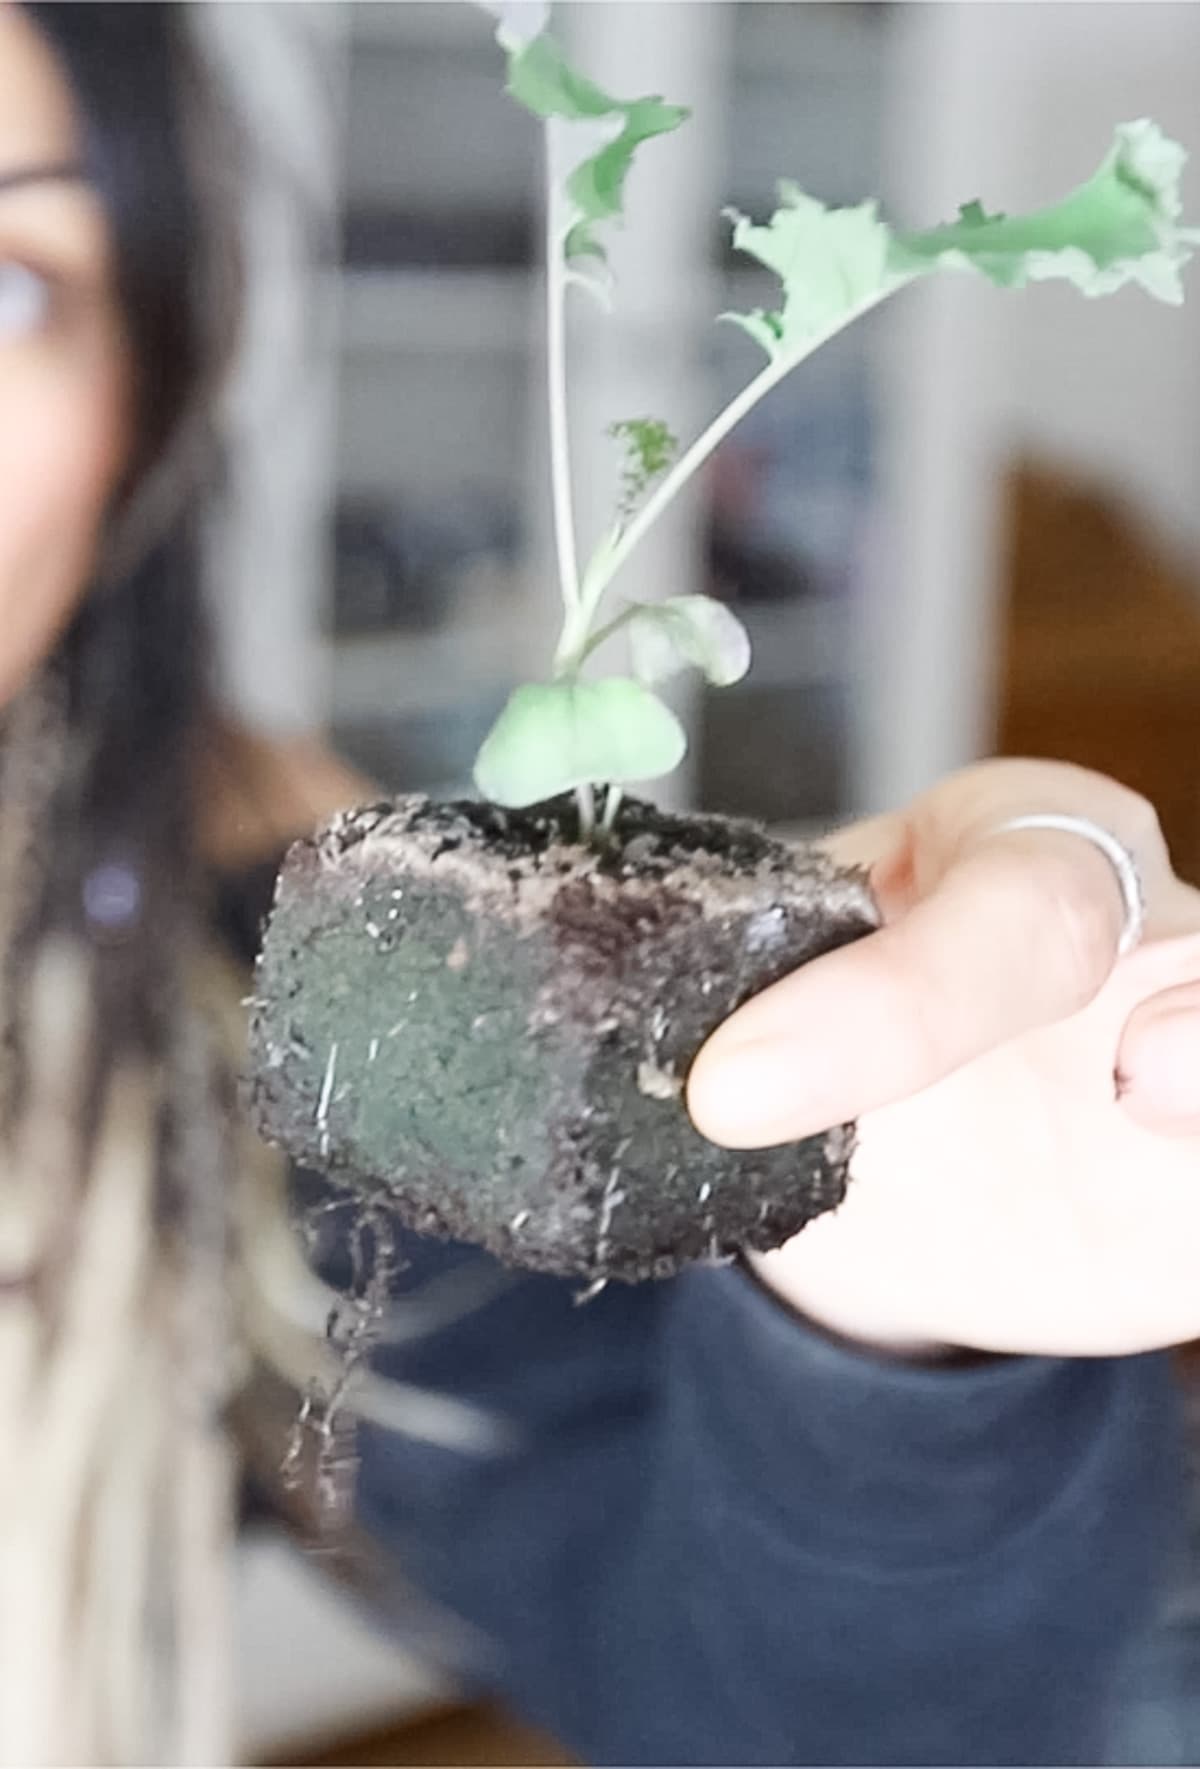
- No transplanting shock – transplanting soil block seedlings to the garden is much easier than transplanting seedlings from a tray. You don’t have to wrestle the baby plant out of the plug and once it’s in the soil, since the roots are not bound to a container, it has a much easier start.
- Saves room – this might not always be true… It depends on the size of the blocks, however, if you use the tiny blocks just to germinate your plants, you can certainly fit a whole lot more plants on a growing shelf.
- Start any seed – some seeds don’t like to be transplanted from a container to the ground. Once started, they like to be left alone. Peas and beans are a good example. However, since we aren’t actually taking the plant out of anything when we transplant a soil block, it is possible to start these plants in blocks. They can, of course, be directly planted in the garden, but starting them indoors gives us a little bit of a head start and more control over germination.
Sizes of Blocks Available and Potting up…
There are four different sizes of soil blocks available…
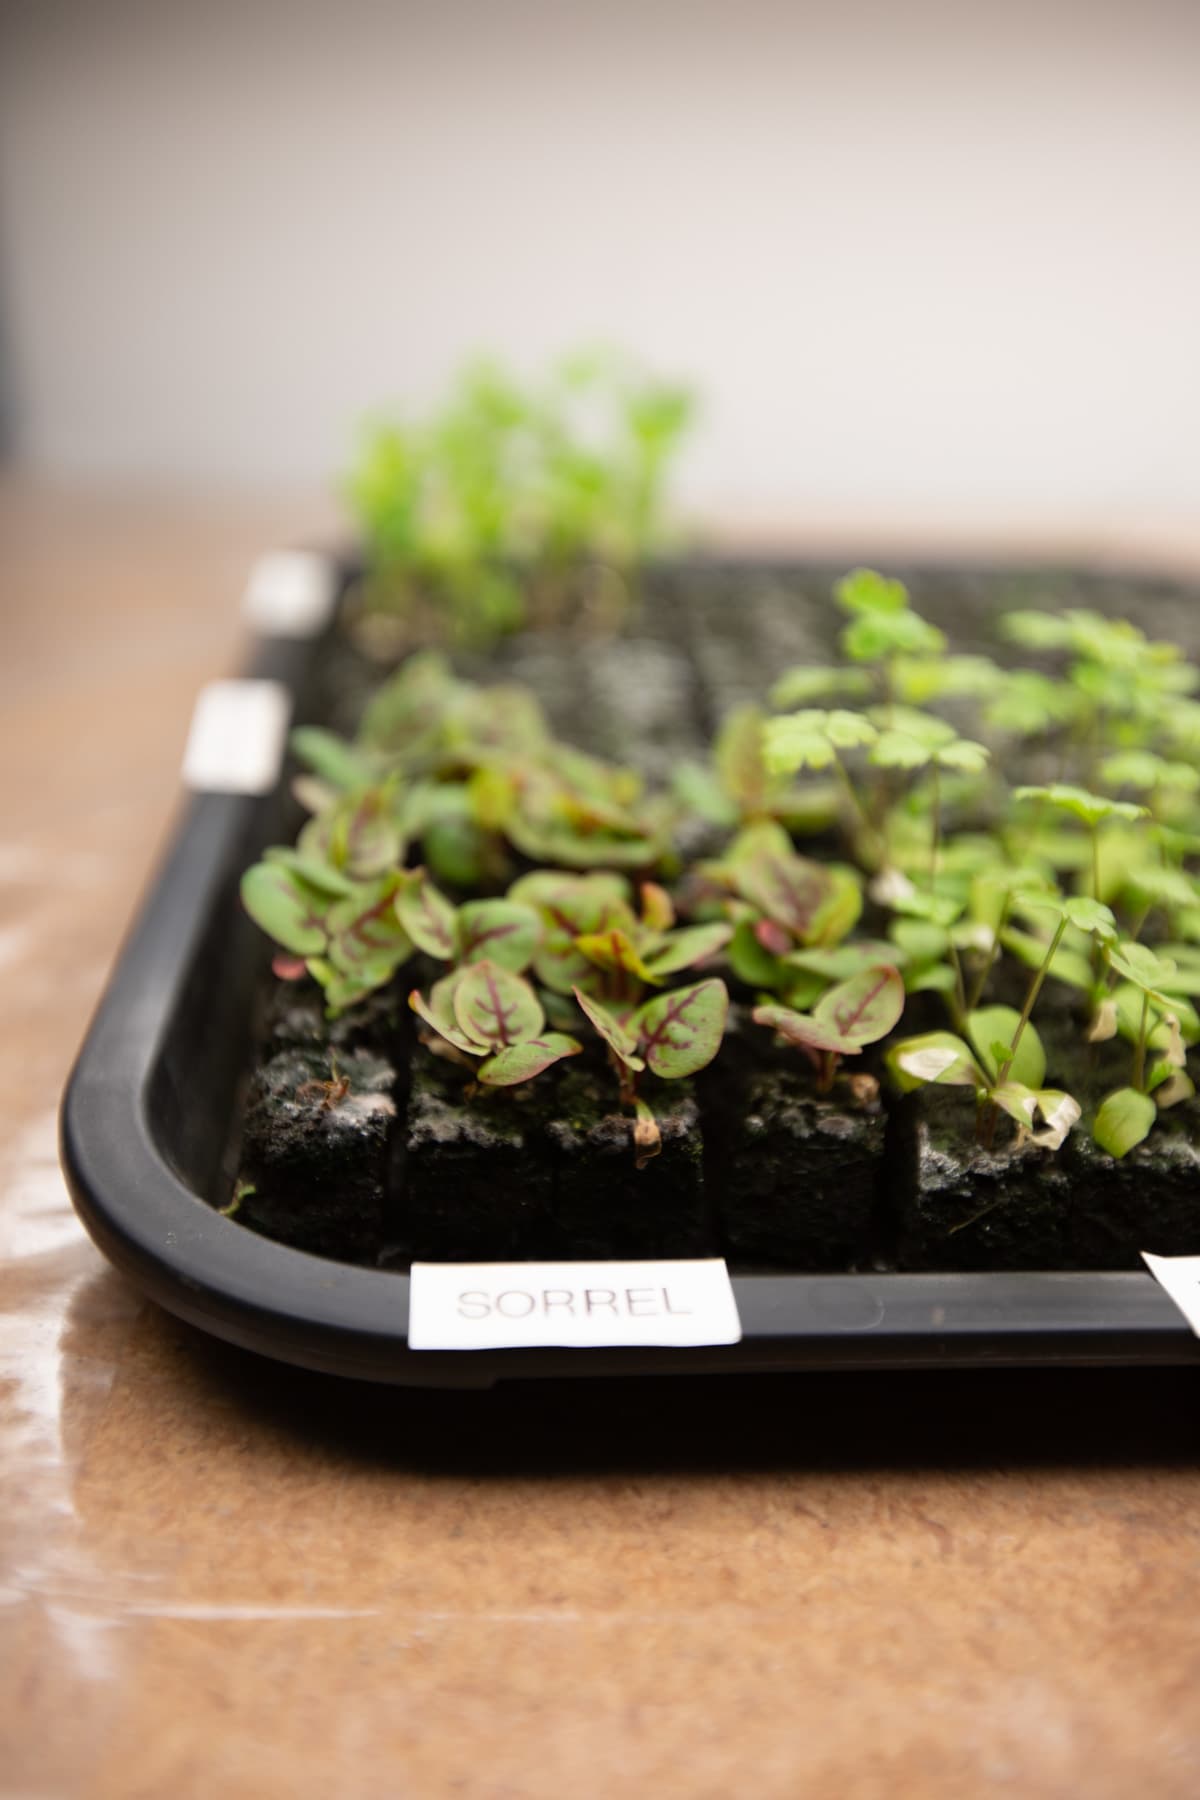
- Hand-held 20 soil blocker – produces 20 tiny soil blocks. Blocks measure 3/4″ x 3/4″ x 3/4″ and are great for plants that don’t need to stay indoors for too long and can be transplanted outside very young. I use this size for lettuce, green onion, spinach, arugula, cilantro, parsley, and so on…
- Hand-held 5 soil blocker – produces 5 blocks that measure 1 1/2″ x 1 1/2″ x 1 1/2″. This is a size that I use for beets, peas, chard, kale, and so on…
- Hand-held 4 soil blocker – this one makes four blocks a little larger than the 5 blocker. Blocks measure 2″ x 2″ x 2″. I use this one to start peppers, cucumbers, squash, eggplant, and so on.
- Hand-held 1 soil blocker – produces one large soil block that measures 4″ x 4″ x 4″. I haven’t used this one yet. It is mainly used for potting up.
Over time, you will learn what size of block to use with each kind of seed but just keep in mind that the system is set in a way that you can pot up. This means that if you planted your seed in one of the tiny blocks, it germinated and needs more room or maybe you can’t yet transfer it to the garden for some reason, you can fit the small block into a larger block.
This also works well for plants that need to be potted up like tomatoes (I haven’t done this for tomatoes yet. I am still using my no-potting-up method). You will need a special insert to do this (you can find it on the Johnny’s site) but it is possible. We won’t get too deep into this right now but I just wanted you to know that it’s possible.
Soil Block Recipe Ingredients…
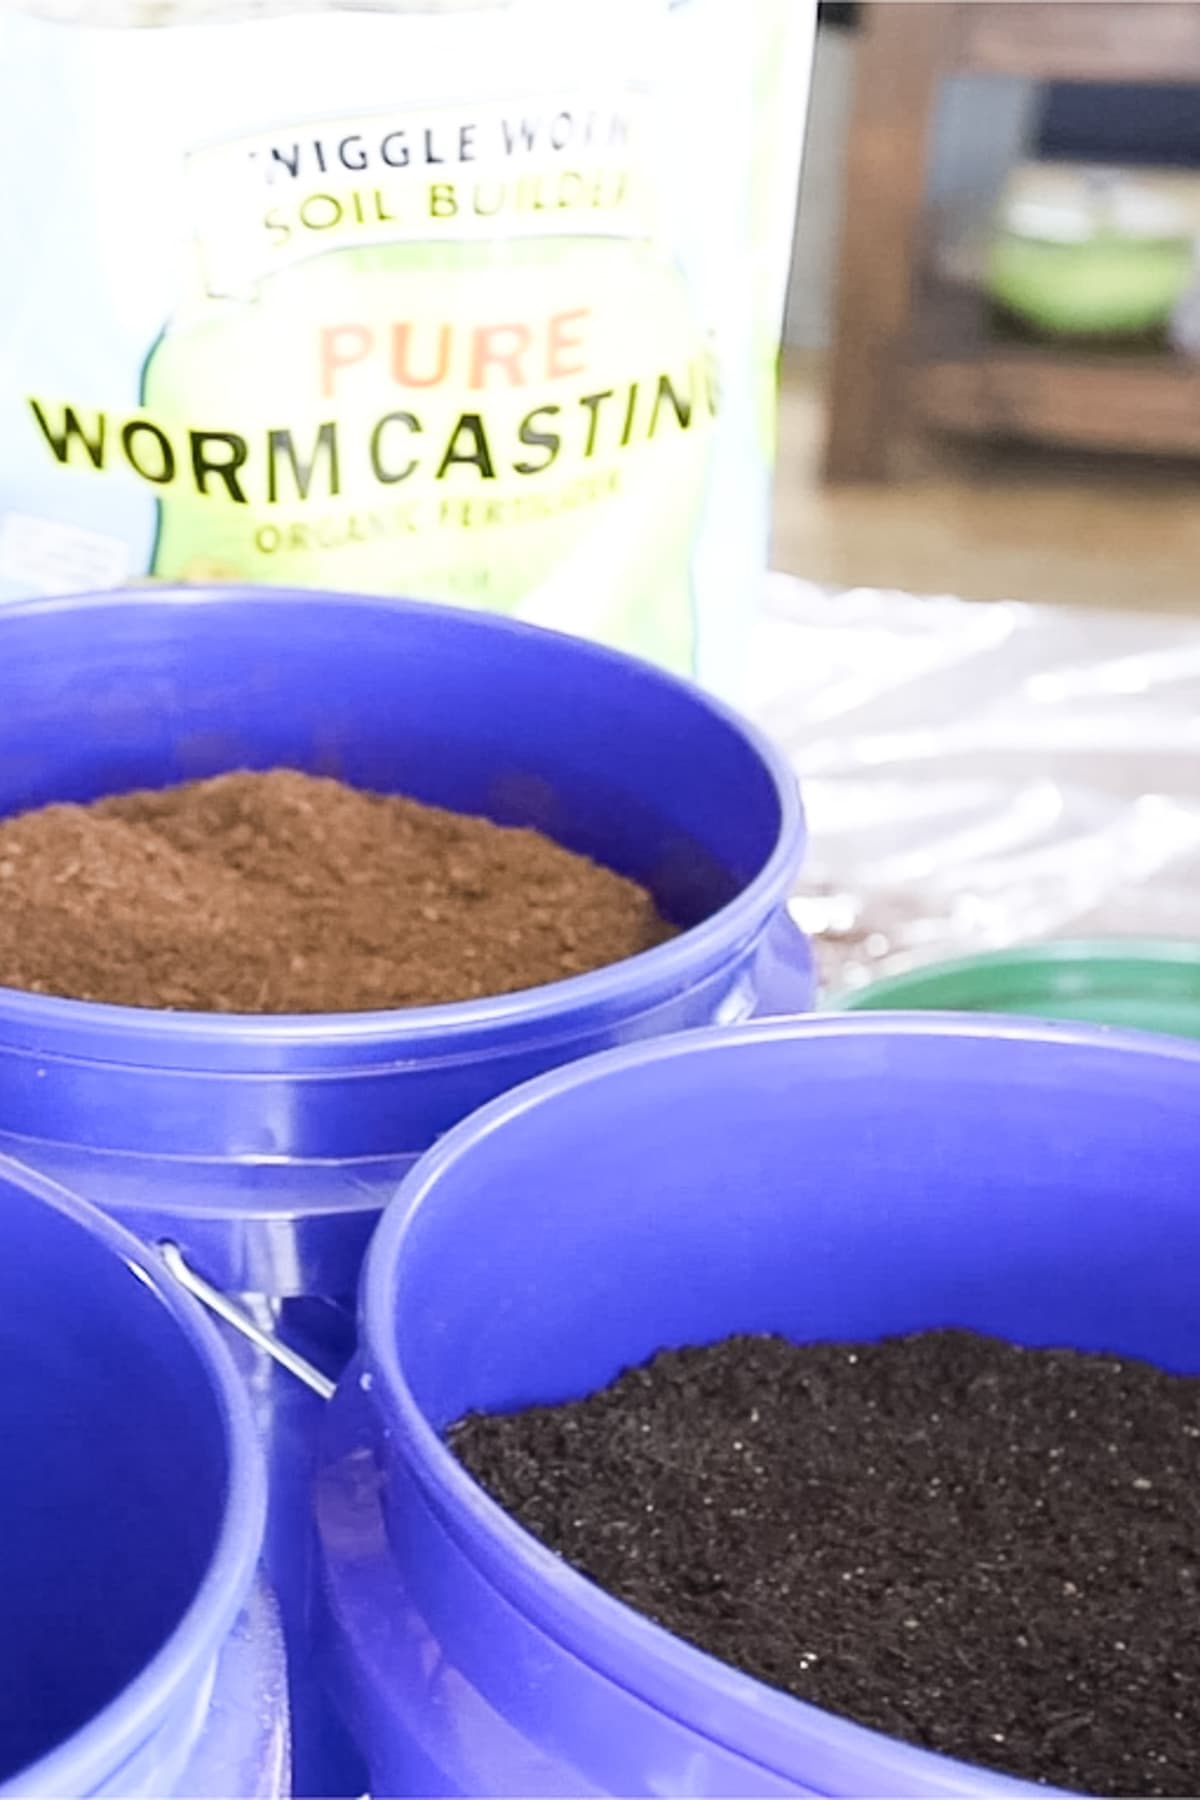
- Organic compost – I buy a large bag of it from a local plant nursery.
- Peat moss – I also buy this locally from the same plant nursery.
- Soil block nutrient – this is a mix of greensand and rock phosphate. It helps the blocks to hold together.
- Worm castings – you can make the soil block mix with just the first three ingredients and it will be just fine. However, I love worm castings so I add them to my mix.
Materials…
- 3 five-gallon buckets
- A sifter – this sifter fits on a five-gallon bucket. We’ll use it to sift the compost and the peat moss.
- Garden gloves
- Face mask – the peat moss is very dusty so when sifting it, some people like to wear a mask.
- A wooden flat turner – or whatever else you want to mix with.
- A cat littler box – or something similar. We are going to need a shallow and wide tub to mix the soil block mix with water.
- Soil blocker (whatever size you need)
- Foam trays – I like using foam trays. If you buy meat at the store, you can start keeping all the foam trays that the meat comes on. You can also use cafeteria trays or anything else that is sturdy and can hold some water.
How to Make Soil Blocks…
Step One – mix the ingredients. Start by sifting the compost into one bucket and sifting the peat moss into the other bucket. We want to make sure that there aren’t any large pieces that can get in the way of the soil blocker or can prevent the soil blocks from firmly holding together.
Add 16 cups of sifted peat moss, 4 cups of sifted compost, 1 cup of worm casting, and 1/2 cup of soil block nutrient into the third bucket and mix well. Repeat until the bucket is full (a five-gallon bucket will hold three batches of this recipe. We add them one at a time so we can mix each batch really well).
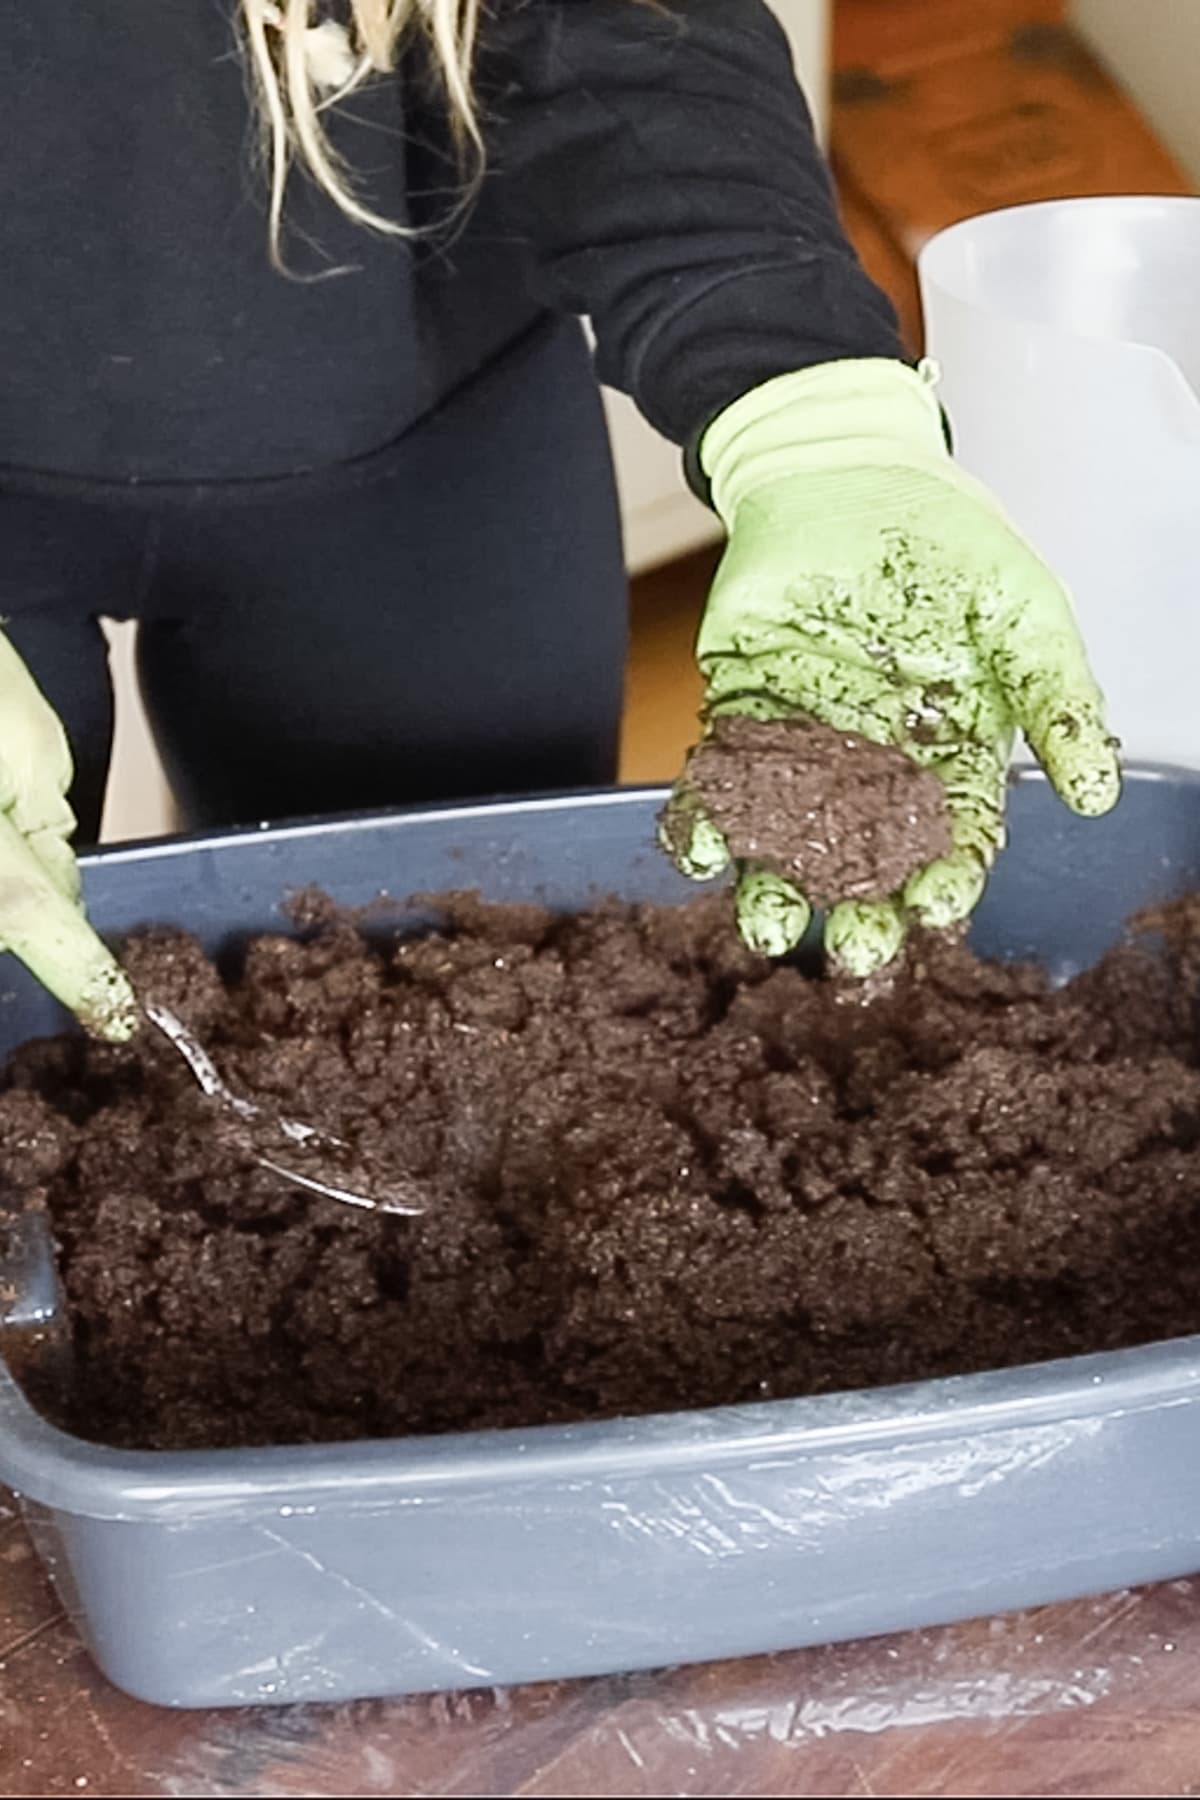
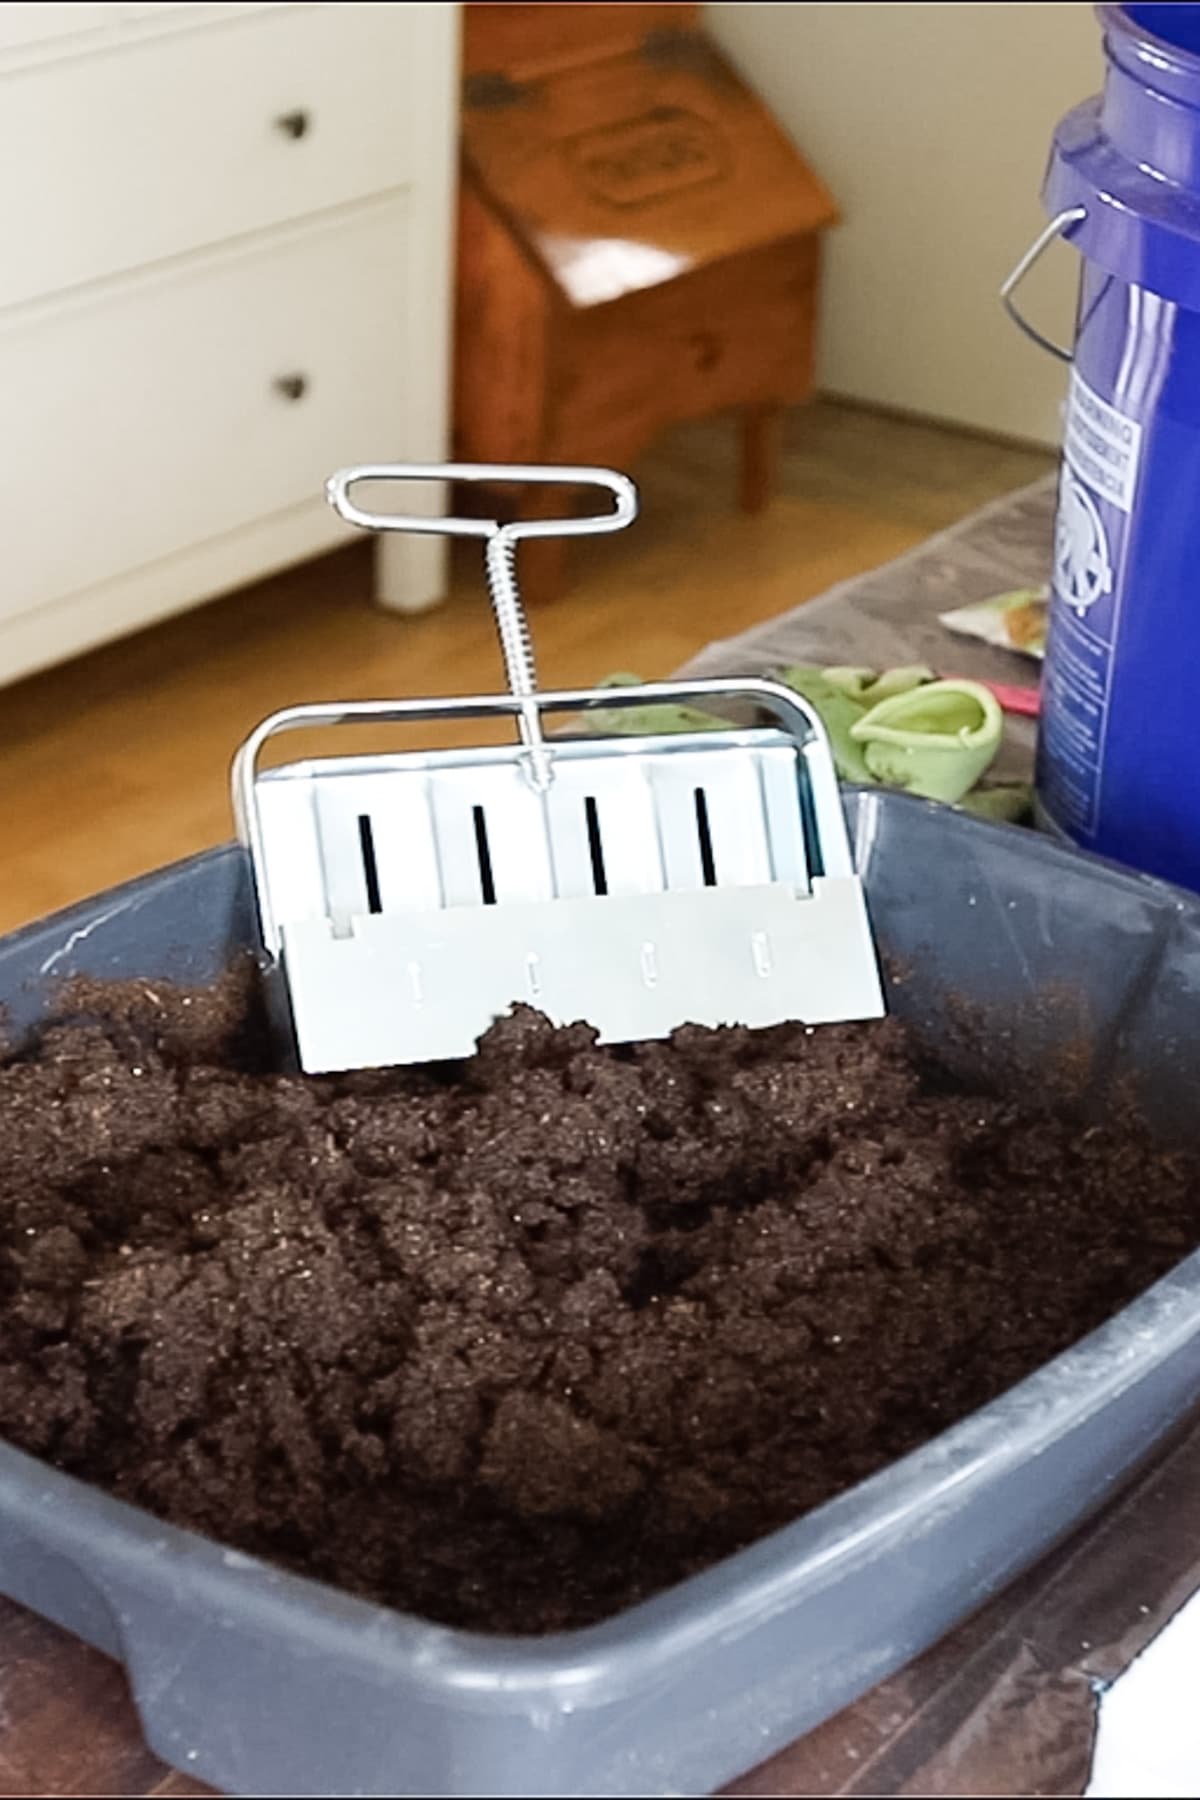
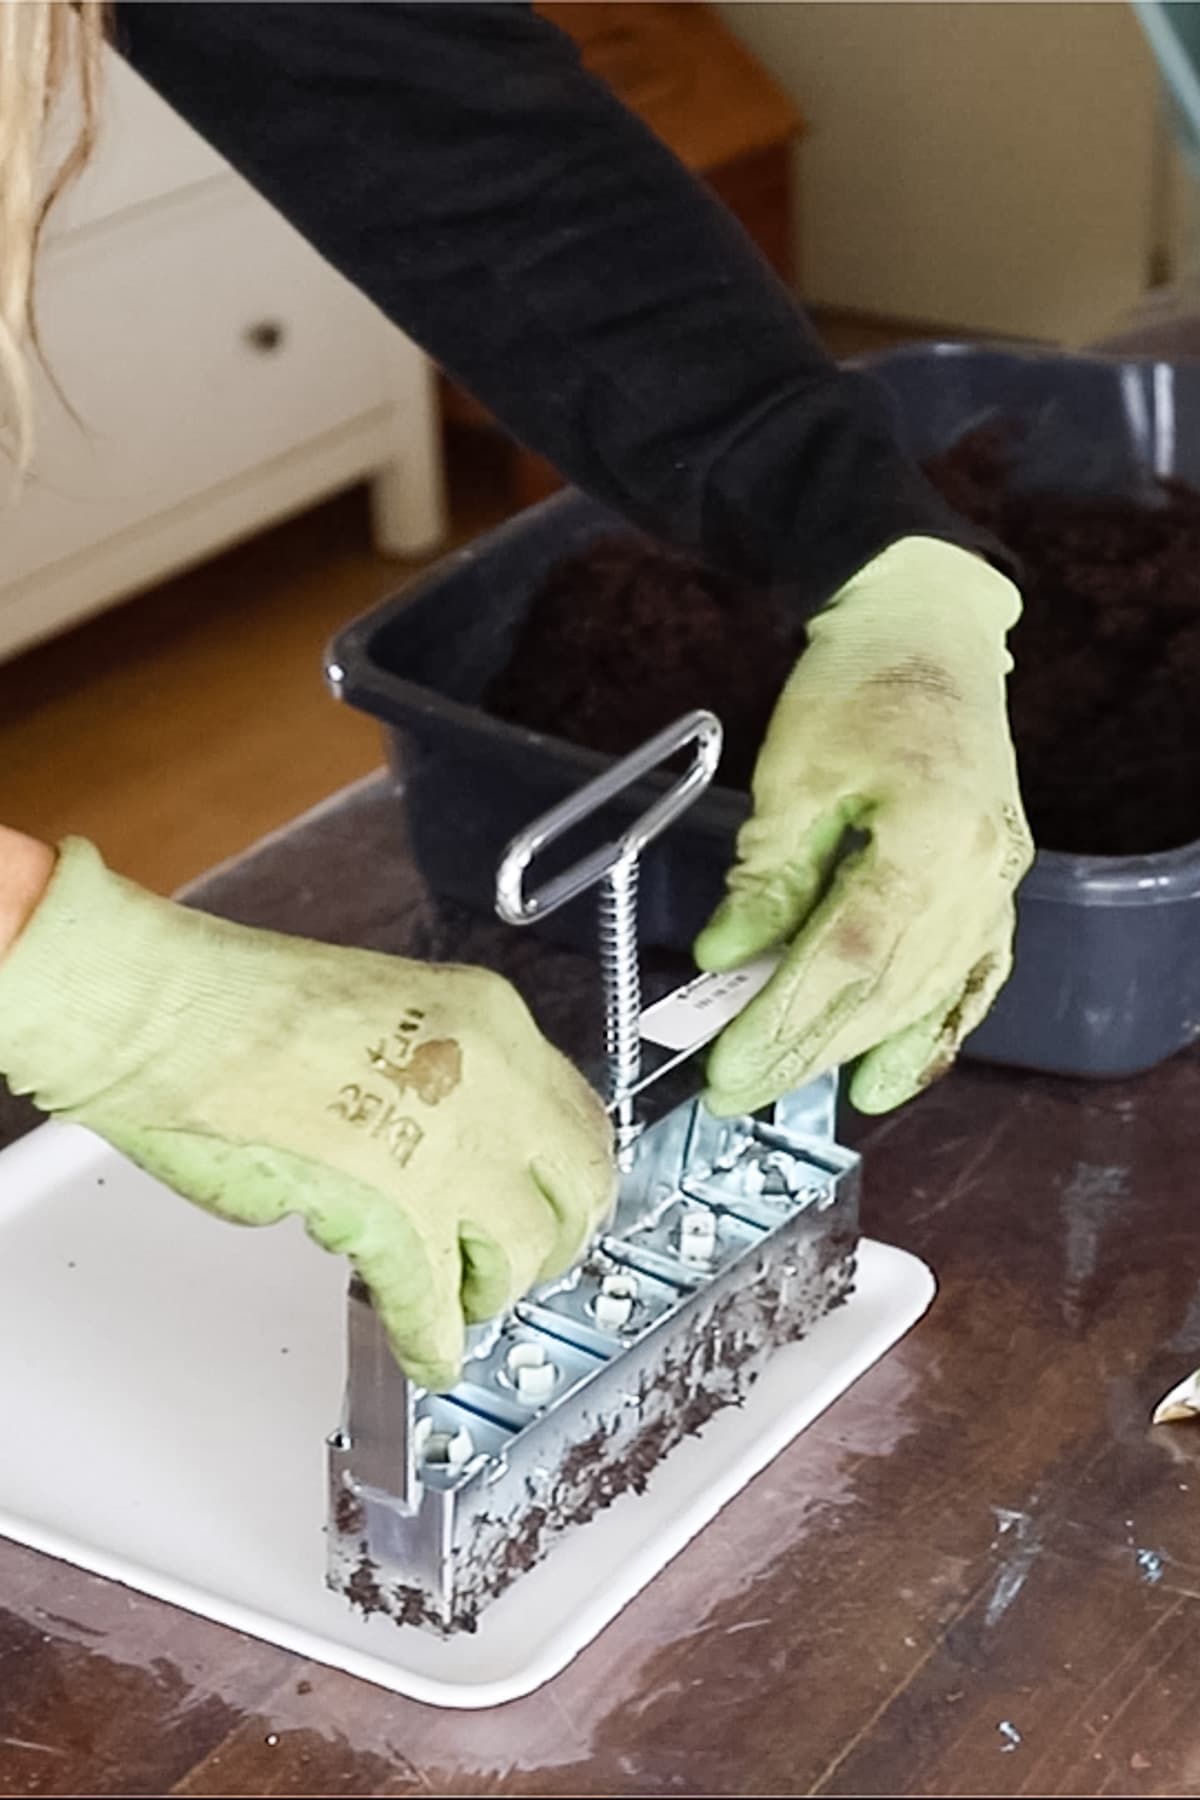
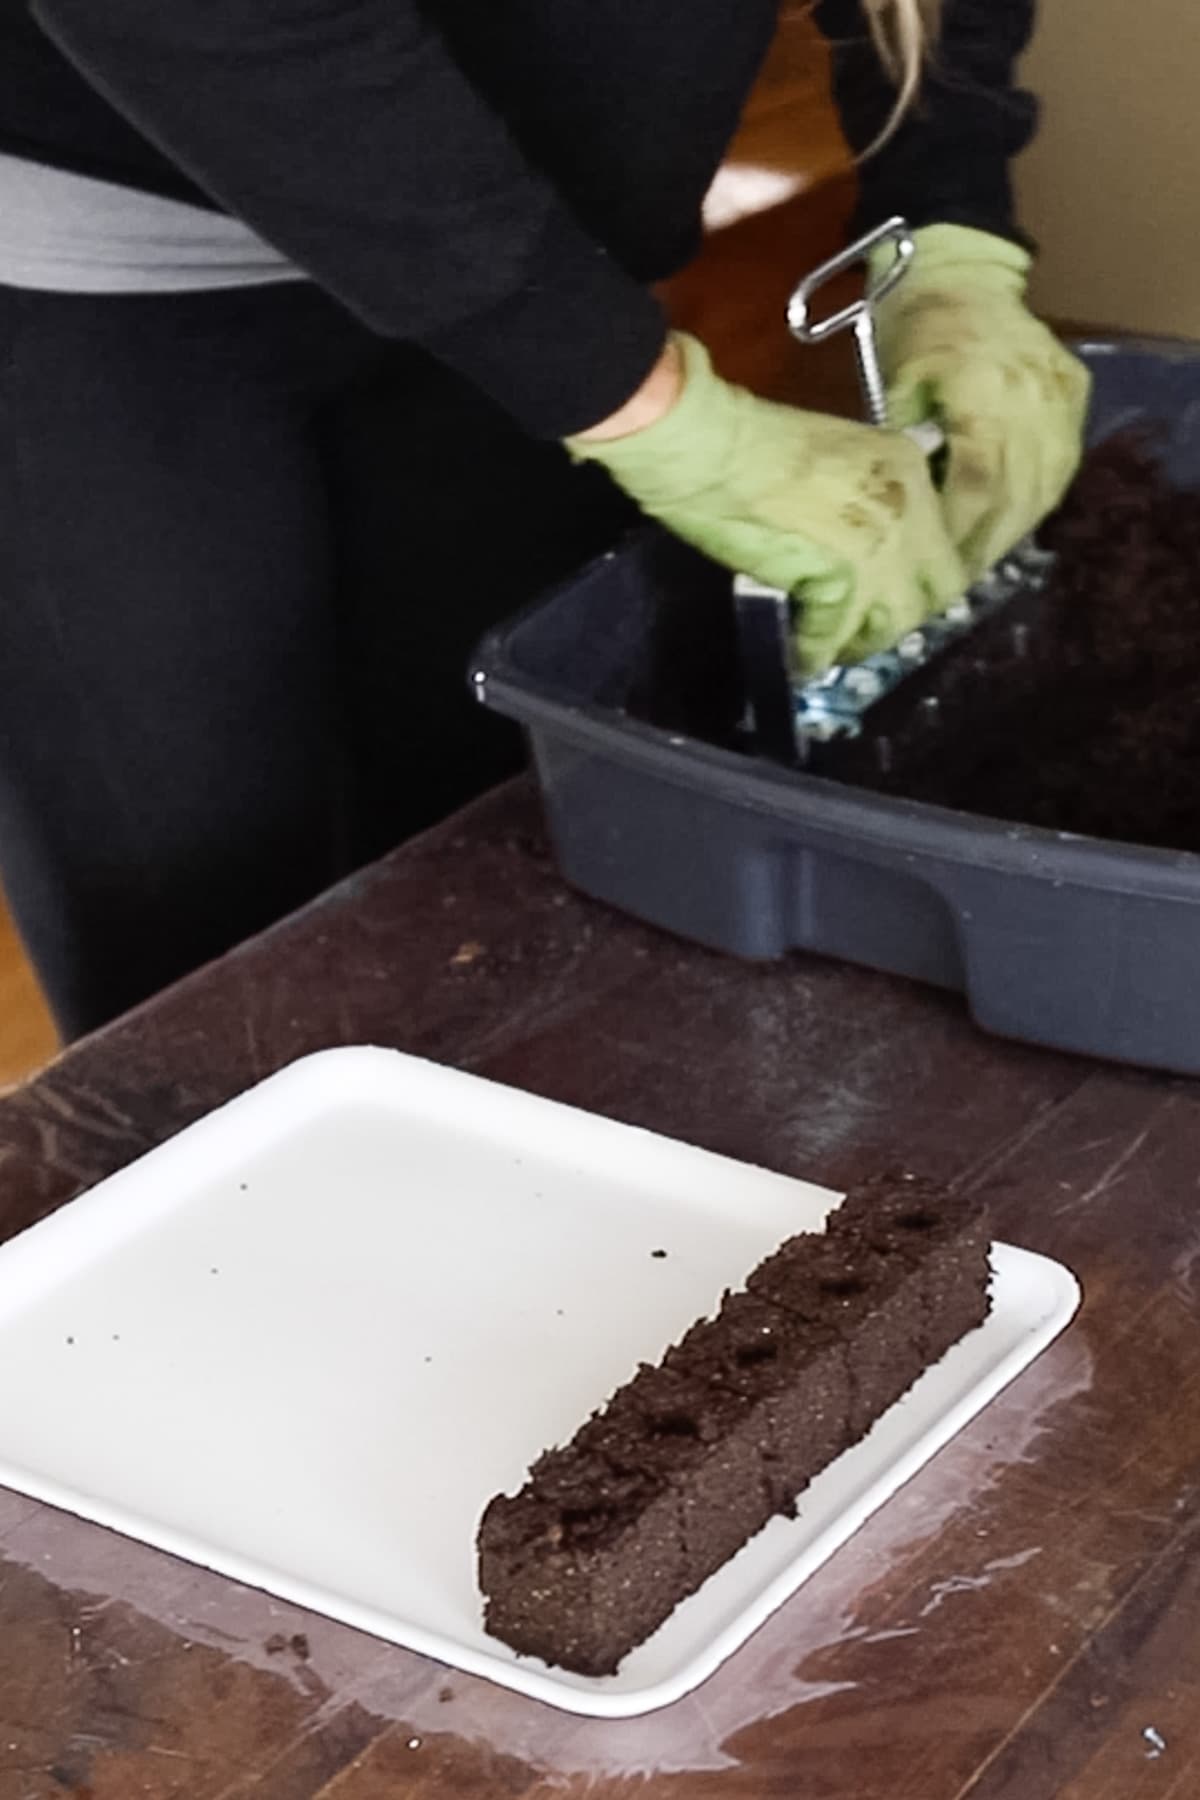
Step two – make the soil blocks. Add some of the soil blocking mix into the tub. Start adding water gradually and mix. We want the mixture to be wet enough to hold together but not too wet that it falls apart. Once your mix reaches the right consistency, push the soil blocker down on top of the soil mix so it can fill up with soil. You want to press firmly so the soil is packed in there. Scrape the bottom of the soil blocker with a butter knife or your flat turner to remove excess soil, place the packed soil blocker on your growing tray, and press the blocks out of the blocker.
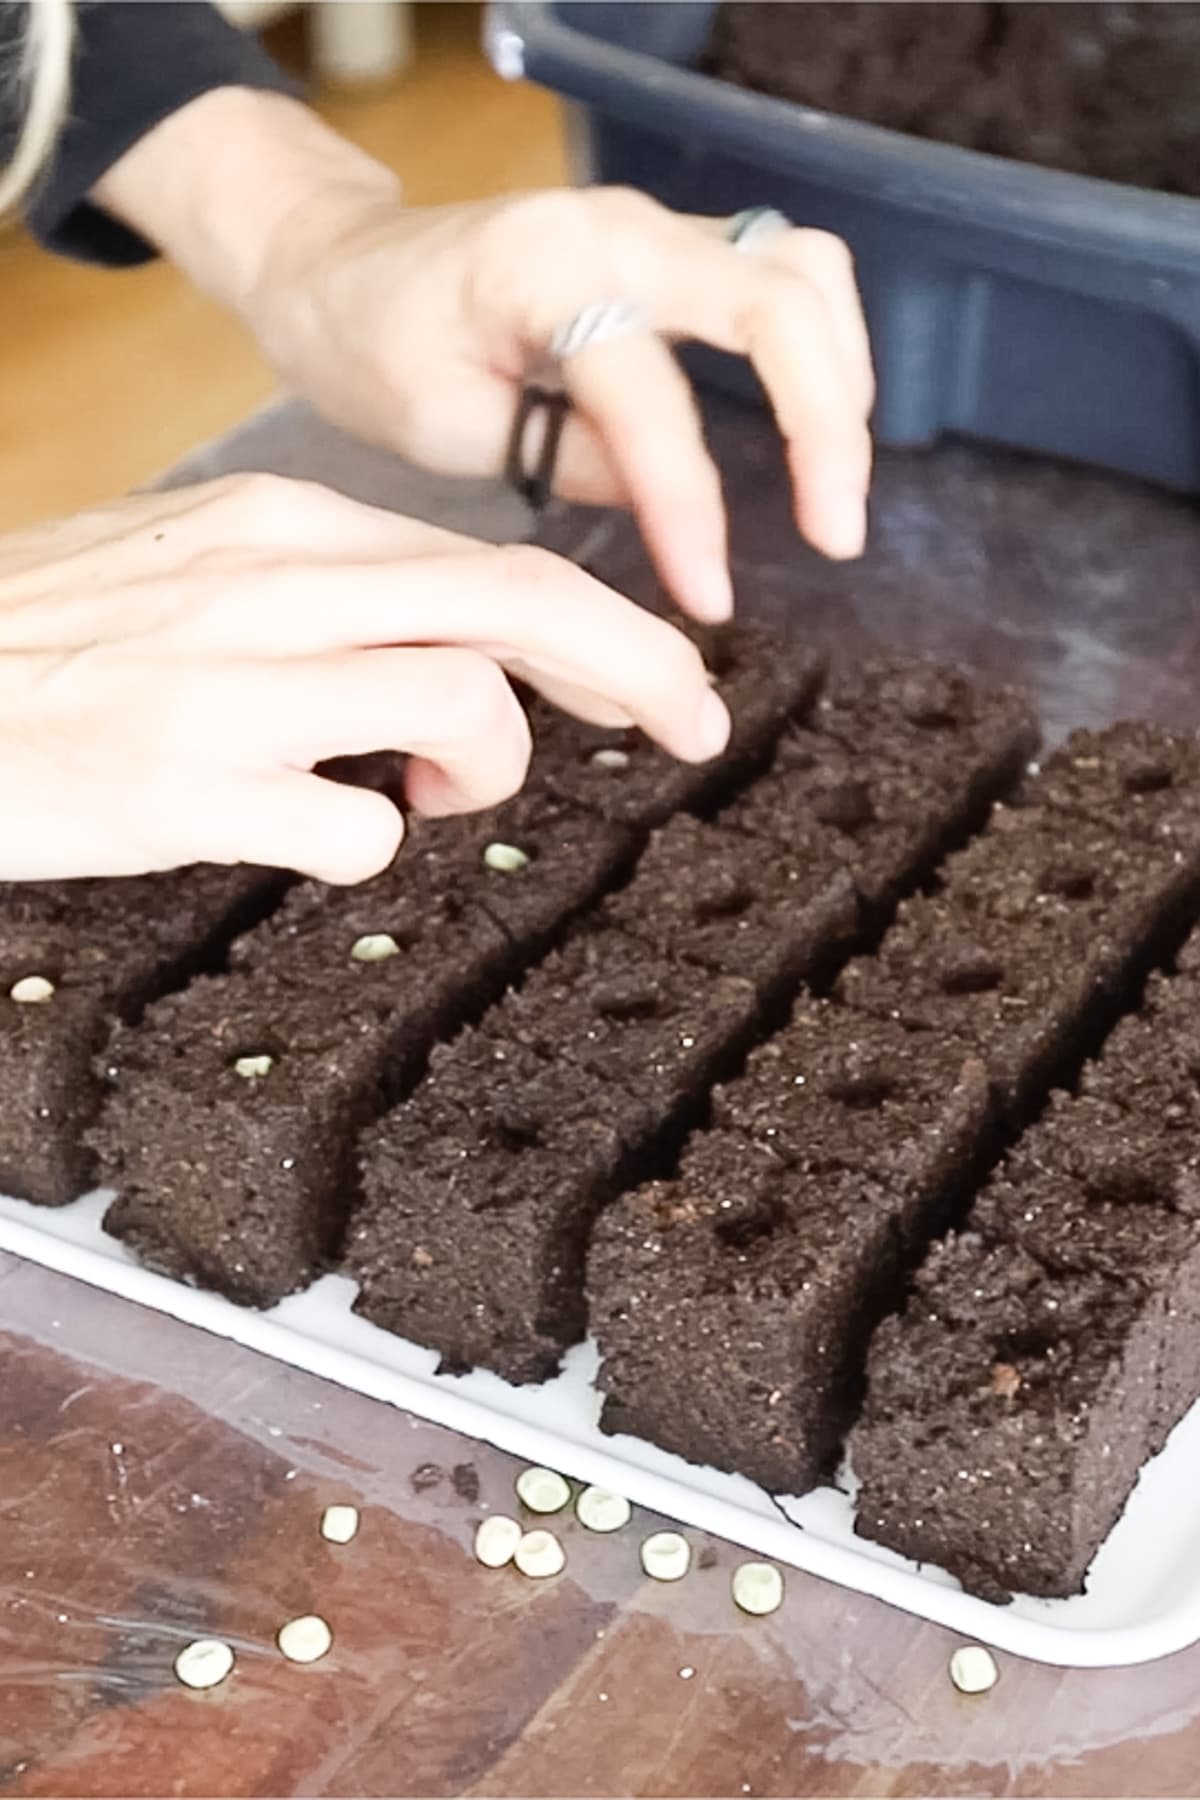
Step three – plant the seeds. The soil block comes with dibbles that make depressions in the center of each block. This is where you plant your seed. Some seeds need to be covered with soil and some don’t, it depends on the seeds you are planting. If your seeds need to be covered, use a little bit of soil from the blocking mix to cover them. Lastly, place your tray under the grow lights.
Hardening and Transplanting Seedlings in Soil Blocks…
- Hardening – you will harden seedlings in soil blocks the same way that you’d harden seedlings in plug trays, by gradually placing them in the elements every day for a little longer.
- Transplanting – transplanting is easier since you don’t have any plastic to deal with. Simply place your seedling in the ground. I have a whole post dedicated to the right way to harden and transplant seedlings. Visit the link to learn how to do it right.
Frequently Asked Questions…
No. There isn’t anything that you have to do to the blocks as the seedlings are growing. Sometimes you’ll notice that the roots from one block are creeping into another. It might be a good idea to move them apart a bit if you have room but it’s not a must.
Always bottom water soil blocks. When you notice that the blocks are dry, use a watering can to add water to the tray. The blocks will soak up all the water.
You’ll find many different soil block recipes online. I am sure that many of them are great. I love this one because it’s simple and uses only four ingredients that are easy for me to come by. And, the plants seem to love it.
Yes, if your seeds need to be placed on a heat mat they’ll do just fine in soil blocks. Just make sure that the tray that you are using is fine to be placed on a heat mat.
This is still an experiment for me. So far I love soil blocking. I feel like it’s a bit more work upfront since I have to make the soil block mix myself, however, once that’s done everything else is very simple and the baby plants seem to love it.
More Gardening Tutorials…
- How to Create a Planning Schedule For a Vegetable Garden
- Preparing a Garden Bed for Planting Without Tilling
- DIY Worm Bin for Composting
- How to Make Toilet Paper Roll Seed Starting Pots
- Harvesting Garlic Scapes
Soil Block Recipe (and How-To)
This soil block recipe is simple and the blocks hold together very well. The four ingredients for this soil block recipe are easy to come by and affordable!
Materials
- Organic compost
- Peat moss
- Soil block nutrient
- Worm castings
Tools
- 3 five-gallon buckets
- A sifter
- Garden gloves
- Face mask
- A wooden flat turner
- A cat littler box or shallow and wide tub
- Soil blocker
- Foam trays
Instructions
- Mix the ingredients. Start by sifting the compost into one bucket and sifting the peat moss into the other bucket. We want to make sure that there aren’t any large pieces that can get in the way of the soil blocker or can prevent the soil blocks from firmly holding together. Add 16 cups of sifted peat moss, 4 cups of sifted compost, 1 cup of worm casting, and 1/2 cup of soil block nutrient into the third bucket and mix well. Repeat until the bucket is full (a five-gallon bucket will hold three batches of this recipe. We add them one at a time so we can mix each batch really well).
- Make the soil blocks. Add some of the soil blocking mix into the tub. Start adding water gradually and mix. We want the mixture to be wet enough to hold together but not too wet that it falls apart. Once your mix reaches the right consistency, push the soil blocker down on top of the soil mix so it can fill up with soil. You want to press firmly so the soil is packed in there. Scrape the bottom of the soil blocker with a butter knife or your flat turner to remove excess soil, place the packed soil blocker on your growing tray, and press the blocks out of the blocker.
- Plant the seeds. The soil block comes with dibbles that make depressions in the center of each block. This is where you plant your seed. Some seeds need to be covered with soil and some don’t, it depends on the seeds you are planting. If your seeds need to be covered, use a little bit of soil from the blocking mix to cover them. Lastly, place your tray under the grow lights.
Notes
Frequently Asked Questions...
- Do I need to care for the blocks in any way as the seedlings are growing?
No. There isn’t anything that you have to do to the blocks as the seedlings are growing. Sometimes you’ll notice that the roots from one block are creeping into another. It might be a good idea to move them apart a bit if you have room but it’s not a must. - How should I water soil blocks?
Always bottom water soil blocks. When you notice that the blocks are dry, use a watering can to add water to the tray. The blocks will soak up all the water. - Is this recipe better than others?
You’ll find many different soil block recipes online. I am sure that many of them are great. I love this one because it’s simple and uses only four ingredients that are easy for me to come by. And, the plants seem to love it. - Can I use soil blocks with a heat mat?
Yes, if your seeds need to be placed on a heat mat they’ll do just fine in soil blocks. Just make sure that the tray that you are using is fine to be placed on a heat mat.


Less plastic seed starting but styrofoam trays, oxymoron. Love soil blocking concept bet there is a reusable tray to use instead even if plastic . Reduce, reuse recycle is an eco concept
Where can I find the greensand and rock phosphate?
You can find both on Amazon.
Ugh! I’m already behind!
I have no doubt you’ll catch up!
Hello!
Love the soil block idea, for a plant sale wondering what I’d put them in to sell? Any ideas? Thanks again! Love your website!!
I repotted mine into 4″ x 4″ plastic pots that I got from a plant nursery that was closing down a long time ago. You can also collect styrofoam trays and have them with you at the market. people can choose their plants and place them on a tray to take home with them. Just make sure that the blocks are not too wet so they can be picked up if you do it this way.