This post may contain affiliate links, view our disclosure policy for details.
Join me as I build my chickens a chicken coop from pallet wood. This was a fun and affordable project and the chickens loved their new home!
Lady Lee’s Notes…
This pallet wood chicken coop was my first solo building project (freshly divorced and wanted nothing to do with a man… handy or not!). As you read this post and look at the pictures… Keep that in mind.
I’ve learned a lot since then and successfully finished a few much larger building projects, however, this coop will always hold a special place in my heart. It’s still standing and I still love it. It served me great as a chicken coop for many years and today it’s a firewood storage room.
It’s a useful building that can serve many purposes. The pallet wood is beautiful and is very easy to work with (check out this much larger building that I am currently working on… Made of pallet wood and mud!). So I hope that you’d get some ideas, and then go off and make it your own.
Chicken Coop Requirments…
Before we begin, let me share with you the list of things I wanted to accomplish with this project…
- I wanted my coop to be tall enough that I could stand inside of it.
- I wanted it to have a dirt floor (in other words, to not have a floor) so I could rake the chicken poop easily and add it to the compost pile.
- I wanted it to be made of natural materials (no plastic or whatever…).
- Even though I have around 35 chickens/guinea hens/ducks, I knew I’d only need a couple of nest boxes. The chickens take turns on one nest box (and lay in a couple of other places around the homestead like my dog house, for example!), the guinea hens lay their amazing eggs God knows where, and the ducks have their spot under the milk stand.
- My black Australorp chickens are free-range 24/7. Most of them sleep on the big tree that is right next to the coop but I still wanted them to have roosting bars so they can sleep in the coop if they wanted to or in case it’s snowy or rainy.
- The coop also had to have good airflow and ventilation.
- Lastly, I decided to use screws for the project so I can take the whole thing apart and move it if I need to.
Getting and Prepping the Pallet Wood…
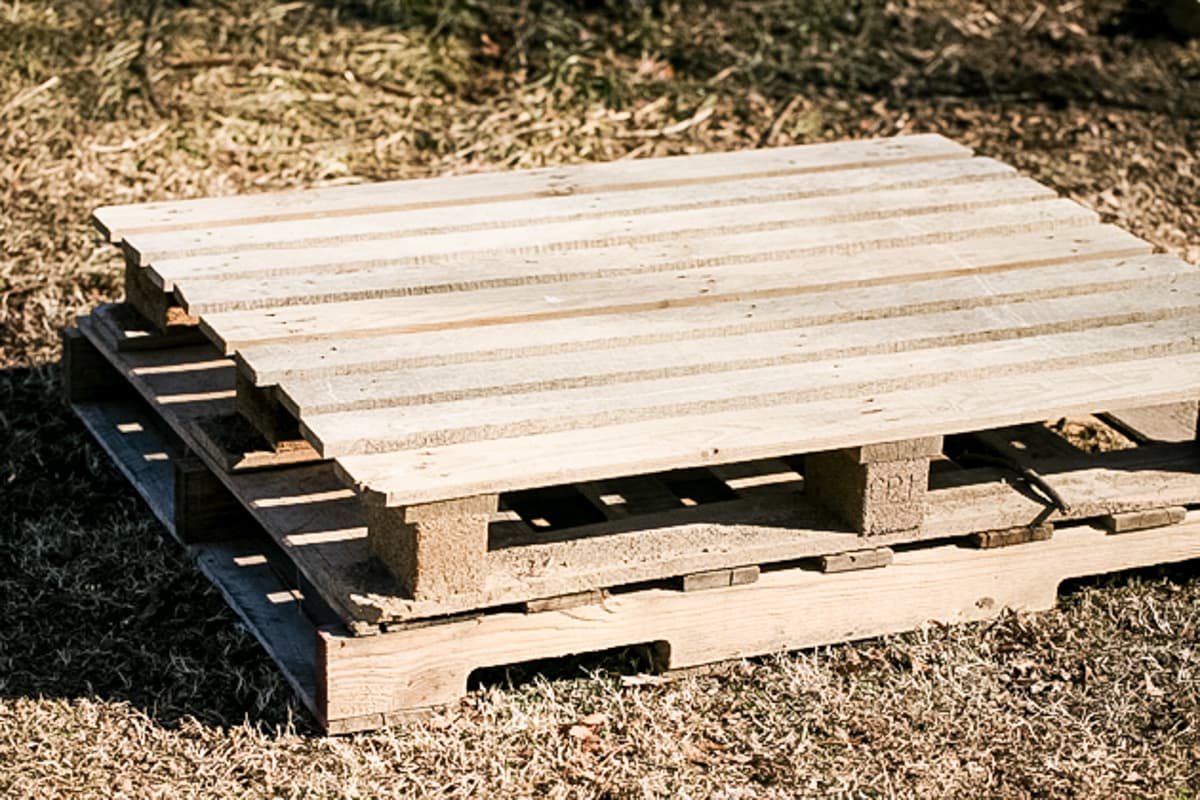
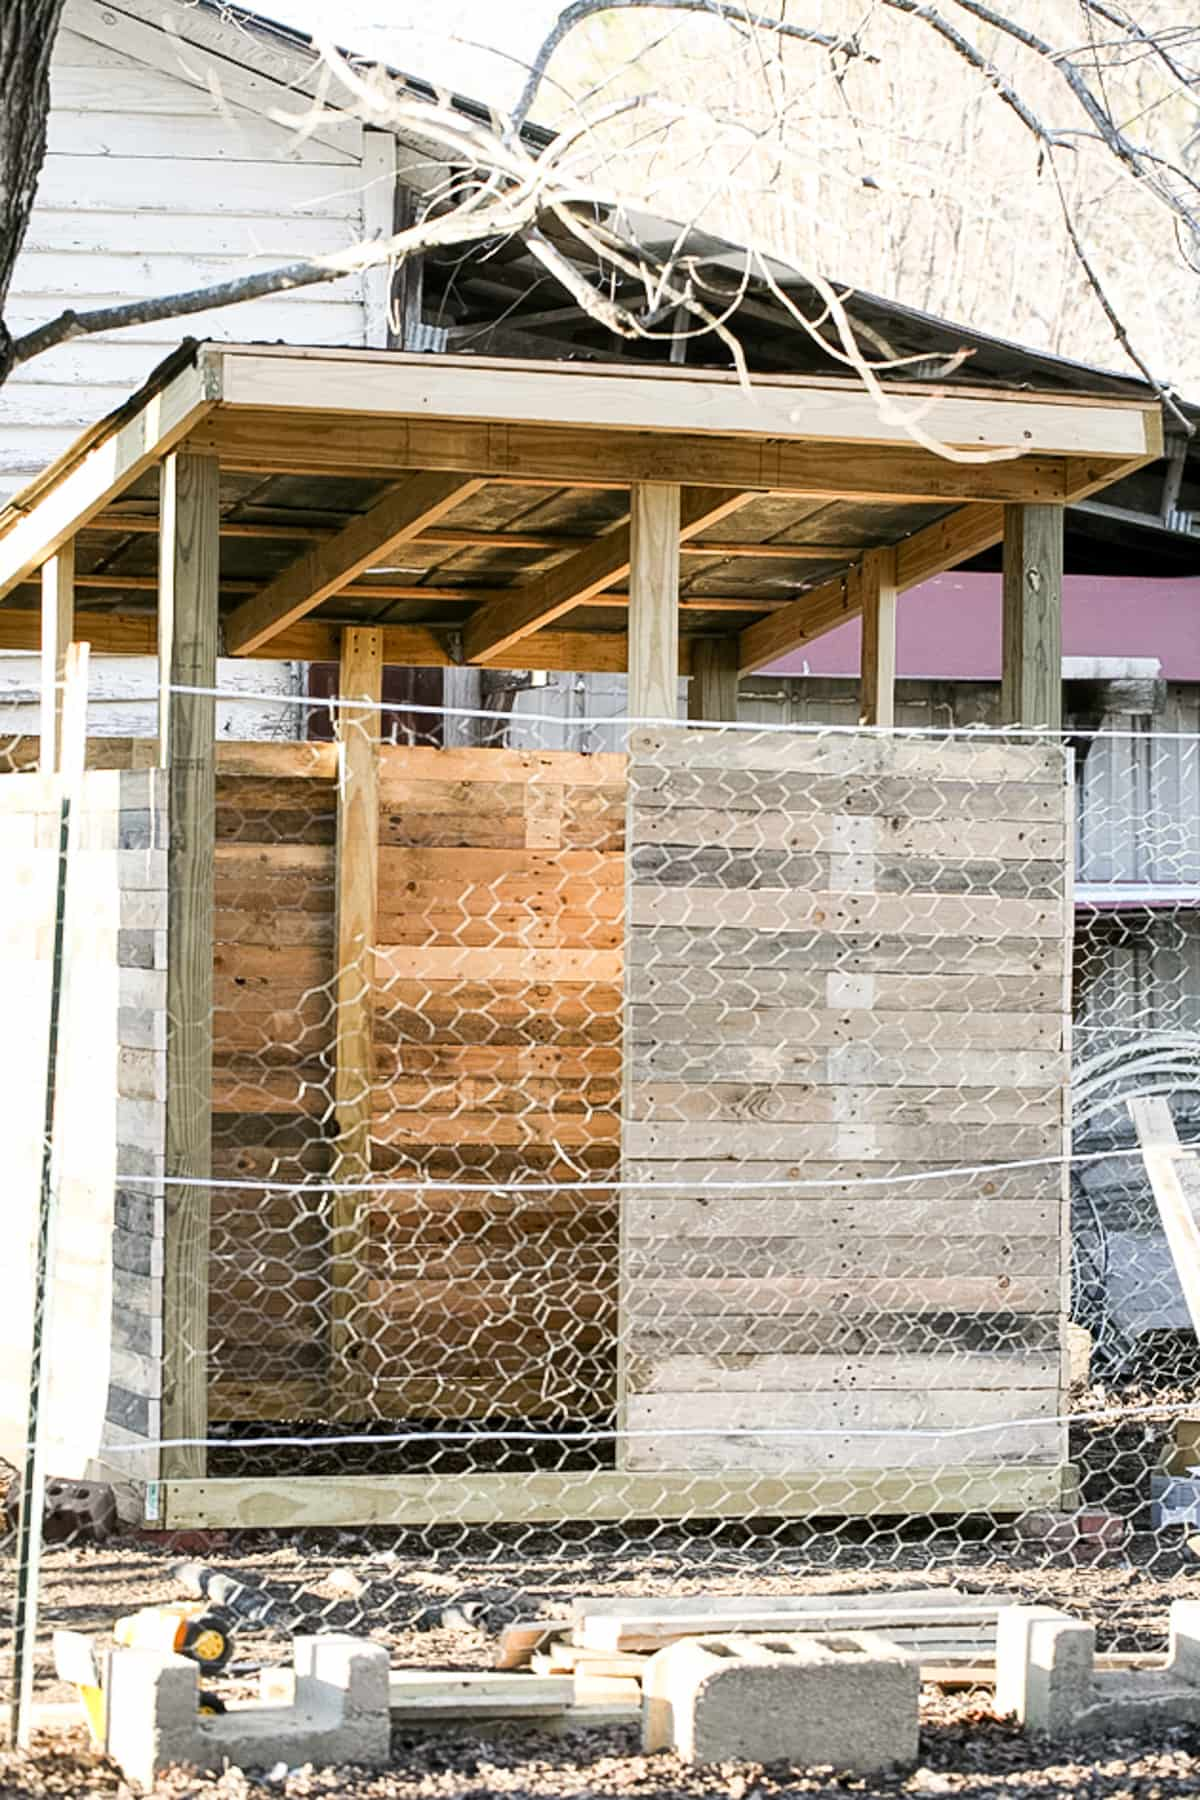
Pretty quickly after I started looking for materials I found an ad for free pallets on Craigslist (this was before Facebook Marketplace). I drove an hour to the city and picked up about 20 of them.
I tried breaking them apart with a hammer, and then with a reciprocating saw… They make it look so easy on YouTube but it wasn’t easy at all. I’ve since found a great tool called Pallet Buster. If you are planning to use pallets for any project, this tool is great to have around. You can see how I used it when I built pallet wood shelves for the house.
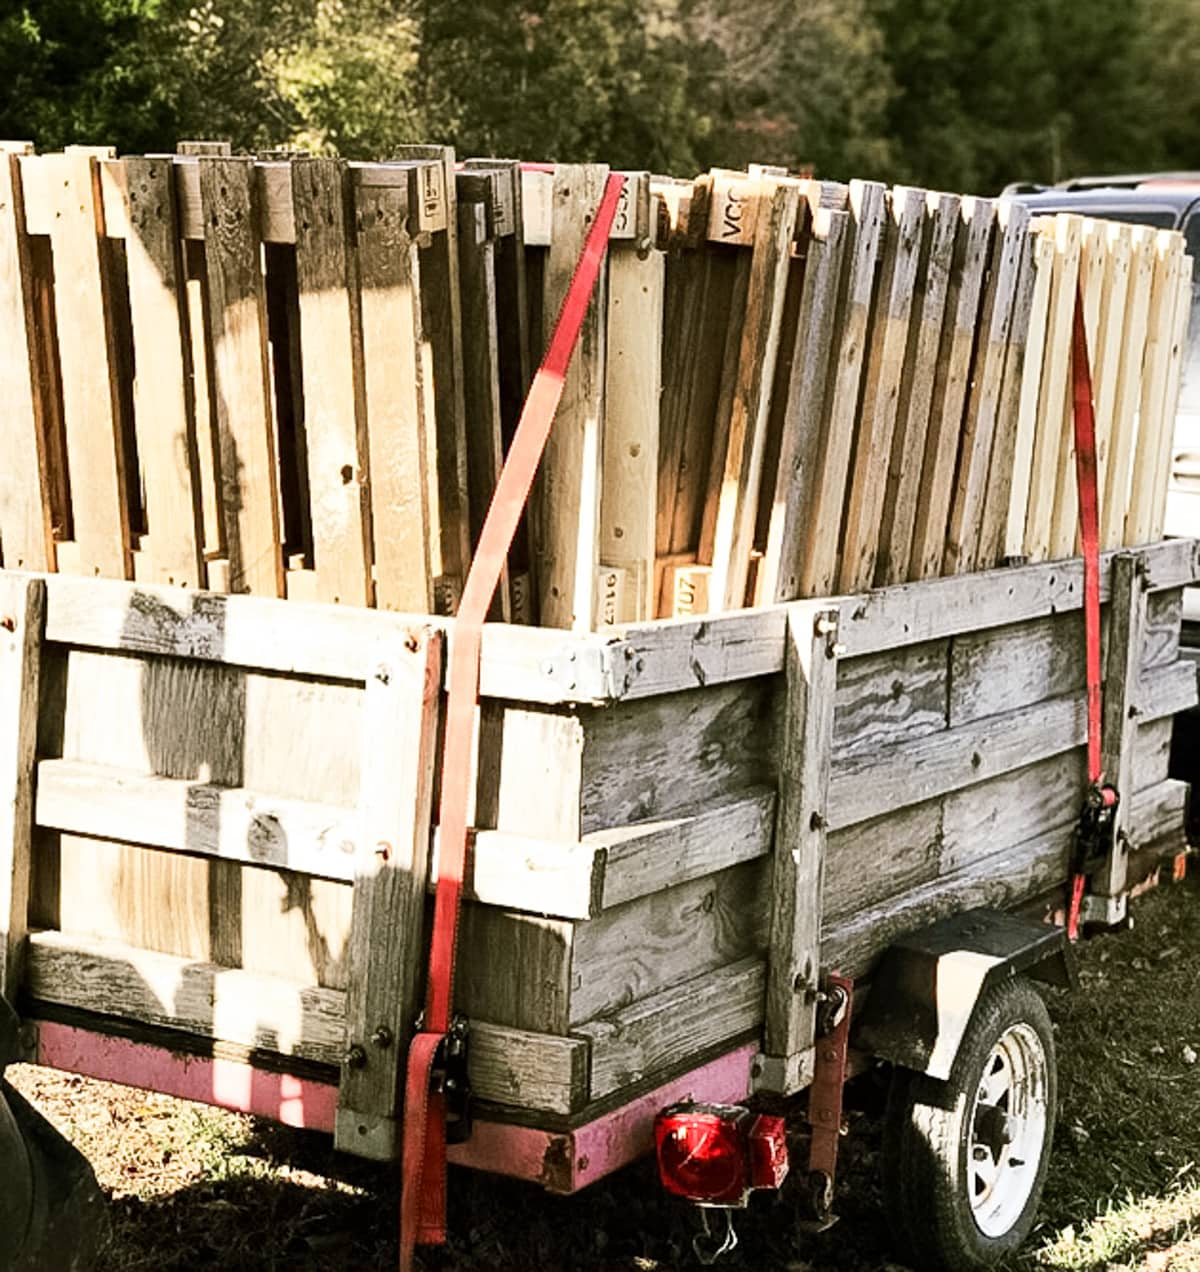
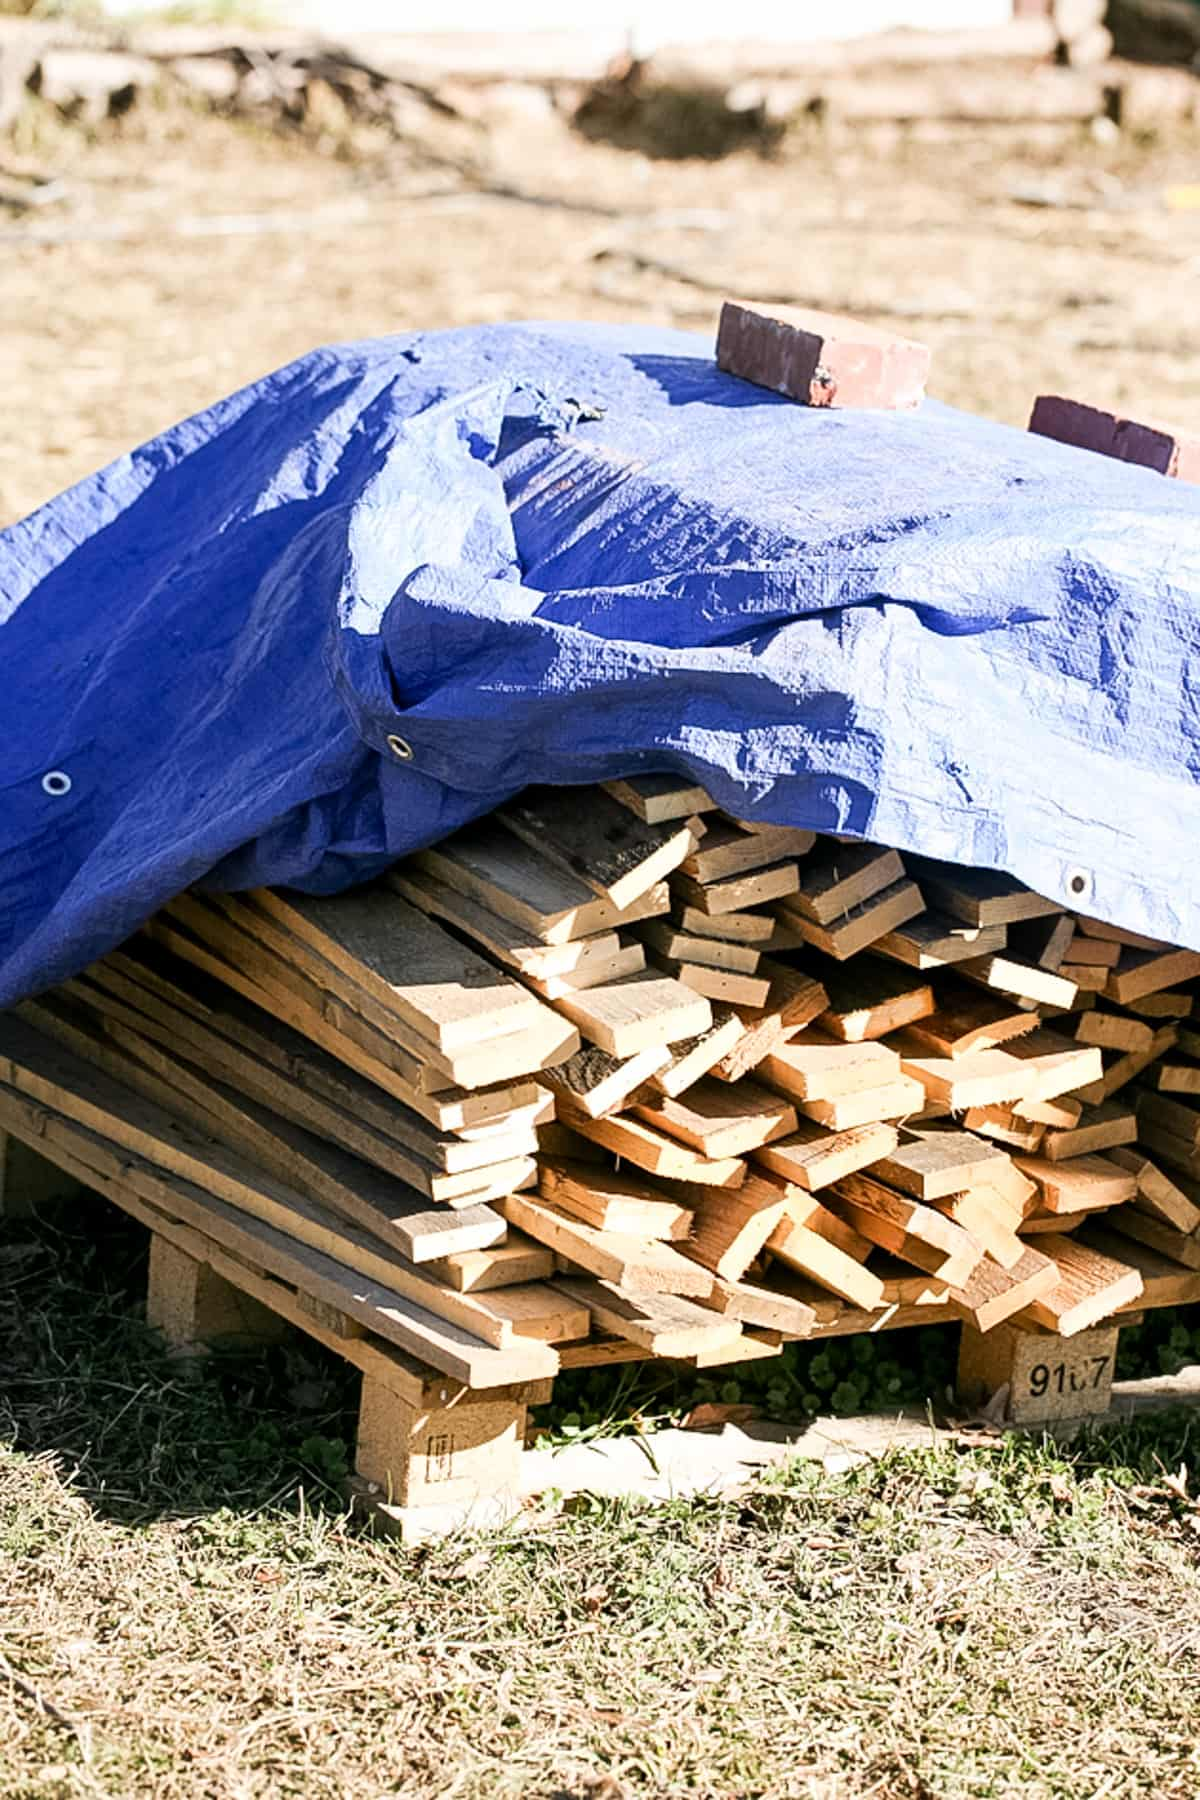
What I ended up doing then, is marking the length of the wood at 37” and using a circular saw to cut the ends off. Then I had only the middle section of nails to handle (with a good old hammer) in order to break the whole thing apart. I was left with a huge pile of beautiful planks of pallet wood all cut to 37”.
Building the Frame…
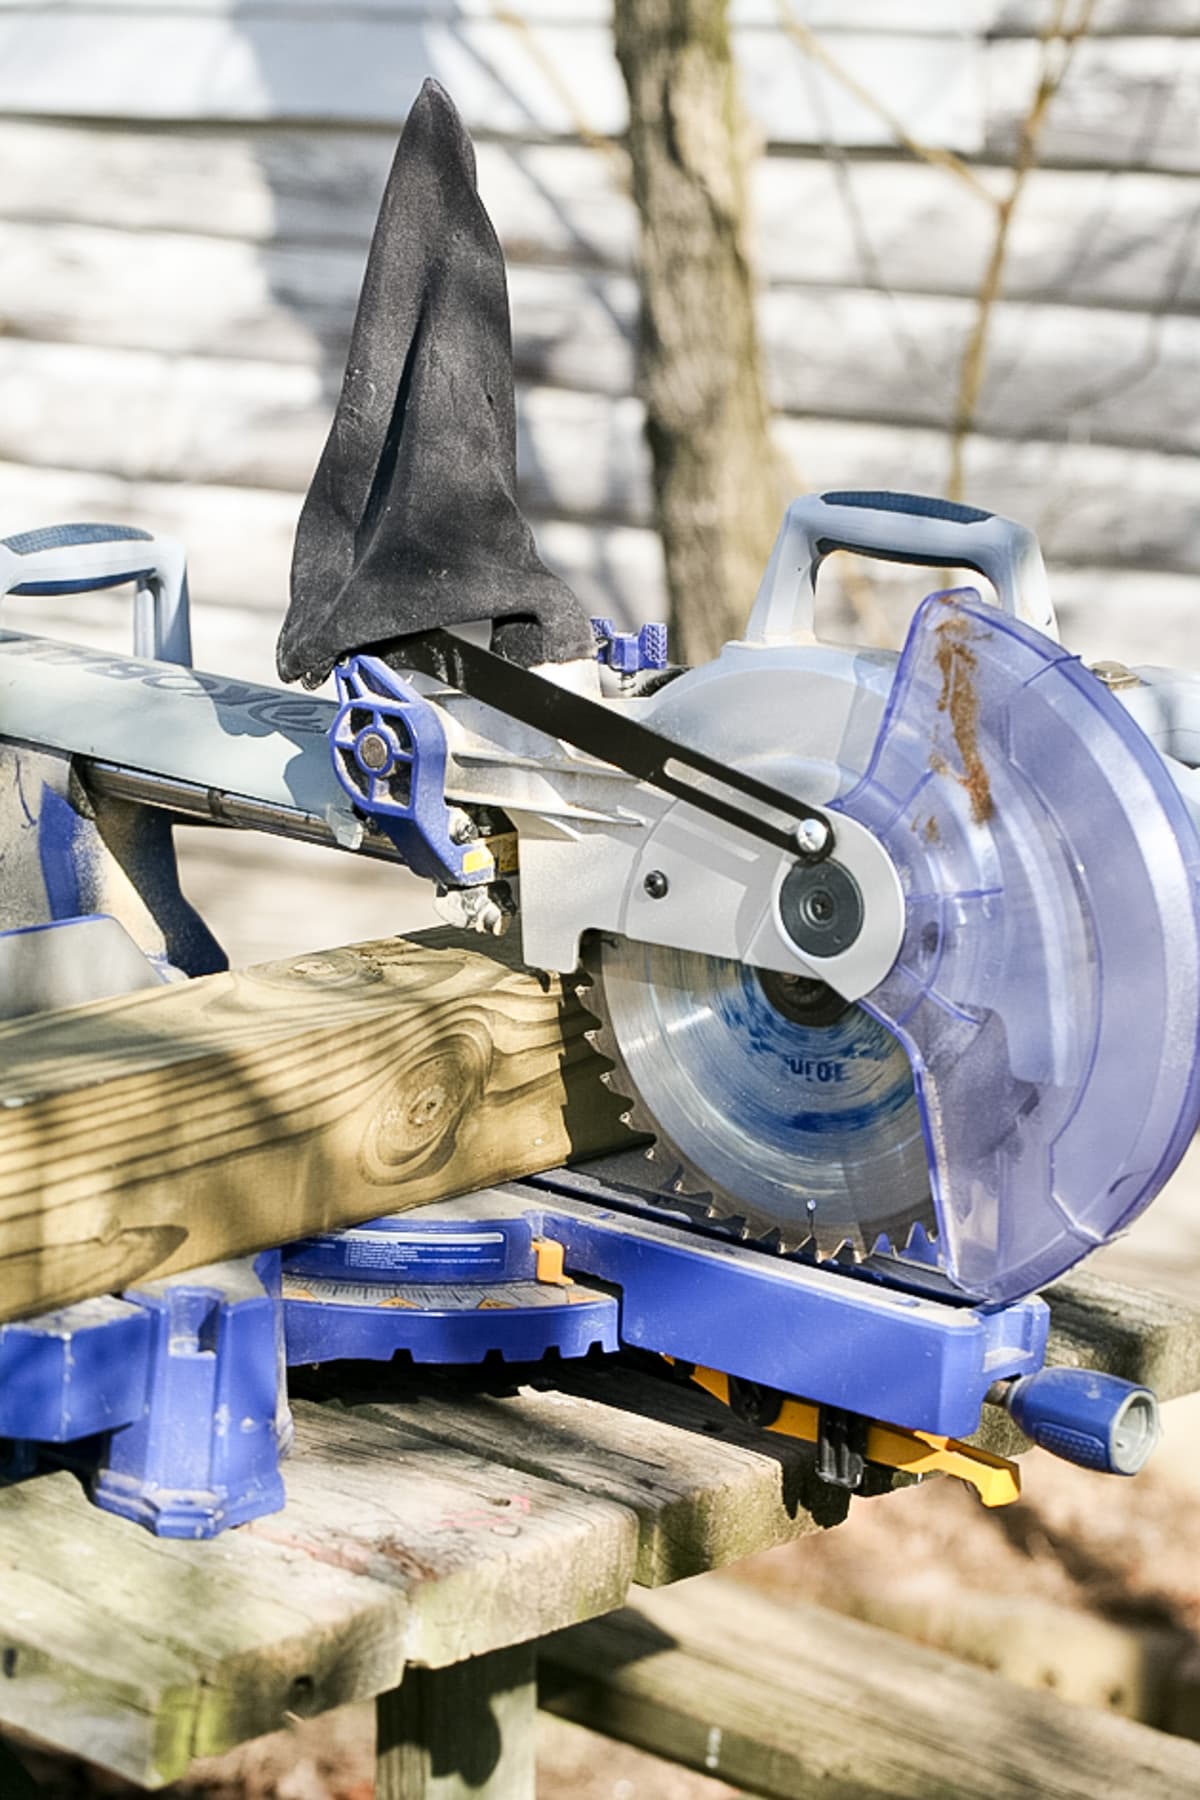
I planned on using the pallet wood for sidings but I still needed a frame. So I got 4 4x4x8 treated lumber for the corners and about 14 treated 2x4x8 for the roof and the frame between the corner posts. I also got a big box of 2.5” deck screws and a small one of 3.5” deck screws.
I marked two posts at 7 feet and the other two at 6 feet and used a miter saw to cut the lumber so the front posts are 7 feet tall and the back posts are six feet tall, which means my roof is going to have a 12” slope.
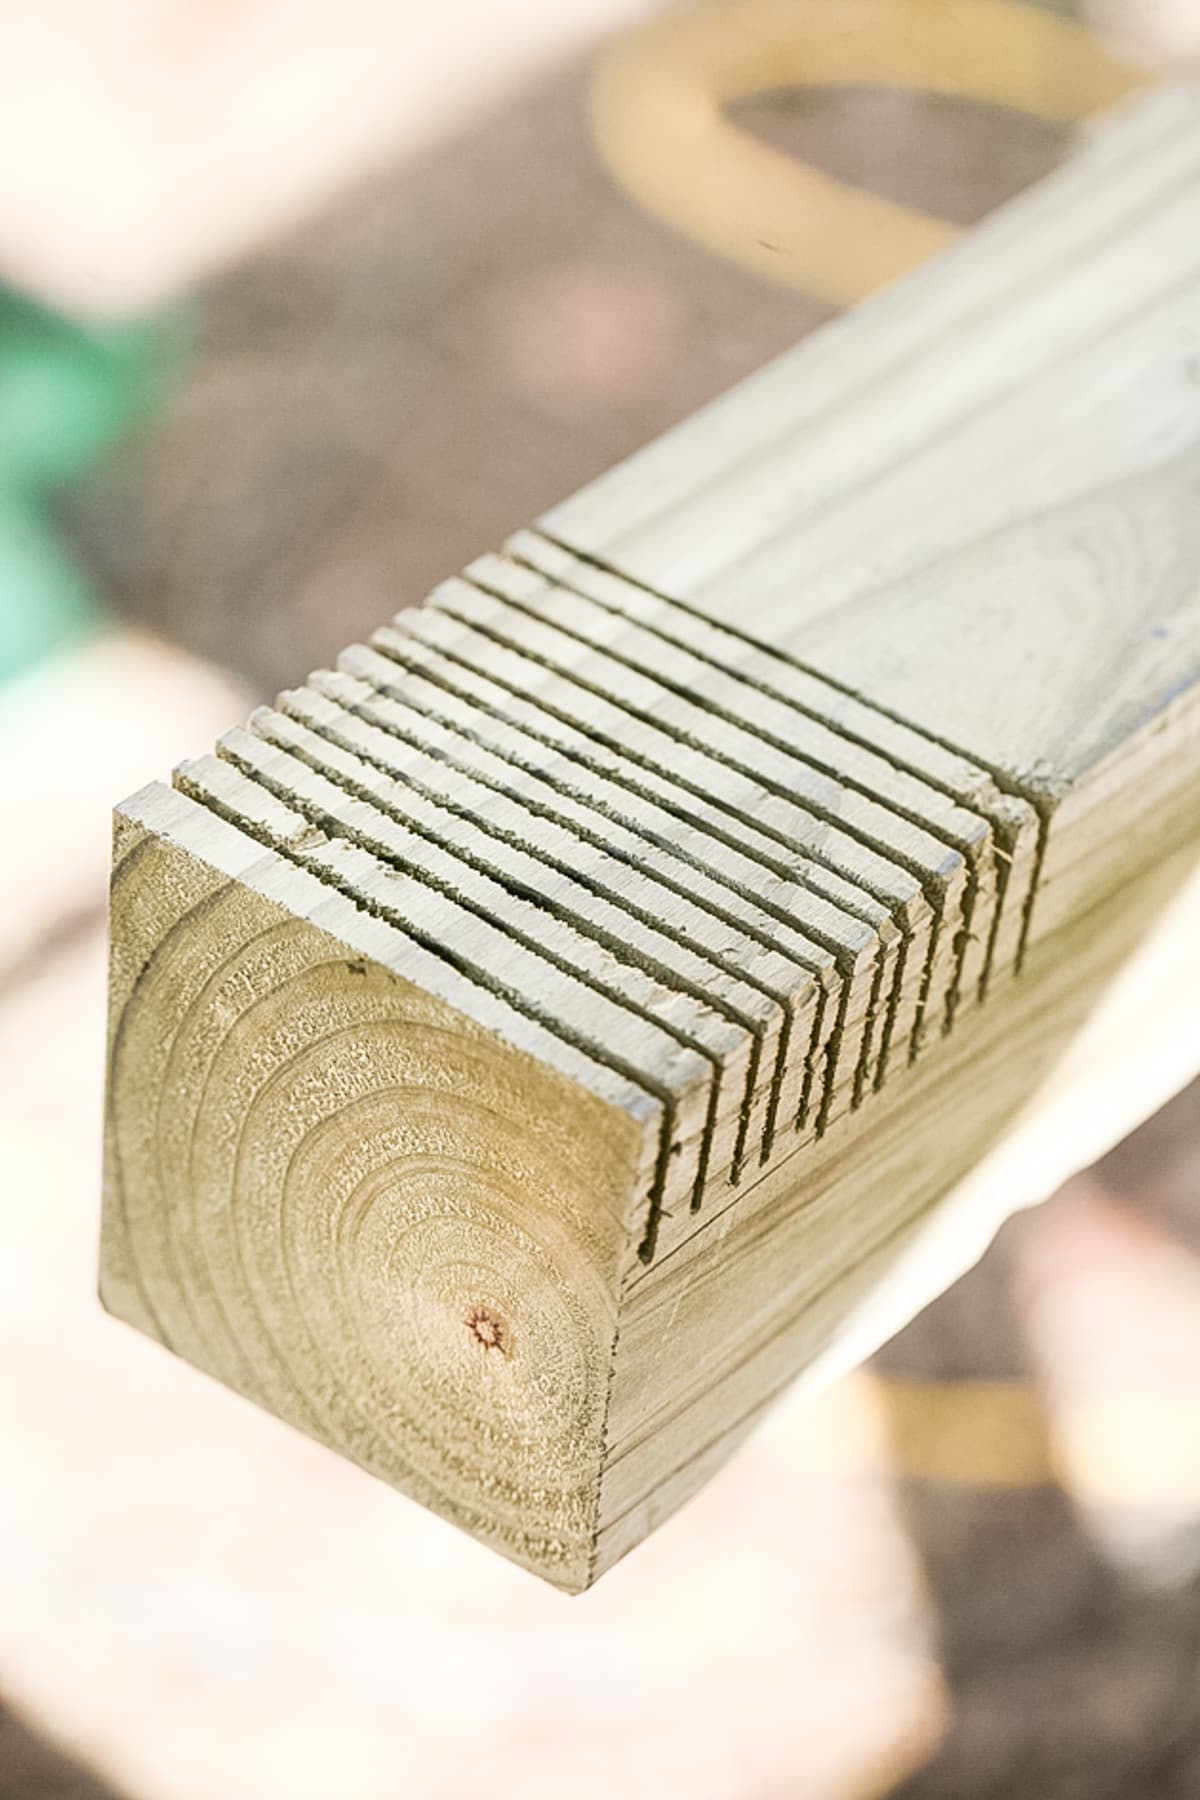
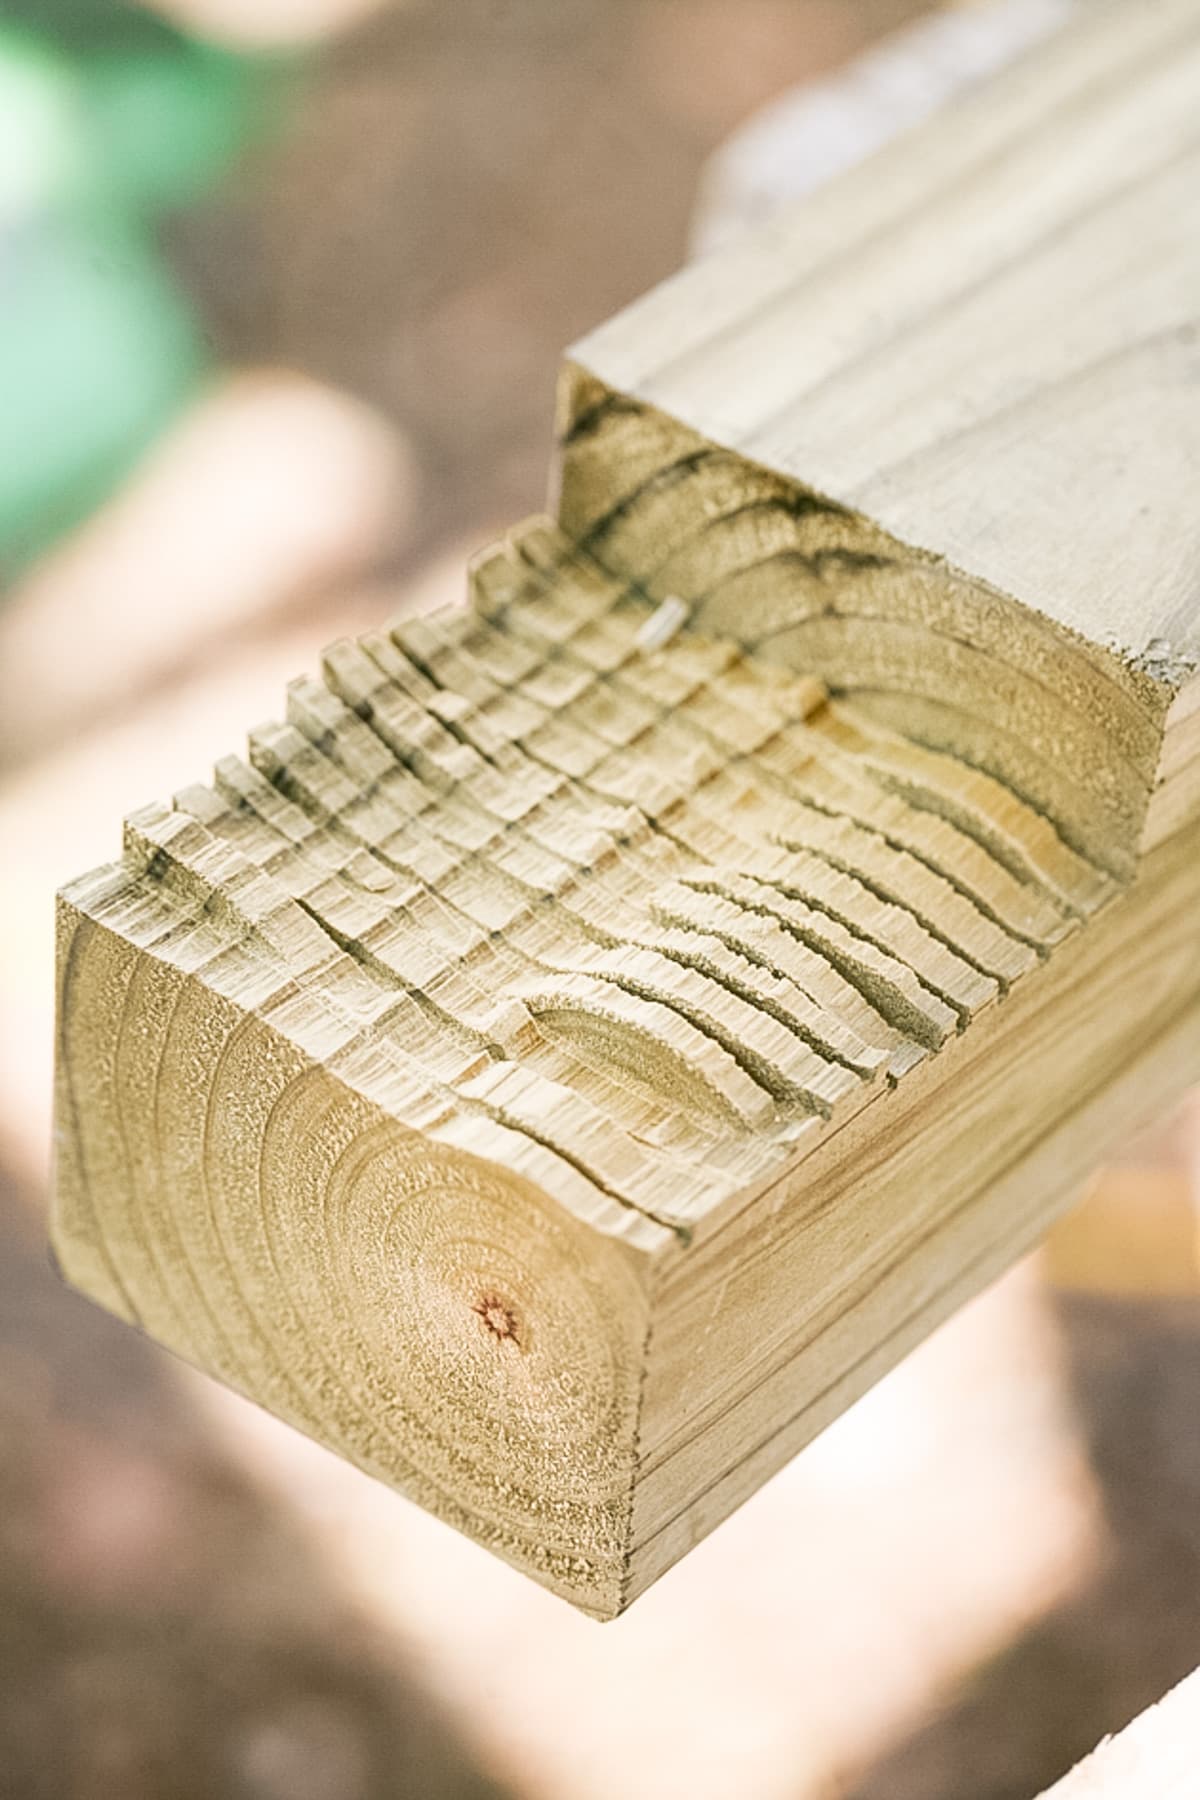
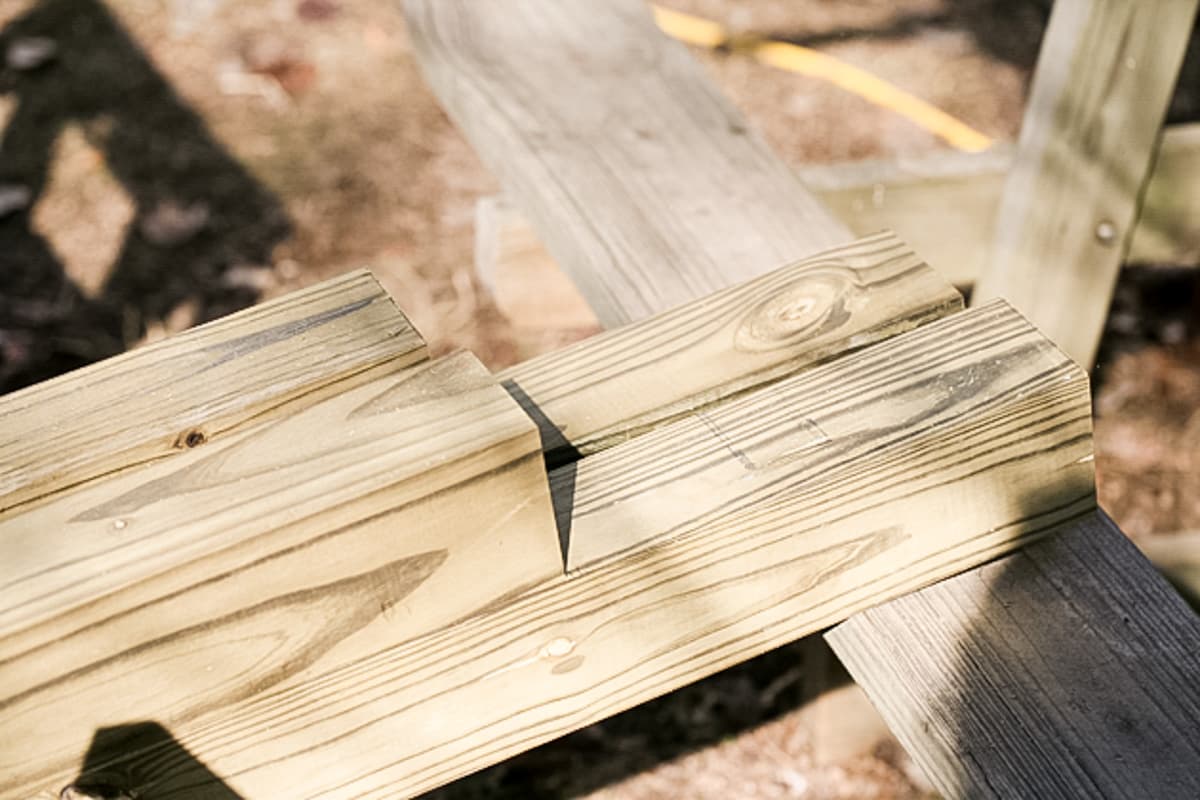
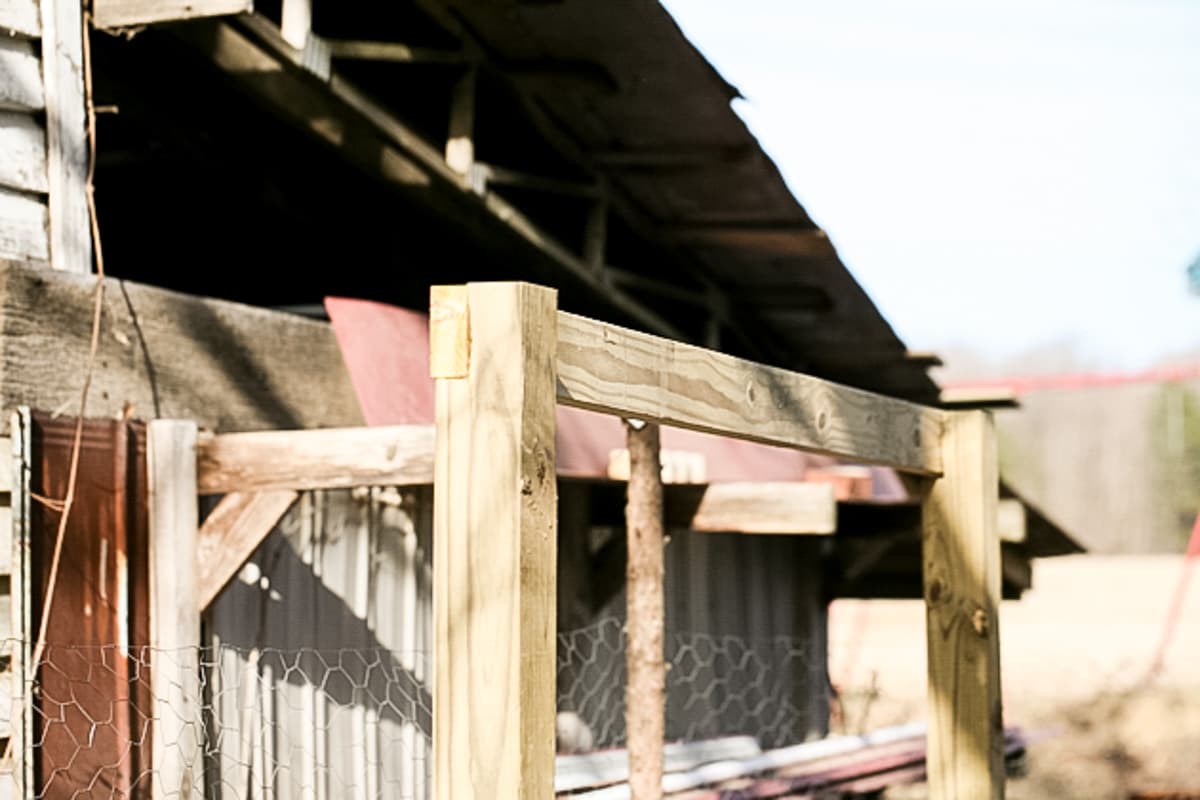
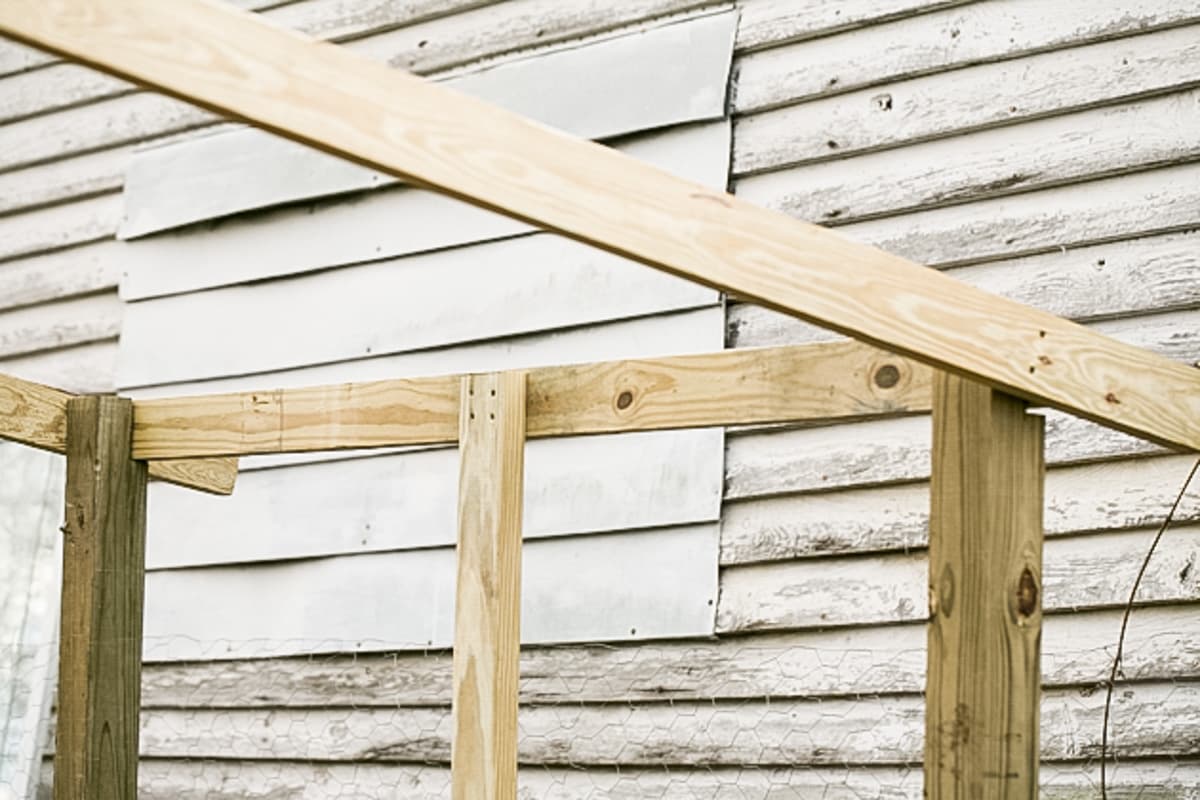
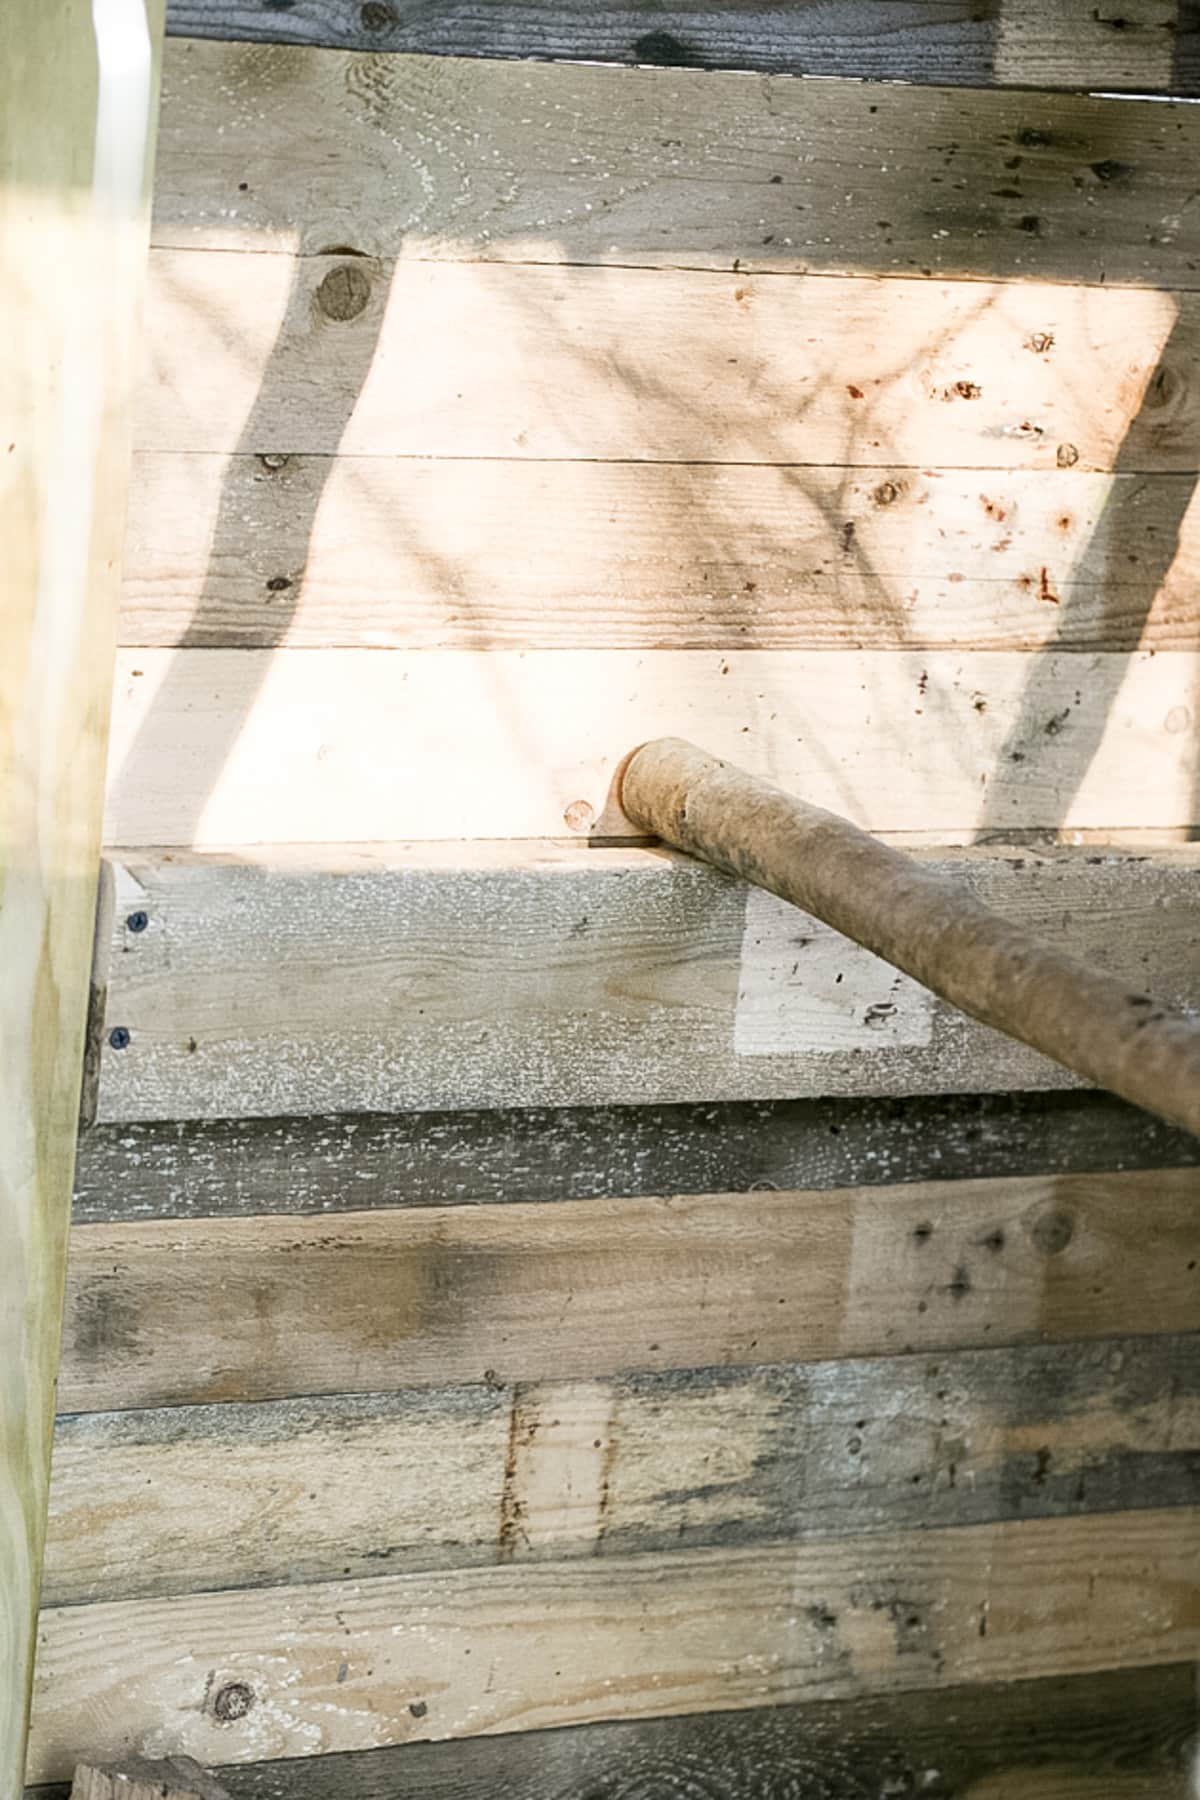
Next, I had to figure out how the roof was going to sit on the posts. After a few YouTube videos, I figured I needed to make a half-lap joint. So I marked the width and the depth of the 2×4 on the end of the 4×4 posts, set my circular saw to the right depth, and made those cuts you see above.
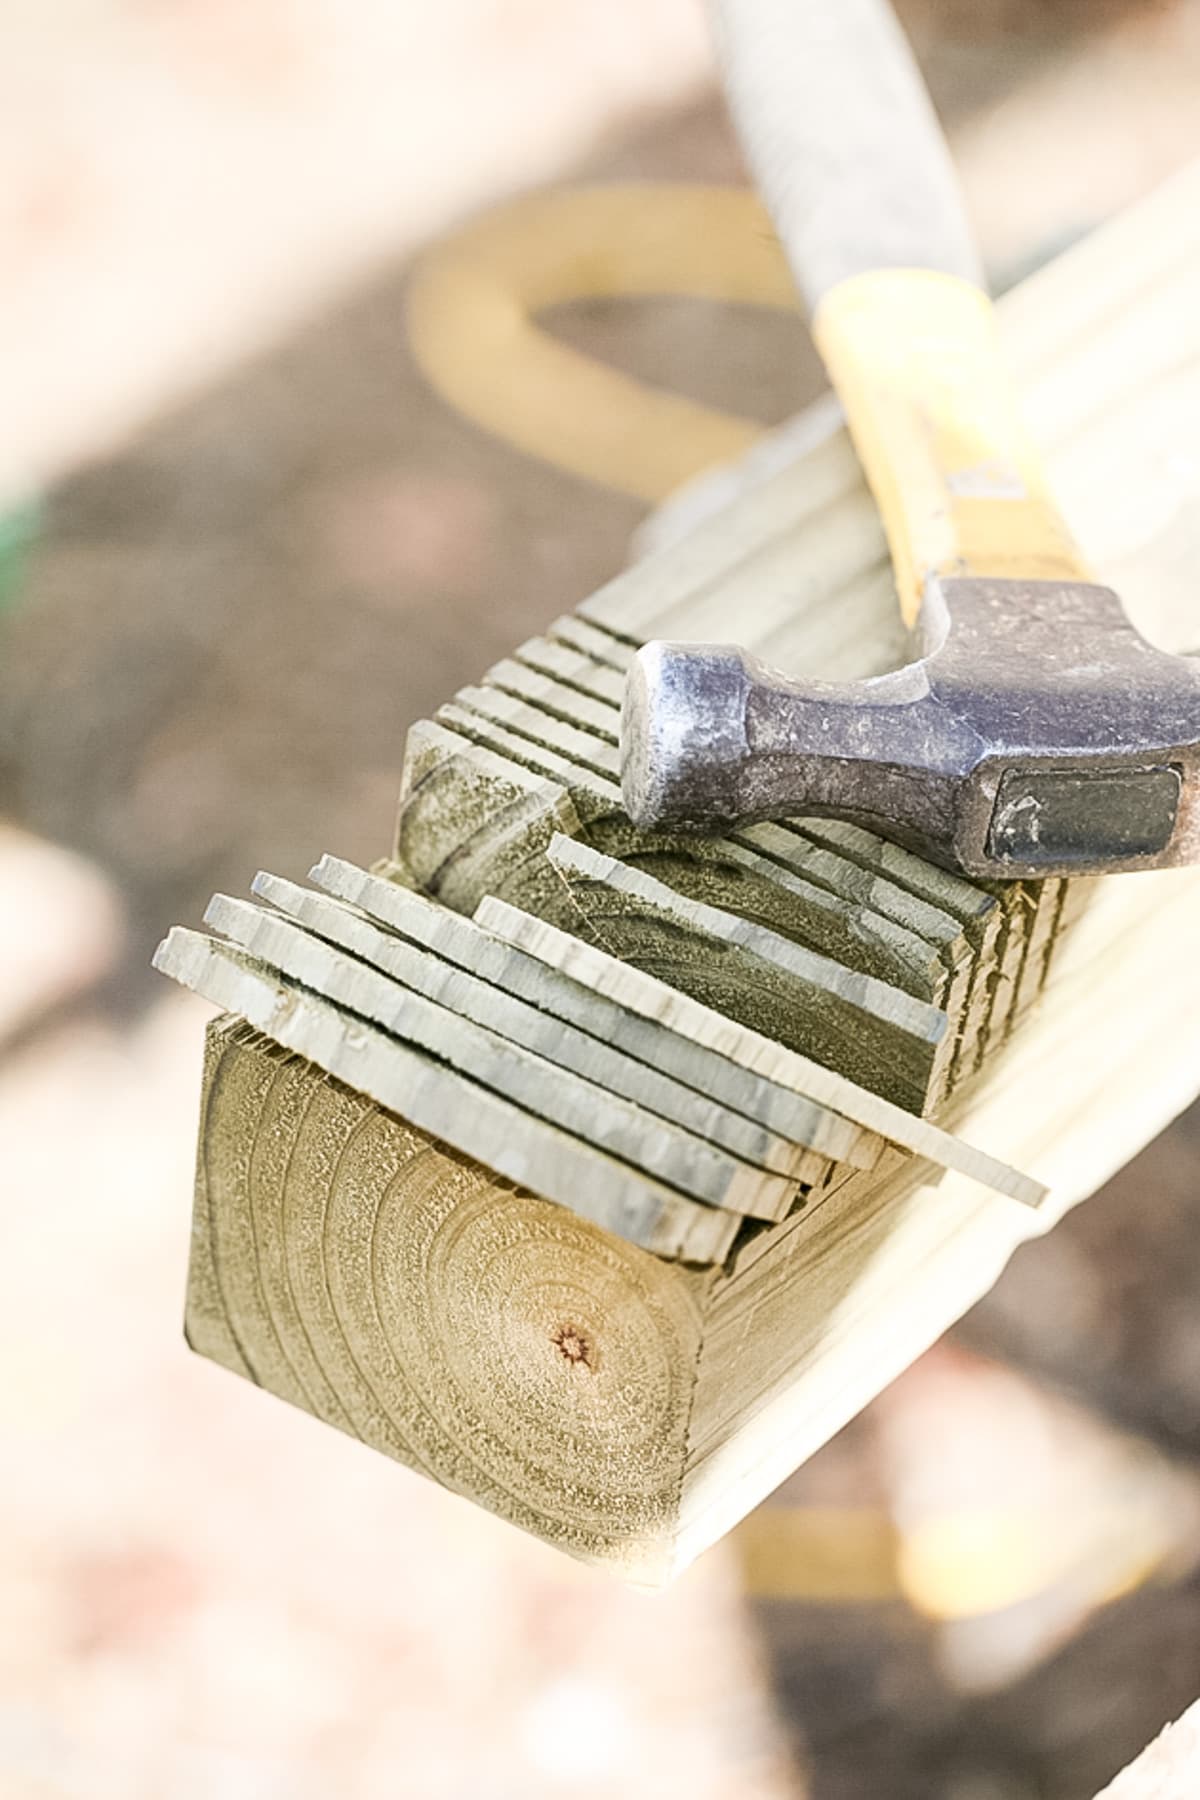
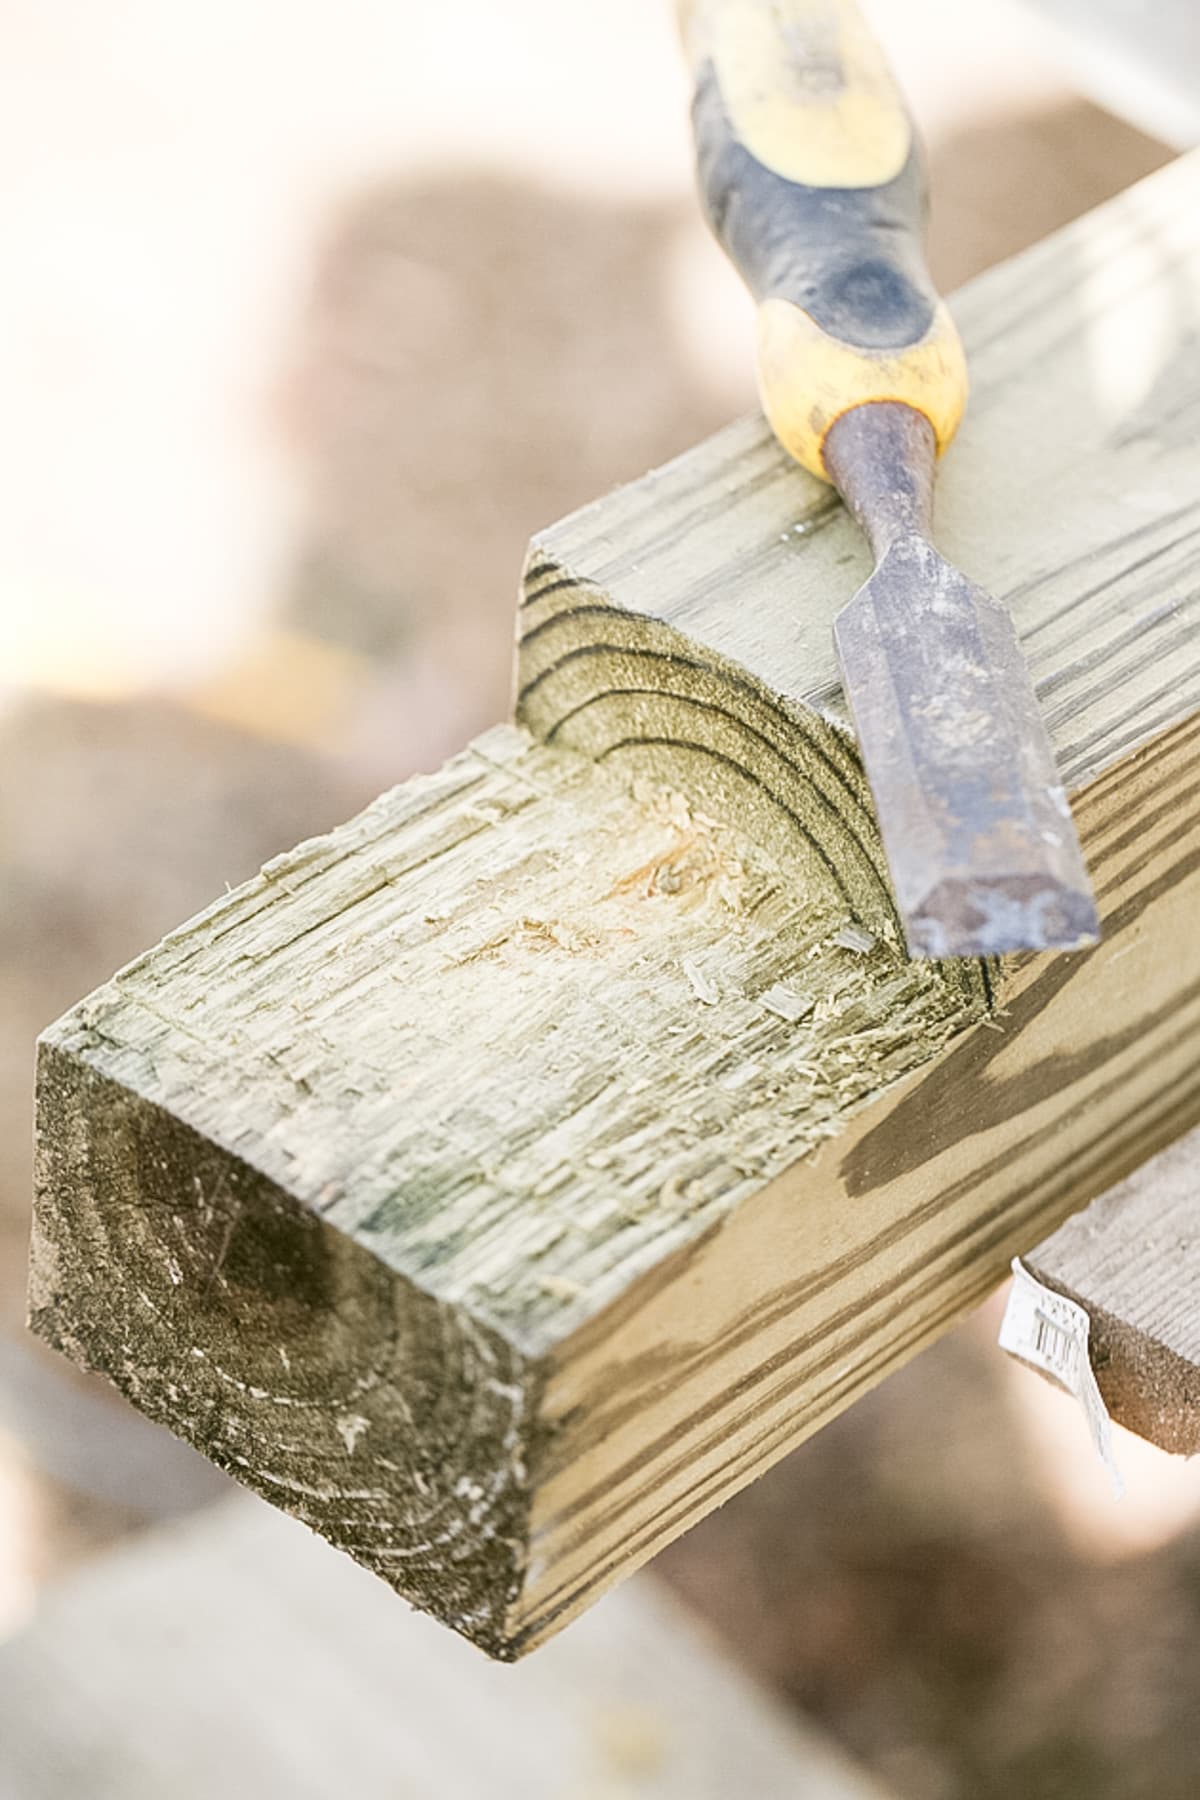
Then I took my hammer and knocked the pieces of wood off and smoothed the joint with a chisel. Now my 2×4 that will frame the roof had a place to sit!
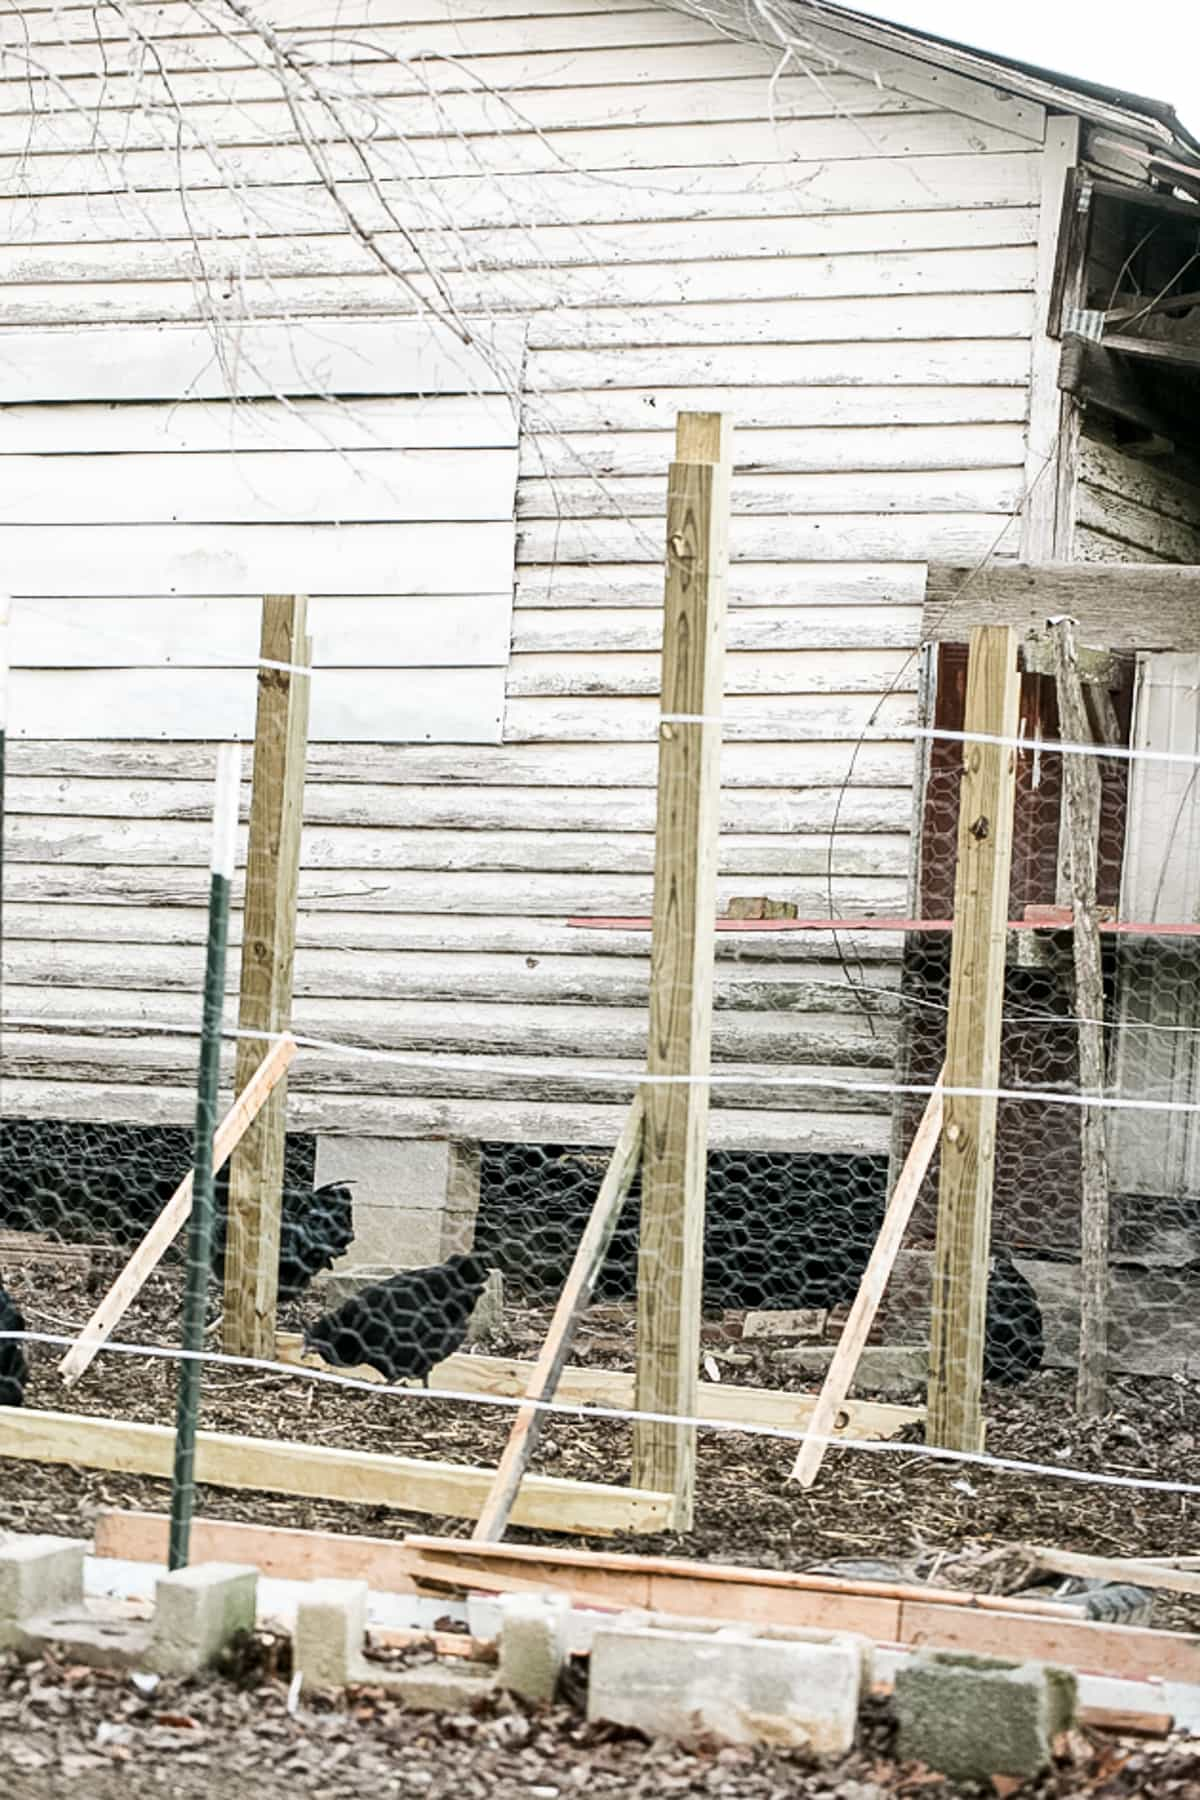
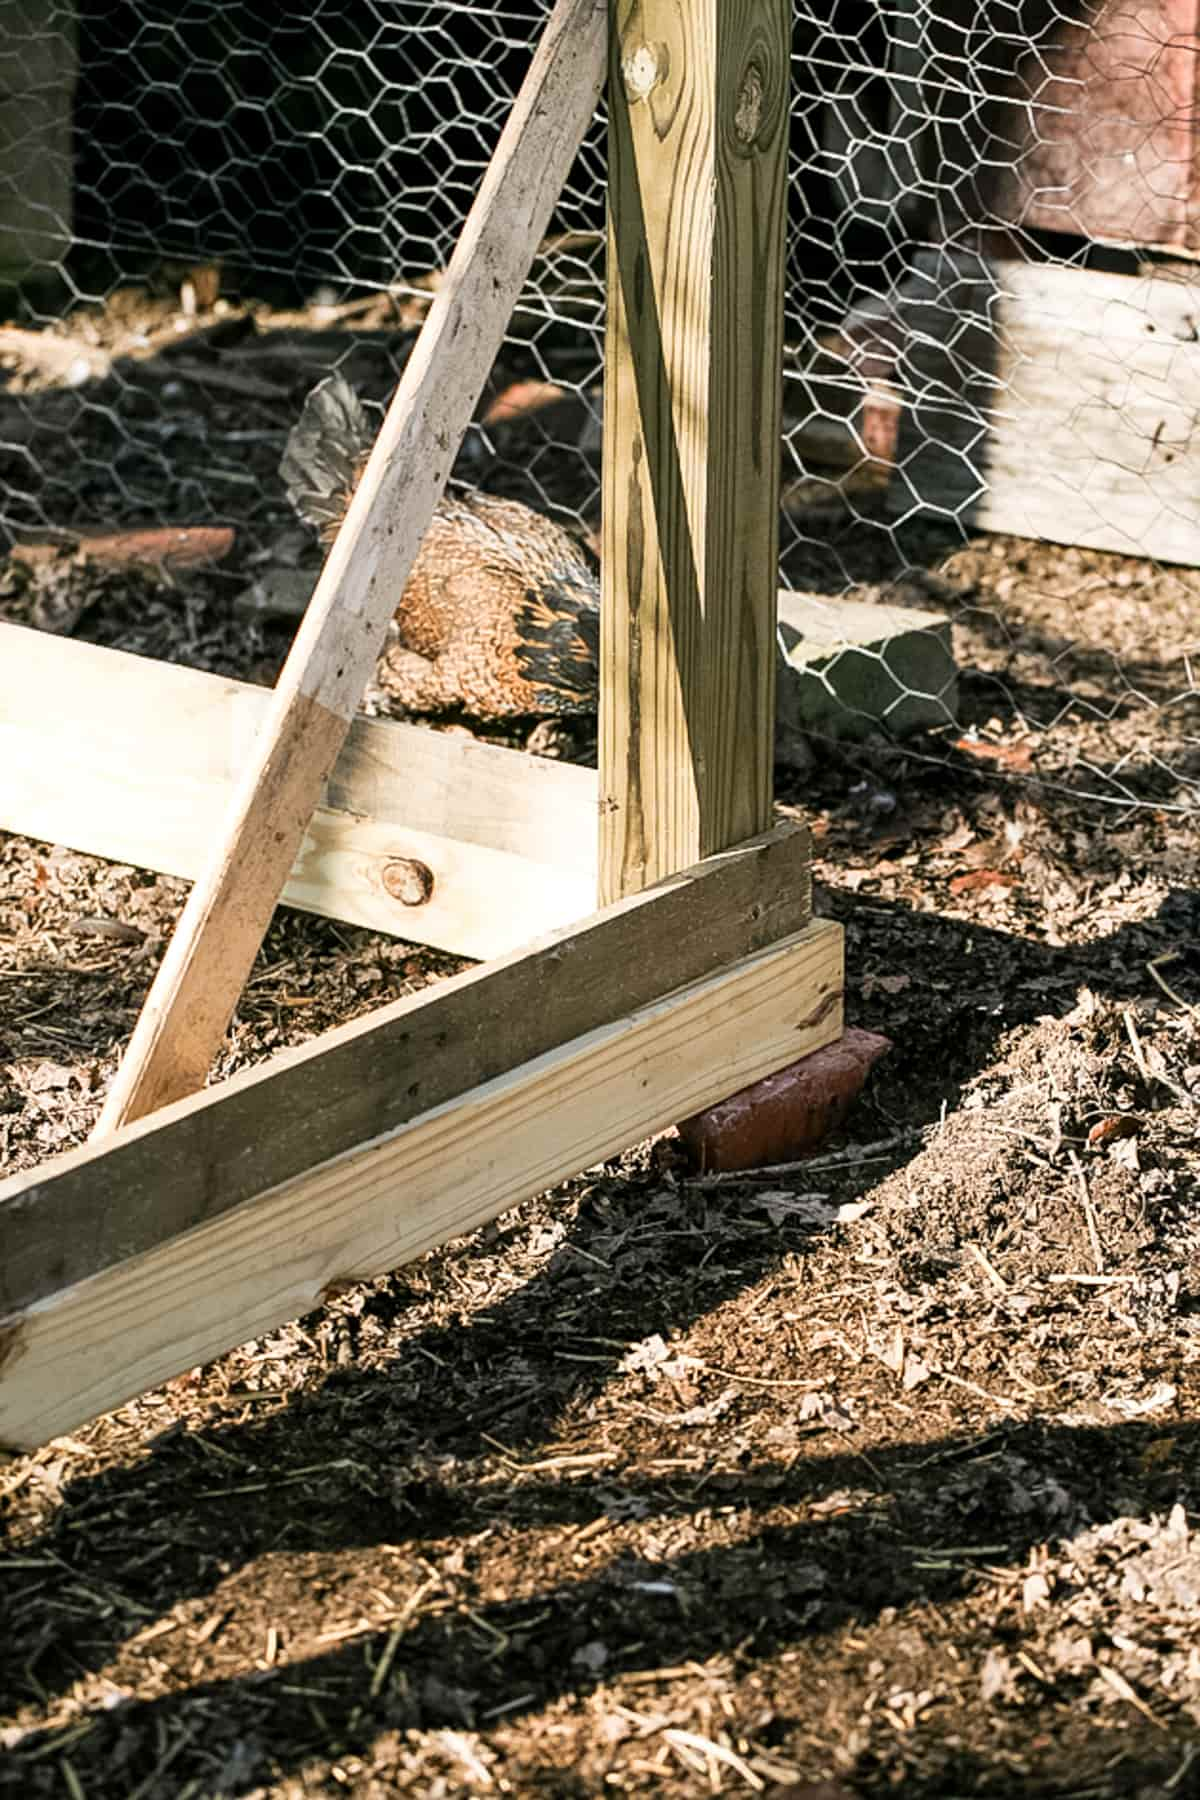
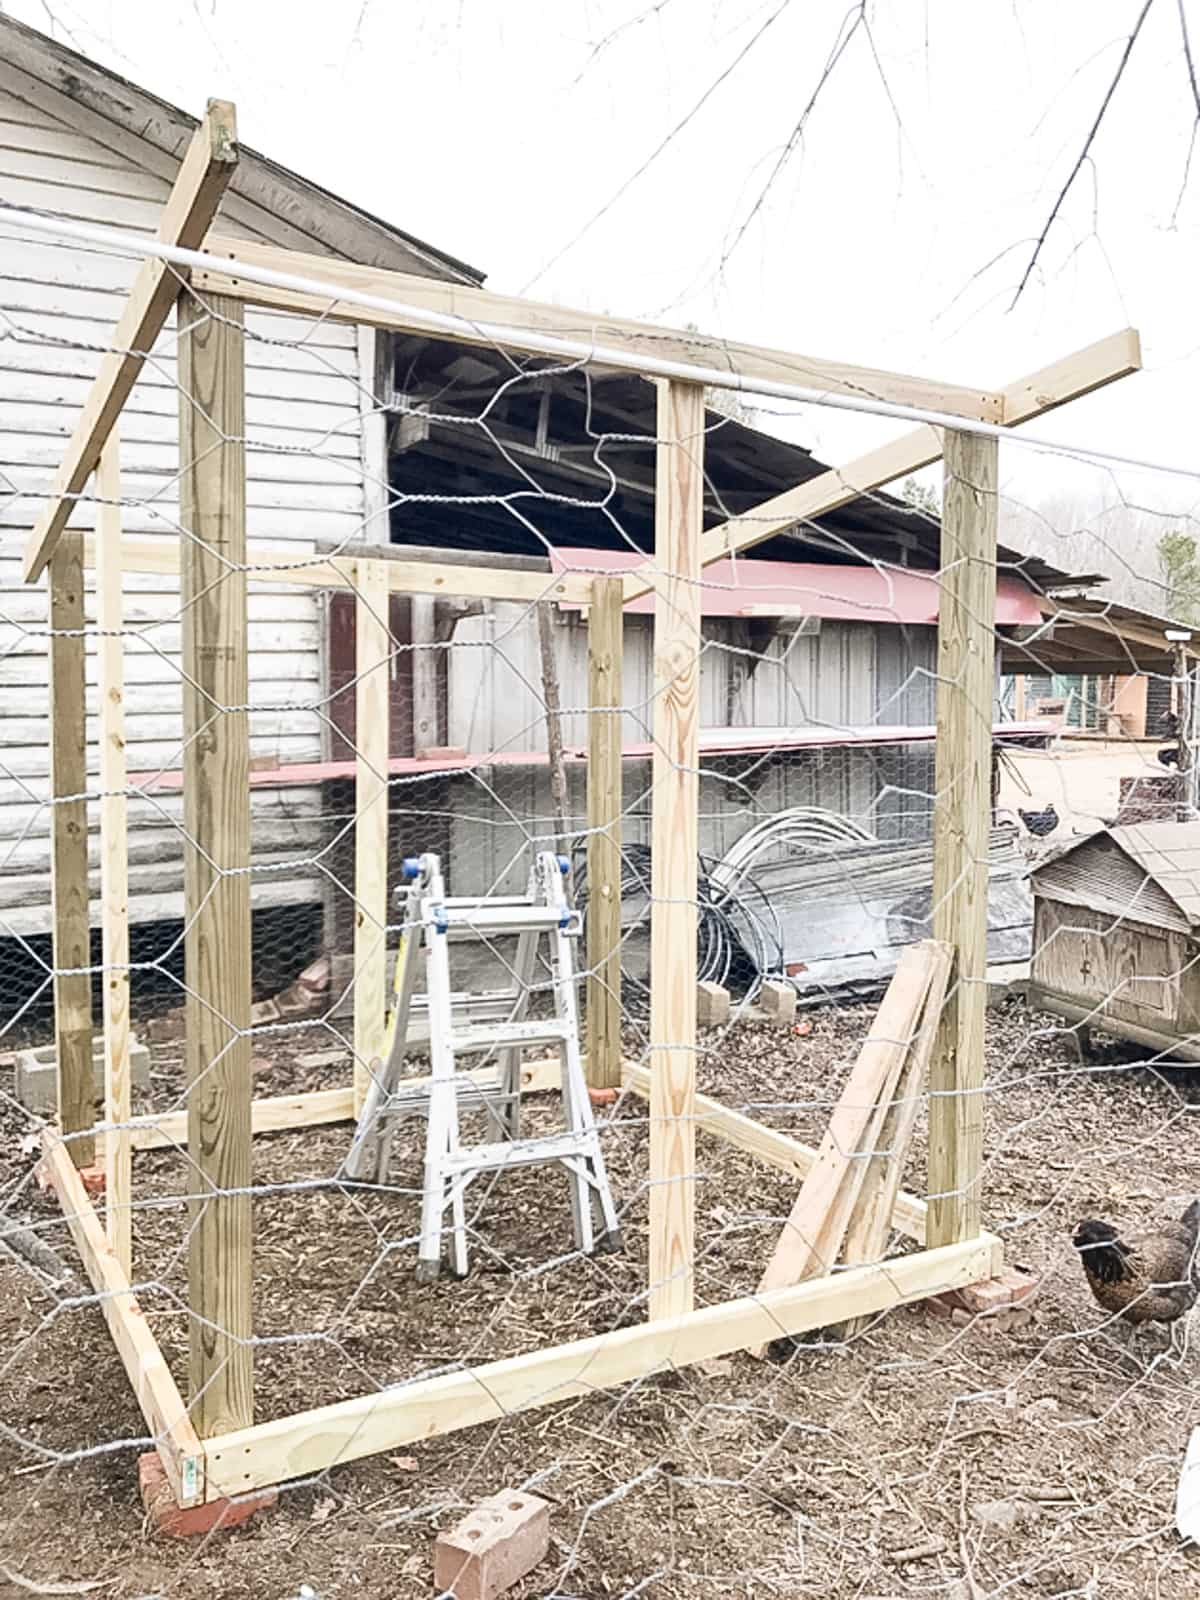
I screwed temporary legs onto the 4x4s to help them stand and lifted them up so then I had 4 corner posts. The front two are 7 feet tall, connected by a 2×4 at the base (on the outside), and the lap joints on the top are on the outside. The back two posts are 6 feet tall, connected at the base by 2×4 on the outside, and the lap joints on the top are on the outside.
Now, remember that everything I do here has to accommodate the pallet wood sidings, so I decided to make the chicken coop a square of the length of two planks of pallet wood.
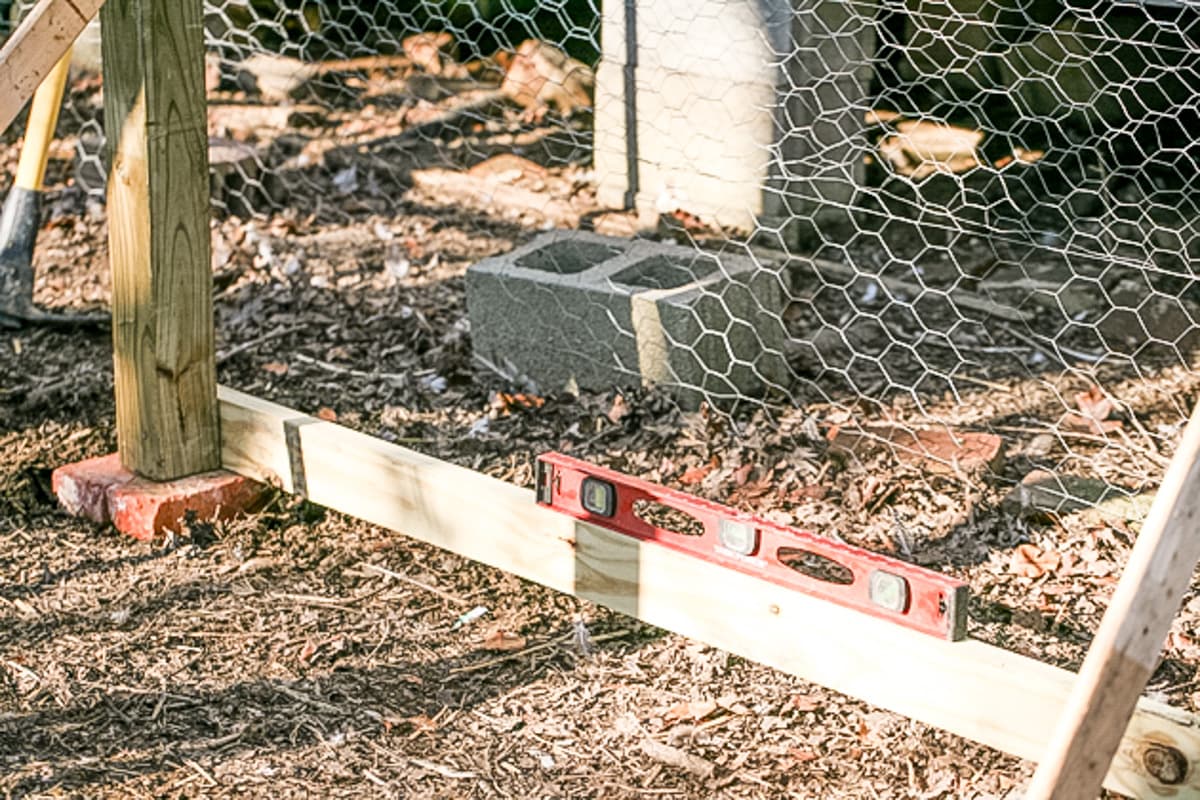
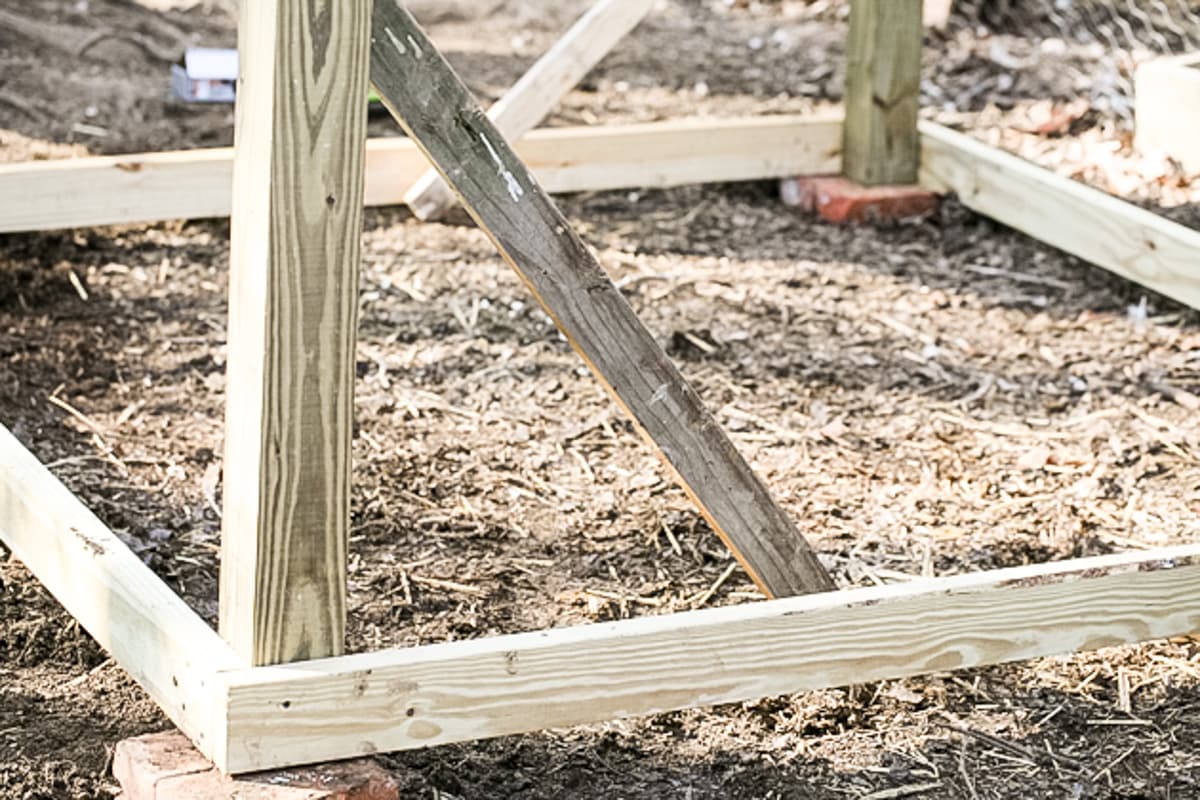
I placed a couple of bricks under each corner post, screwed 2x4s the length of two planks of pallet wood to the corner posts (on the outside) to make the base, and made sure they were leveled.
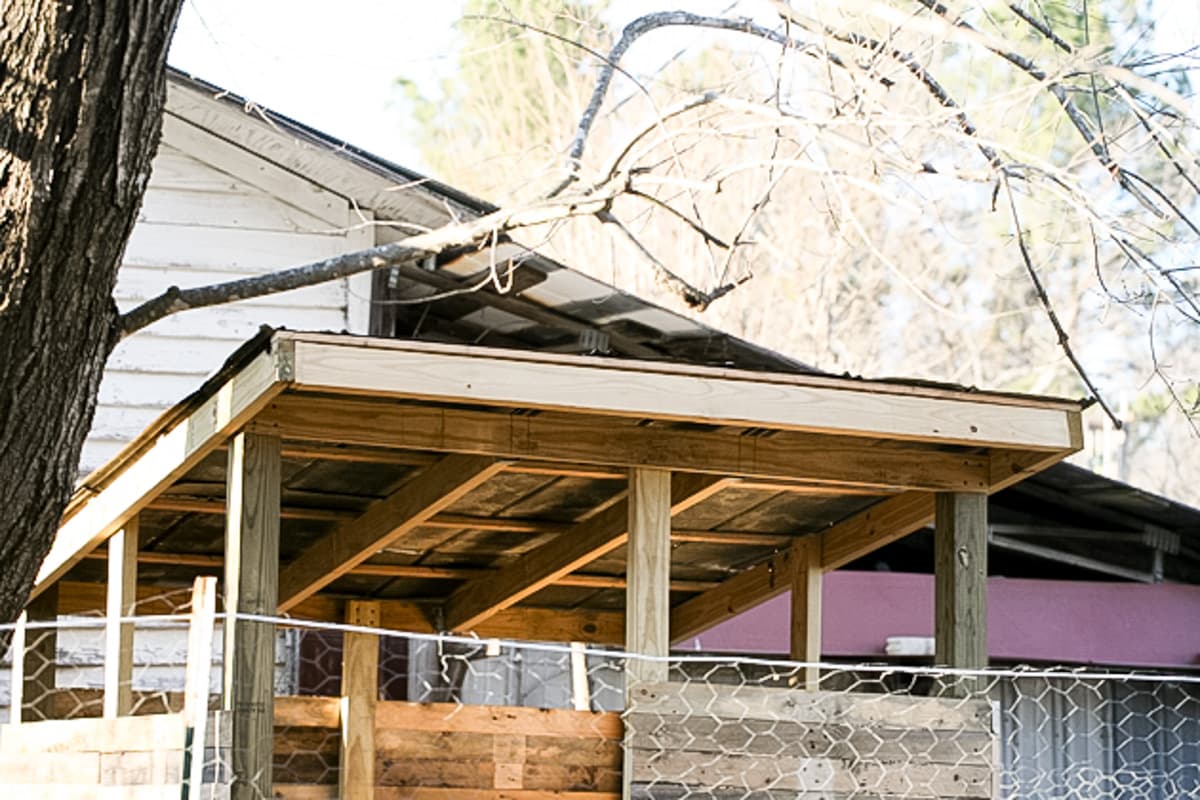
Framing the Roof…
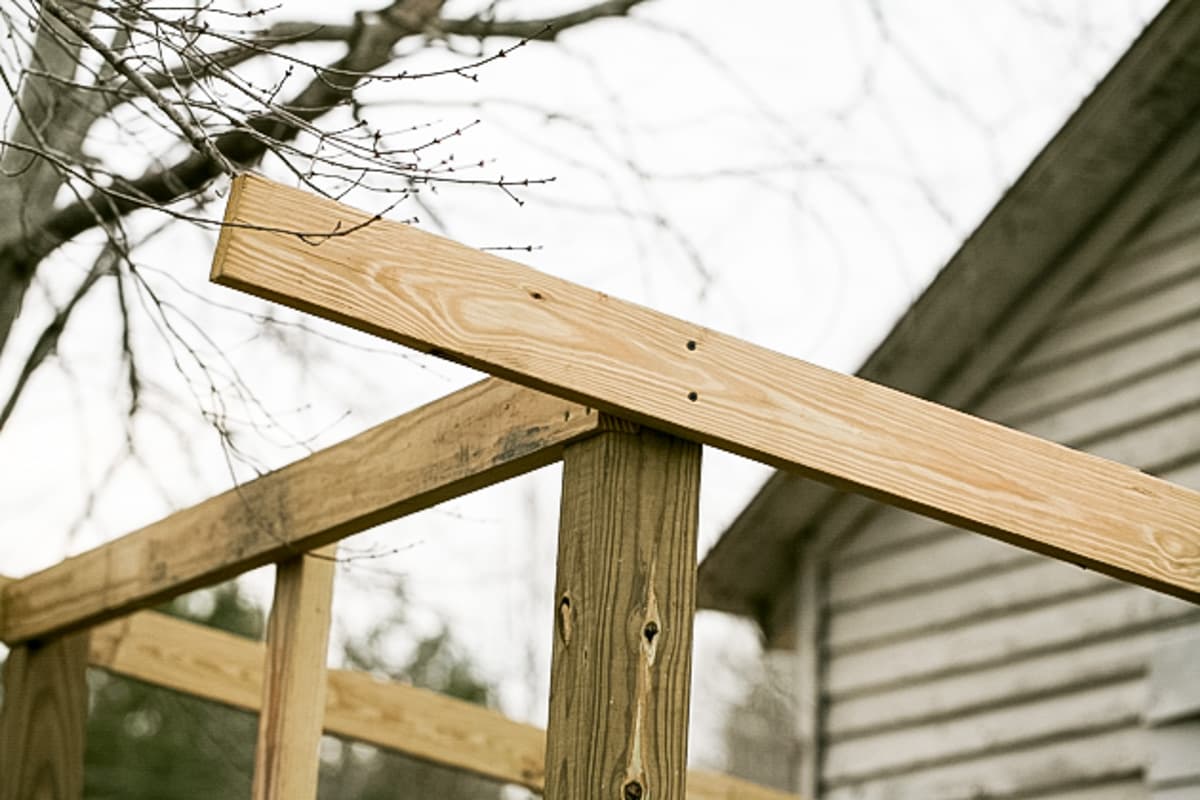
Next, I cut two more 2x4s to the same exact length as the base ones and screwed them onto the lap joints of the back posts and front. For the sides of the roof, I used full-length 2x4x8s. This gives me a nice overhang on the front and the back of the coop.
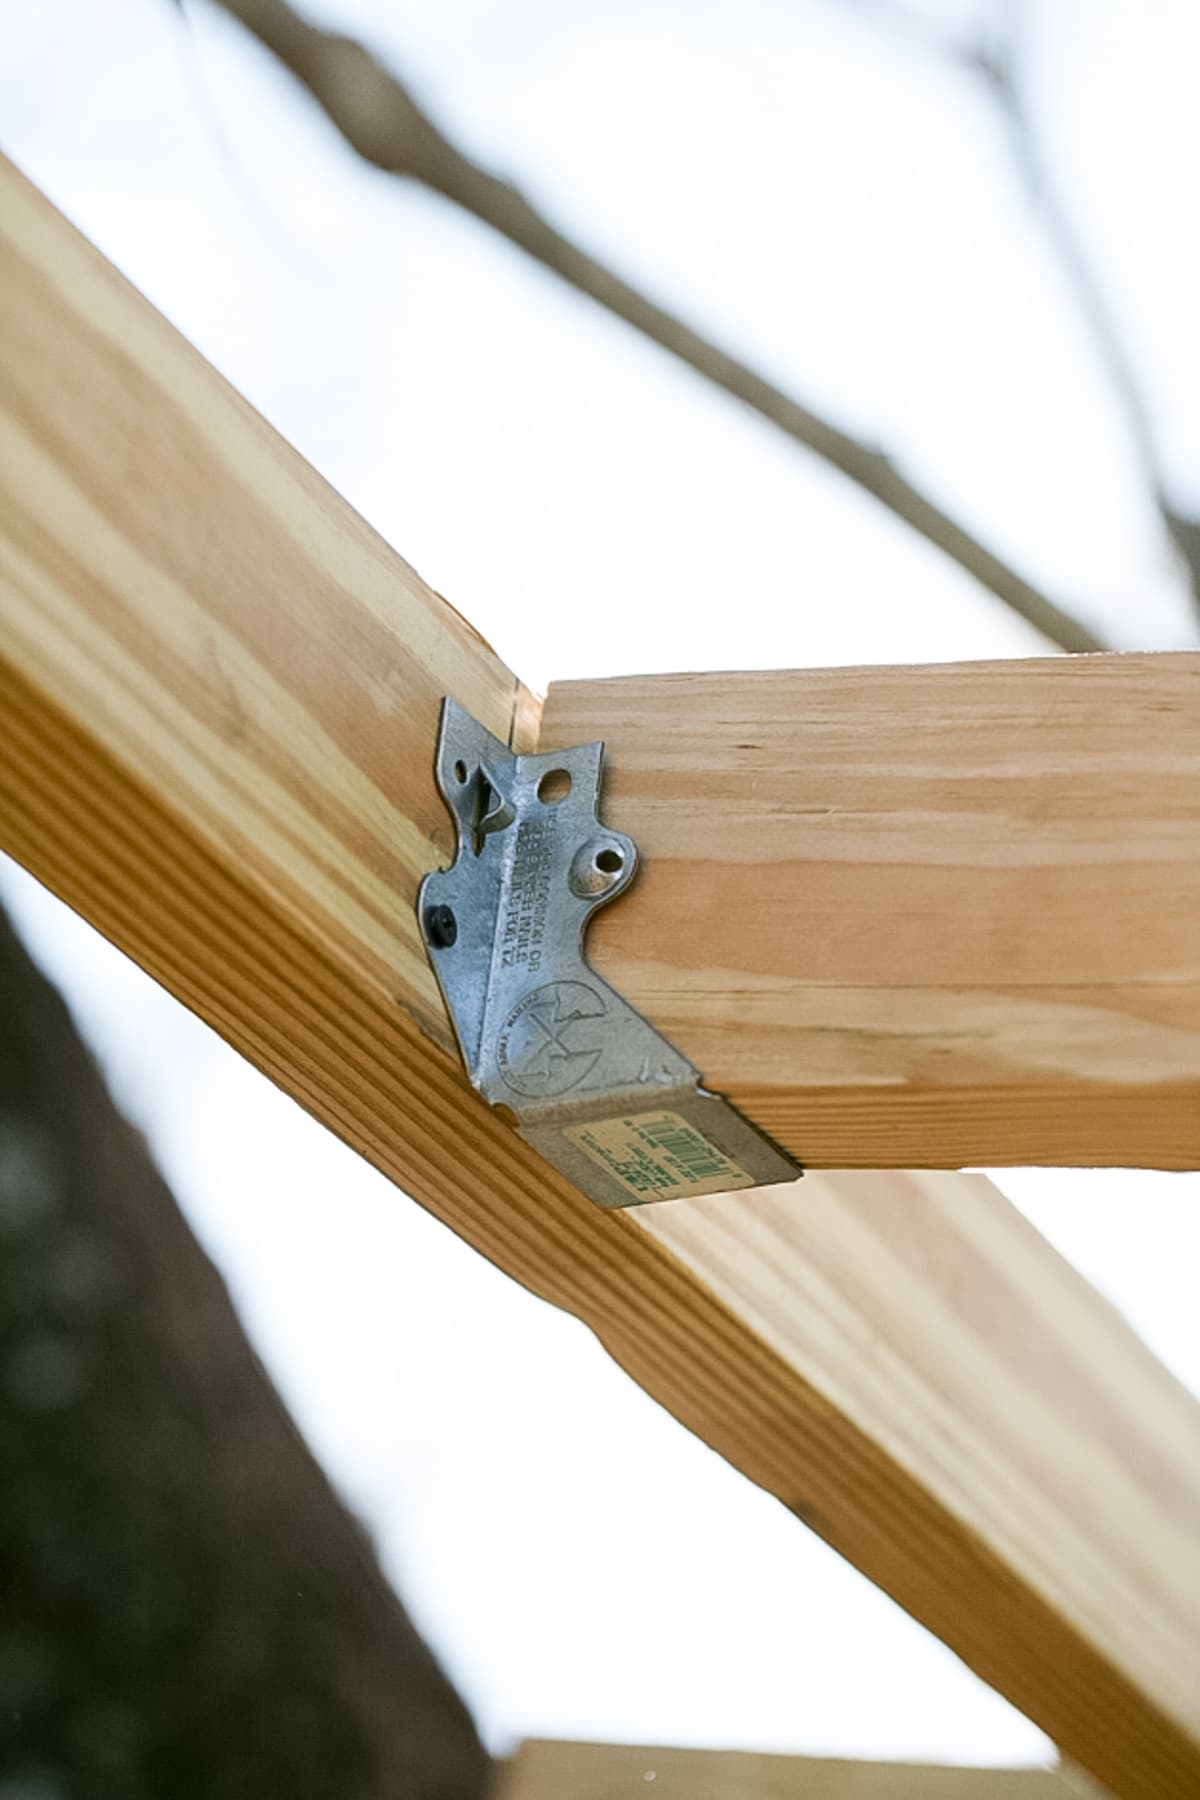
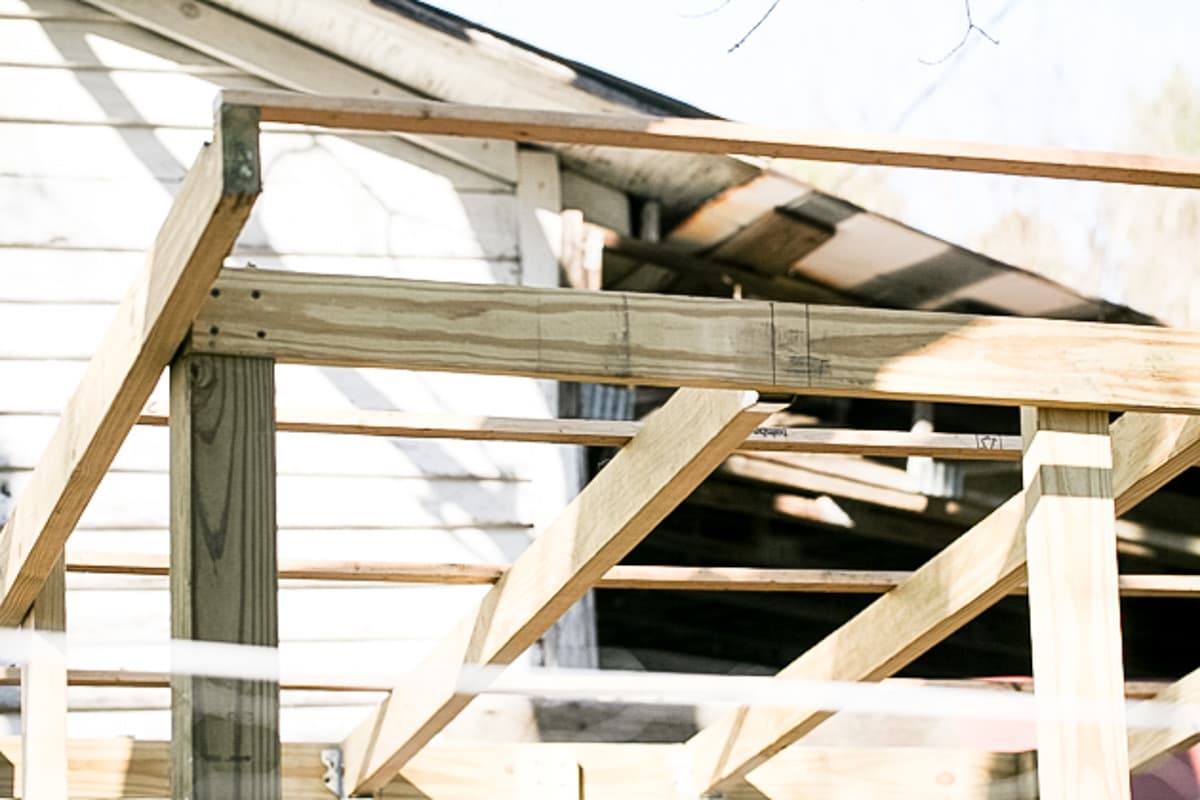
For the roof joists, I used 2×4 face-mount joist hangers. I could not figure out a way to find out the angle to cut the 2×4 joists so they would fit inside the hanger nicely (there is a way to calculate it with a carpenter’s square but I didn’t know how…). I ended up placing my 2×4 on top of the horizontal 2×4 (that is attached to the corner posts), and using a piece of straight scrap wood as a ruler, I made a straight line up.
I added two of those to the roof and then laid 1×1 horizontally on top so I could connect the tin to it. I had the 1×1 lying around the homestead so I used them. If I had to buy the lumber I would probably invest in 1×4 instead.
Framing the Walls…
To frame the walls, I added the 2x4s in between the posts so I had something to screw the pallet wood sidings to. I measured the length between the top 2×4 to the bottom 2×4, marked, and cut the lumber to length. Then screwed the 2×4 right where the two pallet wood planks meet.
Installing the Pallet Wood Siding…


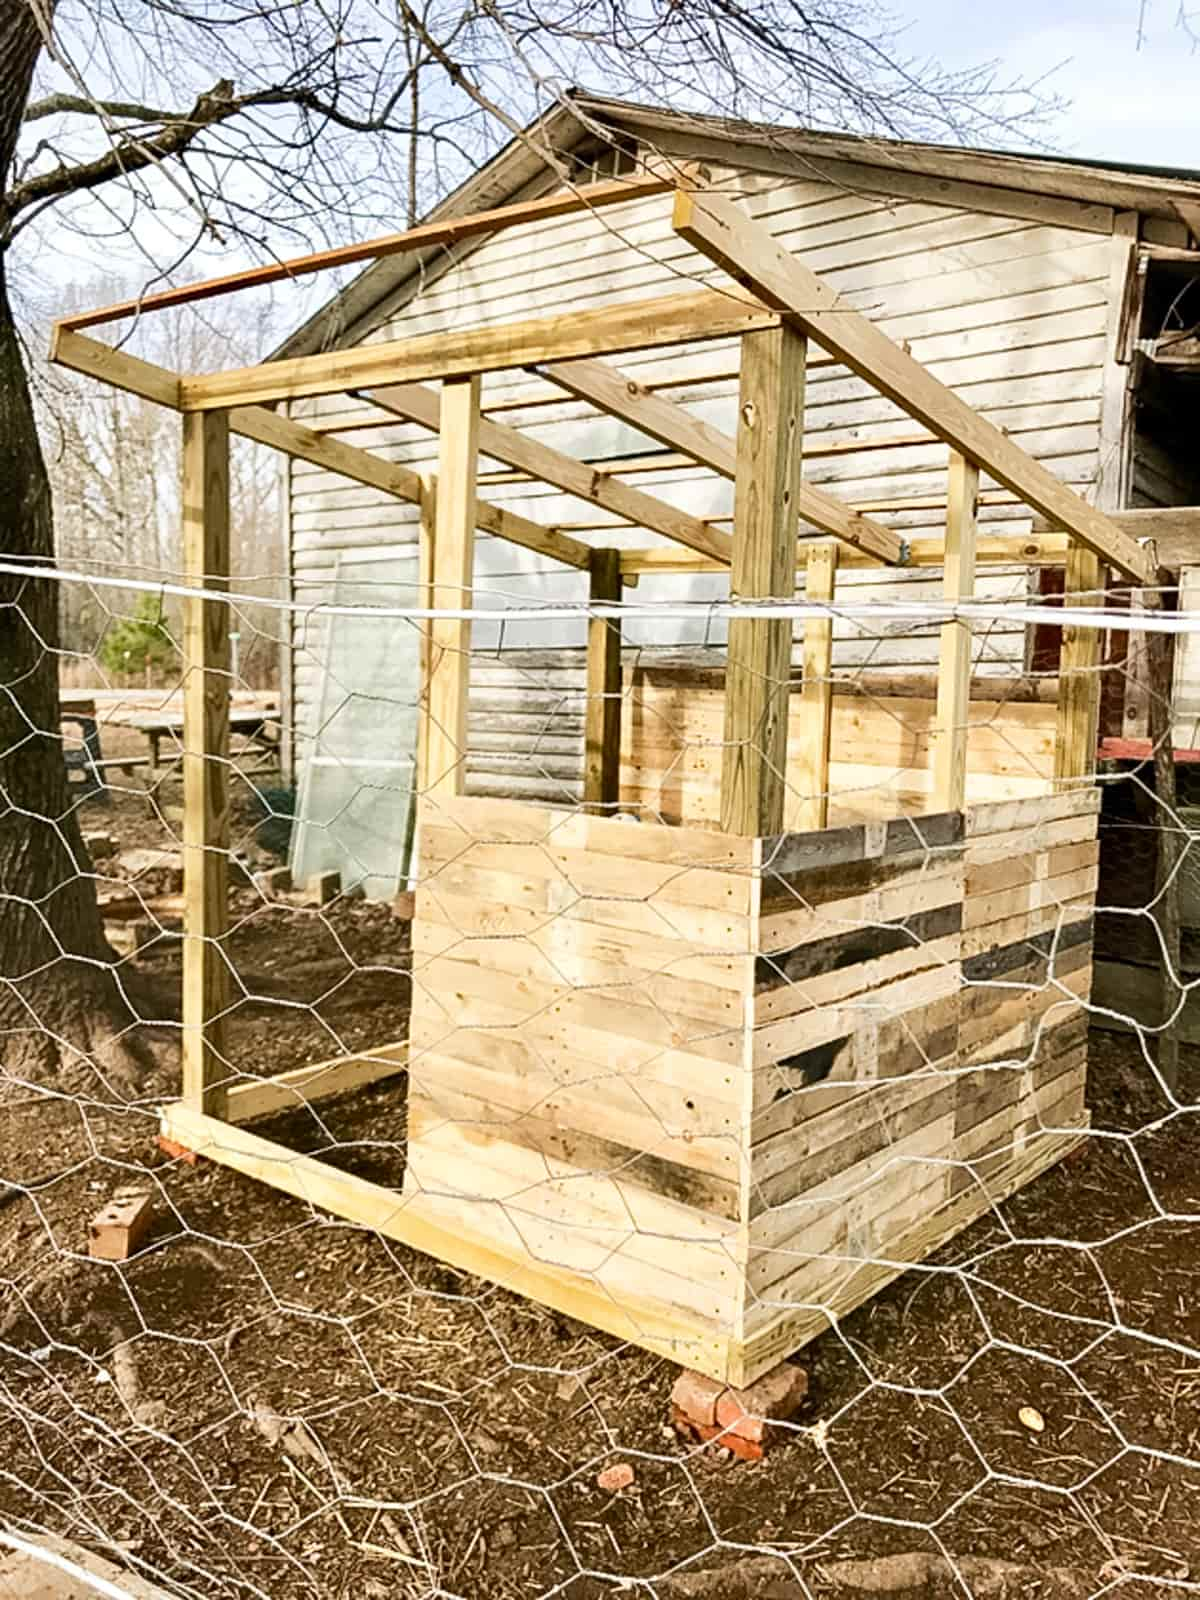

It would have made sense to finish the roof and lay the tin at this point, but I was afraid of the roof installation (I am not very good with heights), so I decided to work on the sidings first…
This was a lot of fun! I just kept adding another plank and another plank… Making minor adjustments in the corners where the planks met. I love how the pallet wood has different colors to it… I didn’t notice it when I broke them apart. It was fun choosing the planks by their colors.
Placing the Tin on the Roof…
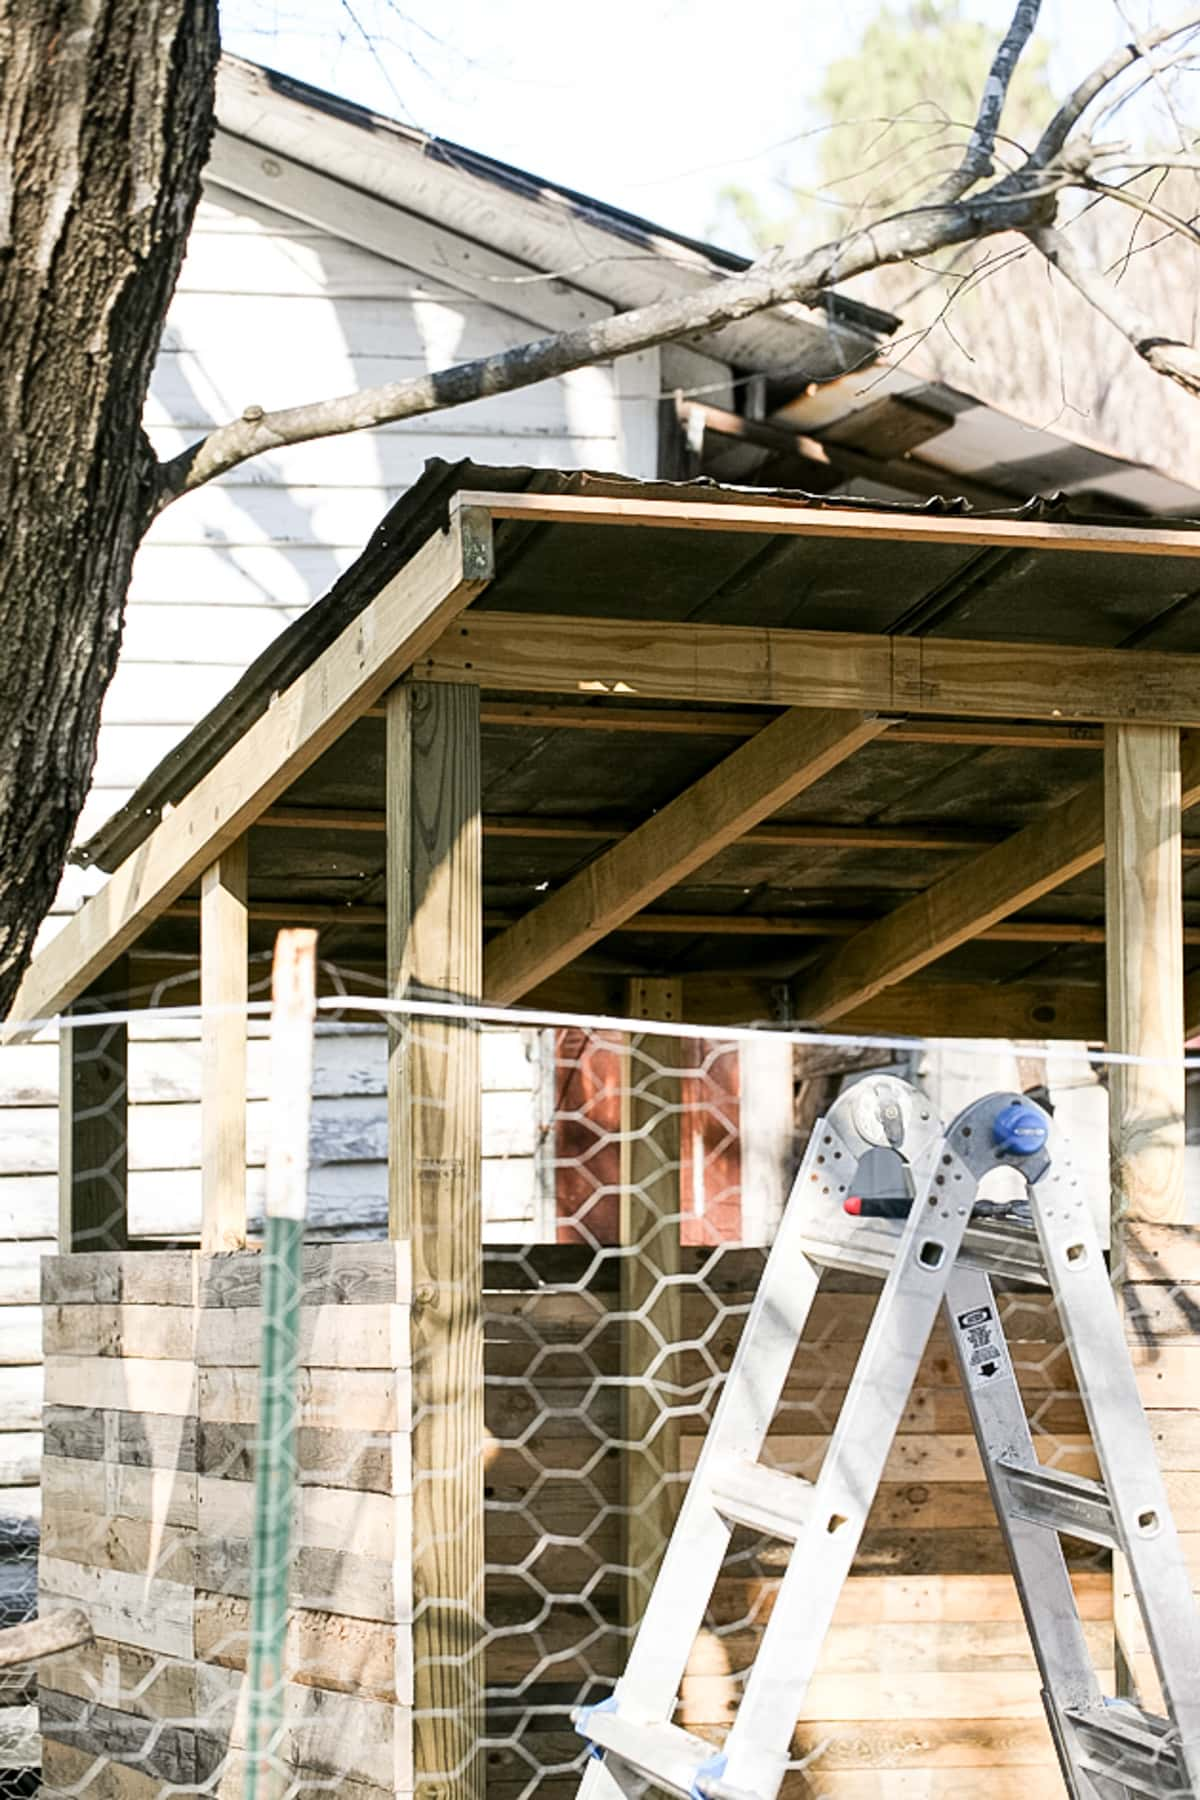
When I got about halfway up with the wall sidings, I stopped and installed the roof. I used tin that we salvaged from an old shed which was a huge saving.
I had to cut a couple of the pieces of the tin and I did that with tin clippers. Then, I used roofing nails to nail the tin to the 1x1s. Now I know that it would have been much easier to use a disc saw, and I no longer use nails when building anything! Roofing screws would have been a better choice.
I also added a fascia 2×4 to the front to make it look nice and finished.
The Outside…
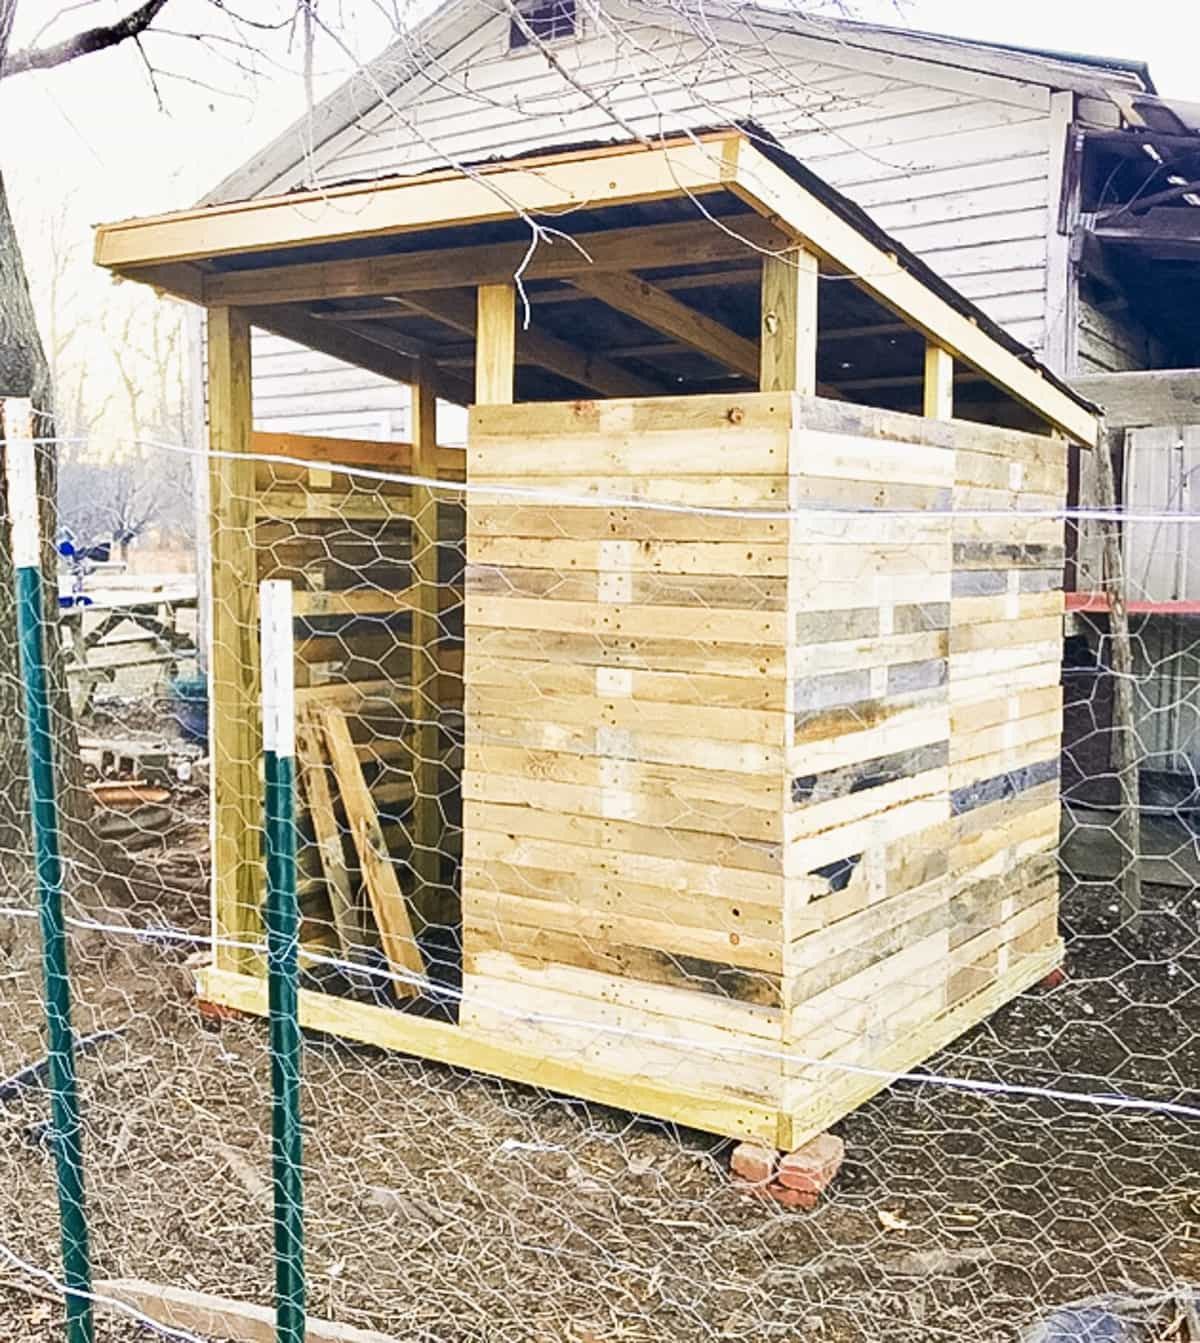
I went back to the walls after the roof. I was trying to figure out how high I wanted to go. I didn’t want to fully close it because I wanted to have good ventilation and air flow…
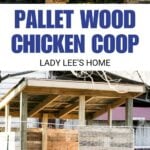
I ended up going all the way to the top in the back and leaving the top of the sides and front open. My plan was to close this with hardware cloth but I haven’t done that yet.
That was it for the outside! Notice that I don’t have a door. Again, my chickens free-range and I never close them in the coop but it can easily be closed off with a door and hardware cloth if I ever want to.
The Inside…
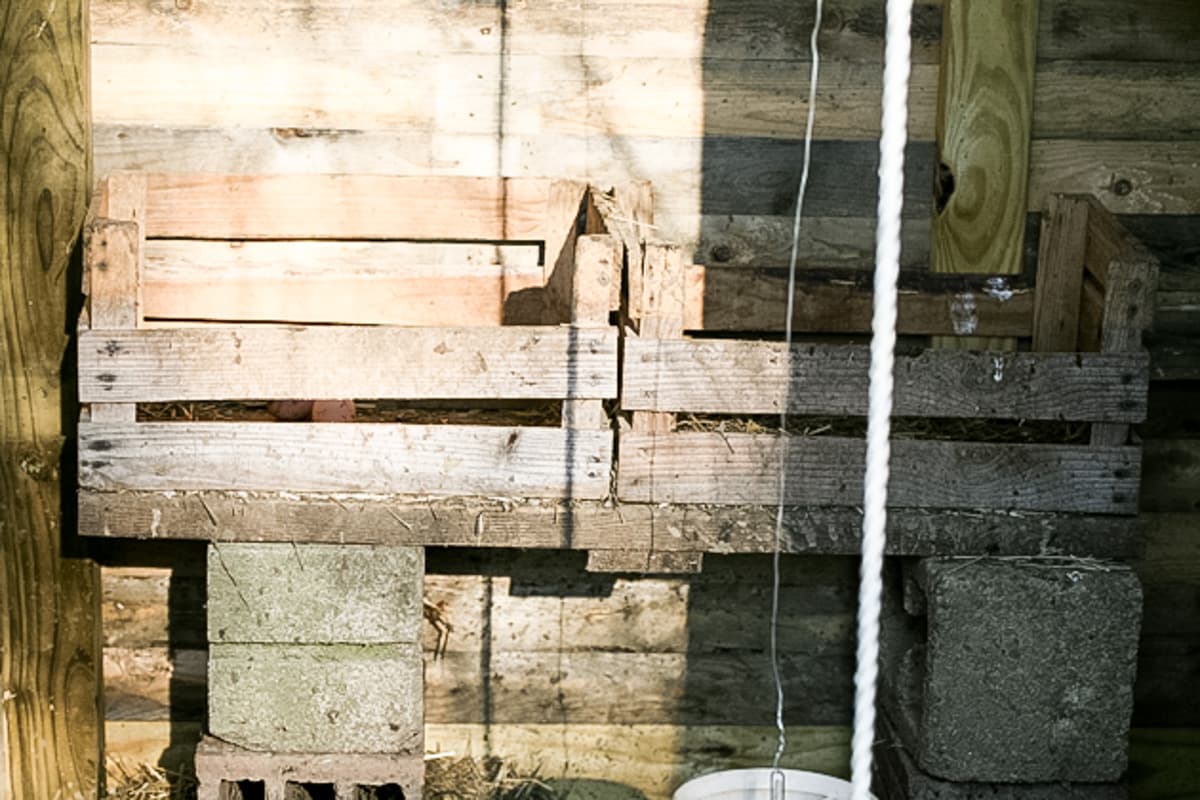
When you come in the door, right in front of you are two nest boxes made out of crates that I had. They sit on a piece of 2×8 that is placed on a few blocks but this is temporary. I might purchase or make those nest boxes where the eggs roll to the bottom to keep them clean. I am not sure yet so I went with those for now.
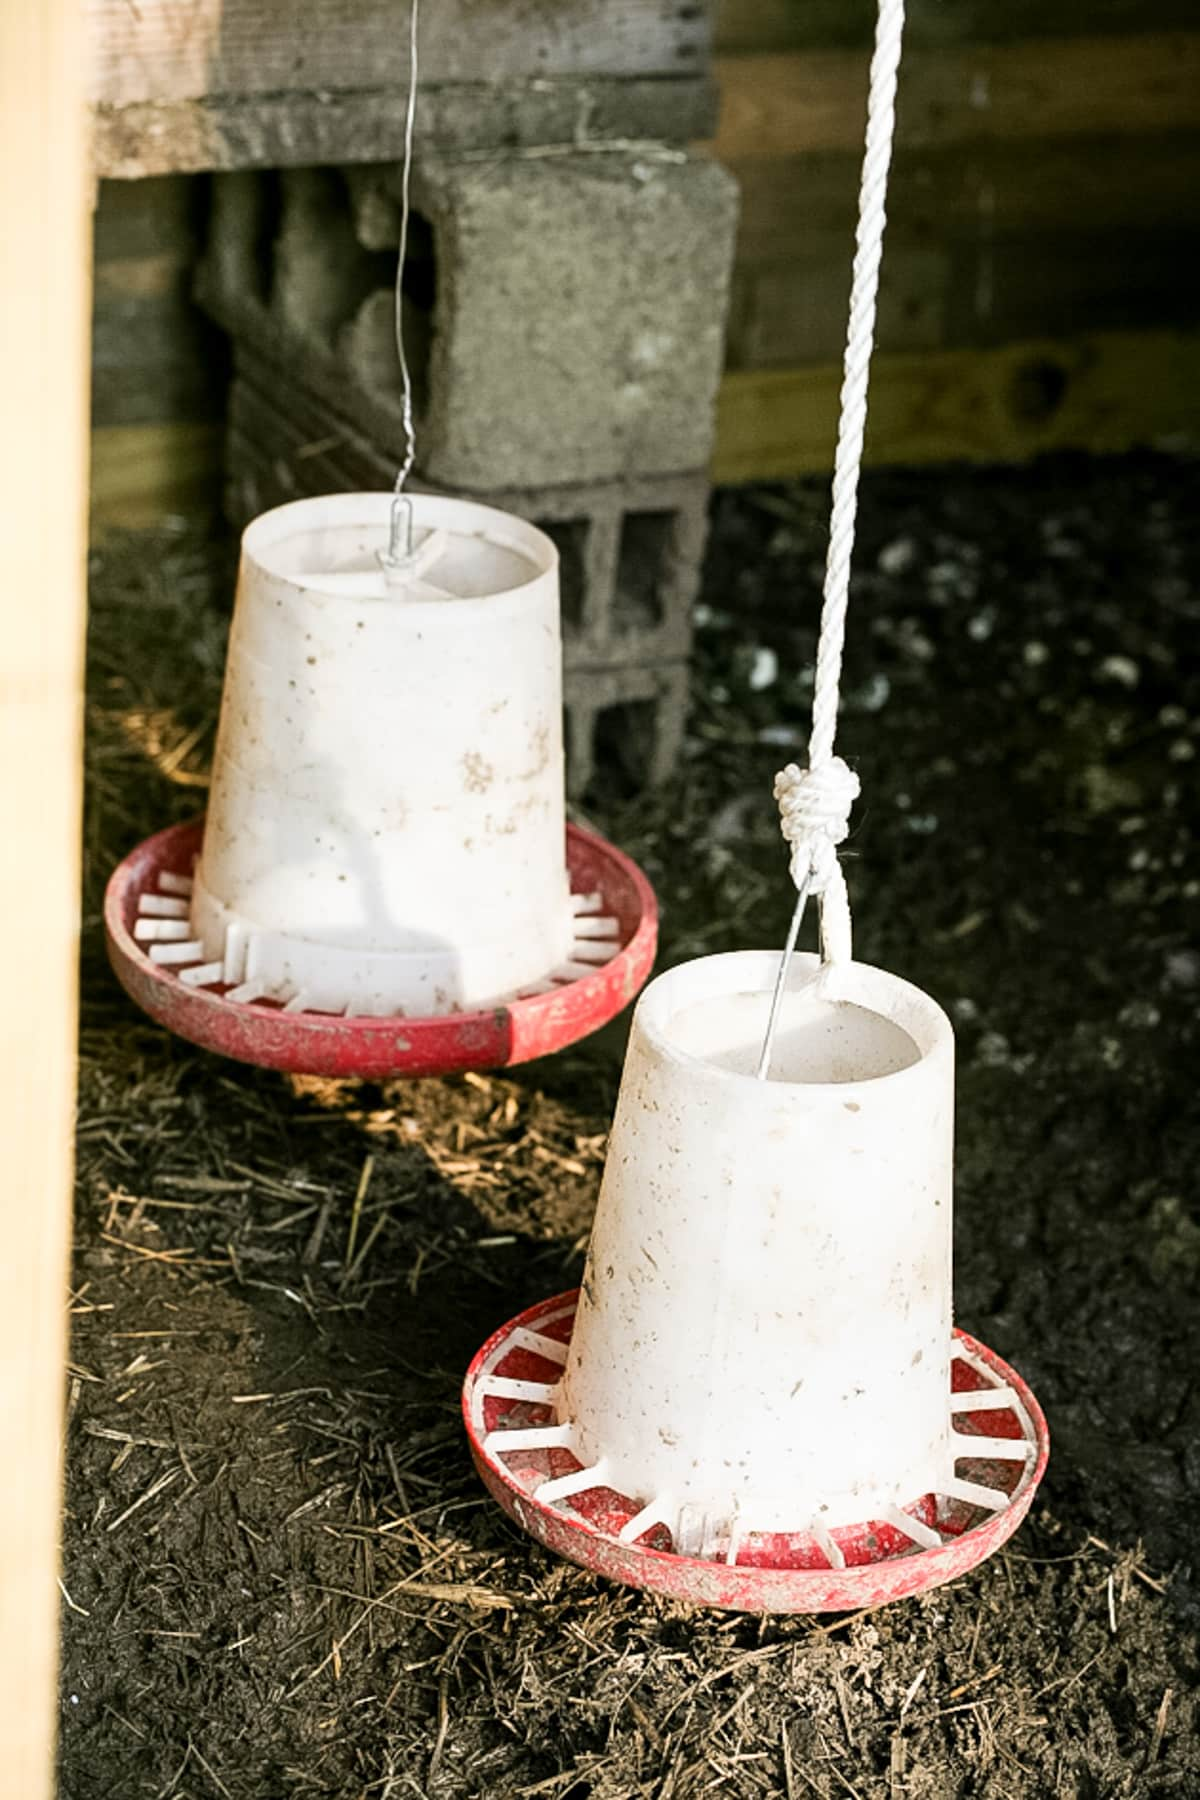
I hung a couple of feeders I had even though I don’t usually use them. Most of the time I throw the chicken feed on the ground for the chickens to find just like they do with the rest of their food, but sometimes it’s just too muddy around here so the feeders come in handy.
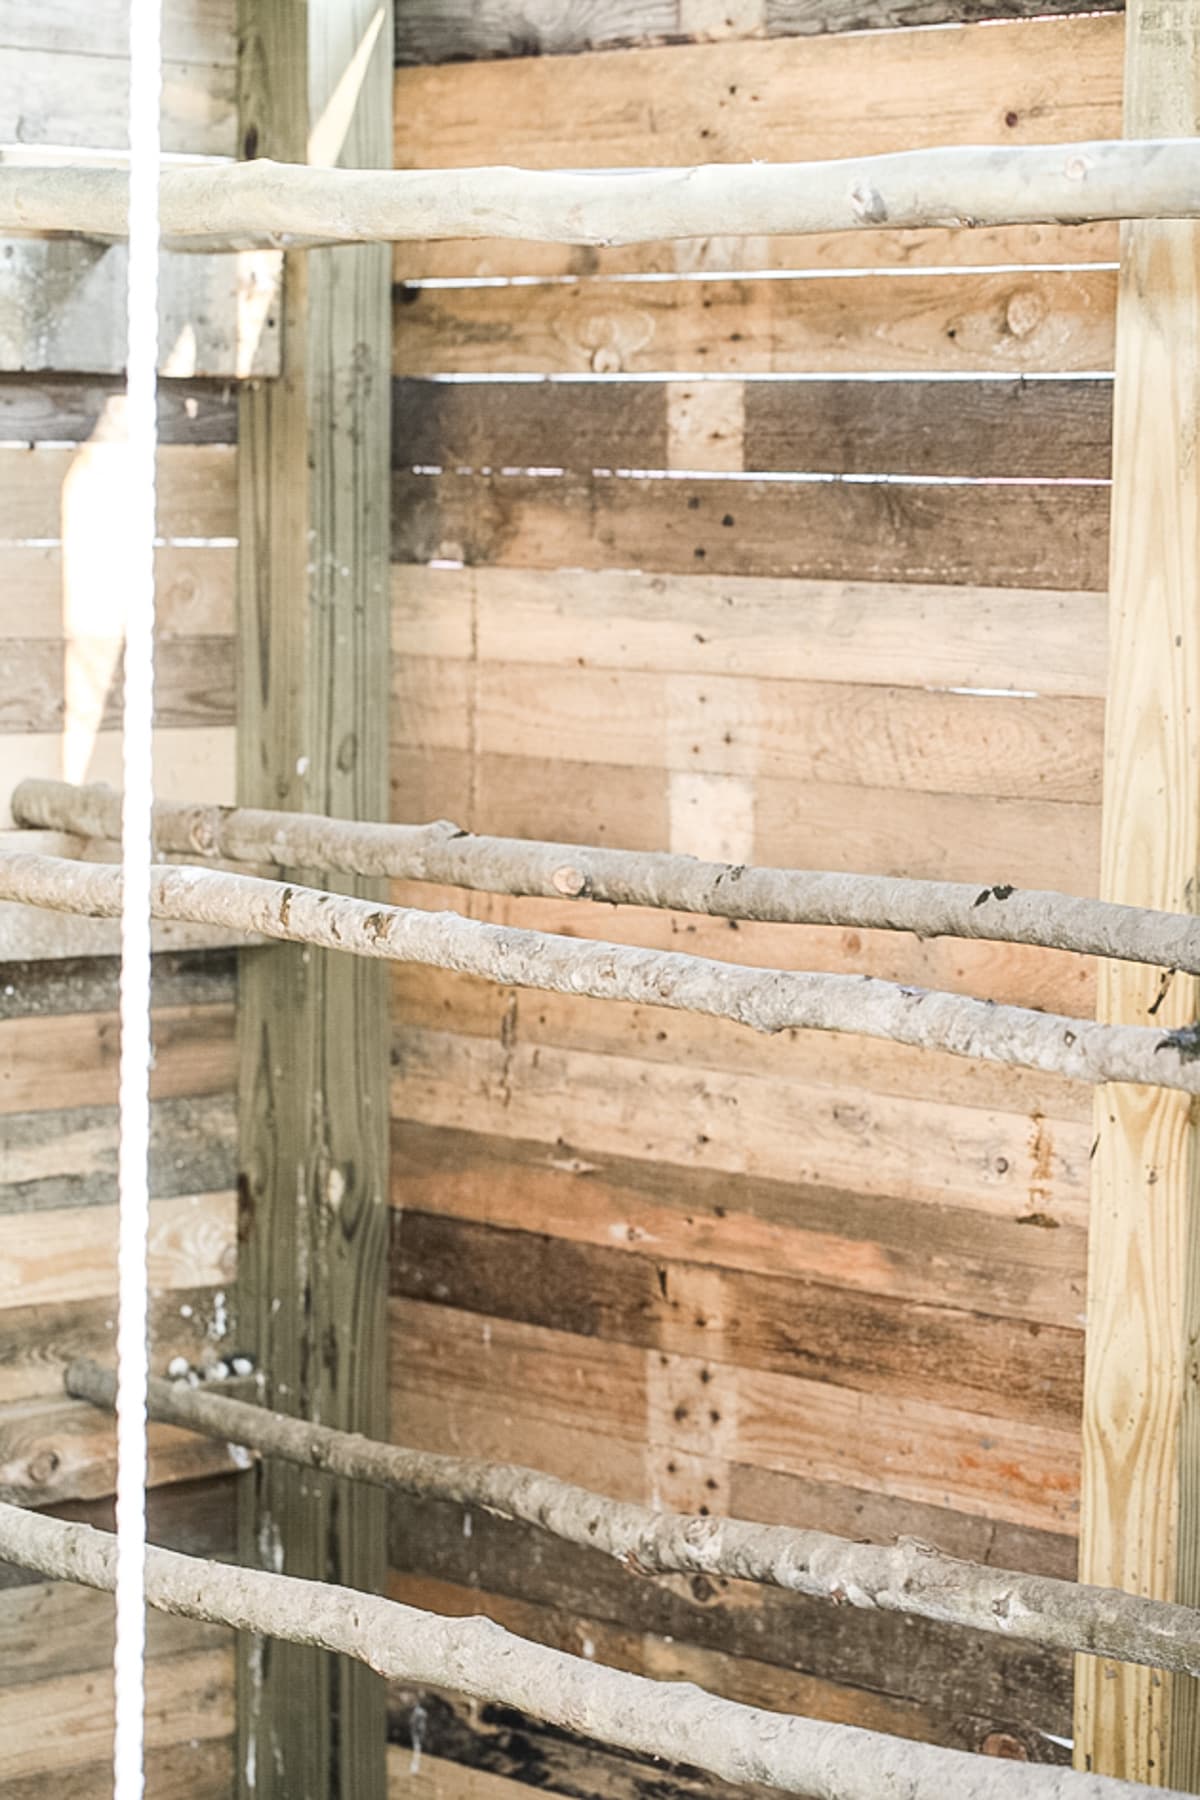
Then to the left of the door, I installed six roosting bars. My sweet neighbor cut those for me from the forest behind his house. They are just young trees about an inch and a half thick. I added a piece of pallet wood in between the center 2×4 and the corner 4×4 and screwed the bars to the pallet wood.
Most of the chickens still sleep on the tree that is right next to the coop but some have moved in. When we had some snow a few weeks ago they were all hanging out in the coop on the bars most of the day.
The Cost…
The materials I bought for this project are the 2x4s, the 4x4s, the screws, and the paint. The rest was salvaged from the homestead. I spent a total of about $150 (in 2018) and I plan on using this coop for many years.
If in the future, for some reason it’s not a coop anymore, it can be used as a home for other animals (like goats) or as a small shed (2024 update: it’s not a coop anymore. It’s still standing strong and it’s now a place for me to store two cords of firewood for the winter).
I’ve had so much fun building this coop! All I have left to do is paint. I’m just going to go with a clear outdoor stain to protect the wood from water but still keep its beautiful natural color.

Great job! I’m about to attempt something similar. Not much skill part from helping dad when I was younger. We have so many pallets big, small, narrow, at work and I’m allowed to take whatever I need so that’s a bonus!
They are a great material to build with. I am now building the walls of my new well house from pallets. This coop is still standing but I think that I am going to turn it into a firewood storage building. You’ll have a lot of fun.
Nice work! I am also building a coop using some pallets and some store bought wood.also not a carpenter. There is so much pallet wood around.
There is, and there are so many amazing things to do with it!
Do you remember or know about how many board you had from your pallets? I got got a pile of boards from my pallets but I am not sure how many I need.
No, sorry. I really don’t remember.
Thank you so much for posting this. I am going to make this for my chicken coop. ????
It was a fun build! Still standing strong.
Thanks for sharing your project with
us!! You are very persistent—a great quality to have. ?
Don’t know where that question mark came from. My comment was a statement not a question. ??
The pallets I have, have plywood tops and are chewed up on ends from the fork trucks moving them….they are used…I am wanting to square them up and make a coop 4 ft by 6 ft and 8 ft tall in back and 6 ft in front…the triangle top difference thought chicken wire and a way to close most of it up in winter and rainy season…a man door and a door for chickens and ducks to have a small yard at night when they are closed in for night and a door they can go out to free range and to the pond…an area for chicken and ducks nests, each there own, roosting area and sleeping area for ducks….not sure about flooring yet…i think i need one to keep predators out…so that’s my idea…when we get started and finished will share with you
Please do! Send pictures if you can. Sounds like a good plan aside from chicken wire. I would not use chicken wire to save my life! It’s horrible to work with and it’s thin and breaks down. Even simple welded wire will work better but if you want tiny wire openings rabbit fencing is another good option.
Thank you for this tutorial! It is just what I’ve been looking for. Simple, recycled wood and a lean-to roof. I will need to put hardware cloth on the bottom edges too, but that will be easy. I hope your chickens are still doing well and that you are all thriving on your homestead.
Thanks! Yes, the chickens are still doing well and loving the coop. I do really need to find time to paint it though… But it’s still in great condition.
Hi Lady Lee! My name is Bill Simmons and my wife is Beverly. We live in a small rural community called Rocky Point NC just north of Wilmington NC . We have just bought 4 Golden Comet chicks and have them indoors now. I love your chicken coop and I plan to build mine just like yours. I’ve already started collecting pallets and will be working on the construction over the next few days or so. When I finish I will send you a picture. Love It !!!!
Please do! I’d love to see pictures. One thing I have to suggest, though… Take the extra time to paint it! Pallet wood is great but it doesn’t stand against weather too well if not protected. I didn’t paint mine yet and it has been a couple of years now. It’s still holding very well but I do need to take the time to paint it.