This post may contain affiliate links, view our disclosure policy for details.
Learn how to can apples in light syrup step-by-step for delicious preserved apples you can use in pies, toppings & more — perfect for your harvest pantry!
Lady Lee’s Note…
Canning apples in light syrup is a simple and rewarding way to preserve your apple harvest, even if you’re brand new to canning. This method is straightforward, uses basic ingredients, and creates shelf-stable apples that are perfect for pies, baking, oatmeal, and everyday cooking. In this guide, I’ll walk you through each step so you can feel confident and comfortable putting apples up for your pantry, one jar at a time.
Ingredients…
- Apples – sweet varieties are better for canning than sour varieties (like Granny Smith). Choose apples that are ripe, firm, crispy, and juicy.
Note – soft apples are better for making and canning apple sauce, apple butter, cranberry apple jam, plum and apple jam, and so on. When canning apples, try to choose fruit that will hold its shape in processing. - Lemon juice
- Sugar
- Water
Step By Step Instructions…
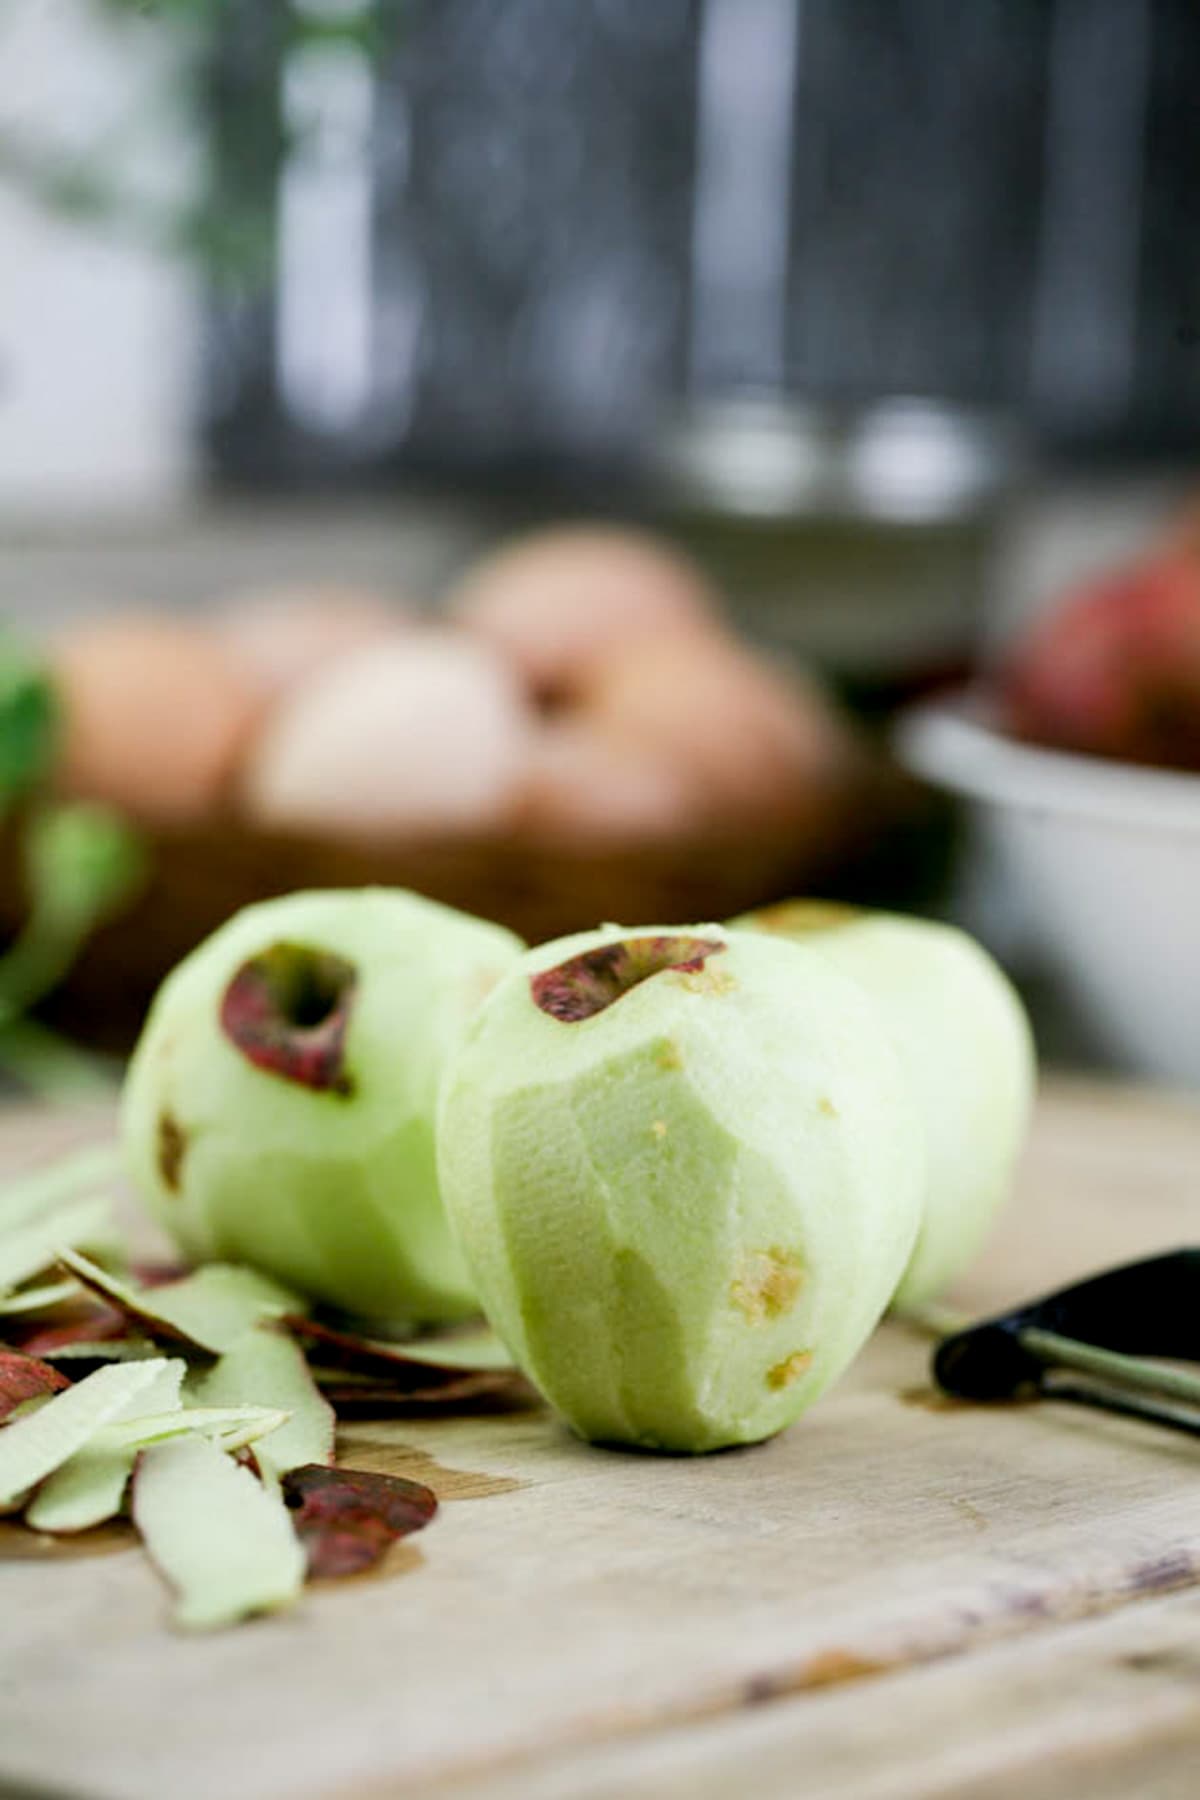
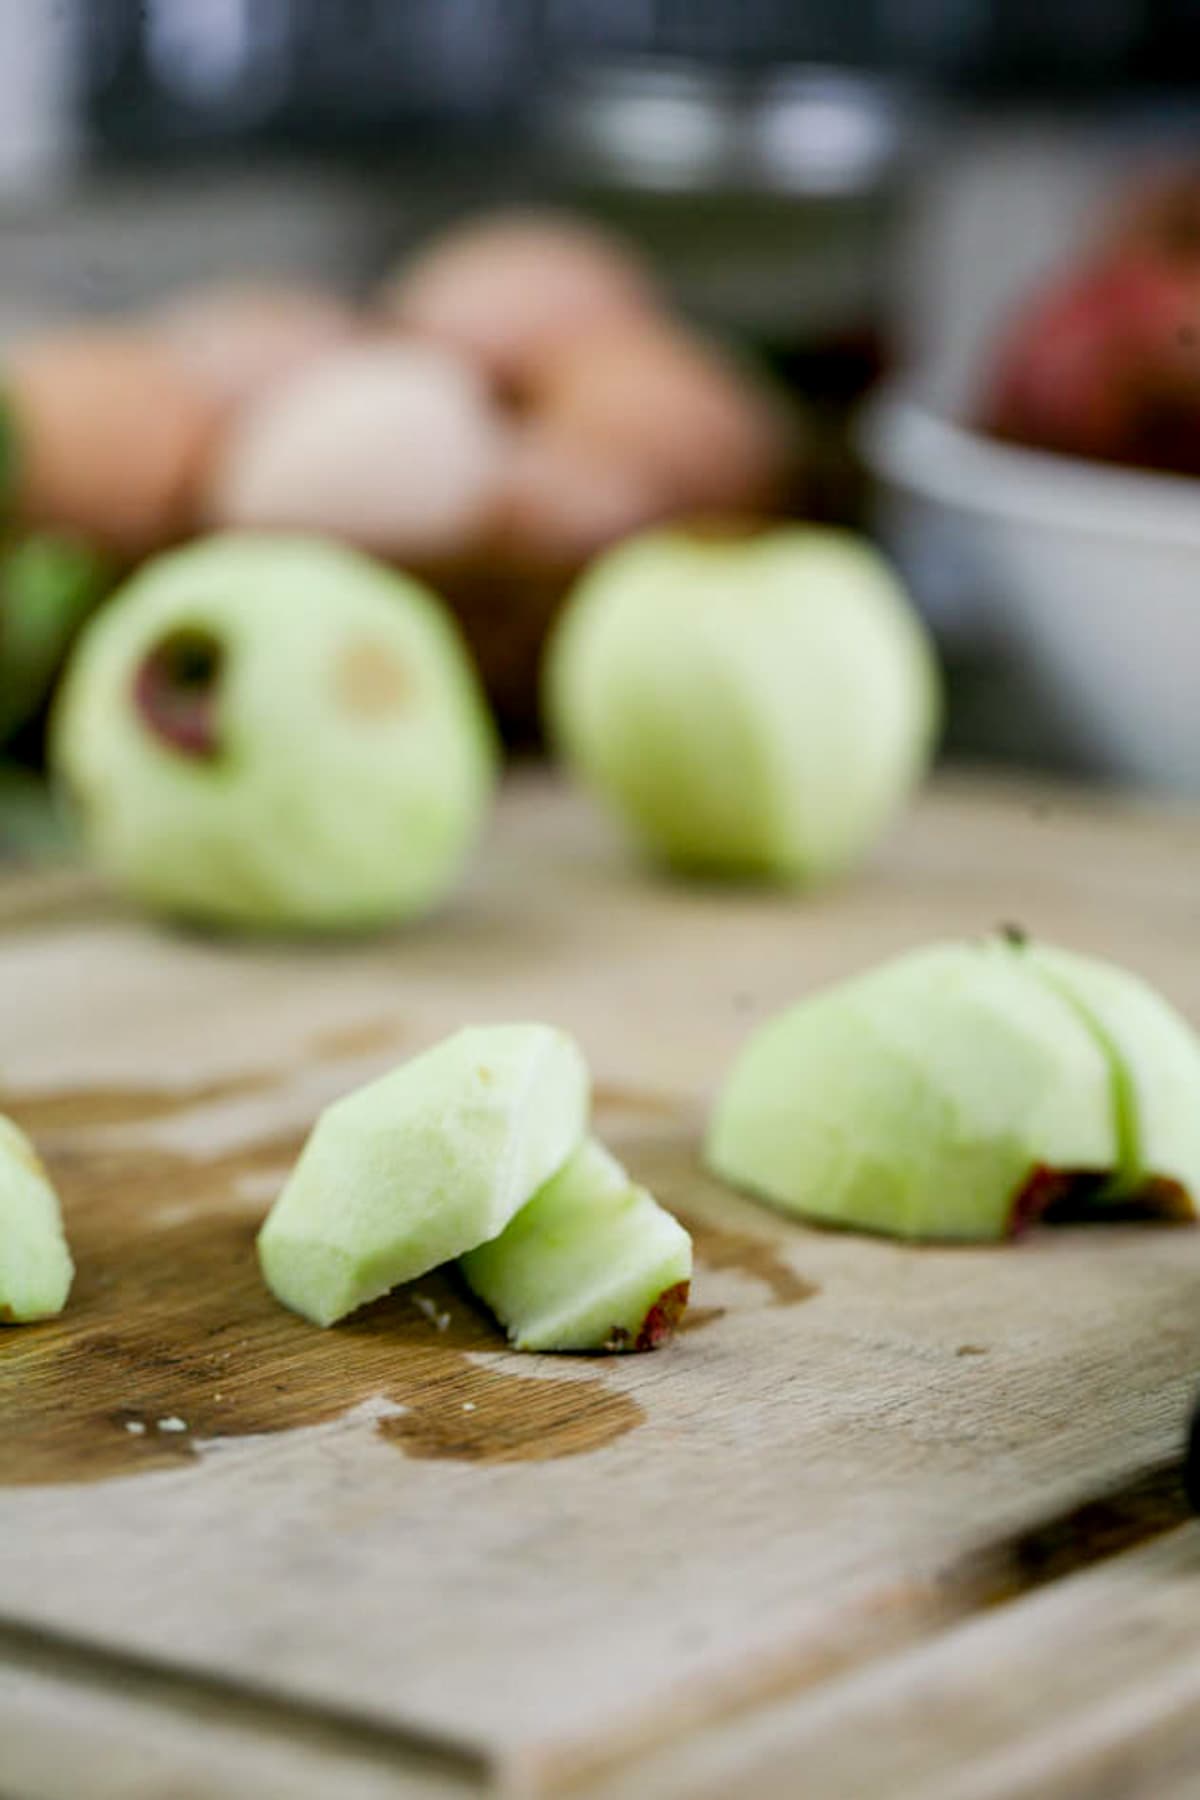
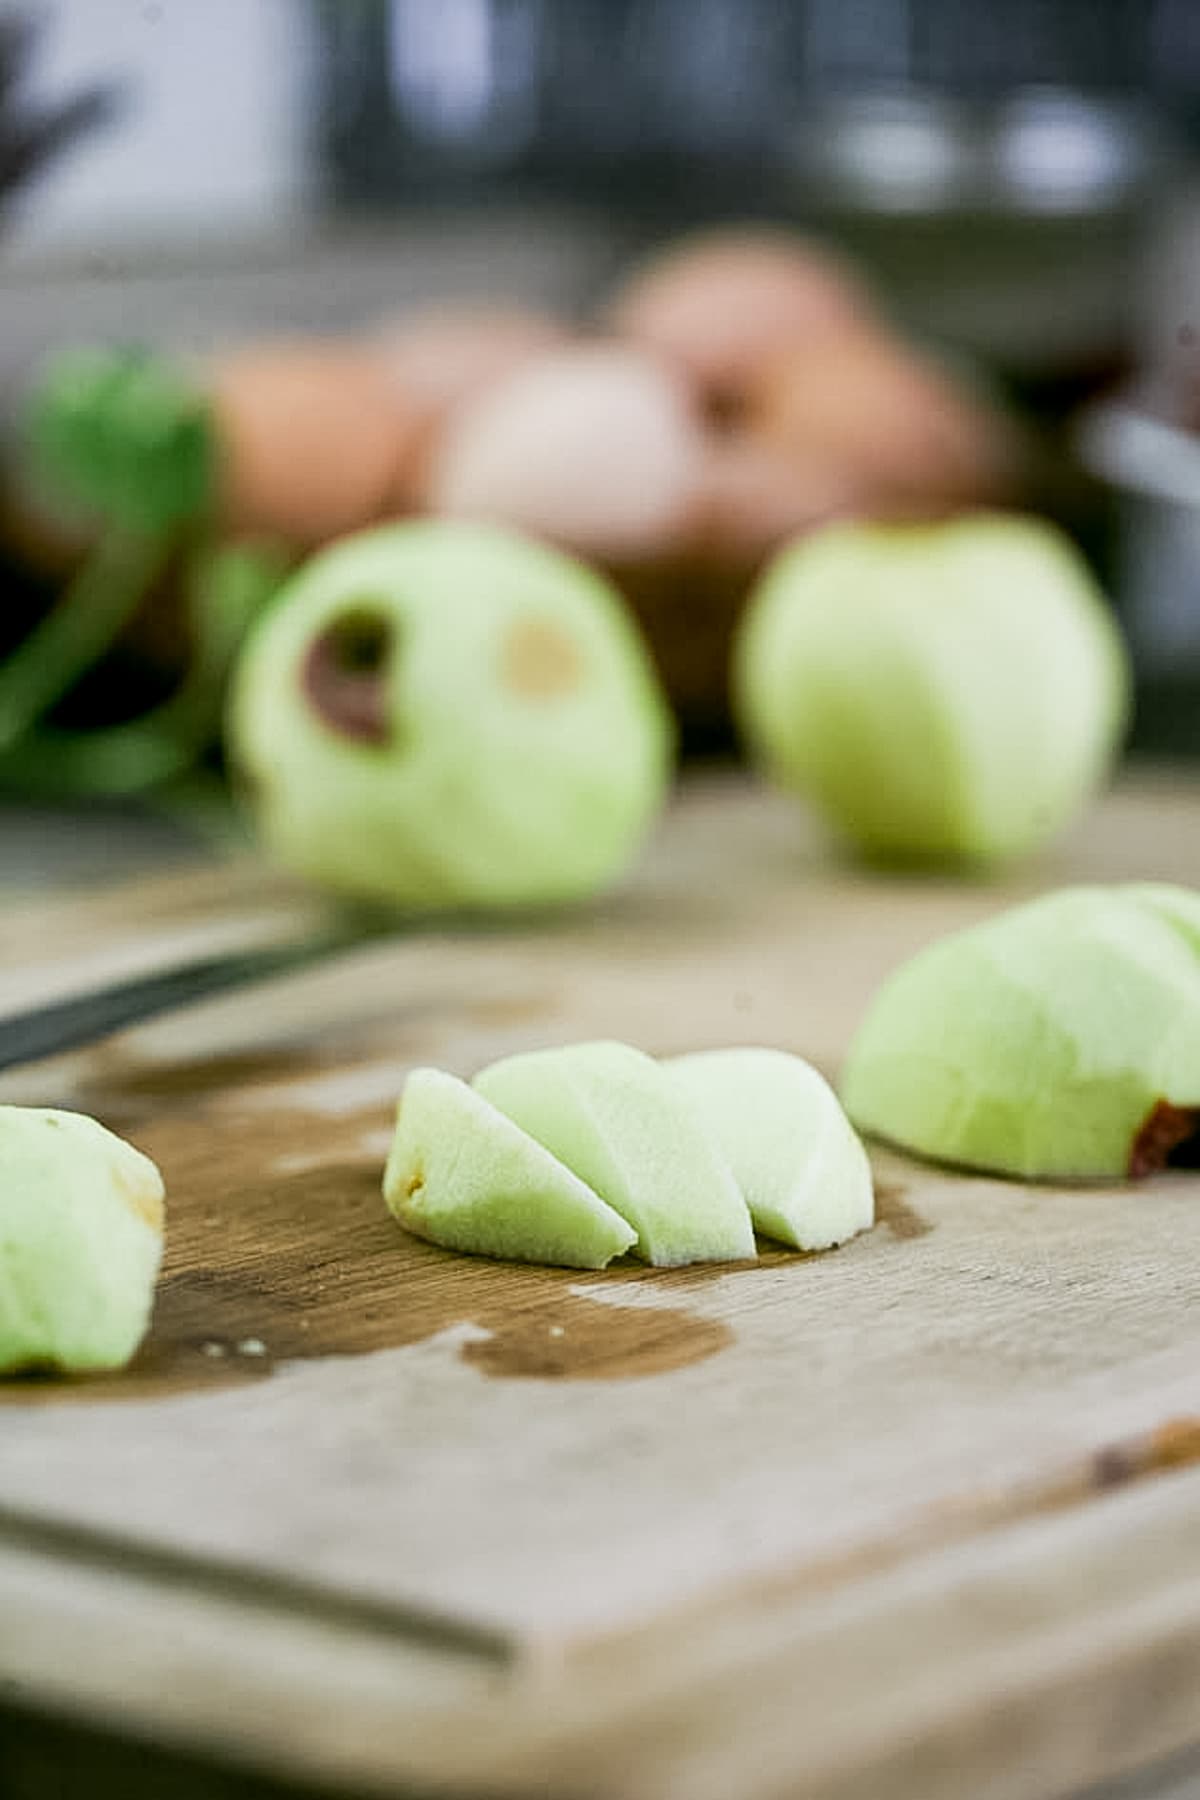
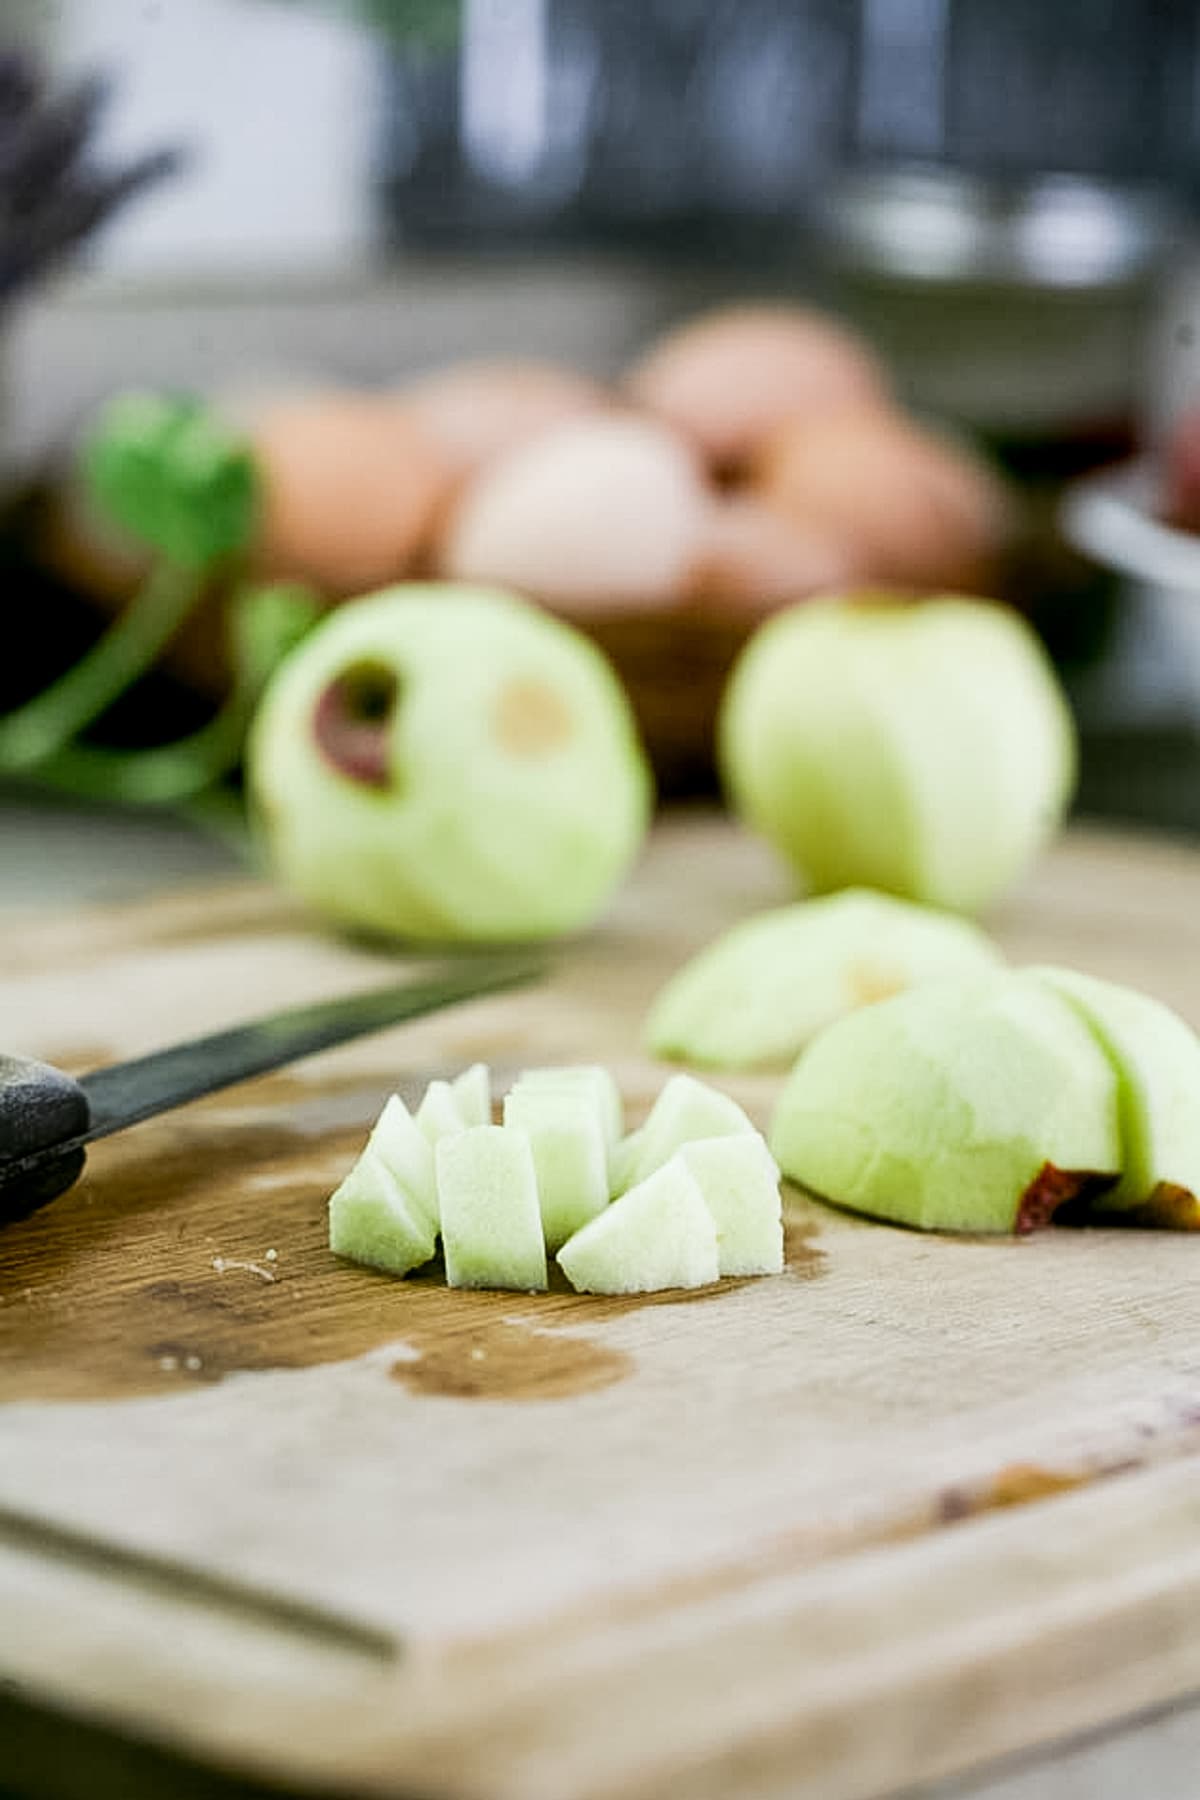
Step one – preparing the apples and canner. Peel, core, and dice the apples (save the peels and cores to make apple scrap vinegar). Fill the waterbath canner with enough water to cover the jars by at least an inch. Place on the stovetop and bring the water to a boil.
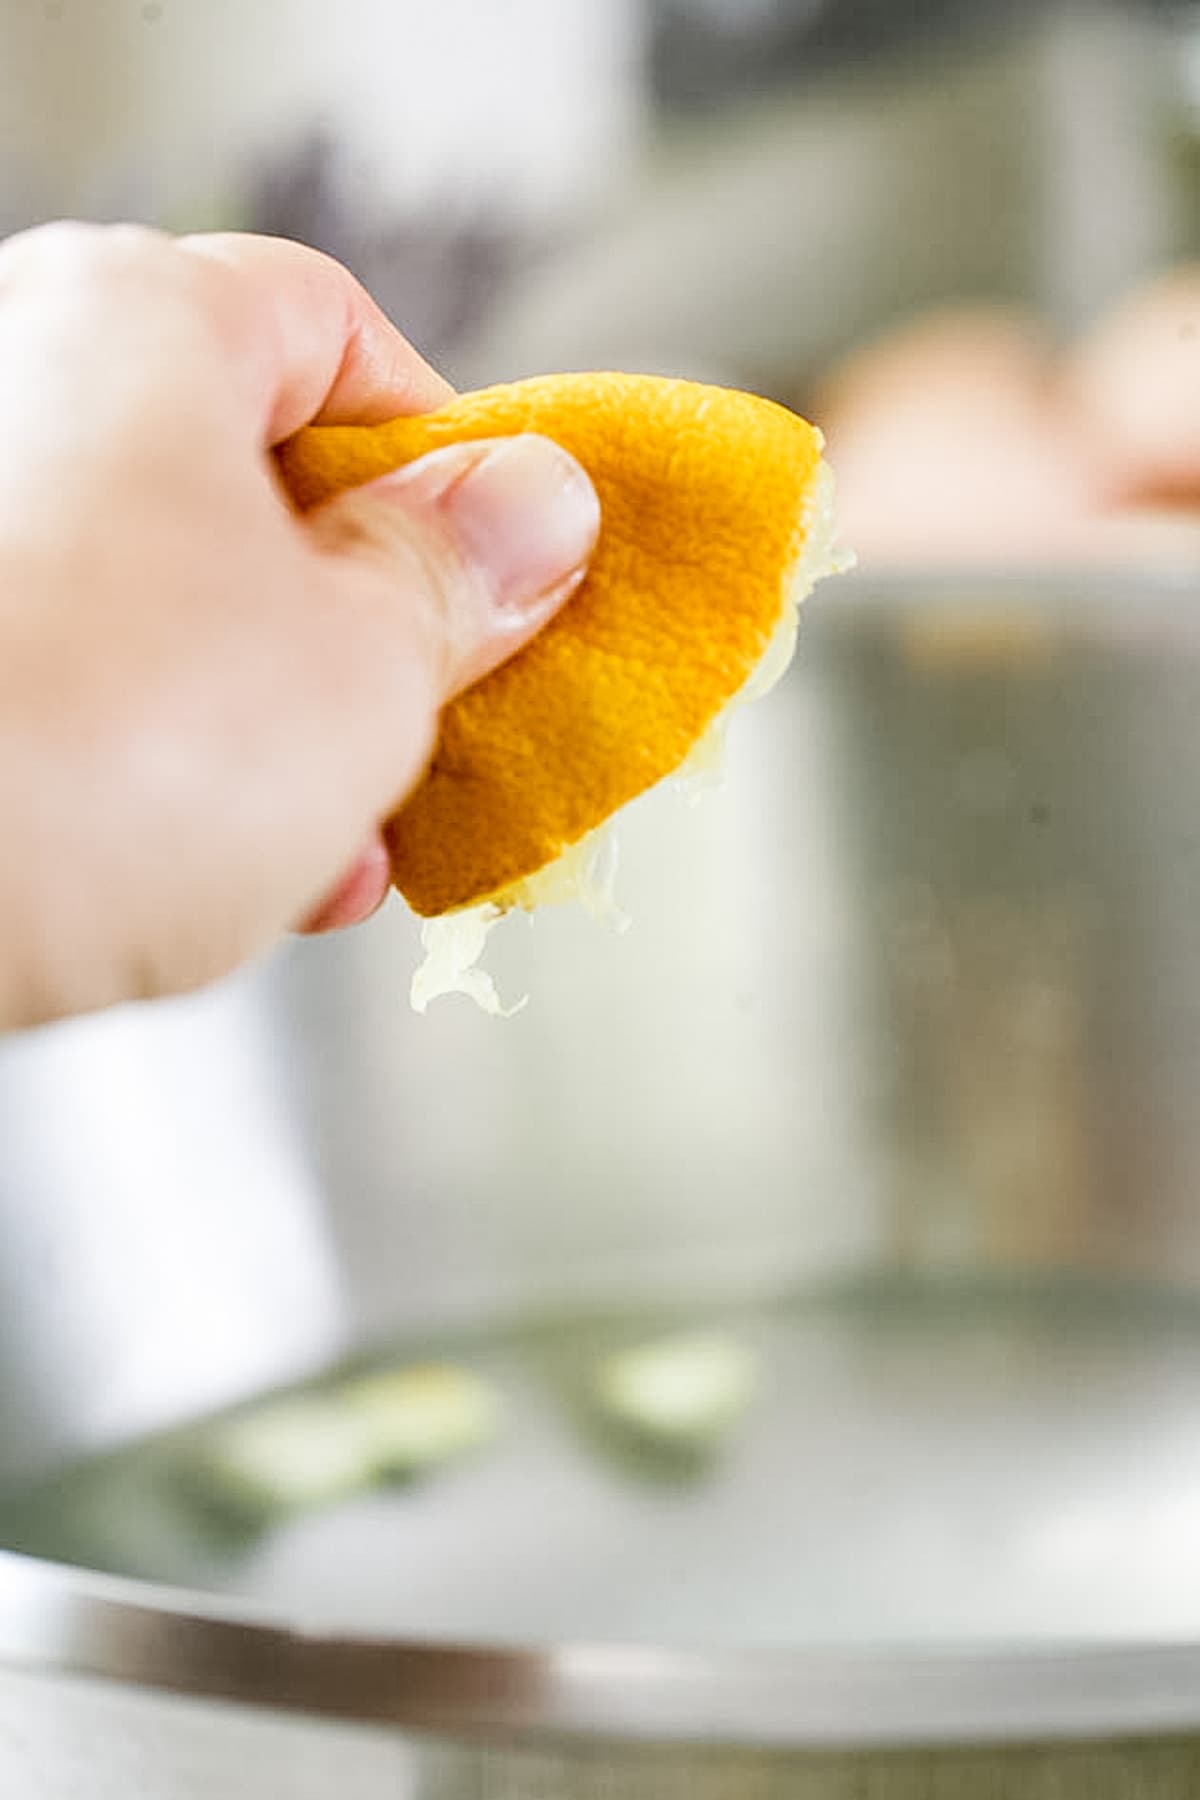
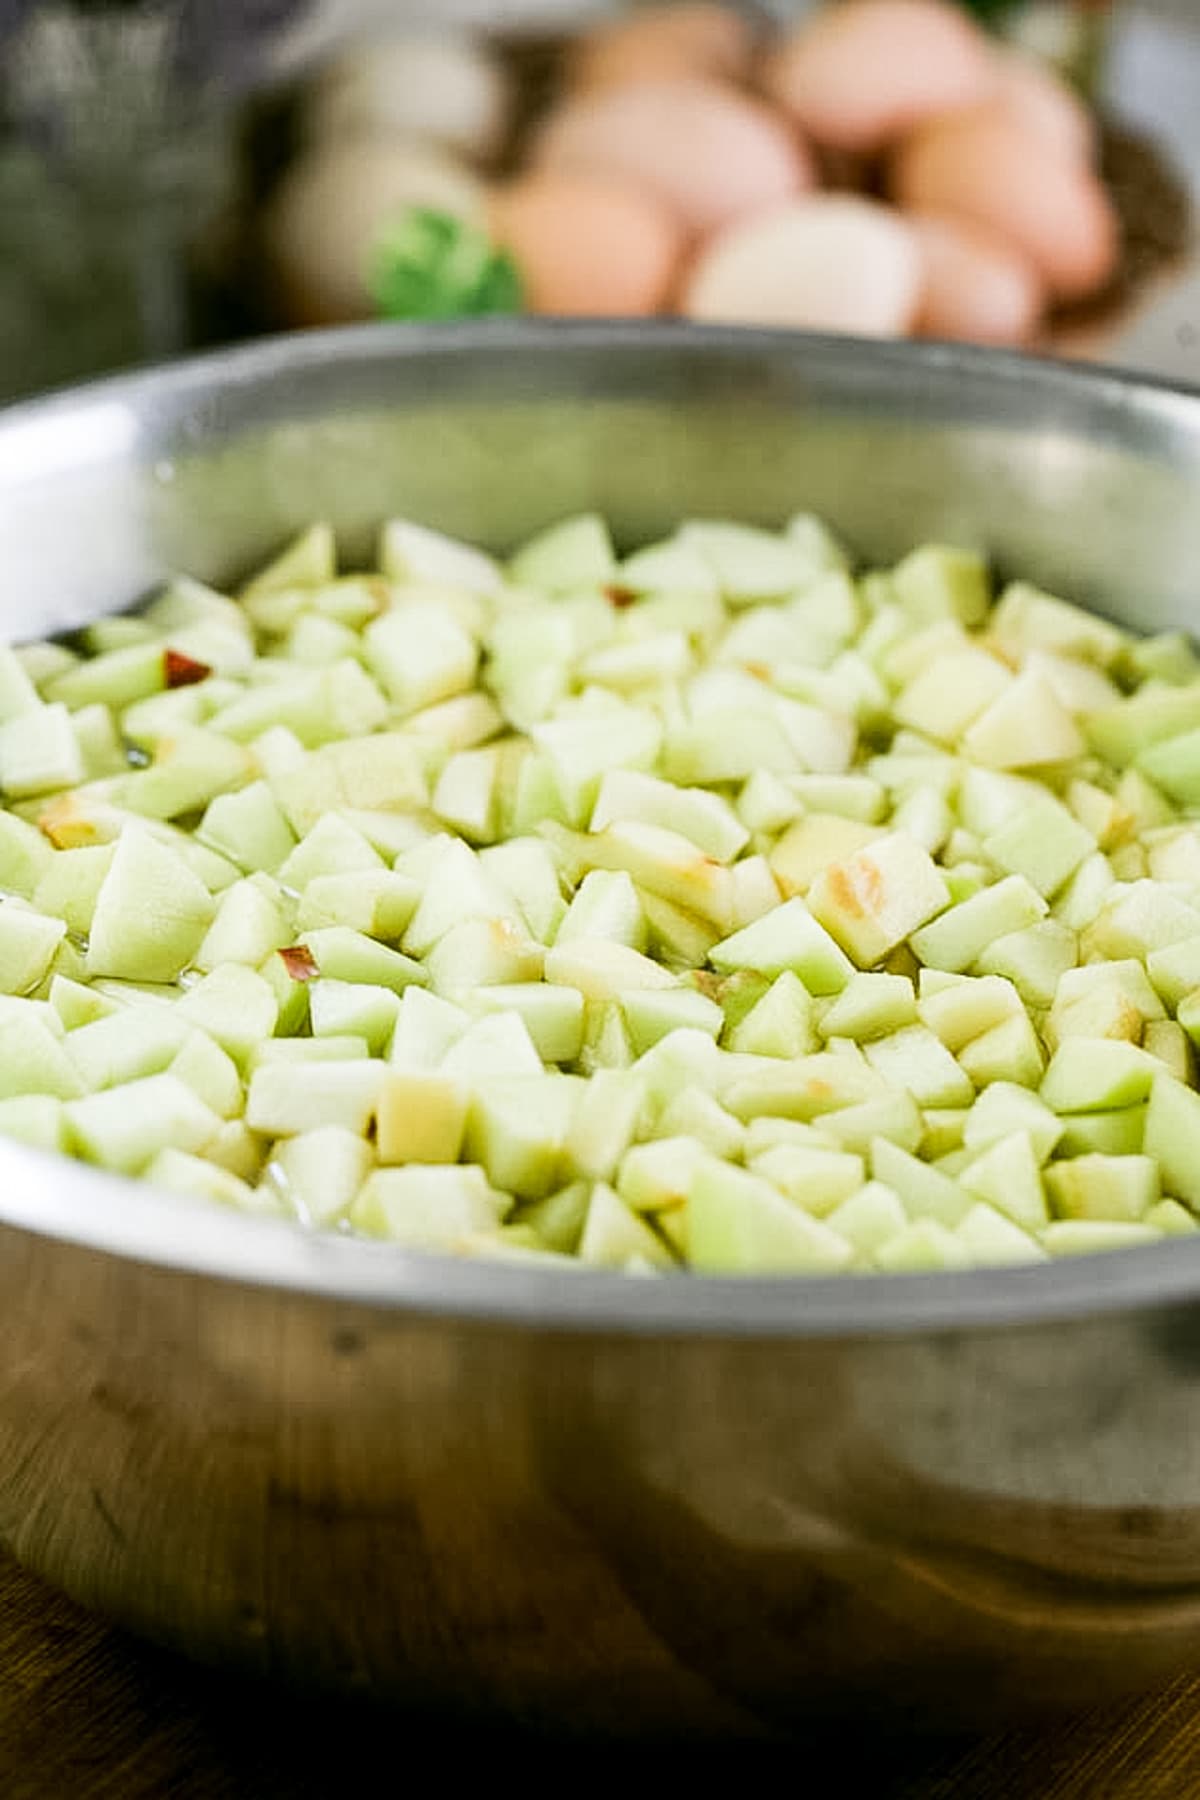
Pro tip! To keep the apples from browning, set a large bowl of cold water close by and squeeze the juice of half a lemon into the water. Then, as you work, add the diced apples to the bowl of water. They float, so push them down once in a while. As long as they are wet, they won’t brown.
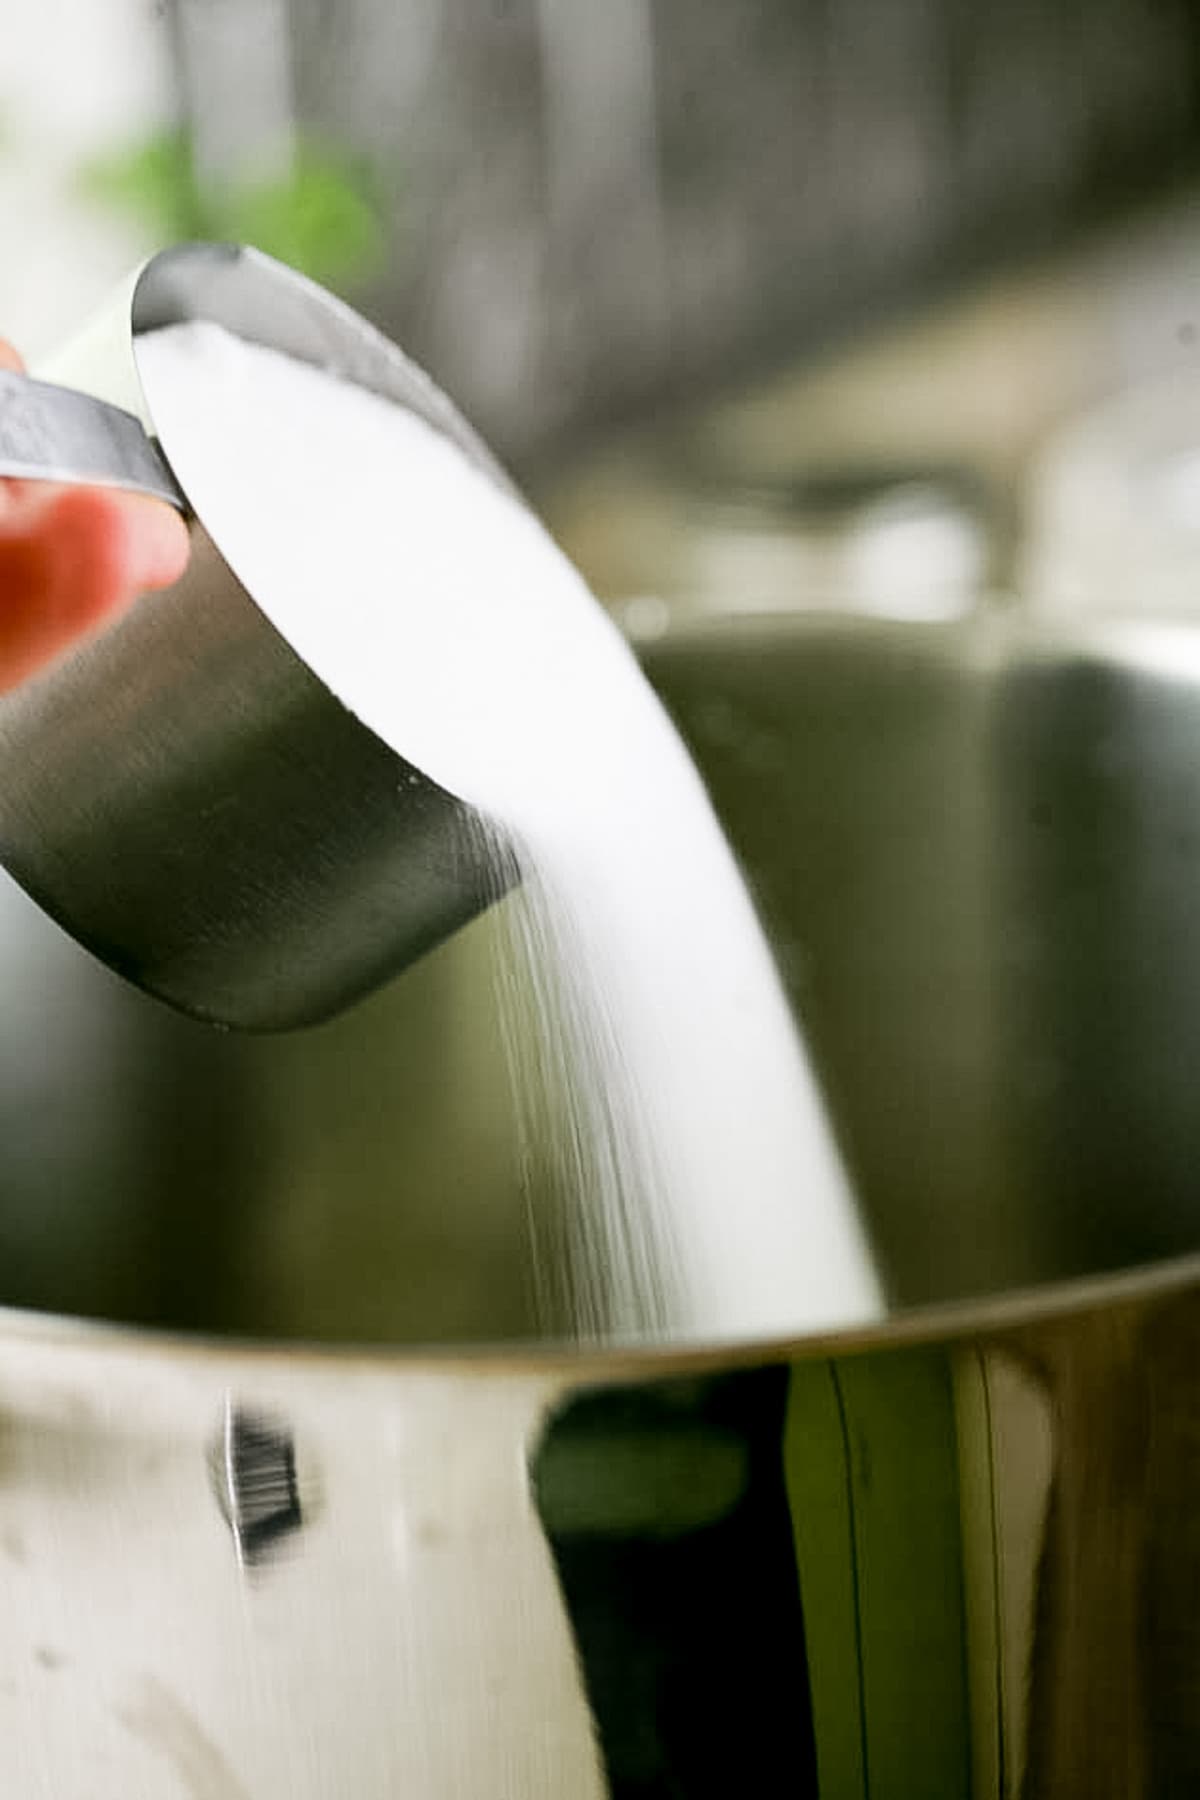
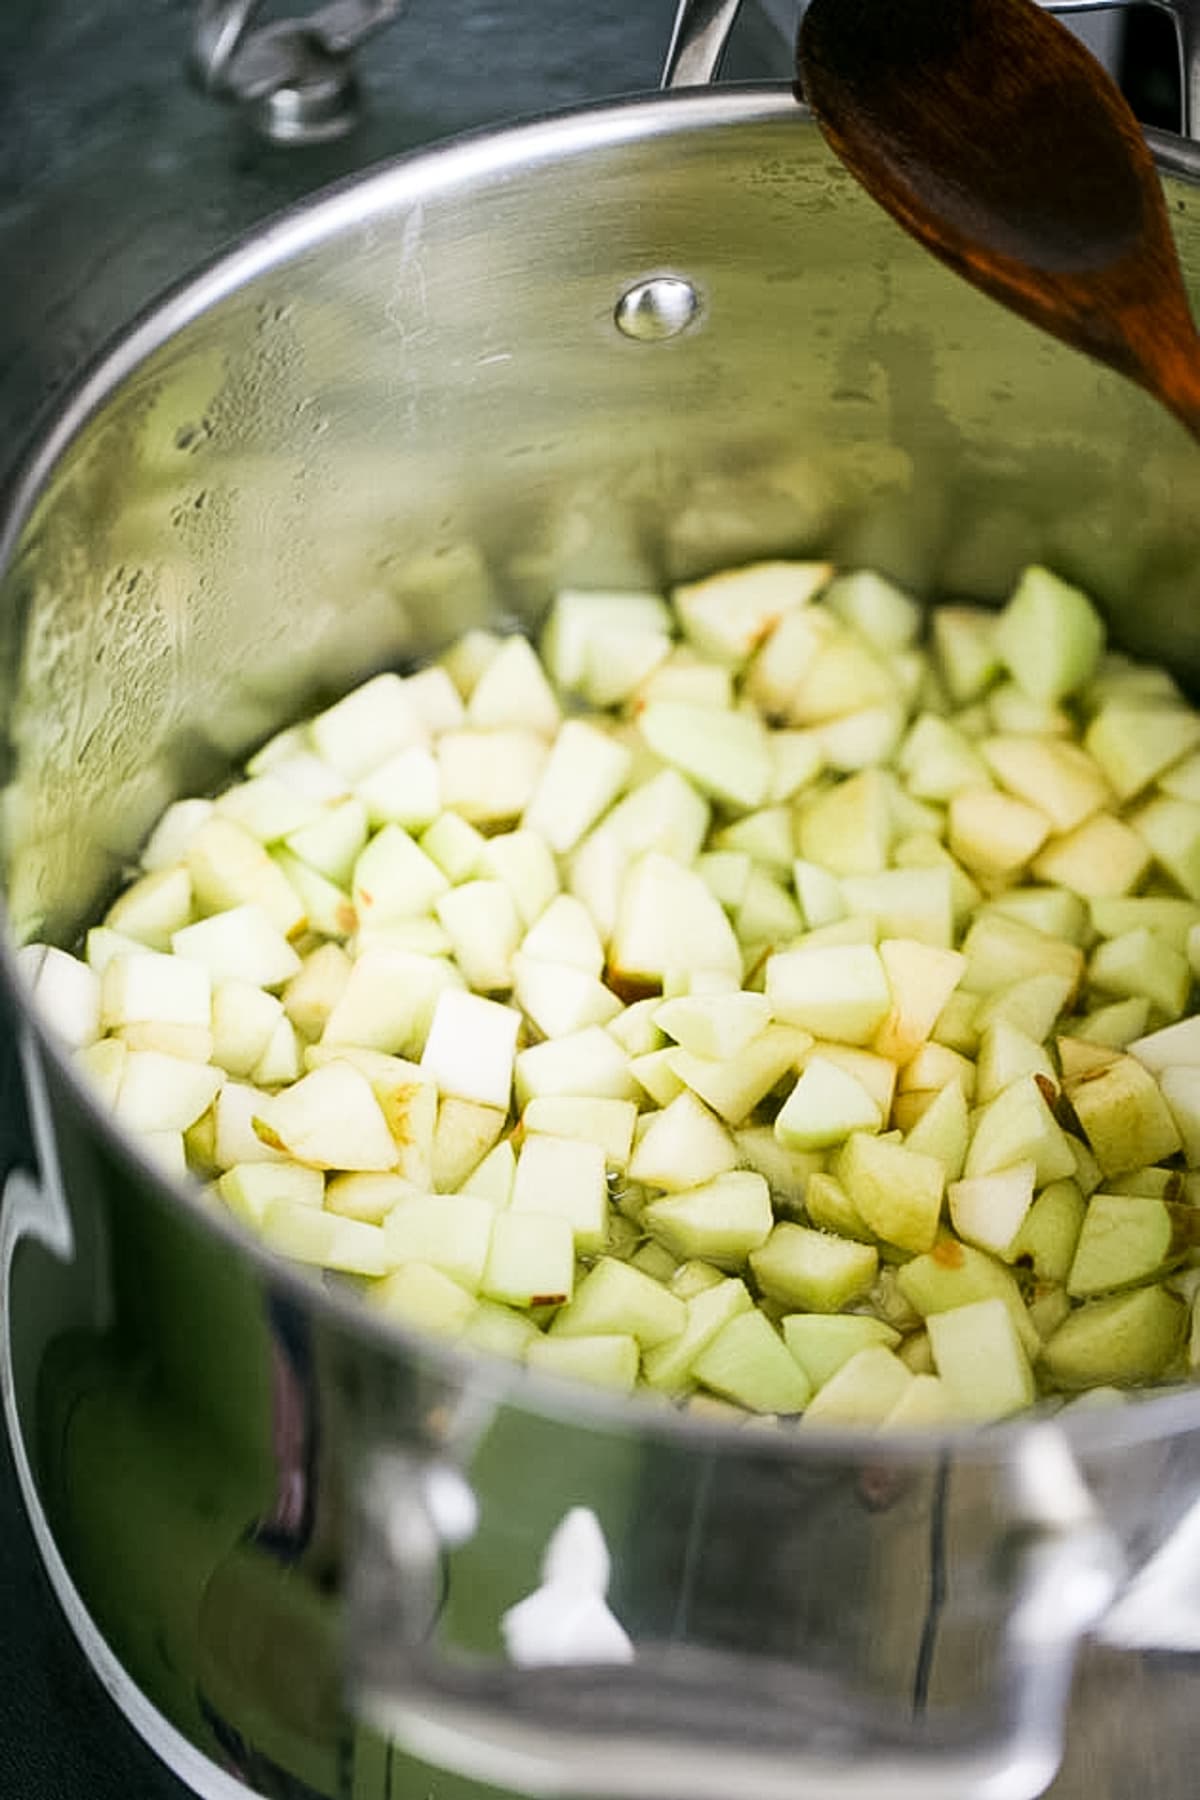
Step two – cook the apples. To a large pot, add the sugar and water, set it on the stovetop, and bring to a boil. Then, lower the heat, add the apples, and simmer the apples for about 5 minutes before removing the pot from the heat.
Note: feel free to add some cinnamon, nutmeg, clove, or any other seasonings that you’d like to the syrup as it cooks.
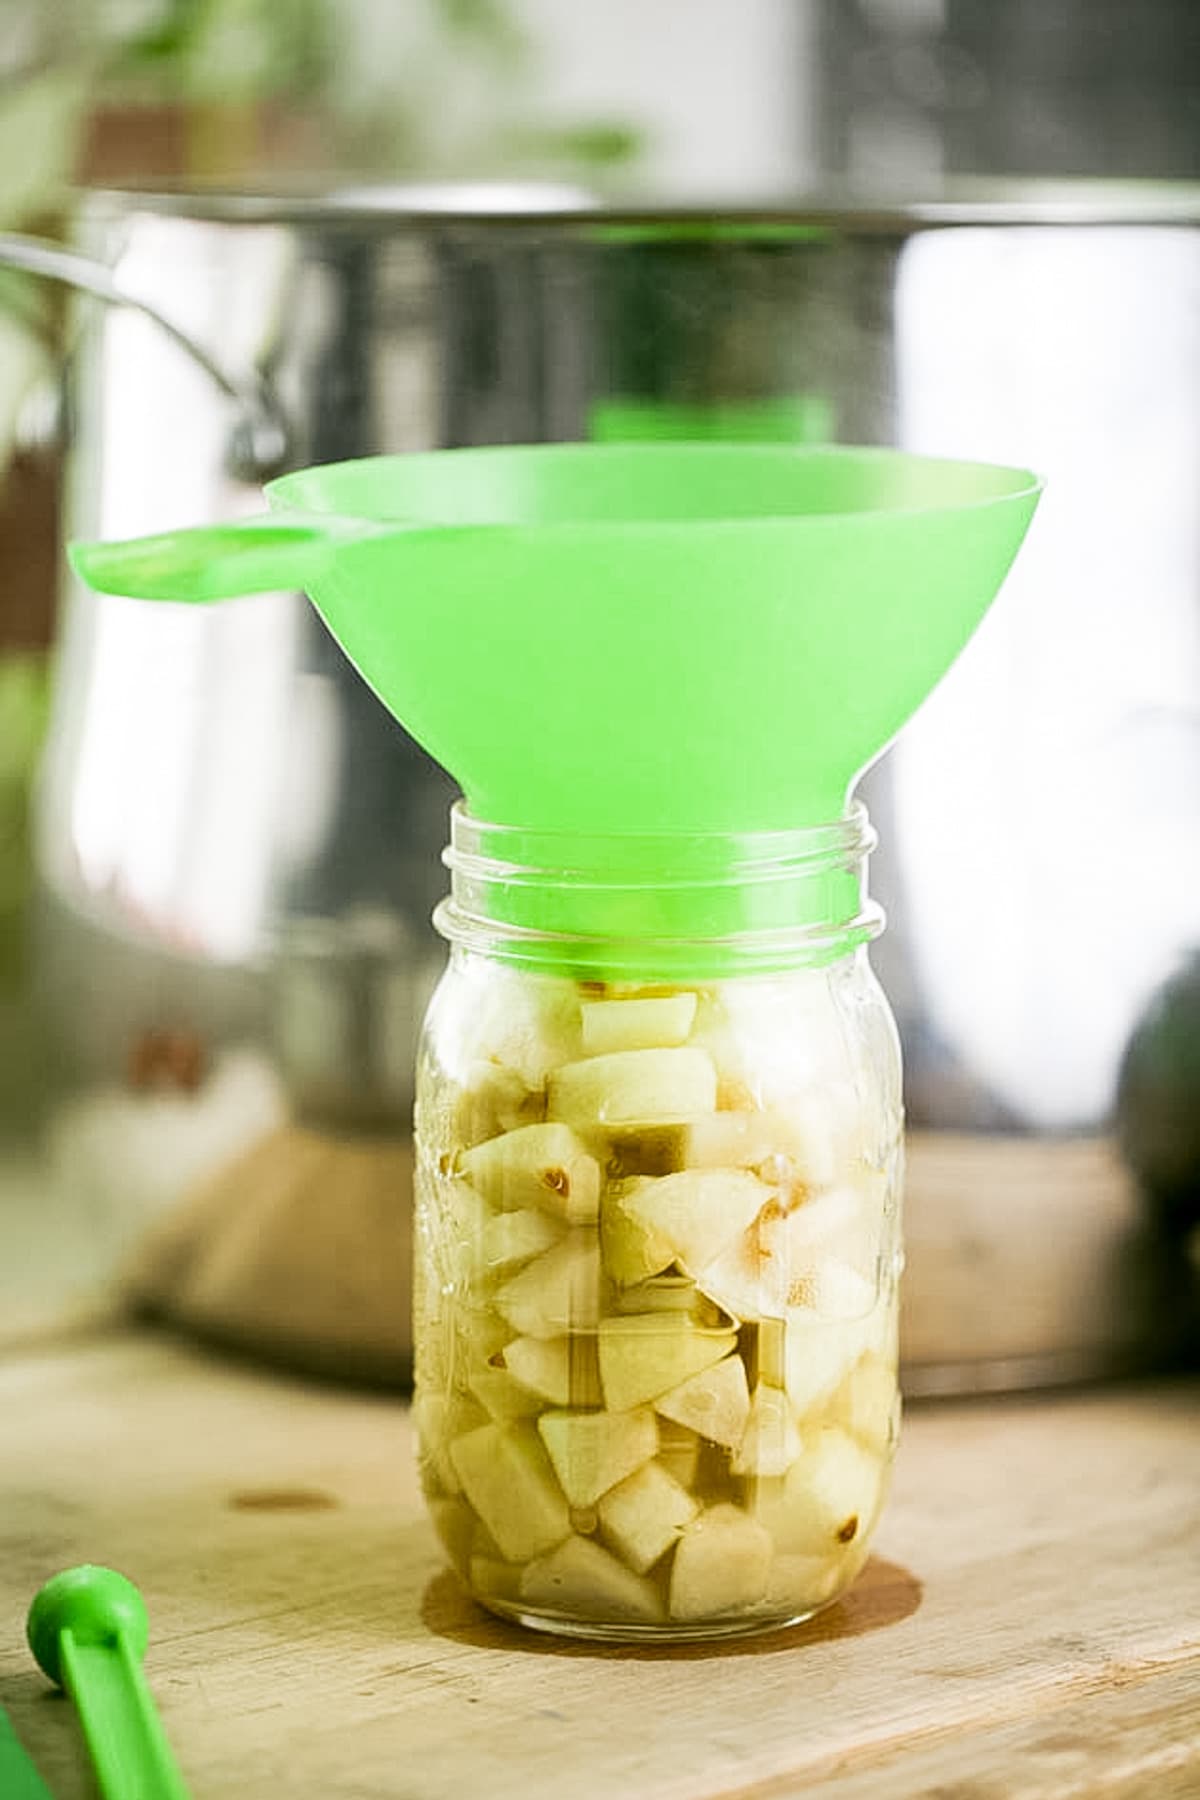
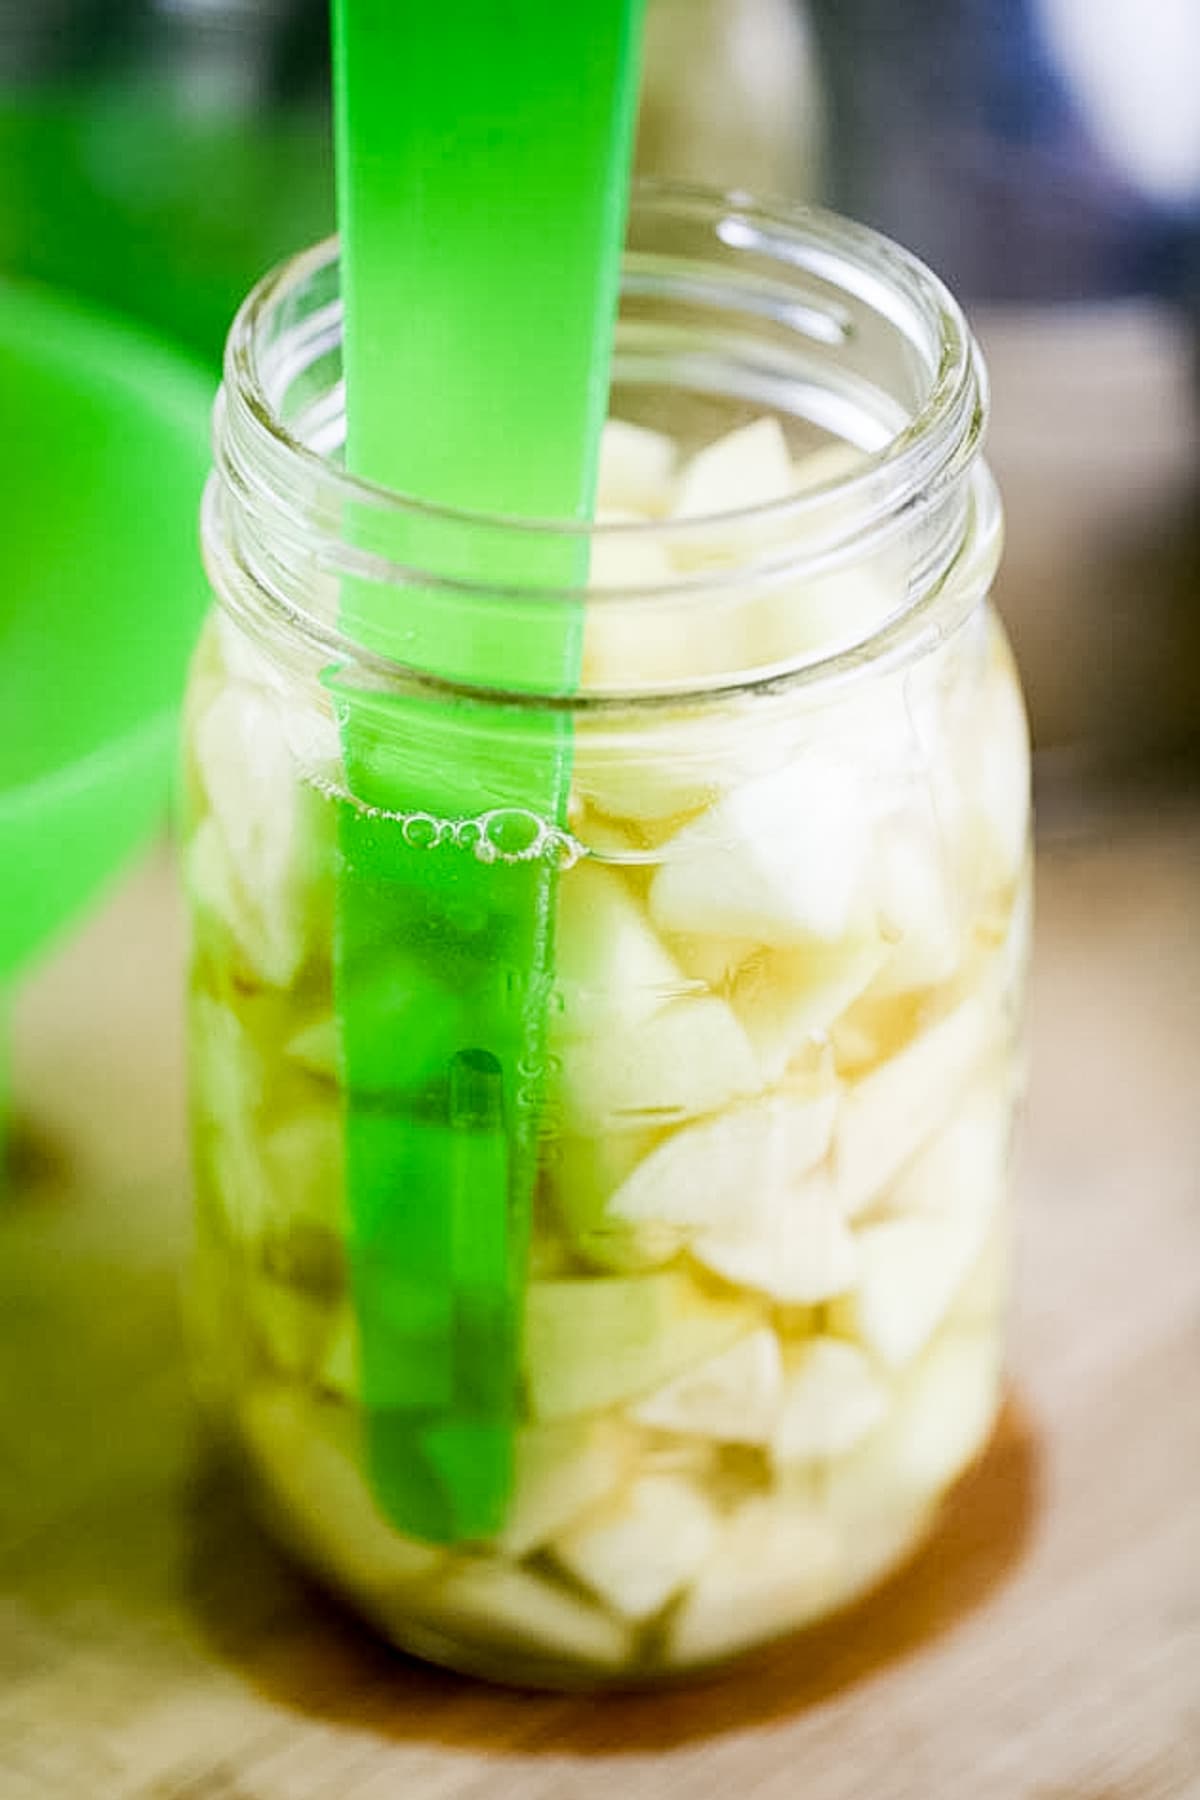
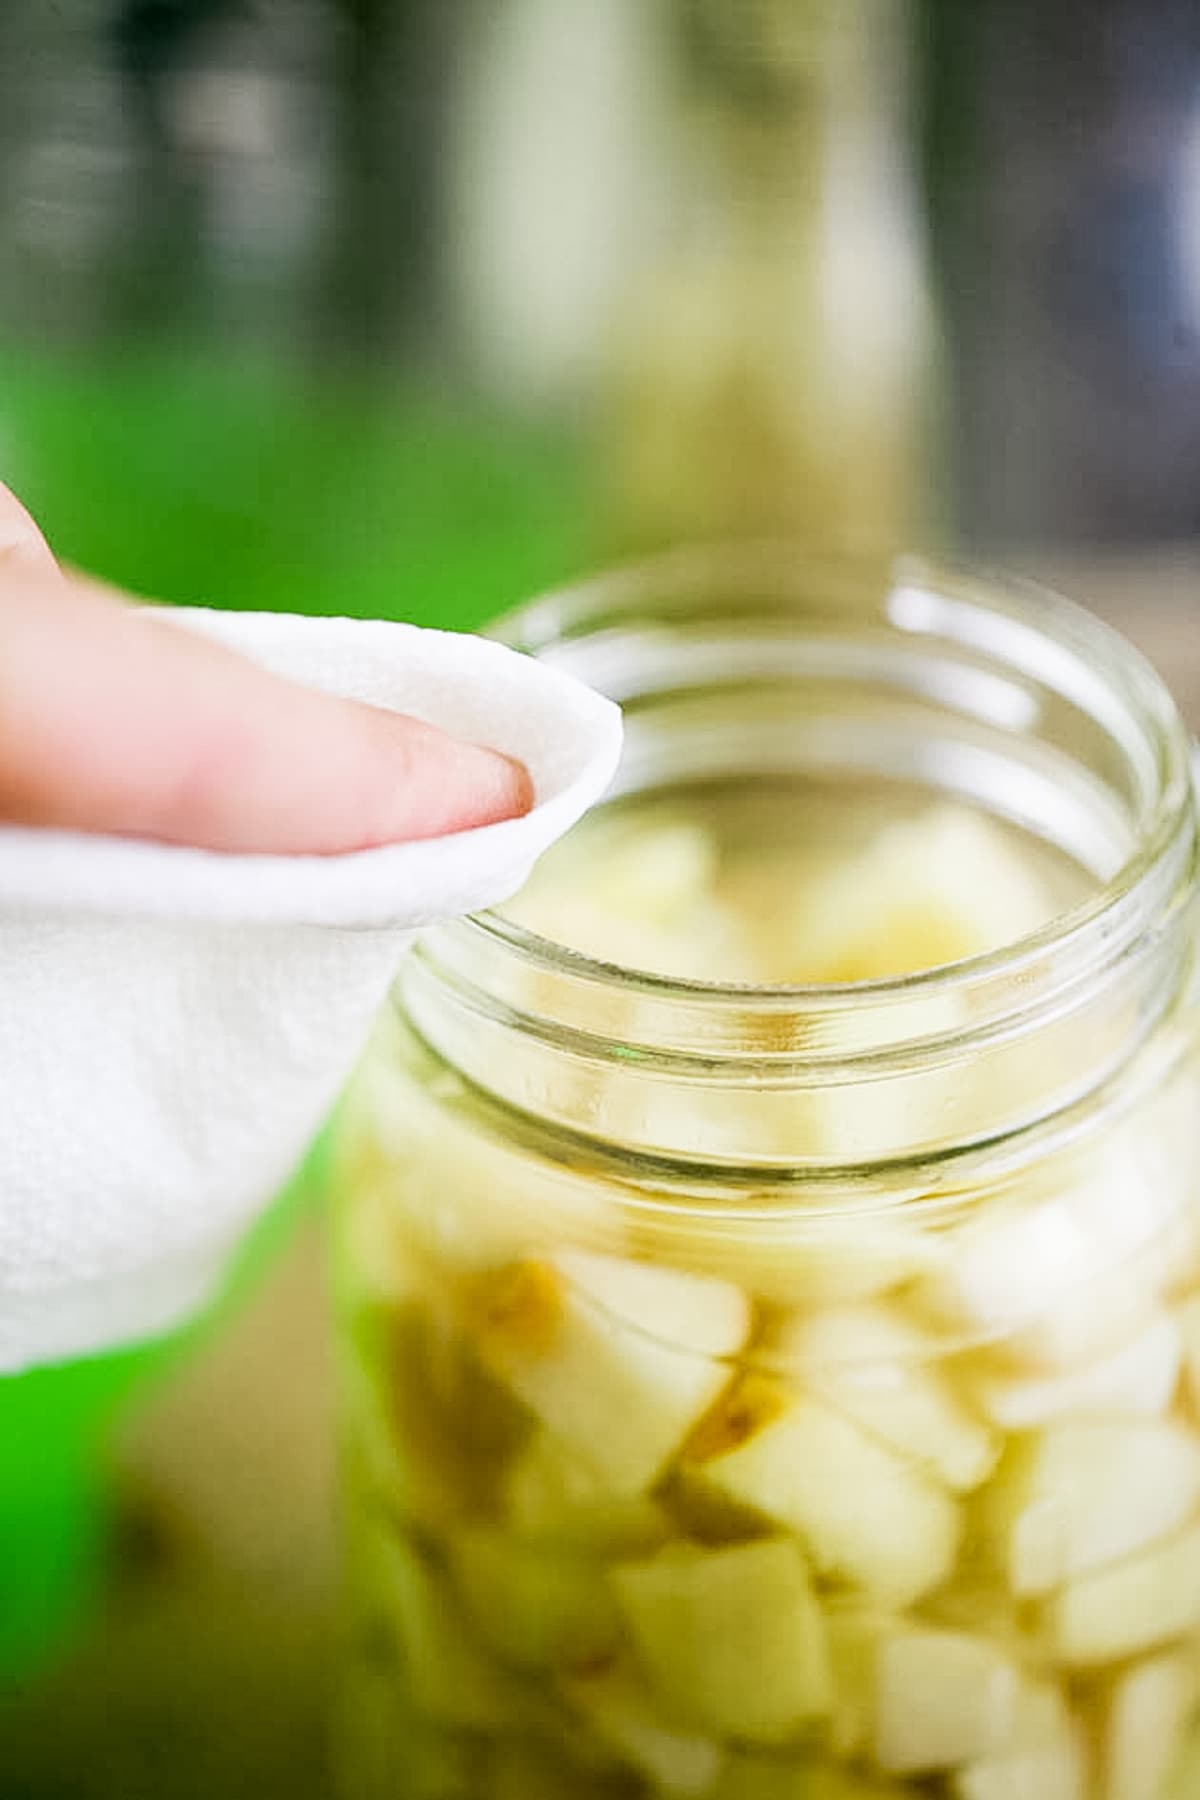
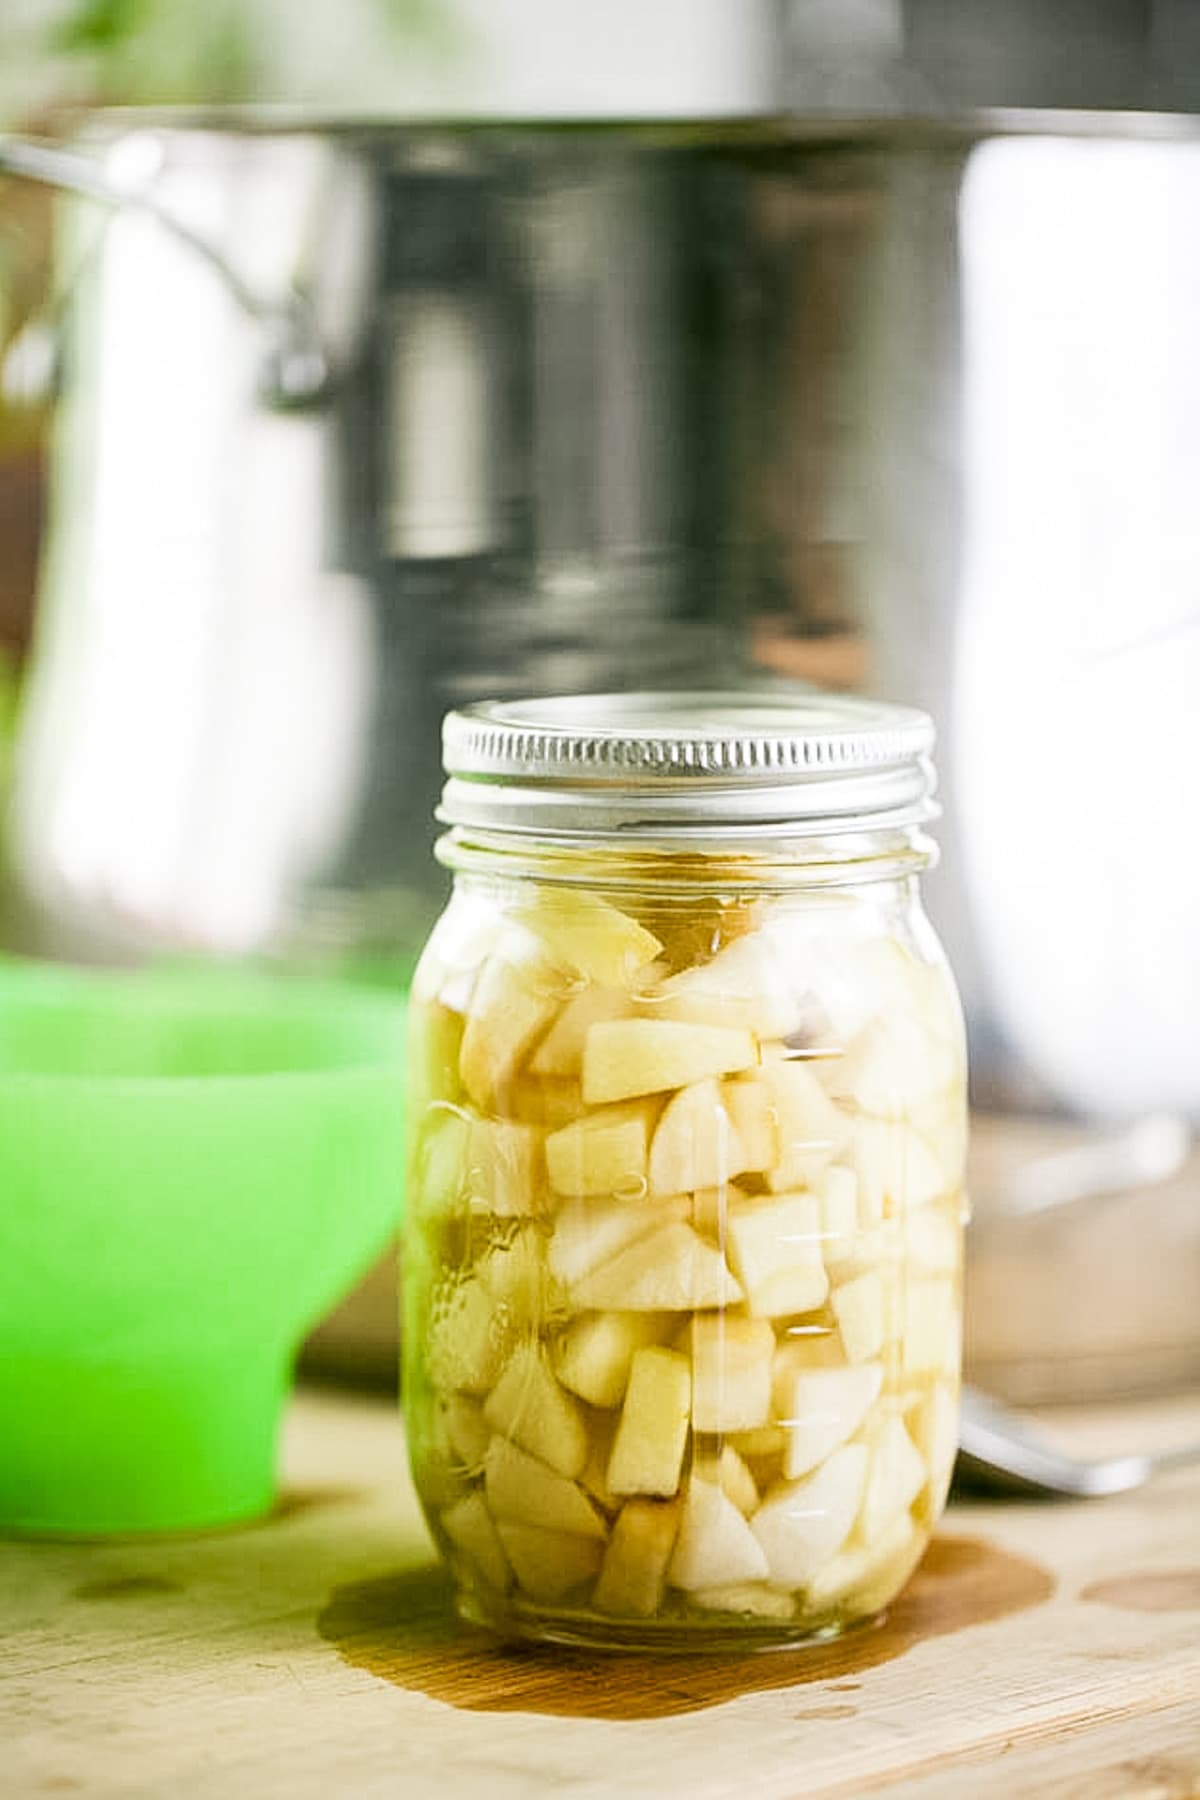
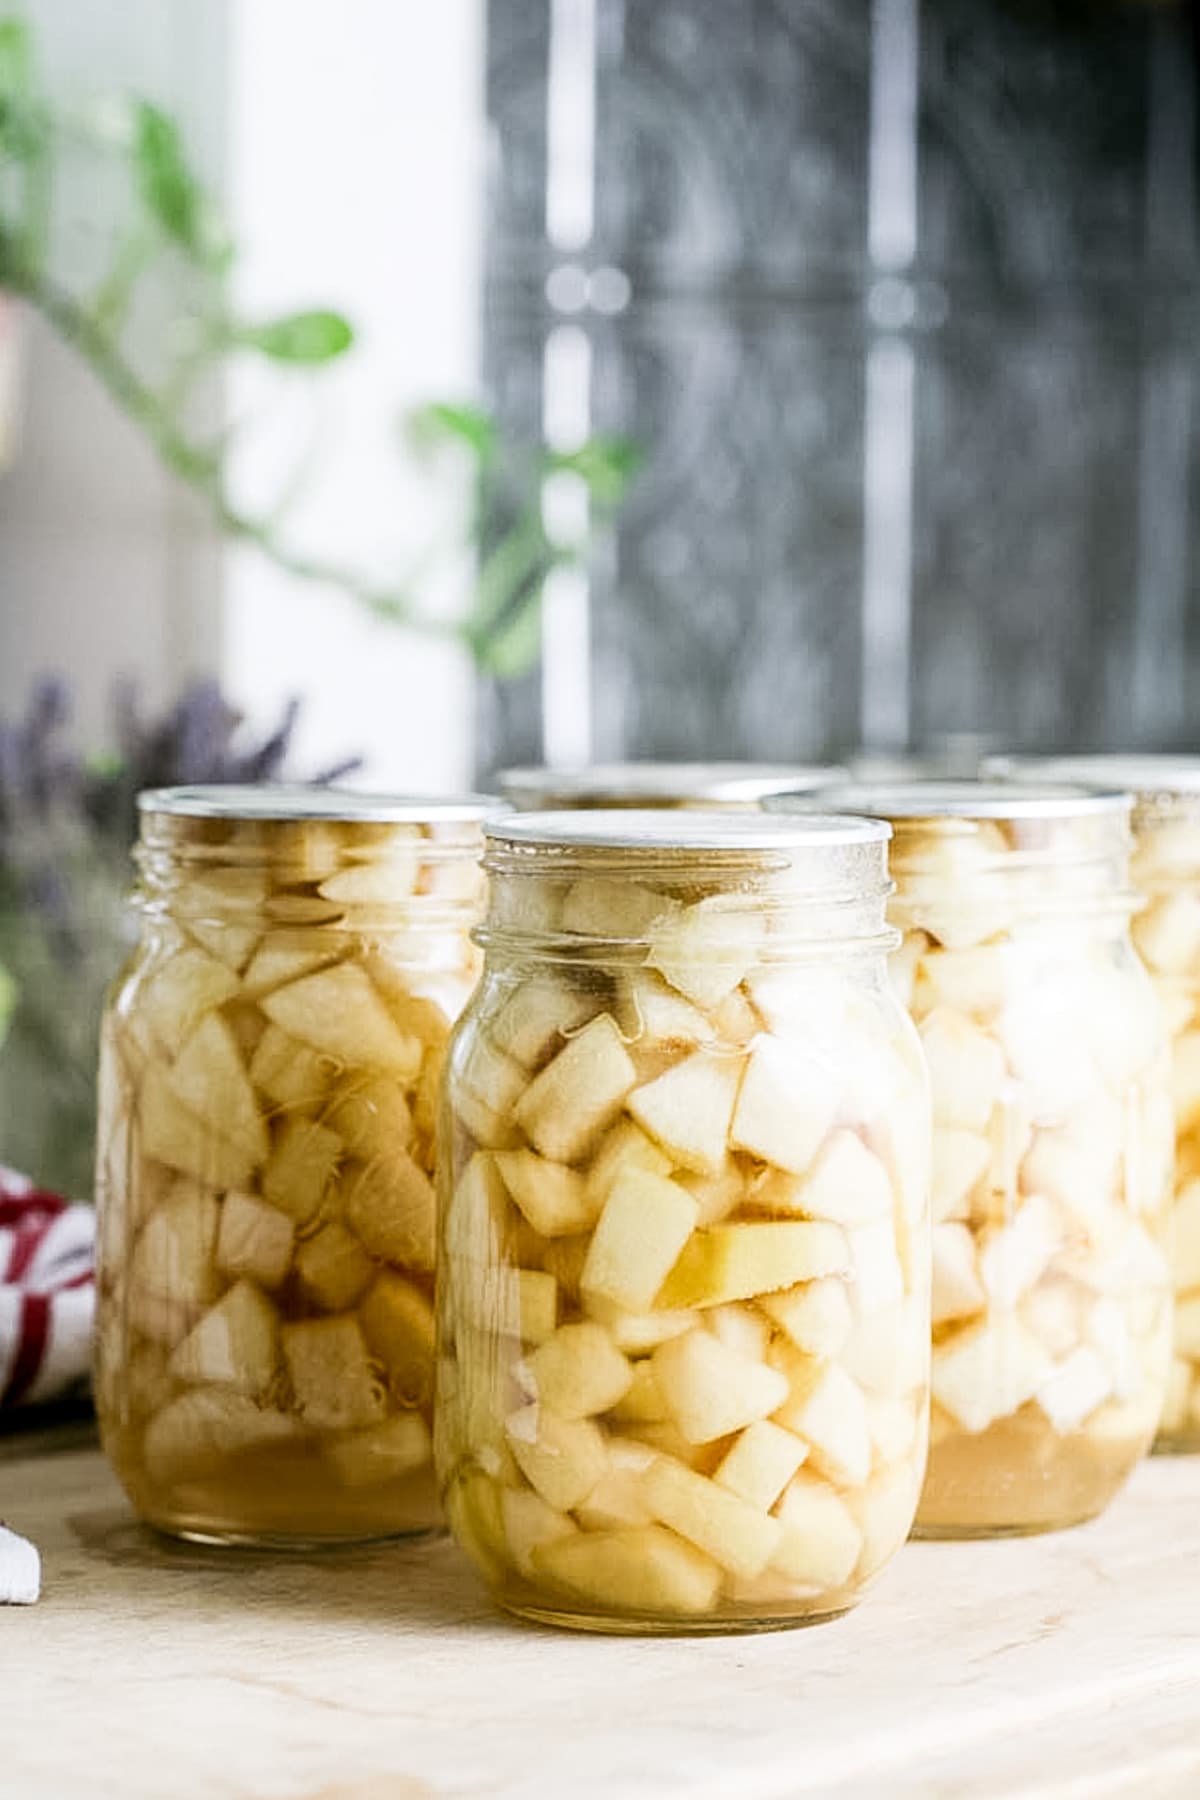
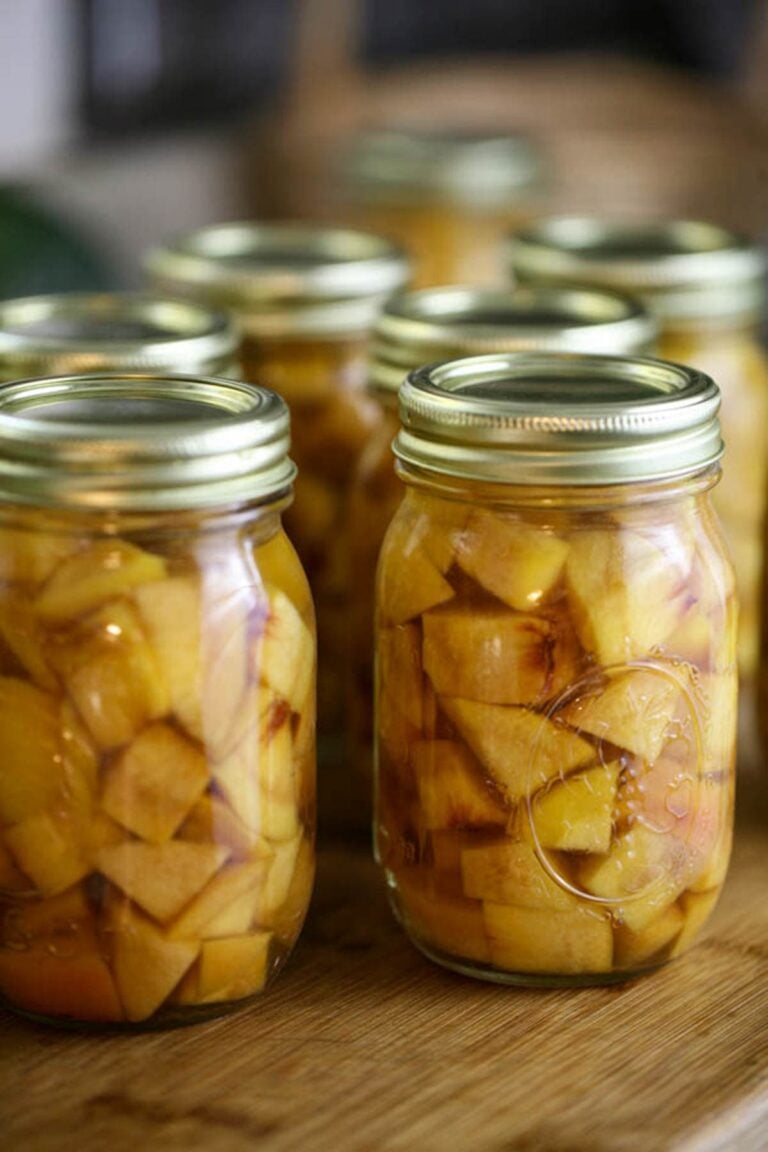
Step three – pack the jars. Wash the jars and lids well with hot water and dish soap. Pack the jars with apples, then add the syrup, leaving 1/2 inch of headspace. Remove air bubbles, wipe the rim of each jar, and close with the two-piece lids.
Step four – process. Place the jars on the rack of the waterbath canner and slowly lower them into the boiling water. Cover the canner and process both pints and quarts for 20 minutes (remember to adjust processing time according to the table below if you live in higher altitudes).

Turn the heat off and uncover the canner. Let the jars hang in the hot water for 5 minutes before removing them. Place the jars on a kitchen towel on the counter to cool overnight.
How to Store Canned Apples…
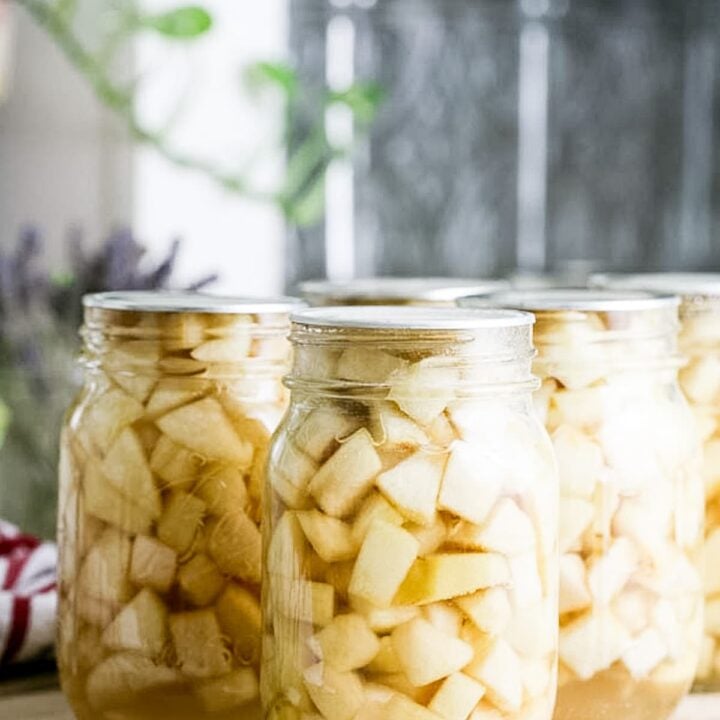
Once the jars have cooled completely, check if they are all sealed by pressing the middle of the lids. If there is no movement there, the jars are sealed and ready for storage. Remove the bands (they often rust and you can use them to can something else), wipe the jars clean, and store them on the shelf or in the pantry at room temperature. Canned apples should last 18 months or more!
Note – if you have a jar that didn’t seal properly, you can store it in the fridge and use it first. It should last a few weeks in the fridge. Or, you can try to process it again. If you do, clean the rim again and try using a different lid.
How to Use Canned Apples…
- In baked goods – canned apples are great for any baked goods that call for apples! Use them to make apple cake (you can replace fresh apples with canned in the linked recipe), or apple crisp, apple cobbler, apple pie, and so on.
- As a topping – they are great on pancakes, ice cream, or French crepe, just out of the jar, or make a quick sauce with them.
- Yogurt – add them to homemade yogurt and granola.
- As a snack – simply open a jar and enjoy the fruit any time of the year!
Other Syrup Options…
You can choose to can apples in honey syrup or sugar syrup. If you choose the sugar syrup you can choose from a very light syrup to a heavy syrup.
- To make a honey syrup – for canning about 12 pounds of apples, use 1.5 cups of honey to 5 cups of water.
- To make a sugar syrup – for canning about 12 pounds of apples:
For a very light syrup, use 3/4 cup sugar to 6 1/2 cups of water or…
For a light syrup, use 1 – 1 1/2 cups of sugar to 5 3/4 cups of water.
I choose to use a light sugar syrup. It’s simple and affordable and keeps the fruit tasting great. If you wish to use a heavier syrup the National Center for Home Food Preservation has all the measurements that you need.
This is a very simple way to preserve apples (also try drying apples in the oven). I was surprised to find that this fruit holds its shape and flavor very well during the canning process. They are very useful and a great ingredient to have in the pantry. I hope you’d give canned apples a try!
How to Can Other Fruit…
Canning Apples
Canning apples in light sugar syrup.
Ingredients
- 12 pounds of apples
- juice of one-half lemon squeezed into a large bowl of cold water to prevent the apples from browning.
- 1 cup of sugar
- 5 3/4 cups water
- (note, these are the ingredients for canning apples in light sugar syrup. I'll give you other syrup options below)
Instructions
- Peel, core, and dice the apples.
Pro tip!To keep the apples from browning, set a large bowl of cold water close by and squeeze the juice of half a lemon into the water. Then, as you work, add the diced apples to the bowl of water. They float, so push them down once in a while. As long as they are wet, they won’t brown. - Fill the waterbath canner with enough water to cover the jars by at least an inch. Place on the stovetop and bring the water to a boil.
- To a large pot, add the sugar and water, set it on the stovetop, and bring to a boil. Then, lower the heat, add the apples, and simmer the apples for about 5 minutes before removing the pot from the heat.
Feel free to add some cinnamon, nutmeg, clove, or any other seasonings that you’d like to the syrup as it cooks. - Wash the jars and lids well with hot water and dish soap. Pack the jars with apples, then add the syrup, leaving 1/2 inch of headspace. Remove air bubbles, wipe the rim of each jar, and close with the two-piece lids.
- Place the jars on the rack of the waterbath canner and slowly lower them into the boiling water. Cover the canner and process both pints and quarts for 20 minutes (remember to adjust processing time according to the table below if you live in higher altitudes).
- Turn the heat off and uncover the canner. Let the jars hang in the hot water for 5 minutes before removing them. Place the jars on a kitchen towel on the counter to cool overnight.
- Once the jars have cooled completely, check if they are all sealed by pressing the middle of the lids. If there is no movement there, the jars are sealed and ready for storage. Remove the bands (they often rust and you can use them to can something else), wipe the jars clean, and store them on the shelf or in the pantry at room temperature. Canned apples should last 18 months or more!
Notes
Other Syrup Options...
You can choose to can apples in honey syrup or sugar syrup. If you choose the sugar syrup you can choose from a very light syrup to a heavy syrup.
- To make a honey syrup – for canning about 12 pounds of apples, use 1.5 cups of honey to 5 cups of water.
- To make a sugar syrup – for canning about 12 pounds of apples:For a very light syrup, use 3/4 cup sugar to 6 1/2 cups of water or…For a light syrup, use 1 – 1 1/2 cups of sugar to 5 3/4 cups of water.
I choose to use a light sugar syrup. It’s simple and affordable and keeps the fruit tasting great. If you wish to use a heavier syrup, the National Center for Home Food Preservation has all the measurements that you need.
Wonderful post. Thanks for sharing
Question, do you use a slotted spoon to remove the apples from the water/lemon solution, or add that tart solution to the sugar water for the 5 min boil (hot pack) read several recipes and that step gets skipped over, everyone says”add apples to” never mentioning if the water/lemon juice gets drained or added. For us beginners its very confusing. I only know “never adapt canning recipes, follow directions to the letter or it will spoil”.
We don’t really use this water for anything. The acidity just keeps the apples from turning brown so you have to let them rest there and soak for a bit. Then, just remove them from the water/lemon mixture and can.
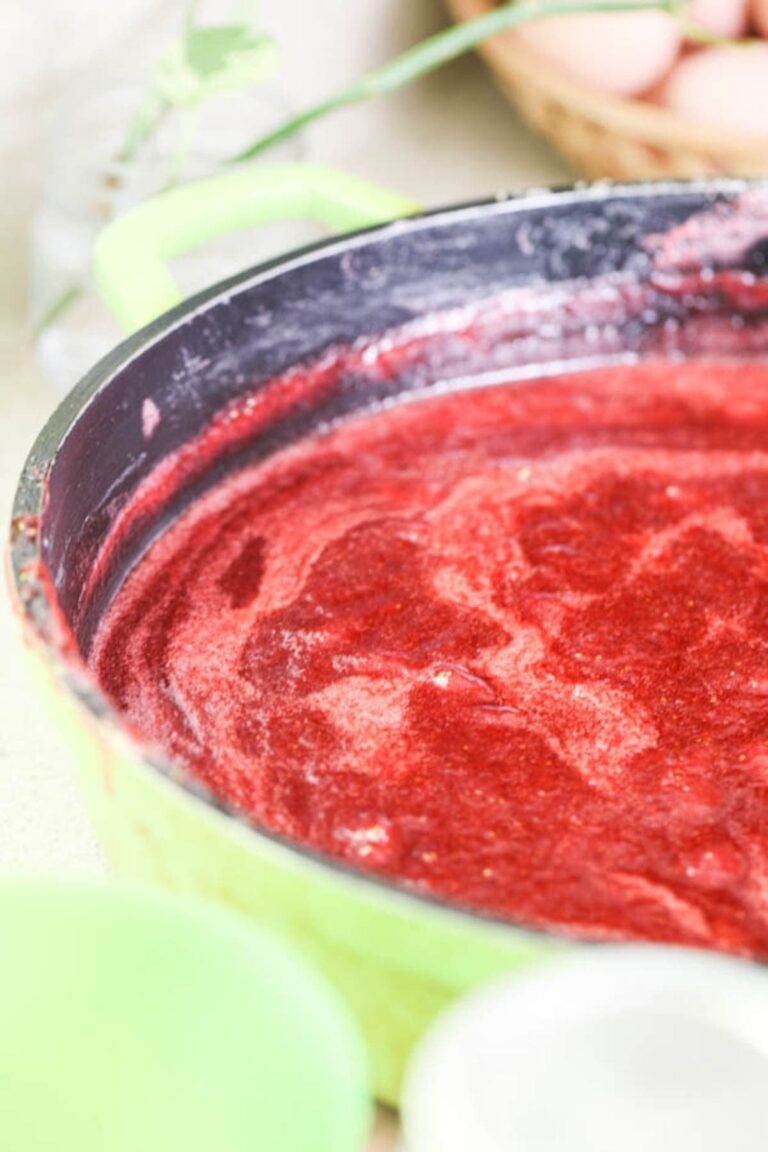
Can I add sugar to applesauce while apples are cooking? My husband prefers sweetened applesauce.
Yes, you can. You can follow my apple butter recipe just don’t cook it so long that it turns into butter, leave it in a sauce consistancy. https://ladyleeshome.com/apple-butter-recipe-for-canning/