This post may contain affiliate links, view our disclosure policy for details.

Canning strawberries is easy and a great way to preserve strawberries for the long-term at room temperature. You’ll only need two ingredients and a water bath canner.
We love, love, love strawberries around here! A few years ago, I planted a large bed with bare-root strawberry plants. These plants are easy and fun to grow. Even though they produce many strawberries, I usually don’t see any of them. The kids get to them before the berries can make it to the kitchen.
Thankfully, we live in berry country. There are many strawberry, blueberry, and blackberry farmers around us and every late spring and early summer the market is full of delicious berries that we can purchase.
Canning Strawberries at Home…
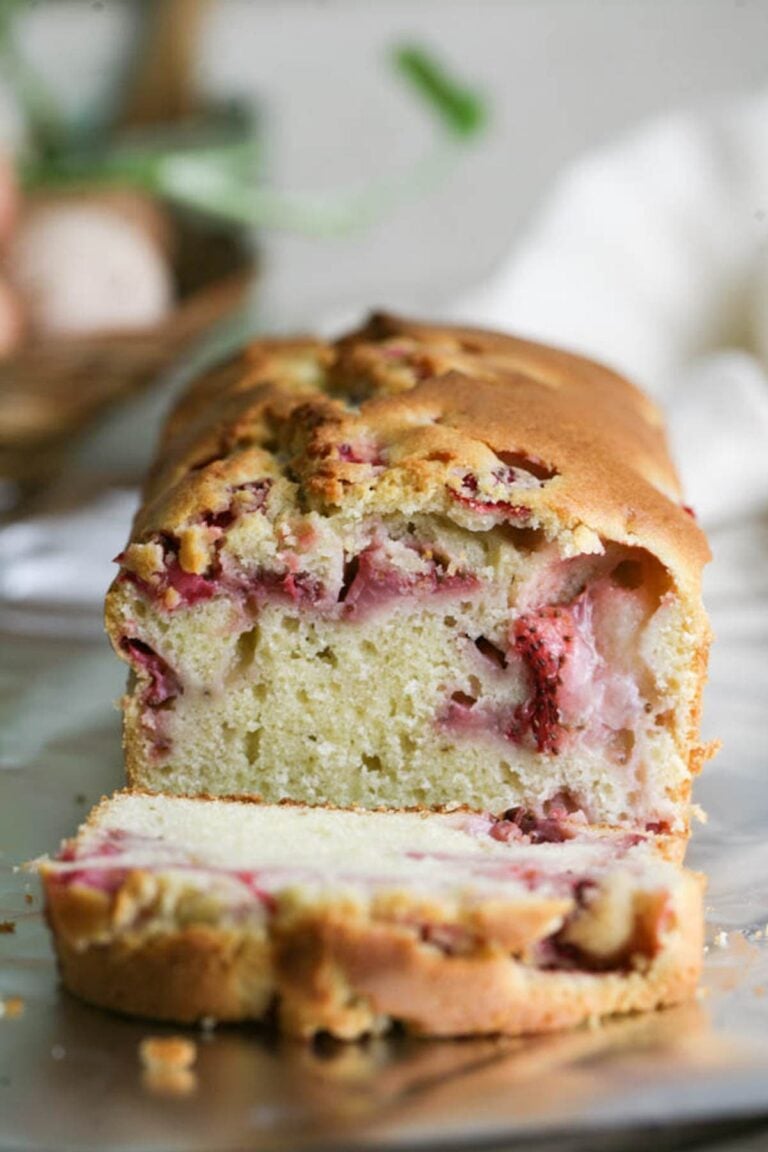
We eat many fresh, use many strawberries in baking (try this delicious strawberry bread!), I make many different kinds of strawberry jams (try strawberry-mango jam, strawberry rhubarb jam, low sugar strawberry jam, and honey-sweetened strawberry jam) and I also dehydrate strawberries. They are an easy and delicious on-the-go snack. This year, I decided that I also want to can some strawberries so I can keep them at room temperature.
Ingredients…
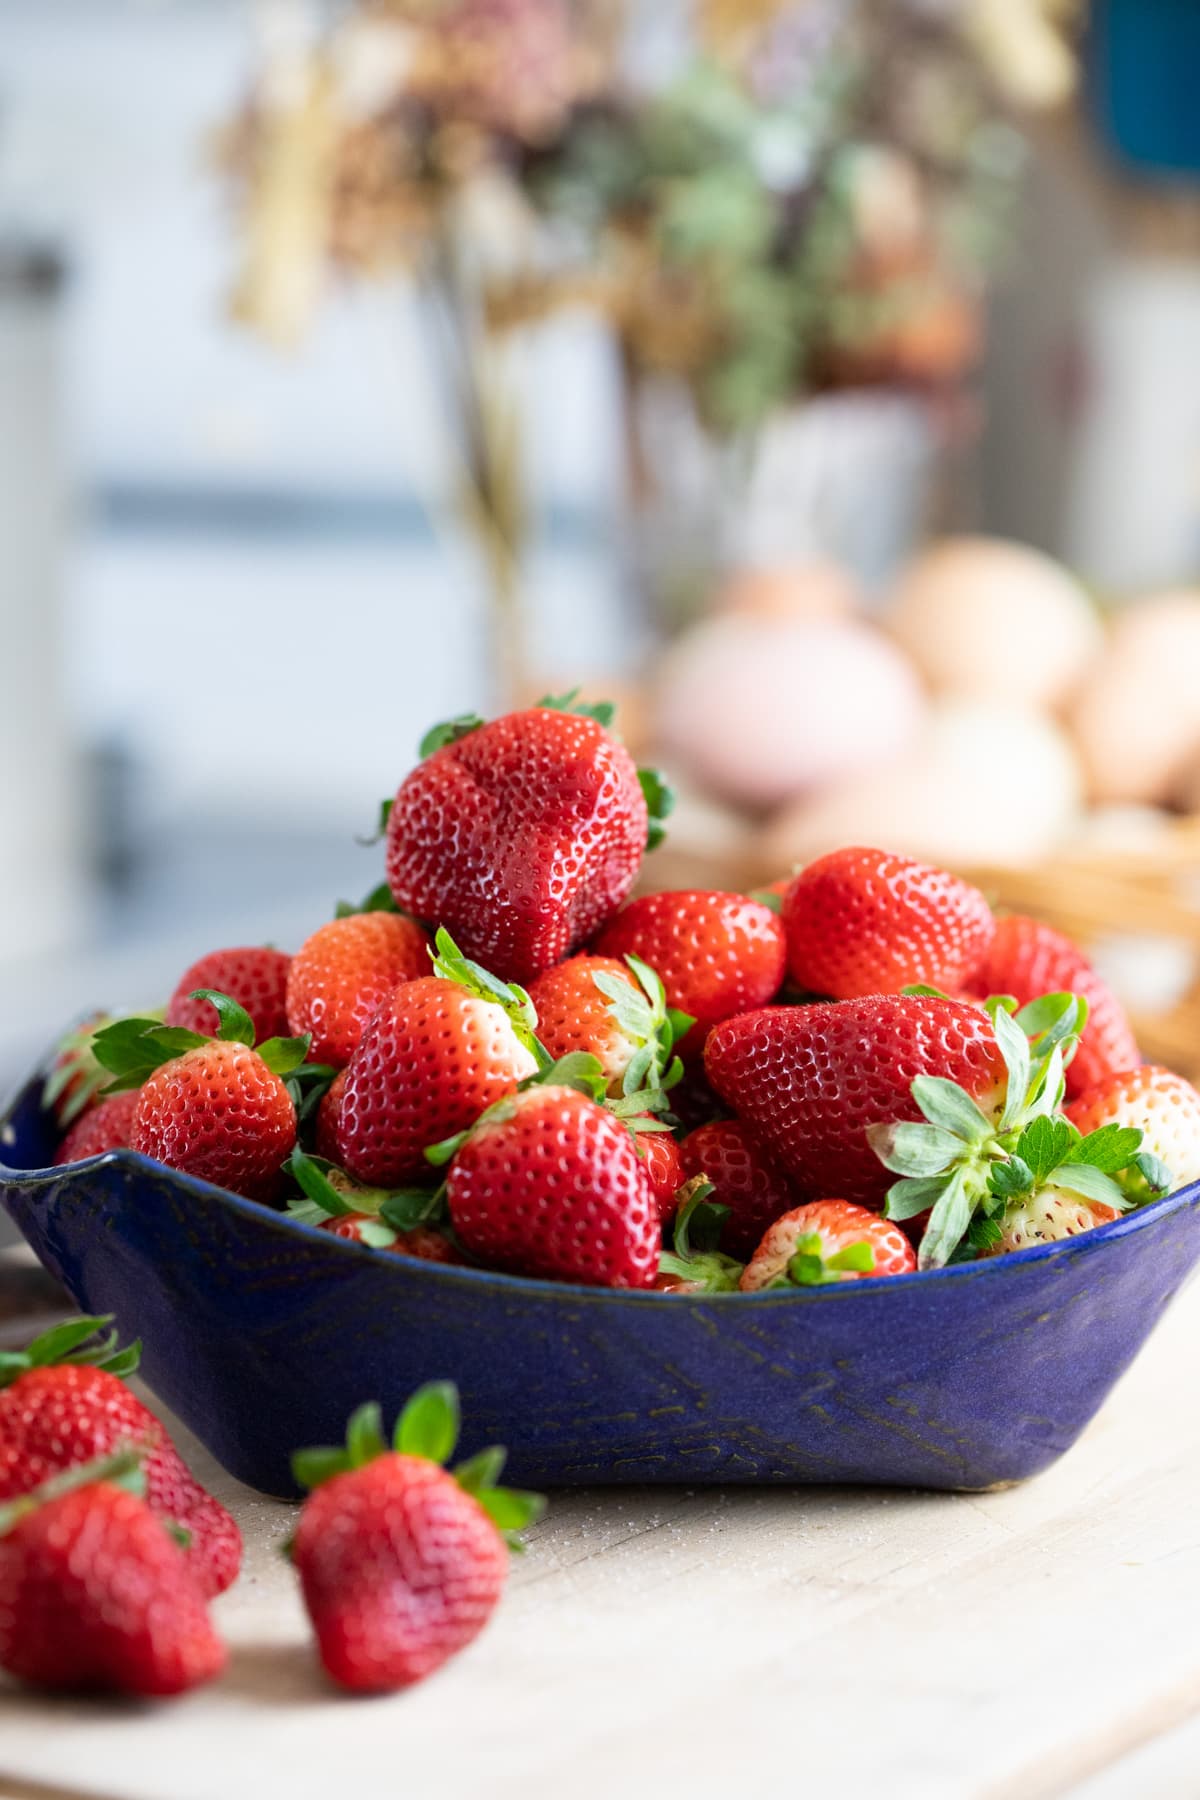
- Strawberries – choose firm strawberries. Ripe and sweet but not too ripe that they are falling apart.
- Sugar – good old white sugar is what I use.
Kitchen Tools…
- Strawberry huller
- Mixing bowl
- Measuring cup
- Wooden spoon
- Wide and deep pan
- Pint or quart jars with two-piece lids
- Canning utensils
- Paper towel
- Water bath canner
Raw Pack Vs. Hot Pack…
Usually, when we can fruit, we have two options; option number one is to use the raw pack method, and option number two is to use the hot pack method.
- Raw pack – in this method we make a hot syrup using sugar and water, pack the jars with the fruit, cover the fruit with the hot syrup, and process the fruit (like we do when canning raspberries or blueberries).
- Hot pack – in the hot pack method, we cook the fruit and its juices before packing the jars and processing the fruit.
When we can strawberries it’s always better to follow the hot pack method. If we use the raw pack method, over time, in the jar, the strawberries will lose all of their taste, it will leach into the syrup. If we leave strawberries to stand for a few hours with sugar, the berries make a lot of juice. In the hot pack method, we take that juice (and the strawberries), heat it up, and use that to can the berries. The result is strawberries that are canned in their own juice and can hold their taste much better and longer in the jar while at storage.
How to Can Strawberries…
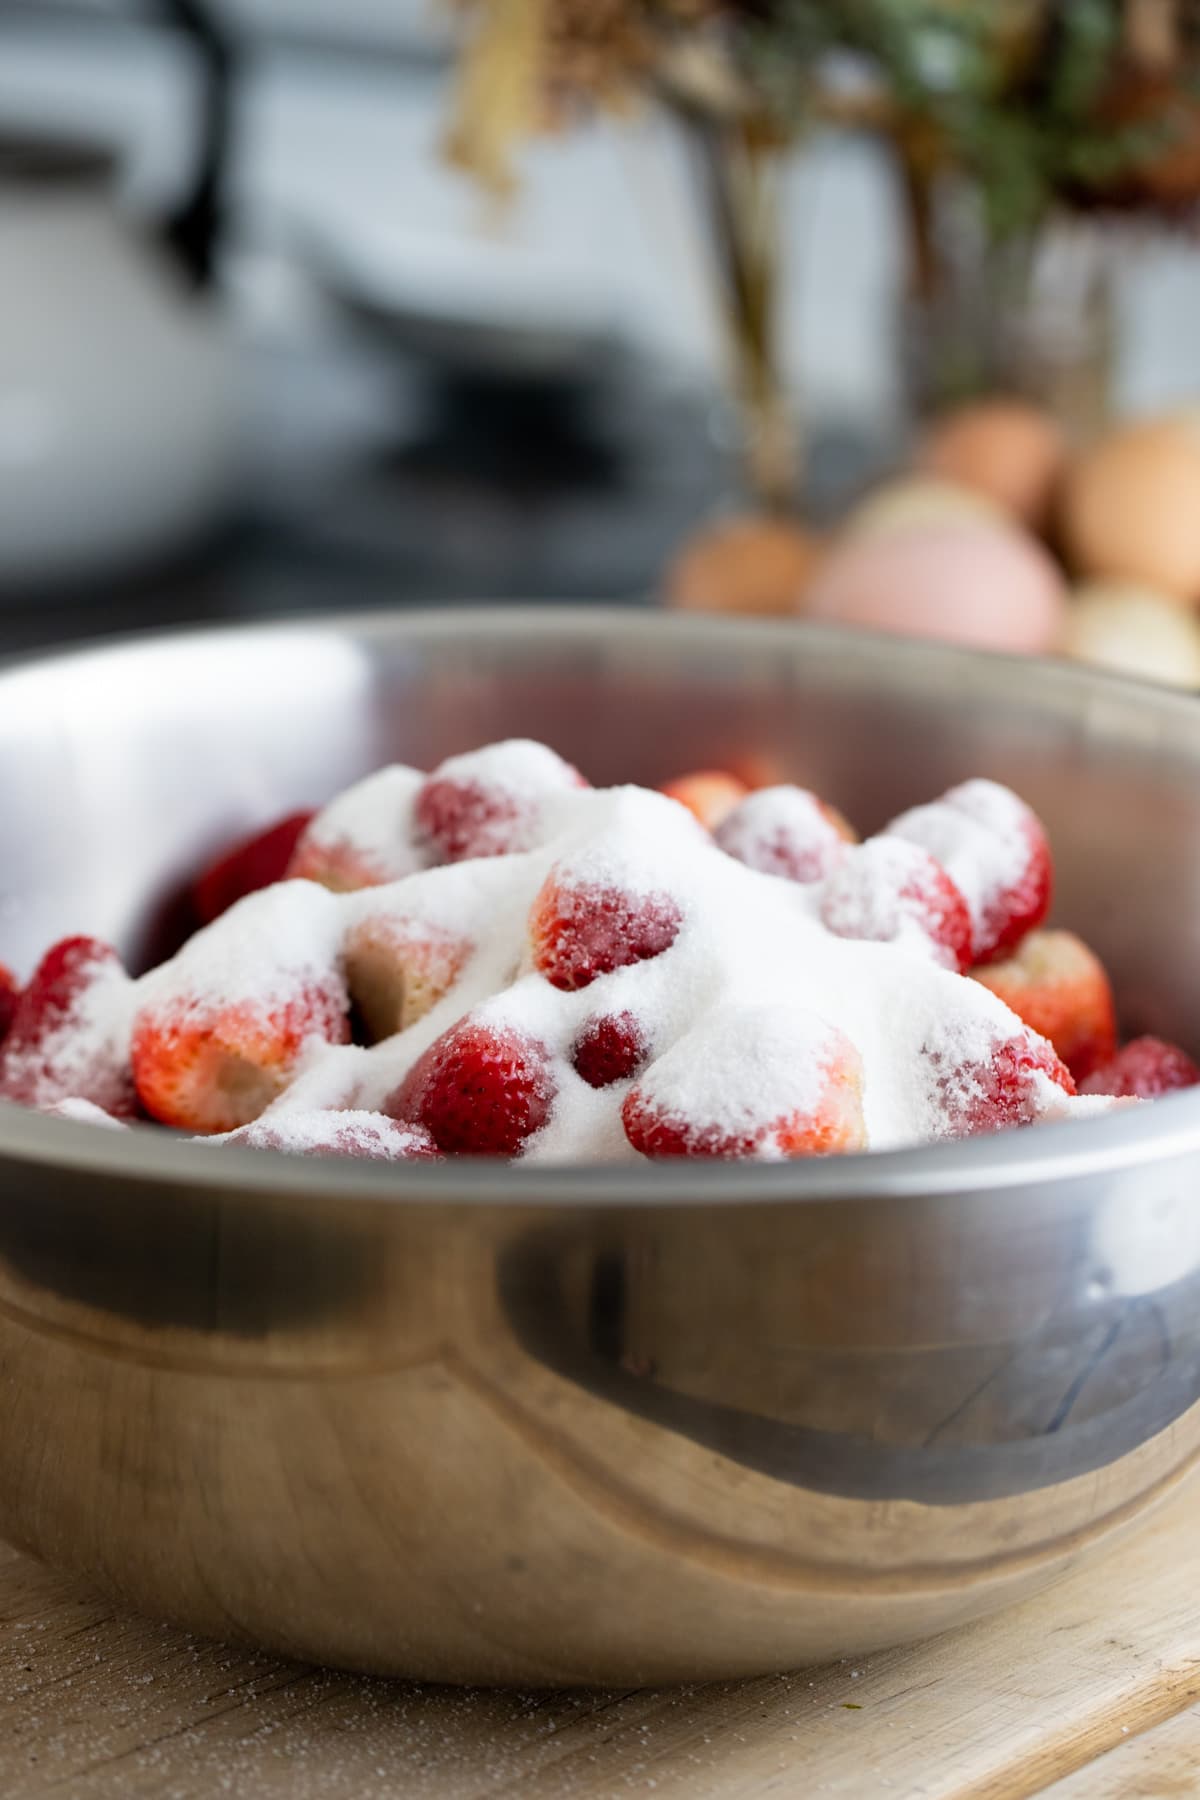
Step one – prep the berries. Hull the strawberries, then wash them well. Add the berries to a bowl and add 1/2 to 3/4 cup of sugar for each quart of strawberries that you are processing. Use the wooden spoon to mix the berries gently so they are covered with sugar. Cover the bowl with plastic wrap and let it stand at room temperature for six hours.
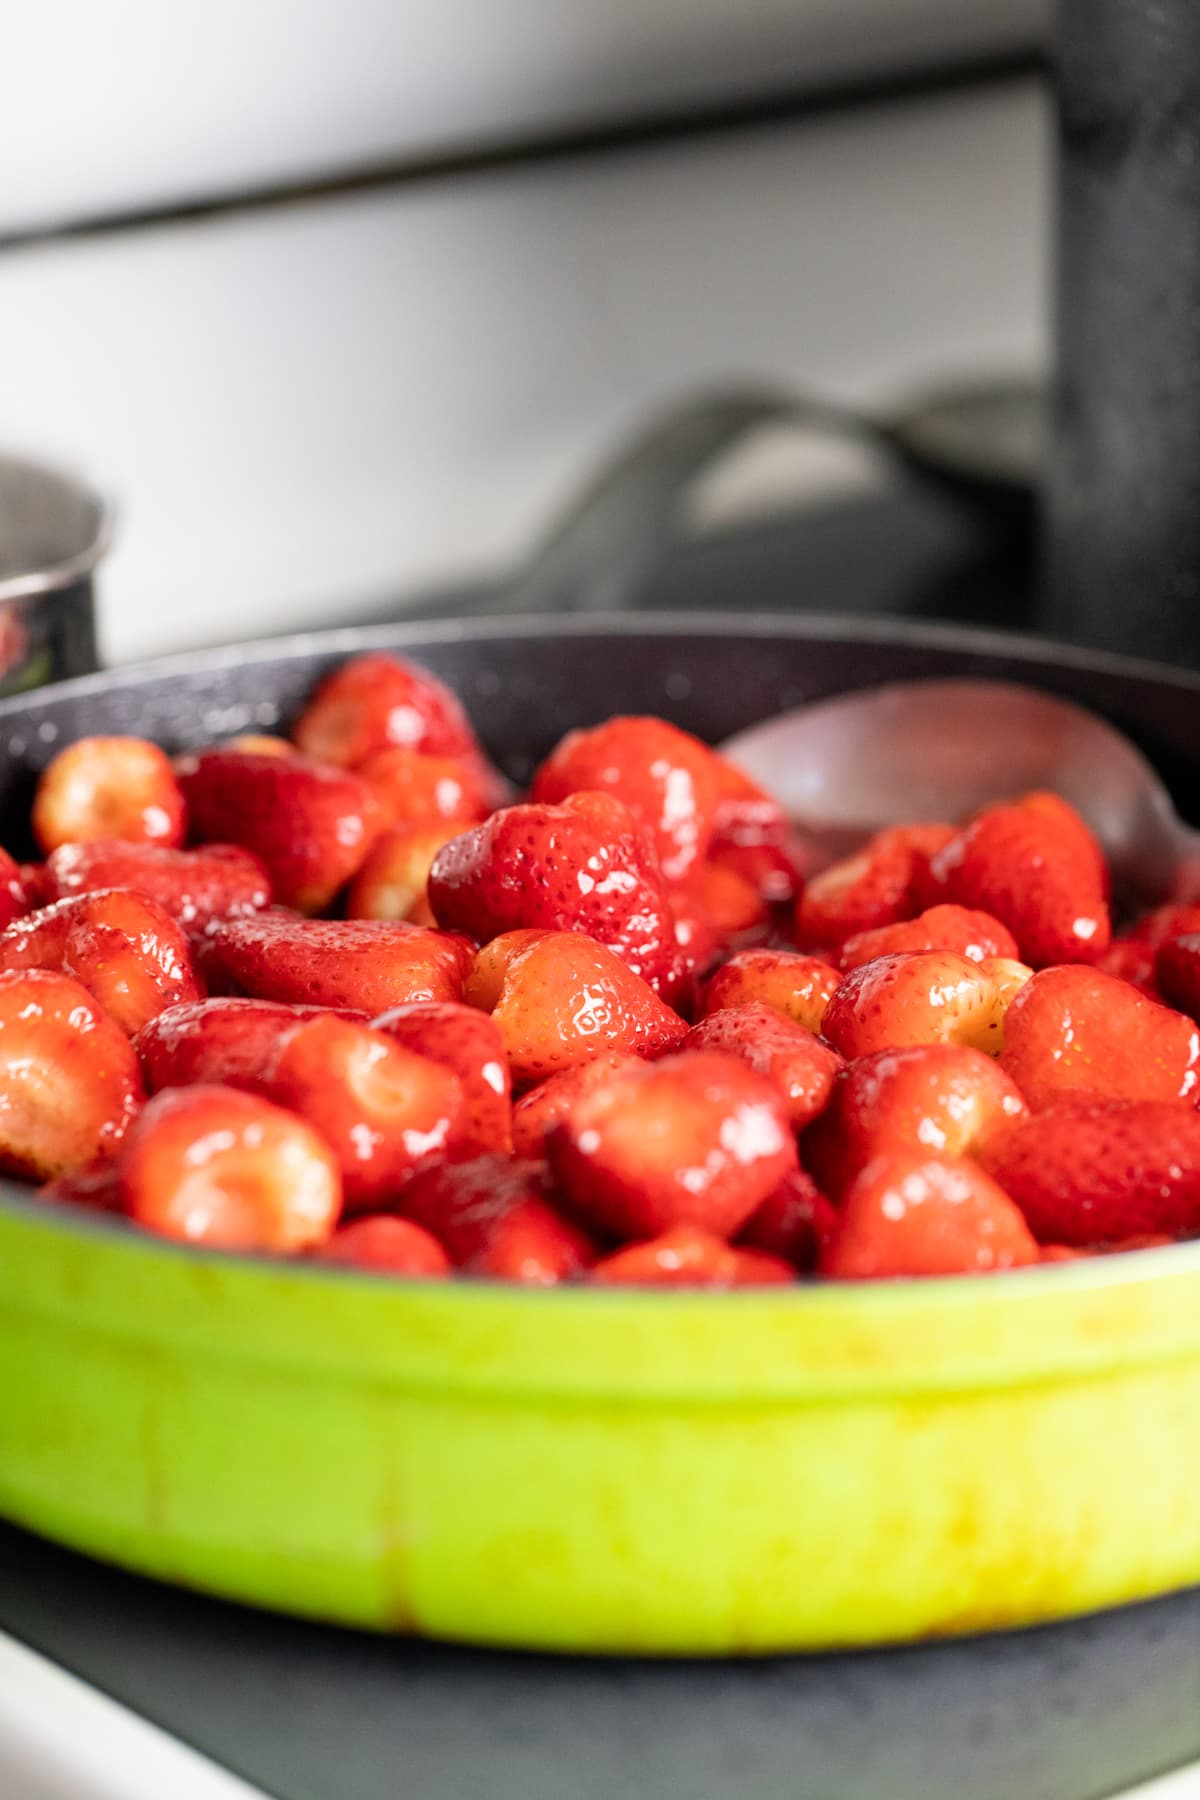
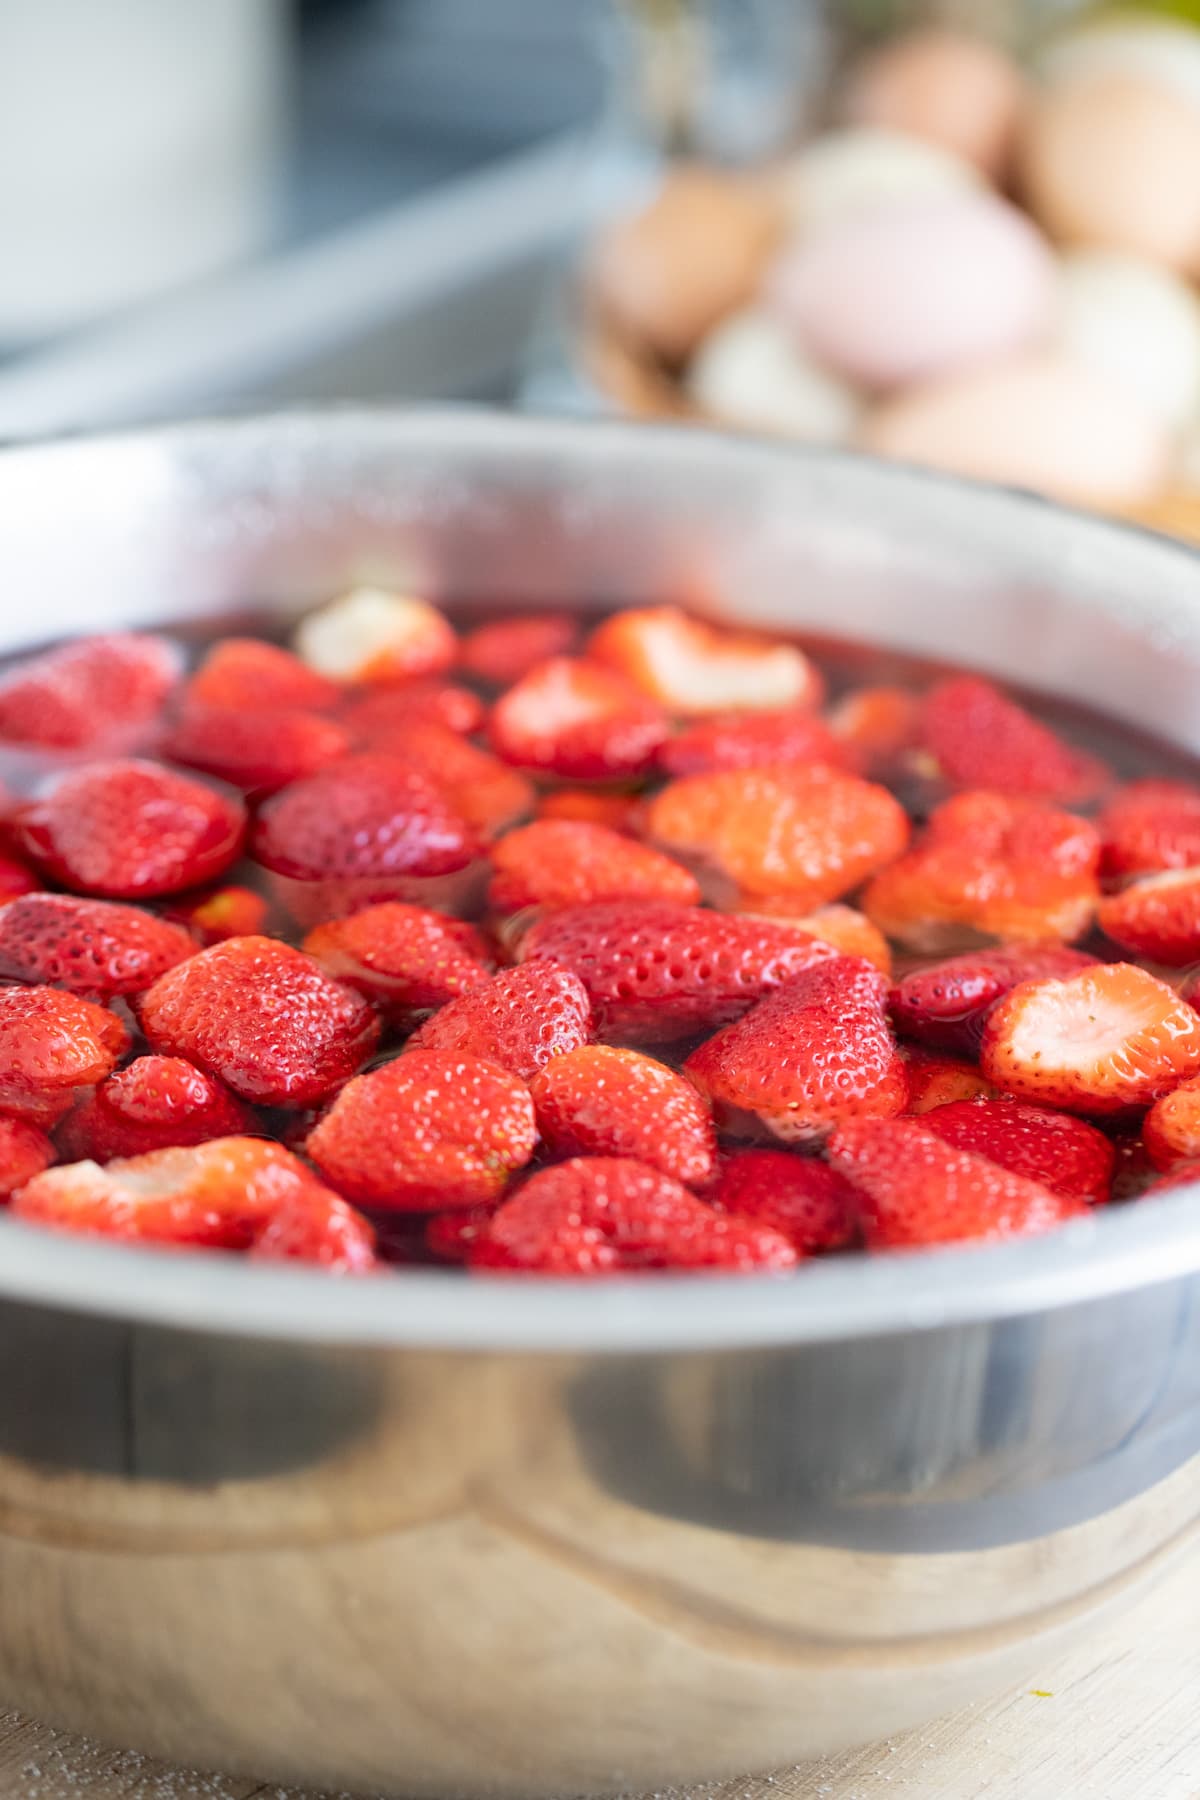
Step two – cook the berries. Add the berries and their juice to a deep and wide pan. Place the pan on the stovetop and turn the heat to medium. Cook the berries, stirring frequently for 5-7 minutes until the sugar dissolves and the fruit and juice are warm.
Note – this is a good time to fill the water bath canner with enough water to cover the jars by at least an inch and set it on the stovetop. Turn the heat to high and bring the water to a boil (while the water is heating up we’ll keep working on getting the strawberries ready for canning).
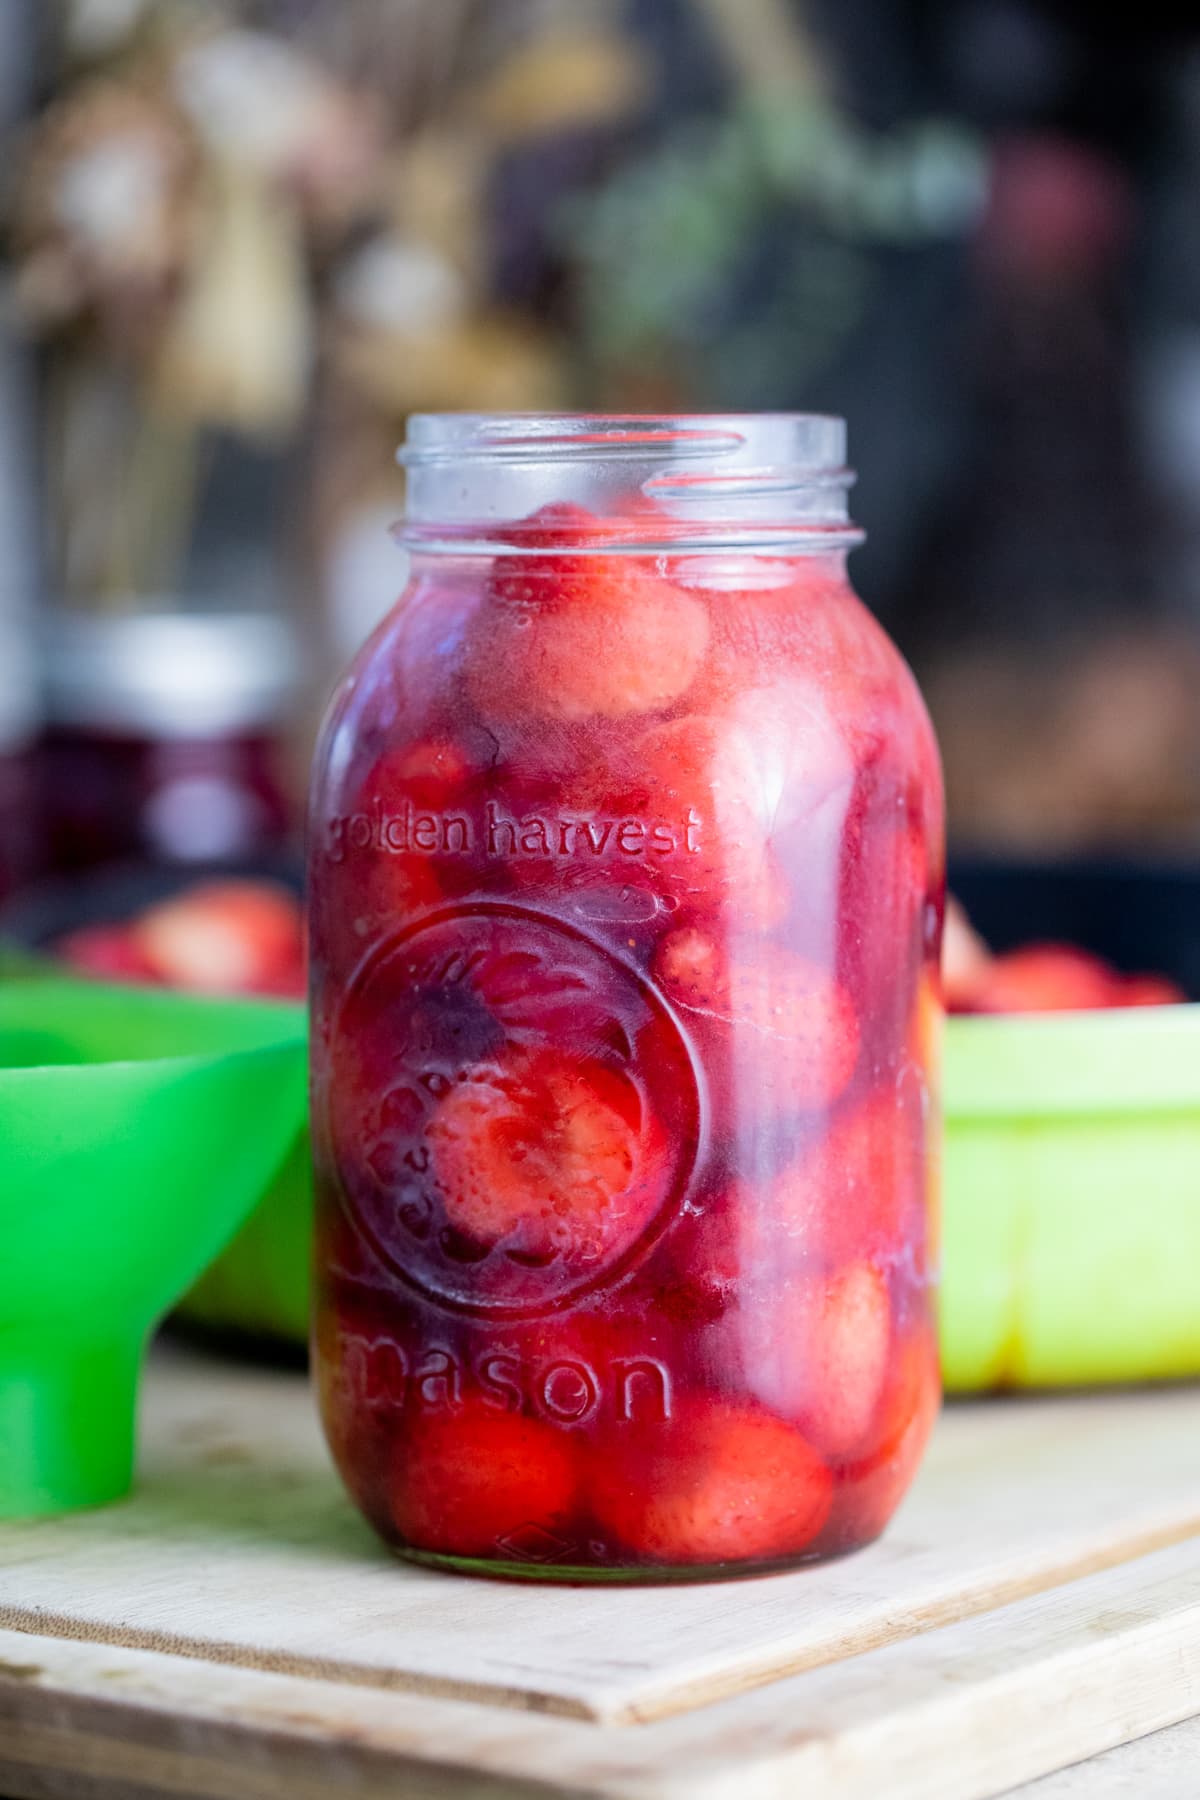

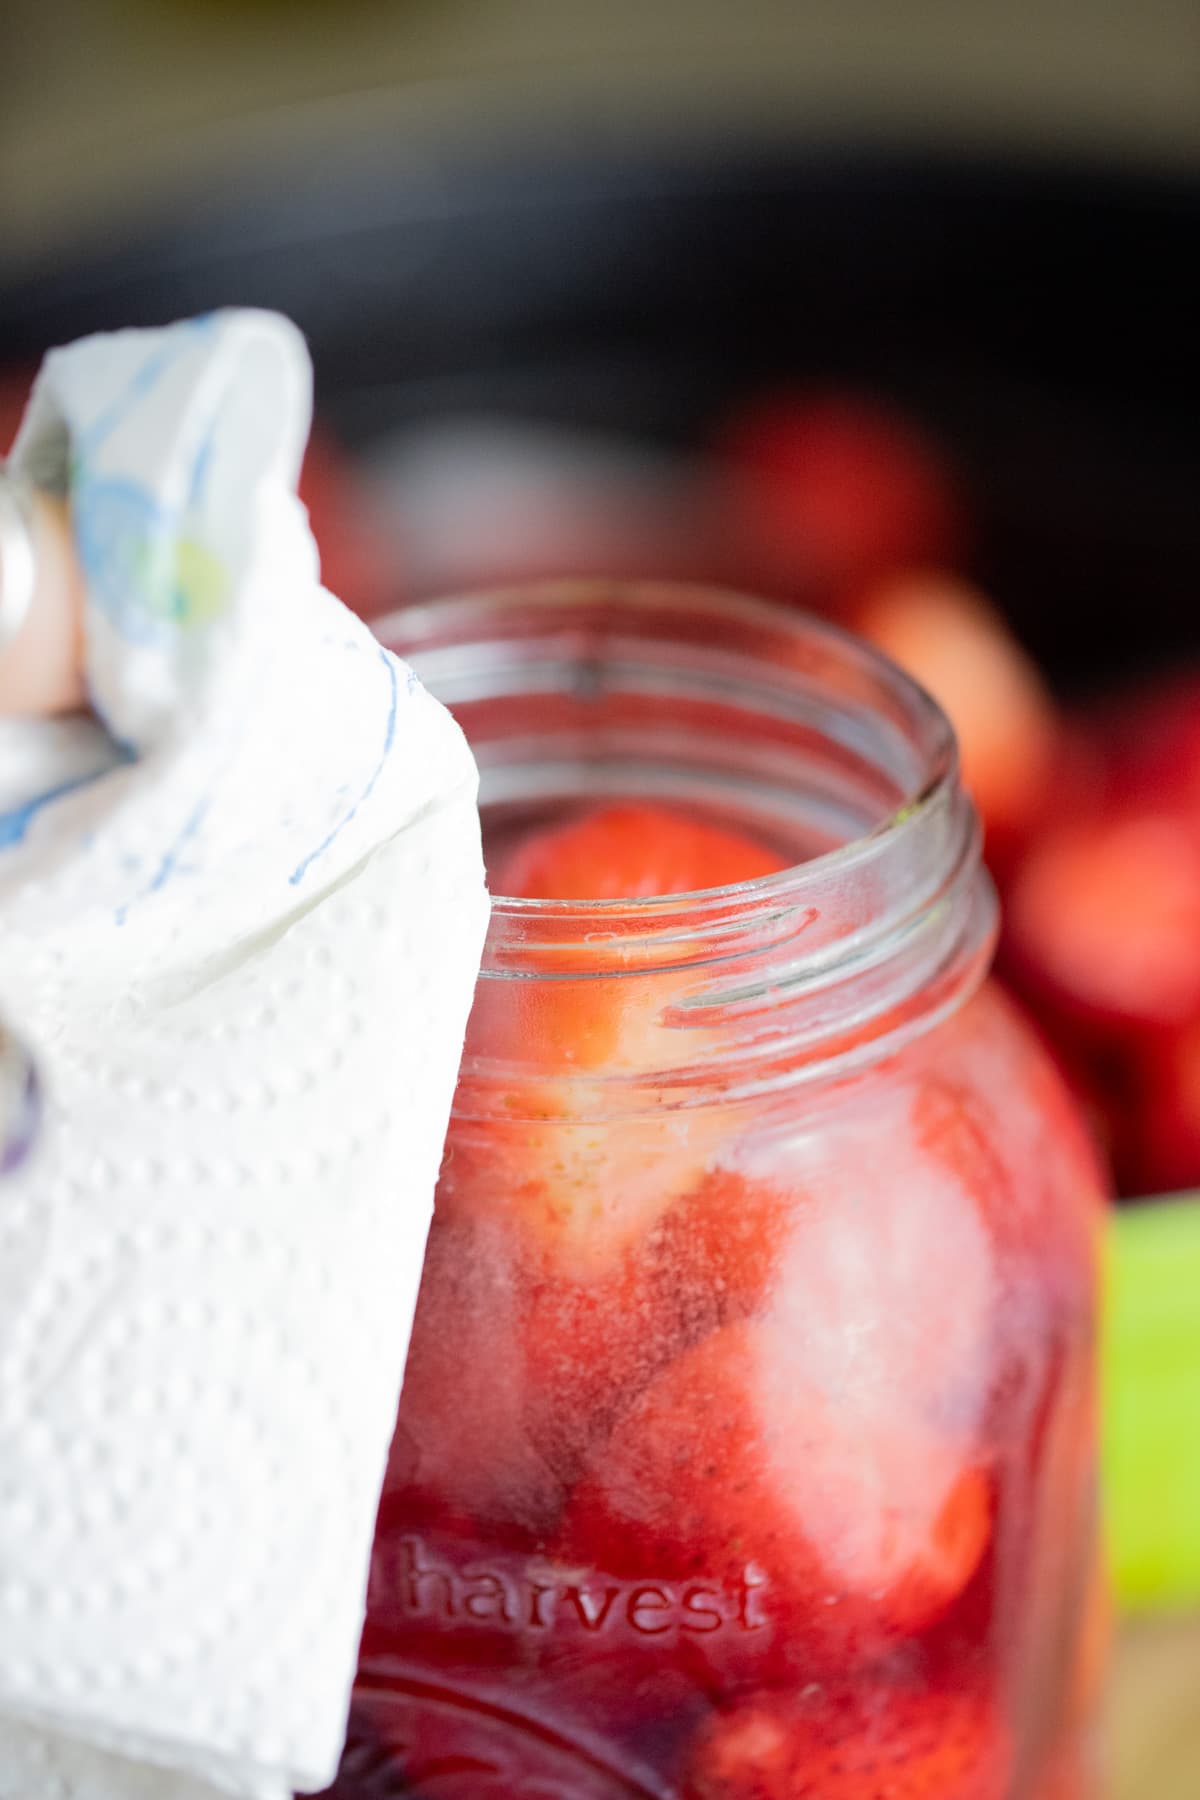
Step three – pack the jars. Wash the jars and the two-piece lids with hot water and some dish soap. Pack each jar with strawberries and their juice. Strawberries produce a lot of juice, however, If there is not enough juice to fill the jars add boiling water to each jar. Make sure to leave 1/2 inch of headspace. Next, remove air bubbles, clean the rim of the jar with a damp paper towel, center the lid, and close the jar finger tight.
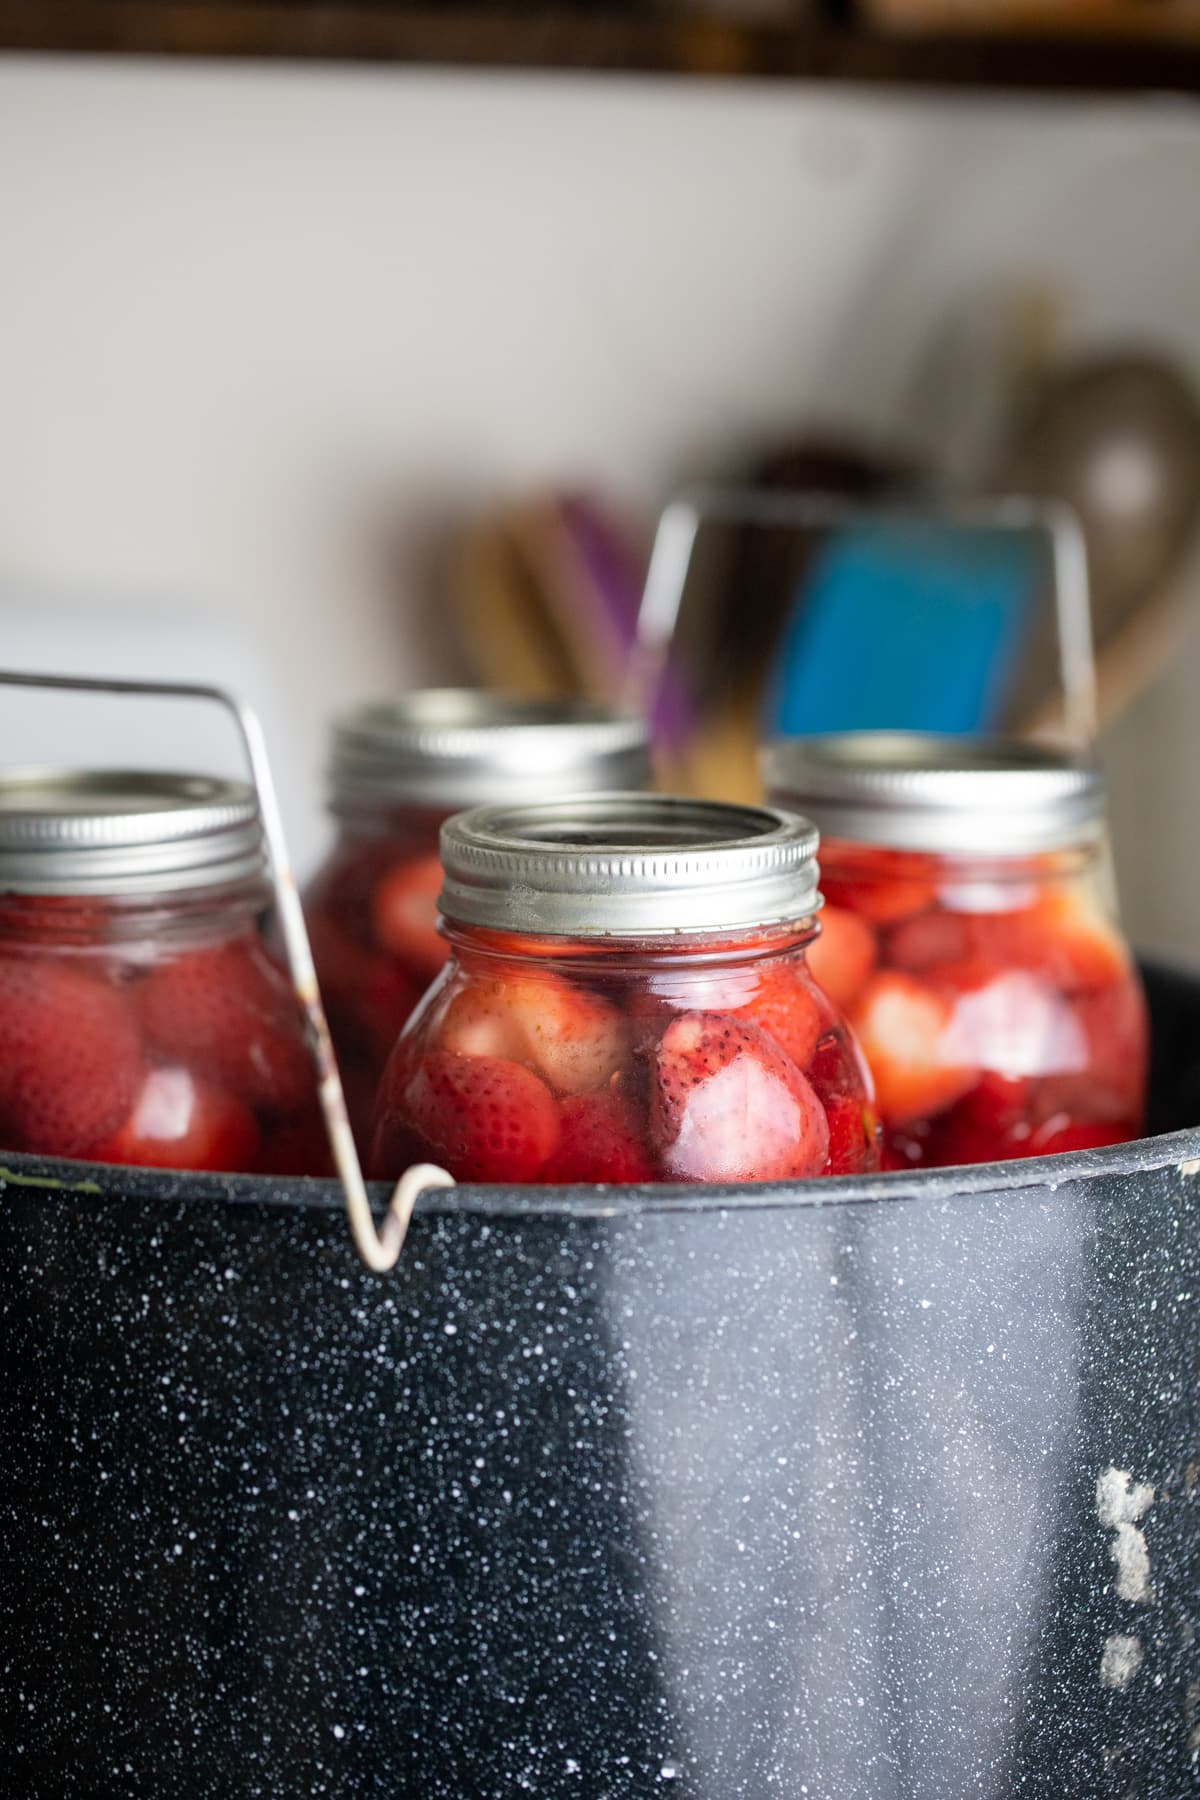
Step four – process the strawberries. Elevate the rack of the water bath canner. Place the packed jars on the rack and let them warm up for a few minutes. Lower the rack into the boiling water of the canner (I usually lower the heat to medium-high to keep a rolling boil), cover the canner, and process pint jars 10 minutes and quart jars 15 minutes.

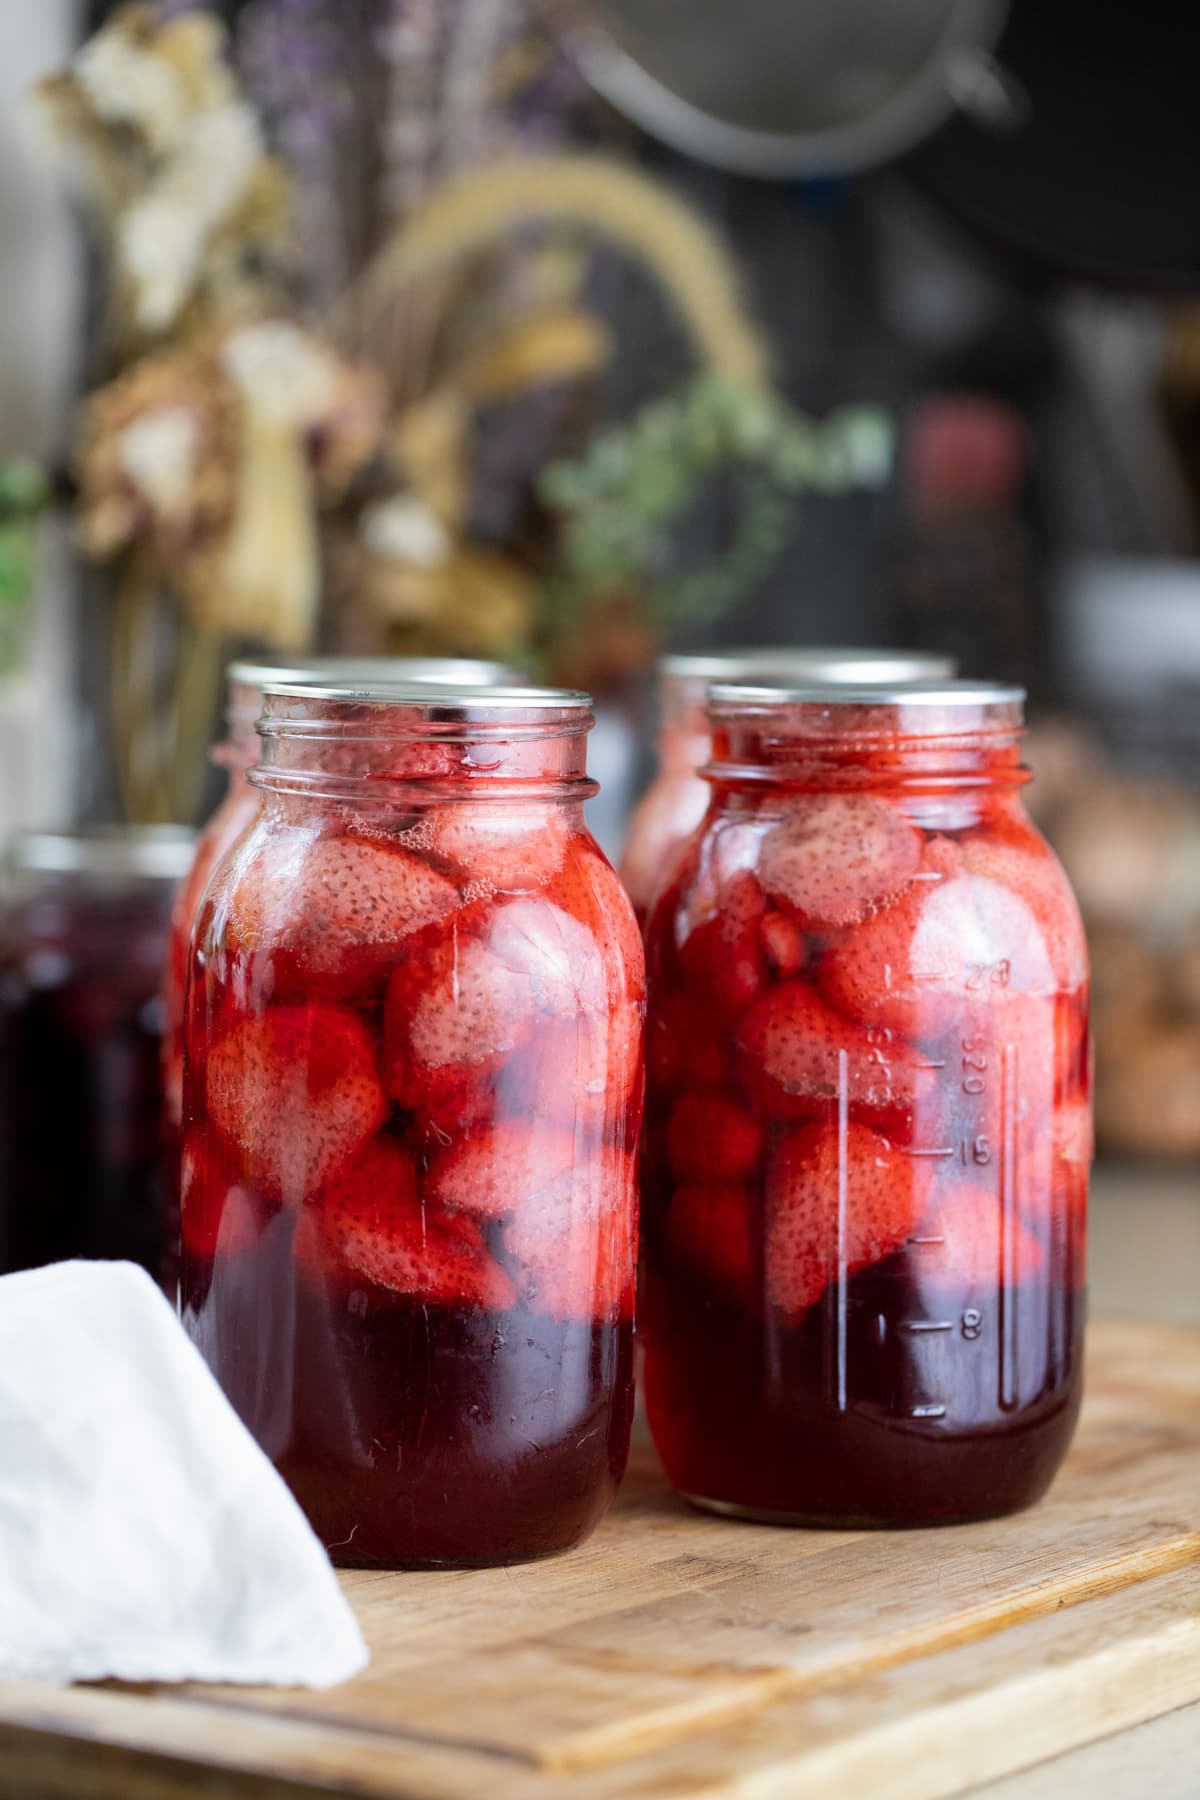
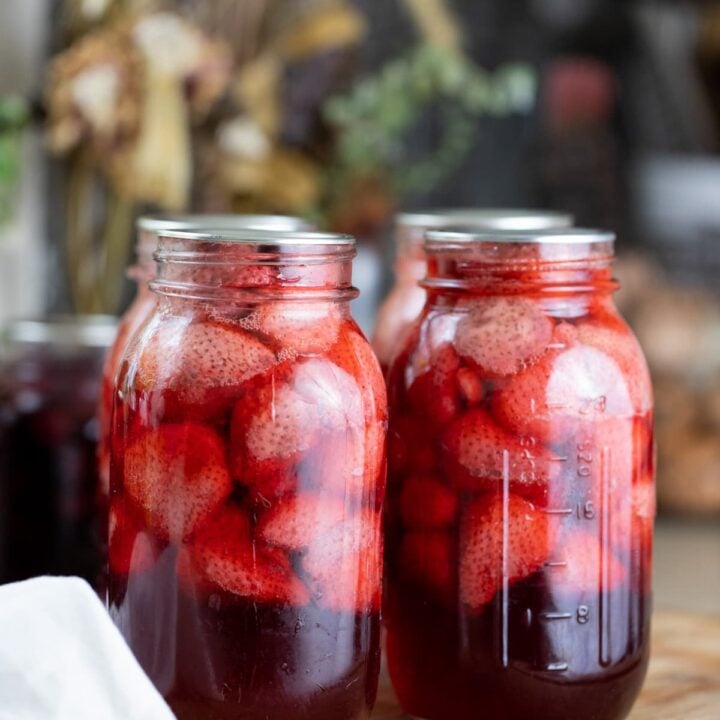
Storing Canned Strawberries…
Once processing time is up, turn the heat off and uncover the canner. Let the jars rest in the water for five more minutes. Then use the jar lifters to lift them out of the water and onto a wooden cutting board or a kitchen towel on the counter. Let the jars cool slowly and undisturbed for 12 hours.
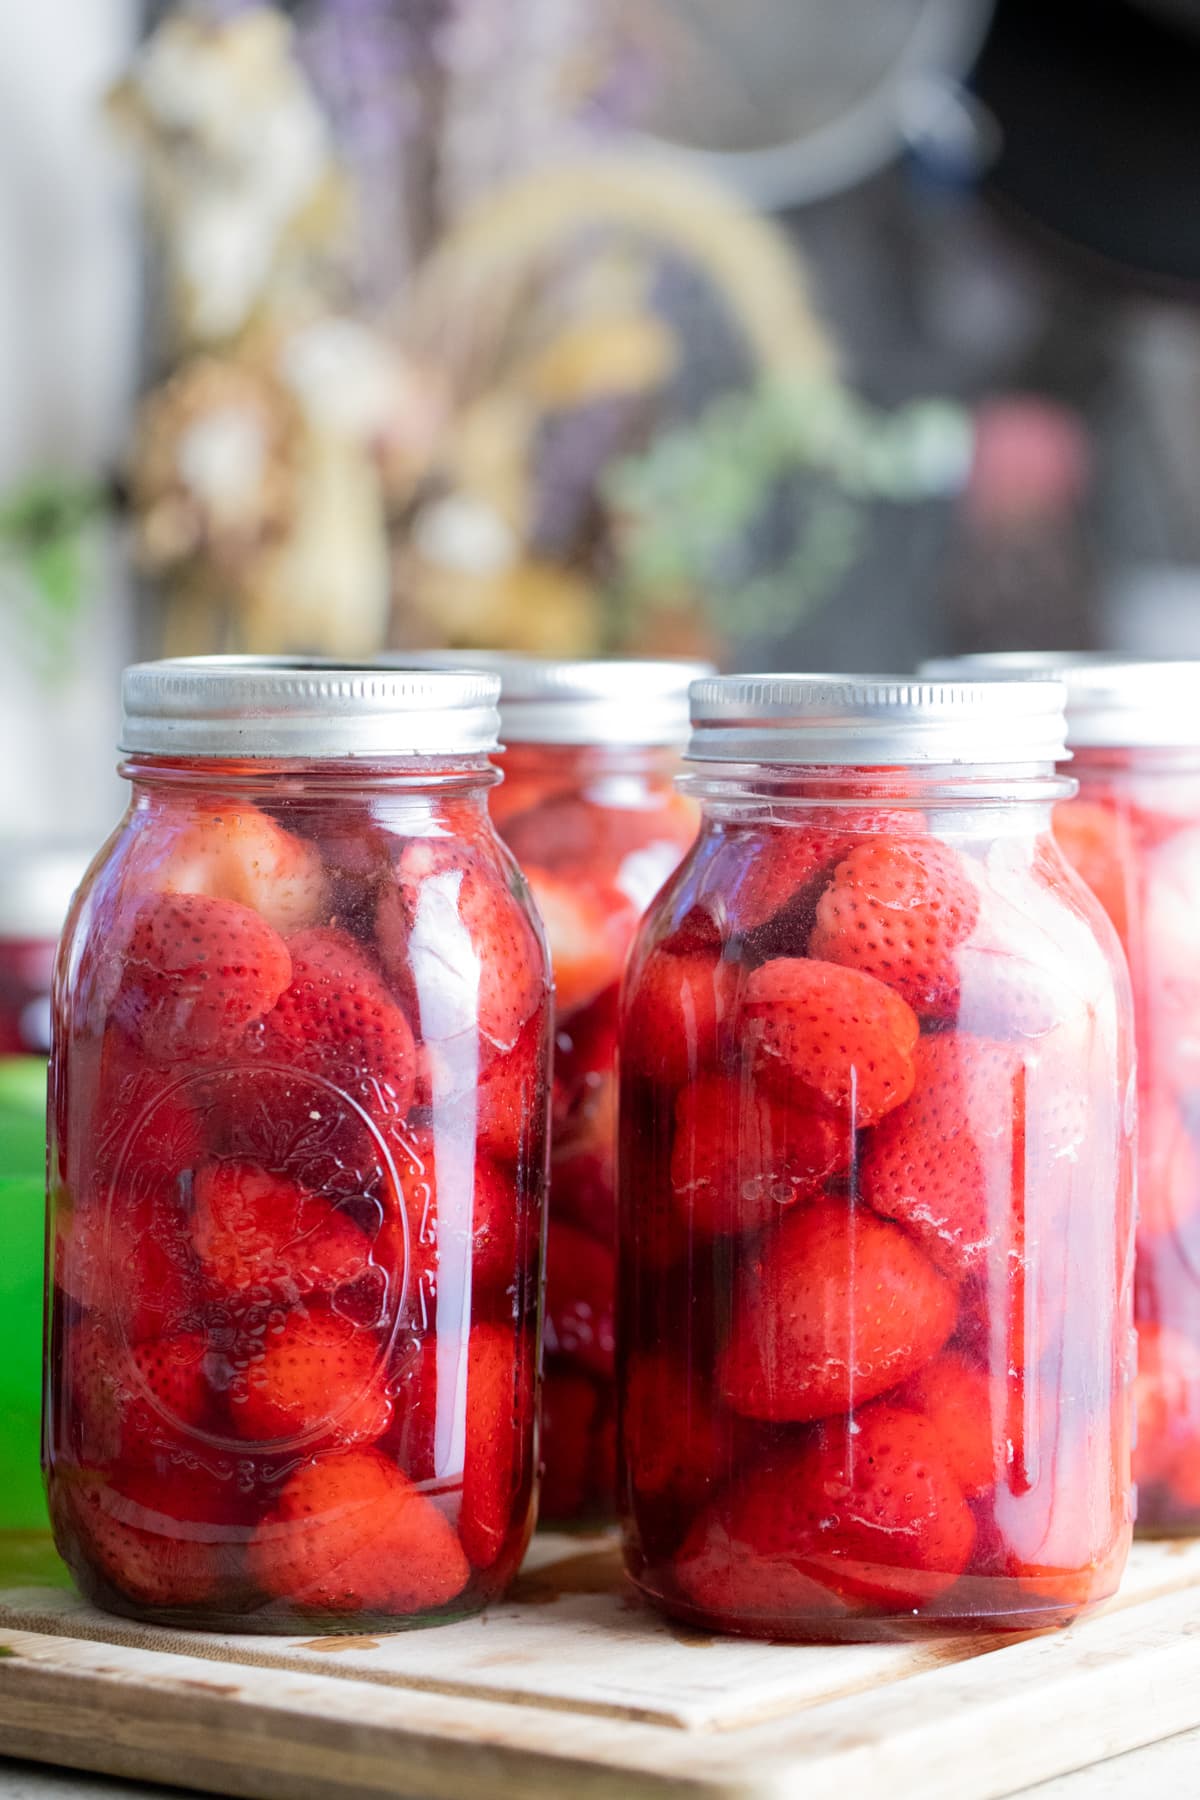
Before storing your canned strawberries, make sure that the jars are sealed by pressing the center of each lid. If there is no movement there, the jars have sealed and are ready for storage. Remove the band (it sticks to the jar, rusts over time, and you can use it when canning something else), wipe the jars, and store them in the pantry, a kitchen cabinet, or on a shelf. Somewhere away from direct sun and at room temperature.
Serving Canned Strawberries…
- As a snack – feel free to open a jar and just snack on the berries right from the jar as if you are eating them fresh. They are delicious! Make sure to keep the juice to use in baking or in homemade drinks.
- Over pancakes or crepes – we make pancakes or French crepes or toast at least once every couple of weeks. These canned strawberries are delicious as topping with some good old condensed milk.
- With yogurt – we love raw goat milk yogurt or crock-pot yogurt (made with store-bought milk). I usually top it with homemade granola and fruit. These strawberries, smashed a bit, work great.
- With sour cream – if you need a tiny yummy snack just add some canned strawberries and a bit of their juice on top of a few tablespoons of sour cream and call it a day!
- In shakes or other drinks – any fruit smoothie is going to benefit from a few added strawberries. Add them to shakes too or even homemade alcoholic drinks. Or use just the juice in drinks.
- Use in baking – you can use these strawberries in any baked recipe that calls for strawberries. One thing to take into consideration is that you might want to adjust the amount of sugar in the recipe if the berries are very sweet (since we used sugar to preserve them)
- Use to make ice cream – ice cream making is still a mysterious world to me, however, homemade strawberry ice cream definitely sounds like a thing I’d want to try. Or use them as ice cream topping.
Frequently Asked Questions…
Not exactly. Check this canning blackberries tutorial to learn how to can other kinds of berries.
You can add mint, thyme, rosemary, a piece of a cinnamon stick… It’s better to add seasonings when you cook the strawberries, then remove them before canning.
Yes. Strawberries are acidic enough that you can can them in just water if you want to. The problem is that most of their flavor leaches into the water and they are often tasteless.
Sometimes it happens that a jar or two won’t seal. In this case, you can try to process the jar again (I usually recommend changing the lid before you do that) or you can simply save this jar in the fridge and use it first. Since the strawberries are in a sugary syrup they should last a few weeks in the fridge.
Home-canned strawberries should last about a year on the shelf before they start to lose their taste.
Yes, it’s normal for strawberries to lose some of their color after canning. Some of them even look white. As long as the jar was properly sealed, they should be perfectly fine to eat.
Strawberries are fun and easy to can. They are the sort of fruit that tastes so much better in its season. Being able to preserve that flavor without sacrificing freezer space is great. They are also so beautiful on the shelf. I hope that you give this a try!
More Canning Tutorials…
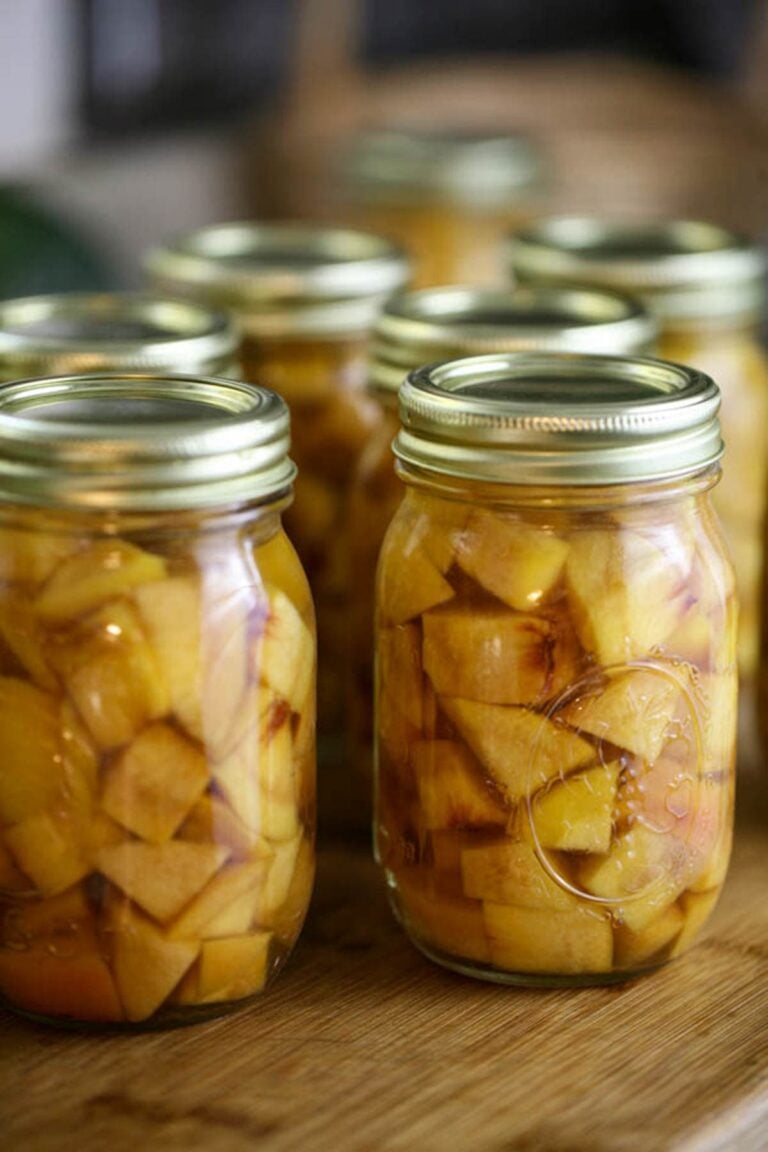
- Canning Peaches
- Canning Chia Blueberry Jam
- Canning Apples
- How to Make Mulberry Jam
- Canning Kiwi Jam
- Mixed Berry Jam
Canning Strawberries
Canning strawberries is a great way to preserve them. Follow the tutorial below and learn how to can strawberries.
Ingredients
- 6 pound of strawberries
- 3.5 cups of sugar
- (No matter how many strawberries you are processing, measure 1/2 to 3/4 cup of sugar per quart of berries)
Instructions
- Hull the strawberries, then wash them well. Add the berries to a bowl and add 1/2 to 3/4 cup of sugar for each quart of strawberries that you are processing. Use a wooden spoon to mix the berries gently so they are covered with sugar. Cover the bowl with plastic wrap and let it stand at room temperature for six hours.
- Add the berries and their juice to a deep and wide pan. Place the pan on the stovetop and turn the heat to medium. Cook the berries, stirring frequently for 5-7 minutes until the sugar dissolves and the fruit and juice are warm.
- Fill the water bath canner with enough water to cover the jars by at least an inch and set it on the stovetop. Turn the heat to high and bring the water to a boil (while the water is heating up we’ll keep working on getting the strawberries ready for canning).
- Wash the jars and the two-piece lids with hot water and some dish soap. Pack each jar with strawberries and their juice. Strawberries produce a lot of juice, however, If there is not enough juice to fill the jars add boiling water to each jar. Make sure to leave 1/2 inch of headspace. Next, remove air bubbles, clean the rim of the jar with a damp paper towel, center the lid, and close the jar finger tight.
- Elevate the rack of the water bath canner. Place the packed jars on the rack and let them warm up for a few minutes. Lower the rack into the boiling water of the canner (I usually lower the heat to medium-high to keep a rolling boil), cover the canner, and process pint jars 10 minutes and quart jars 15 minutes. Remember to adjust processing time according to the table in the post if you live above 1000 feet in elevation.
- Once processing time is up, turn the heat off and uncover the canner. Let the jars rest in the water for five more minutes. Then use the jar lifters to lift them out of the water and onto a wooden cutting board or a kitchen towel on the counter. Let the jars cool slowly and undisturbed for 12 hours.
- Before storing your canned strawberries, make sure that the jars are sealed by pressing the center of each lid. If there is no movement there, the jars have sealed and are ready for storage. Remove the band (it sticks to the jar, rusts over time, and you can use it when canning something else), wipe the jars, and store them in the pantry, a kitchen cabinet, or on a shelf. Somewhere away from direct sun and at room temperature.
Notes
Frequently Asked Questions...
- Can I use this method to can other berries?
Not exactly. Check this canning blackberries tutorial to learn how to can other kinds of berries. - Can I add seasonings to my canned strawberries?
You can add mint, thyme, rosemary, a piece of a cinnamon stick… It’s better to add seasonings when you cook the strawberries, then remove them before canning. - Can I can strawberries without sugar?
Yes. Strawberries are acidic enough that you can can them in just water if you want to. The problem is that most of their flavor leaches into the water and they are often tasteless. - What should I do if one of my jars didn’t seal?
Sometimes it happens that a jar or two won’t seal. In this case, you can try to process the jar again (I usually recommend changing the lid before you do that) or you can simply save this jar in the fridge and use it first. Since the strawberries are in a sugary syrup they should last a few weeks in the fridge. - How long should home-canned strawberries last?
Home-canned strawberries should last about a year in the fridge before they start to lose their taste. - It seems like the strawberries are losing some of their color. Is this normal?
Yes, it’s normal for strawberries to lose some of their color after canning. Some of them even look white. As long as the jar was properly sealed, they should be perfectly fine to eat.
Nutrition Information:
Yield: 4 Serving Size: 1 quartAmount Per Serving: Calories: 895Total Fat: 2gSaturated Fat: 0gTrans Fat: 0gUnsaturated Fat: 1gCholesterol: 0mgSodium: 9mgCarbohydrates: 227gFiber: 14gSugar: 208gProtein: 5g
I can’t wait to try these.
I love having them on the shelf! They are really easy to make strawberry sauce with for pancakes. That’s what we use them most for.
I did my strawberries just like you said. Mine turned a mushy white as soon as I took them out of the water bath. What happen
Maxine
They will lose some color. You did everything ok, it’s notmal. All the color is in the syrup now and it’s fine as long as the jar is sealed.
I just opened one jar of mine the other day. I ended up making strawberry syrup for pancakes with it and using all of the syrup from the jar. The strawberry syrup has a strawberry color and all is well.