This post may contain affiliate links, view our disclosure policy for details.

Canning raspberries is very easy and quick. There is no cooking involved so the raspberries get to keep their shape pretty well. Whole, canned raspberries are a great ingredient to have on the shelf!
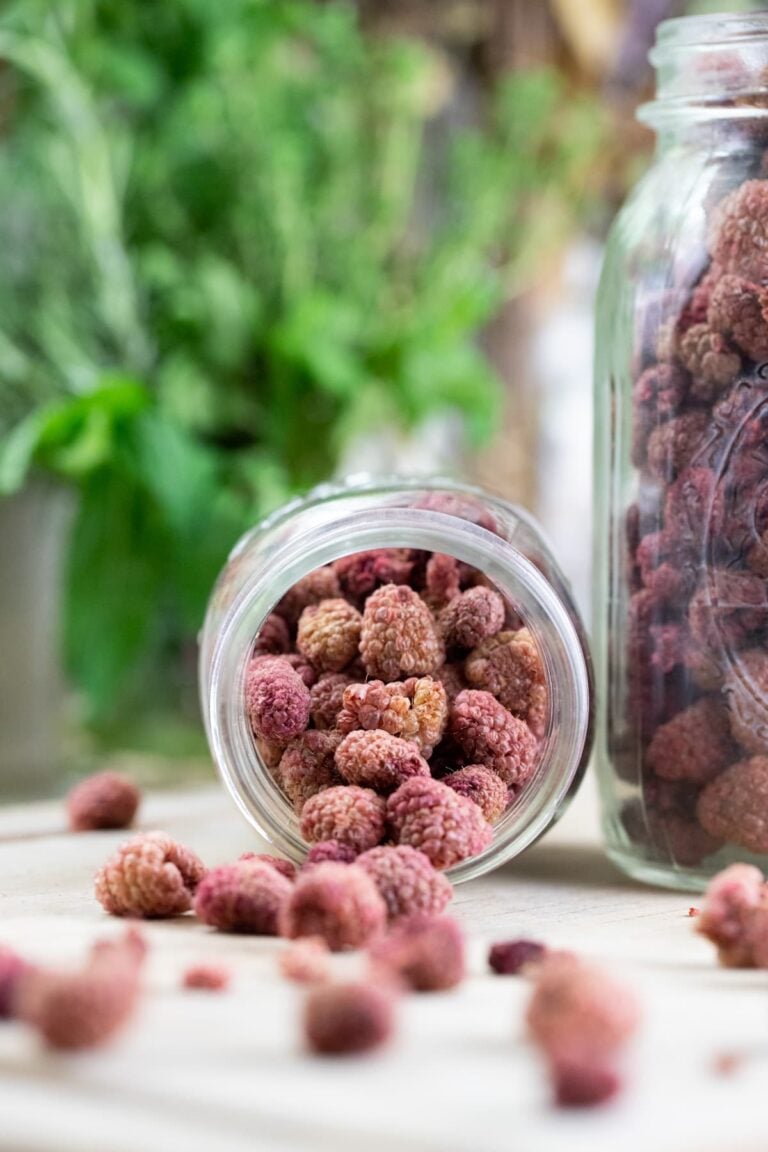
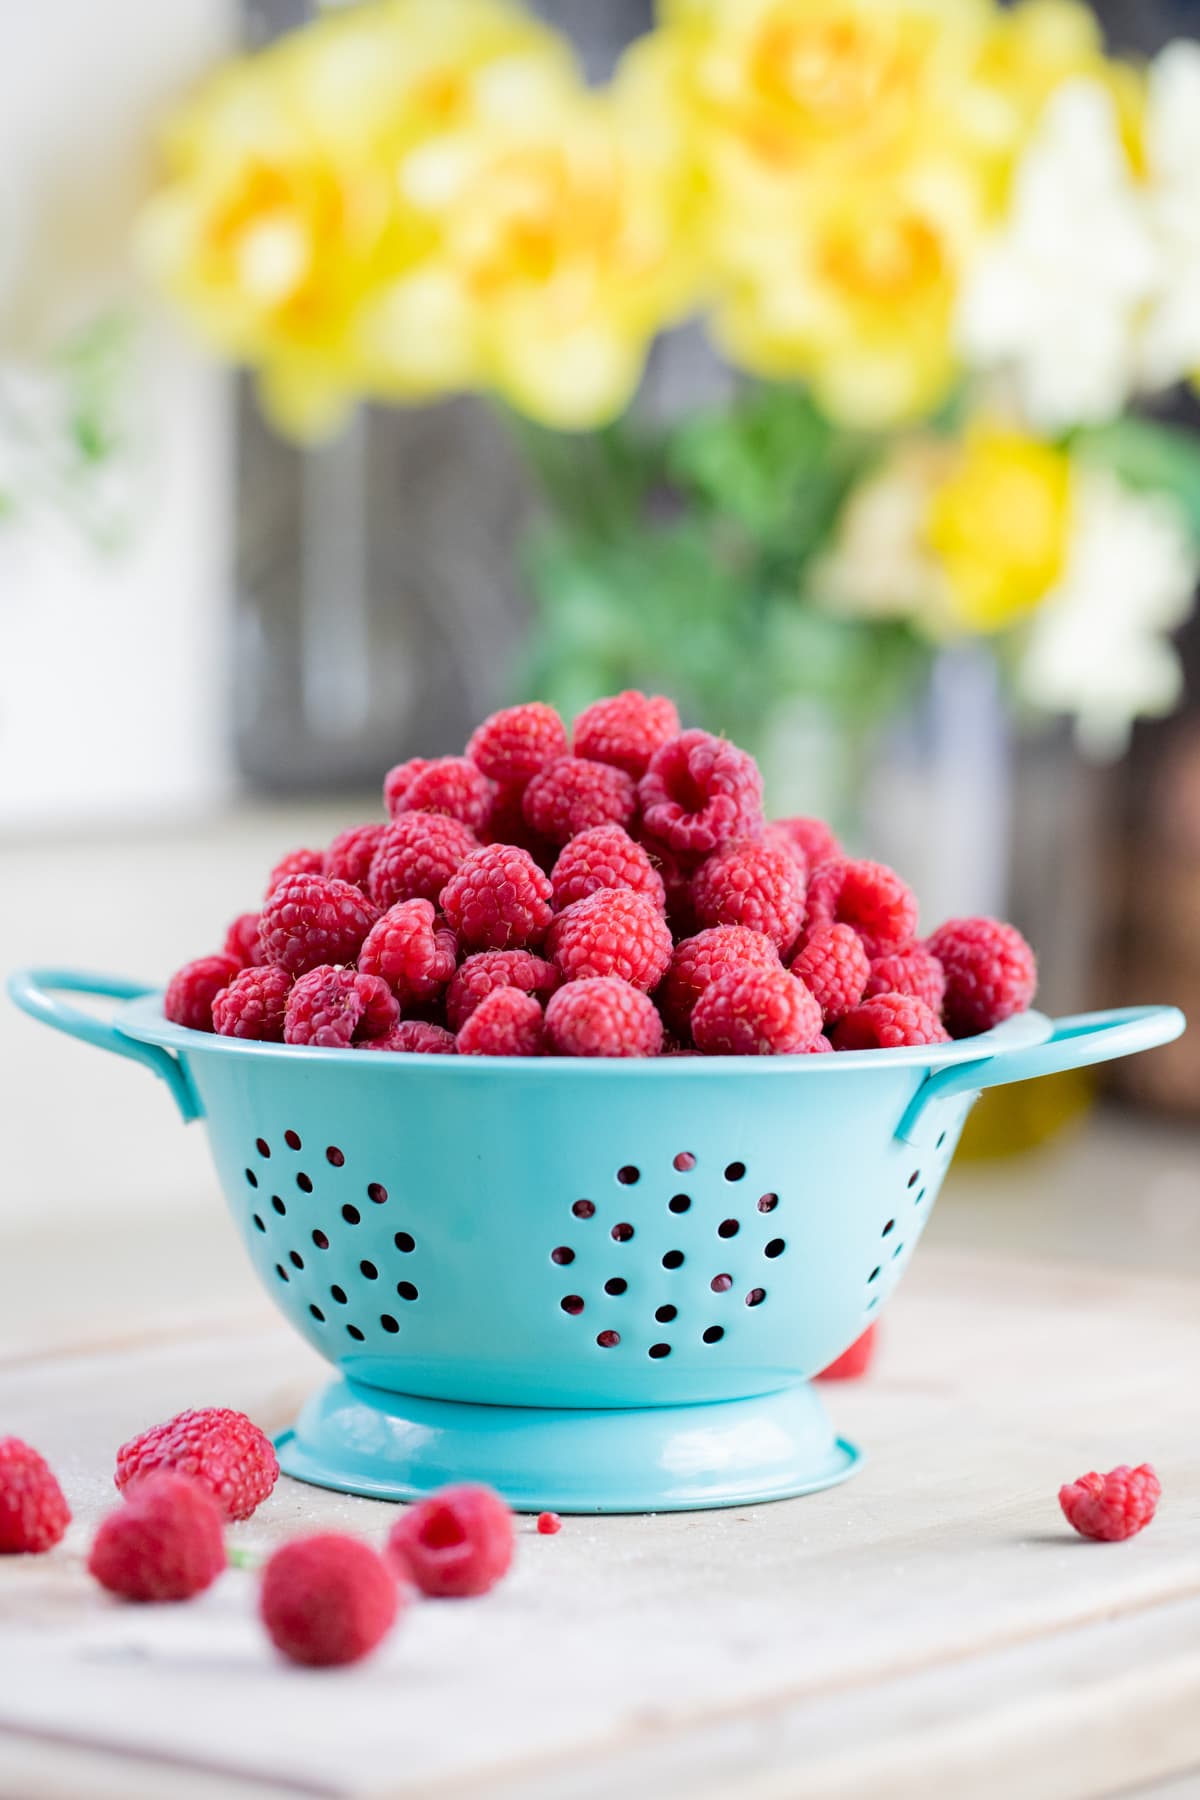
Raspberries are a treat. Of all the berries, they are the ones we eat the least. It’s not a very common thing for us to come by them at the market and I don’t know any raspberry farmers in our area.
There are plenty of strawberries and blueberries, even blackberries, but when it comes to raspberries… It’s a bit more of a challenge to find them locally. We love eating raspberries though, so when I come by raspberries on sale at the grocery store or at the local markets, I usually buy a whole lot of them.
Canning Raspberries at Home…
I freeze as many as I can and I try to use them in jams too, but canning raspberries might be my favorite way to preserve them because they are ready to be added to any dish, they can be consumed right out of the jar as a snack, and they create a very tasty syrup that we can add to drinks.
Ingredients…
- Raspberries – choose firm raspberries. Ripe and sweet but not too ripe that they are falling apart. I used 36 oz of raspberries and ended up with 8 half-pint jars of canned raspberries.
- Sugar – good old white sugar is what I used. If you need a honey option check the FAQ section below.
Kitchen Tools…
- Mixing bowl
- Measuring cup
- Small pot or saucepan
- I chose half-pint jars. You can also use Pint or quart jars with two-piece lids
- Canning utensils
- Paper towel
- Water bath canner
Raw Pack Vs. Hot Pack…
Raw Pack – we are going to use the raw pack method when canning raspberries (and blueberries) so you’ll see the exact steps below, but just as an overview, in this method we pack the jars with the fruit, make a syrup, add the syrup to the jars, and process the jars.
Hot Pack – this method consists of cooking the fruit for a few minutes before packing it. I feel like overall it produces a better product in the long run because it preserves the taste a bit better. In this method, we are going to let the fruit sit with the sugar for a little bit. This produces a very flavorful juice that we are then going to heat (with the fruit) and use when canning.
Since the fruit is packed in its own juice I think that the flavor is preserved better. I use this method when canning blackberries or when canning strawberries. However, raspberries tend to fall apart when cooked so it’s hard to use the hot pack method when canning raspberries.
How to Can Raspberries…
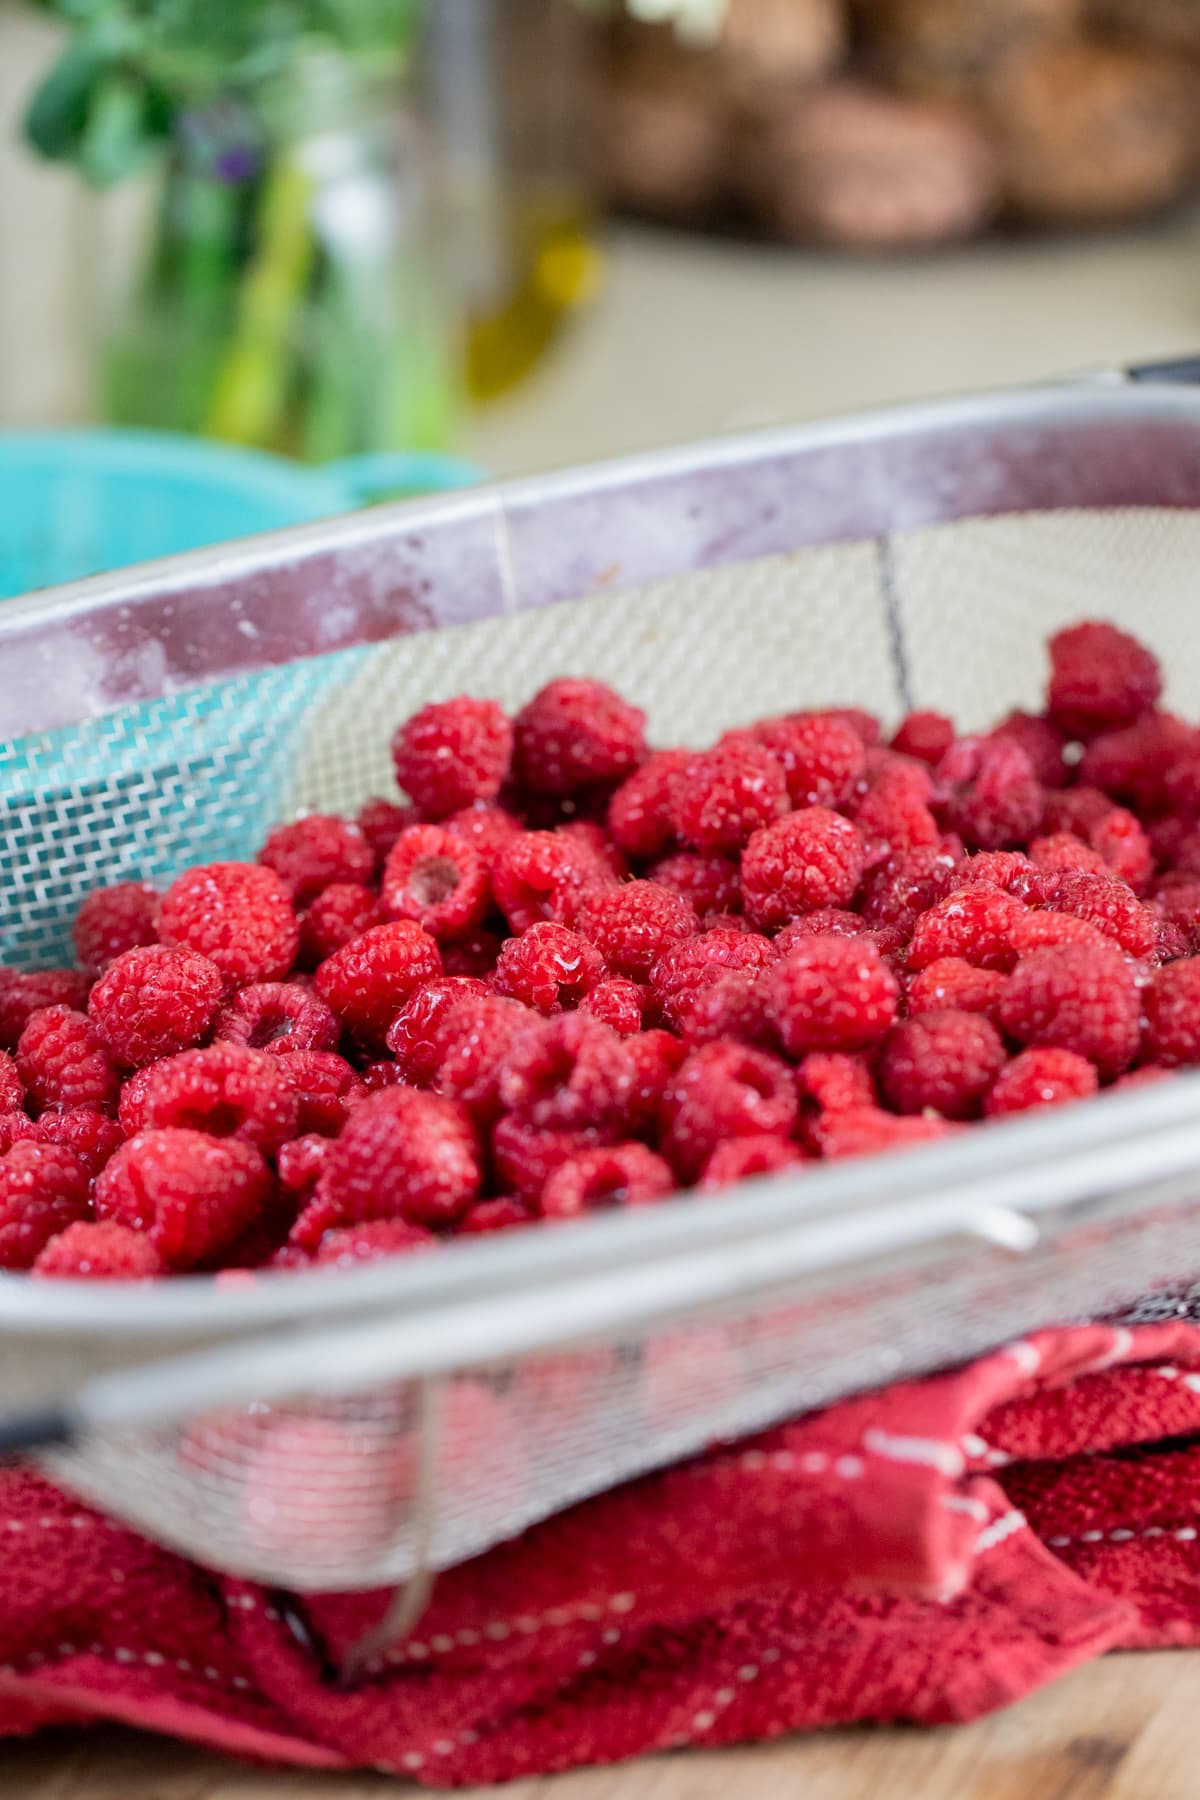

Step one – prep the berries and make the syrup. Start by washing the raspberries well with cold water. Set them aside and get to work on the syrup. To a small pot or a saucepan, add 2 1/4 cups of sugar and 5 1/4 cups of water. Set on the stovetop and bring to a simmer. This is a light syrup, if you want to use more sugar or are looking for other syrup options you can find a helpful table here.
Fill the water bath canner with enough water to cover the jars by at least an inch and set it on the stovetop. Turn the heat to high and bring the water to a boil (while the water is heating up we’ll keep working on the raspberries since this takes a while).
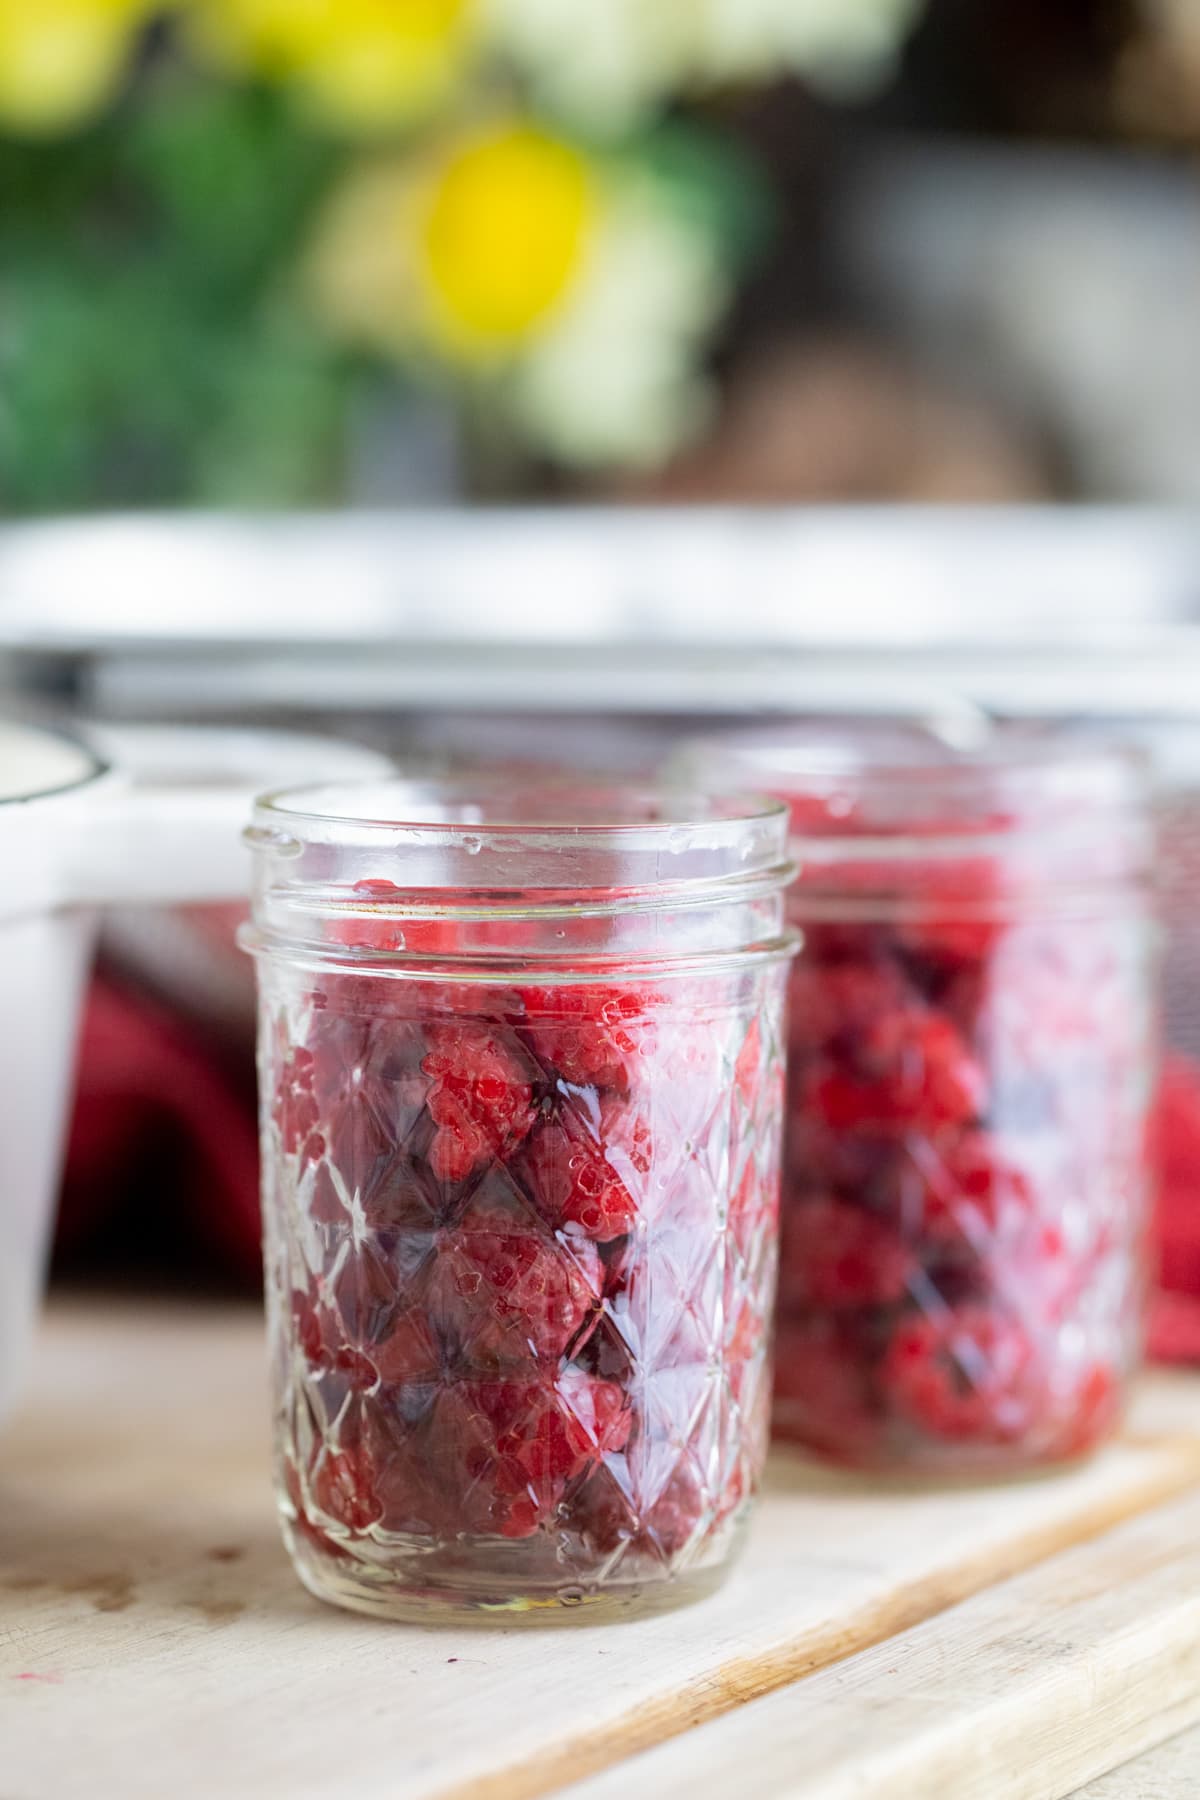
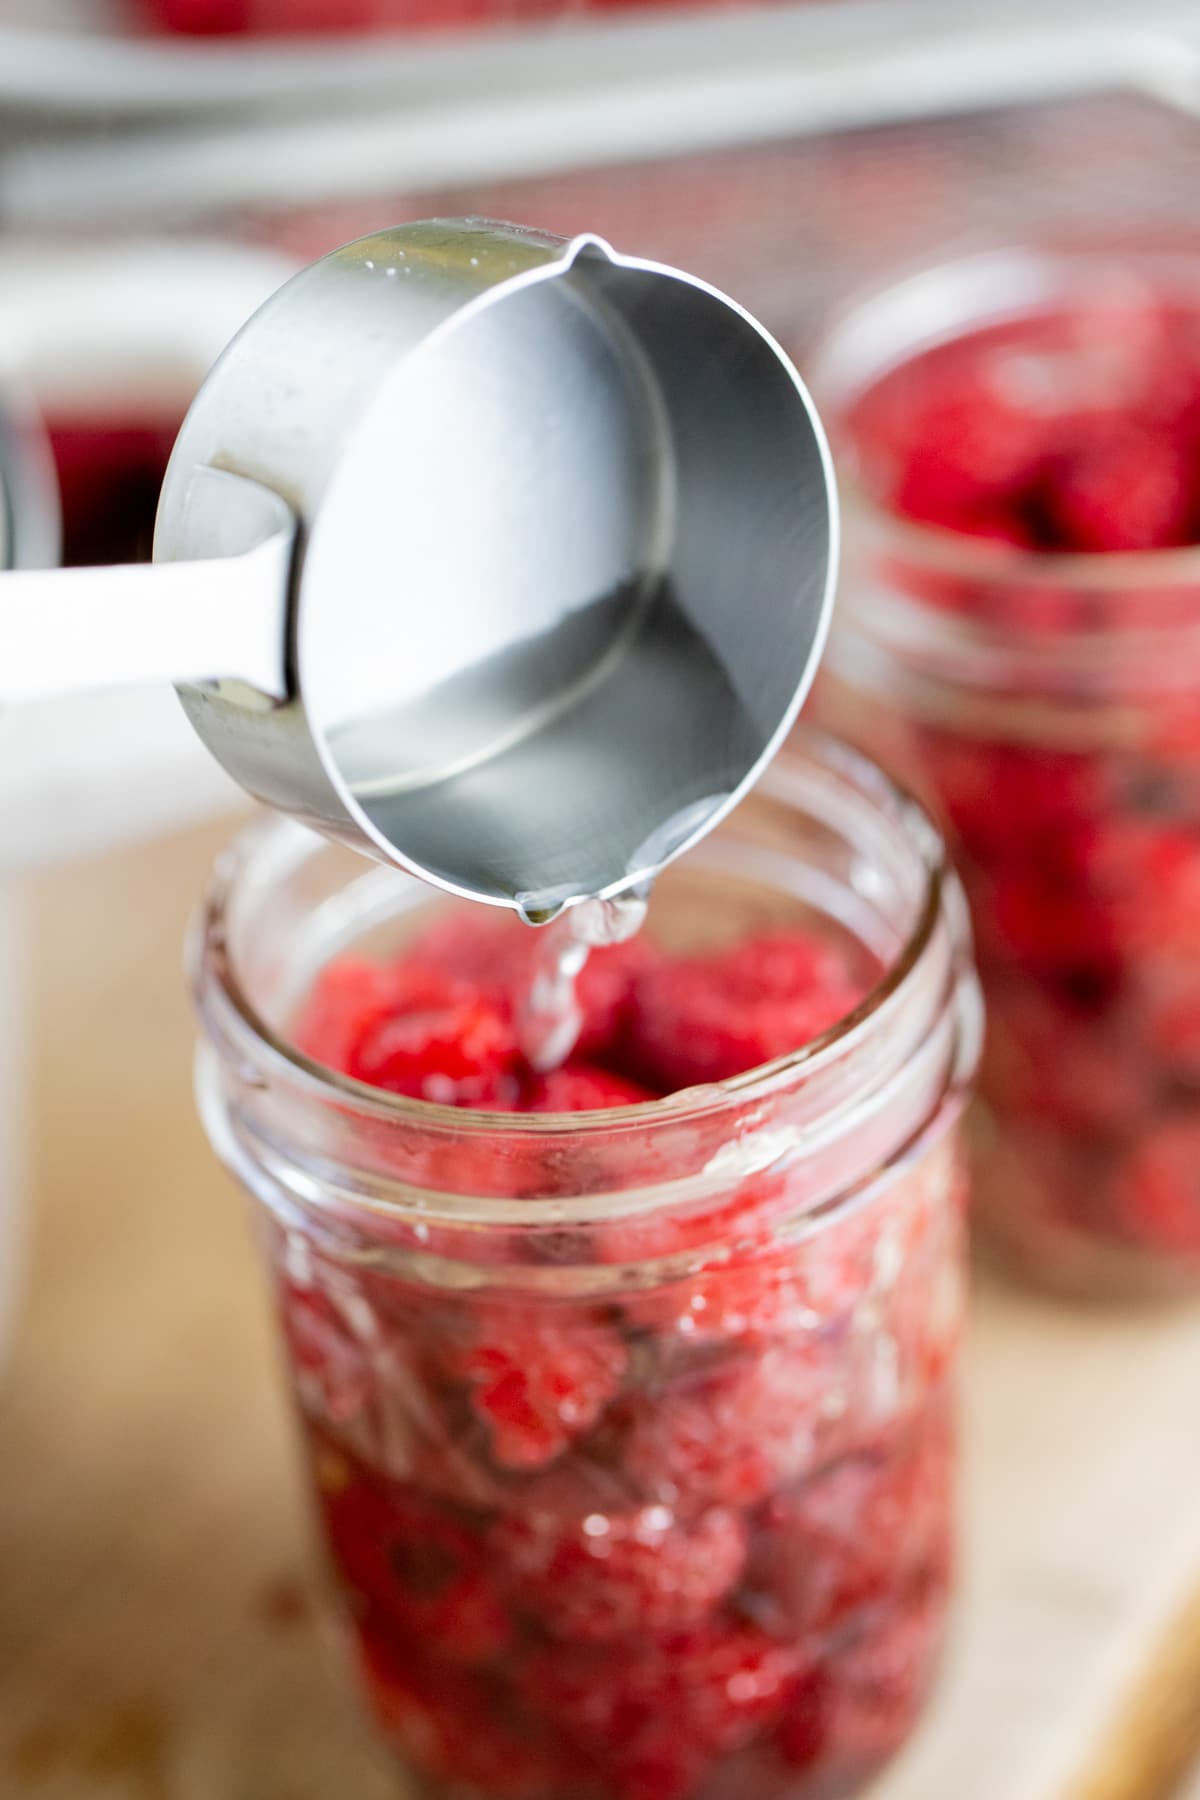
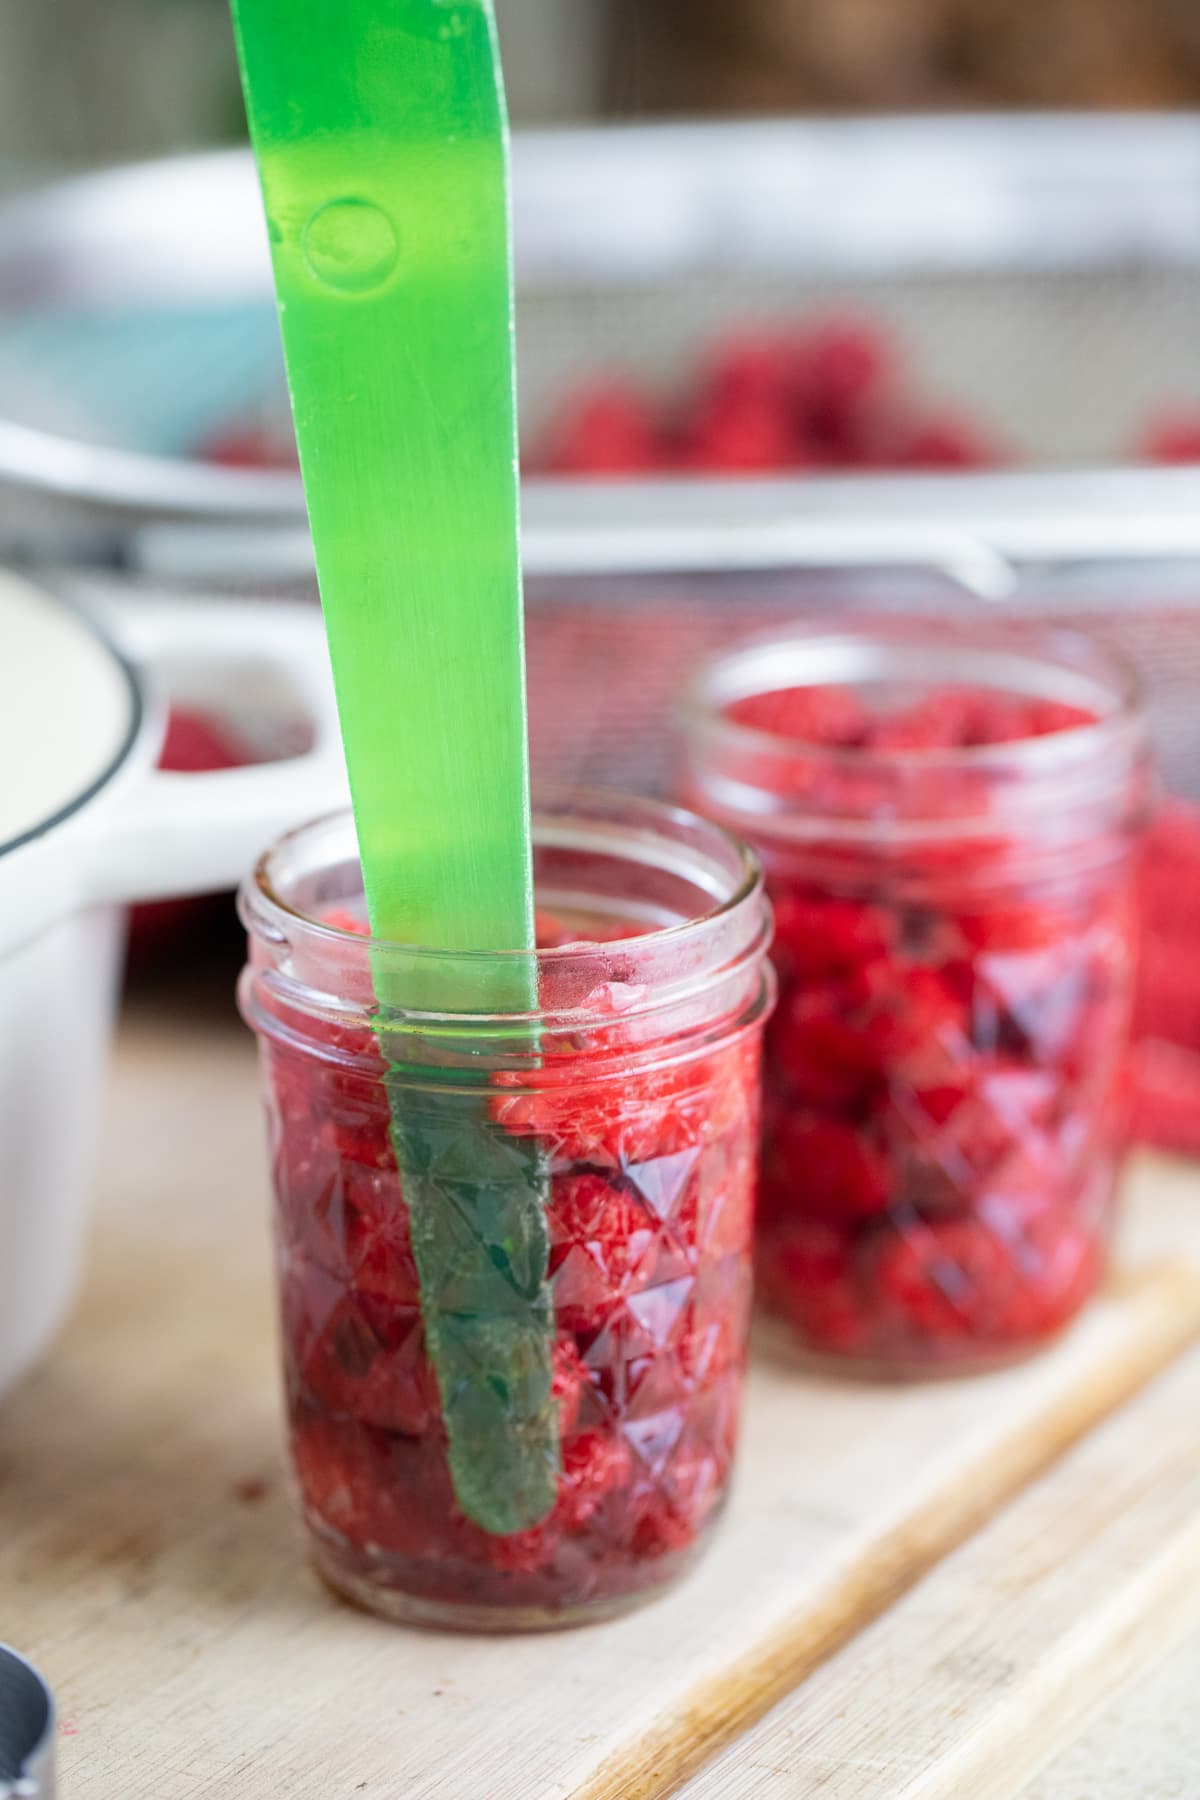
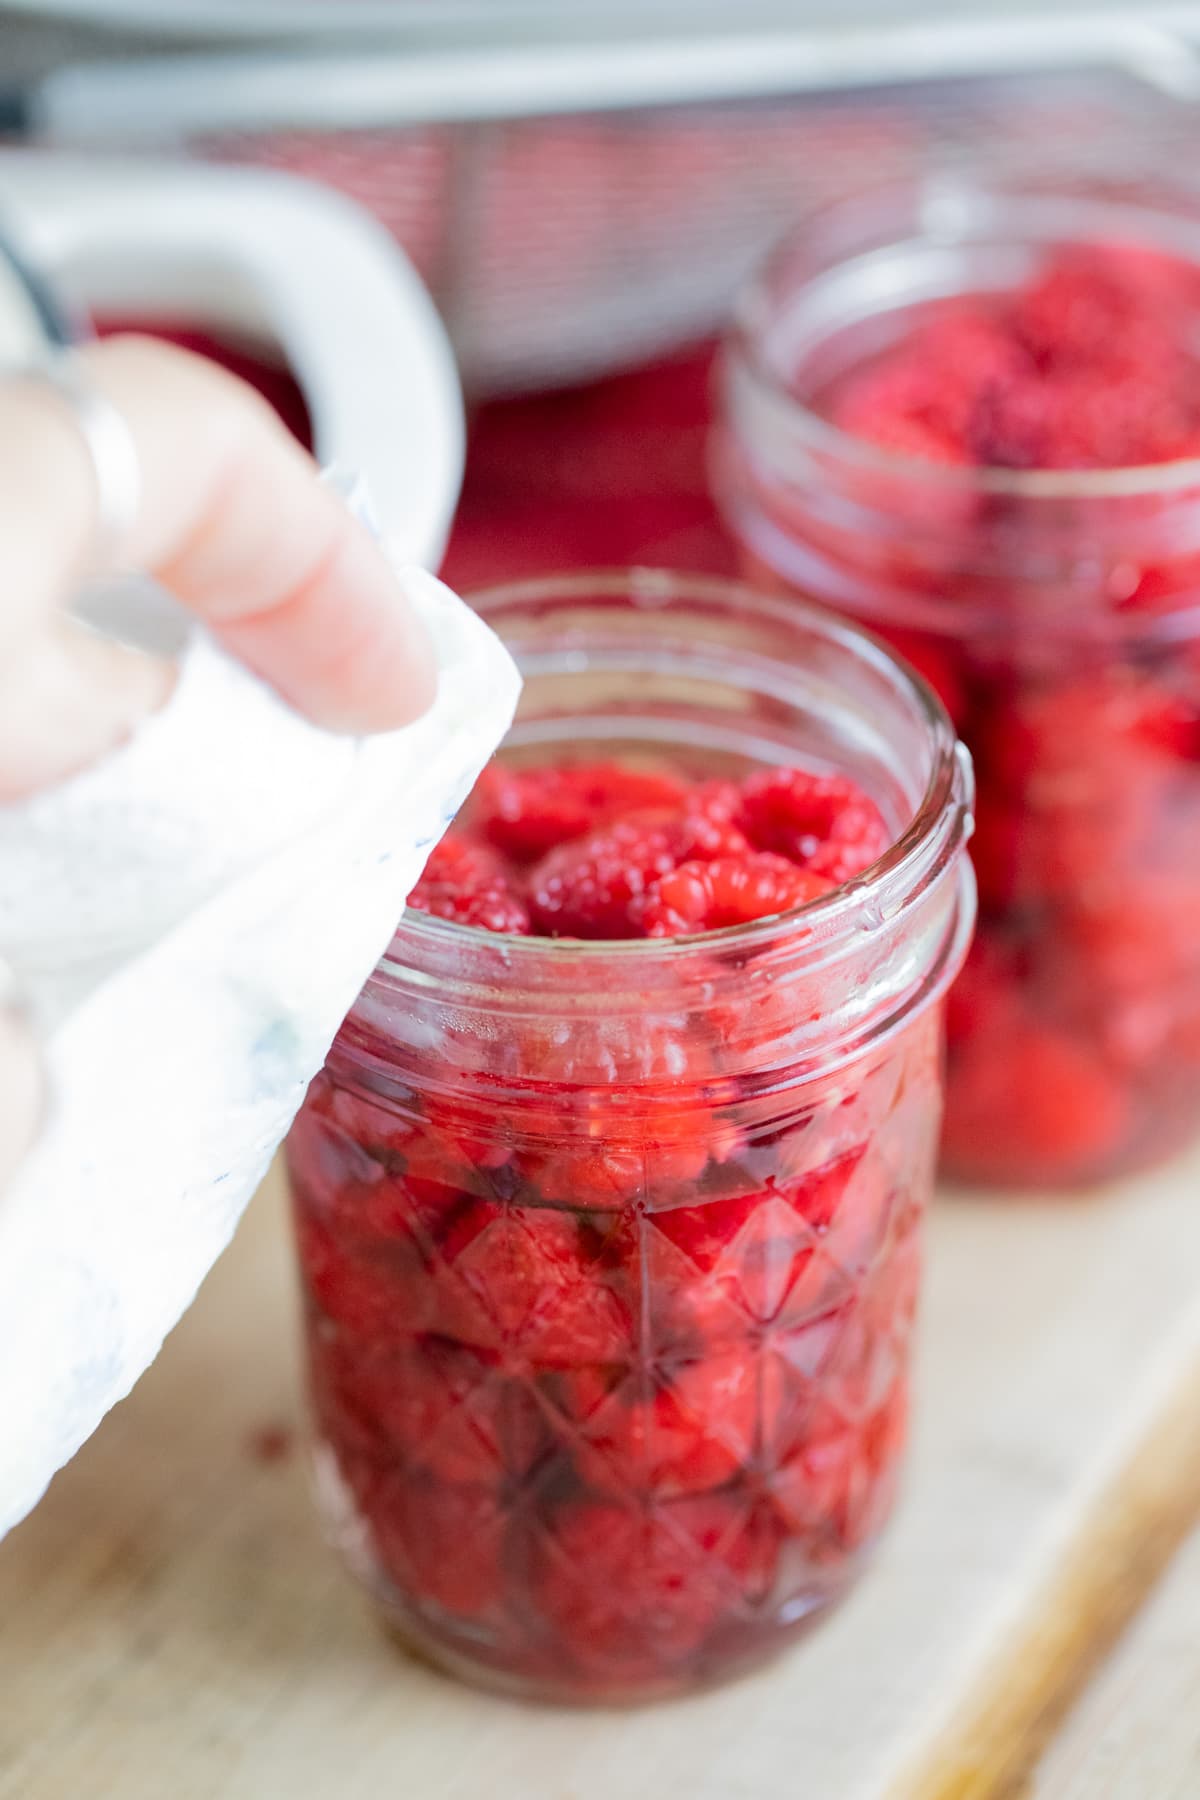
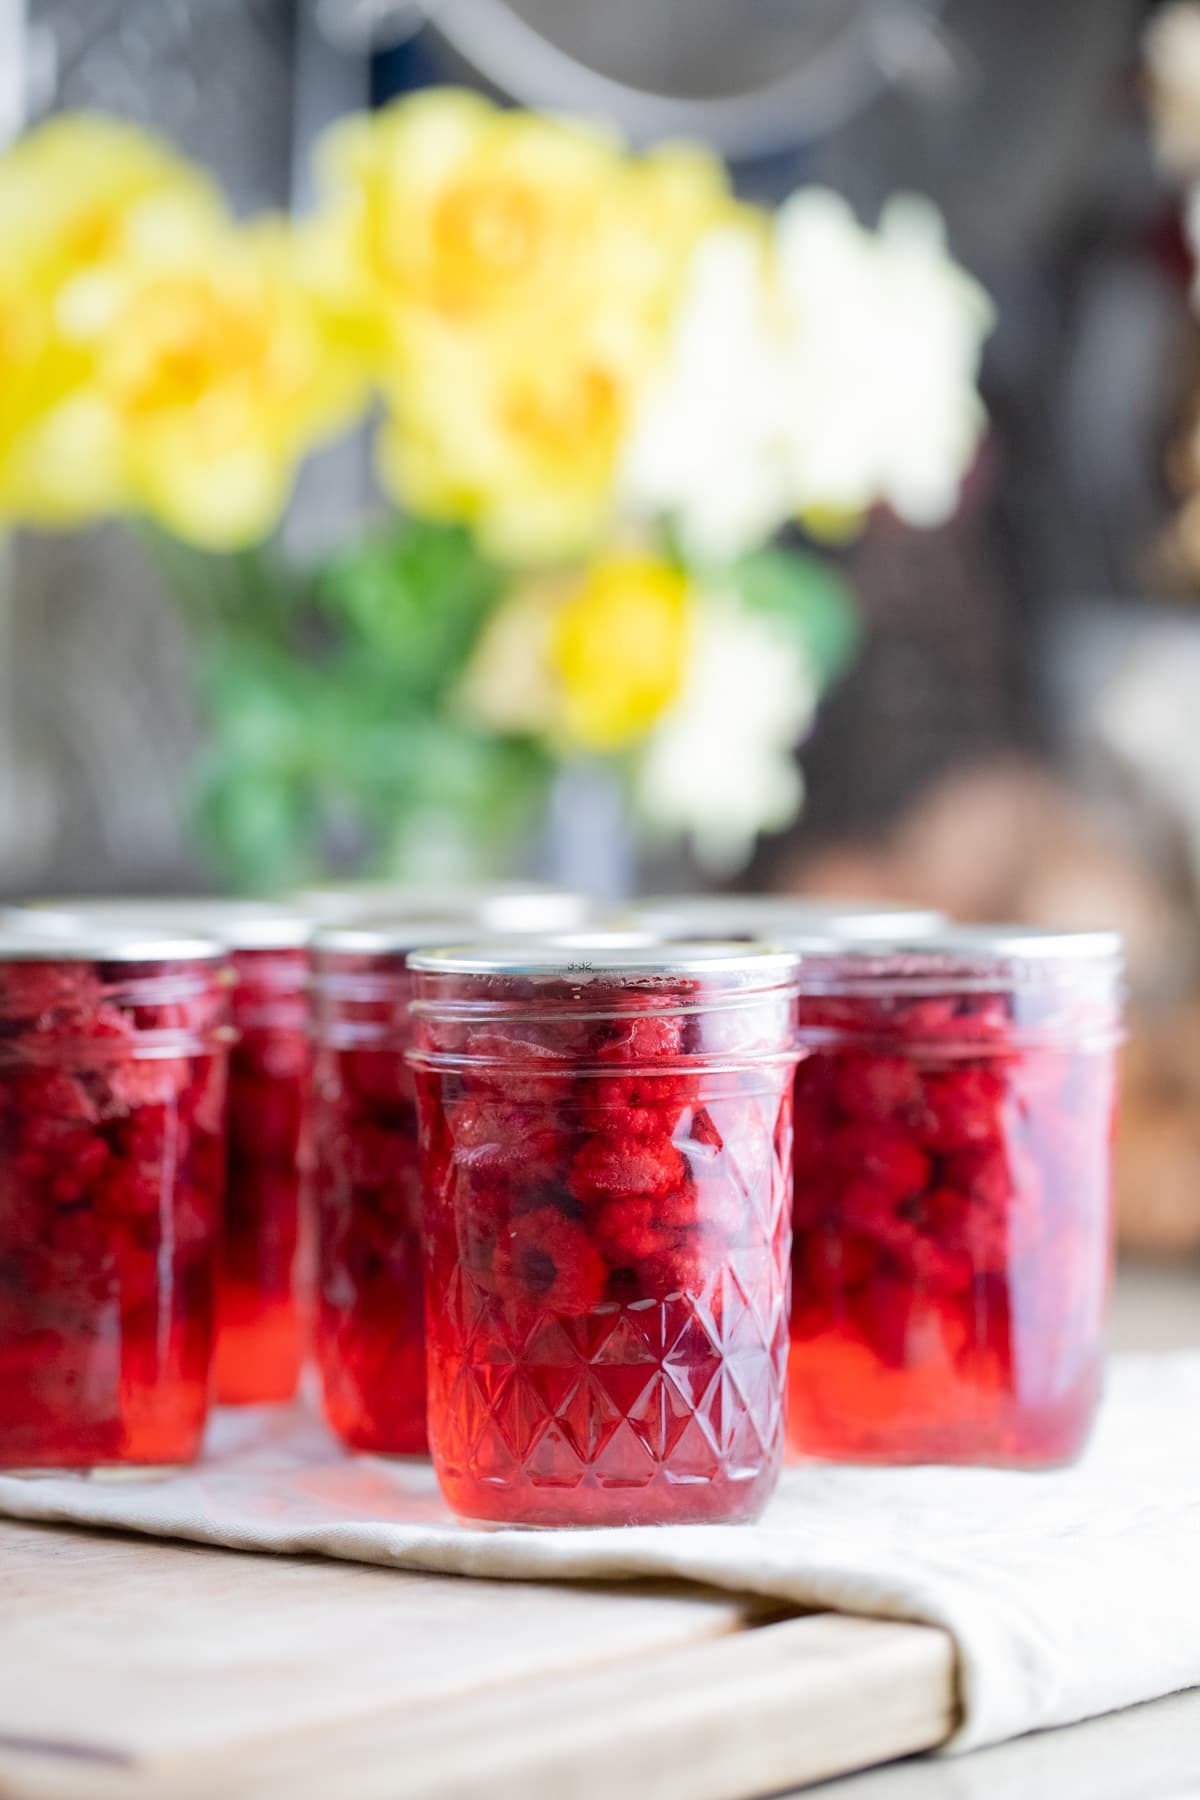
Step two – pack the jars. Wash the jars and two-piece lids with hot water and dish soap. Then, pack the raspberries in the jars leaving one inch of headspace. Next, add syrup to the jar, again, leaving one inch of headspace. Use the bubble remover to remove air bubbles by scraping the inside of the jars. Then use a damp paper towel to clean the rim of the jars before closing them finger-tight with the two-piece lids.
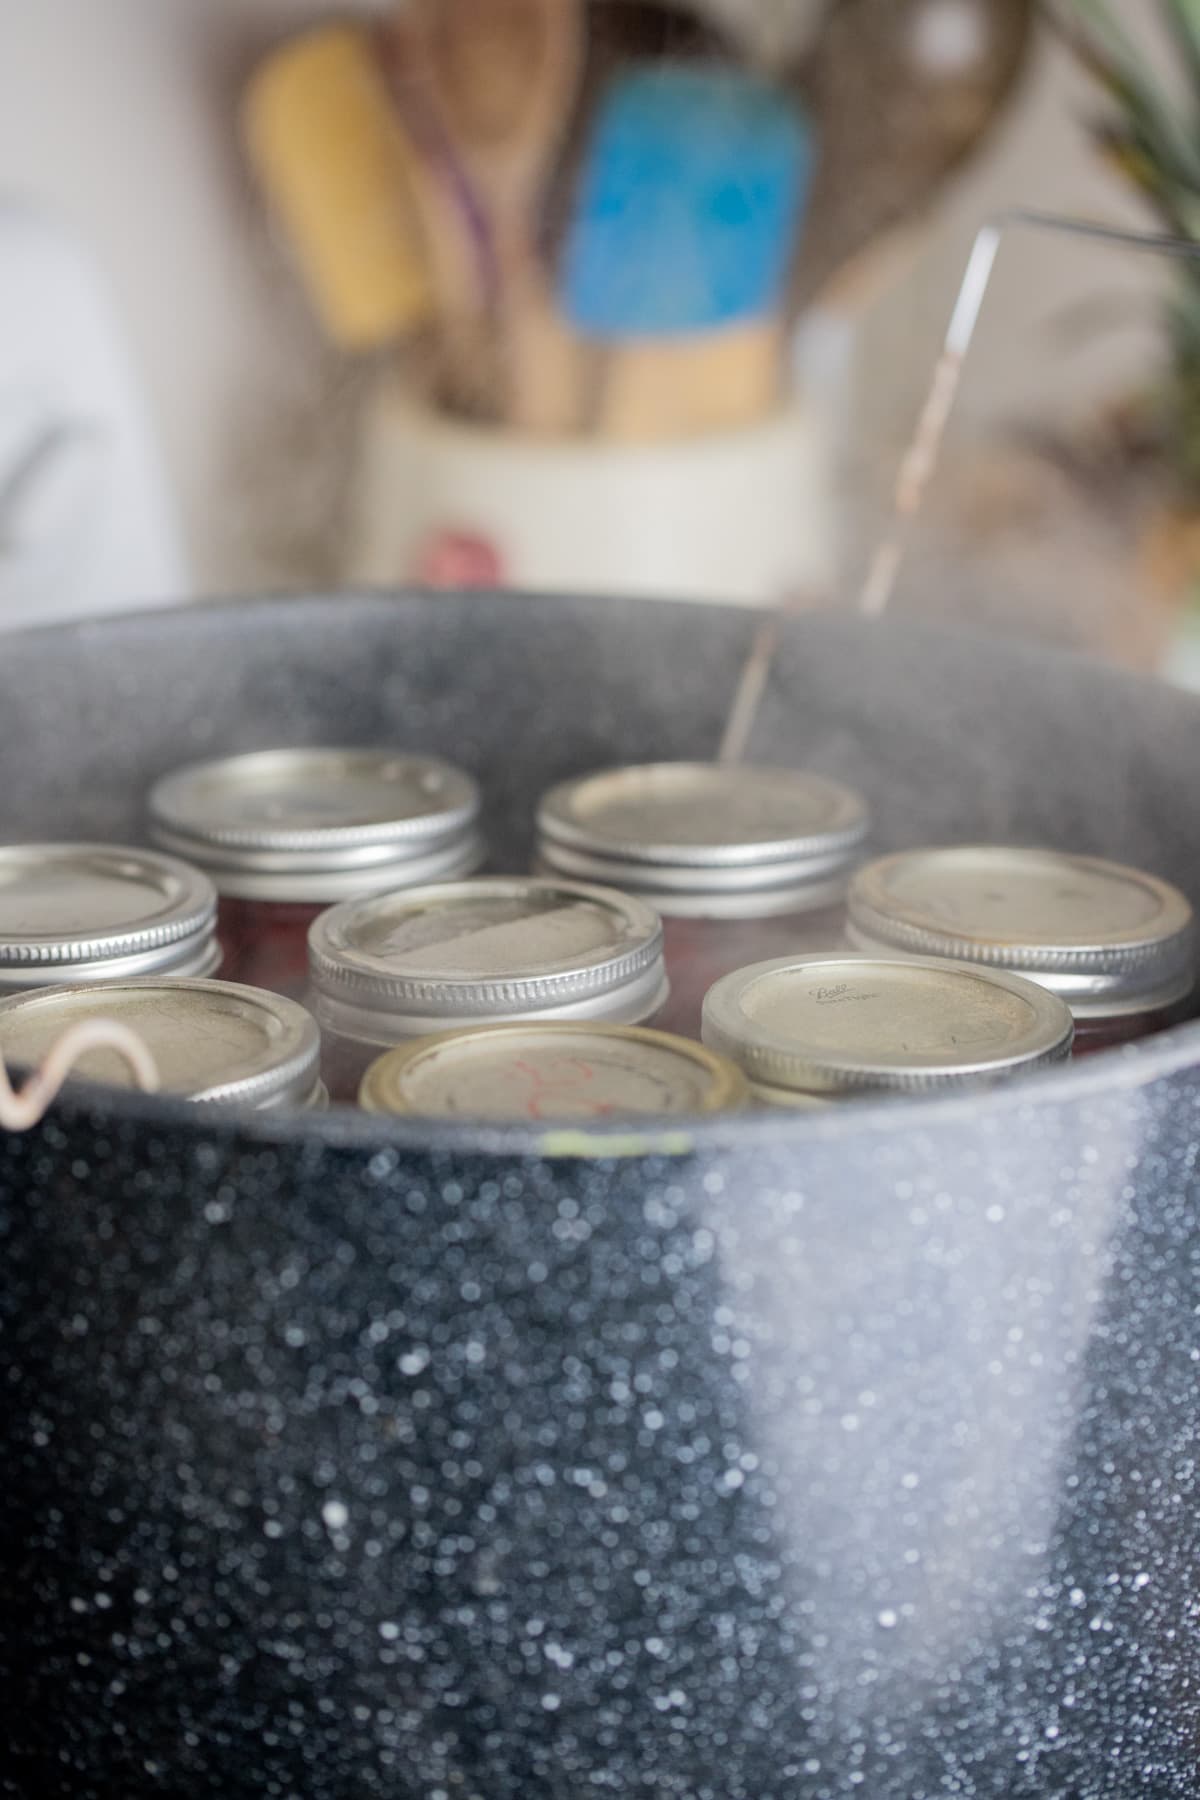
Step three – process the raspberries. Elevate the rack of the water bath canner. Place the packed jars on the rack and let them warm up for a few minutes. Lower the rack into the boiling water of the canner (I usually lower the heat to medium-high to keep a rolling boil), cover the canner, and process both half-pint, pint, and quart jars for 15 minutes.

Storing Canned Raspberries…
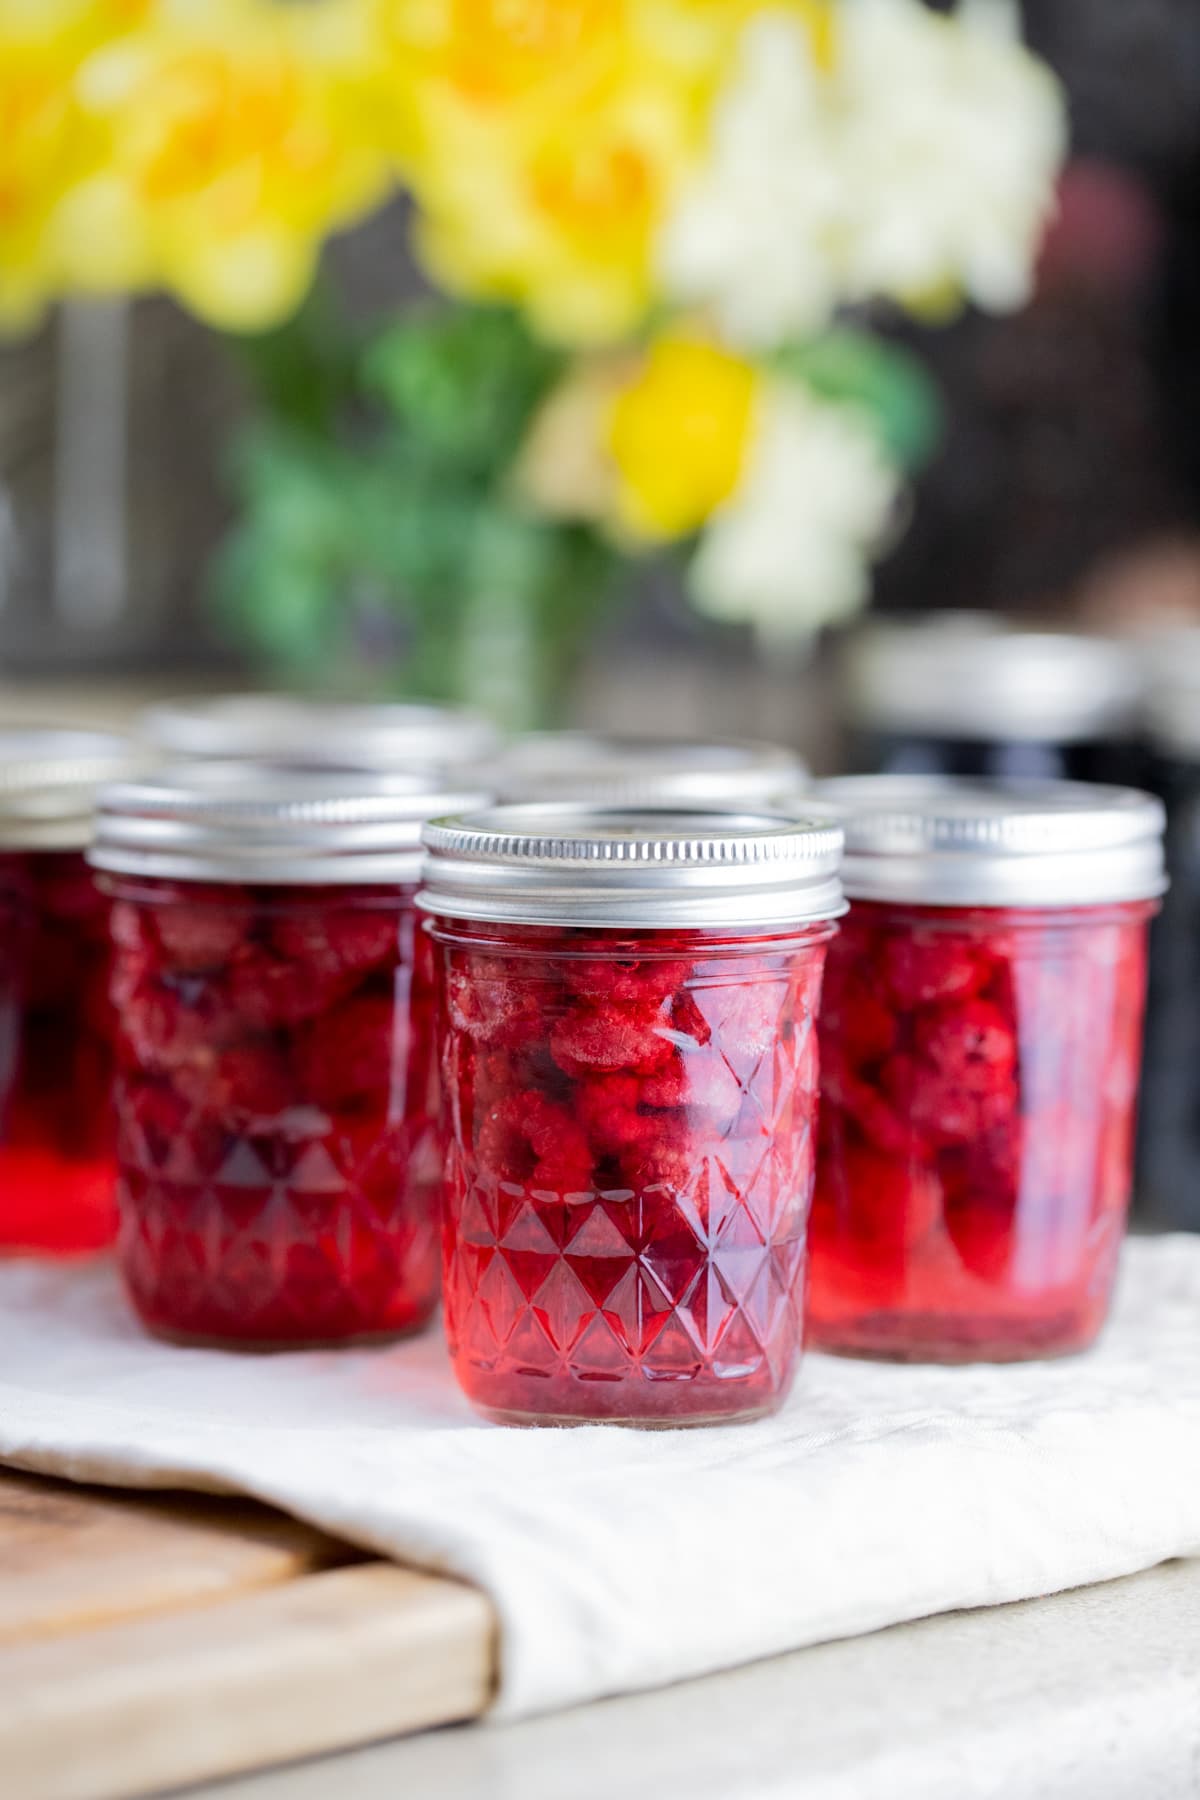
Once processing time is up, turn the heat off and uncover the canner. Let the jars rest in the water for five more minutes. Then use the jar lifters to lift them out of the water and onto a wooden cutting board or a kitchen towel on the counter. Let the jars cool slowly and undisturbed for 12 hours.
Before storing your canned raspberries, make sure that the jars are sealed by pressing the center of each lid. If there is no movement there, the jars have sealed and are ready for storage. Remove the band (it sticks to the jar, rusts over time, and you can use it when canning something else), wipe the jars, and store them in the pantry, a kitchen cabinet, or on a shelf. Somewhere away from direct sun and at room temperature.
Serving Canned Raspberries…
- As a snack – feel free to open a jar and just snack on the berries right from the jar as if you are eating them fresh. They are delicious! Make sure to keep the juice to use in baking or in homemade drinks.
- Over pancakes or crepes – we make pancakes or French crepes or French toast at least once every couple of weeks. These canned raspberries are delicious as topping with some good old condensed milk.
- With yogurt – we love raw goat milk yogurt or crock-pot yogurt (made with store-bought milk). I usually top it with homemade granola and fruit. These raspberries work great.
- With sour cream – if you need a tiny yummy snack just add some canned raspberries and a bit of their juice on top of a few tablespoons of sour cream and call it a day!
- In shakes or other drinks – any fruit smoothie is going to benefit from a few raspberries. Add them to shakes too or even homemade alcoholic drinks. And, of course, remember that you can add/use the juice as well.
- Use in baking – you can use these raspberries and/or their juice in any baked recipe that calls for berries. One thing to take into consideration is that you might want to adjust the amount of sugar in the recipe if the berries are very sweet (since we used sugar to preserve them). You might want to give this strawberry bread a try (substitute strawberries for raspberries).
- Use to make ice cream – ice cream making is still a mysterious world to me, however, homemade raspberry ice cream definitely sounds like a thing I’d want to try.
Frequently Asked Questions…
Yes! You can use this method to can blueberries and blackberries. Strawberries are better processed using the hot pack method.
Yes, you can combine a few of the kinds of berries that I mentioned above and can them together. Let’s say, a mix of blackberries and blueberries and raspberries is totally fine.
You can add mint, thyme, rosemary, a piece of a cinnamon stick… Add whatever you choose to use to the syrup as you cook it, then remove the herbs or seasonings and use the syrup.
Yes. You can use honey instead. Make your syrup by mixing one cup of honey and four cups of water in a saucepan. Bring to a boil (make sure the honey dissolved in the water) and use that to fill the jars. Process the same exact way/time.
Sometimes it happens that a jar or two won’t seal. In this case, you can try to process the jar again (I usually recommend changing the lid before you do that) or you can simply save this jar in the fridge and use it first. Since the raspberries are in a sugary syrup they should last a few weeks in the fridge.
Home-canned raspberries should last about a year in the fridge before they start to lose their taste.
Did you know that canning raspberries was that simple? They are a real treat, and I have to admit that fresh they aren’t always sweet enough, however, in a surgery syrup they are delicious every time. So next time you come by a sale of raspberries or if you are lucky enough to have them growing on your homestead, I hope that you’ll give this a try!
More Canning Tutorials…
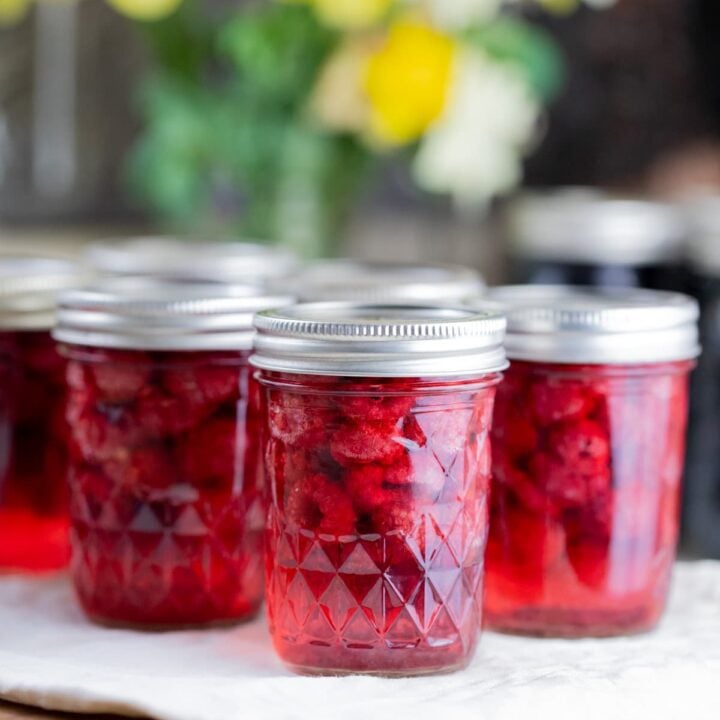
Canning Raspberries
Canning raspberries in light syrup step by step.
Ingredients
- 36 oz of raspberries (these made 8 half-pint jars but process however many you have)
For a Light Syrup:
- 2 1/4 cups of sugar
- 5 1/4 cups of water
Instructions
- Start by washing the raspberries well with cold water. Set them aside and get to work on the syrup. To a small pot or a saucepan, add the sugar and water. Set on the stovetop and bring to a simmer (180 - 200 degrees F).
- Fill the water bath canner with enough water to cover the jars by at least an inch and set it on the stovetop. Turn the heat to high and bring the water to a boil.
- Wash the jars and two-piece lids with hot water and dish soap. Then, pack the raspberries in the jars leaving one inch of headspace. Next, add syrup to the jar, again, leaving one inch of headspace. Use the bubble remover to remove air bubbles by scraping the inside of the jars. Then use a damp paper towel to clean the rim of the jars before closing them finger-tight with the two-piece lids.
- Elevate the rack of the water bath canner. Place the packed jars on the rack and let them warm up for a few minutes. Lower the rack into the boiling water of the canner (I usually lower the heat to medium-high to keep a rolling boil), cover the canner, and process both half-pint, pint, and quart jars for 15 minutes. Remember to adjust processing time according to the table in the post if you live above 1000 feet in elevation.
- Once processing time is up, turn the heat off and uncover the canner. Let the jars rest in the water for five more minutes. Then use the jar lifters to lift them out of the water and onto a wooden cutting board or a kitchen towel on the counter. Let the jars cool slowly and undisturbed for 12 hours. Before storing your canned raspberries, make sure that the jars are sealed by pressing the center of each lid. If there is no movement there, the jars have sealed and ready for storage. Remove the band (it sticks to the jar, rusts over time, and you can use it when canning something else), wipe the jars, and store them in the pantry, a kitchen cabinet, or on a shelf. Somewhere away from direct sun and at room temperature.
Notes
Frequently Asked Questions...
- Can I use this method to can other berries?
Yes! You can use this method to can blueberries and blackberries. Strawberries are better processed using the hot pack method. - Can I combine a few kinds of berries for canning?
Yes, you can combine a few of the kinds of berries that I mentioned above and can them together. Let’s say, a mix of blackberries and blueberries and raspberries is totally fine. - Can I add seasonings to my canned raspberries?
You can add mint, thyme, rosemary, a piece of a cinnamon stick… Add whatever you choose to use to the syrup as you cook it, then remove the herbs or seasonings and use the syrup. - Can I can raspberries without sugar?
Yes. You can use honey instead. Make your syrup by mixing one cup of honey and four cups of water in a saucepan. Bring to a boil (make sure the honey dissolved in the water) and use that to fill the jars. Process the same exact way/time. - What should I do if one of my jars didn’t seal?
Sometimes it happens that a jar or two won’t seal. In this case, you can try to process the jar again (I usually recommend changing the lid before you do that) or you can simply save this jar in the fridge and use it first. Since the raspberries are in a sugary syrup they should last a few weeks in the fridge. - How long should home-canned raspberries last?
Home-canned raspberries should last about a year in the fridge before they start to lose their taste.
Nutrition Information:
Yield: 8 Serving Size: 1Amount Per Serving: Calories: 284Total Fat: 1gSaturated Fat: 0gTrans Fat: 0gUnsaturated Fat: 1gCholesterol: 0mgSodium: 8mgCarbohydrates: 71gFiber: 8gSugar: 62gProtein: 2g