This post may contain affiliate links, view our disclosure policy for details.

Canning hot peppers is simple. Use this recipe and follow the tutorial to can any kind of hot pepper for long-term storage.
A couple years ago, I bought a pack of Jalapenos peppers. Honestly, I don’t like spicy food, so hot peppers were never my thing, but I do make a mean shakshuka that benefits from a couple of hot peppers and I also wanted to have enough to sell at the market cause people love Jalapenos.
I planted the whole pack of seeds thinking I’d have plenty of peppers, and I did, but instead of Jalapenos I got a mix of many different hot peppers. Someone messed up that seed packet…
Canning Hot Peppers…
I found myself with a few varieties of hot peppers that I couldn’t name and knew nothing about. They also didn’t sell too well at the market… I gave away some but I had so many. So I dried the thin ones and decided to can the rest of them.
Ingredients For Canning Hot Peppers…
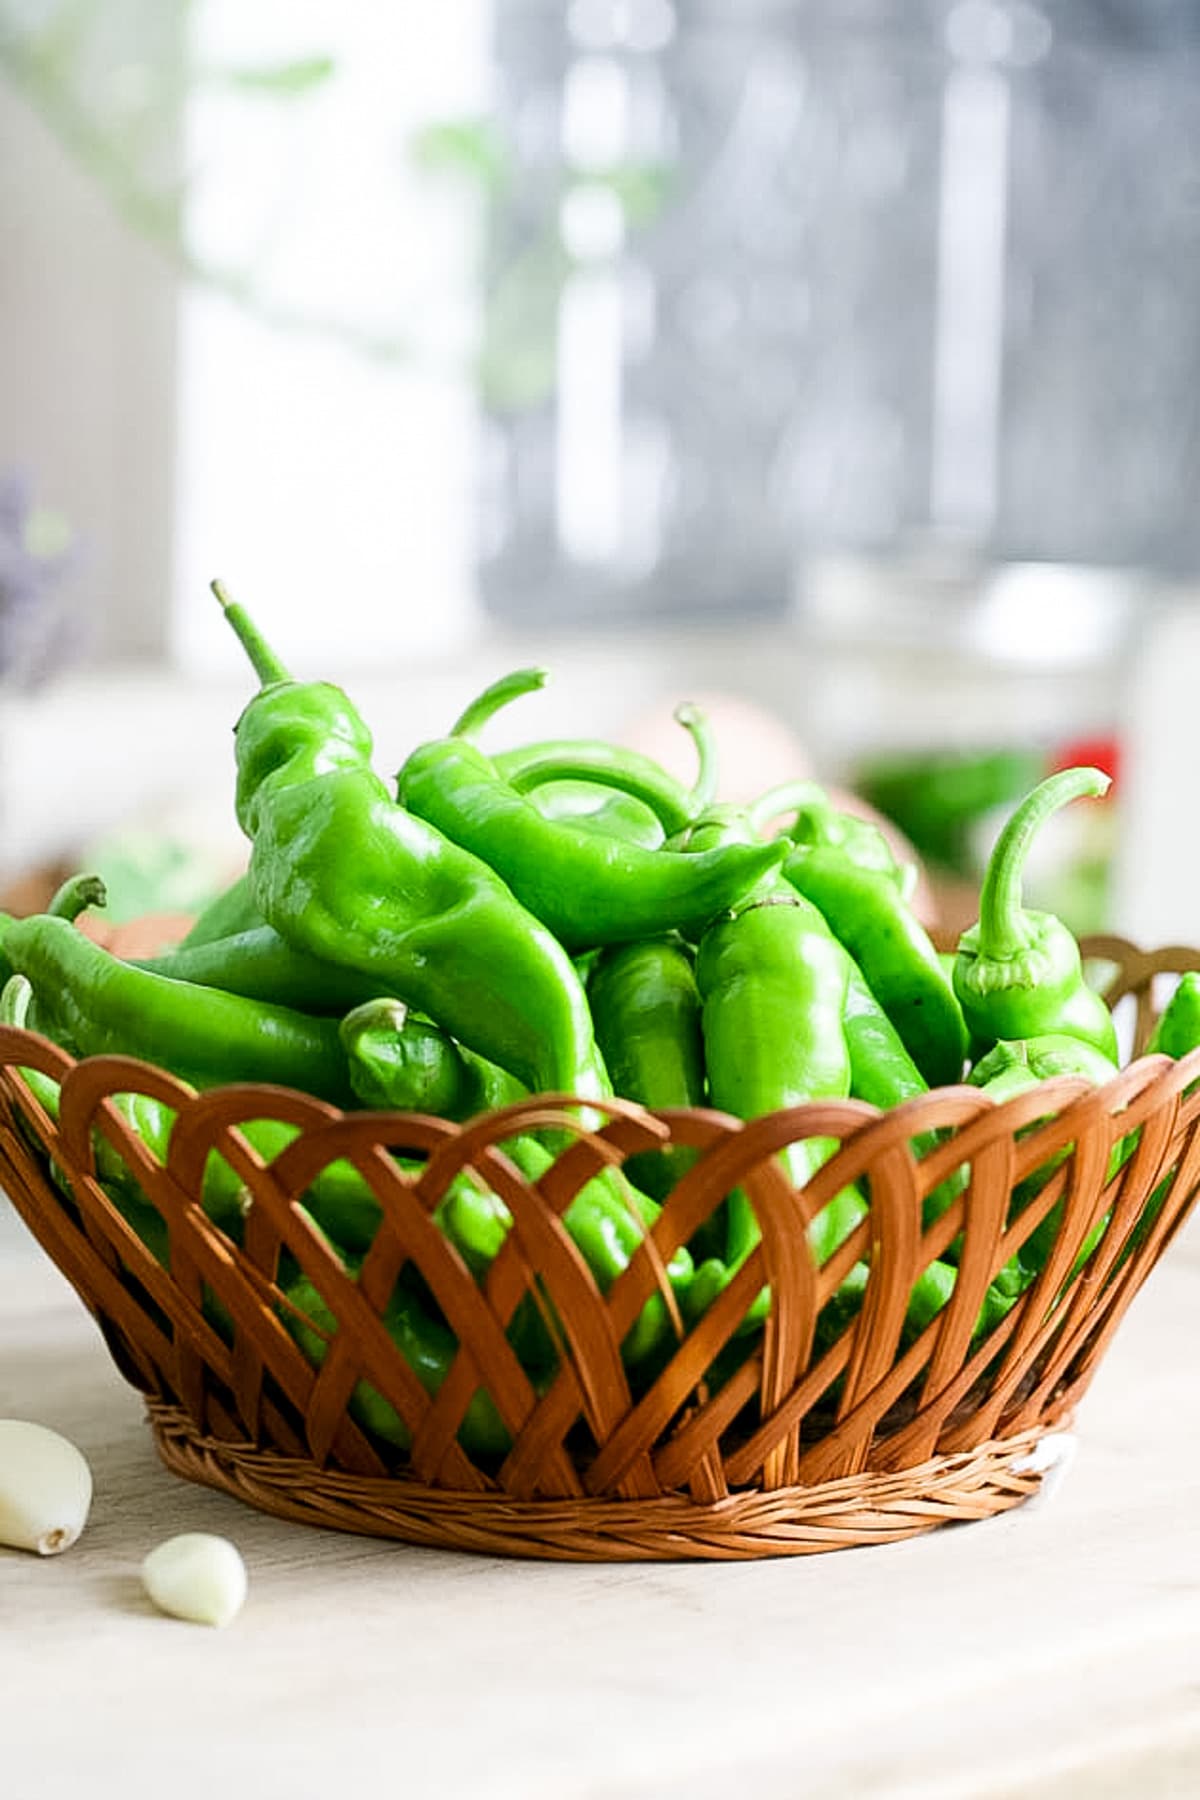
- Hot peppers – You can use this tutorial and recipe to can any kind of hot pepper you come across. You can also mix a few together in the same jar. In fact, you can use this recipe to can sweet peppers as well. If you only use hot peppers the result will be super spicy.
If you want to tone the spiciness down a little bit, you can mix some sweet peppers in there as well. You’ll need a total of 6 cups of peppers or about 1 pound of peppers to make 3 pint jars or 6 half-pint jars. - Garlic
- Vinegar – 5% acidity (I use white)
- Water
- Kosher or canning salt
- Sugar
- Ball pickle crisp – another ingredient that you might want to add is Ball Pickle Crisp. It’s completely optional, however, some people like to add it to make sure their peppers stay more on the crispy side since they are going to soften a bit while in storage. If you choose to add the Pickle Crisp, add 1/8 teaspoon to each pint jar or 1/16 to each half-pint jar.
Tools For Canning Hot Peppers…
- Cutting board
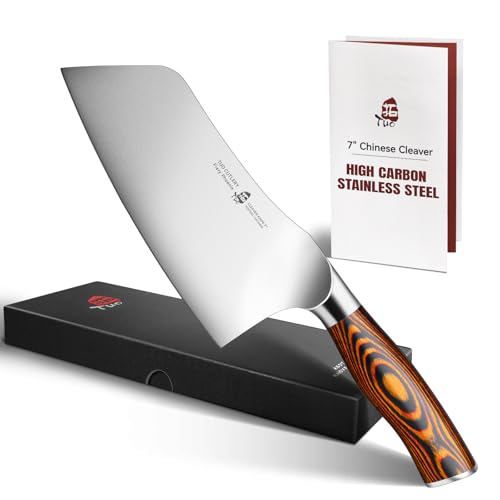
- Knife
- Small pot
- Wooden spoon or a whisk for mixing.
- Pint jars or half-pint
- Ladle
- Paper towel
- Canning utensils
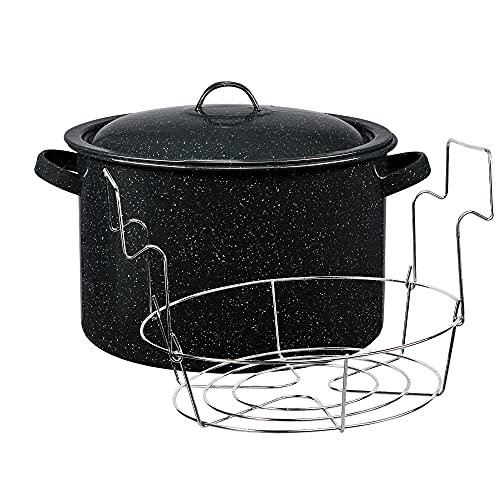
- Water bath canner
How to Can Hot Peppers…

Step one – prepare the peppers. Start by filling your water bath canner with enough water to cover the jars by at least an inch. Set it on the stovetop and turn the heat to high. Bring the water in the canner to a simmer (180 degrees F).
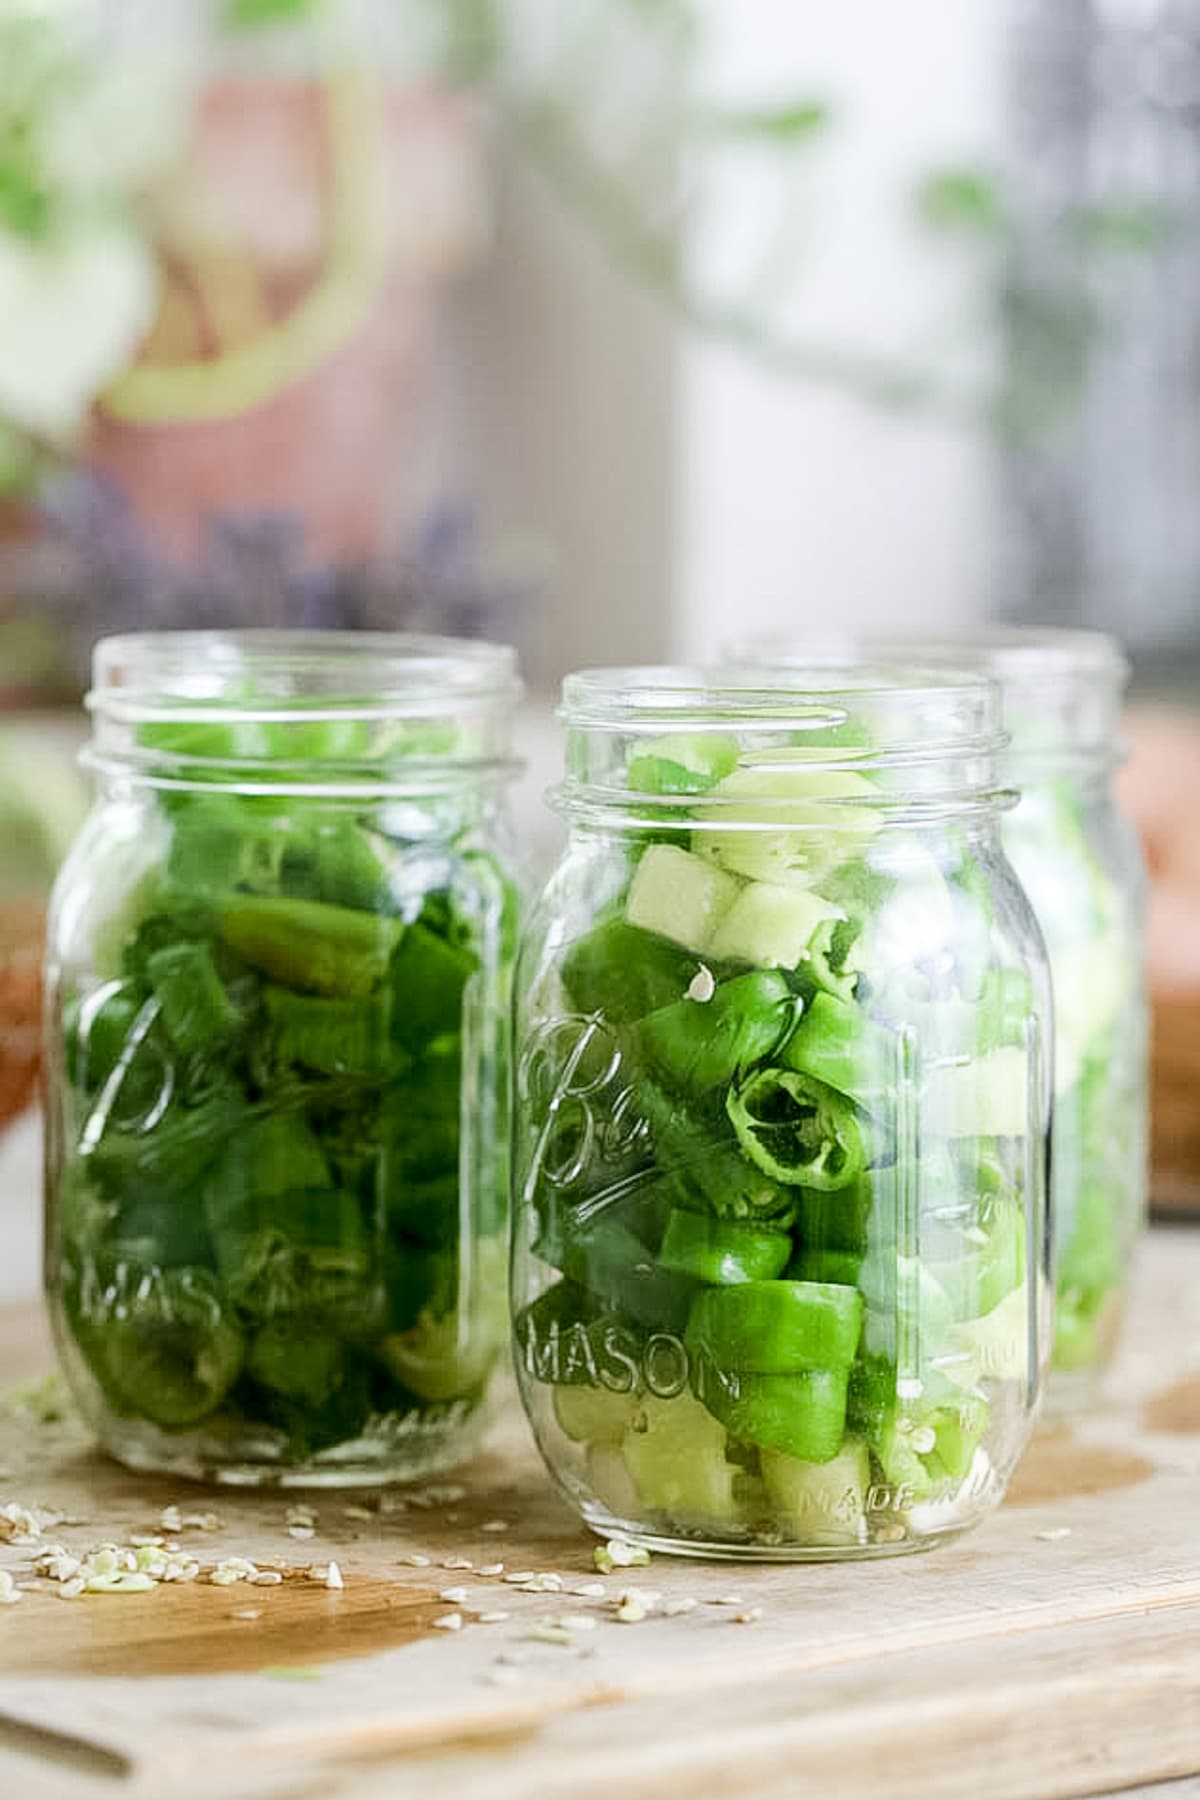
While the water in the canner is heating, wash the hot peppers well and slice them however you’d like (or leave them whole if you like and if they fit in the jar). You can choose to leave the seeds or, if you’d like, remove them. The seeds add a lot of heat. For me, the peppers are already too hot so I removed the seeds.
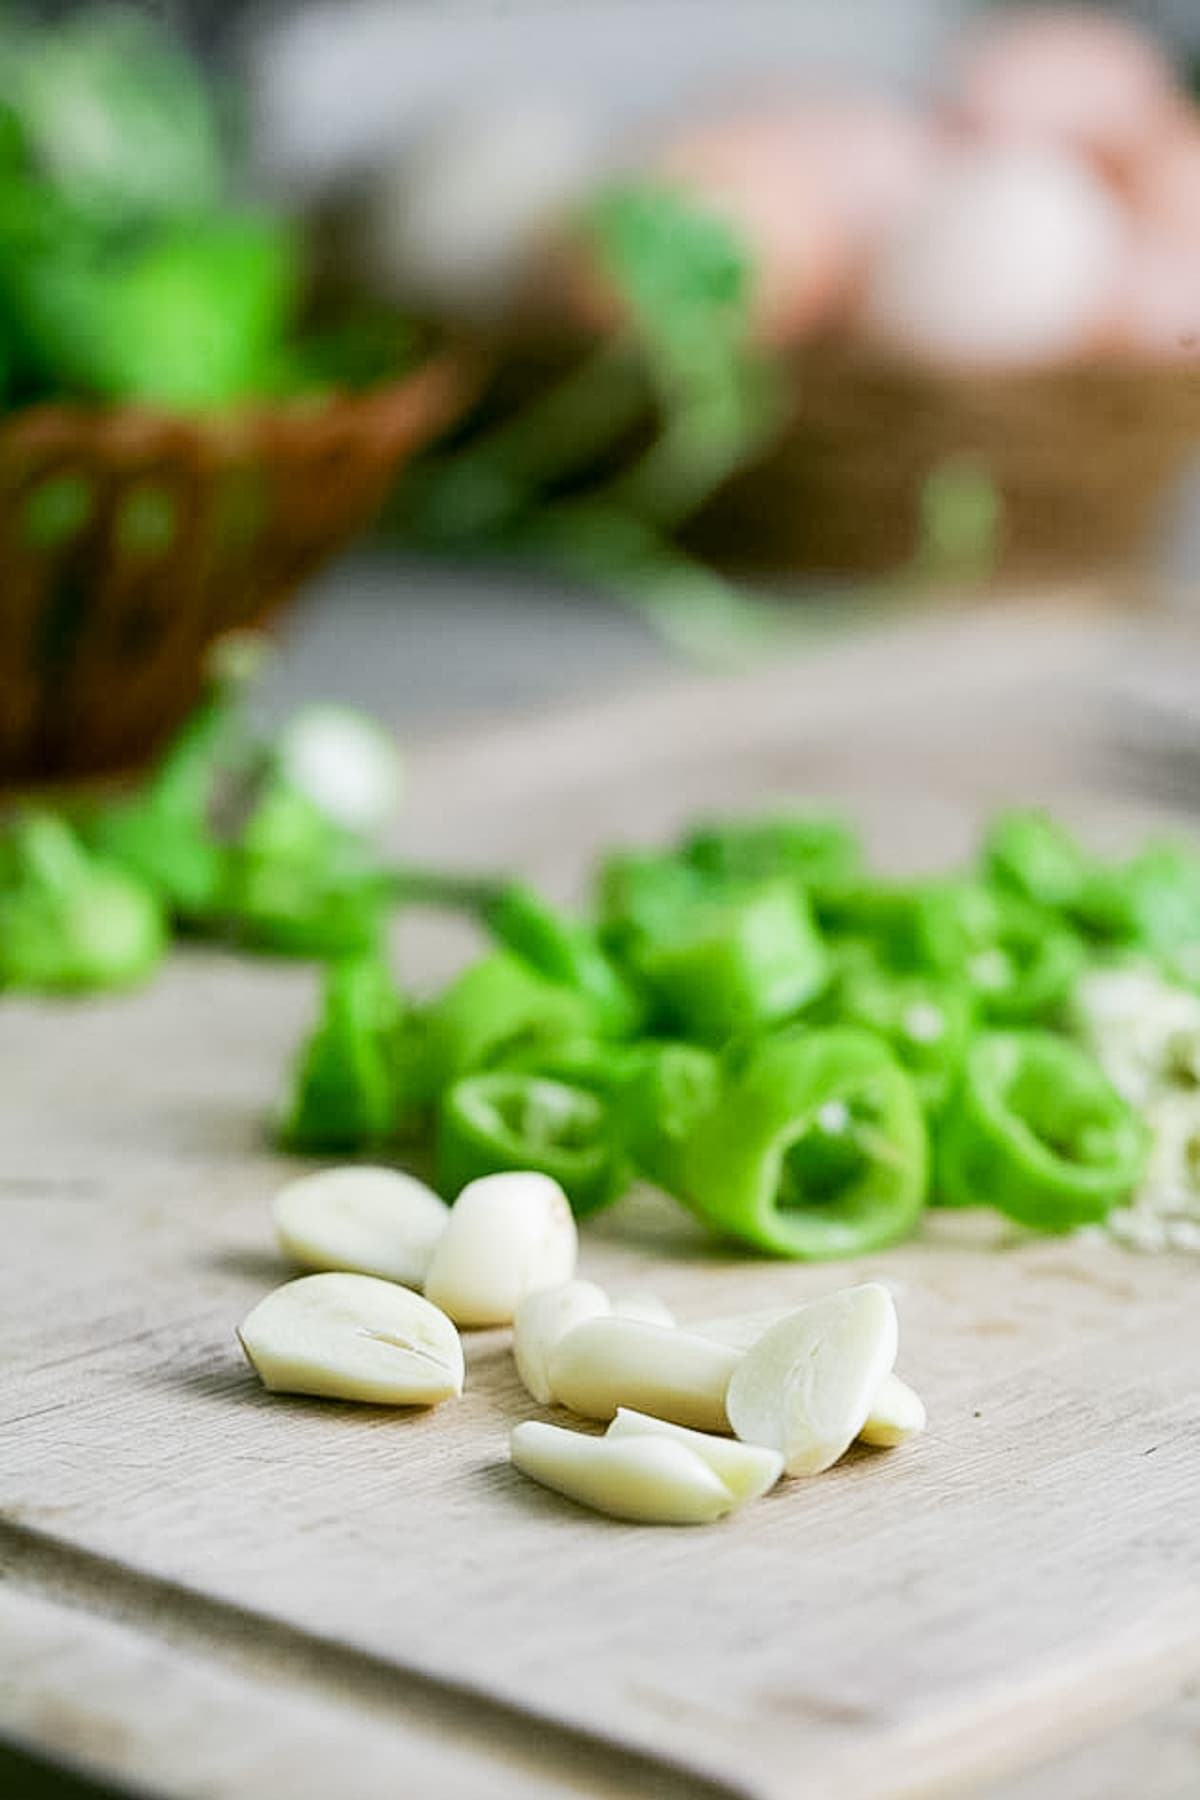
Step two – prep the garlic. Peel the garlic cloves and half them or crush them so their juices can easily infuse the pickling brine.
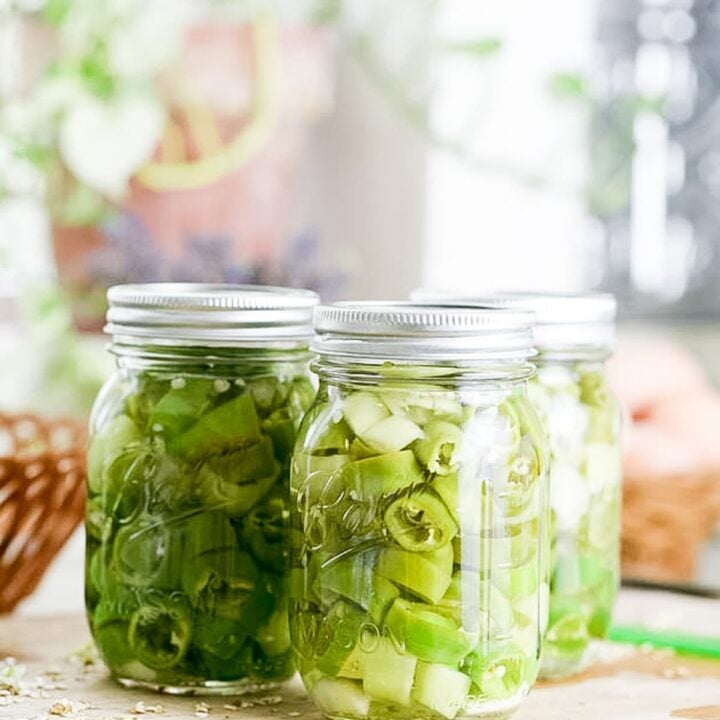
Step three – pack the jars. Wash the jars, lids, and rings well with hot water and dish soap (Since we are going to process these jars in the canner for more than ten minutes there is no need to sanitize the jars).
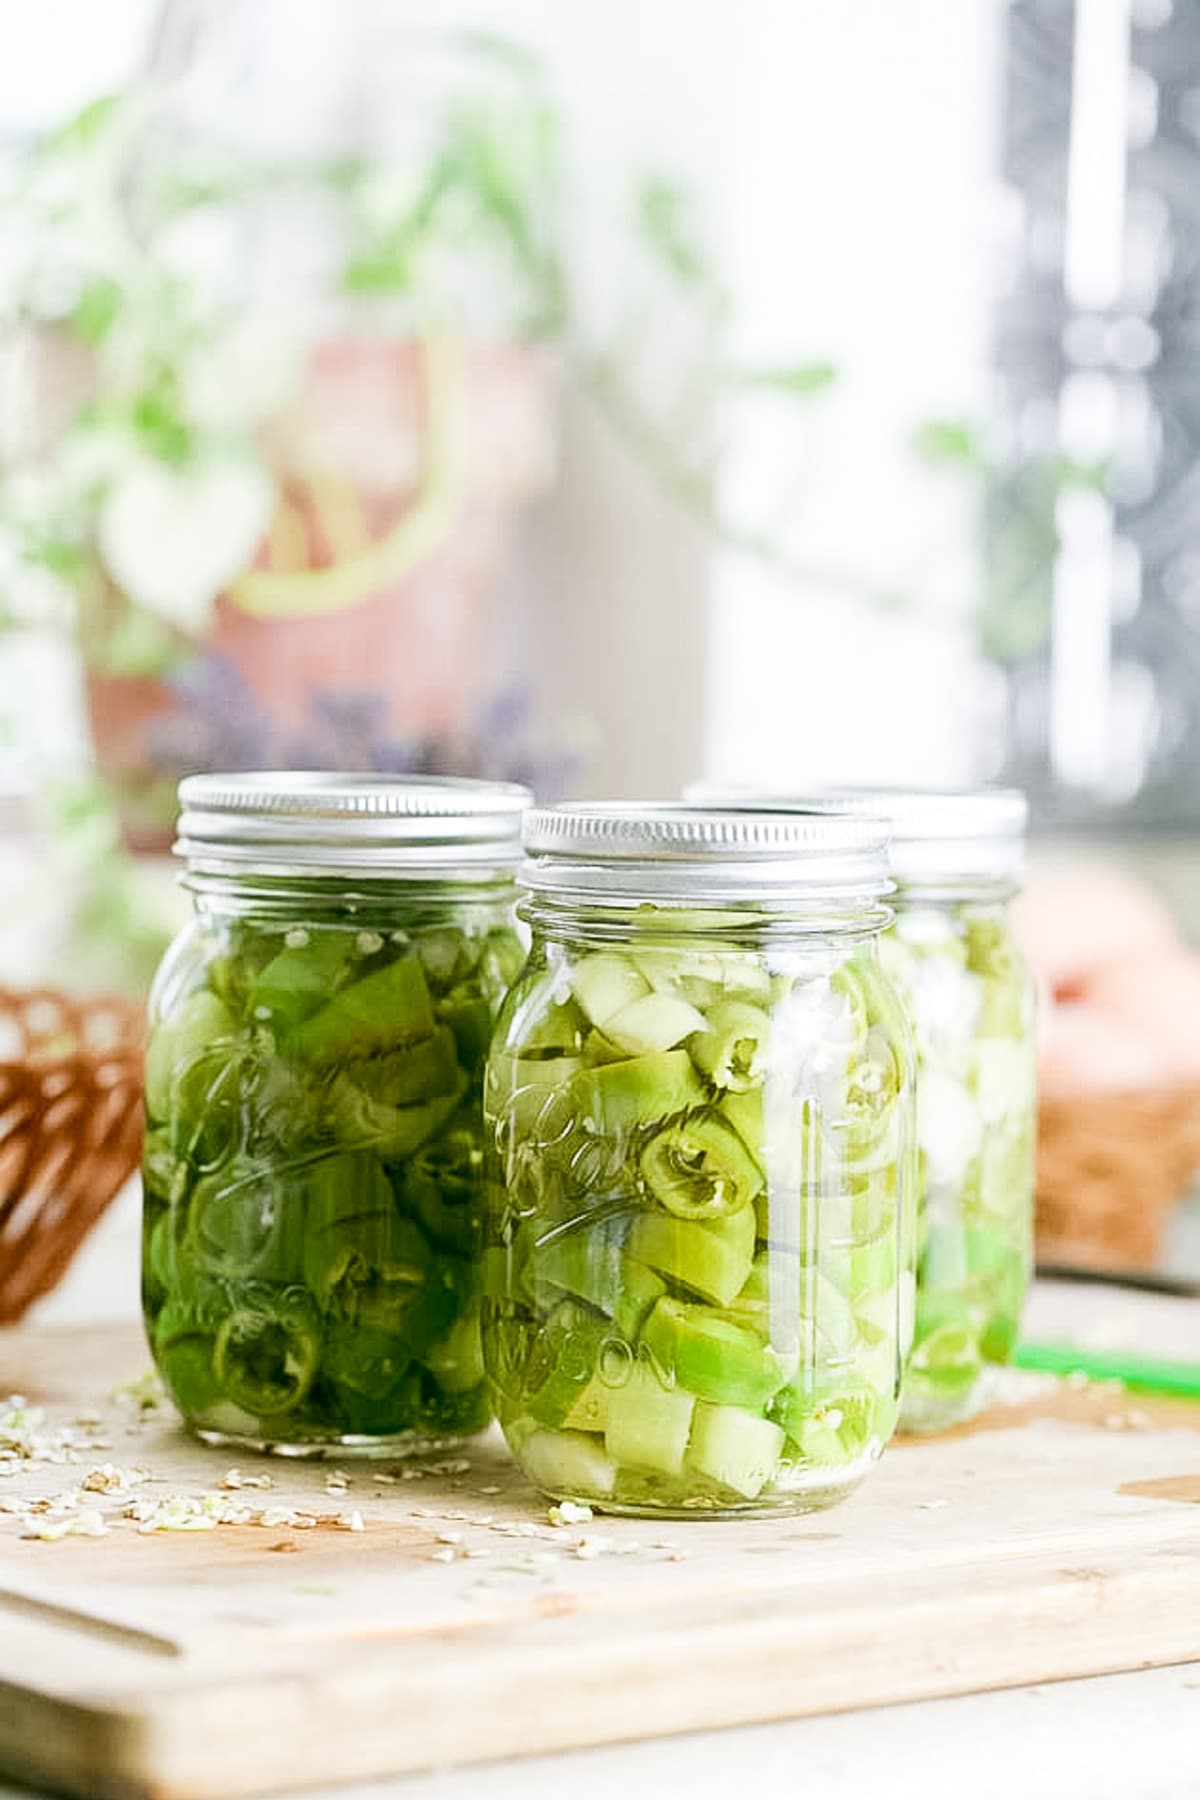
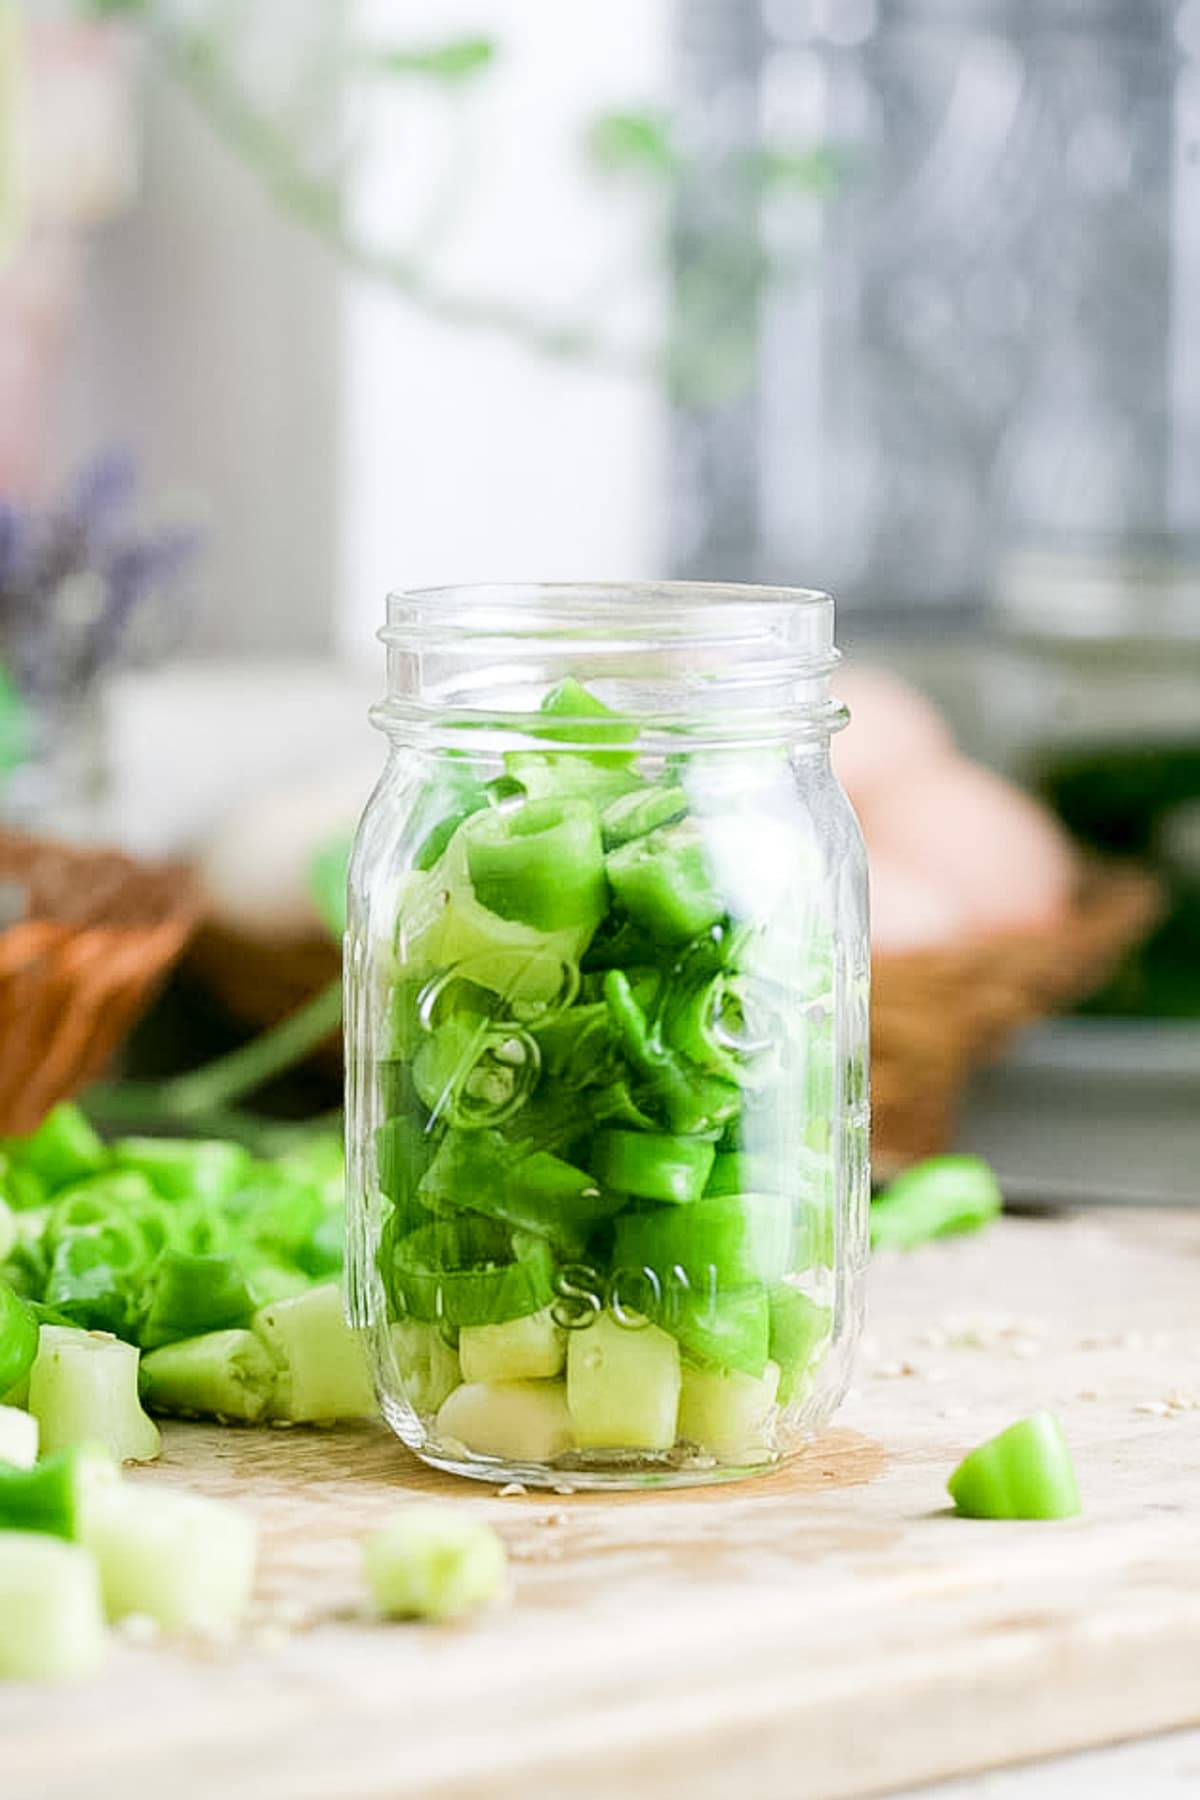
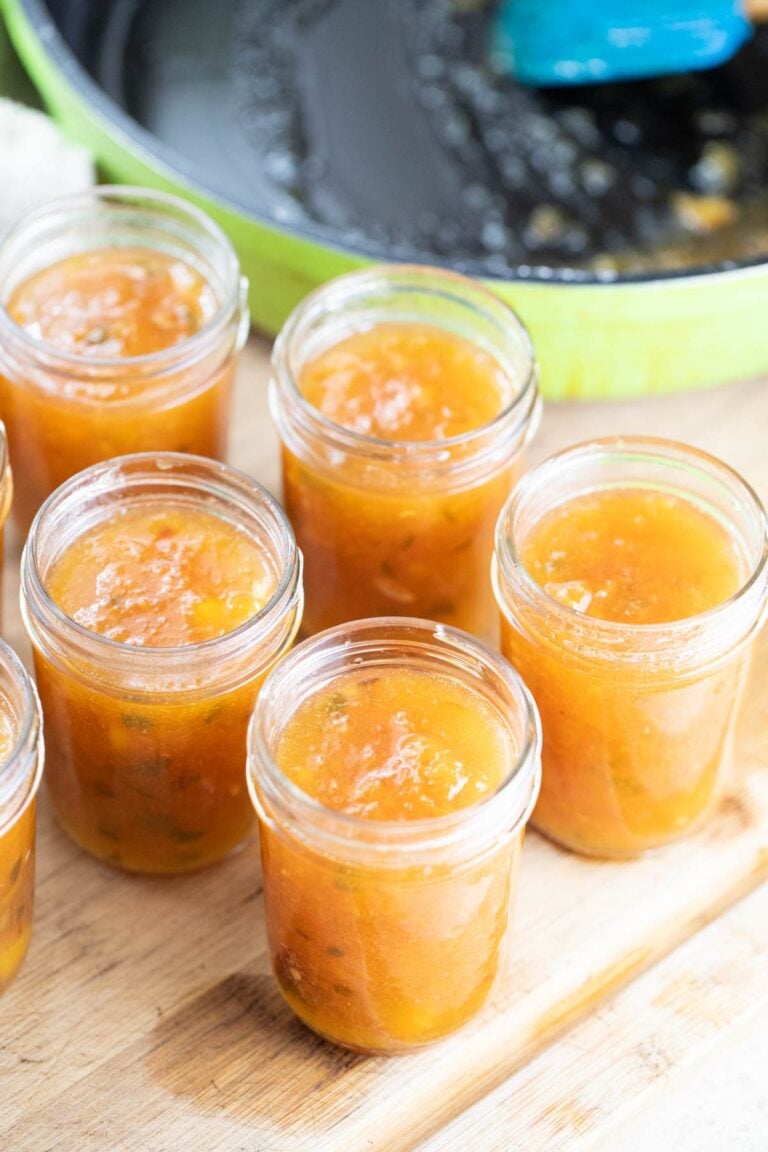
Pack the hot peppers into the jars and add one clove of garlic to each jar. Feel free to push the peppers in a bit and pack them tight in there but make sure to leave about an inch of headspace. If you choose to use Pickling Crisp, now is the time to add it to each jar.
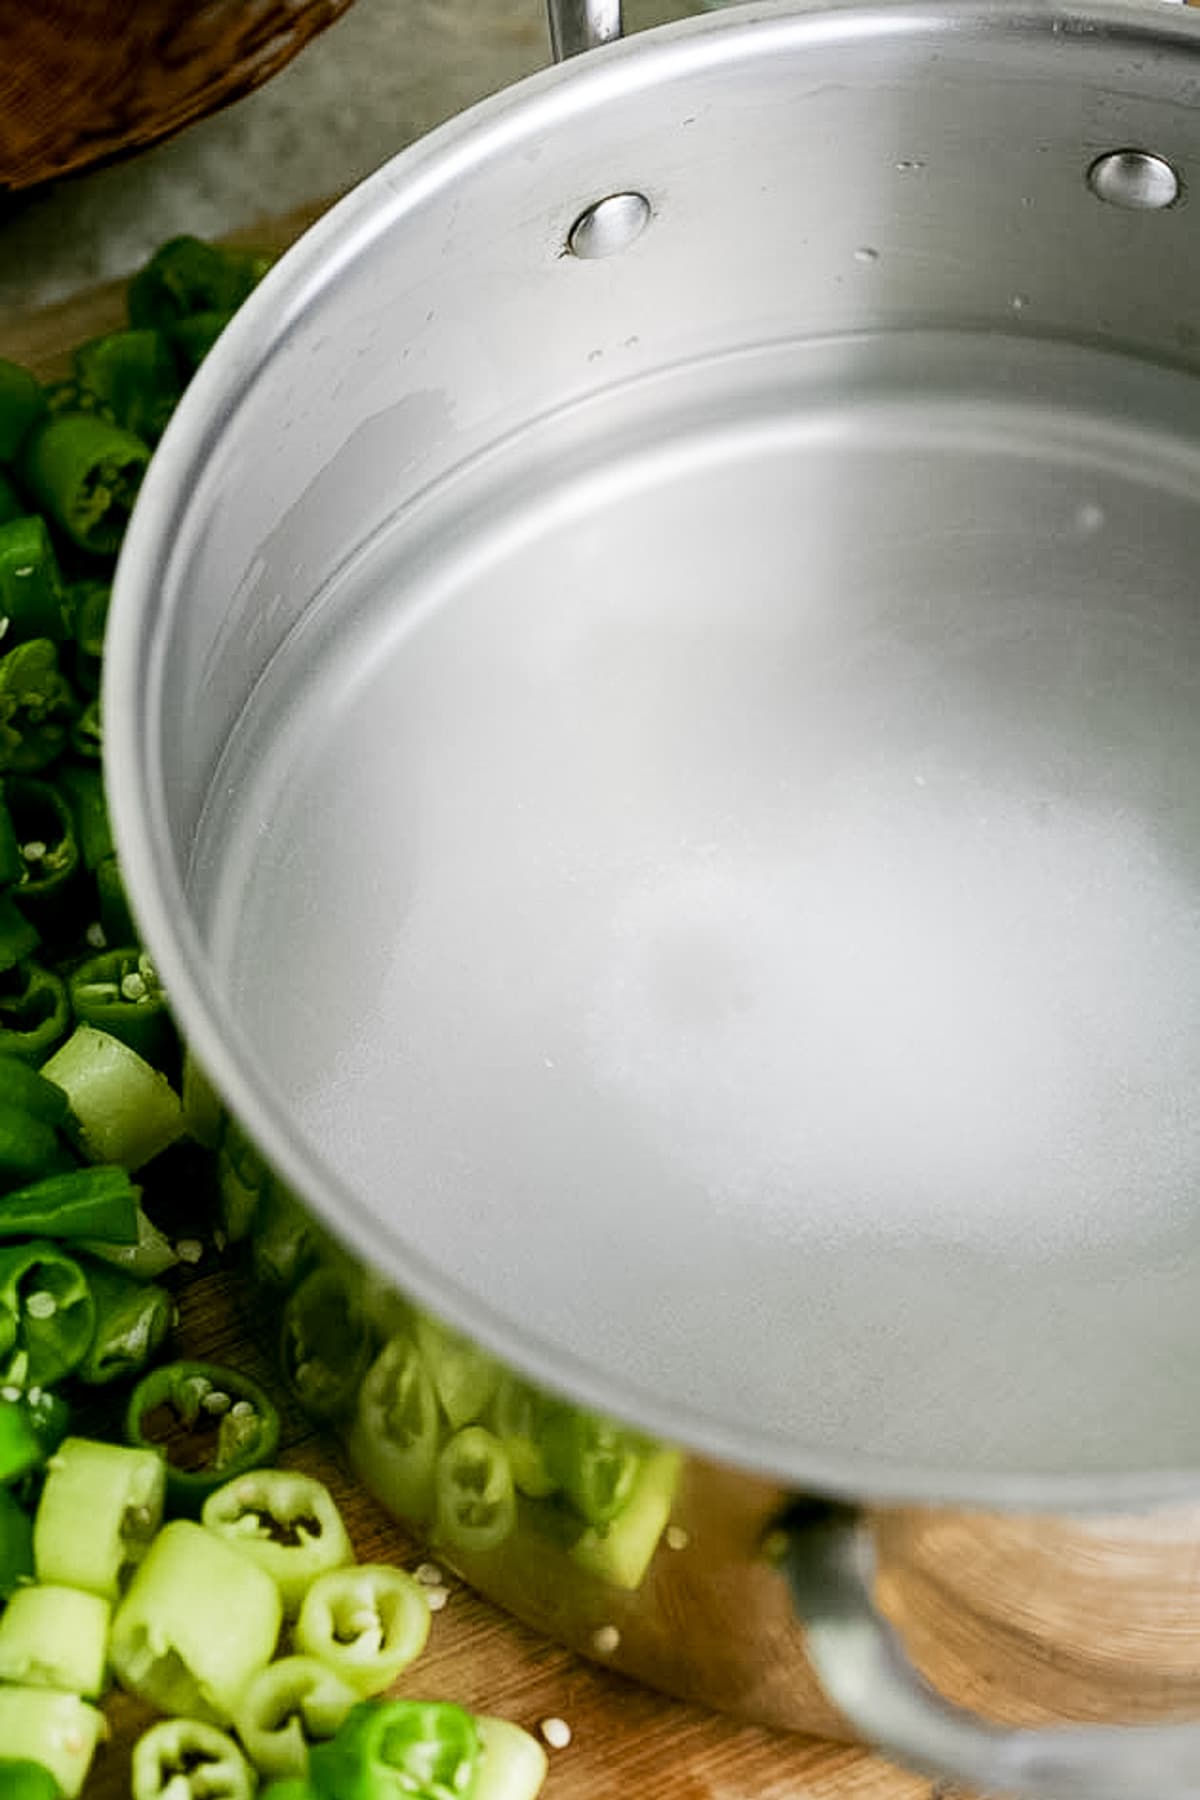
Step four – make the pickling brine. To a small pot, add the vinegar, water, kosher salt, and sugar. Set the pot on the stovetop and turn the heat to medium-high. Bring the mixture to a boil and let it boil for a couple of minutes before removing from the heat.
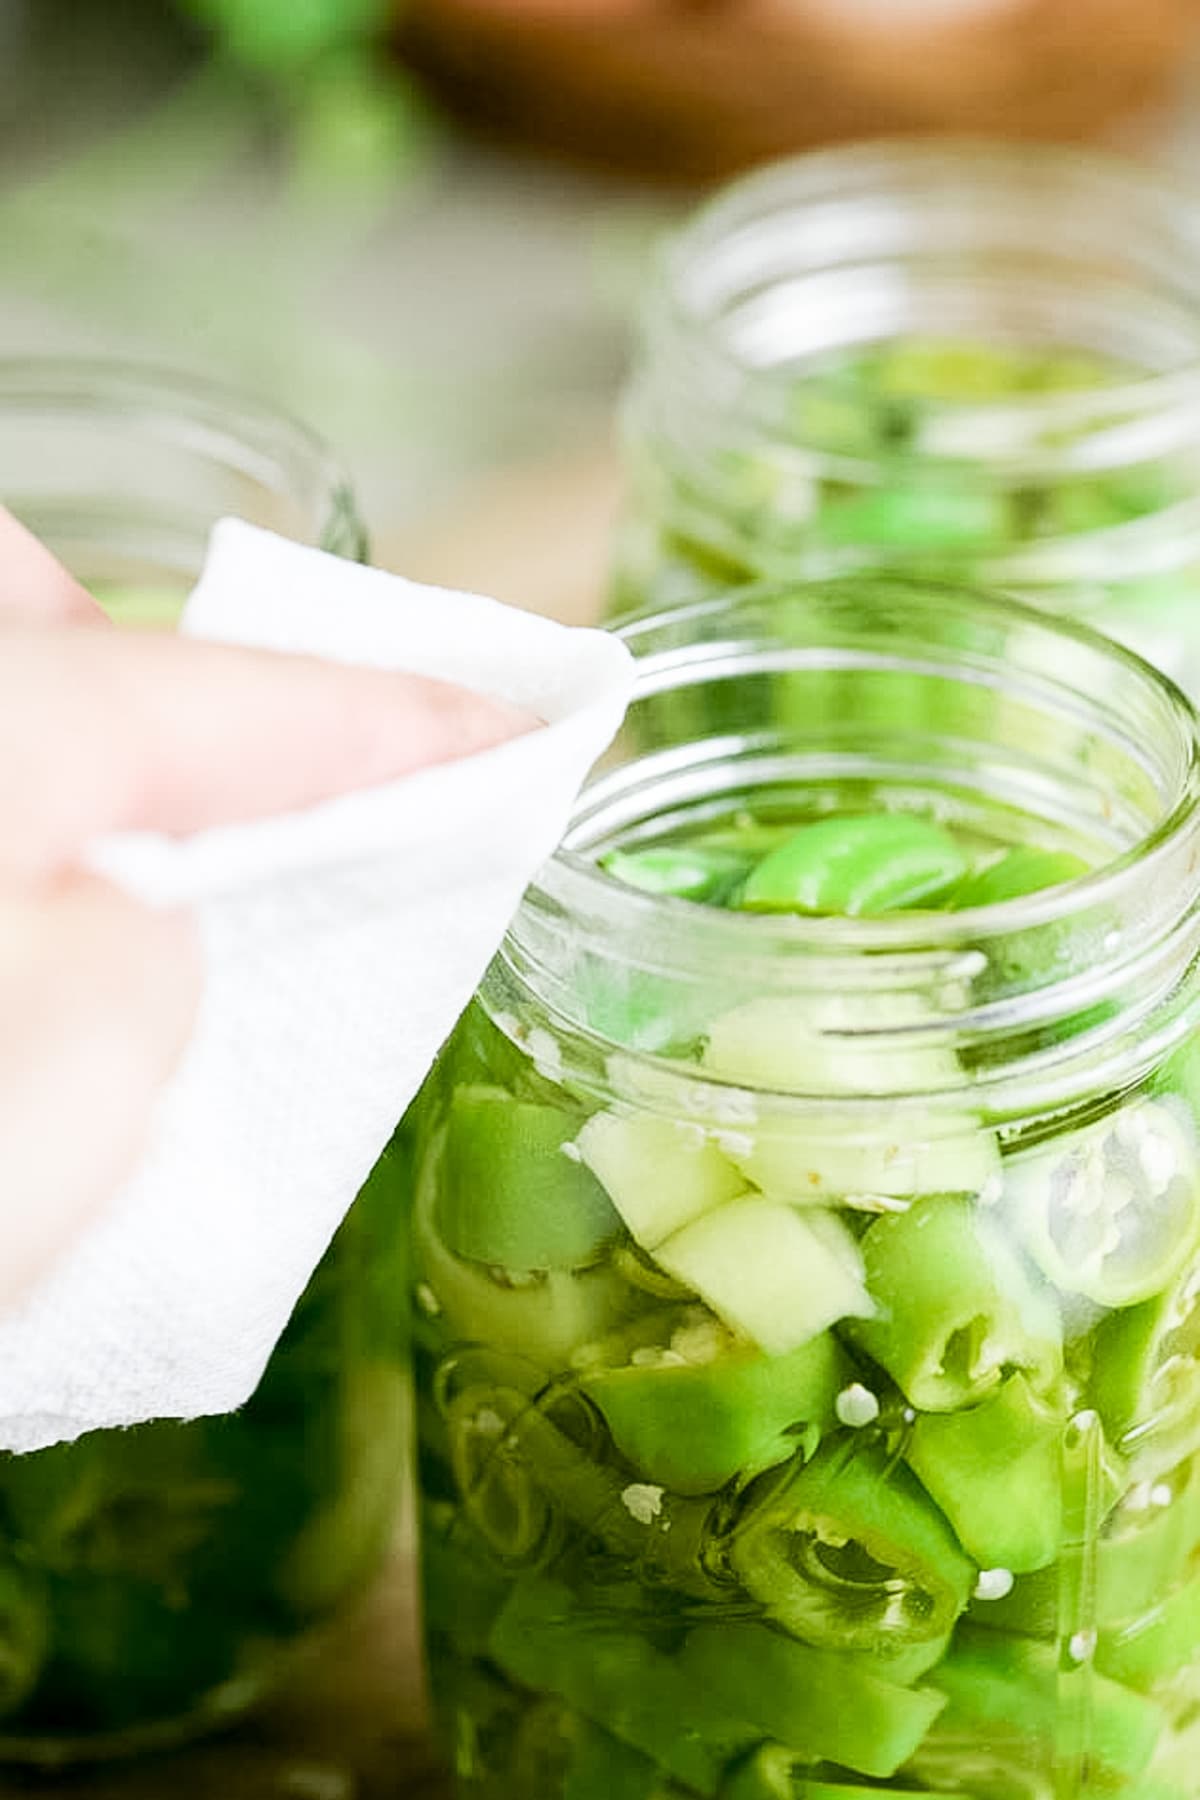
Step five – prep the jars for canning. Ladle the hot pickling liquid over the hot peppers, make sure to leave 1/2 – 1 inch of headspace. Use the bubble remover to remove bubbles by scraping it along the inside of the jar.
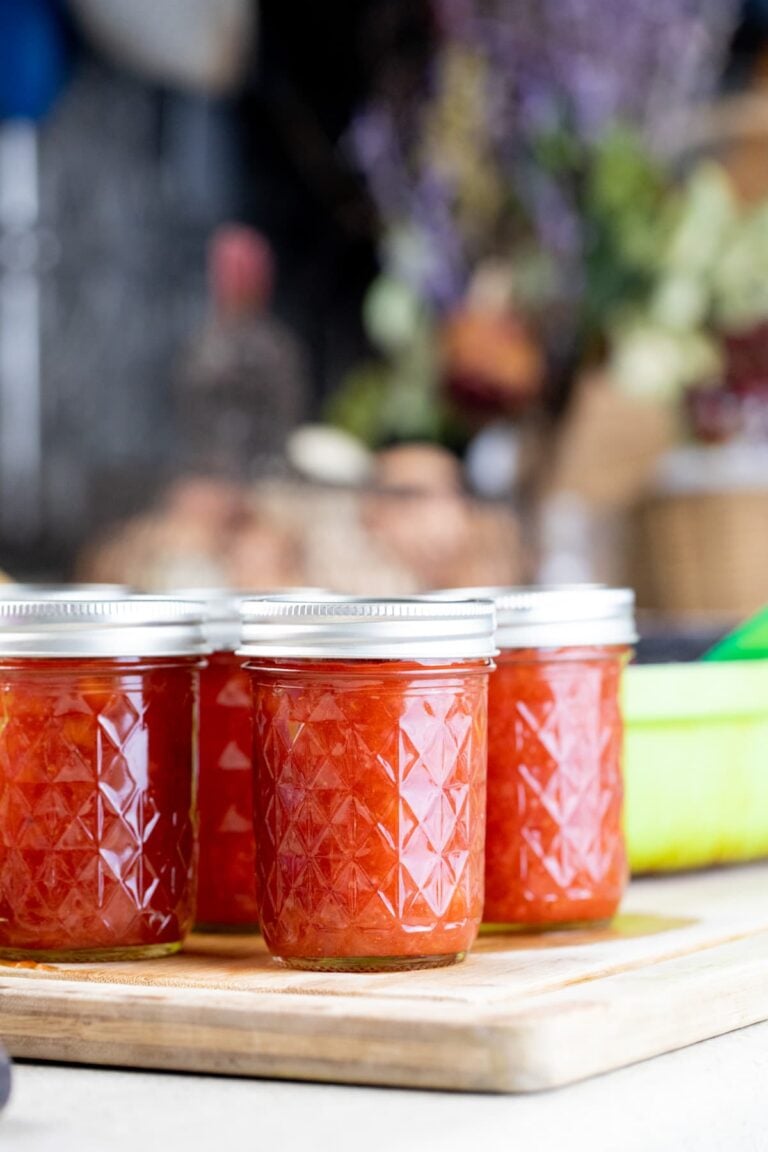
Then, use a clean, damp paper towel to clean the rim of the jar before centering the lid and closing the jar with the ring finger tight. Set the jars on the rack of the water bath canner and lower the rack into the simmering water. Cover the canner, turn the heat to high and bring the water in the canner to a boil. Process both half-pint and pint jars for 10 minutes. Remember to adjust processing time according to the table below if you live in altitudes above 1,000 feet in elevation.

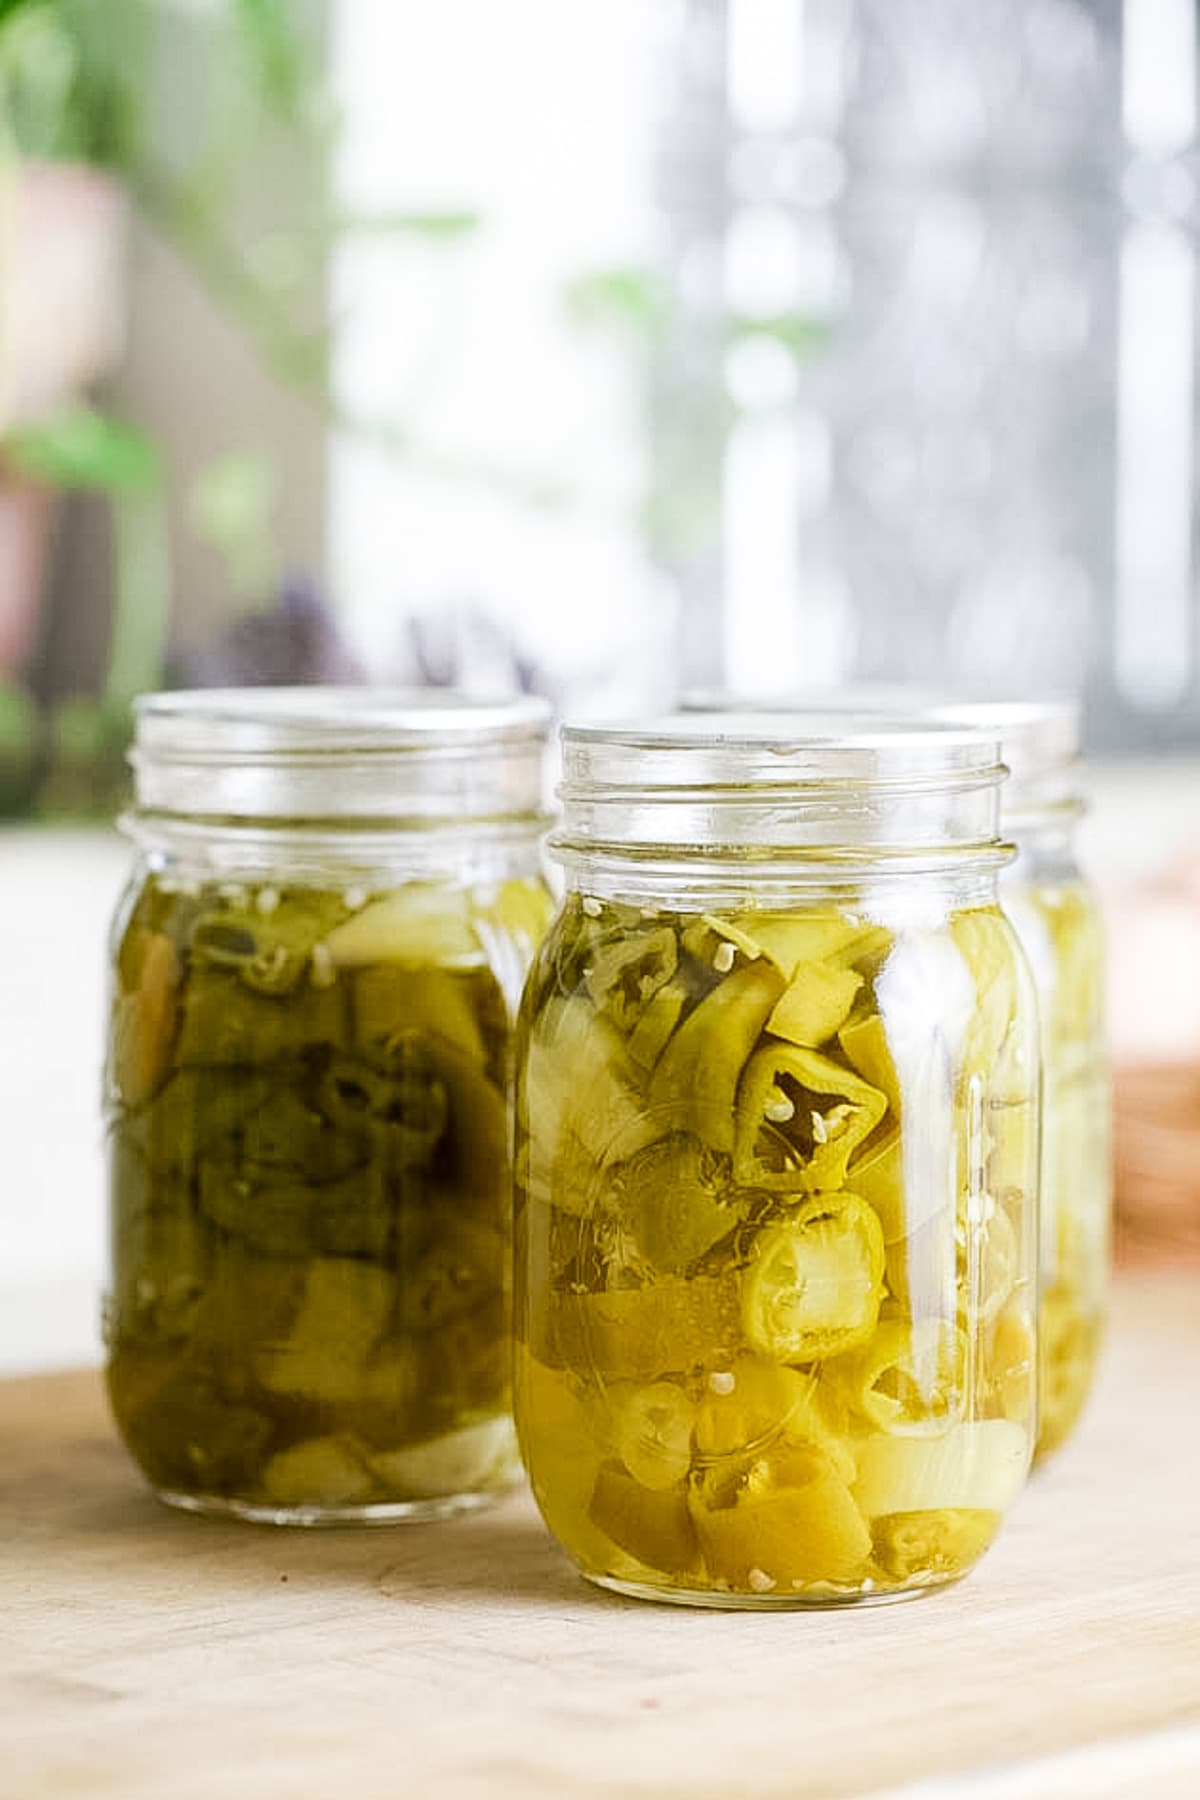
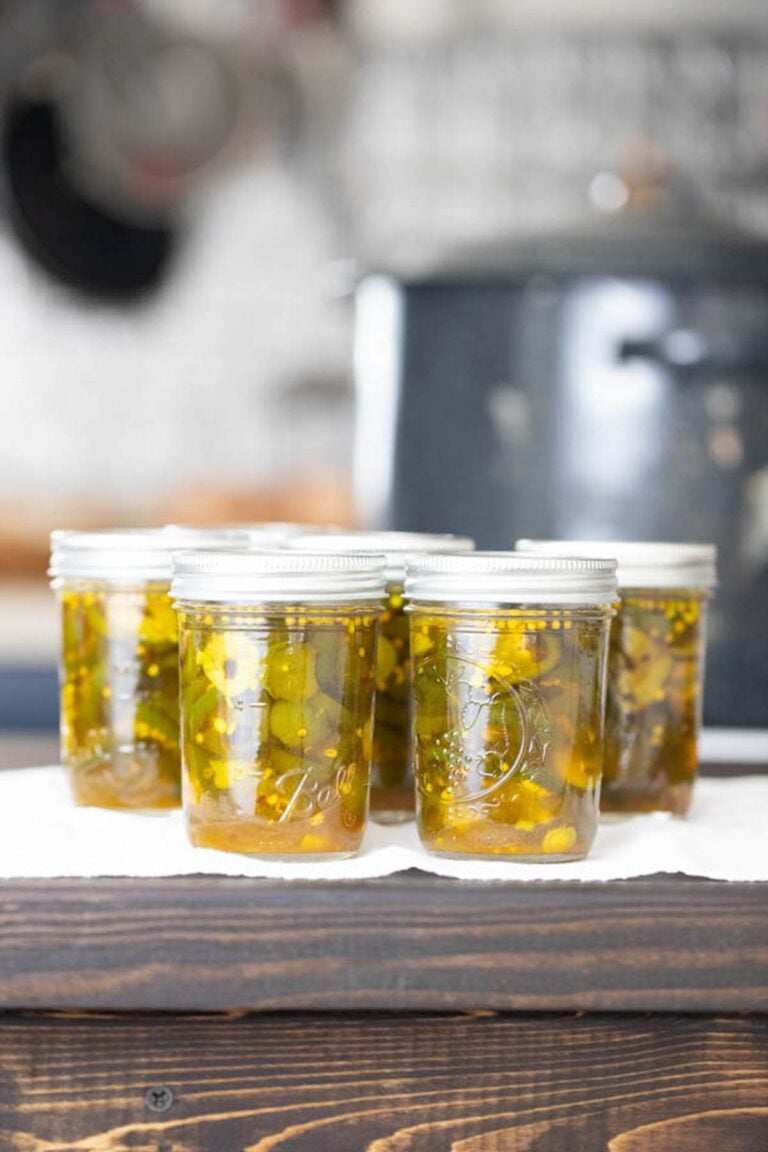
Once processing time is over, turn the heat off and remove the lid from the canner. Let the jars stay in the water for 5 minutes. Use the jar lifter to remove the jars from the canner. Set them on a kitchen towel on the counter to cool completely, undisturbed, overnight.
Storing Canned Hot Peppers…
Before you store your hot peppers, make sure that the jars are sealed by pressing on the center of each lid. If there is no movement there, the jar is sealed. If you find that you have a jar that didn’t seal, you can store it in the fridge to use first or you can try to process it again.
Remove the bands from your jars (because they rust and stick), wipe the jars and store in the pantry or a kitchen cabinet for up to 18 months.
Serving Canned Hot Peppers…
- Sandwich -the easiest is to serve them as a side to a sandwich or add them to a sandwich. I think they will be a great addition to my pulled venison wrap, my homemade hamburger, or my bbq venison neck sandwich.
- Chili – they can also be added on top of chili if you want to spice things up a bit. I add them on top of my Southwest chicken chili or beef chili.
- Salads – add them to an egg salad, chicken salad, red cabbage salad or a beetroot salad as well.
Kitchen Notes…
- Double or triple the recipe – feel free to double or triple this recipe. You can process as many peppers as you have.
- Slice or don’t slice the peppers – you don’t have to slice the peppers. You can cut them anyway you want or even leave them whole.
- Seasonings – feel free to season your peppers. Some people like to add peppercorns or mustard seeds. Add whatever you like!
- Seeds – you can choose to remove the pepper seeds or leave them. The seeds add a lot of heat.
I love having a simple and basic recipe to turn to and this one is just that. If you ever find yourself with lots of hot peppers you can pretty quickly preserve them this way. I also love that I can mix up whatever peppers that I have, not just hot peppers. I hope that this tutorial was helpful!
More Pepper Preserving Tutorials…
- How to Can Peppers
- Roasting Poblano Peppers
- Candied Jalapenos
- How to Make Red Pepper Paste
- Mediterranean Stuffed Peppers
- Fermented Jalapenos
- How to Dry Cayenne Peppers
- Preserving Peppers in Vinegar and Salt
- From other bloggers – Gabriela from The Bossy Kitchen preserves hot peppers in just vinegar. If you like the taste of vinegar this is a simple recipe to check out.
Canning Hot Peppers
Canning hot peppers is simple. Use this recipe and follow the tutorial to can any kind of hot pepper for long-term storage.
Ingredients
- 6 cups of hot peppers, sliced (check notes)
- 3 cloves of garlic, peeled and halved or crushed
- 3 cups 5% acidity vinegar (any kind, I use white)
- 2 cups of water
- 2 tablespoons of Kosher salt (or canning salt)
- 2 tablespoons sugar
- Ball Pickling Crisp (optional)
Instructions
- Start by filling your water bath canner with enough water to cover the jars by at least an inch. Set it on the stovetop and turn the heat to high. Bring the water in the canner to a simmer (180 degrees F).
- Wash the jars, lids, and rings well with hot water and dish soap (Since we are going to process these jars in the canner for more than ten minutes, there is no need to sanitize the jars).
- Pack the hot peppers into the jars and add one clove of garlic to each jar. Feel free to push the peppers in a bit and pack them tight in there but make sure to leave about an inch of headspace. If you chose to use Pickling Crisp, now is the time to add it to each jar. Add 1/8 of a teaspoon to each pint jar or 1/16 of a teaspoon to each half-pint jar.
- To a small pot, add the vinegar, water, kosher salt, and sugar. Set the pot on the stovetop and turn the heat to medium-high. Bring the mixture to a boil and let it boil for a couple of minutes before removing from the heat.
- Ladle the hot pickling brine over the hot peppers, make sure to leave 1/2 - 1 inch of headspace. Use the bubble remover to remove bubbles by scraping it along the inside of the jar. Then, use a clean, damp paper towel to clean the rim of the jar before centering the lid and closing the jar with the ring finger tight.
- Set the jars on the rack of the water bath canner and lower into the simmering water. Cover the canner, turn the heat to high and bring the water in the canner to a boil. Process both half pint and pint jars for 10 minutes. Remember to adjust processing time according to the table below if you live in altitudes above 1,000 feet in elevation.
- Once processing time is over, turn the heat off and remove the lid from the canner. Let the jars stay in the hot water for 5 minutes. Use the jar lifter to remove the jars from the canner. Set them on a kitchen towel on the counter to cool completely, undisturbed, overnight.
- Before you store your hot peppers, make sure that the jars have sealed by pressing on the center of each lid. If there is no movement there, the jar has sealed. If you find that you have a jar that didn’t seal, you can store it in the fridge to use first or you can try to process it again.
- Remove the bands from your jars (because they rust and stick), wipe the jars and store in the pantry or a kitchen cabinet for up to 18 months.
Notes
Kitchen Notes...
- Double or triple the recipe - feel free to double or triple this recipe. You can process as many peppers as you have.
- Slice or don't slice the peppers - you don't have to slice the peppers. You can cut them anyway you want or even leave them whole.
- Seasonings - feel free to season your peppers. Some people like to add peppercorns or mustard seeds. Add whatever you like!
- Peppers to use - you can mix a few kinds of hot peppers in the same jar. In fact, you can use this recipe to can sweet peppers as well. If you only use hot peppers the result will be super spicy. If you want to tone the spiciness down a little bit, you can mix some sweet peppers in there as well.
- Seeds - you can choose to leave the seeds or, if you’d like, remove them. The seeds add a lot of heat. For me, the peppers are already too hot so I remove the seeds.
- Processing time - remember to adjust the processing time if you live in altitudes above 1,000 feet in elevation according to the table below…
Recommended Products
As an Amazon Associate and member of other affiliate programs, I earn from qualifying purchases (there is no change in product cost or charge to you! Thank you for helping me support the blog).
-
 TUO Cutlery Vegetable Meat Cleaver Knife - Chinese Chef's Knife - HC German Stainless Steel with Pakkawood Handle with Case - 7" - Fiery Series
 -
Ball Regular Mouth Pint 16-oz Mason Jar with Lids and Bands (Pack of 24)
-
Granite Ware Covered Preserving Canner with Rack, 12-Quart
-
Norpro Canning Essentials Boxed Set, 6 Piece Set


Nutrition Information:
Yield: 3 Serving Size: 1 pintAmount Per Serving: Calories: 252Total Fat: 5gSaturated Fat: 1gTrans Fat: 0gUnsaturated Fat: 3gCholesterol: 0mgSodium: 4317mgCarbohydrates: 42gFiber: 6gSugar: 24gProtein: 6g

this is water bath canning, I am searching for pressure canning. your note says pressure canning
What note do you mean? So I can fix it… Thanks.
Thank you for sharing this helpful canning tutorial! I really liked how clearly you explained each step, especially for beginners who may be trying to preserve hot peppers for the first time. The personal story about accidentally growing mixed pepper varieties made the article fun and relatable. I also appreciate the practical tips about adjusting spice levels and keeping the peppers crisp during storage — very useful for home gardeners and food lovers alike!
I am so glad it was helpful! With how things are online, we are often told that people don’t have a lot of attention these days and that we have to make everything short but sometimes I feel that it’s kinda doing a diss service to the readers! I don’t want to cut important information out. Anyway, I am grateful for your feedback and glad it was helpful!
Hello! What would the taste difference be with and without using garlic? I am asking because I am referring to your simple ingredients under your ‘canning poblano peppers’ recipe, which lead me to this link as I would process using the water bath method.
The garlic is not overpowering in this recipe especially since it’s cooked with the peppers when you process them. You can still feel it tho so it all depends on if you like the taste of garlic or not. You can try to add the garlic to a few jars and leave some without to test which version you like better.
Can you use malt vinegar, or white wine vinegar??
I believe you can as long as they have around 5% acidity.
Is the sugar necessary? My husband lives a keto lifestyle so I’m wondering if I omitted the sugar if it would be ok?
It’s only two tablespoons of sugar so I think that it should be ok without the sugar but I’m not sure…
can I use frozen jalapeños?
Mmmm… I’m not sure. I’ve never tried it before. The thing is, freezing changes the consistency for the vegetable. I am guessing that the peppers will fall apart if you try to can them after they were frozen.
Can I double or even triple the recipe safely?
Absolutely.
I just canned my peppers using your recipe. Thanks so much for the help. I use to can when I was younger but had forgotten some things & your recipe made it so easy. I am now starting to can again since I am retired. Loving it.
So glad it was helpful!
Hello, my name is Diana, my email is [email protected]. my mom used to can hot peppers (cayenne), but I never got her recipe, and she passed away many years ago. So I was so happy to find you!! ??????? I have so many peppers and I wanted to know how to preserve them. And now I know thanks to “Lady Lee Home!!!”
So happy that you were able to find this! It’s really an easy process. You’ll get it done in no time!
Thank you for featuring my recipe of hot peppers in vinegar on your website and for the credit. I really appreciate it. I also liked your post. There are so many ways to preserve peppers and all good!
Oh yeah! The possibilities are endless. I don’t use vinegar much but liked your recipe. Thanks for stopping by!
I just made this. I am letting it cool as I type. I did add a tsp of peppercorn to each jar. ?
Hi
Where’s the tutorial for canning hot hot peppers?
Right in the post! Or you can print the recipe card…
This recipe does not have water in the list of ingredients but is listed in the instructions. What is the amount of water needed?
Oh my! Thanks for letting me know, gonna fix it right now. It’s 2 cups of water.