This post may contain affiliate links, view our disclosure policy for details.

Apple butter recipe for canning that is made on the stovetop, easy to make and delicious. Follow the step-by-step canning instructions to preserve it for months.
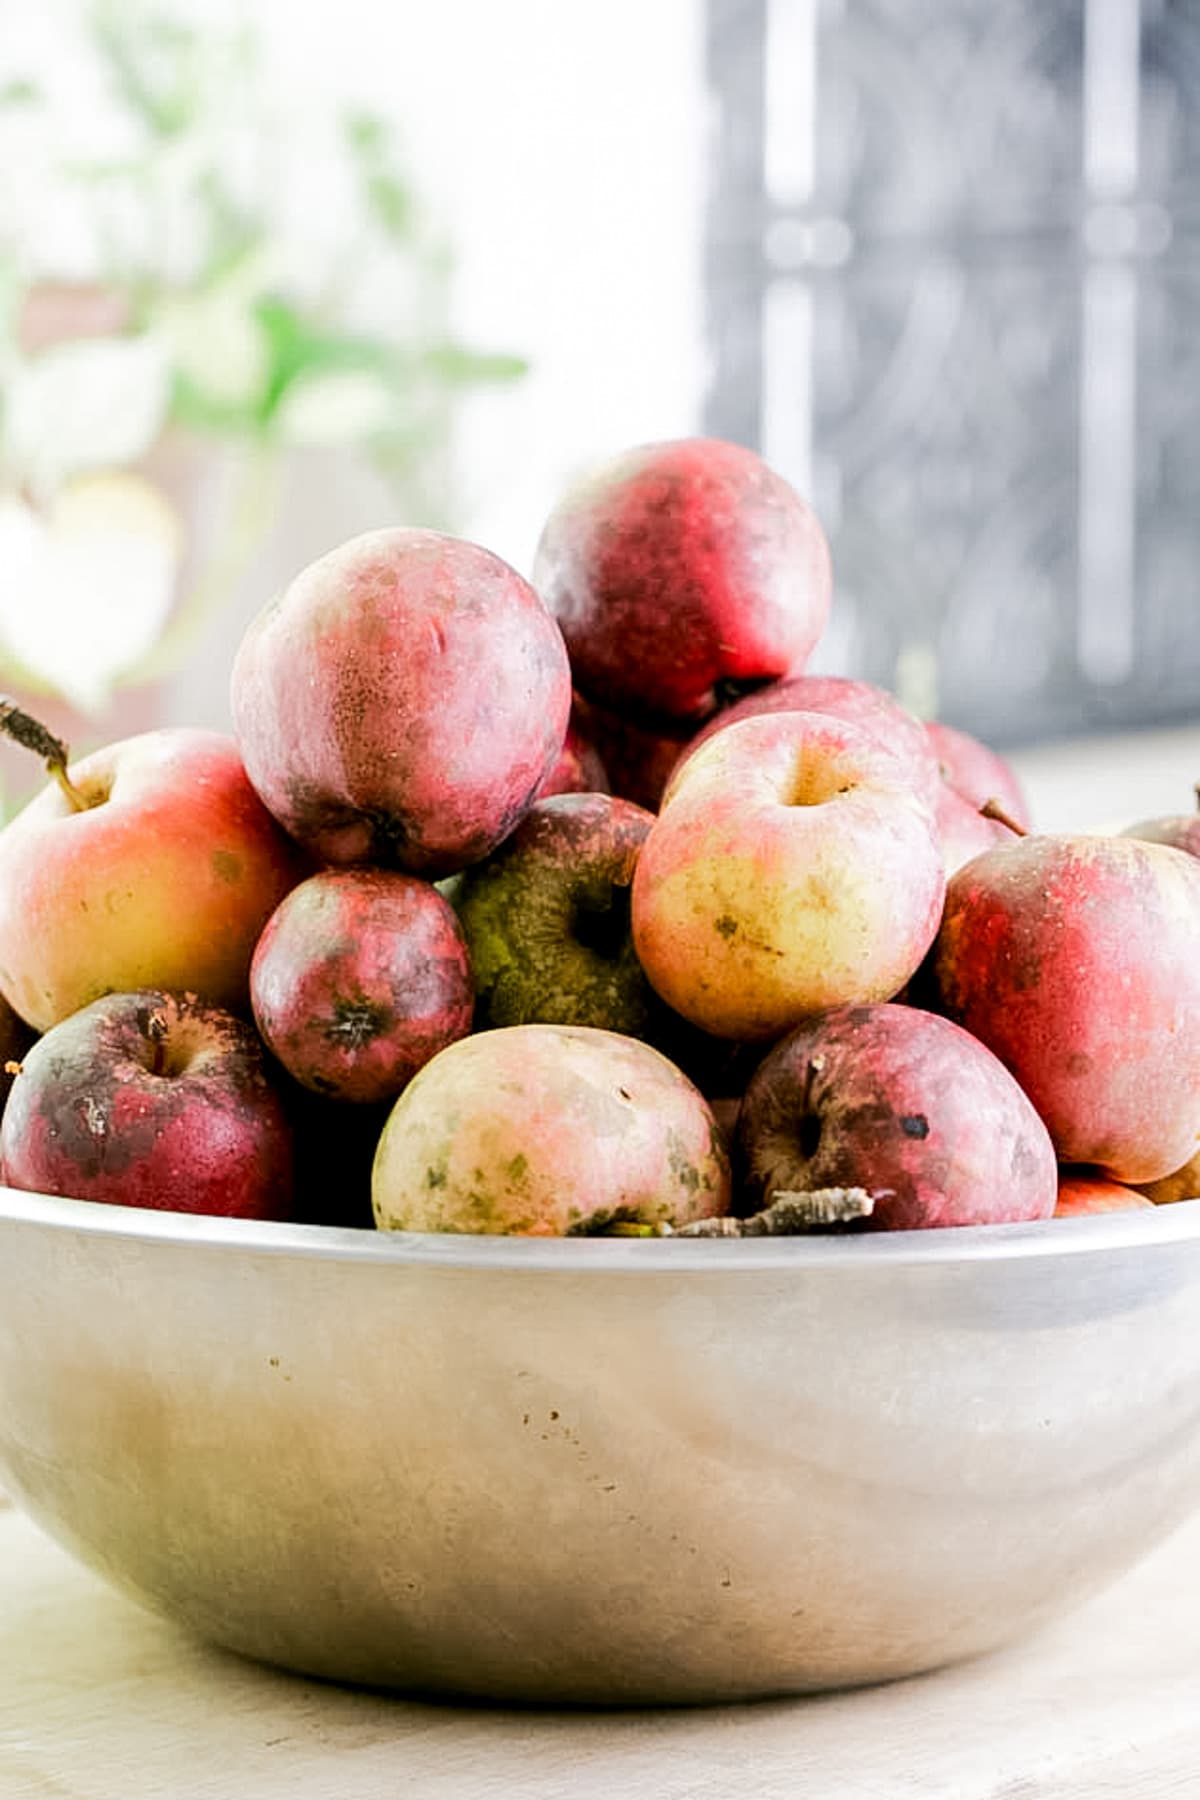
When my neighbor told me to head to his property with buckets for picking apples I didn’t argue. I piled the kids in the car, each of them equipped with a five-gallon bucket, and off we went.
We came back home with a whole lot of apples! What’s a homesteader to do with a huge harvest of local apples? Well, there is a whole lot that can be done of course!
Apple Butter Recipe For Canning…

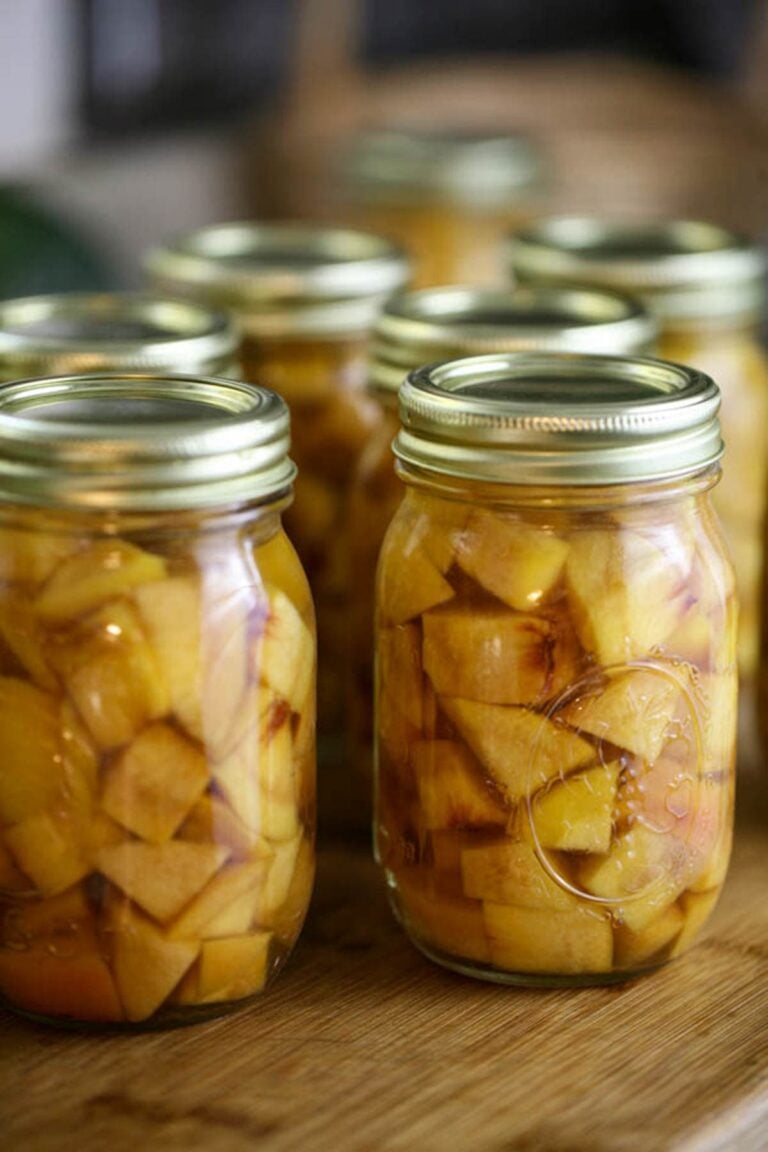
I dried some apples in the oven just as a fun snack, I used many of the apples in my apple cake that I make for the farmer’s market every Saturday, And I canned some of the apples in light syrup.
Yet, I was left with a huge amount of apples. For some reason, I didn’t feel like making and canning apple sauce this year so I decided instead to make apple butter.
Stovetop or Crockpot?
You can make apple butter on the stovetop or in the crockpot. The crockpot method might be a bit more popular, but I made this batch of apple butter on the stovetop.
In the crockpot, it will take around 30 hours for the apple butter to cook. The crockpot is able to hold a very low temperature that is sometimes hard to reach on the stovetop.
On the stovetop, it might take up to 10 hours for the apple butter to cook. Some will say that apple butter that is made on the stovetop is not as creamy as apple butter made in the crockpot but I disagree. The way that I make my apple butter produces a butter just as creamy.
On the stovetop, we cut the time, however, we have to supervise the butter a bit closer. It’s better to use a heavy bottom pot to make sure the apples are cooked evenly (a cast iron pot like a dutch oven works well), and a lot of stirring is involved.
But, at the end of the day, it doesn’t matter. You can take this recipe and make it in the crockpot as well if you wish.
Best Apples For Apple Butter…
In order to make apple butter, we first need to make applesauce so the best apples to use to make apple butter will be the same as for applesauce.
Feel free to use any apple variety that you come by but generally speaking, it’s better to choose a sweet variety (So… Not Granny Smith). It really doesn’t matter what variety of apples you choose, they can be red apples, green apples, or even crabapples.
Make sure though, that the apples that you choose are ripe, juicy, and sweet. If you find a variety with a softer, “sandier” texture like Golden Delicious for example, that’s even better but not mandatory. We are going to cook and puree the apples with an immersion blender anyway.
Kitchen Notes…
- Sugar – if you’d like, you can add a bit of stevia or molasses instead of sugar, or you can use nothing. Apples are sweet enough, the added sugar just helps preserve the color of the apple butter for a longer period. Or, you can add a different amount of sugar…
To make apple butter, add 1/2 cup of sugar for every 1 pound of apples that you are processing. You can add less or a little more (but not much more). - Vinegar – another popular addition to apple butter is apple cider vinegar (or you can use apple scrap vinegar). Feel free to substitute some of the water with apple vinegar, it adds a little tang to the sweetness.
- Apple juice – another option is apple juice instead of some of the water.
- Seasonings – as far as seasonings, there is a lot of room to play here. Add allspice, nutmeg, cinnamon, clove, salt… Or any other fall spices that you wish.
Ingredients…
- Apples
- Water
- Sugar
- Ground cinnamon
- Ground clove
Kitchen Tools…
- Cutting board
- Knife
- Peeler (or an apple peeler, corer gadget)
- Large bowl
- Kitchen scale
- Large pot
- Wooden spoon
- Measuring cup
- Immersion blender
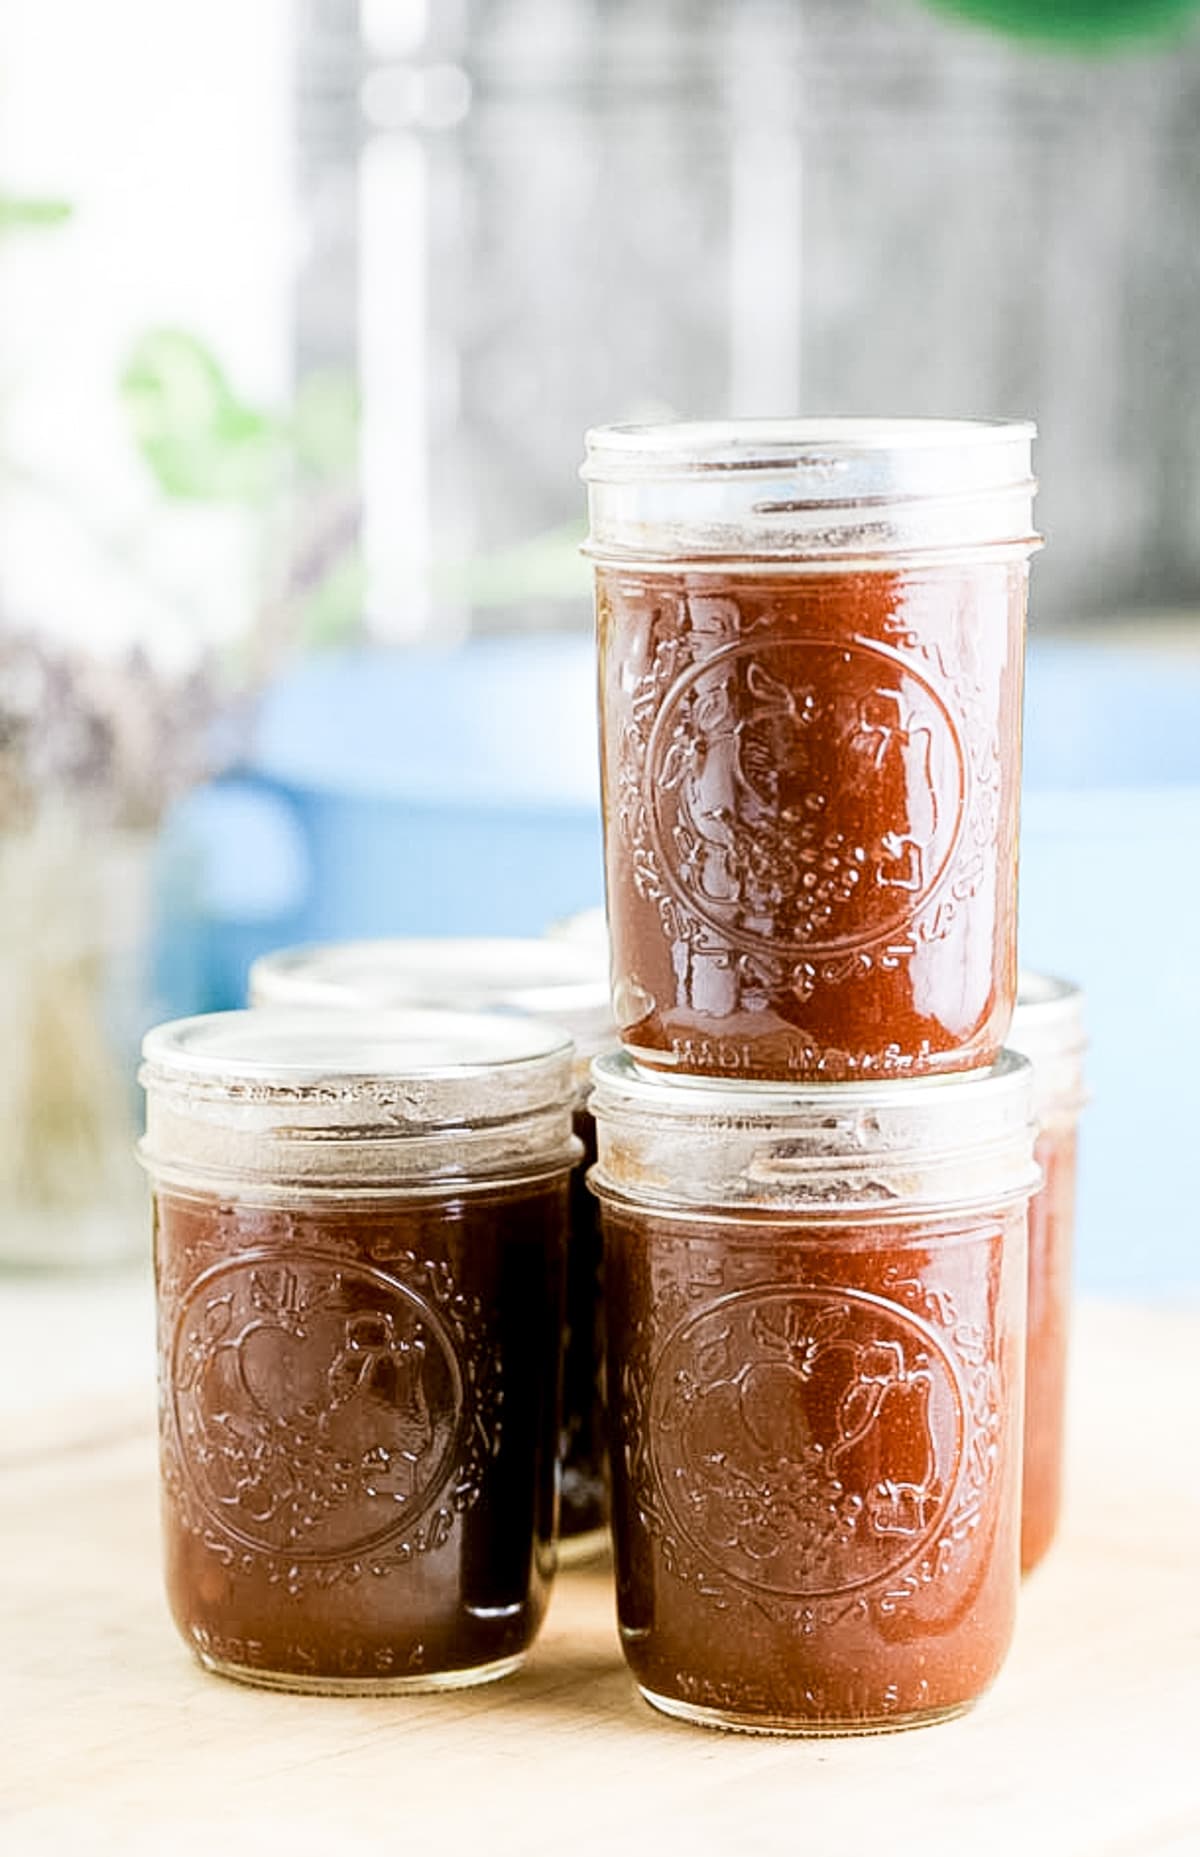
- Jars, lids, and bands – I prefer canning apple butter in half-pint jars but you can also use pint or quarts. With apple butter, it’s better to use straight-walled jars because it’s easier to remove air bubbles from them.
- Canning utensils
- Paper towel
- Ladle
- Water bath canner
How to Make Apple Butter on the Stovetop…
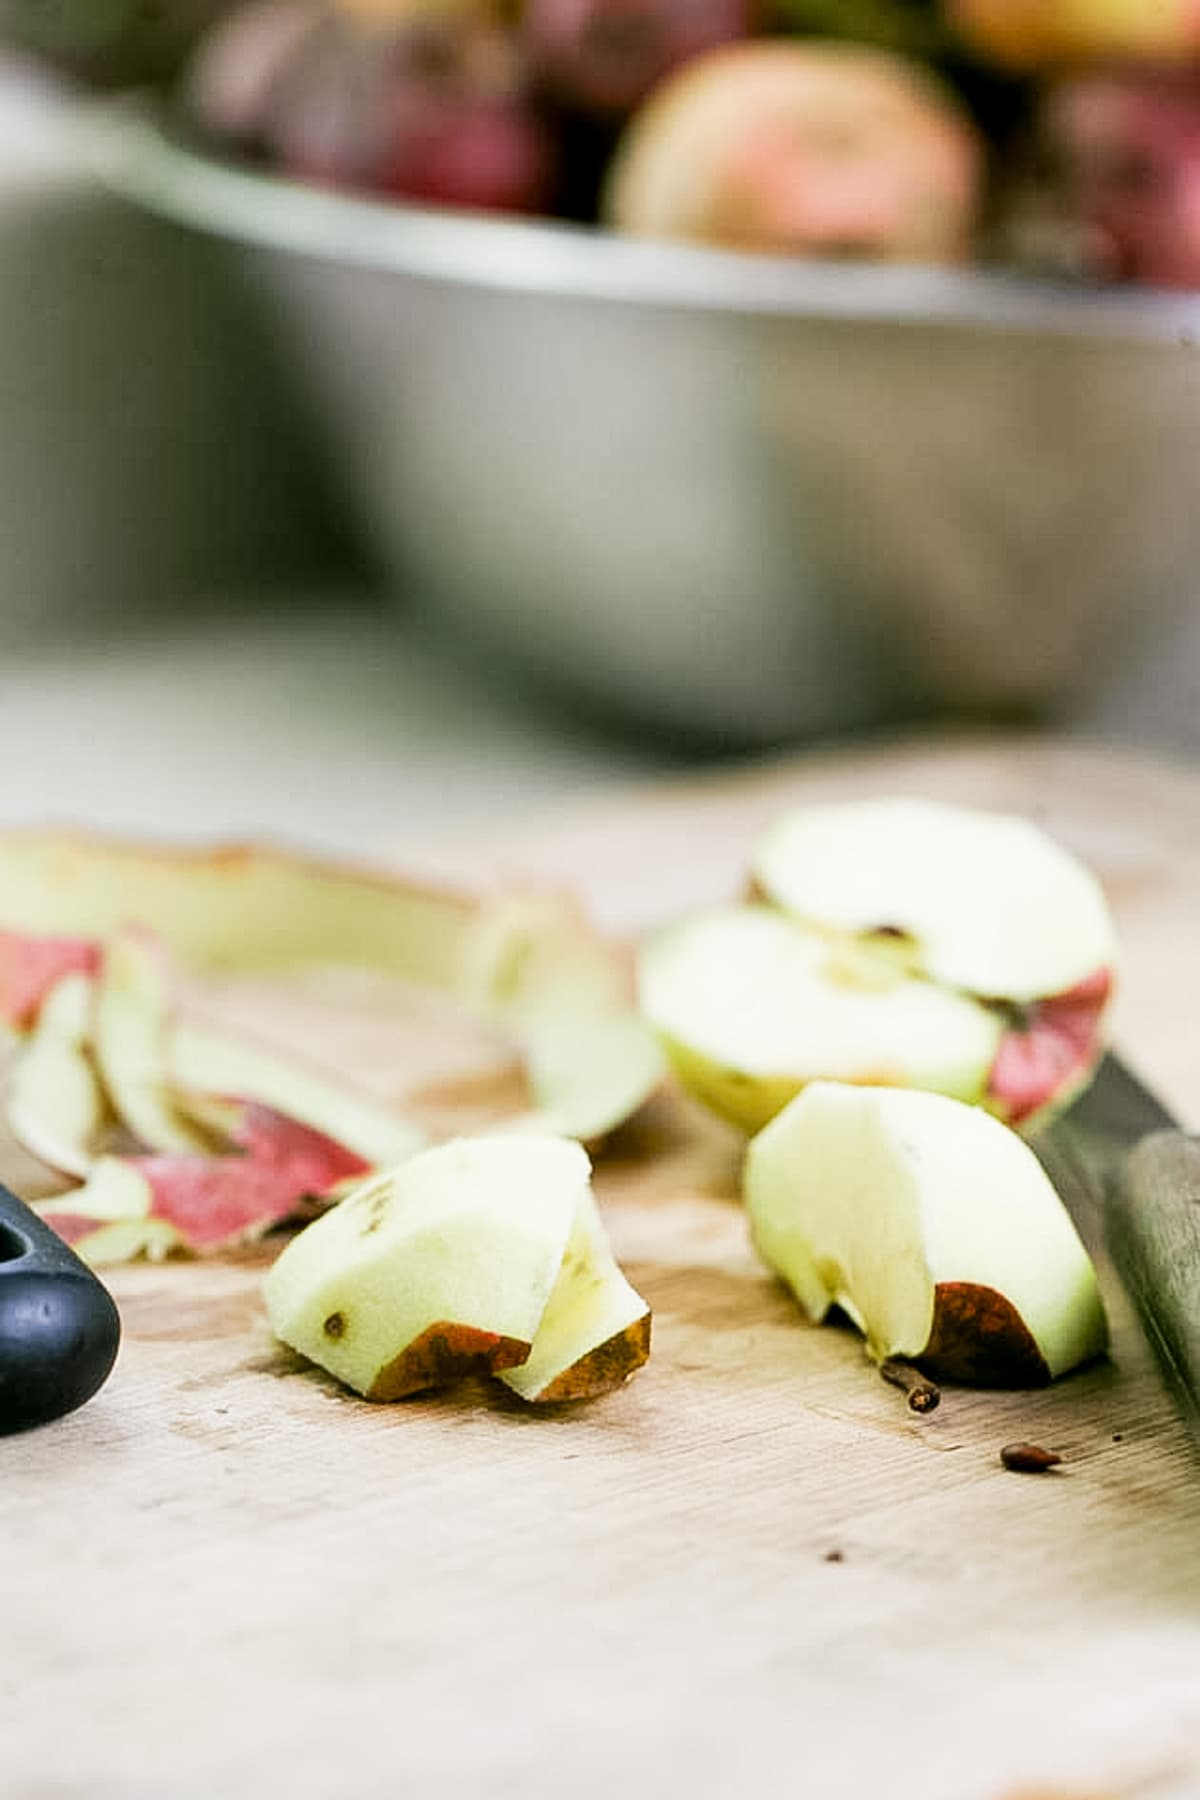
Step one – prep the apples. If you’re preparing the apples by hand, start by peeling the apples. Then quarter the apples, and, to remove the core, place your knife on an angle and cut the core out. Next, dice the apples and add them to a bowl.
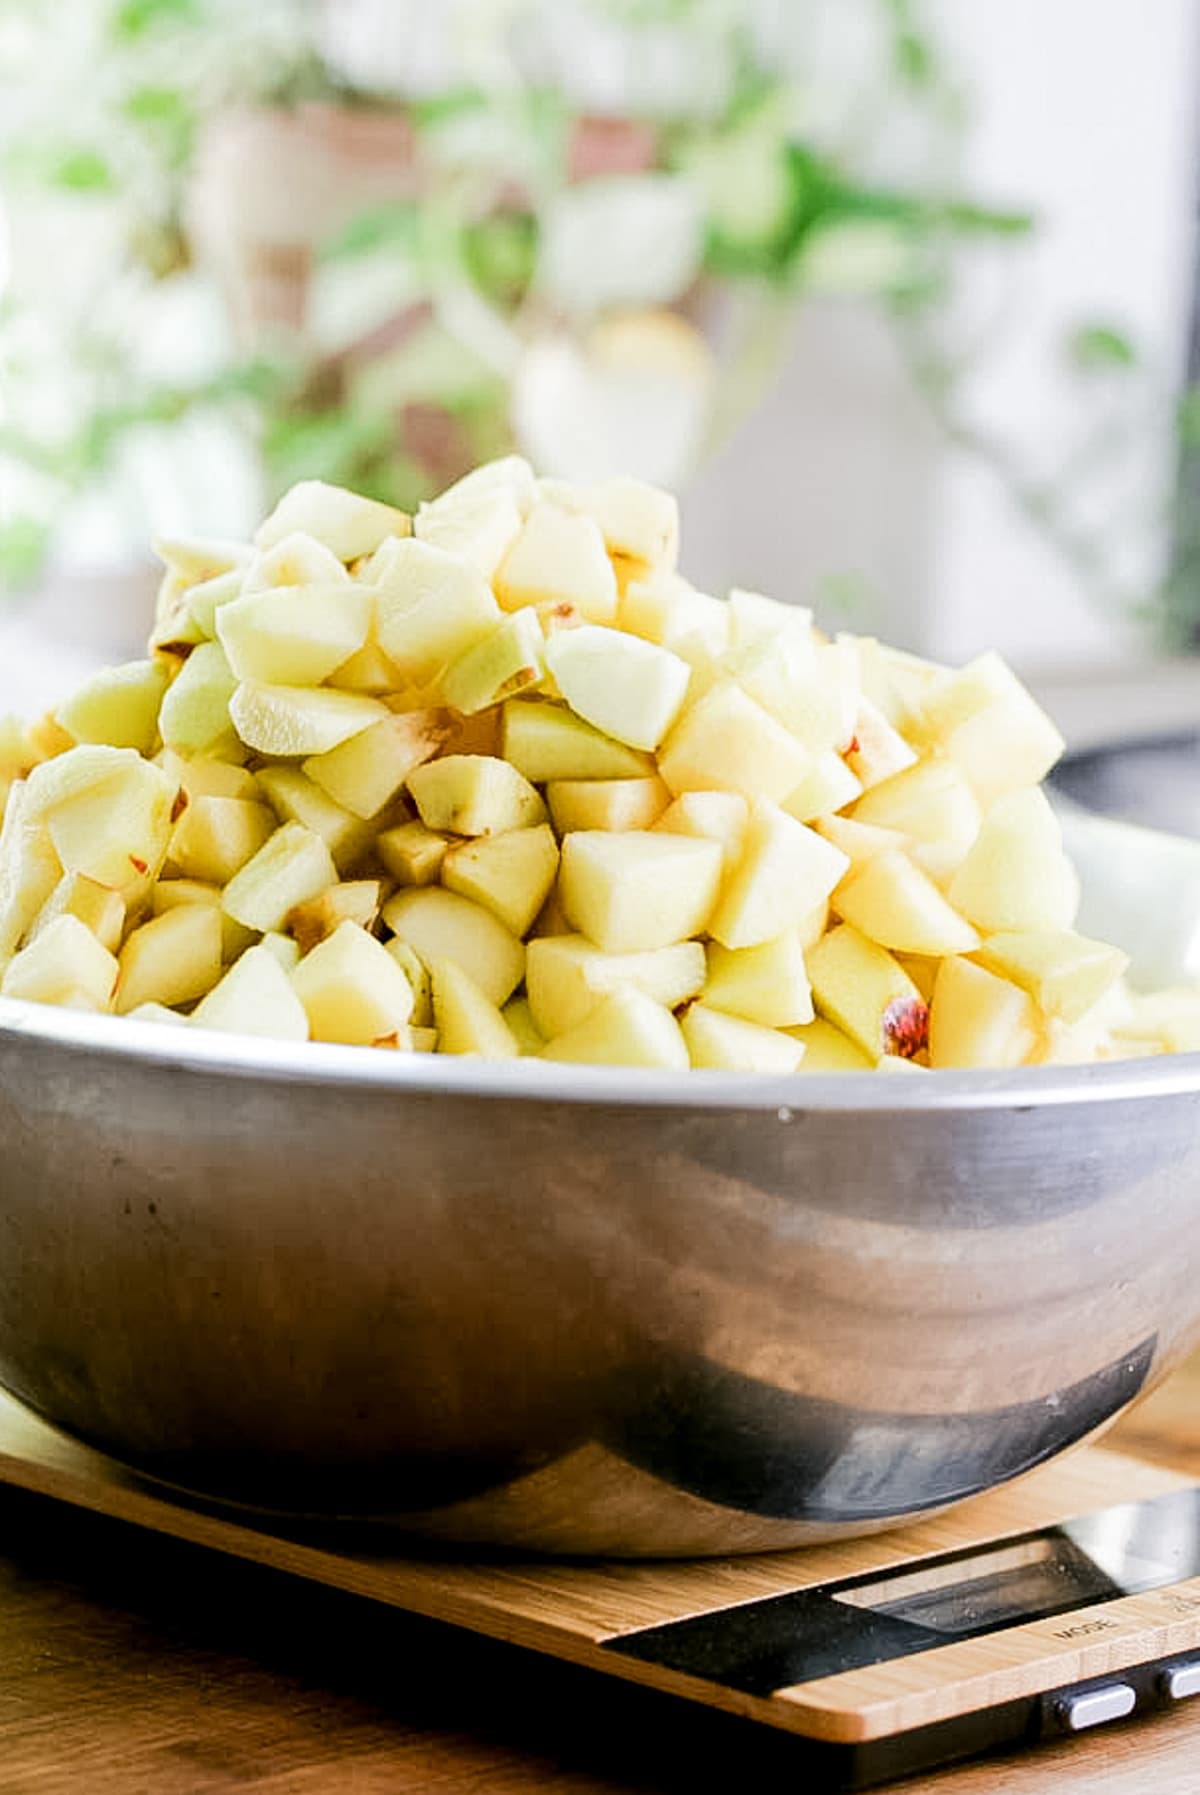
I took a moment to weigh the diced apples so that I know how much sugar to add. You can follow the measurements in the recipe card below or process as many apples as you want. Weigh the diced apples and add 1/2 cup of sugar per each pound of apples that you are processing.
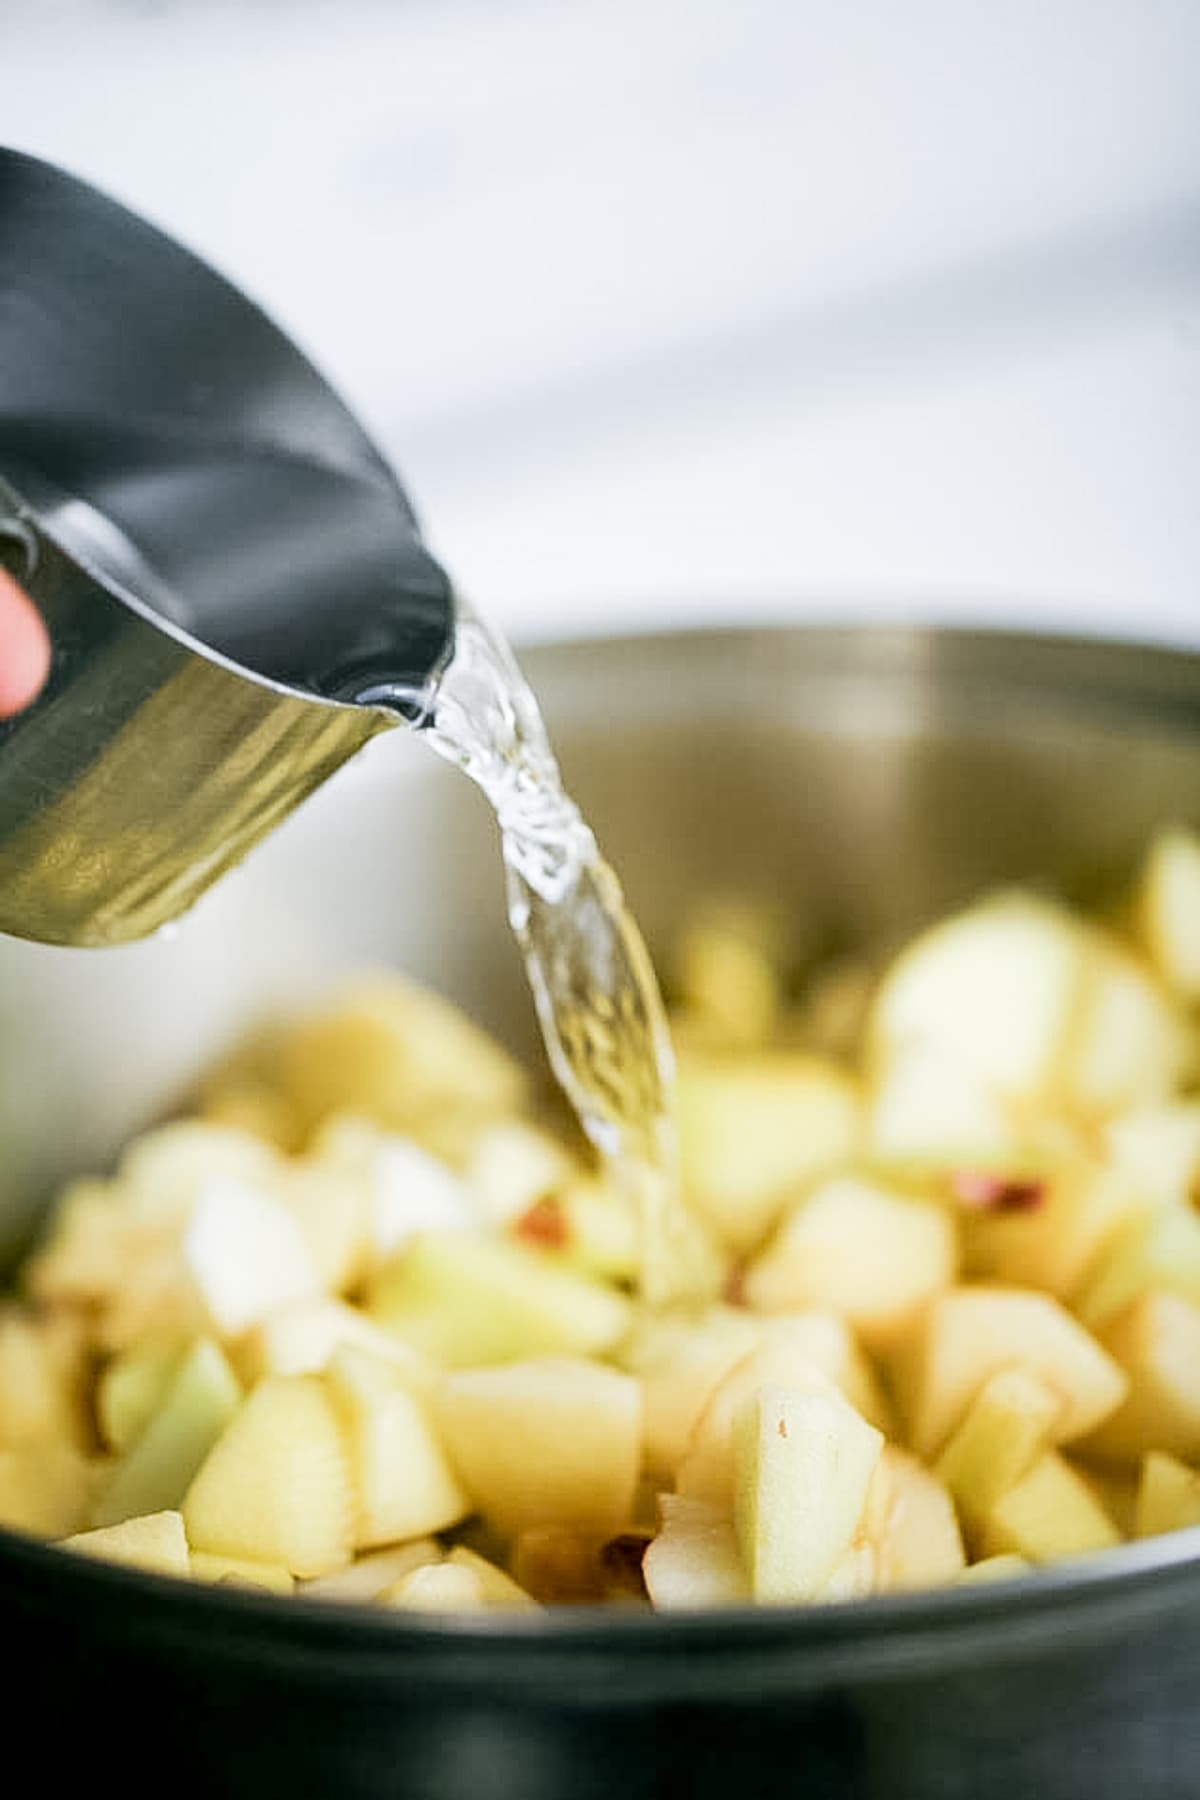

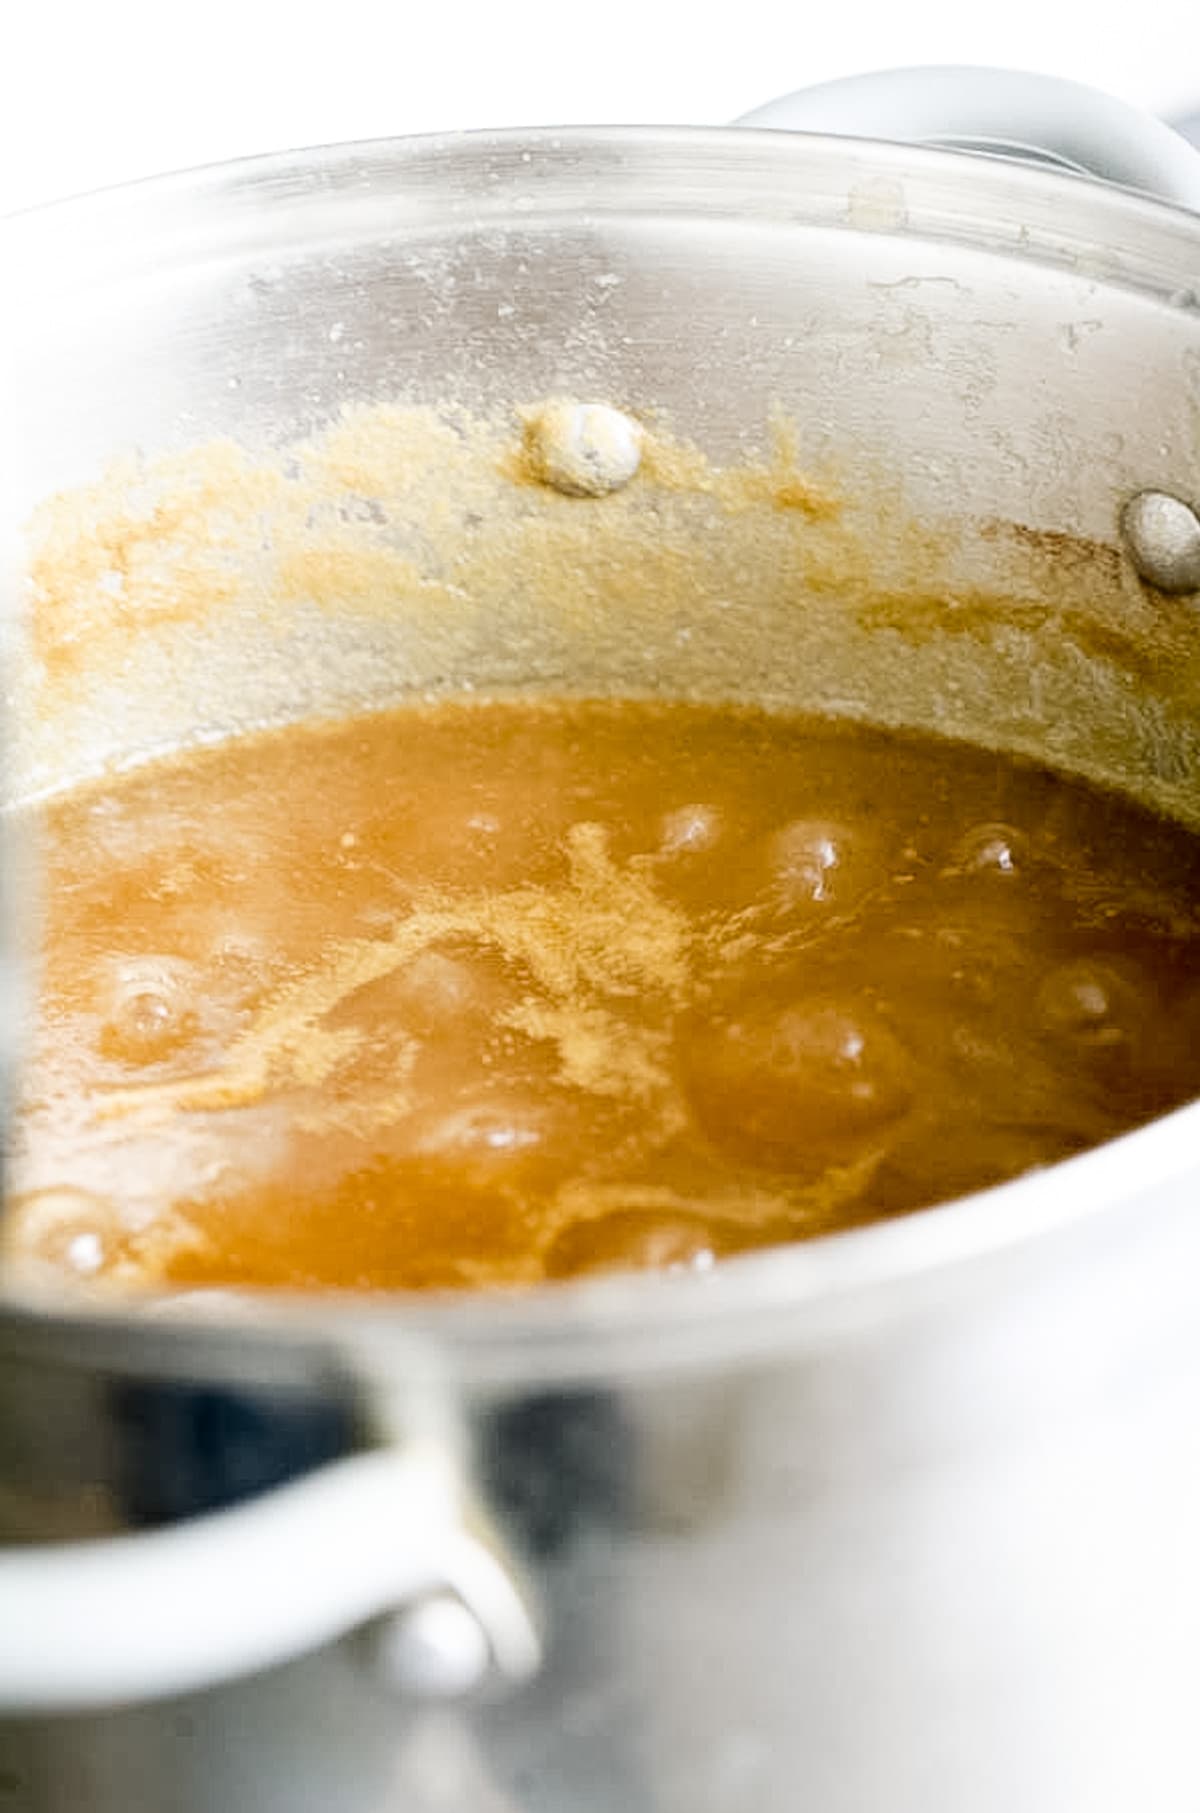
Step two – cook the apples. Add the apples to the pot and add water. Place the pot on the stovetop and turn the heat to medium-high. Bring the apples to a simmer, stirring frequently.
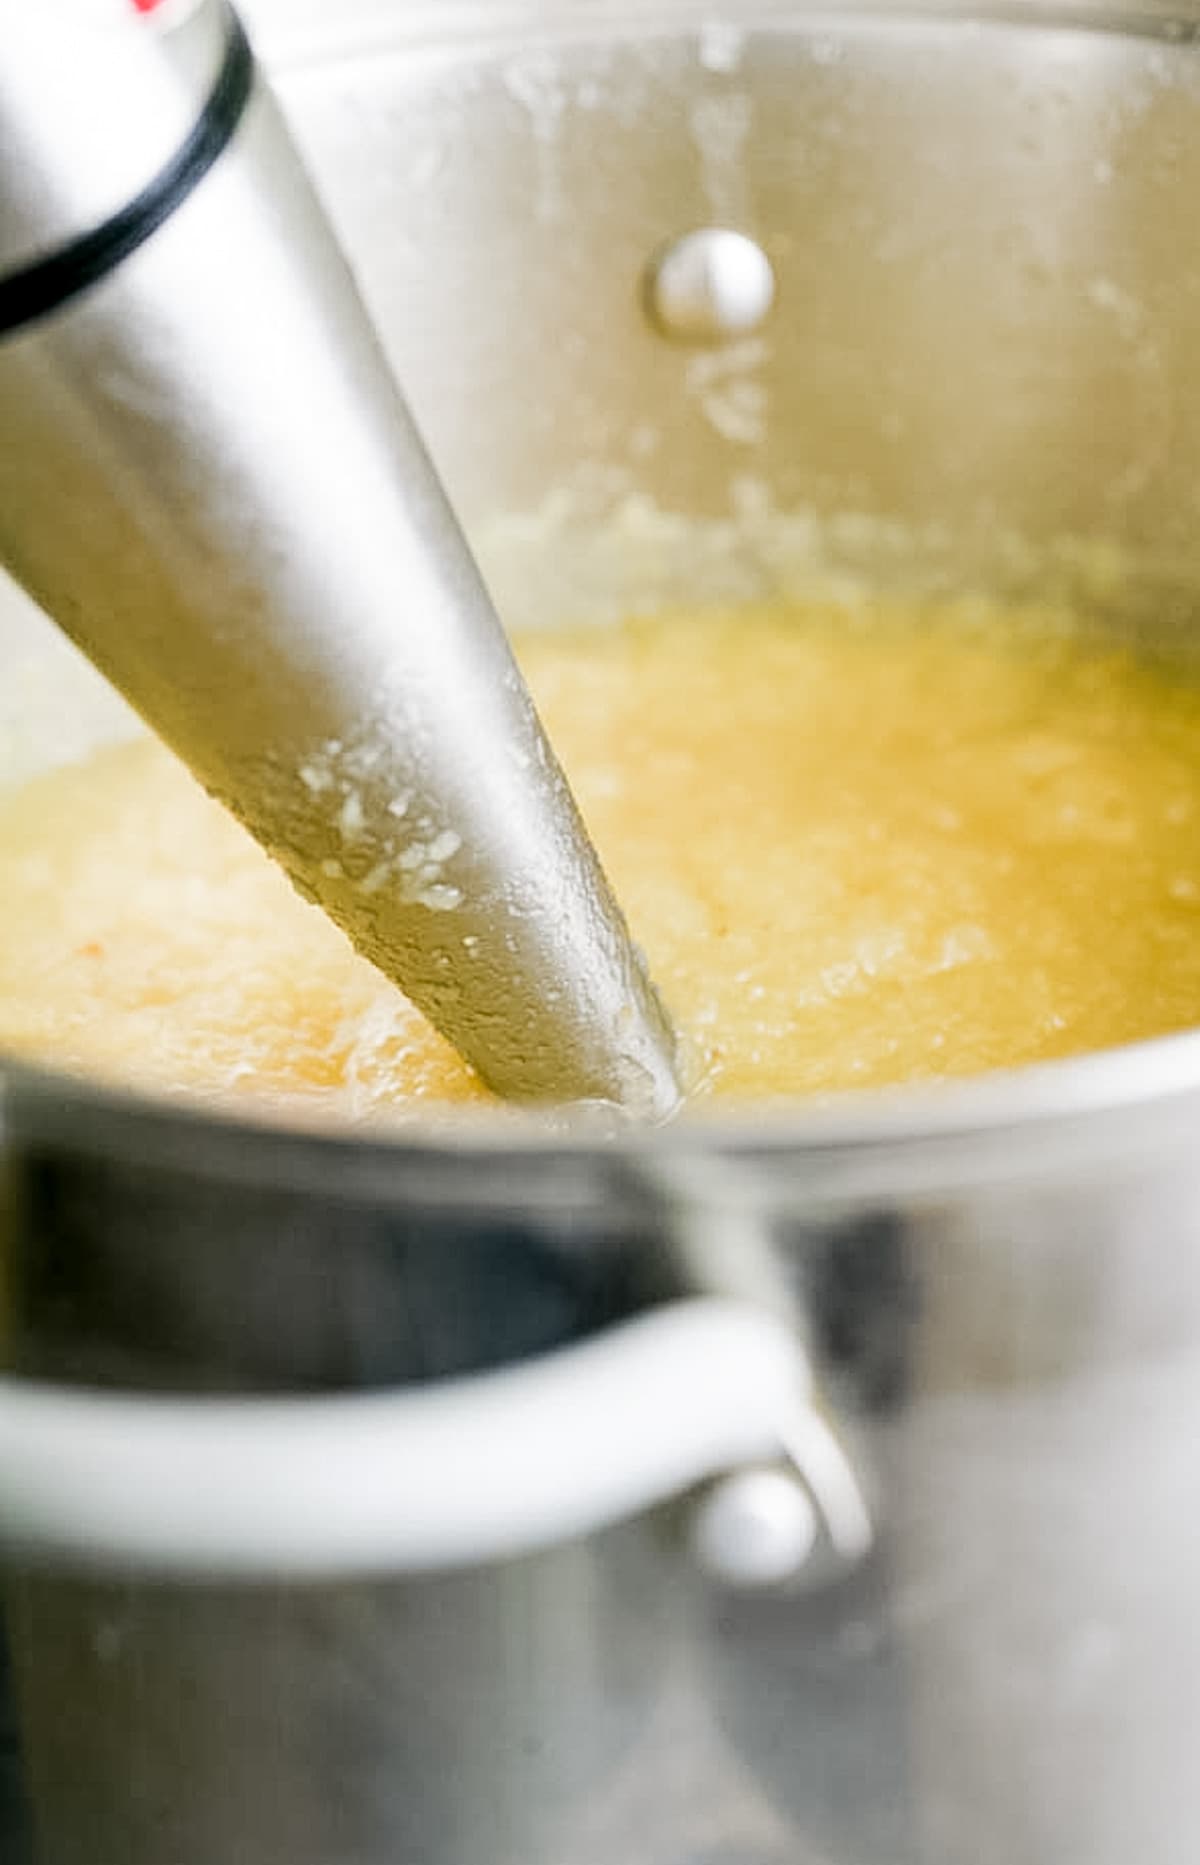
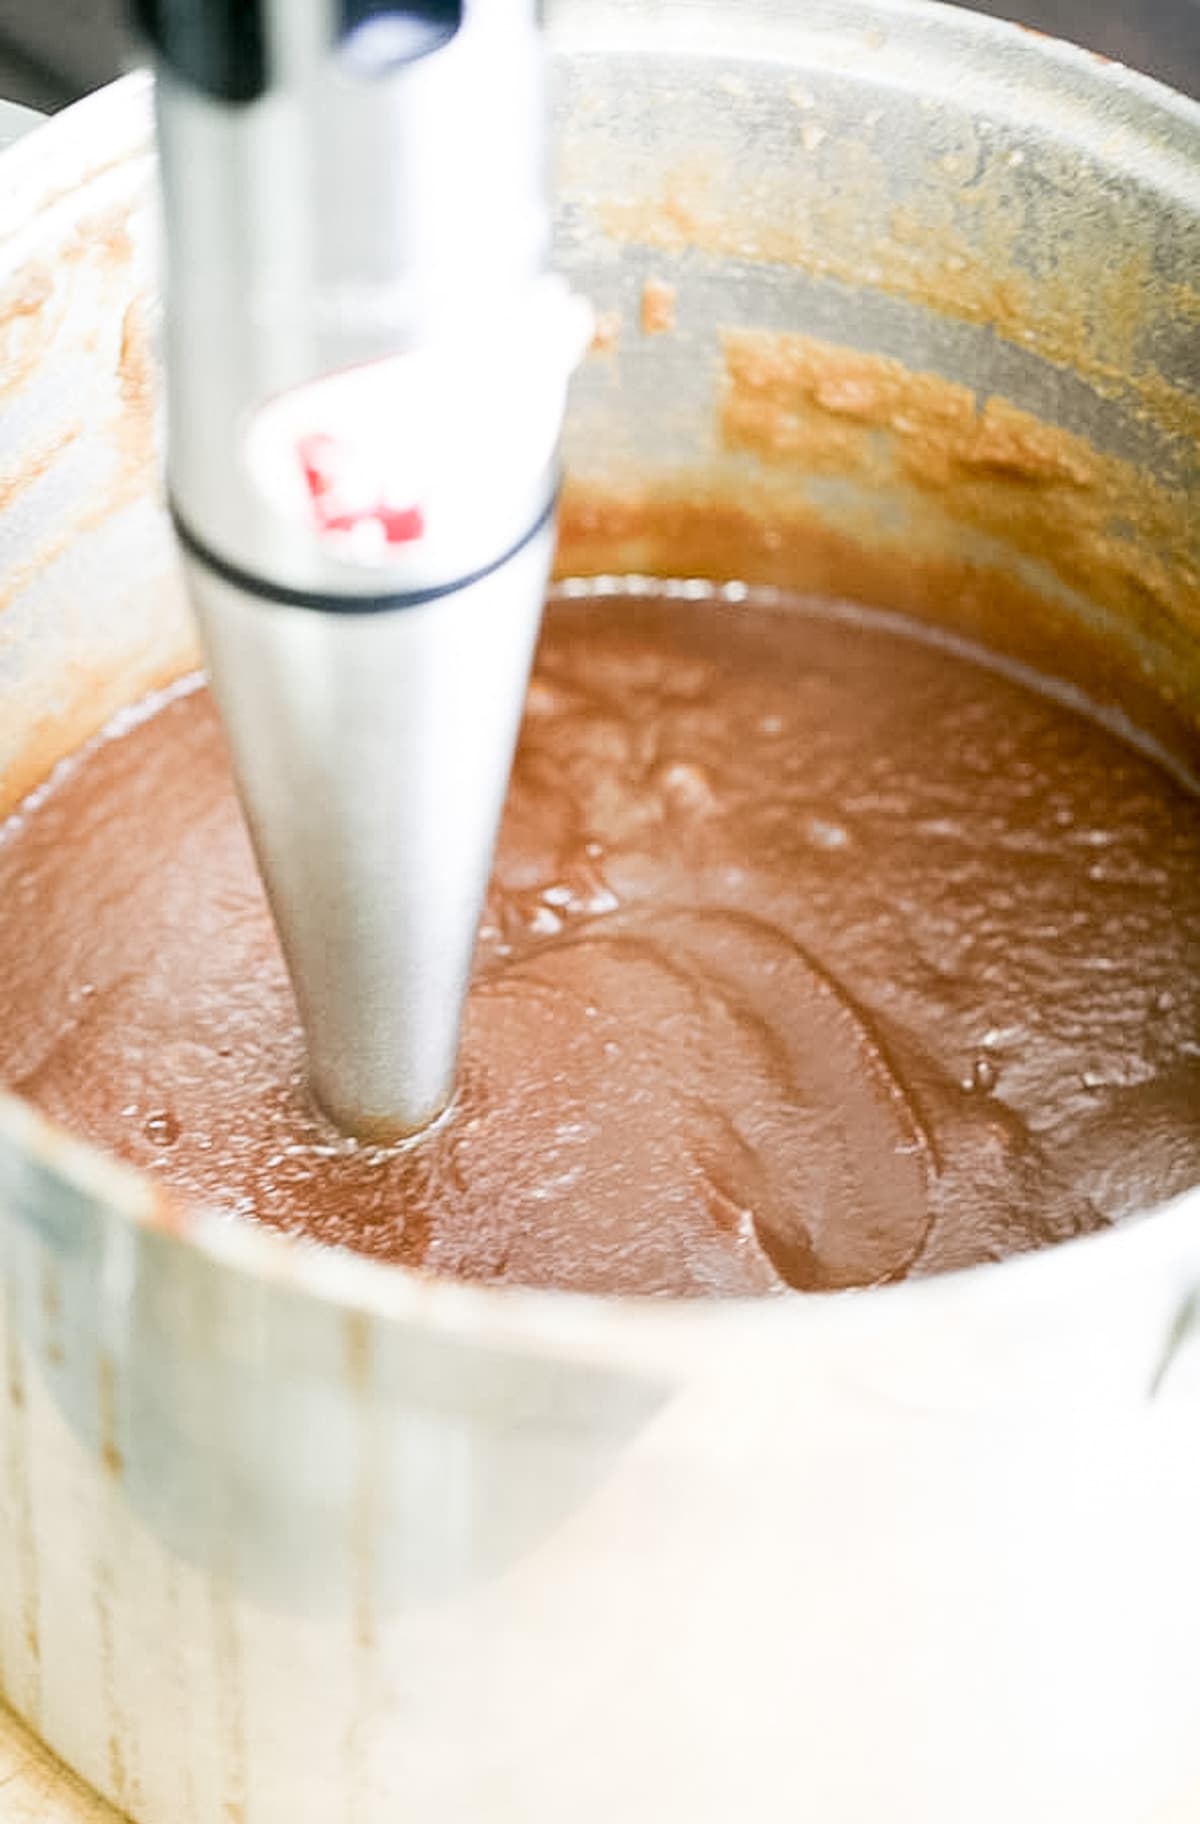
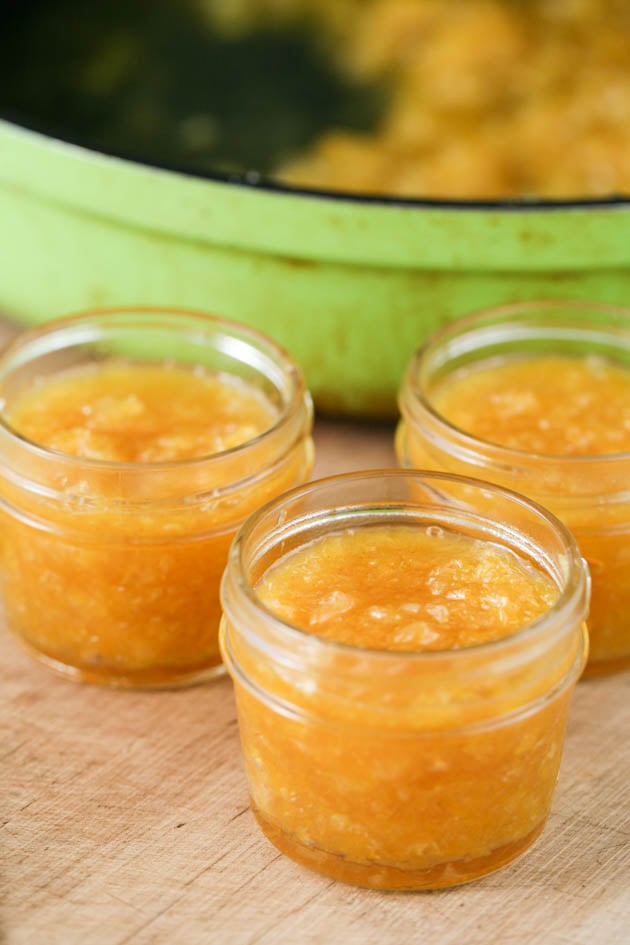
Step three – mash the apples. After about 30 minutes of cooking, the apples should be soft enough to puree. Remove the pot from the heat and let it sit for a minute. Then use the immersion blender to puree the apples into an applesauce.
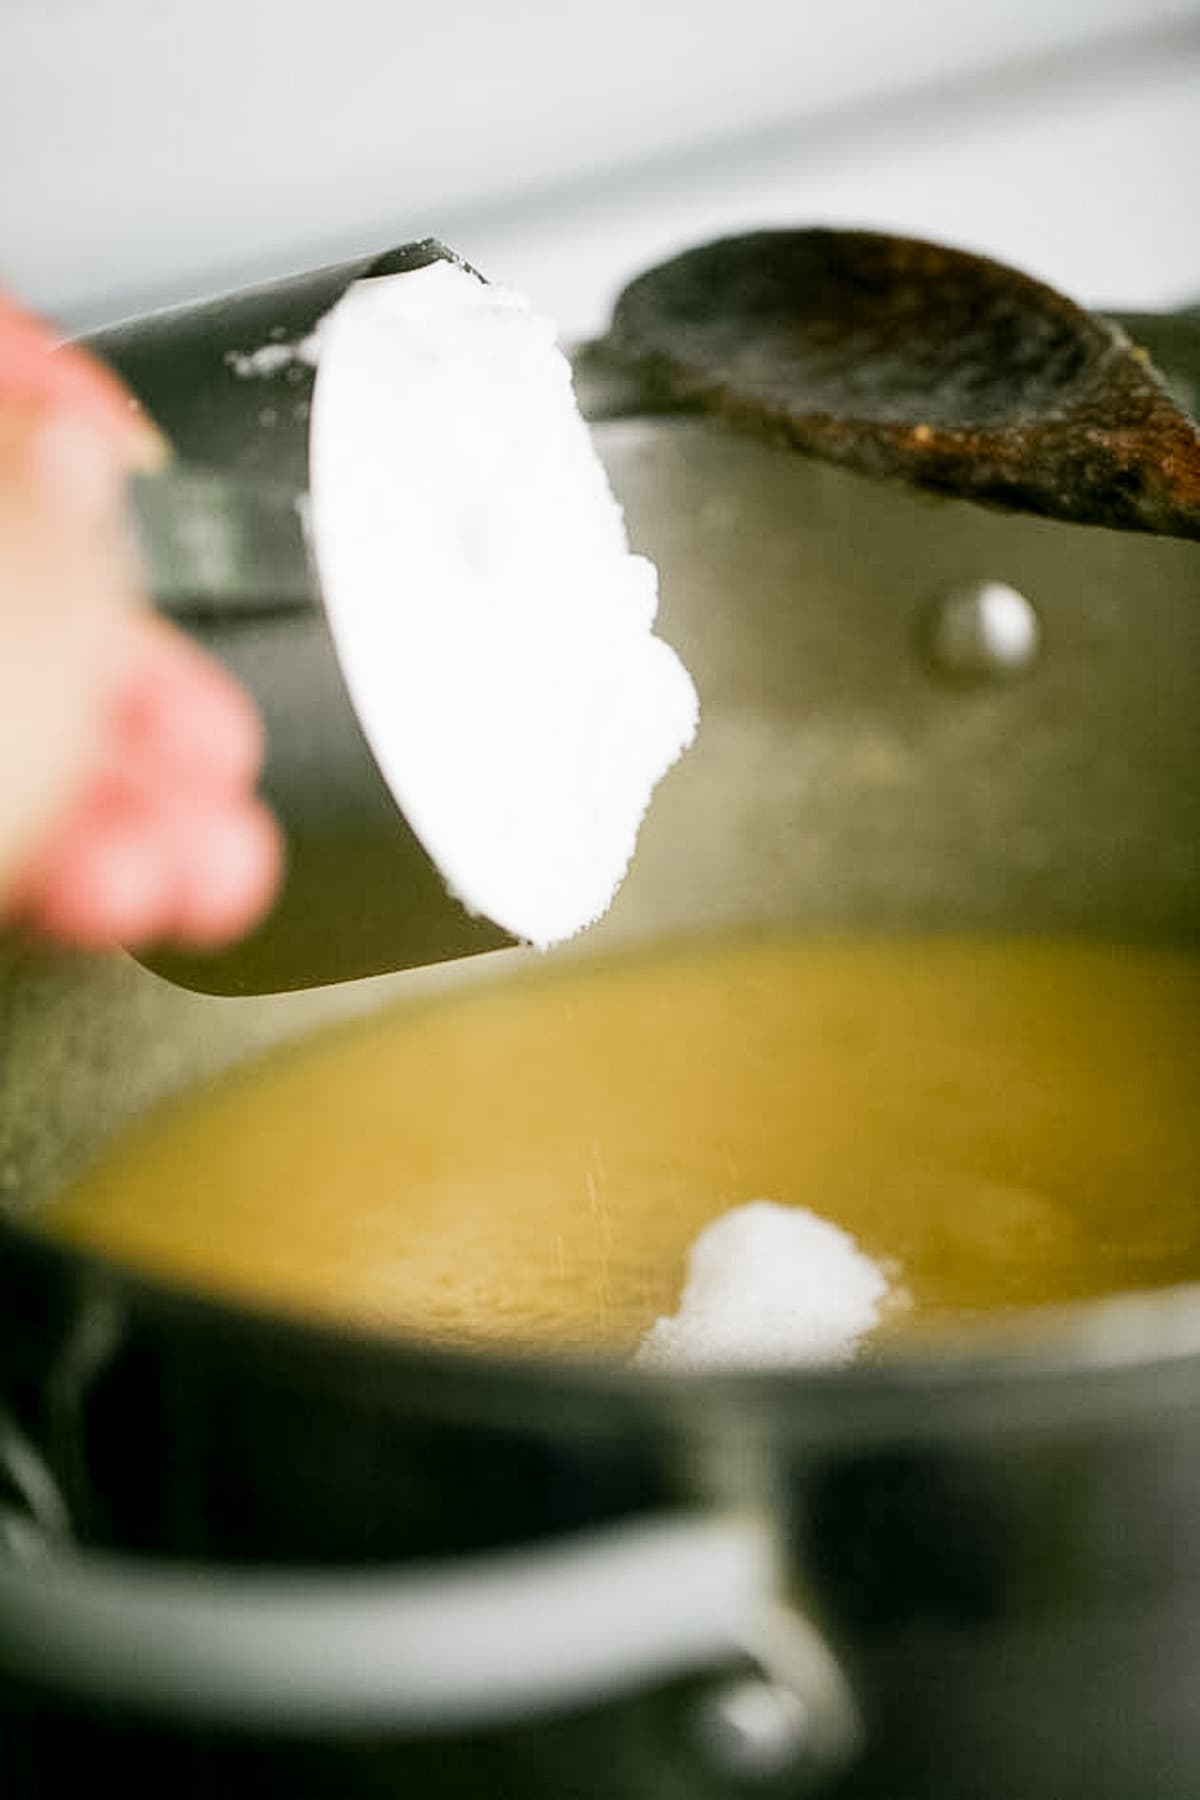
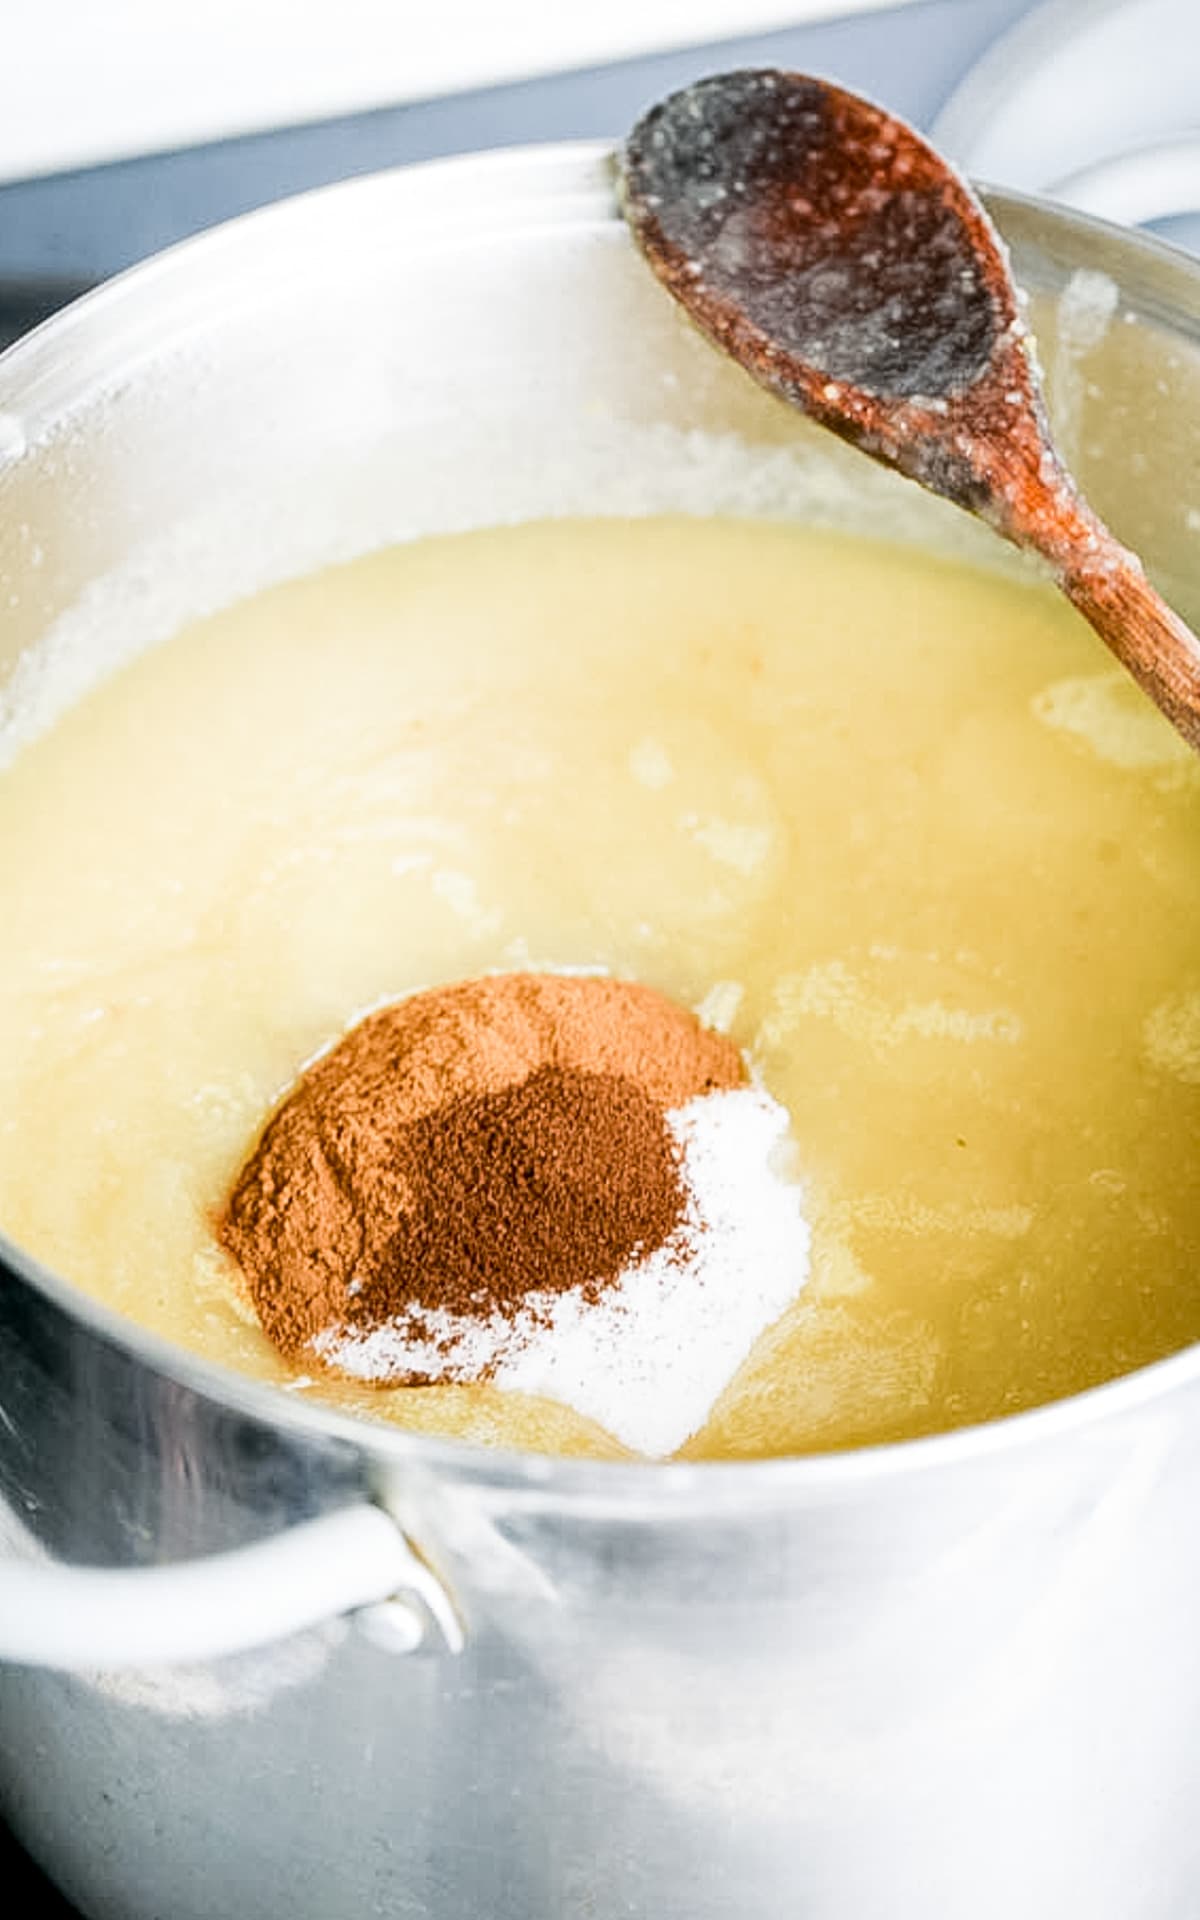
Step four – add sugar and seasonings. While the pot is still off the heat, add the sugar and spices and mix them in.
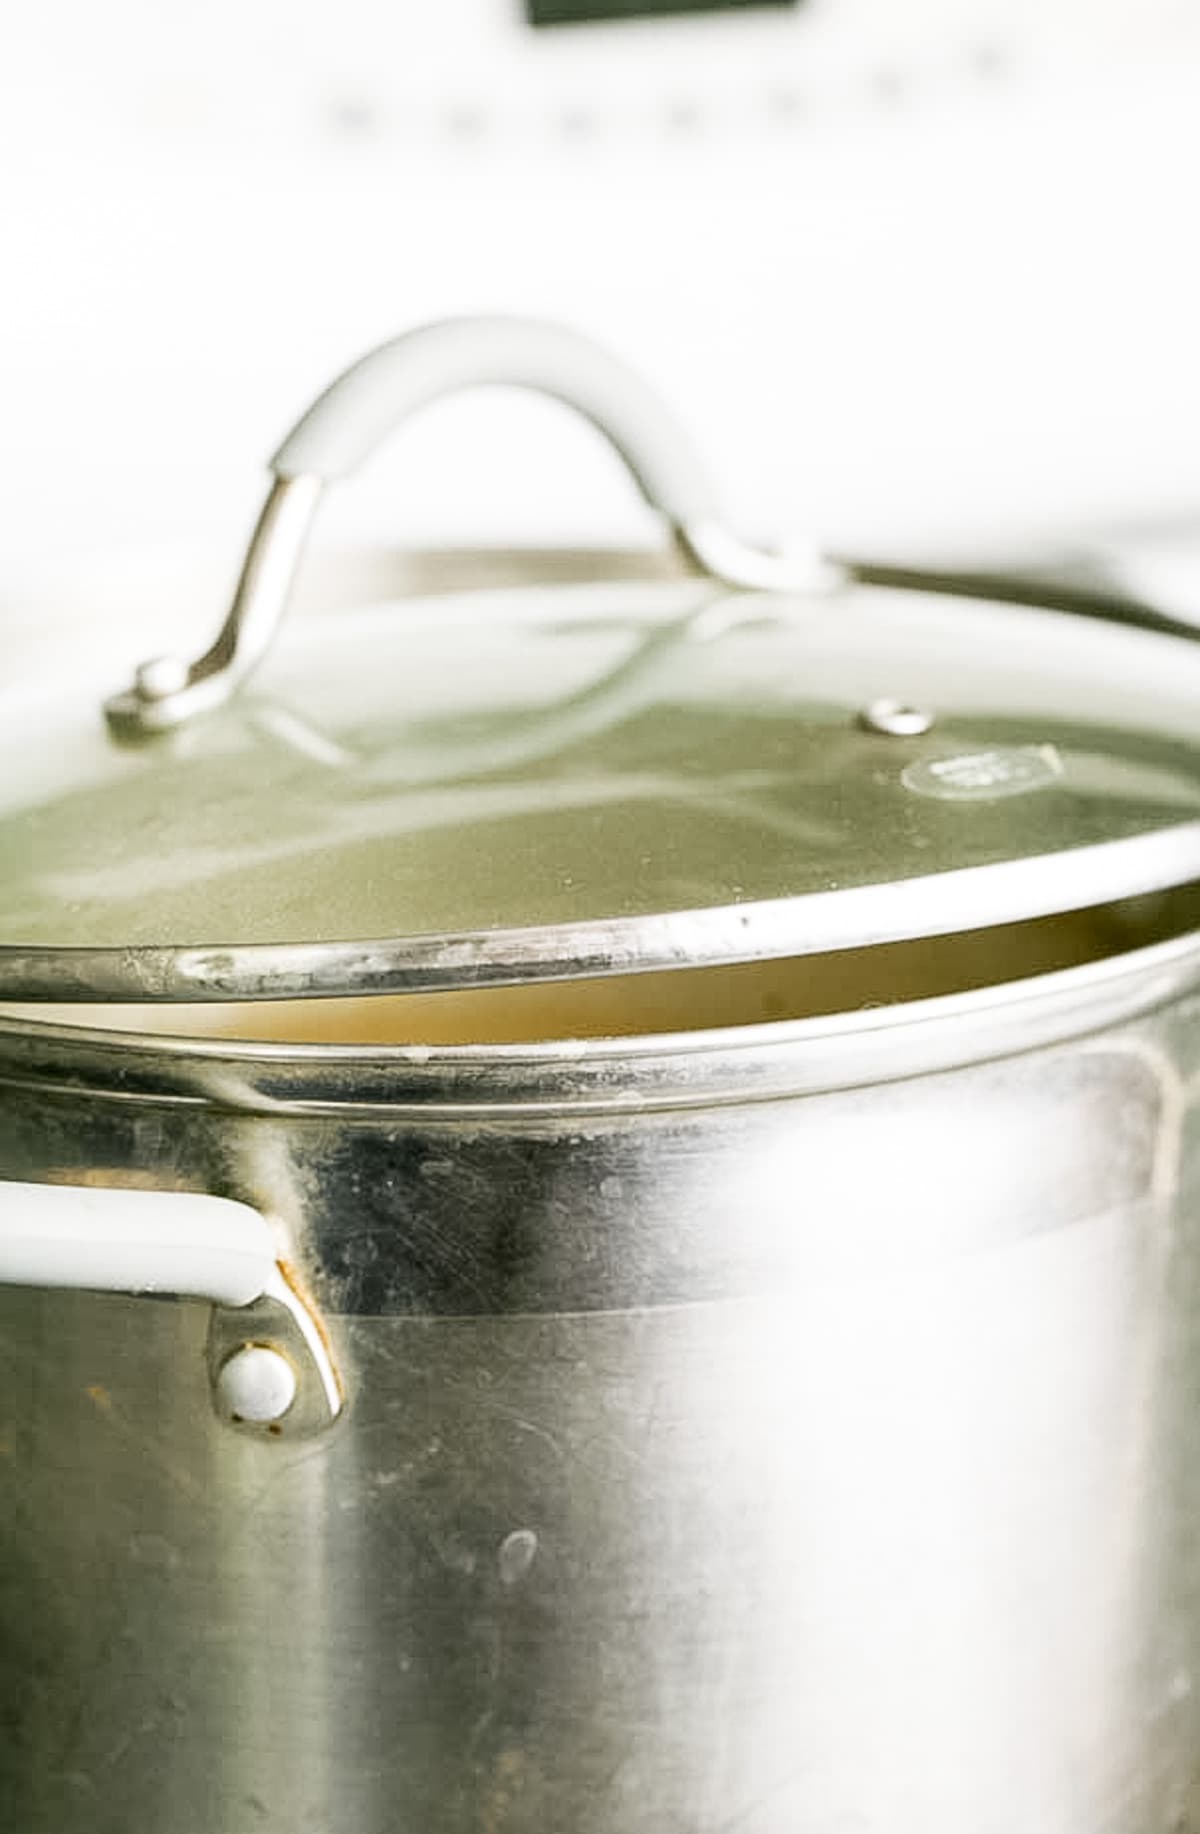
Step five – cook the butter. Turn the heat to low (very low), and place the pot back on the heat. Cover the pot but leave the lid slightly open to allow moisture to escape.
Apple sauce can be a mean thing! It bubbles and “explodes” in your face. From now on, every time that you want to stir your applesauce, which is going to slowly turn into apple butter, REMOVE THE POT from the heat first. Let it sit for a minute and then uncover, stir, cover, and return to the heat.
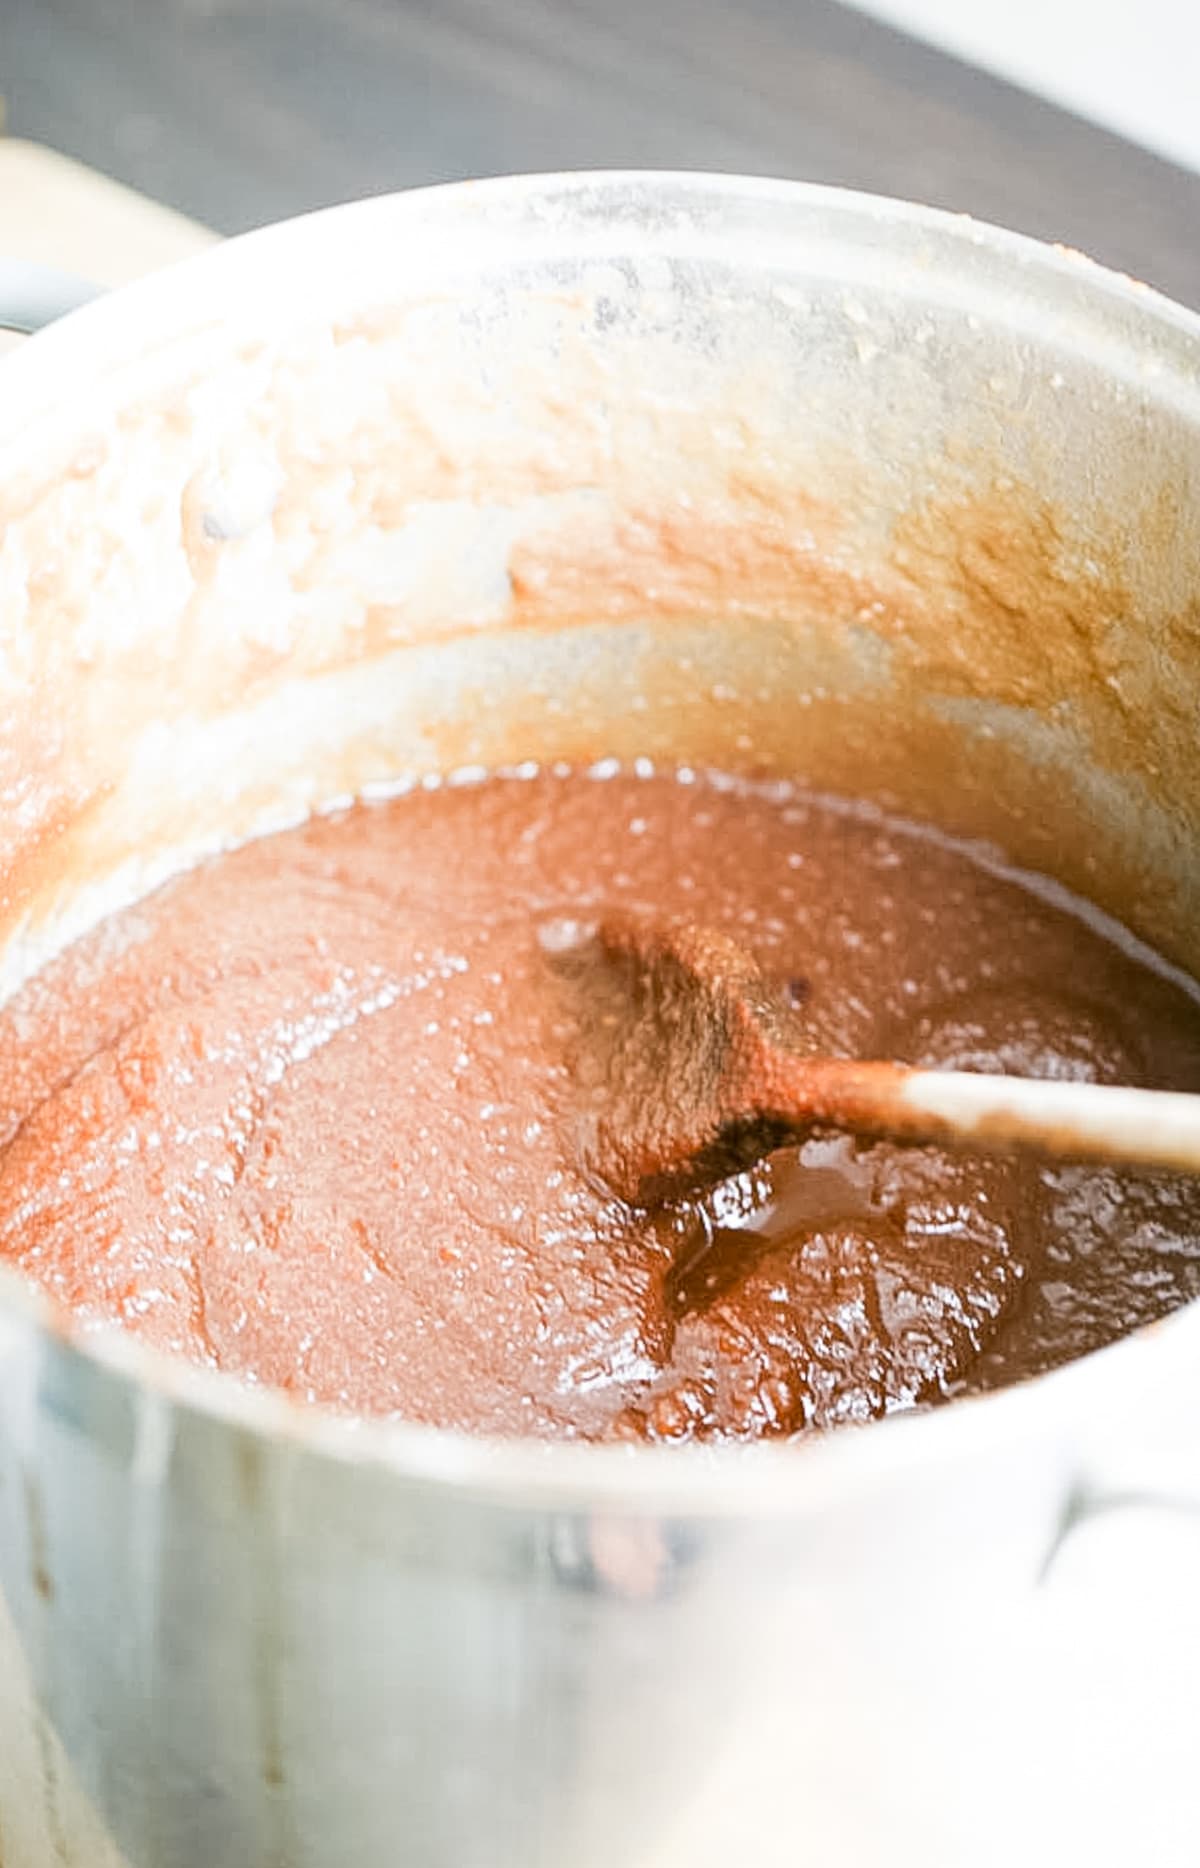
Now it’s all a matter of cooking it down. Depending on the variety of apples that you used and the amount of moisture in them, this can take 4 hours, 6 hours, or 10 hours… Just keep cooking on low heat, and every thirty minutes or so remove the pot from the heat, let it sit for a minute and then stir. Return it to the heat and cook some more.
NOTE – If for some reason you need to leave the house or go to bed for the night, feel free to turn the heat off. When you come back or in the morning, you can turn the heat back on and keep cooking.
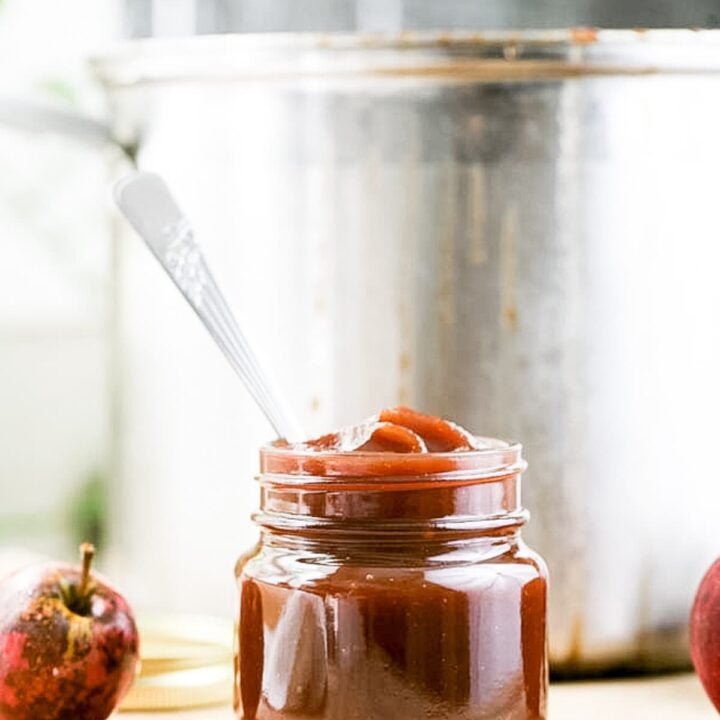
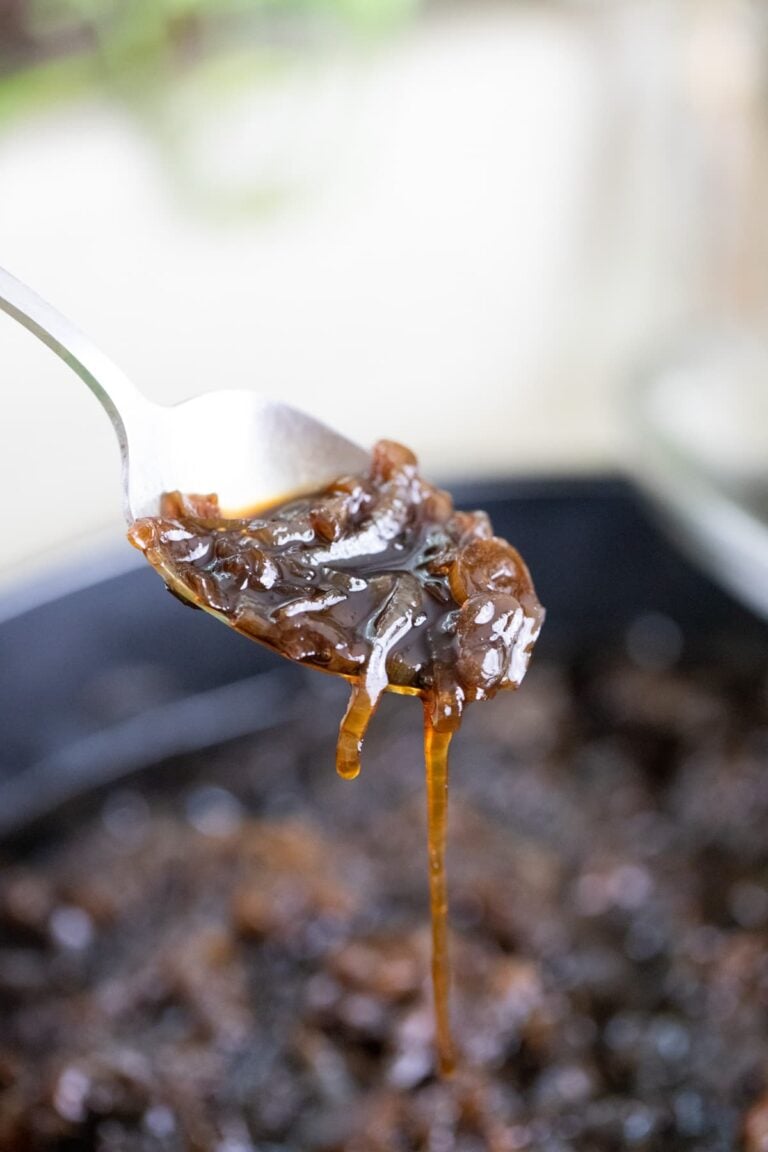
The apple butter will keep thickening until you have a rich, dark, thick spread. This is when you know that it’s done. To make it extra smooth and creamy, I use my immersion blender again when the apple butter is done cooking. I remove the pot from the heat and let it rest for a few minutes. Then I use the immersion blender one more time before I can my apple butter. This will give you an extra smooth apple butter!
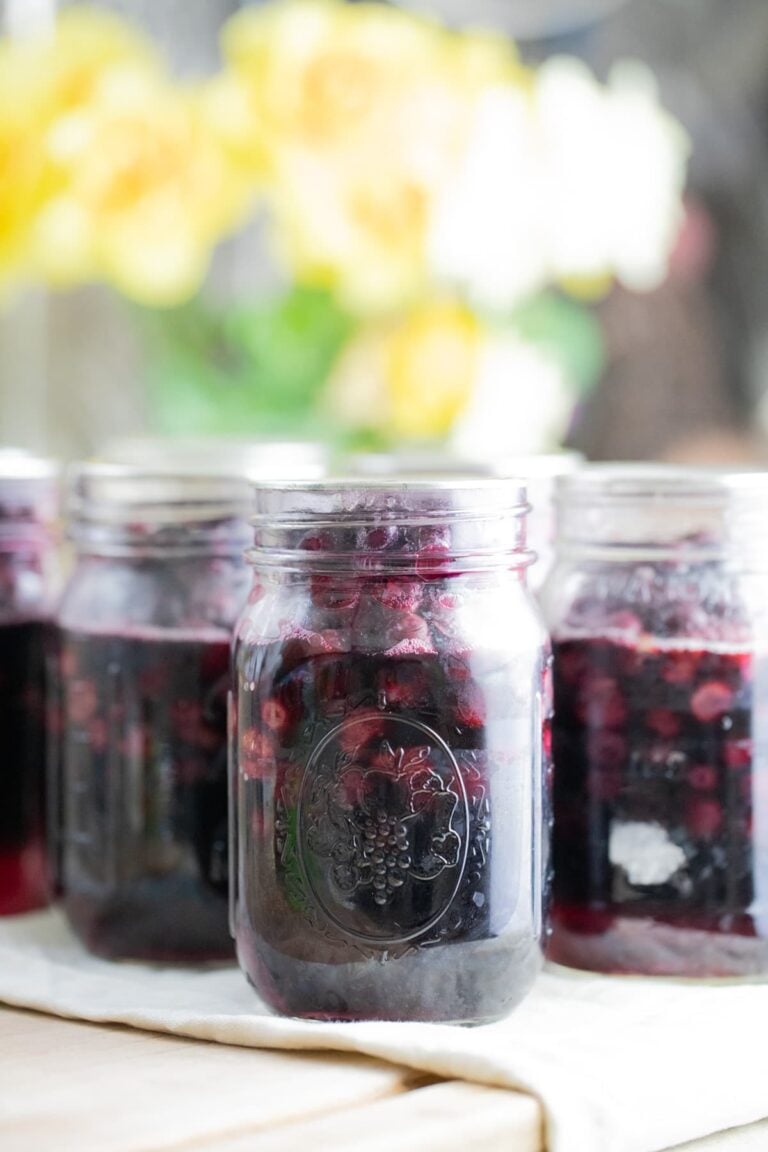
Canning Apple Butter…
Step six – prep for canning. Fill the water bath canner with enough water to cover the jars by about an inch. Place it on the stovetop and turn the heat to high. Bring the water to a rolling boil.
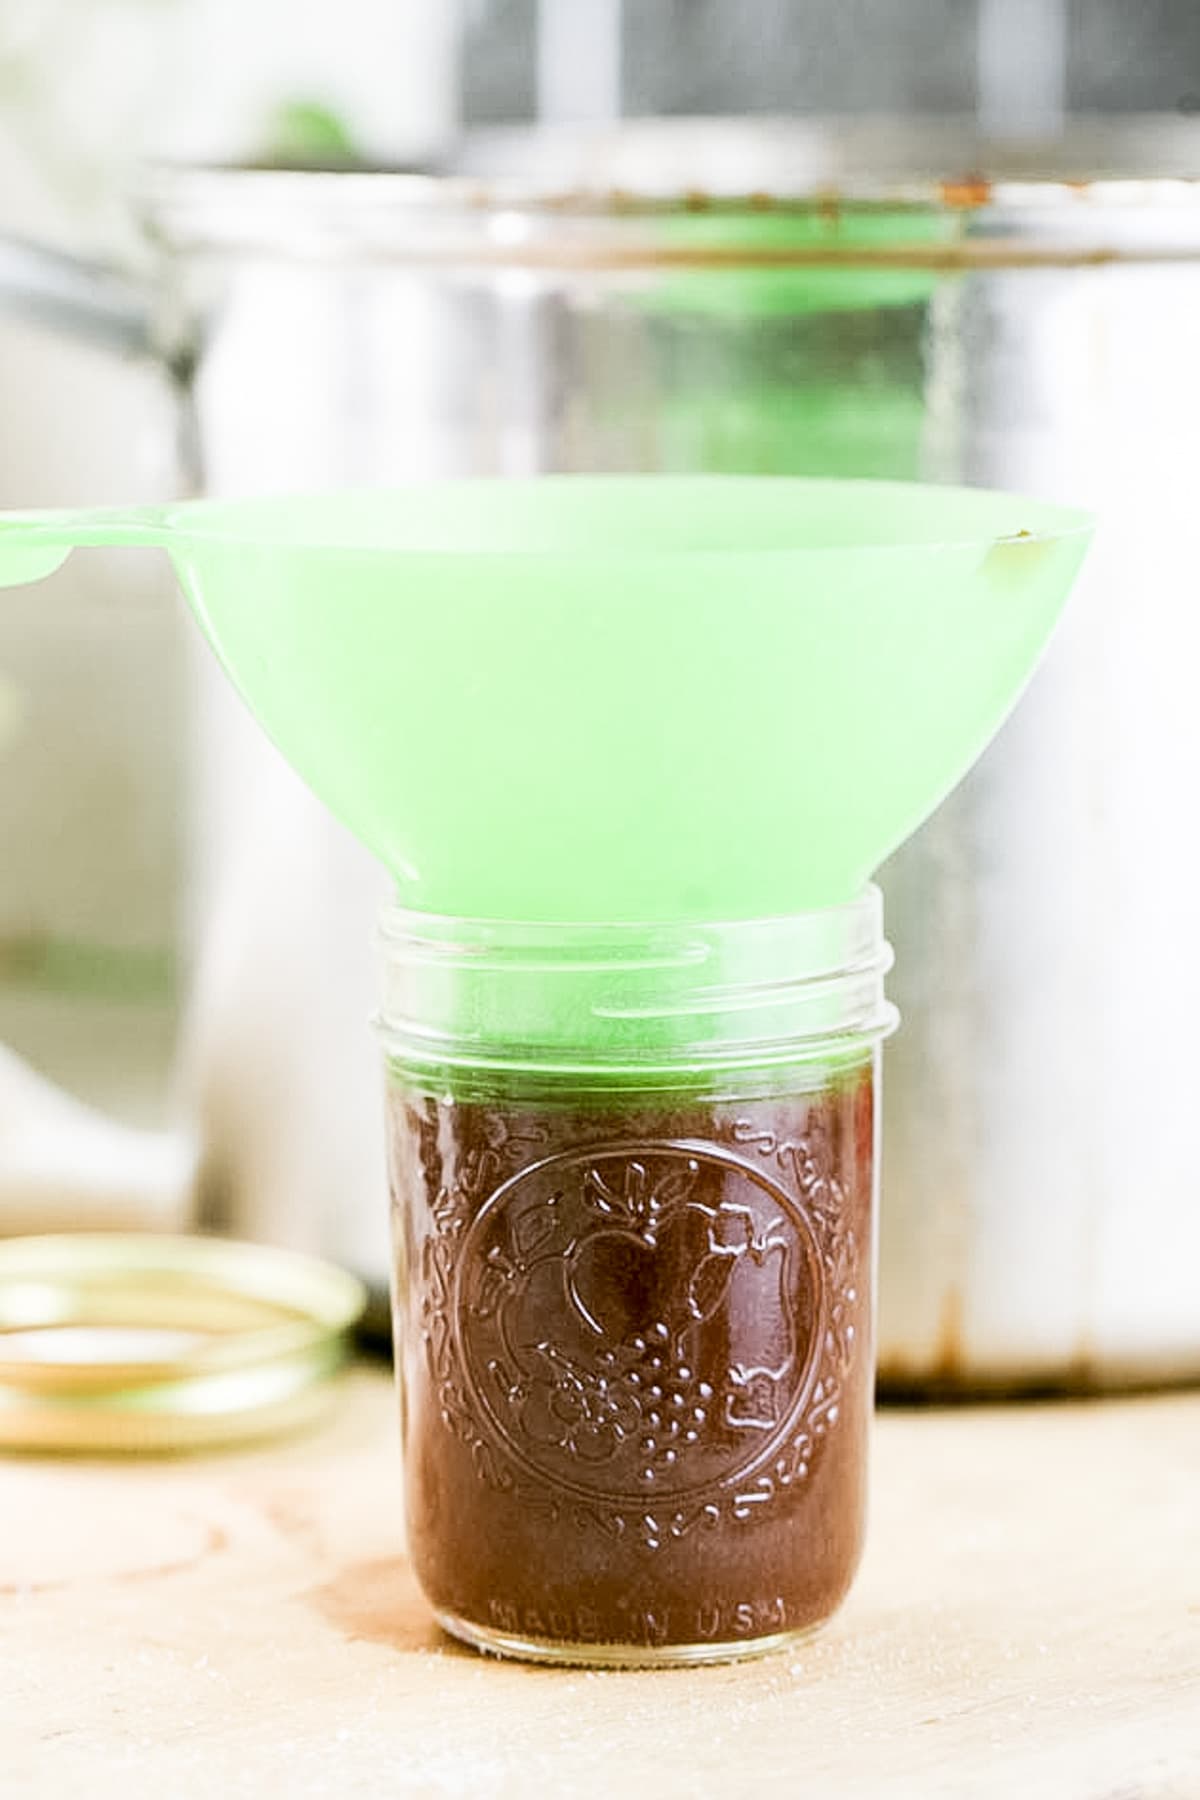
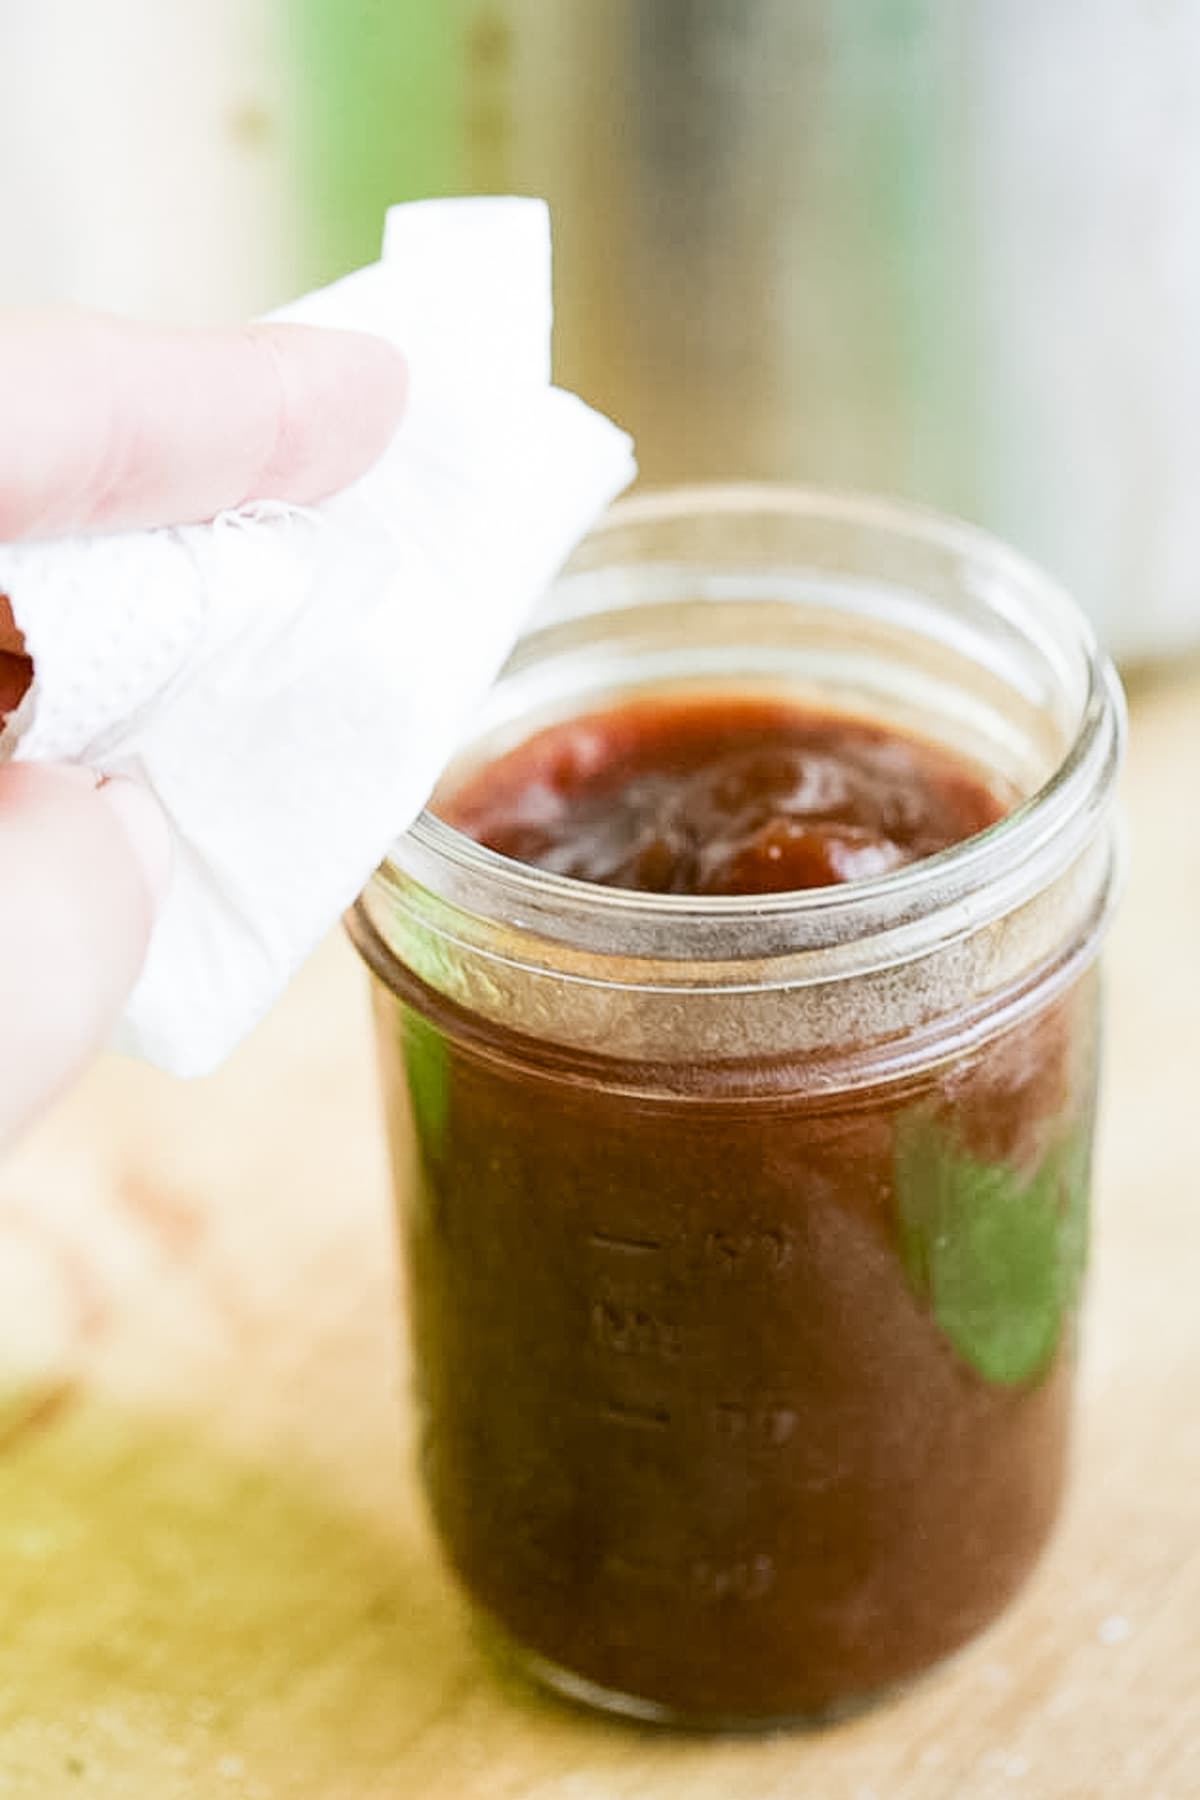
Meanwhile, wash the jars, lids, and bands, with hot water. Fill each jar with the hot apple butter leaving 1/2 inch of headspace. Use the bubble remover to remove air bubbles by sliding it along the inside of the jar (this is especially important with apple butter). Next, use a clean, damp paper towel to clean the rim of the jar before centering the lid and closing the jar with the band.

Step seven – process. Place the filled jars on the elevated rack of the water bath canner and slowly lower the rack into the boiling water. Cover the pot, and process half-pint and pint jars for 5 minutes and quart jars for 10 minutes.

If you live in an altitude above 1000 feet in elevation, adjust your processing time according to the table above.

Once processing time is up, turn the heat off and uncover the canner. Let the jars hang in the hot water for 5 more minutes before removing them from the canner. Set them on a towel on the kitchen counter and let them cool completely overnight.
Storing Apple Butter…
In the morning, check that all of your jars have sealed by pressing the center of each lid. If there is no movement there it means that the jar is sealed and is ready for storage.
Wipe the jars and remove the band. It’s easier to see what’s going on inside the jars without the band in the way and you can use the band to can something else. You can store your apple butter in the pantry or in a kitchen cabinet. It will last 12-18 months.
Serving Apple Butter…
- On toast – this apple butter is an amazing way to start the day! It pairs very well with toast and your morning coffee.
- Apple Butter Roasted Chicken – because chicken and apple butter go together so well.
- Apple Butter Bars – simple and moist, covered with a delicious frosting.
- Apple Butter Overnight Oats – a filling and healthy snack.
- Double Apple Carmel Bundt Cake – apples, caramel, and apple butter partying together.
- Apple Butter Bacon Scones – because apple butter and bacon are best friends.
- Sausage Apple Butter Pasta – well, yes. Apple butter goes very well with sausage as well!
The creaminess and sweet apple flavor is a great way to welcome fall and the apple harvest season. If you happen to find yourself with a huge amount of apples, making apple butter is a great way to cook down all those apples into a delicious butter that is very easy to preserve and has endless uses.
More Delicious Recipes…
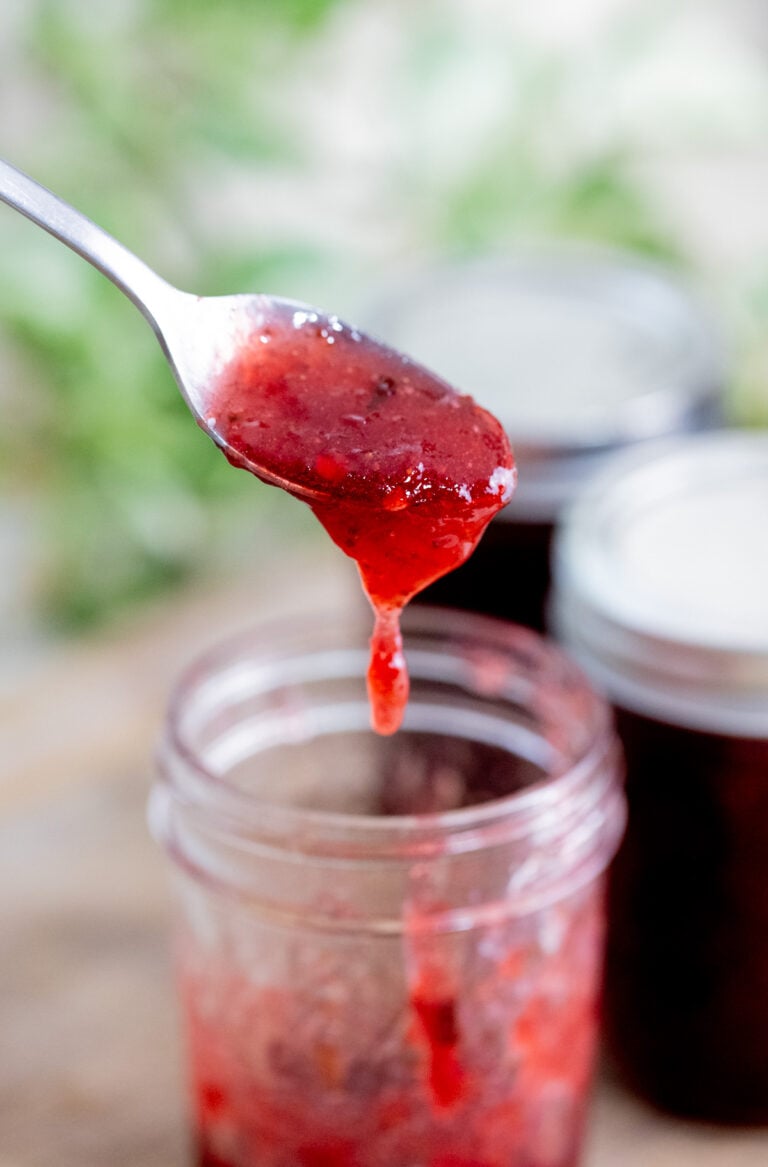
- Persimmon jam
- Cranberry Apple Jam
- Apple and Plum Jam Recipe
- Peach Jam Recipe
- Low Sugar Cantaloupe Jam
- Low Sugar Fig Jam
Apple Butter Recipe For Canning
This apple butter recipe for canning is done on the stovetop. It's simple, sweet, creamy, and delicious.
Ingredients
- 8 pounds of apples, peeled, cored, and diced (I started with 10 pounds of apples).
- 2 cups of water (see notes for possible substitutions)
- 4 cups of sugar
- 4 teaspoons ground cinnamon
- 1 teaspoon ground clove
Instructions
- Add apples and water to a heavy-bottomed pot. Turn the heat to medium-high and bring to a simmer. Simmer for 30 minutes stirring frequently.
- Remove the pot from the heat and let it rest for a minute. Use an immersion blender to puree the apples into an apple sauce. Add the sugar, cinnamon, and clove and stir them in.
- Turn the heat to low and return the pot to the heat. Cover the pot but leave the lid slightly open to allow moisture to escape.
- Cook your applesauce on low heat until it becomes a rich, thick, and dark apple butter (paste consistency). This can take anywhere from 4 hours to 10 hours depending on the variety of apples that you used.
Stir your apple butter every 30 minutes to an hour.
Make sure to REMOVE THE POT from the heat before you uncover and stir. The thick sauce bubbles and "explodes". Take the pot off of the heat, let it rest for a minute, then uncover, stir, cover, and return to the heat.
If at any point you need to leave the house or go to bed, feel free to turn the heat off and keep cooking when you return. - When your apple butter is ready, remove the pot from the heat and let it rest for a few minutes. Then use the immersion blender once more to blend the butter into an even smoother paste (this step is optional).
- To can your apple butter, fill your water bath canner with enough water to cover your jars by about an inch. Set the canner on the stovetop and turn the heat to high. Bring the water to a boil.
- Wash your jars well with warm water. Use the canning funnel and a ladle to fill the jars leaving 1/2 inch headspace.
- Use the bubble remover to remove air bubbles from the jar by running it along the inside of the jar. This is important and is easier to do if you use straight-sided jars.
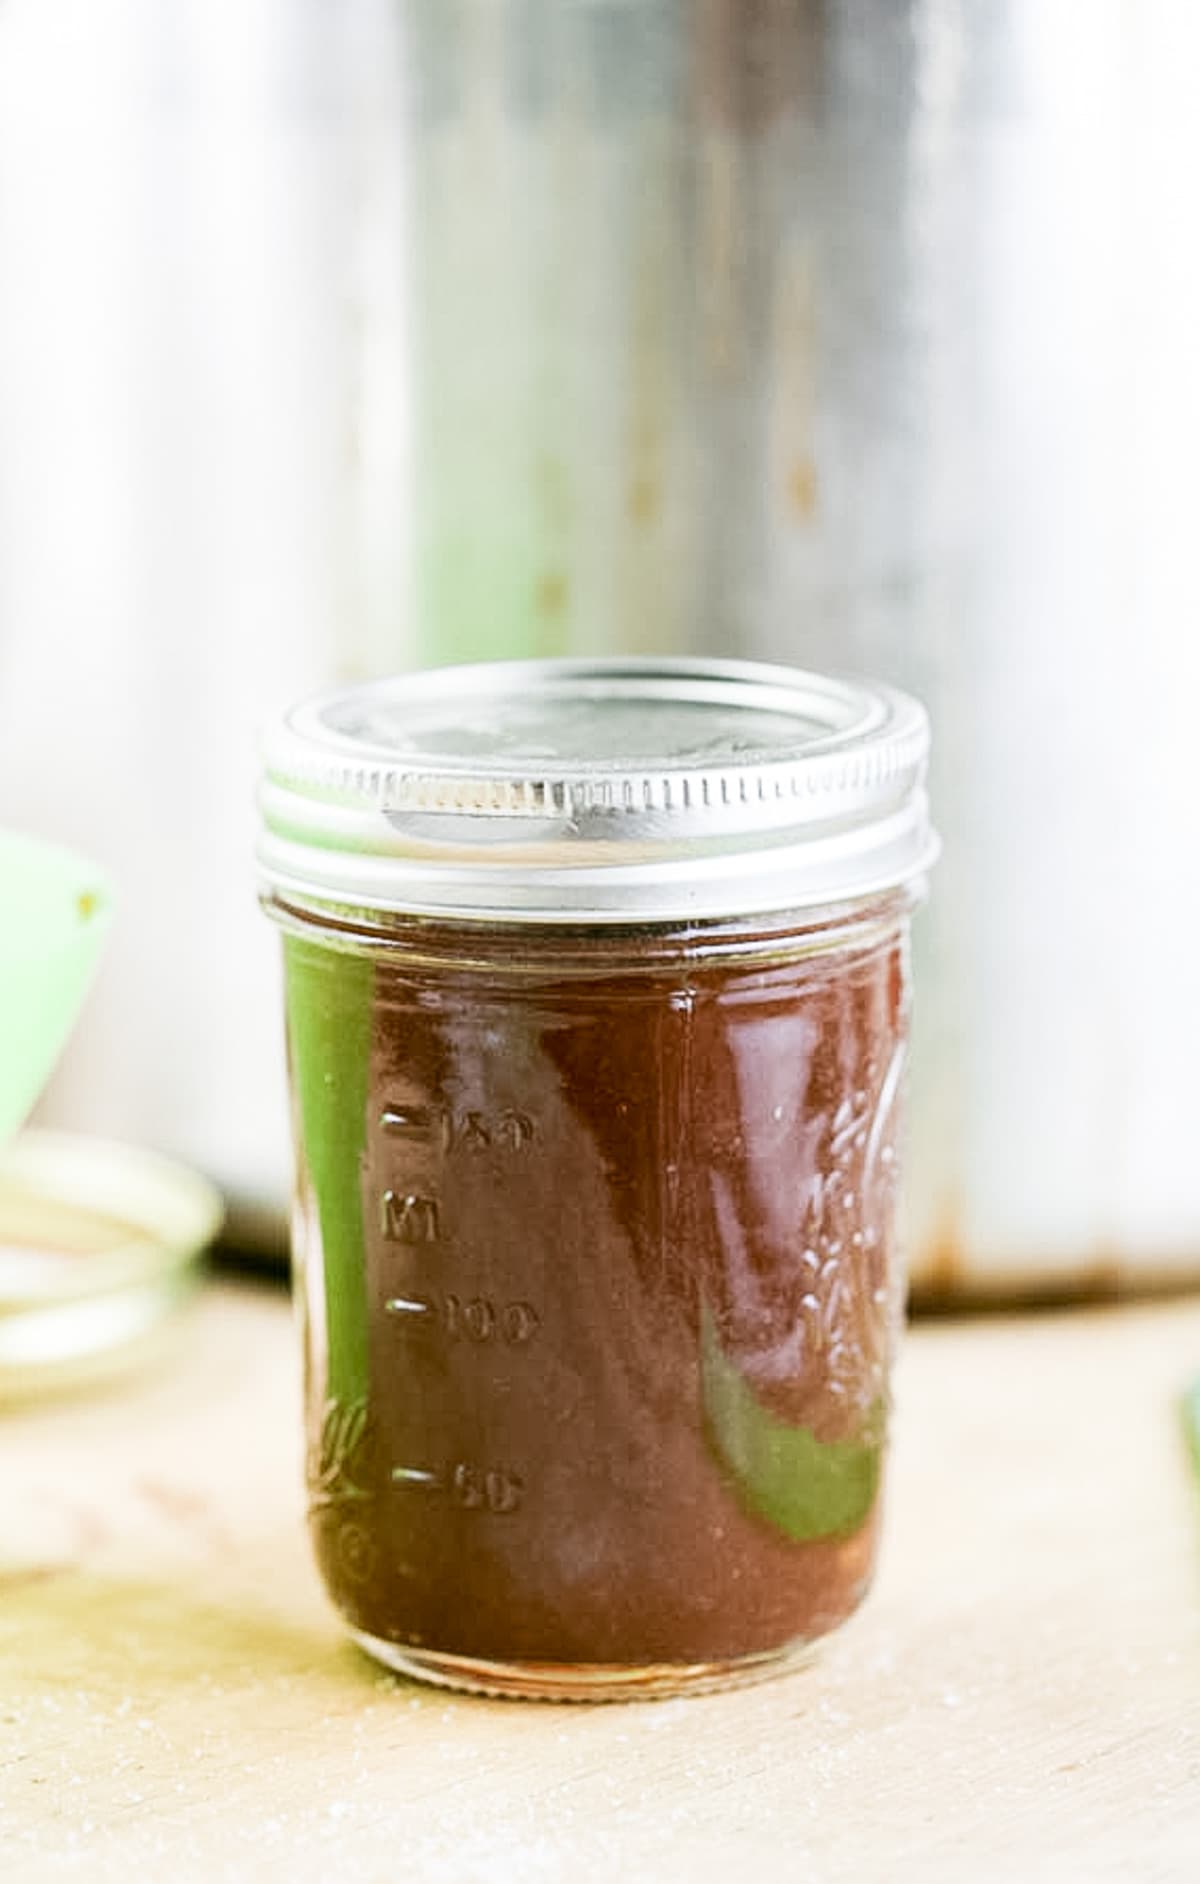
- Use a damp paper towel to clean the rim of the jar before centering the lid and closing the jar with the band.
- Set your filled jars on the rack of the canner. Once they are all filled, lower the rack into the boiling water and process half-pints and pint jars for five minutes (adjust processing time according to the table in the notes).
- Turn the heat off and uncover the pot. Let the jars rest in the hot water for five minutes before removing them. Set the jars on a kitchen towel on the counter. Let them cool completely overnight before storing them in the pantry.
Notes
If you live above 1000 feet in elevation, make sure to adjust processing time according to the table below...
Kitchen Notes...
- Sugar - if you'd like, you can add a bit of stevia or molasses instead of sugar, or you can use nothing. Apples are sweet enough, the added sugar just helps preserve the color of the apple butter for a longer period. Or, you can add a different amount of sugar...To make apple butter, add 1/2 cup of sugar for every 1 pound of apples that you are processing. You can add less or a little more (but not much more).
- Vinegar - another popular addition to apple butter is apple cider vinegar (or you can use apple scrap vinegar). Feel free to substitute some of the water with apple vinegar, it adds a little tang to the sweetness.
- Apple juice - another option is apple juice instead of some of the water.
- Seasonings - as far as seasonings, there is a lot of room to play here. Add allspice, nutmeg, cinnamon, clove, salt... Or any other fall spices that you wish.
Recommended Products
As an Amazon Associate and member of other affiliate programs, I earn from qualifying purchases (there is no change in product cost or charge to you! Thank you for helping me support the blog).
-
 OXO Good Grips Prep Y-Peeler
 -
TUO Cutlery Vegetable Meat Cleaver Knife - Chinese Chef's Knife - HC German Stainless Steel with Pakkawood Handle with Case - 7" - Fiery Series
-
Heim Concept Organic Bamboo Cutting Board for Kitchen Extra Large Chopping Board with Juicy Groove Perfect for Meat, Vegetables, Fruits, Cheese
-
Johnny Apple Peeler Cast Iron Clamp Base, Apple Slicer, Corer, Parer & Pie maker, Red

Nutrition Information:
Yield: 208 Serving Size: 1 tablespoonAmount Per Serving: Calories: 24Total Fat: 0gSaturated Fat: 0gTrans Fat: 0gUnsaturated Fat: 0gCholesterol: 0mgSodium: 0mgCarbohydrates: 6gFiber: 0gSugar: 6gProtein: 0g

You made the canning process clear and easy. Thank you! Turned out great.
You are welcome! Thanks for stopping by.
How many 8oz jars does this recipe make
I got 13 half pints from this recipe.
i want to make apple cider, can I make apple butter from the pulp? I don’t want to waste anything.
Yes, I think it should work. I’m guessing you are left with something that looks a little bit like apple sauce… It should work.
How long is it shelf stable for?
A year to 18 months. Possibly more if the jars sealed correctly.
What happens if the apple butter doesn’t seal? Can you change the lid and redo it? Half of mine didn’t seal.
Yes, you can try processing it again. Open the jars, clean the rim, place a new lid on, close with the band, and process again. It will also last in the fridge for a long time if you prefer to keep it in the fridge.