This post may contain affiliate links, view our disclosure policy for details.

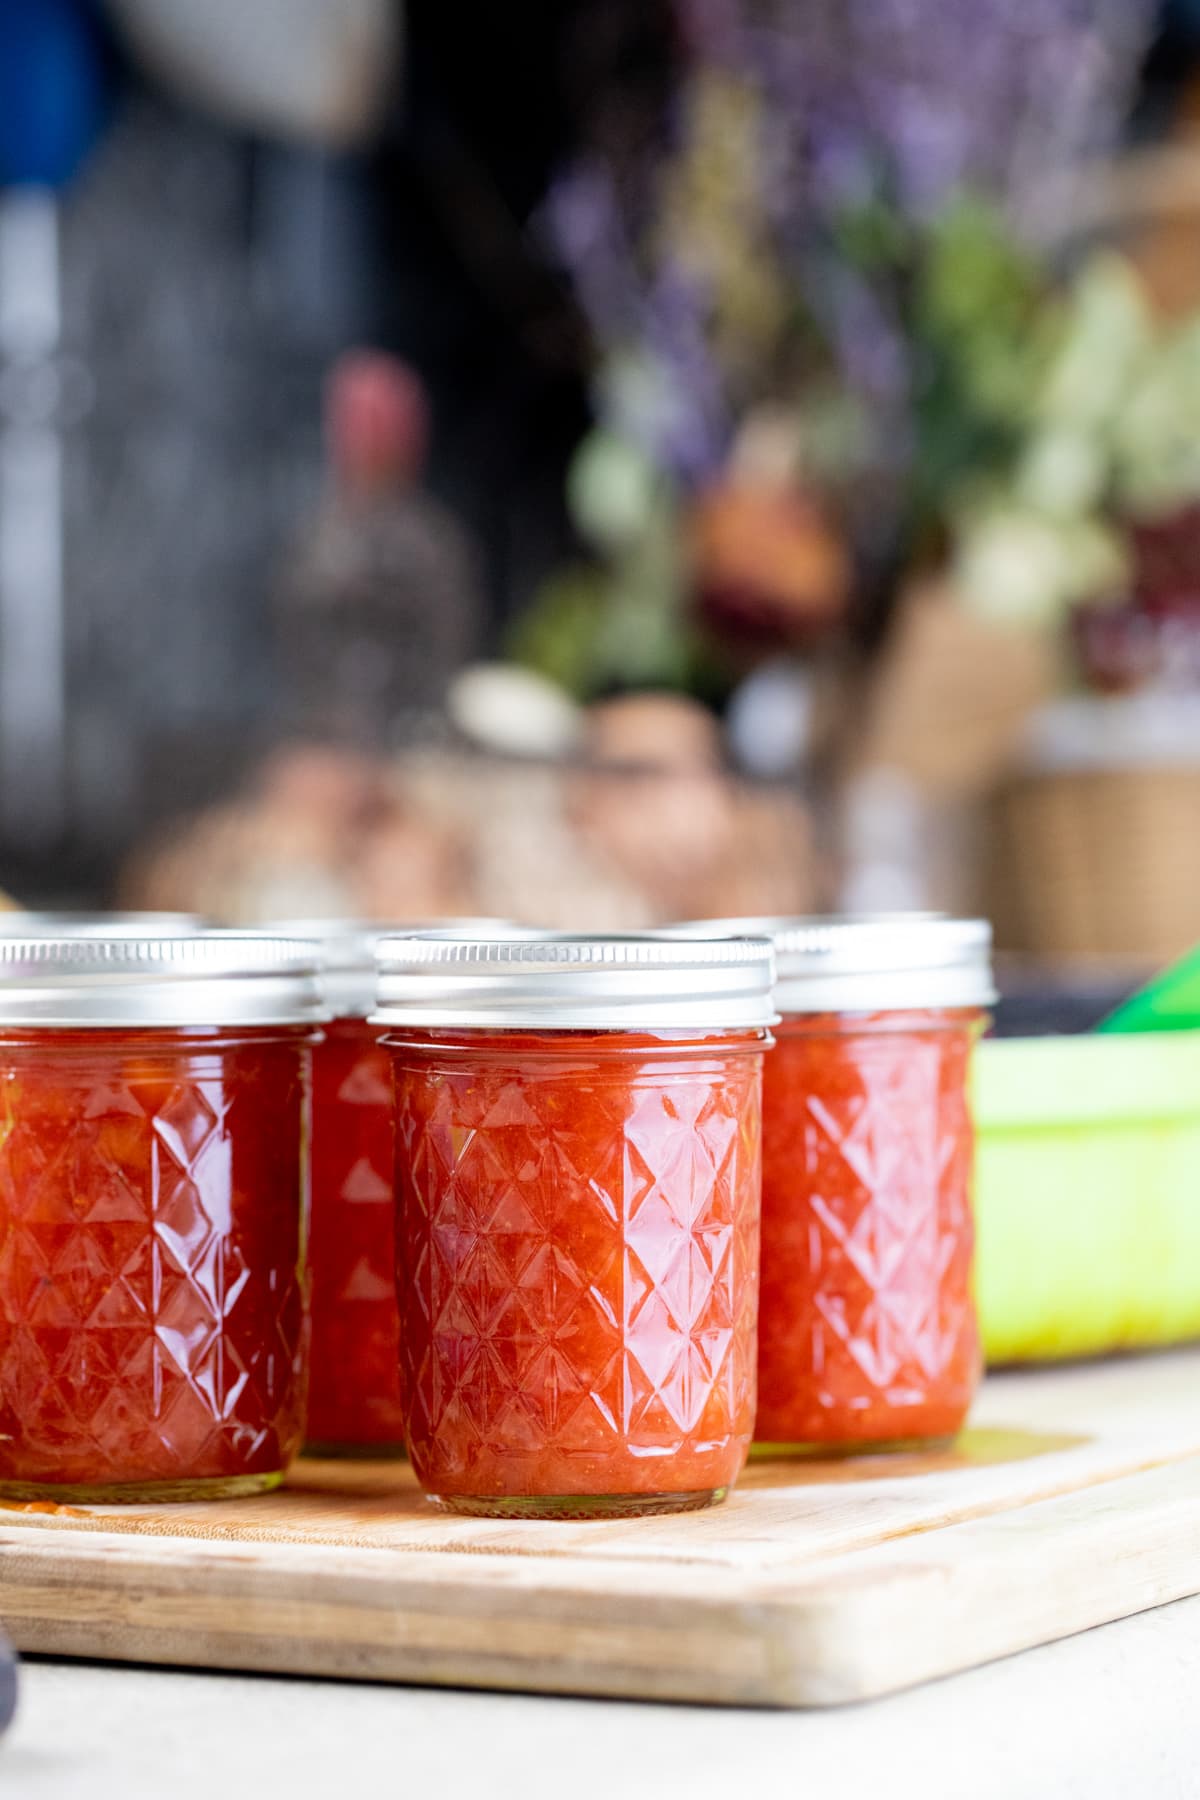
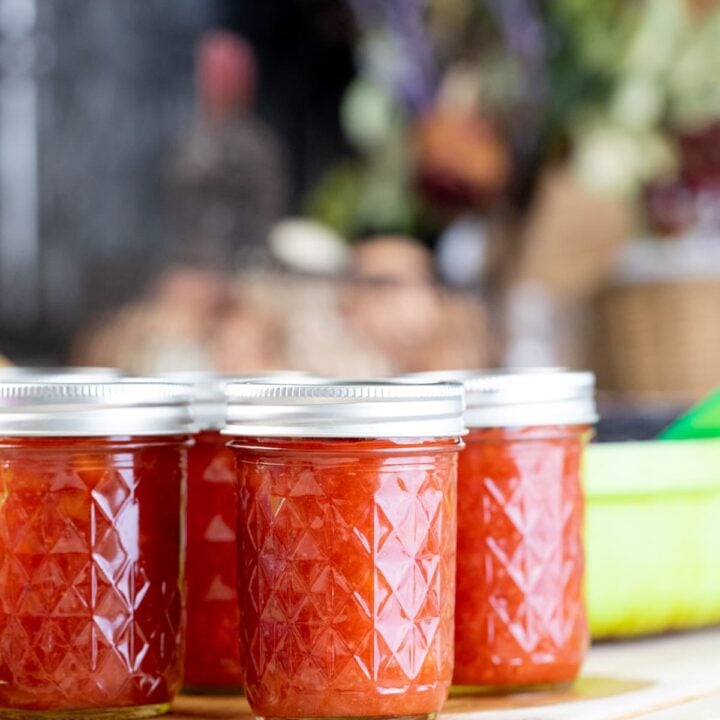
This strawberry mango jam is the perfect summer jam! Made with less sugar and no store-bought pectin, it’s not too sweet, delicious, and a perfect ingredient to have on the shelf!
Lady Lee’s Note…
Let me tell you… The combination of mango and strawberry is going to lead to world peace. I promise, because no one can be mad after trying this goodness!
This is a simple jam that takes less than an hour to make. You can keep it in the fridge or follow the canning instructions below to keep it on the shelf at room temperature.
Ingredients…
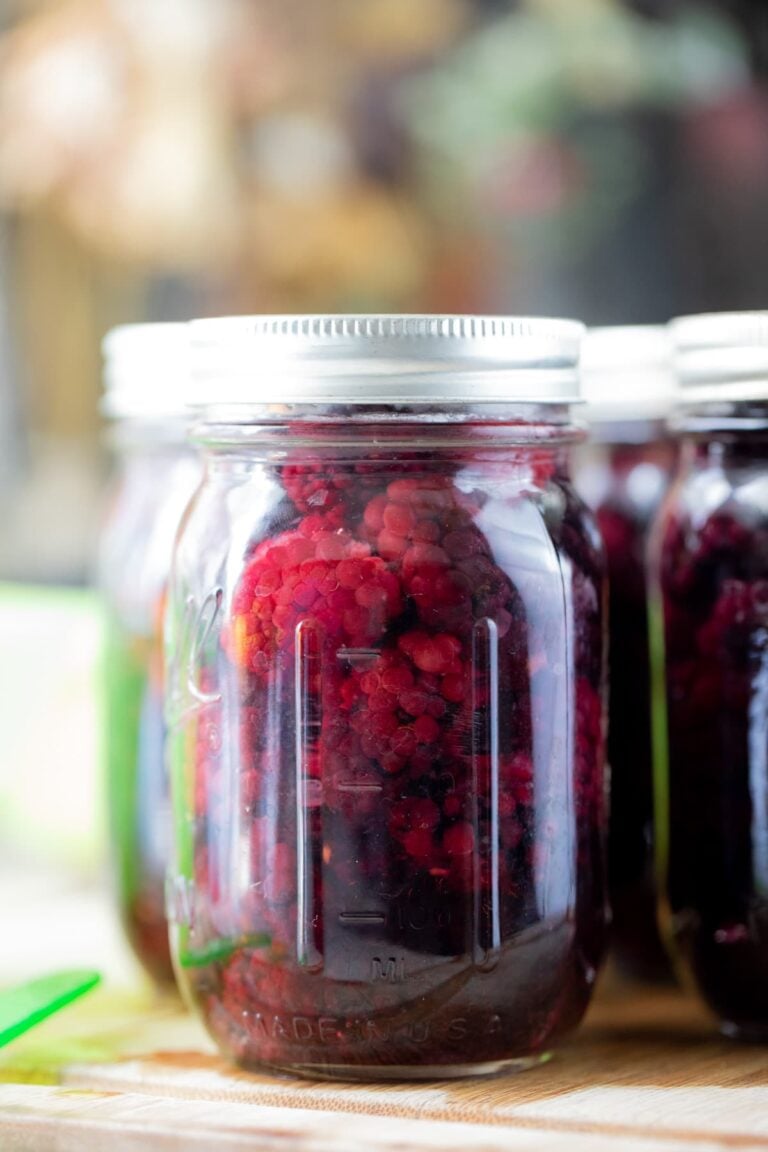
- Strawberries (fresh, canned strawberries, or frozen, should all work).
- Mangos
- Sugar – just good old white sugar. In traditional jams, the ratio is one part fruit to one part sugar. For me, it’s just too sweet, so I cut the sugar in half and use one part fruit to one-half part sugar.
- Lemon juice and seeds – lemon juice and lemon seeds have a lot of natural pectin in them so instead of using store-bought pectin, I add lemon juice and a few seeds to my jams. No matter what fruit I use, it always works well.
- Vanilla extract
Kitchen Tools…
- Cutting board
- Knife
- Deep pan
- Spatula or wooden spoon
- Immersion blender – or you can use a potato masher if you like large chunks of fruit in your jam.
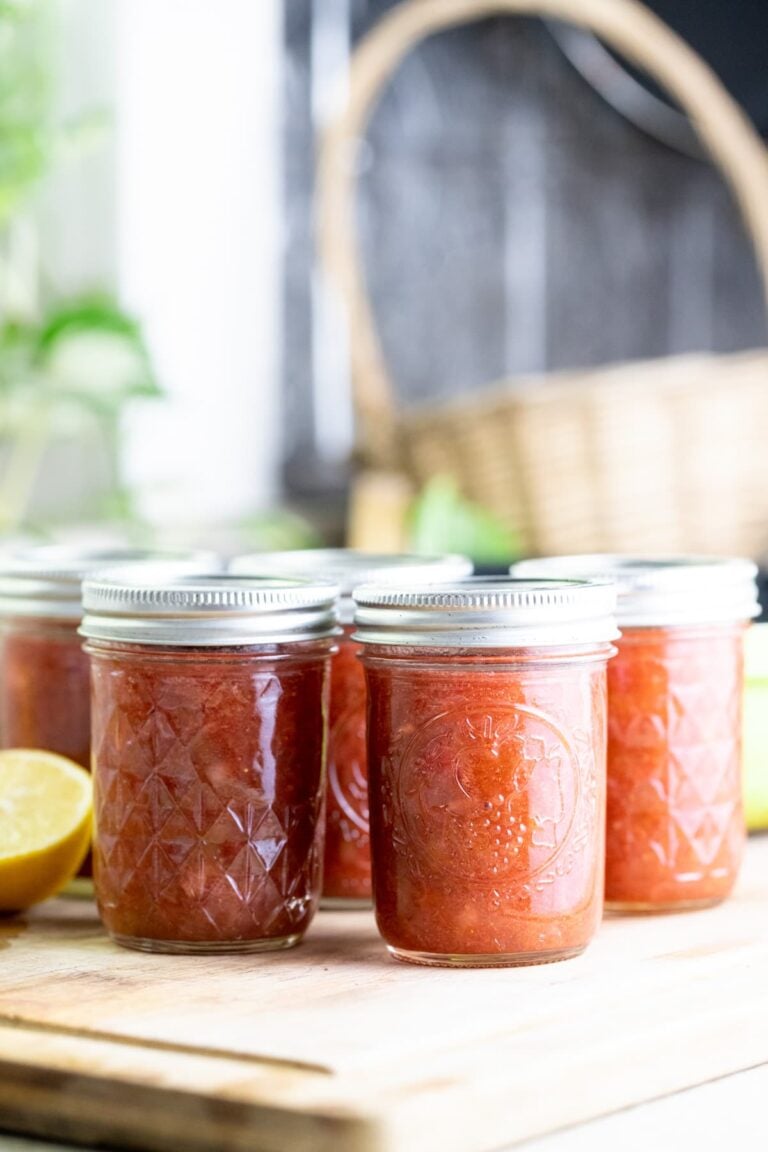
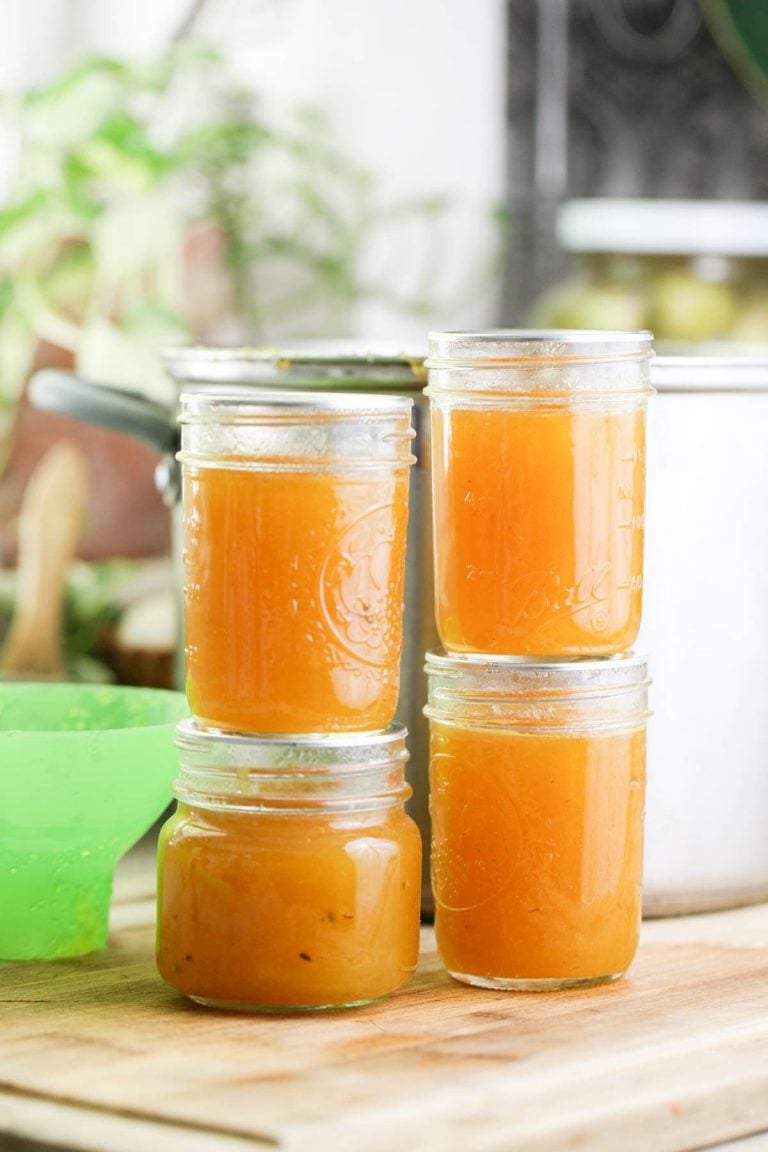
- Half-pint jars with lids – this is my favorite size jars to use when canning jam but you can also use a pint.
- Canning utensils
- Ladle
- Paper towel
- Water bath canner
Step-by-Step Instructions…
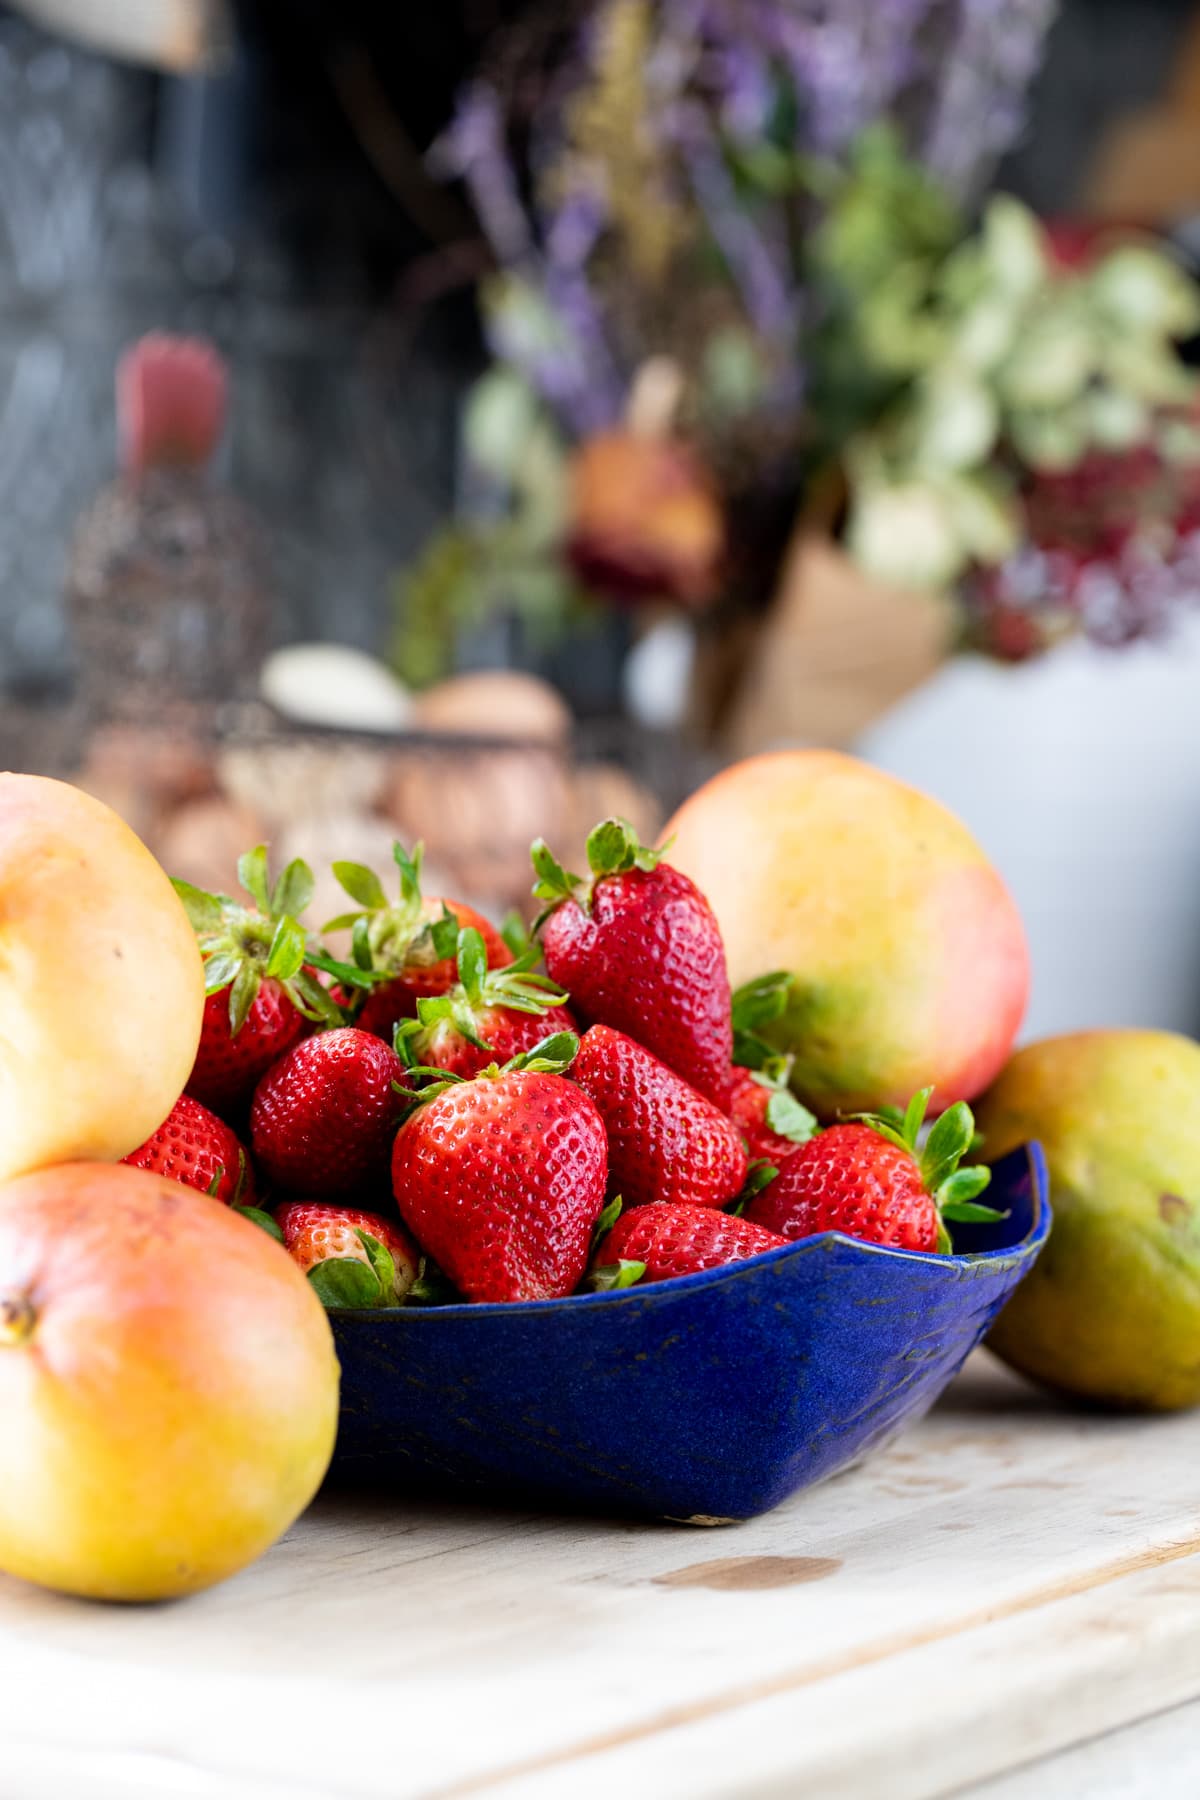
Step one – prep the ingredients. Wash and rinse the strawberries, then hull the tiniest bit out of the top to get rid of the leaves before dicing the fruit. Then prepare the mangos by peeling them, removing the pit, and finally chopping them up as well.
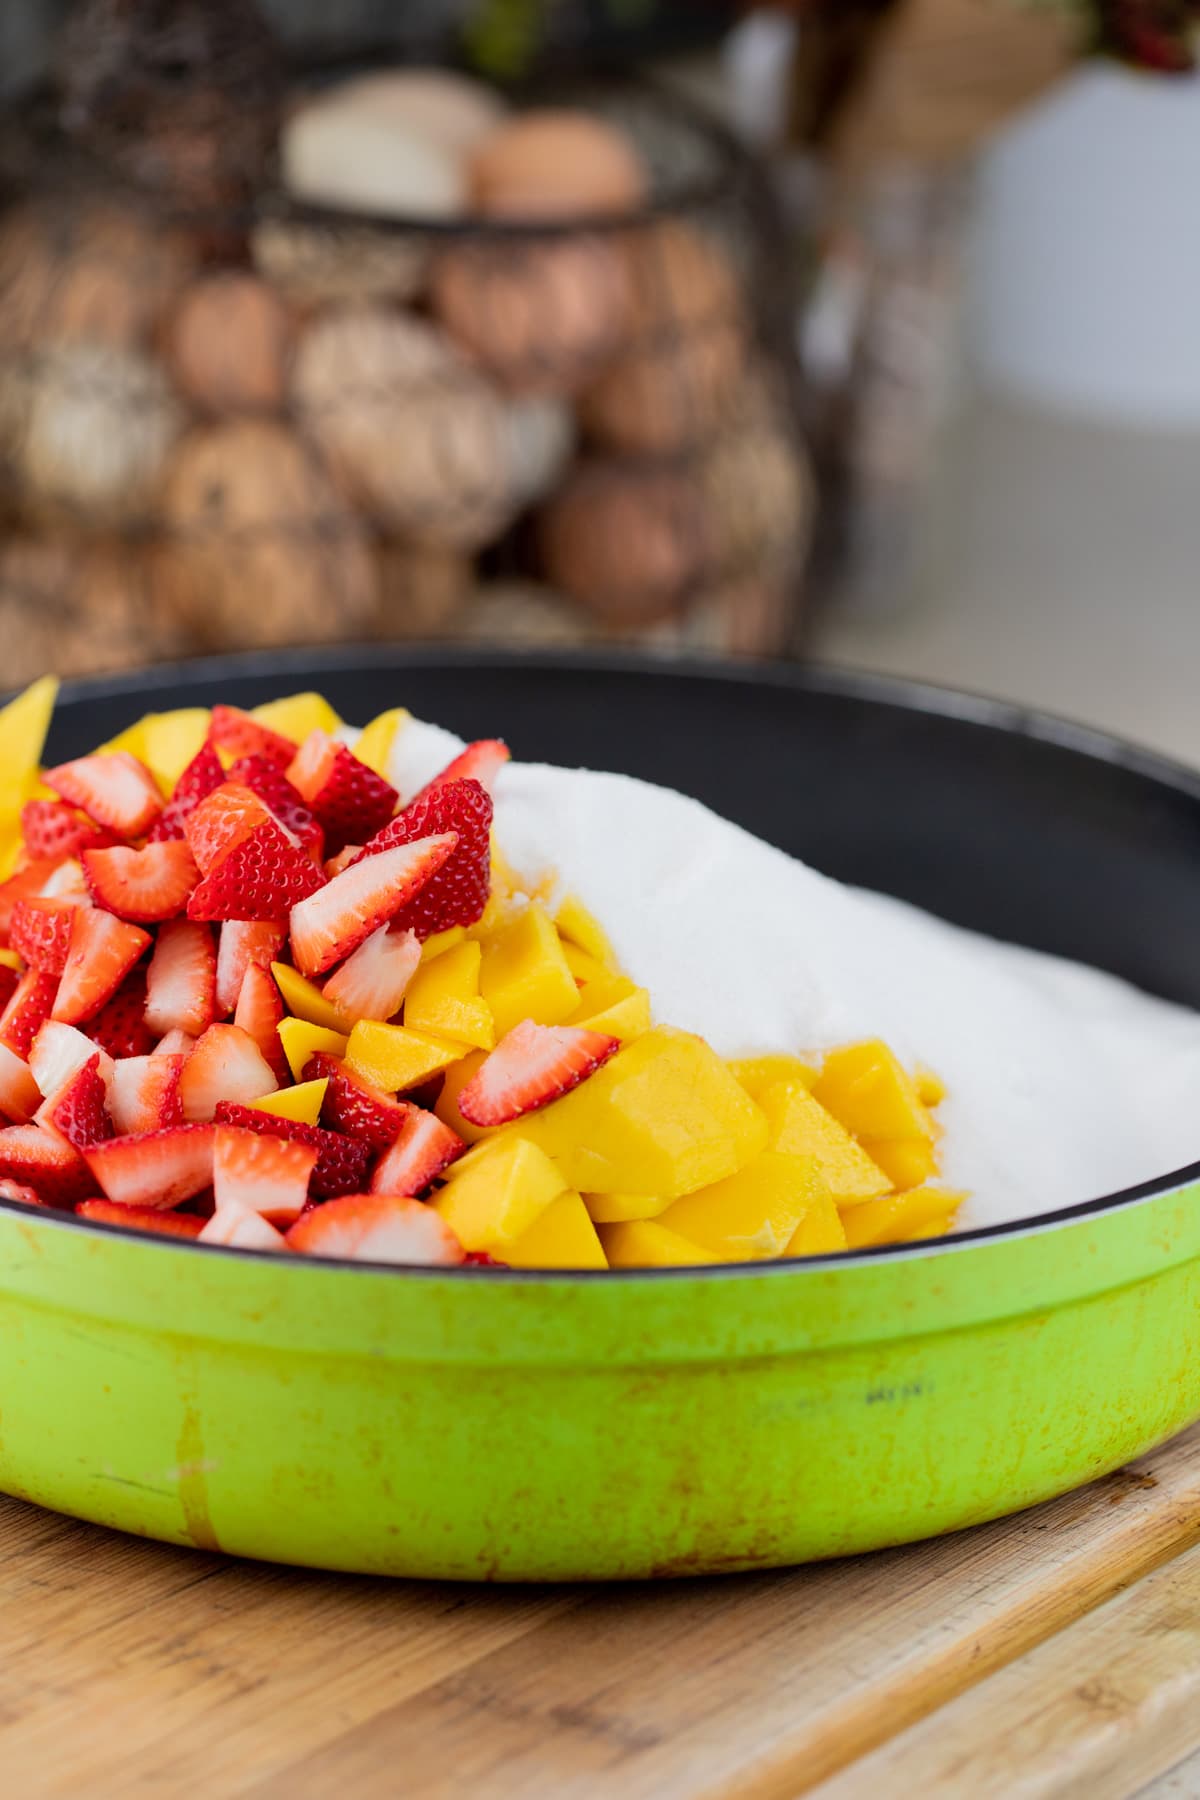
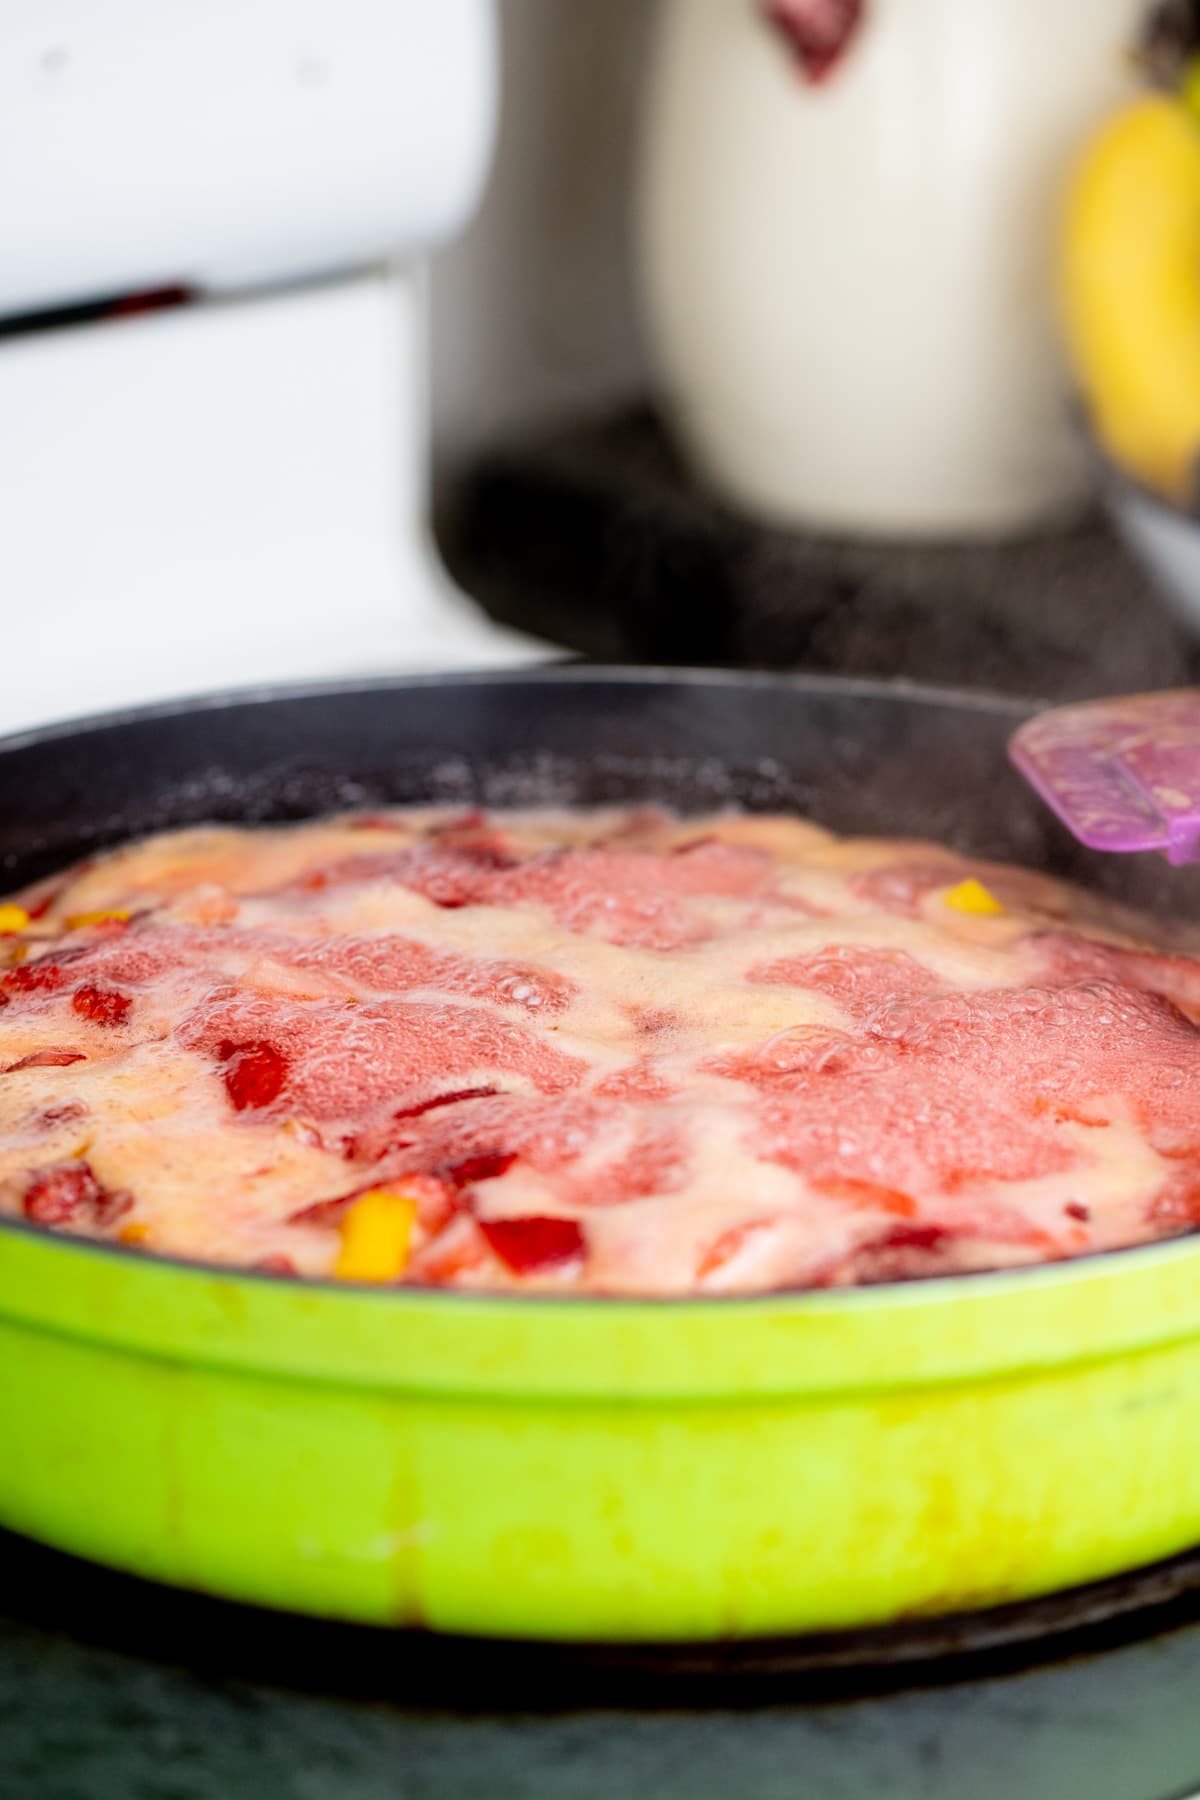
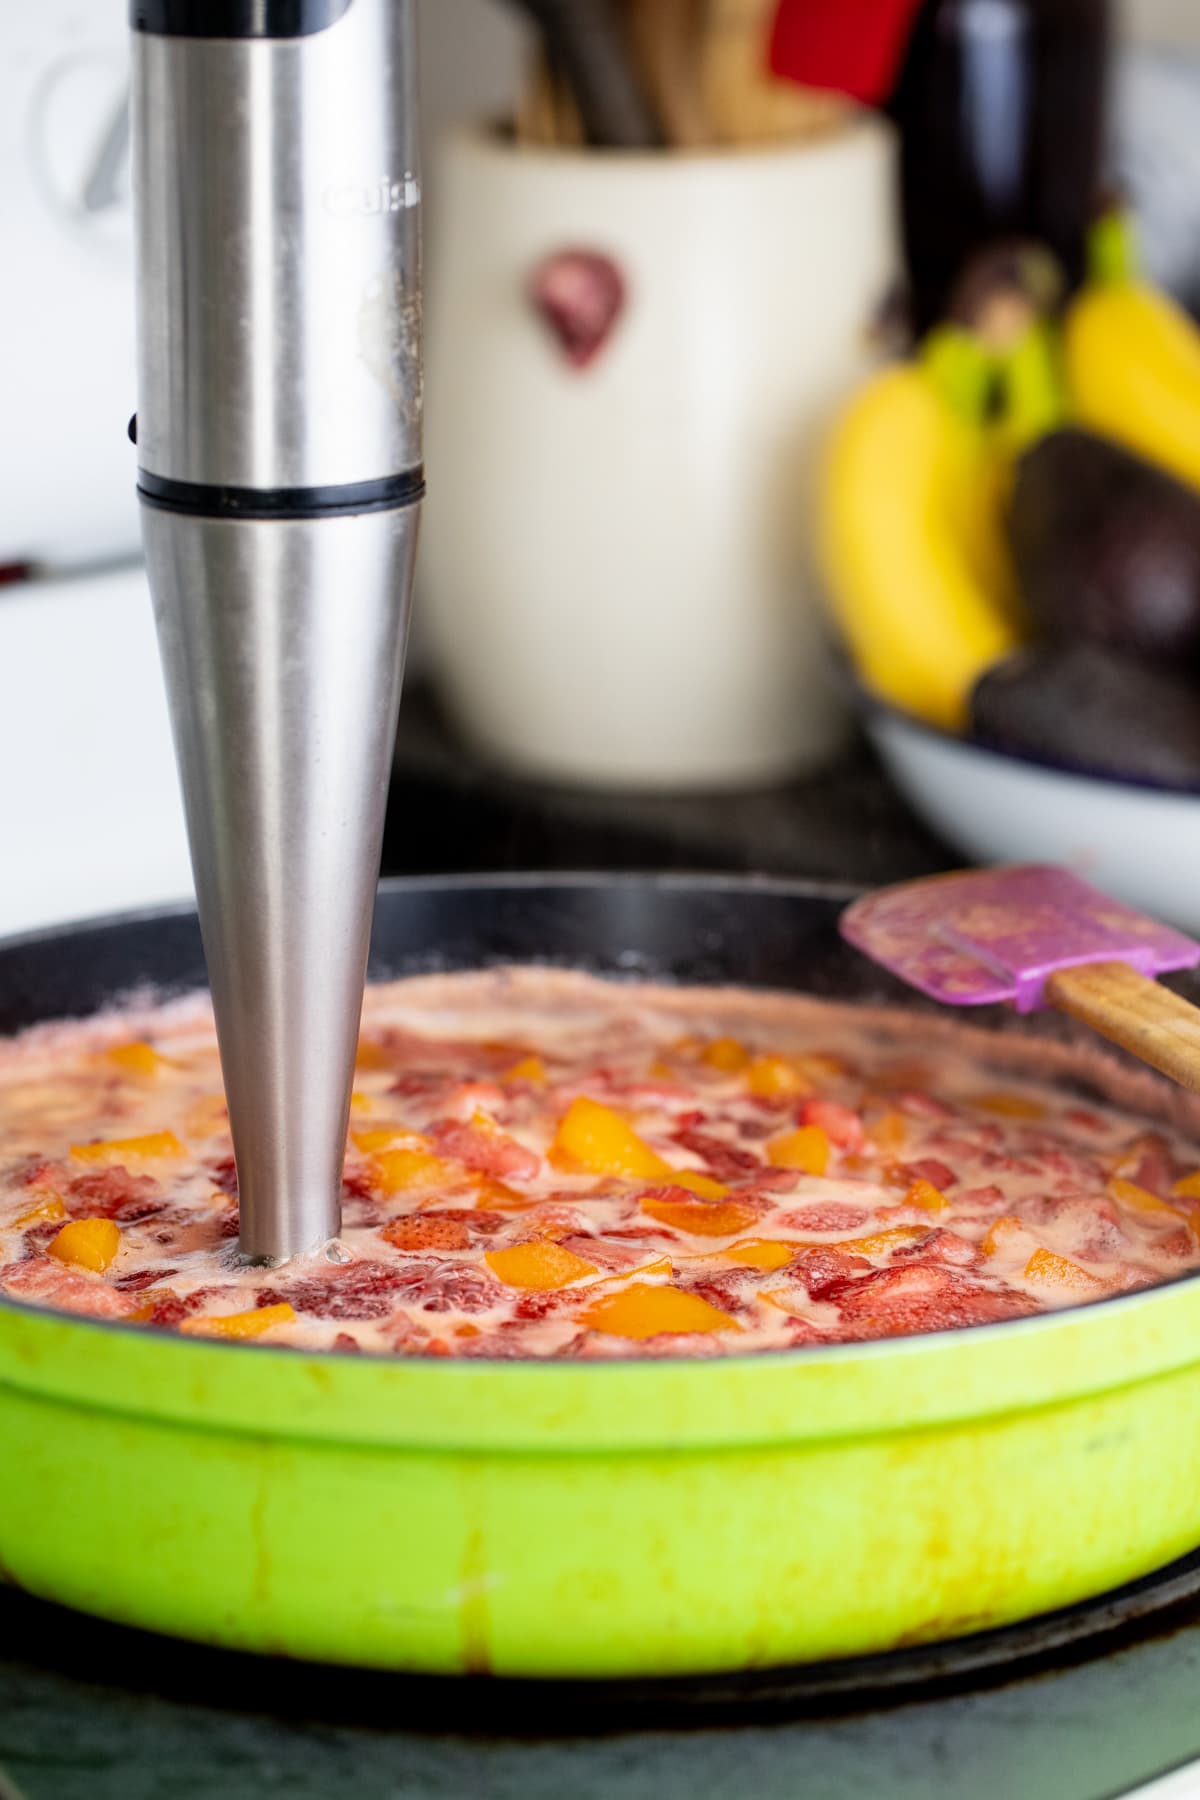
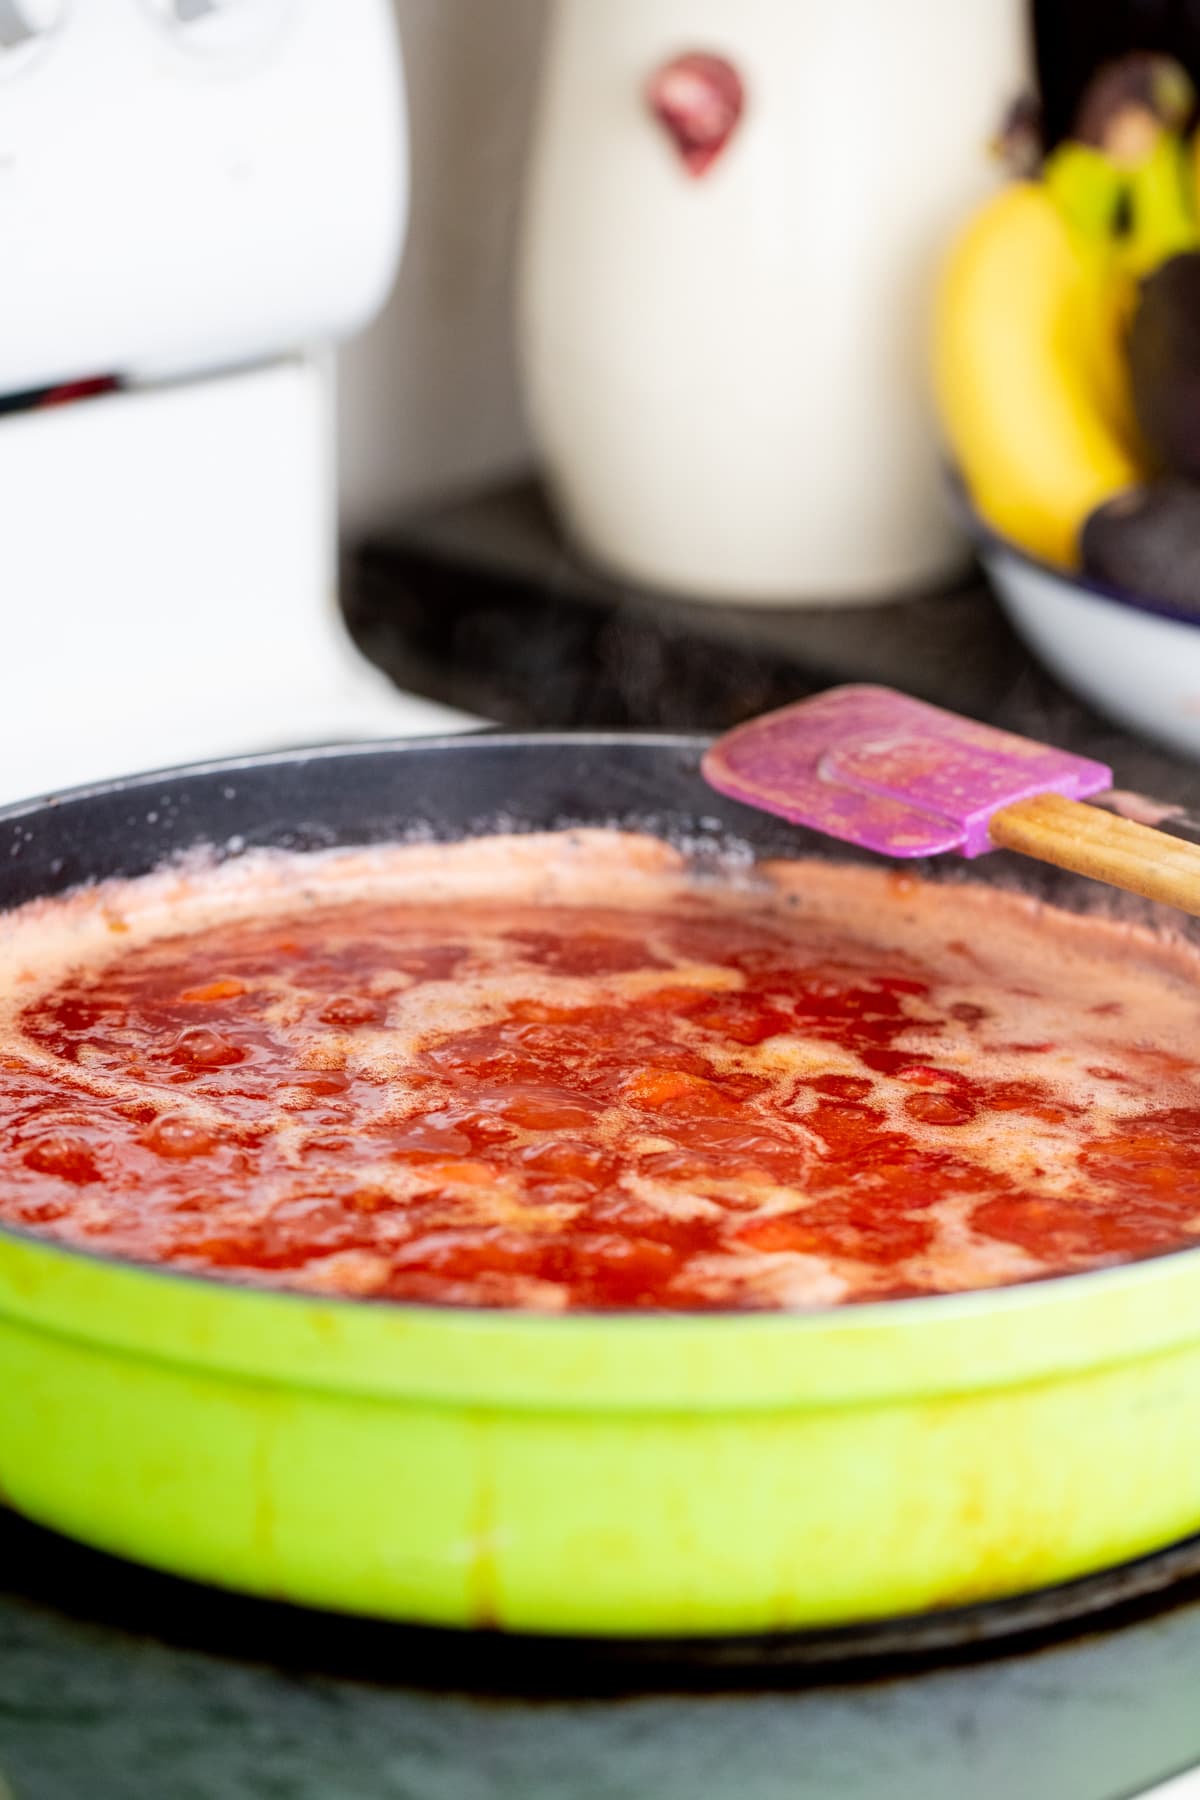
Step two – cook the jam. Turn the heat to medium-high and start cooking the fruit. Use the spatula to stir frequently. It will take a few minutes until the sugar melts and the juices are released from the fruit. Keep stirring and bring the mixture to a boil. Let it boil for five minutes before lowering the heat to medium-low for the rest of the cooking. Keep cooking, stirring frequently for about 15 minutes. At this point, the fruit should be soft and you can blend it with an immersion blender or mash it with a potato masher.

Step three – add lemon juice and seeds. Squeeze the juice of half a lemon right into the pan and throw in about 5 seeds. Stir them in.
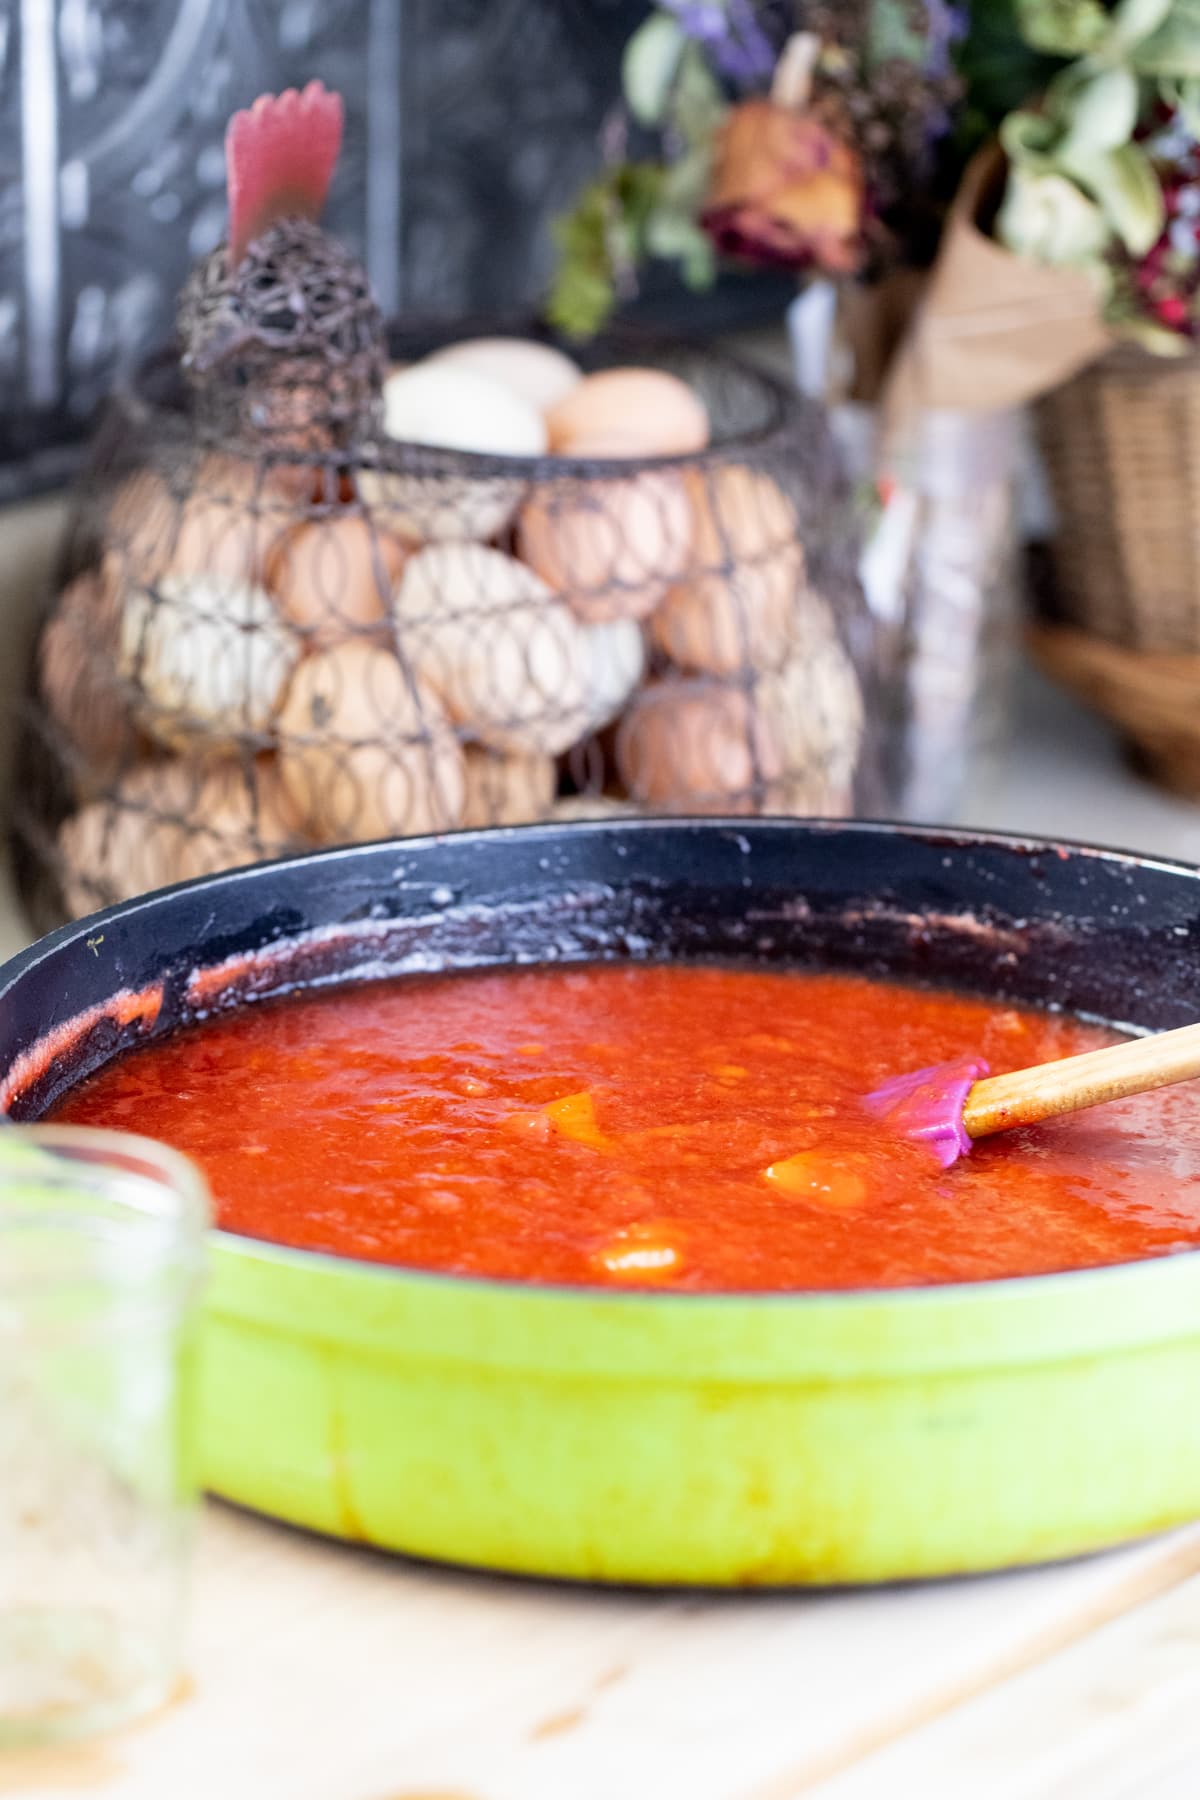
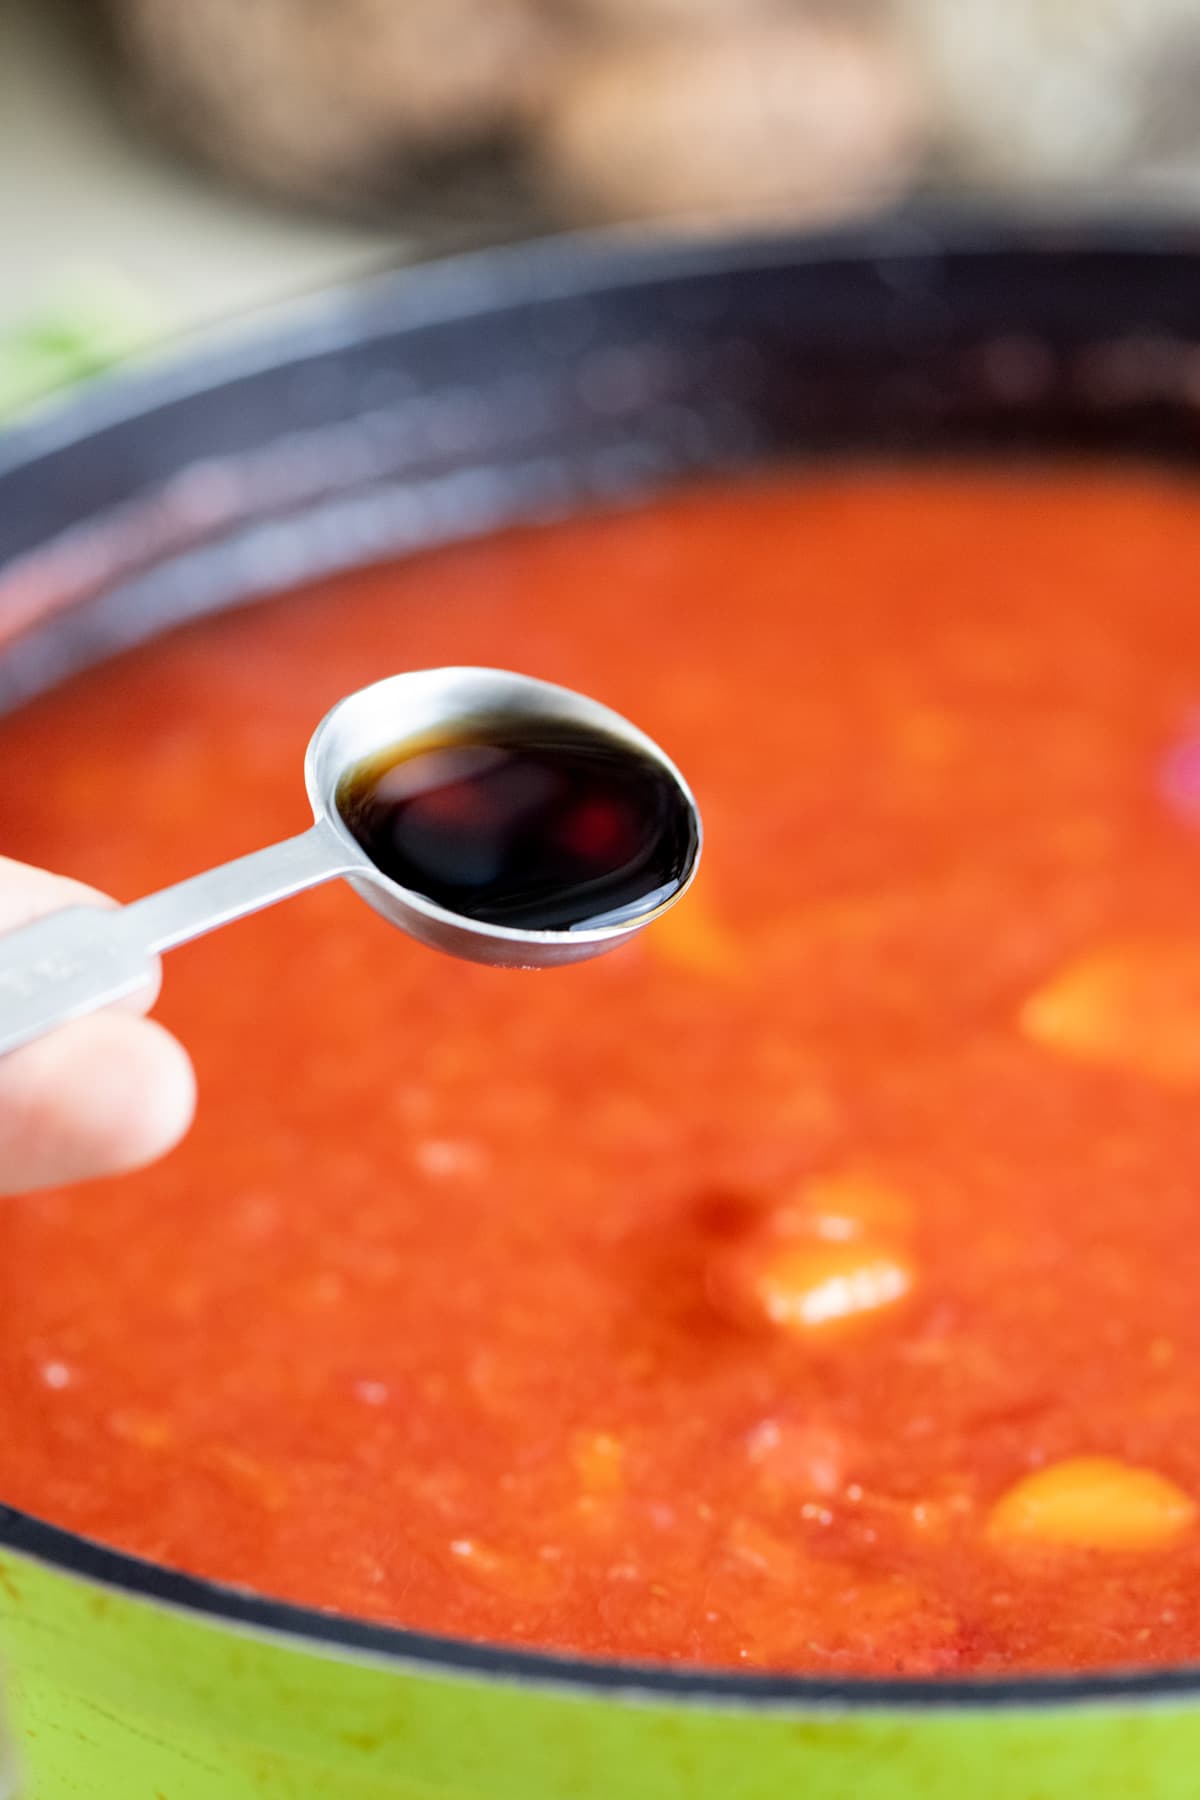
Step four – check for thickness. After adding the lemon seeds keep cooking for about 15 minutes or so. Watch your jam as you stir it to measure its thickness. If you are not sure if it’s ready you can do the spoon test. Scoop some jam on a spoon and set it on the kitchen counter to cool for five minutes or so. Then add it back into the pot and as it leaves the spoon you will be able to measure its thickness. Just remember that the jam will keep on thickening in the jars as it cools completely. Once you remove the jam from the heat, stir in about a teaspoon of vanilla extract. This is optional but adds a nice flavor to the jam.
Canning Strawberry Mango Jam…
Step five – prep the jam for processing. Fill the water bath canner with enough water to cover the jars by about an inch. Set it on the stovetop, turn the heat to high and bring the water to a boil. Wash your jars, lids, and bands well with hot water and soap (since we will be processing the jars for 10 minutes, there is no need to sterilize them first).
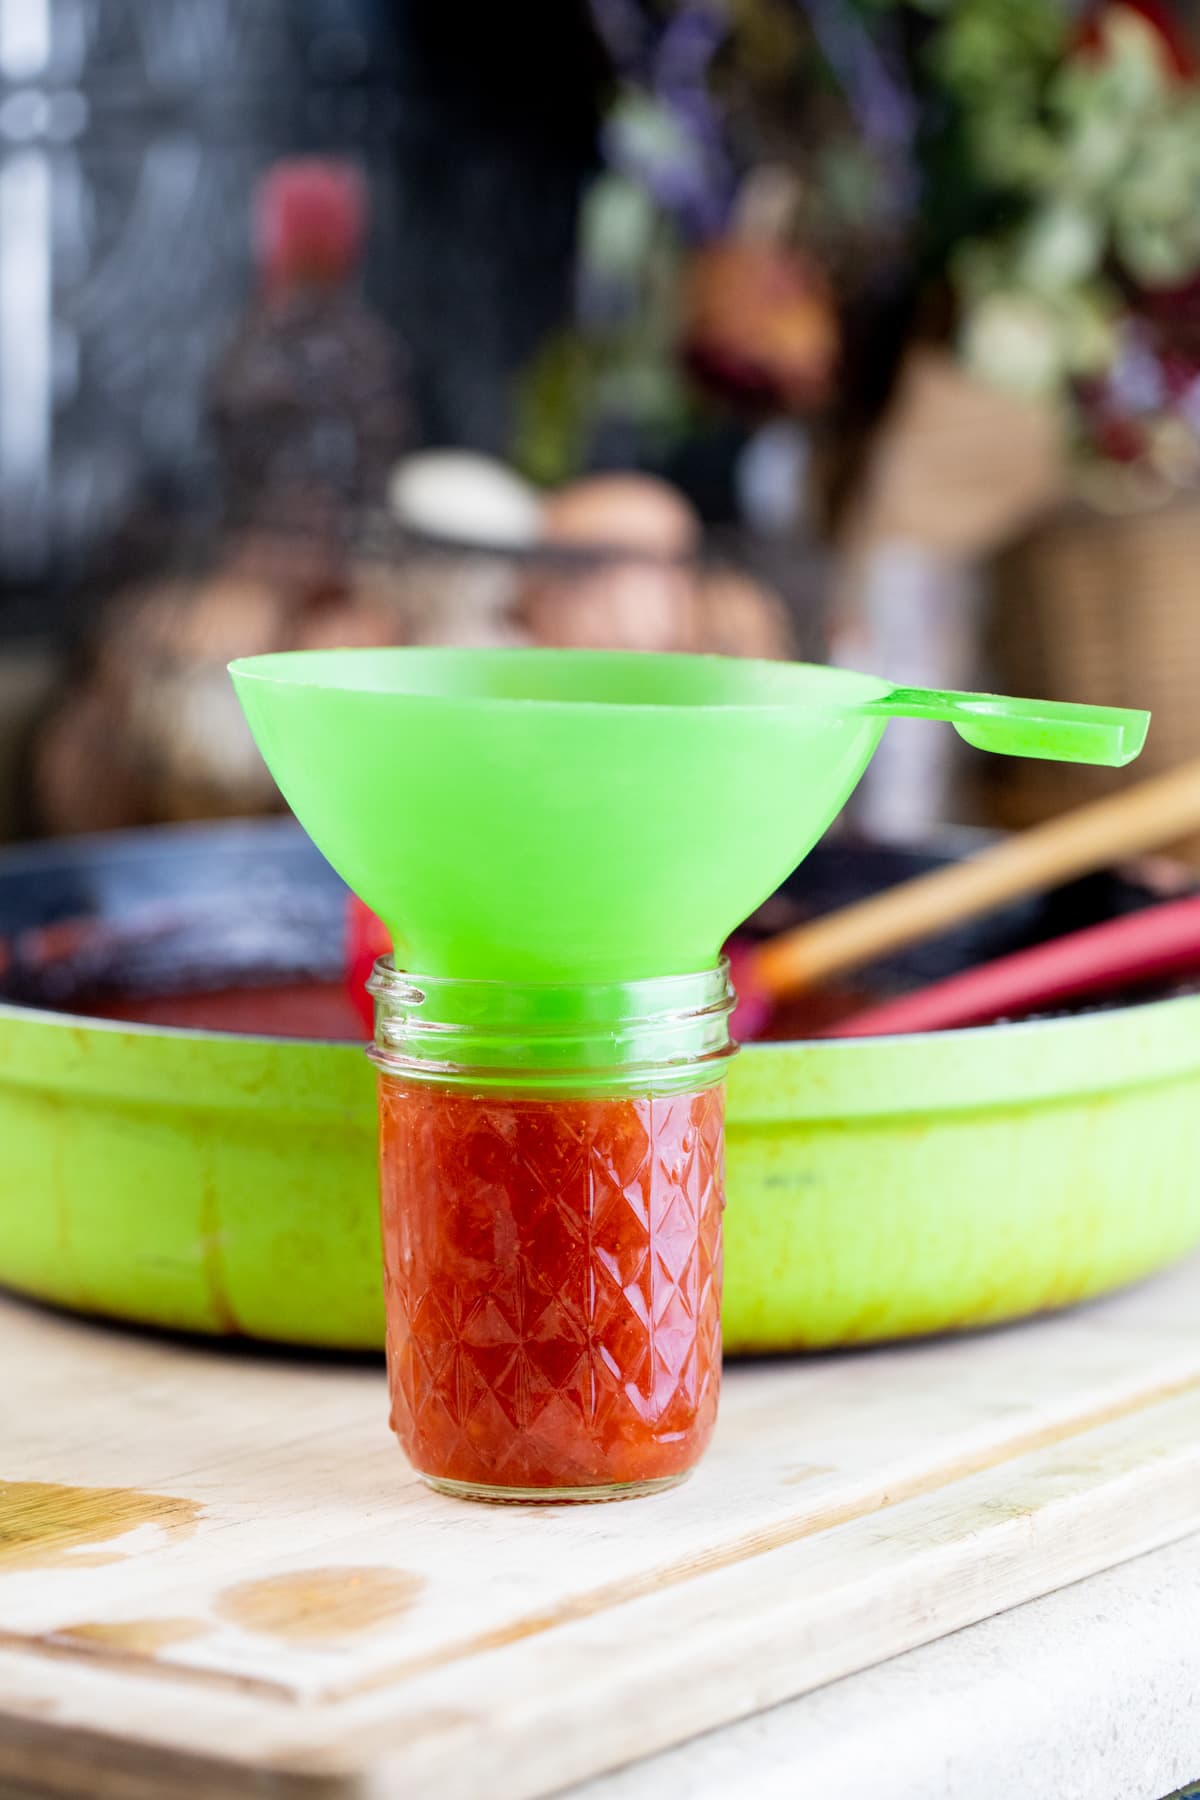
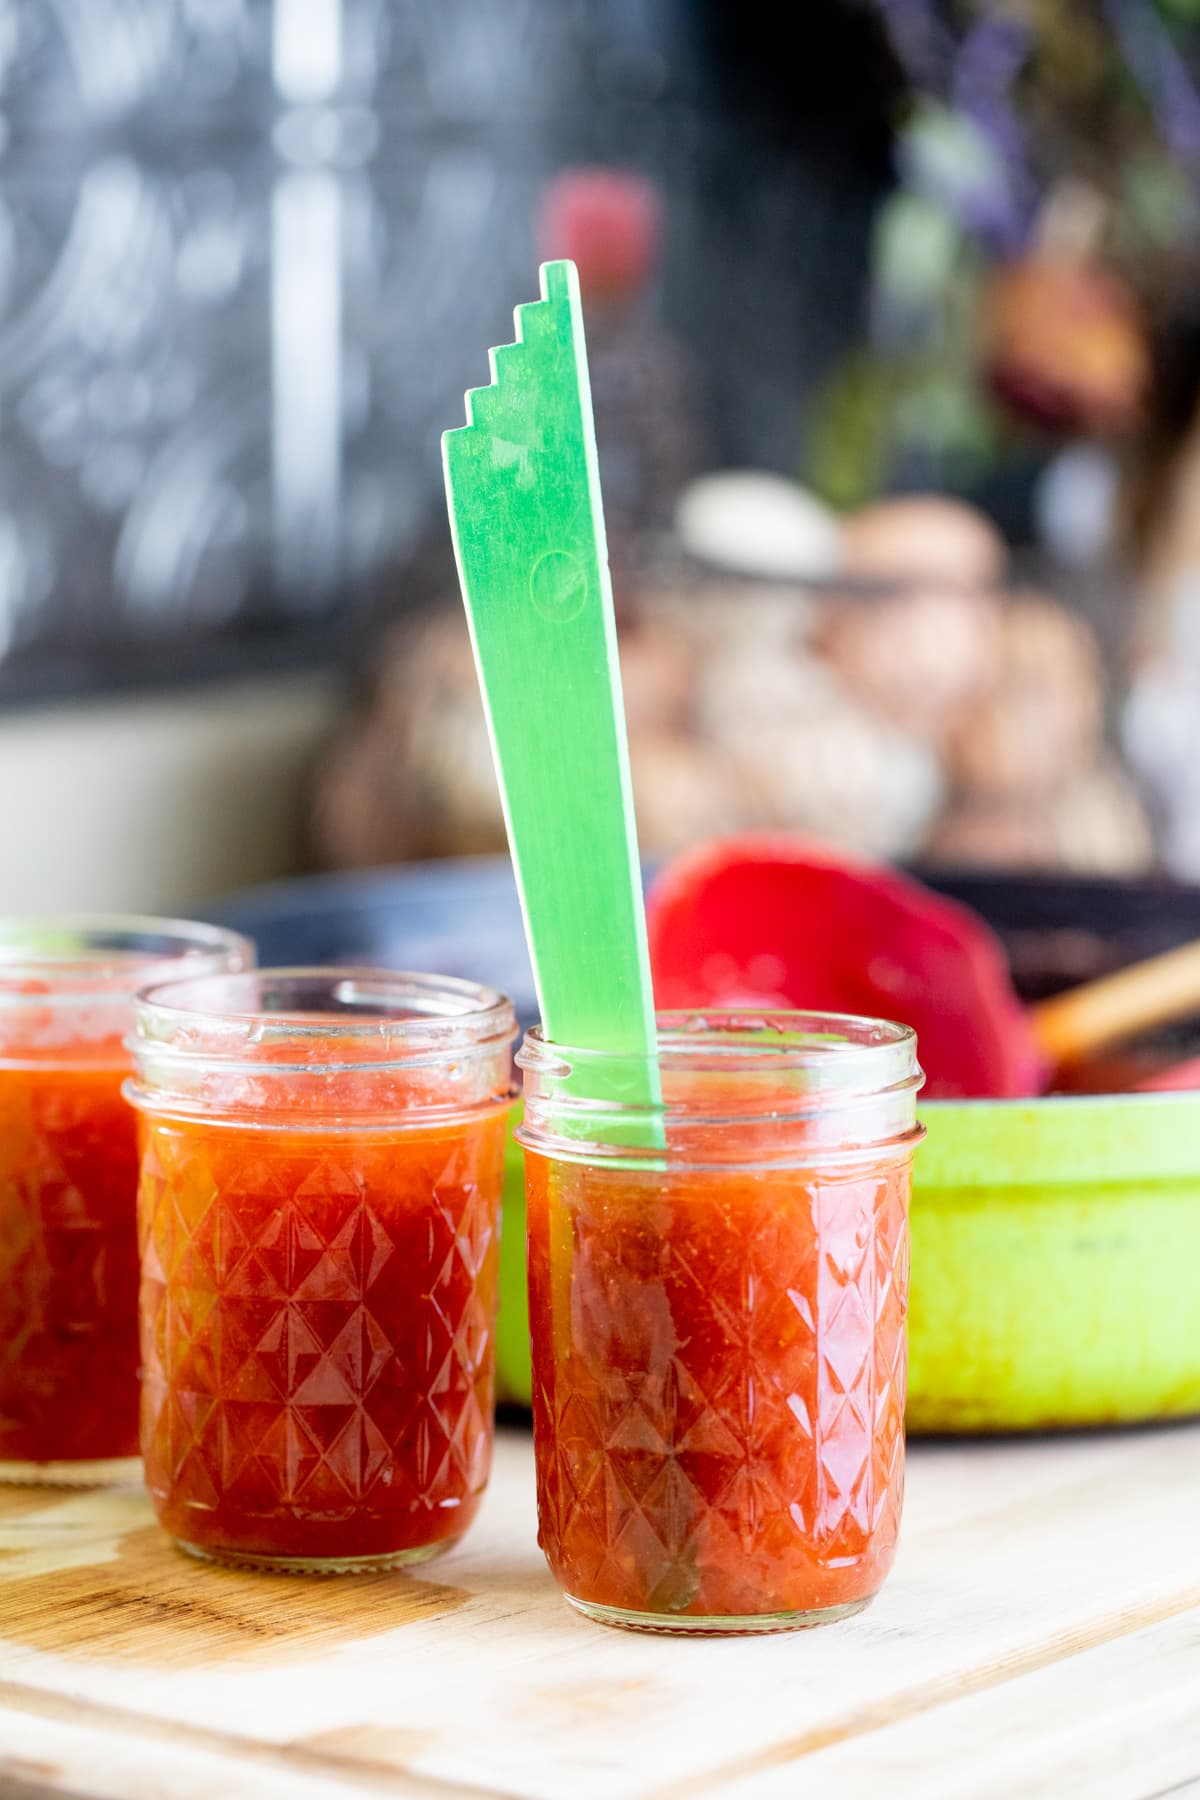
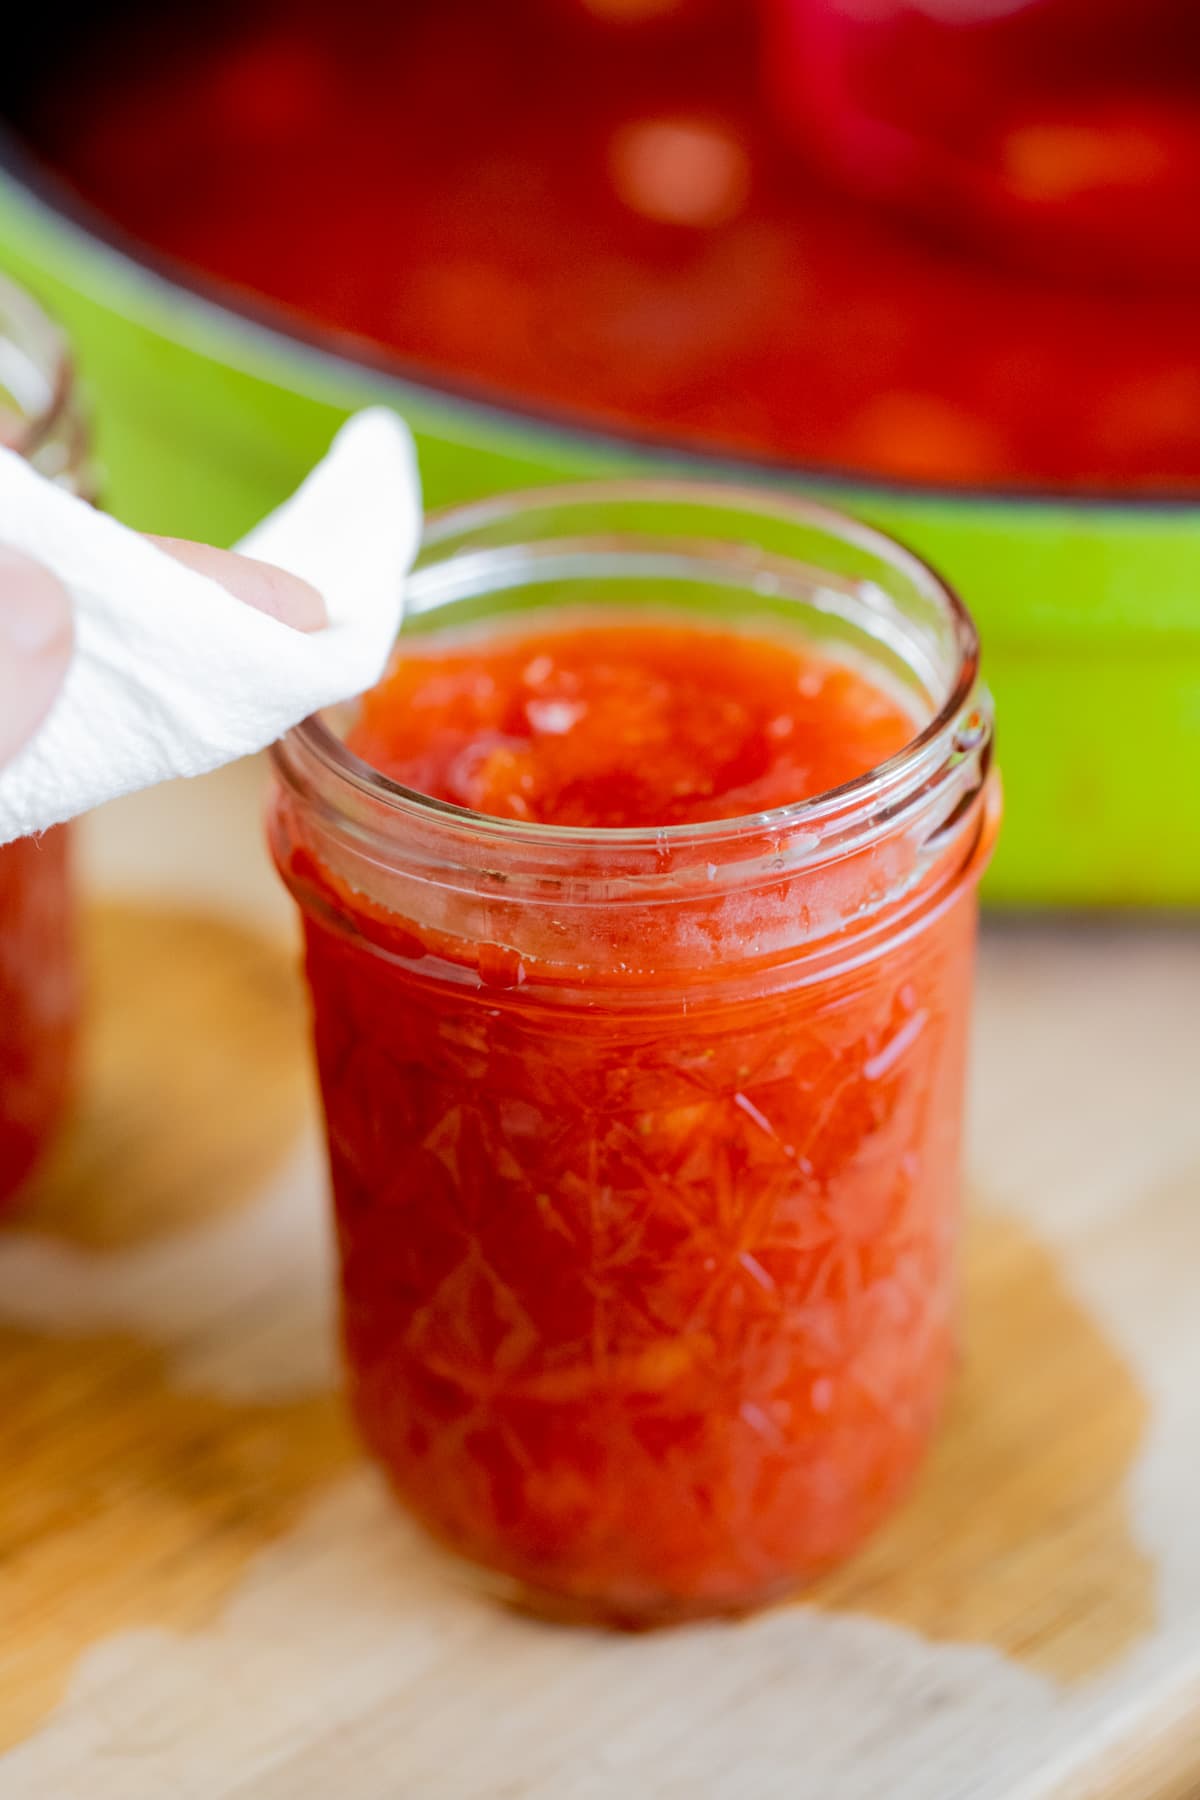
Use a ladle and the canning funnel to fill the jars, make sure to leave 1/2 inch of headspace. Use the bubble remover to scrape the inside of the jar and remove air bubbles. Then use a damp paper towel to clean the rim of the jar before centering the lid and closing the jar with the band.
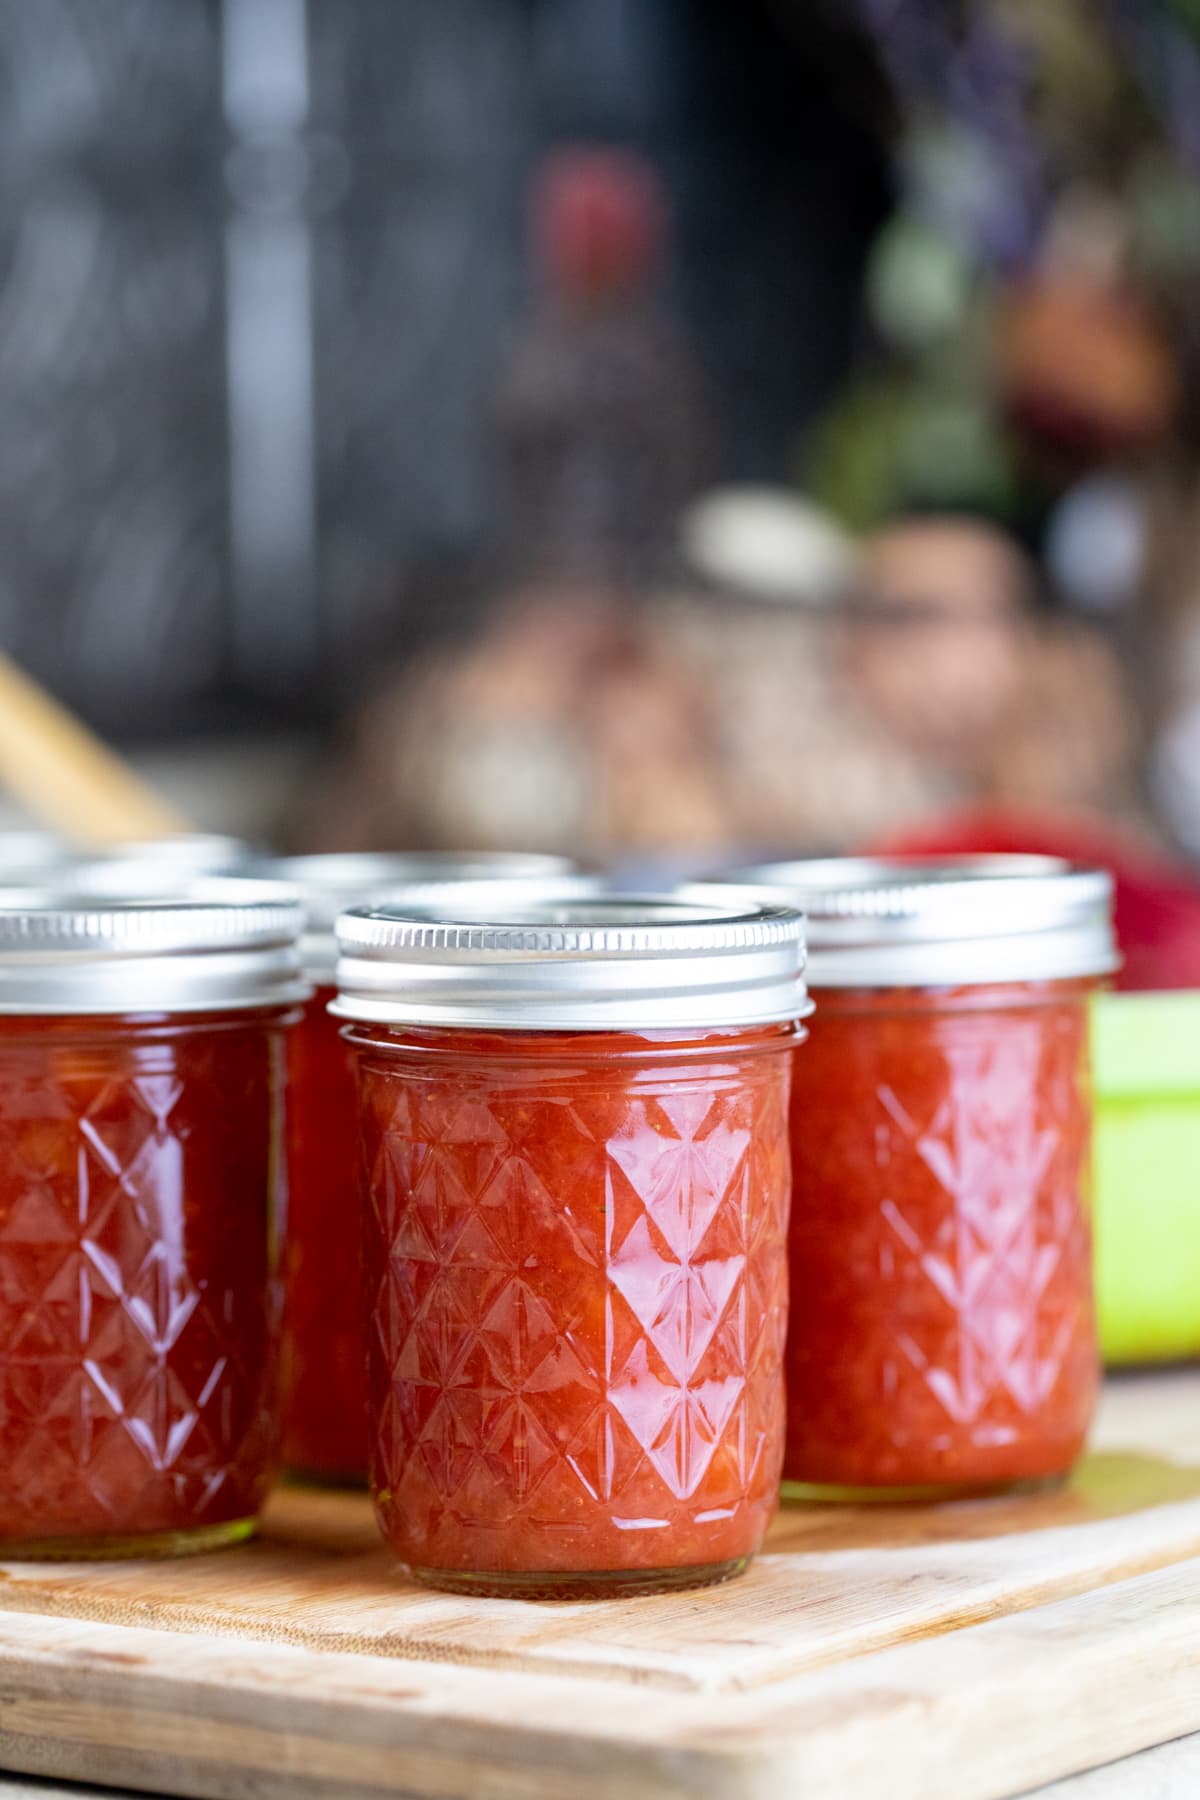
Step six – process the jars. Place the jars on the rack of the water bath canner and lower the jars into the boiling water. Cover the canner and process the jars for 10 minutes. After 10 minutes, turn off the heat, uncover the canner and let the jars rest in the hot water for five minutes or so. Then, use the jar lifter to remove the jars from the canner and place them on a kitchen towel to cool completely overnight.

Always remember to adjust the processing time if you live over 1000 feet in elevation. Follow the table above to make any adjustments.
How to Store…
When the jars are completely cool, check that they are all sealed by pressing the center of each lid. If there is no movement there it means that your jars are sealed and ready for storage. If you find that one of the jars didn’t seal, just store it in the fridge and use it first (or you can also try to process it again. Usually I recommend changing the lid if you are going to do that).
Wipe the jars and remove the band. It sometimes rusts in storage and makes it hard to open the jar down the road. And, you can also reuse it for canning something else. Store your strawberry mango jam in a cool place like a pantry or a kitchen cabinet. It should last for 18 months or so.
How to Serve…
- As a snack – we love spreading cream cheese on crackers or a bagel and adding some jam on top. It’s an awesome mid-day snack for the whole family.
- On a toast – I always drink coffee in the morning and a toast (preferably made with challah bread or this artisan bread!) with some jam on it is the perfect companion.
- In cookies – I make these thumbprint cookies and add jam in the center. They melt in your mouth and are absolutely addictive!
- On yogurt – homemade yogurt (made with either raw milk or store-bought) with homemade granola and a tablespoon or so of jam is my go-to meal when I have no energy to cook a “real” one.
- Add it to baked goods – if it’s a turnover, jam-filled bars, or any other baked good, this jam will work great!
Frequently Asked Questions…
I don’t. I leave the seeds in the jam. They don’t break down, don’t change the taste of the jam no matter how long it stays on the shelf and once you stop cooking the jam they don’t keep thickening it. You can, however, fish them out when the jam is ready if you’d like, they are usually easy to find.
Honestly… Any fruit! If you find yourself with plums, apricot, grapes, kiwi, oranges… Follow this recipe and it should work every time. Just take into consideration that cooking times will probably change depending on how juicy your fruit is.
Yes, and it’s very easy. Just follow a ratio of one part fruit to one-half part sugar. So if you have 2 pounds of fruit, use one pound of sugar. The only thing that is going to change is the cooking time, mainly because of the different amounts of juice each fruit has. And if you make a smaller batch, you can simply keep it in the fridge, it should last for weeks. A note here – I don’t recommend processing more than 4 pounds of fruit at a time simply because it makes it hard for the jam to thicken properly.
Yes, you don’t have to add it. The jam will taste great even if you don’t add it. I like adding it because it adds just a tiny bit of vanilla flavor.
This mango strawberry jam recipe is perfect for summer. The tropical sweetness of the mango works beautifully with the strawberry. Please let me know if you give it a go!
More Jam Recipes…
- Low Sugar Strawberry Jam
- Strawberry Jalapeno Jam Recipe
- Strawberry Rhubarb Jam
- Honey Strawberry Jam
- Mango Jalapeno Jam Recipe
- Mango Jam
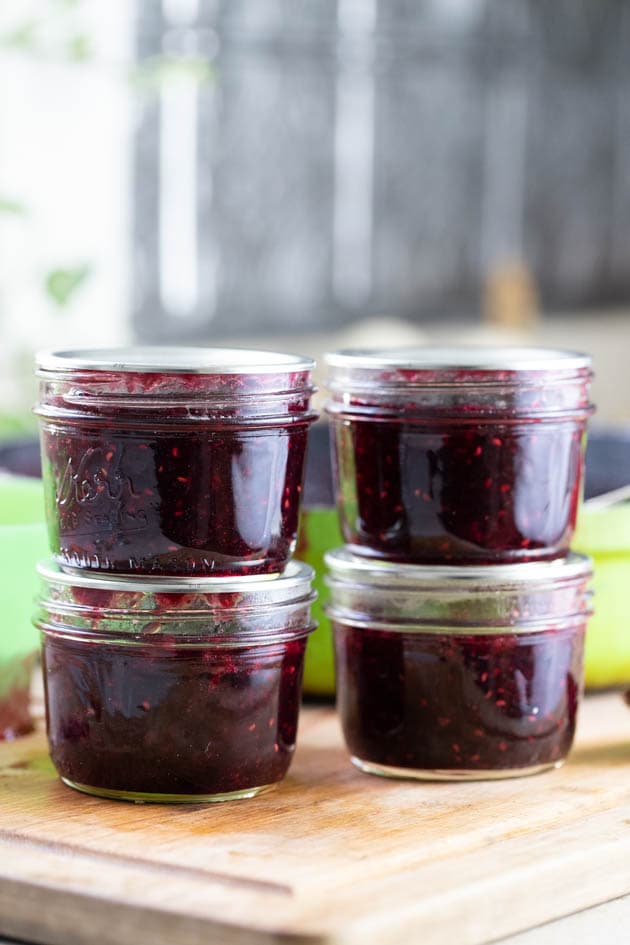
- Mixed Berry Jam
- Find a list of all of my jam recipes on this page.
Strawberry Mango Jam
Simple and delicious strawberry mango jam recipe.
Ingredients
- 2 pounds of strawberries, washed well, tops removed, and diced
- 5 mangos, peeled, pit removed, and diced
- 2.5 pound of sugar
- Juice of half a lemon
- 4-5 lemon seeds
- 1 teaspoon of vanilla extract (optional)
Instructions
- Step One - Turn the heat to medium-high and start cooking the fruit. Use the spatula to stir frequently. It will take a few minutes until the sugar melts and the juices are released from the fruit. Keep stirring and bring the mixture to a boil. Let it boil for five minutes before lowering the heat to medium-low for the rest of the cooking. Keep cooking, stirring frequently for about 15 minutes. At this point, the fruit should be soft and you can blend it with an immersion blender or mash it with a potato masher.
- Step Two - Squeeze the juice of half a lemon right into the pan and throw in about 5 seeds. Stir them in.
- Step Three - After adding the lemon seeds keep cooking for about 15 minutes or so. Watch your jam as you stir it to measure its thickness. If you are not sure if it’s ready you can do the spoon test. Scoop some jam on a spoon and set it on the kitchen counter to cool for five minutes or so. Then add it back into the pot and as it leaves the spoon you will be able to measure its thickness. Just remember that the jam will keep on thickening in the jars as it cools completely. Once you remove the jam from the heat, stir in about a teaspoon of vanilla extract. This is optional but adds a nice flavor to the jam.
- Step Four - Fill the water bath canner with enough water to cover the jars by about an inch. Set it on the stovetop, turn the heat to high and bring the water to a boil. Wash your jars, lids, and bands well with hot water and soap (since we will be processing the jars for 10 minutes, there is no need to sterilize them first). Use a ladle and the canning funnel to fill the jars, make sure to leave 1/2 inch of headspace. Use the bubble remover to scrape the inside of the jar and remove air bubbles. Then use a damp paper towel to clean the rim of the jar before centering the lid and closing the jar with the band.
- Step Five - Place the jars on the rack of the water bath canner and lower the jars into the boiling water. Cover the canner and process the jars for 10 minutes. After 10 minutes, turn off the heat, uncover the canner and let the jars rest in the hot water for five minutes or so. Then, use the jar lifter to remove the jars from the canner and place them on a kitchen towel to cool completely overnight.
Notes
Frequently Asked Questions...
- Do you remove the lemon seeds before canning the jam?
I don’t. I leave the seeds in the jam. They don’t break down, don’t change the taste of the jam no matter how long it stays on the shelf and once you stop cooking the jam they don’t keep thickening it. You can, however, fish them out when the jam is ready if you’d like, they are usually easy to find. - Can I follow this recipe with other fruit?
Honestly… Any fruit! If you find yourself with plums, apricot, grapes, kiwi, oranges… Follow this recipe and it should work every time. Just take into consideration that cooking times will probably change depending on how juicy your fruit is. - Can I adjust the quantities of the ingredients?
Yes, and it’s very easy. Just follow a ratio of one part fruit to one-half part sugar. So if you have 2 pounds of fruit, use one pound of sugar. The only thing that is going to change is the cooking time. And if you make a smaller batch, you can simply keep it in the fridge, it should last for weeks. A note here – I don’t recommend processing more than 4 pounds of fruit at a time. Simply because it makes it hard for the jam to thicken properly. - Can I leave the vanilla extract out?
Yes, you don’t have to add it. The jam will taste great even if you don’t add it. I like adding it because it adds just a tiny bit of vanilla flavor.
Nutrition Information:
Yield: 9 Serving Size: 1 half pint jarAmount Per Serving: Calories: 662Total Fat: 1gSaturated Fat: 0gTrans Fat: 0gUnsaturated Fat: 1gCholesterol: 0mgSodium: 21mgCarbohydrates: 170gFiber: 6gSugar: 161gProtein: 3g

I live in the tropics and mangos vary greatly in size. Would you say the mangos called for in your recipe are about 2 pounds total? Less? More? Trying to get my strawberry to mango ratio right for this recipe…
Yes! I don’t make jam with more than 4 pounds of fruit at the time and I have 2 pounds of strawberries there so 5 mangos must have been about 2 pounds.
Can I use frozen fruit for this? My husband works at a fruit factory, and I get lots of different fruit that is frozen, brought home.
Absolutely! Use this same recipe to make any jam from any fruit or fruit combination. And consider yourself very blessed! Thanks for stopping by.
Hi Lee,
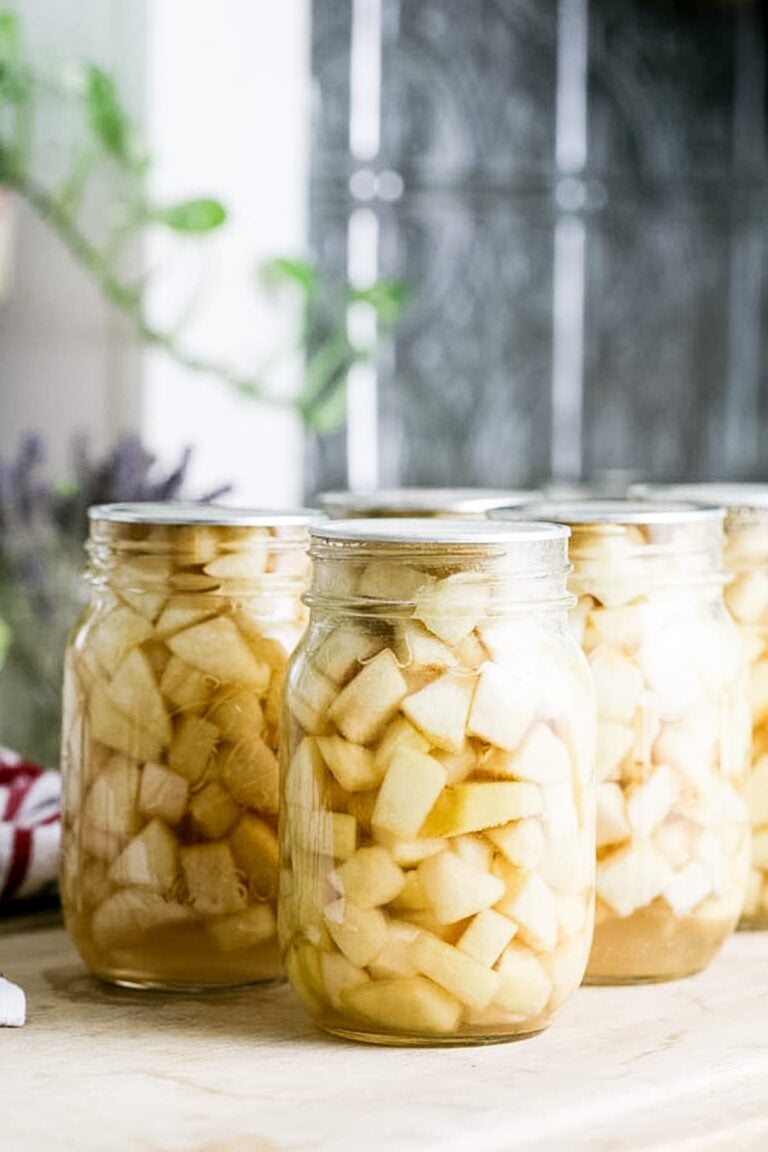
Here I am again posting because I made Apple & Mango Jam using your basic recipe and fruit to sugar ratios.
We have an orchard with lot’s of variety of Apples. Finding interesting ways to use the mother load is challenging & almost boring.
Apples are great but I’m not an apple sauce person. Your recipe makes it easy to play with lot’s of different combinations.
Thank you again for your recipe and encouragement to experiment.
Yay! You made my day. Sometimes I feel silly to keep writing jam recipes because they are all pretty much the same. Same process, same ratios, different fruit and fruit combinations! I’ve never tried apple mango, definitely putting it on my list.
Hi Lee,
That is a cracking recipe. I made it with mango, strawberries & blueberries. It is delicious!
I also love that you explain how to manage the quantities. I had 1 mango, 1 punnet of strawberries & 1 punnet of blueberries. It made 3 jars and that’s enough for now but used up fruit that no one was going to eat.
Thank you. I’ll be using this recipe more with lot’s of different combinations.
For Trace, or anyone else, Lee’s principle is 1 part sugar to 2 parts fruit. I based mine on cups, so for 1 cup of fruit, I added 1/2 cup of sugar. It came out perfect!! I hope this helps.
Yes, exactly! Supper simple and you can literally use ANY fruit or fruit combination! I’m glad you liked it!
In cups would have been better. Ughhh