This post may contain affiliate links, view our disclosure policy for details.

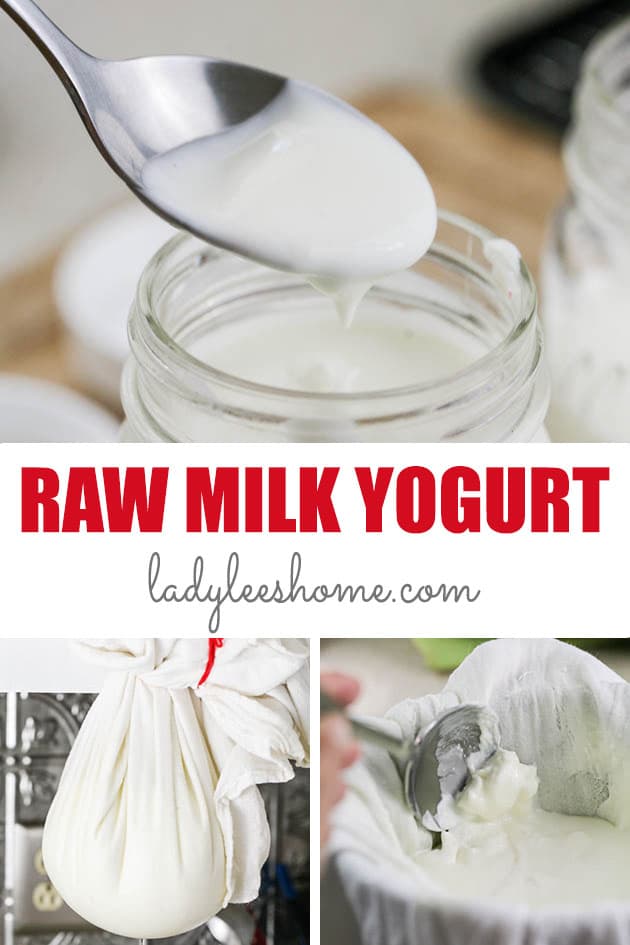
In this post, you’ll learn how to make yogurt from raw milk at home. This method is simple and produces rich, thick yogurt that is both delicious and healthy.
A few years ago, I had the pleasure and privilege of visiting an Arab goat herder in a small village in Northern Israel. That man woke up early every morning, opened the gates to his herd of 120 goats and off he went… Walking around in nature with them until sunset so they could graze.
Did you know people still do that? The whole system that he had fascinated me. How he took care of his goats and how he managed such a large herd by himself. I spent a few hours with him, asking a million questions. After a while, I got most of the answers that I was looking for but was still curious about one thing… What did he do with and how in the world did he process so much milk every day at home?
How to Make Yogurt From Raw Milk…
To answer that question, the man took me into his home and introduced me to his wife. That amazing woman had to process about 20 gallons of milk each day in her simple, small, home kitchen.
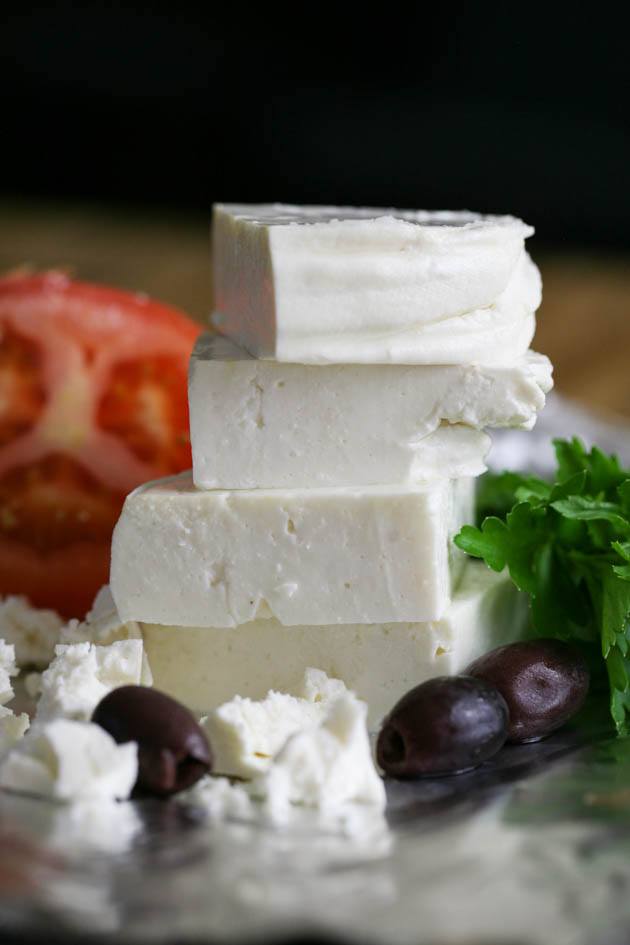
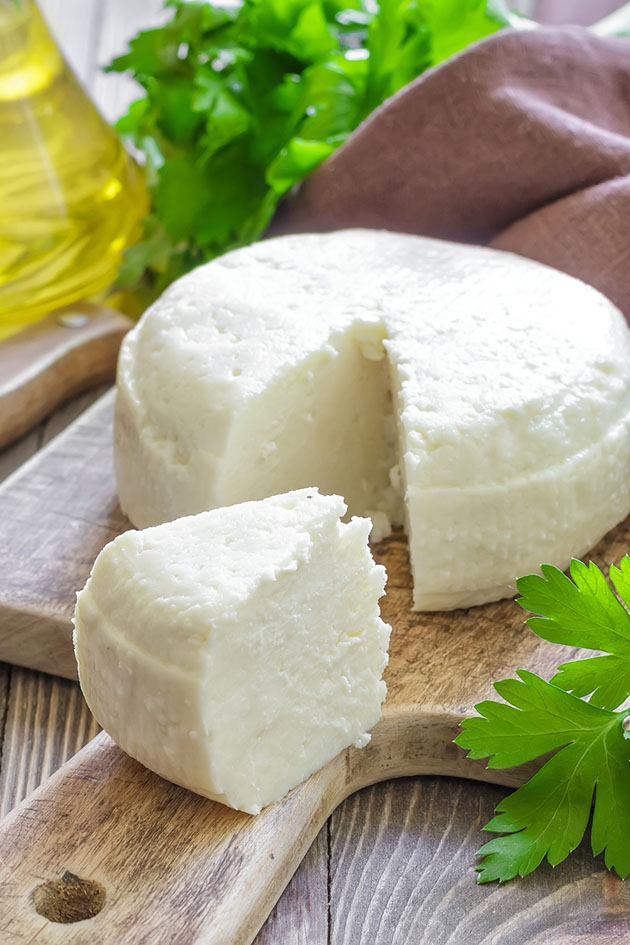
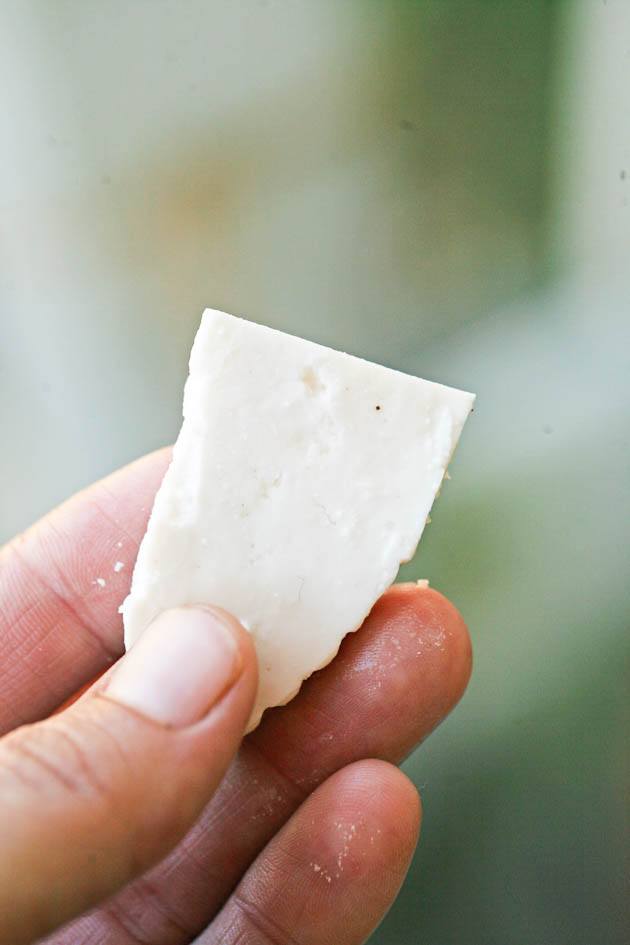
She was kind enough to share with me what and how she did it and I was surprised to find out that she mostly made and sold two kinds of dairy products… This raw milk hard goat cheese that I shared with you a couple of years ago and homemade yogurt.
In this post, I want to share with you her method of making a delicious and creamy raw milk yogurt. This recipe might not be following all or any dairy rules and it might not fall directly under a certain title, but the bottom line is that it produces a delicious homemade yogurt using a method that passed down through generations of simple people that live and breathe raw milk and non-fancy dairy processing.
How is Raw Milk Yogurt Different…
The common complaint among those who try to use raw milk to make yogurt is that it comes out way too thin and runny. It’s not really scoopable (if that’s a word…), it’s more drinkable.
These folks are right. The reason that raw milk yogurt is so thin is because raw milk has its own set of bacteria that compete with the bacteria in the yogurt starter culture and so the milk doesn’t set as well as when you use pasteurized milk.
So what are the options when making homemade yogurt?
Option 1 – you can use raw milk from your dairy animals, heat it up a bit, add a yogurt starter culture, and culture your milk for a few hours. This will produce a thin kind of yogurt that is mostly drinkable. If you choose to do this, it’s better if you use a yogurt starter culture from the store each time for more consistent results.
Option 2 – you can choose to pasteurise your raw milk at home by bringing it to 145 degrees Fahrenheit and keeping it at that temperature for 30 minutes. Then, you’ll have to remove it from the heat and stir until it has cooled to 40 degrees F before you move it to storage in the fridge.
Once your milk is pasteurised, you can then use it to make homemade yogurt as you would use store-bought milk. You might use the crock-pot to make yogurt, do it the way that I show here, or choose another method but your yogurt will probably have a similar texture to the yogurt that is found in the grocery store.
Option 3 – is to use this method that I am going to share with you below. This method falls somewhere in between the two above. No, we are not going to pasteurise the raw milk, however, we are going to scald it before using it to make homemade yogurt.
This process is quicker, it allows you to produce yogurt with a thicker and creamier consistency (since by scalding the milk some bacteria is killed so it doesn’t compete with the bacteria that is in the yogurt), and you can use yogurt as your starter culture which means that you won’t need to purchase a culture at the store.
You’ll have to purchase yogurt with active bacteria for the first batch, but after that, as long as you keep some of your yogurt to be used as culture to make the next batch you can be completely self-sufficient when it comes to yogurt making!
Ingredients…
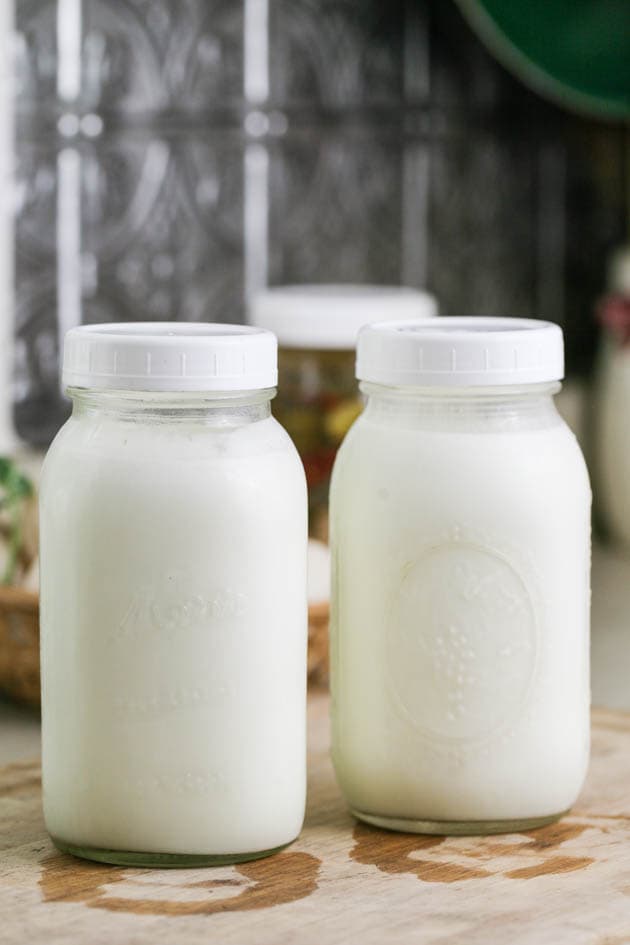
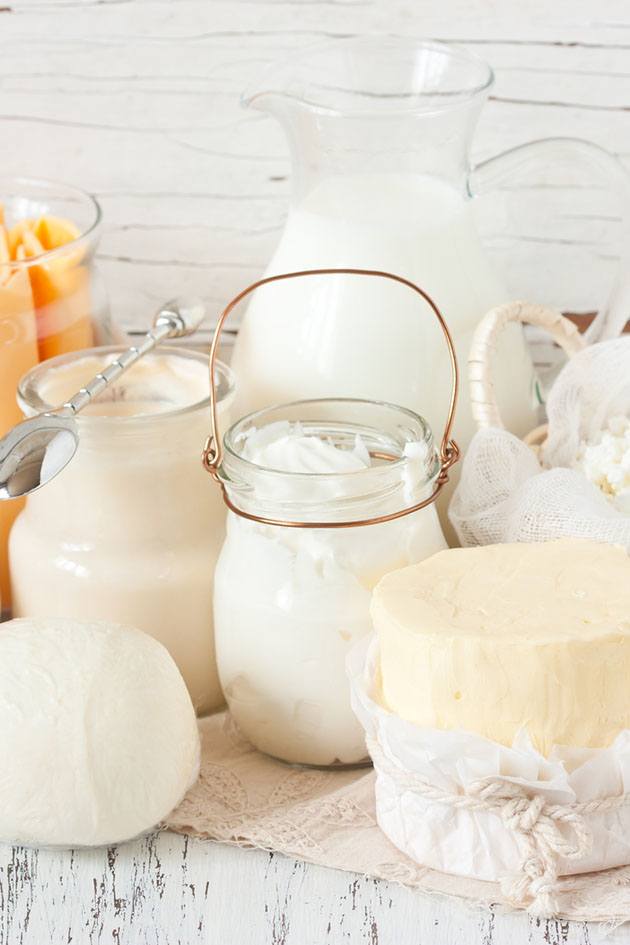
You’ll need raw milk, of course! I only ever used cow’s milk and goat’s milk to make this homemade raw milk yogurt. Both kinds work great, however, you might be able to use other kinds of milk in this recipe.
Aside from the milk, we are going to need just one more ingredient… Culture. What I like about this method mostly (aside from the delicious product…), is that there is no need to understand or buy a yogurt starter culture from a cheesemaking company (although, you can use it if you’d prefer).
For your first batch, you can simply buy one of those small yogurt containers at the grocery store and use it as your culture. When you choose yogurt at the store, make sure that the yogurt has live culture in it. Most plain yogurts that you find in the store contain live culture in them but it’s a good idea to check anyway. Look at the label on the container and make sure that it’s listing l. bulgaricus and s. Thermophilus. Sometimes it will just say something like “contains live cultures”. That’s the yogurt that you want!
In this recipe, we are going to use two quarts of raw milk and 1/2 cup of yogurt. This makes 1.5 to 2 pints of yogurt depending on how thick you like your yogurt.
Kitchen Tools…
You’ll need a stainless steel pot with a heavy bottom to heat the milk in. Using a pot with a heavy bottom will ensure that you don’t burn the milk. You’ll need a slotted spoon for stirring and a large kitchen towel or a small blanket (I use a fuzzy baby blanket) to cover the pot with. This will help you keep the milk warm during the culture process.
I want to write you’ll need cheesecloth… However, that won’t be correct. If you don’t want to thicken your yogurt, you don’t need to strain it. Once it’s ready, transfer it to jars and store it in the fridge.
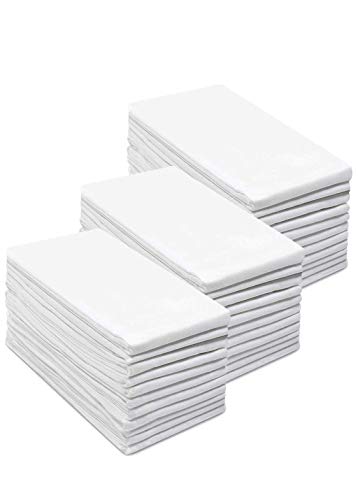
If you prefer a thicker, creamier texture, than you’ll need to strain your yogurt. I’ve tried to use cheesecloth before but it just doesn’t work! The yogurt runs right through it. The lady that I met in Israel, used a special fabric that she had to cut, sew and prepare herself. Here in the U.S. we are lucky enough to have flour sack towels which are a million times better than any cheesecloth I ever came by (I use them for all my cheesemaking. See a list of all of my cheesemaking equipment here)!
Even though the threads in the flour sack fabric are woven tightly together you are still going to have to double it when straining yogurt to make sure that it doesn’t simply run through. So you’ll need 2 flour sack towels (you can find them online or in any Walmart or Target).
You’ll need a bowl to place under the bag of yogurt to catch the whey that is strained and you’ll need a container to store the yogurt once it’s ready. I like glass jars but a plastic container is fine too.
Making Yogurt With Raw Milk…
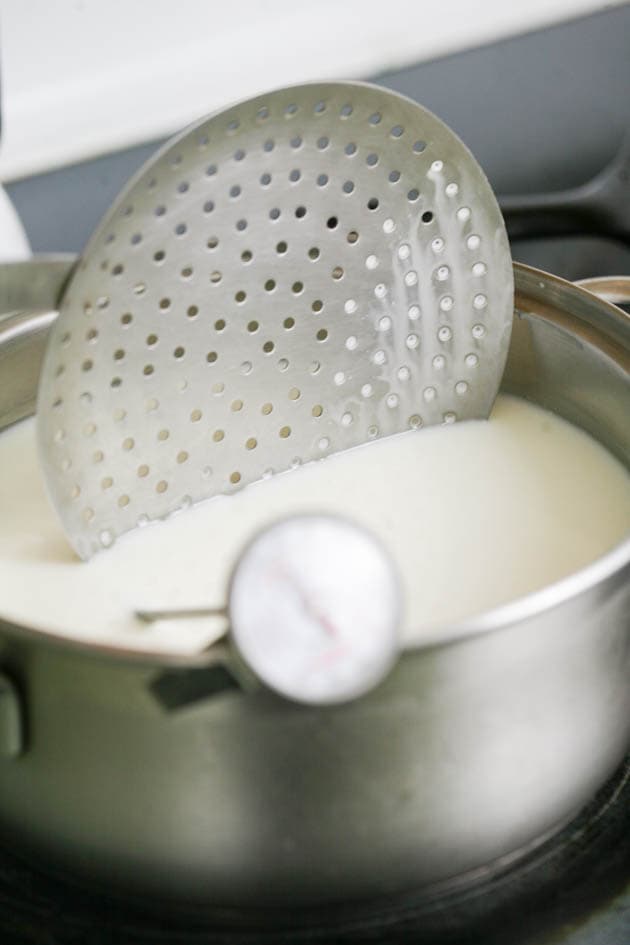
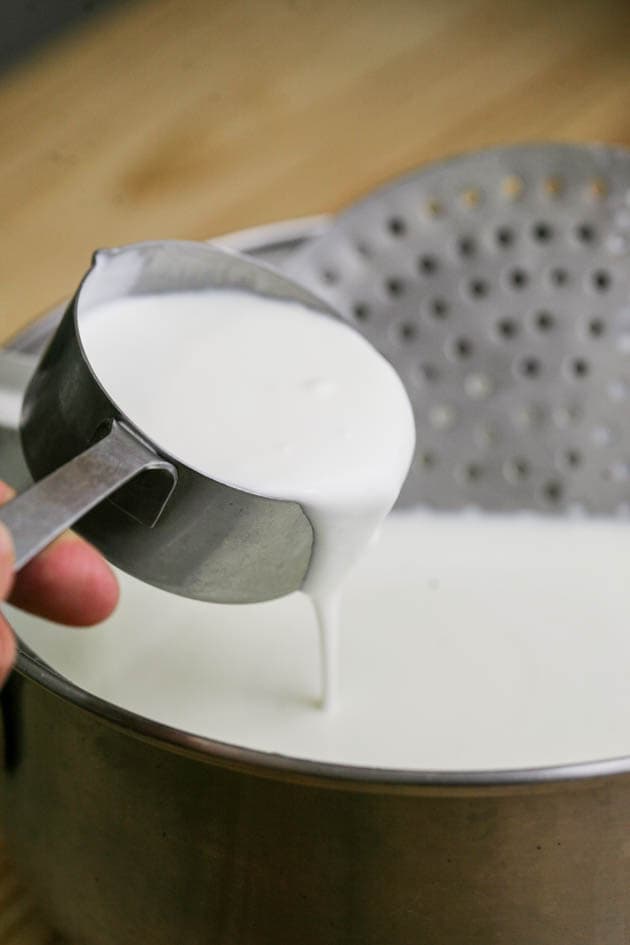
Step 1 – heat and cool the milk. Add the milk to the pot and set on the stovetop. Turn the heat to medium and slowly bring the milk to a gentle boil (around 200 degrees F). Stir continuously to ensure that you don’t burn the milk and that it is evenly heated.
When the milk starts to boil, remove the pot from the heat and cover it with its lid. Let the milk cool to 115 degrees F. This might take an hour or two but let it happen slowly and don’t stir the milk as it cools.
When you remove the milk from the heat to cool, also remember to take the half cup of yogurt that you are going to add to the milk out of the fridge so it can come to room temperature.
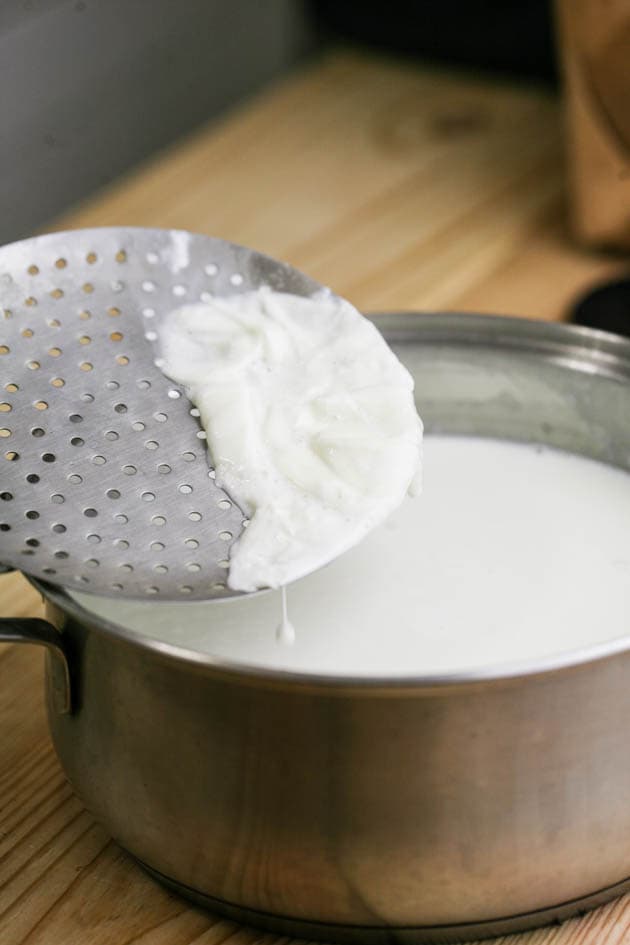
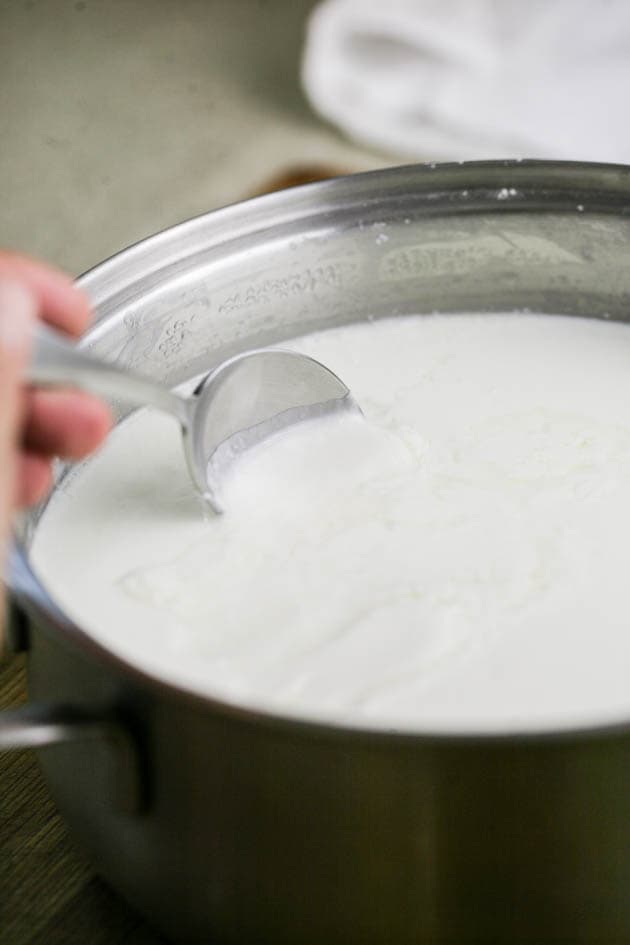
Step 2 – add yogurt. Once the milk has cooled to 115 degrees F, uncover the pot and scoop the film that (most likely) formed on top of the milk.
Then add the half cup of yogurt and stir it in with a slotted spoon.
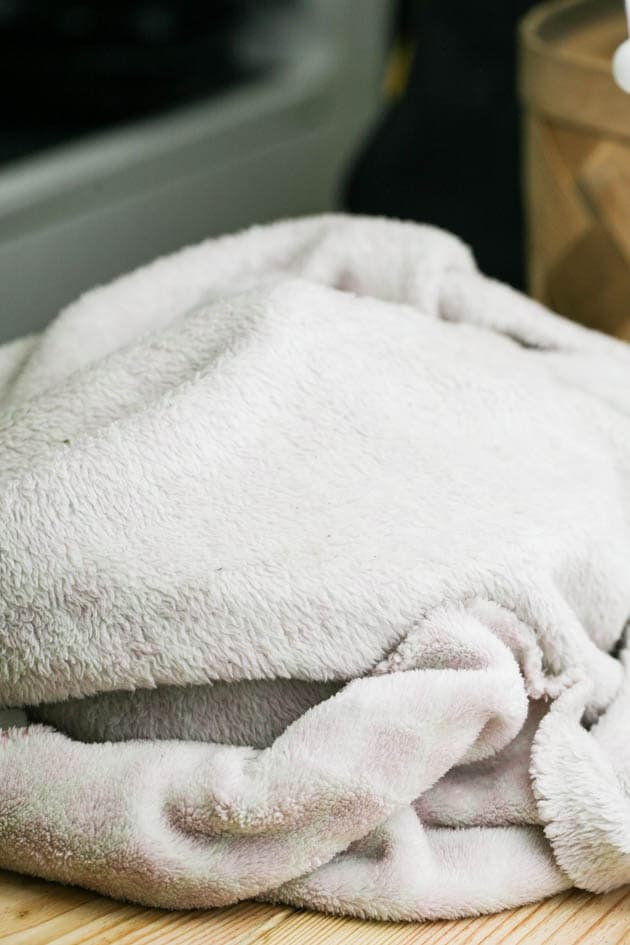
Cover the pot with its lid and then with a large kitchen towel or a small baby blanket to culture. Place the covered pot at room temperature somewhere and leave it undisturbed for 12 to 24 hours.
Step 3 – hang to drain. Even though we brought the milk to a boil before using it, when you uncover the pot your yogurt will most likely still be rather thin. If you like it this way, you can simply add it to jars and store in the fridge, however, if you like your yogurt a bit thicker, you’ll have to hang it to drain.
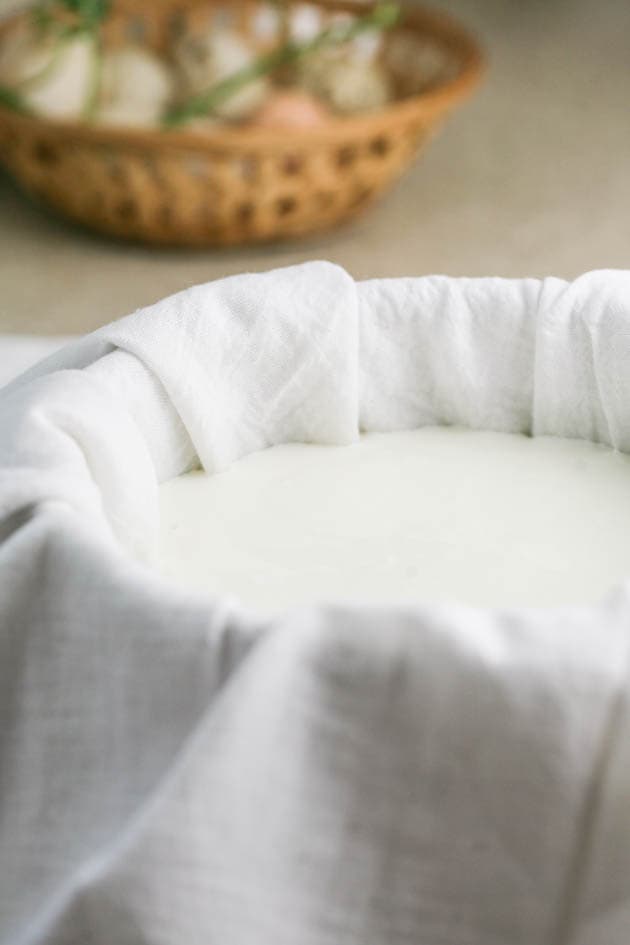
Line a bowl with two flour sack towels and transfer the yogurt to the bowl…
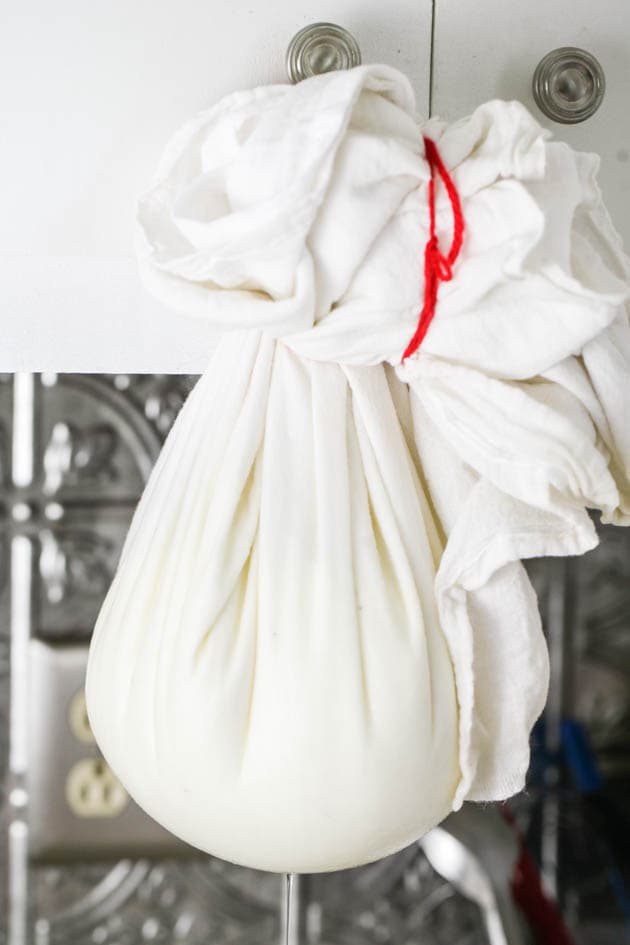
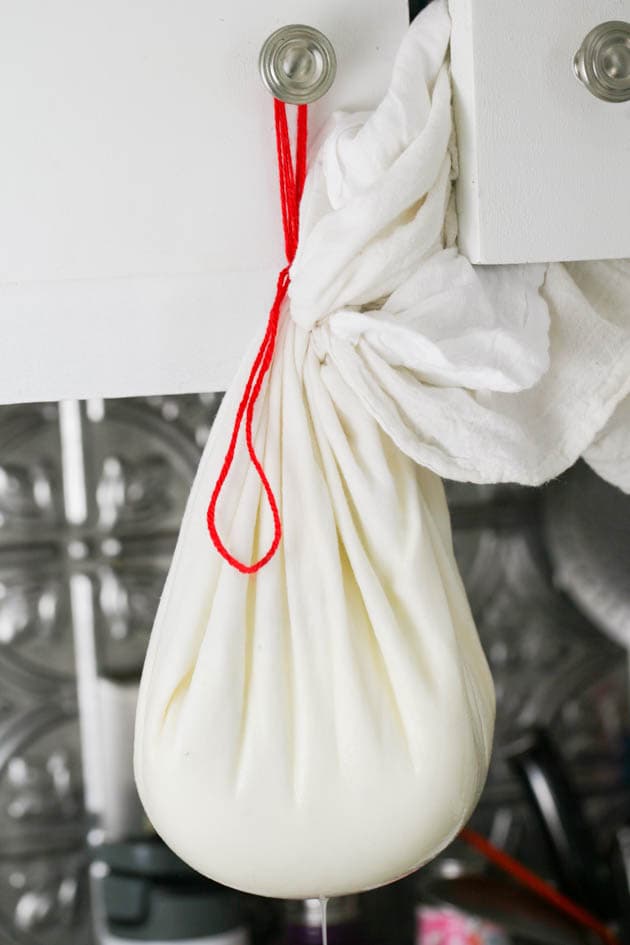
Collect the sides of the towels and tie them with a string (I use yarn). Then hang the sack from one of your kitchen cabinets to drain (place the bowl under it to catch the whey. If you have enough whey, you might be able to use it to make ricotta cheese).
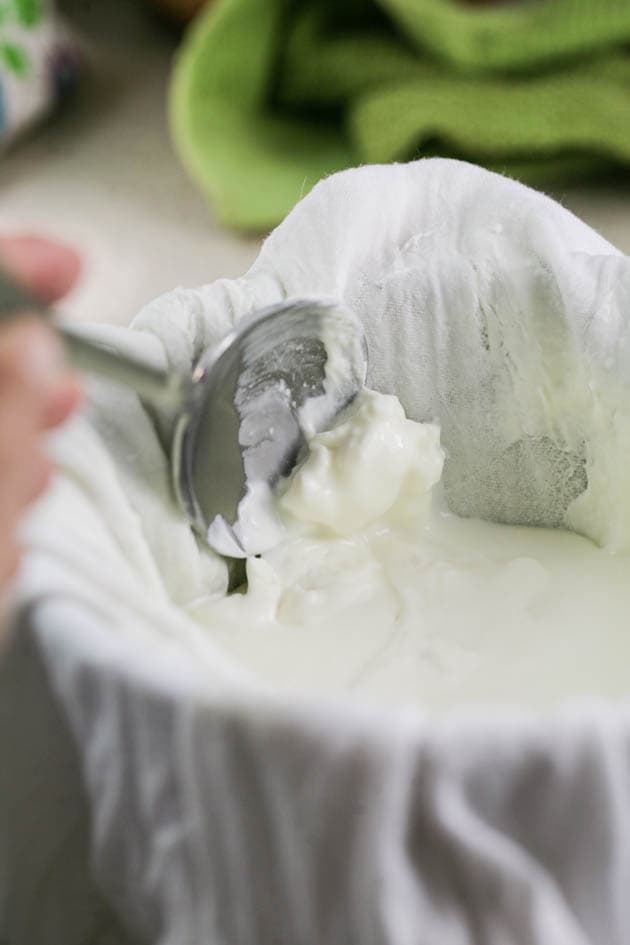
Draining time will change depending on how thick you like your yogurt. Keep in mind that you’ll have to take the sack down every hour or so, open it and scrape the fabric from the inside. I find that the yogurt gets thicker and blocks the opening in the fabric and so the whey that is in the center can’t escape.
After scraping the sides, hang it again. You can do this a few times until the yogurt reaches your desired consistency. My yogurt usually hangs for a couple of hours and I scrape the fabric twice during this time.

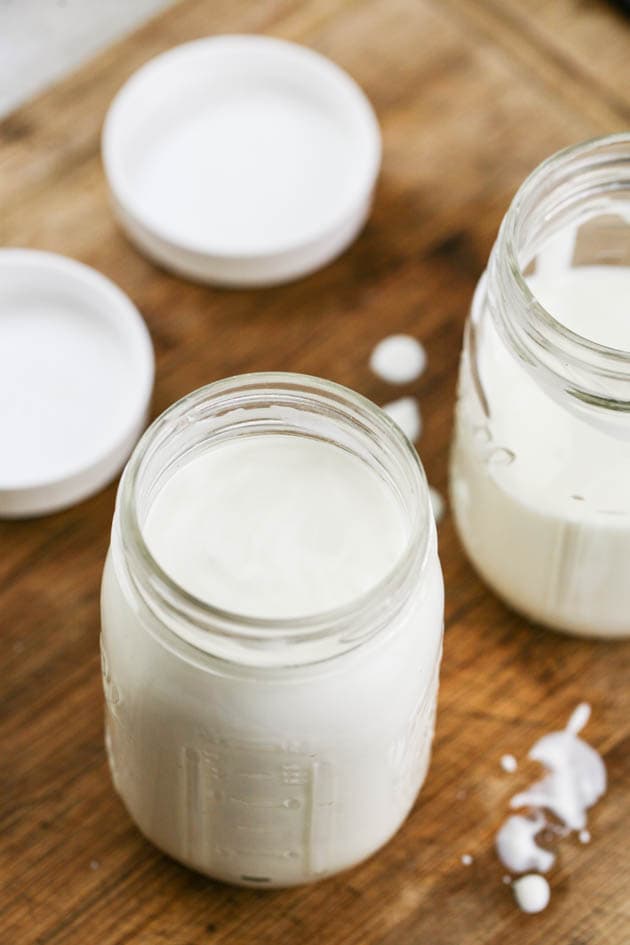
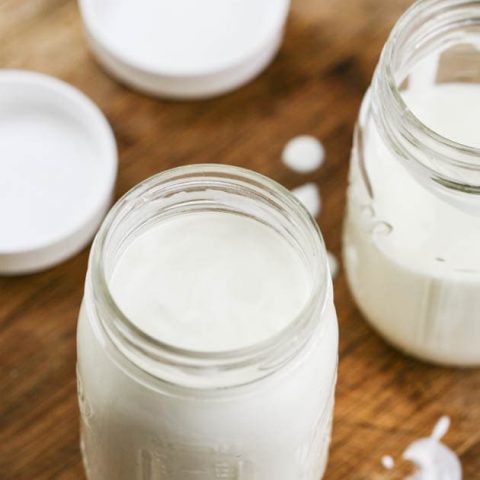
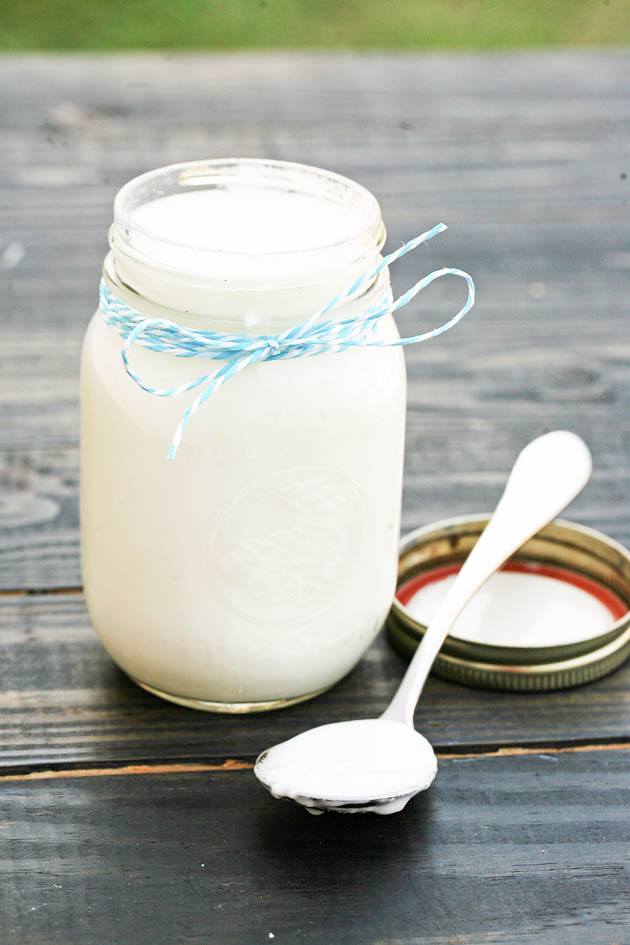
Step 4 – store the yogurt. Once you’re happy with the consistency of your yogurt, take the bag down, open it and transfer the yogurt to a clean bowl. Use a whisk to give it a good mix to even its consistency and then transfer it to clean jars. Store your raw milk yogurt in the fridge. It should last two to three weeks. Make sure to leave some of it to add to the next batch.
How to Serve Raw Milk Yogurt…
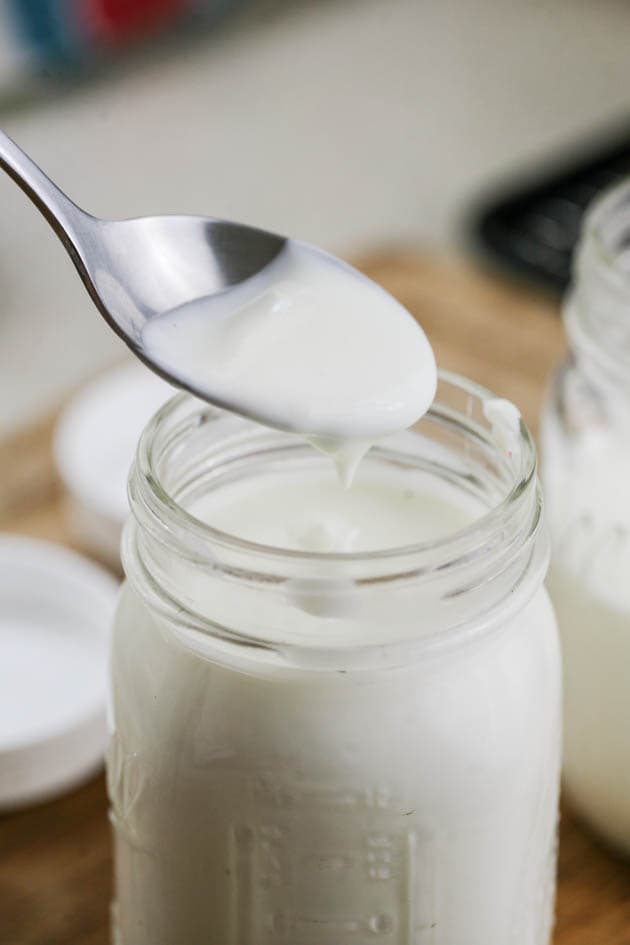
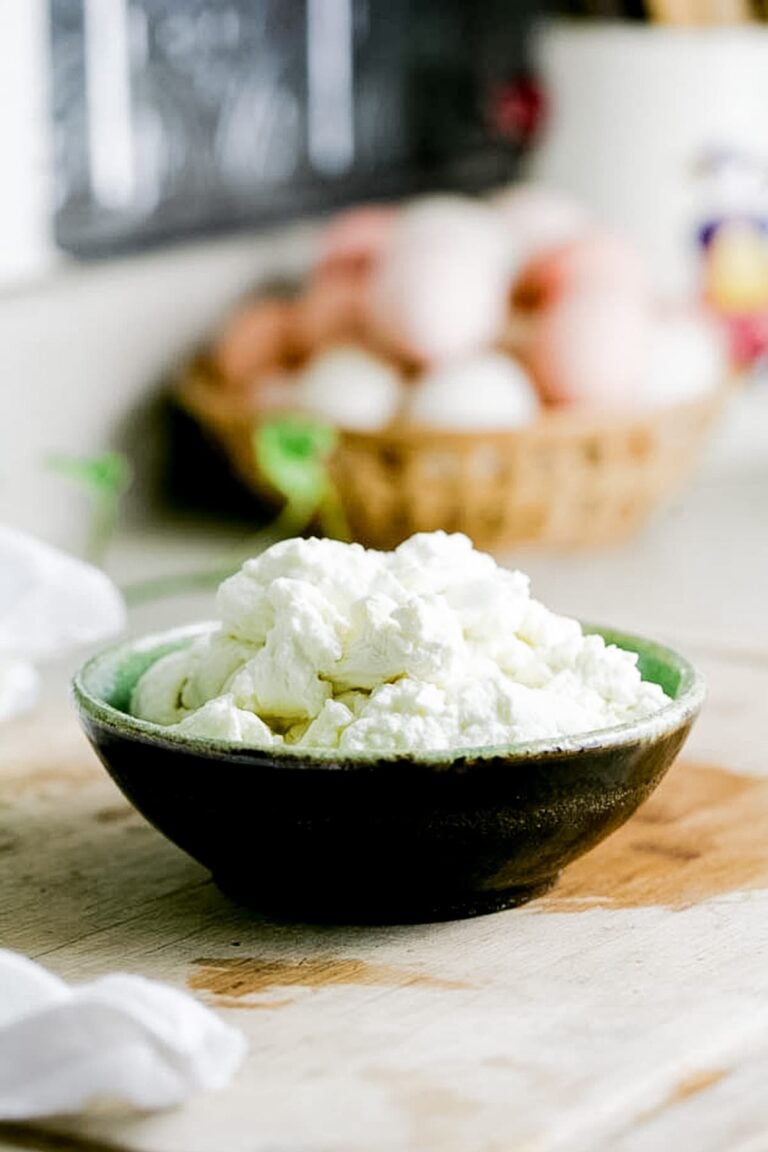
Homemade yogurt from raw milk has a texture and flavor that you have never met before, I guarantee! It’s rich and creamy and filling and refreshing, and if you ask me, it should be something we all eat daily because it’s very healthy for our digestive system.
My default is a bowl of yogurt with homemade granola and some sort of fruit (berries, peaches, apples… Whatever is in season). If there isn’t any fruit available I usually add jam instead (mixed berry jam, fig jam, strawberry jam, kiwi jam, peach jam… Take your pick!).
You can use this yogurt in any recipe that calls for yogurt, if it’s baked goods, French crepes, salad dressings or anything else. You can add this yogurt to a fruit smoothie with some flax seeds or hemp hearts for a healthy, filling meal and you can freeze that smoothie to make popsicles.
There are a million ideas but the bottom line is that you can use this raw milk yogurt the same way that you’d use any kind of yogurt you’d buy at the store.
Feel free to double or triple this recipe to handle as much milk as you have. Making yogurt is a rather easy way to process raw milk for those of us that keep milk animals. The lady that I met in that village in Israel years ago processed gallons of gallons of raw goat milk this way every day.
Two things before we close this tutorial… First, remember to save some of your yogurt for the next batch. It’s really easy to be self-sufficient when it comes to yogurt if you remember to do that.
Second, if you’d like, you can keep draining your yogurt of whey until it’s no longer yogurt but a thick, spreadable cheese. This is a super famous cheese in the Middle East! It’s called Labane. It’s very creamy and a little sour. We eat it with olive oil and zaatar and it is delicious! I’ll have another post about Labane on the blog in the near future.
More Cheesemaking Tutorials on the Blog…
How to Make Cheese (the basic process of making cheese at home)
How to Make Chevre Cheese (soft, spreadable cheese from raw goat’s milk)
How to Make Soft Cheese (from store bought cow’s milk)
How to Make Feta Cheese (from any kind of milk)
Raw Milk Yogurt Recipe
Ingredients
- 2 quarts of raw milk
- 1/2 cup of yogurt with active bacteria (see notes)
Instructions
- Add the milk to the pot and set on the stovetop. Turn the heat to medium and slowly bring the milk to a gentle boil (around 200 degrees Fahrenheit). Stir continuously to ensure that you don’t burn the milk and that it is evenly heated. Remove the pot from the heat and cover it with the lid. Let the milk cool to 115 degrees F. This might take an hour or two but let it happen slowly and don’t stir the milk as it cools.
When you remove the milk from the heat to cool, also remember to take the half cup of yogurt that you are going to add to the milk out of the fridge so it can come to room temperature. - Once the milk has cooled to 115 degrees F, uncover the pot and scoop the film that (most likely) formed on top of the milk. Then add the half cup of yogurt and stir it in with a slotted spoon. Cover the pot with its lid and then with a large kitchen towel or a small baby blanket to culture. Place the covered pot at room temperature somewhere and leave it undisturbed for 12 to 24 hours.
- Even though we brought the milk to a boil before using it, when you uncover the pot your yogurt will most likely still be rather thin. If you like it this way, you can simply add it to jars and store in the fridge, however, if you like your yogurt a bit thicker, you’ll have to hang it to drain.
Line a bowl with two flour sack towels and transfer the yogurt to the bowl. Collect the sides of the towels and tie them with a string (I use yarn). Then hang the sack from one of your kitchen cabinets to drain. Draining time will change depending on how thick you like your yogurt. Keep in mind that you’ll have to take the sack down every hour or so, open it and scrape the fabric from the inside. I find that the yogurt gets thicker and blocks the opening in the fabric so the whey that is in the center can’t escape. After scraping the sides, hang the sack again. You can do this a few times until the yogurt reaches your desired consistency. - Once you are happy with the consistency of your yogurt, take the bag down, open it and transfer the yogurt to a clean bowl. Use a whisk to give it a good mix to even its texture and then transfer it to clean jars. Store you raw milk yogurt in the fridge. It should last two to three weeks. Make sure to save out some of it to add to the next batch.
Notes
For your first batch, you can simply buy one of those small yogurt containers at the grocery store and use it as your culture. When you choose yogurt at the store, make sure that the yogurt has live culture in it. Most plain yogurts that you find in the store contain live culture in them but it’s a good idea to check anyway. Look at the label on the container and make sure that it’s listing l. bulgaricus and s. Thermophilus. Sometimes it will just say something like “contains live cultures”. That’s the yogurt that you want!
For the following batches of yogurt, you can use your homemade yogurt. Simply remember to keep some of it to add to the next batch.
Feel free to double or triple this recipe to handle as much raw milk as you have.
Recommended Products
As an Amazon Associate and member of other affiliate programs, I earn from qualifying purchases (there is no change in product cost or charge to you! Thank you for helping me support the blog).

Nutrition Information:
Yield: 4 Serving Size: About one cupAmount Per Serving: Calories: 268Total Fat: 10gSaturated Fat: 6gTrans Fat: 0gUnsaturated Fat: 3gCholesterol: 41mgSodium: 275mgCarbohydrates: 26gFiber: 0gSugar: 2gProtein: 19g
Hi, what’s the point of heating to 200 first? I have seen another raw milk yogurt recipe that doesn’t do this and just lets it ferment at 115 for awhile. Most yogurt recipes seem to have this step of heating > 185, but I can’t really find out why, other than some saying it’s for pasteurization, which is not what we’re going for here. Thanks.
I honestly don’t knw the exact answer to that. I think that it’s to change the structure of the milk so it can cogulate better since we don’t add rennet like when we make other types of cheese. But I’m not a 100% sure.
While heating my raw milk, it curdled. Is it still ok to use for yogurt?
I think so. Did you have anything in it tho? Why would it curdled? It shouldnt if there isn’t lemon juice or vinegar or something like that in it…
Thank you for this recipe! I’ve made it several times, but I am struggling with getting the right consistency for my yogurt. The first time, it was like milk. I strained and scooped off the edges every 30 minutes for like 3 hours… and it was still like milk. A friend suggested that I squeeze it, so I tried that with the next batch. From a quart jar, I got like 2.5 cups of whey and 1 cup of yogurt, but the consistency was much better. What can I do different?
Maybe try to let it sit and ferment longer. Make sure that you are using a flour sack and not the regular cheese cloth because the spaces in the fabric of a cheese cloth are too big.
But ultimately, remember that this is more of a drinkable yogurt, it won’t be thick as the one we find at the store.
When I left it in the pot, it didn’t ferment enough. I poured it into my yogurt maker the second, and the result was fabulous. What’s your strategy for getting the yogurt out of the flour sack towel. That was rather an ackward task.
I just try to scrape the flour sack with a spoon. It’s not a fun task but not too bad…
I enjoyed reading your page thank you!!!!
You are welcome! Thanks for stopping by!
How come we shouldn’t stir the milk while it’s cooling in step 1? I forgot about this and was stirring with the thermometer while waiting for it to cool?
Will it affect the texture of the finished product?
You want to allow it to cool slowly and gradually. When you stir, the milk cools too fast, this will affect the texture of the yogurt.
oh, okay. So, stirring it during cooling will make thinner yogurt?
Sort of… Cooling it fast will just change the texture. When making cheese and yogurt, temperature changes are really something to pay attention to. They can cause the cheese not to set, the yogurt turns out to thin, the milk doesn’t behave… It’s a different issue each time…
I found some raw milk yogurt I made about a month ago in the back of my fridge today ? can I use this for anything?
If it’s still good you can use it for anything that you usually use yogurt for.
How can you incorporate packets of starter culture acidophilus instead of a cup of yogurt? Would it be the same process
thank you
Yes, I think that the process should be the same. Just instead of the yogurt, you add the starter. Also, I’m pretty sure that they include instructions with the starter.
If you’re cooking your milk to 200° then it is no longer raw. What is the benefit of using raw milk then?
I don’t let the milk boil at that temperature. I just bring it there and take it right off the heat. Yes, some of the beneficial bacteria die but in order to kill all of it (pasteurize the milk), you have to boil it for a while longer. So there are still a health benefit with using raw milk. Also, it tastes much better.