This post may contain affiliate links, view our disclosure policy for details.

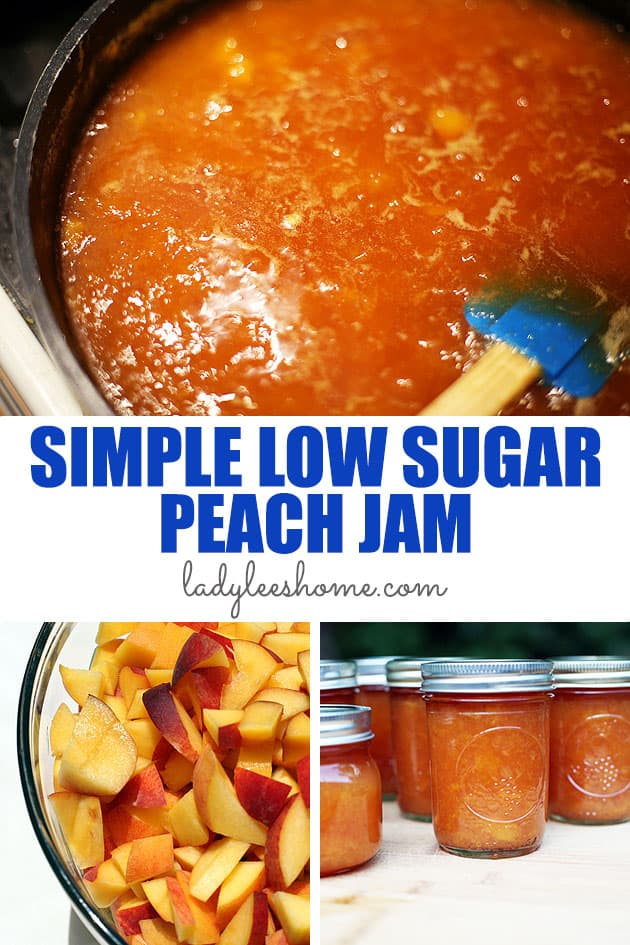
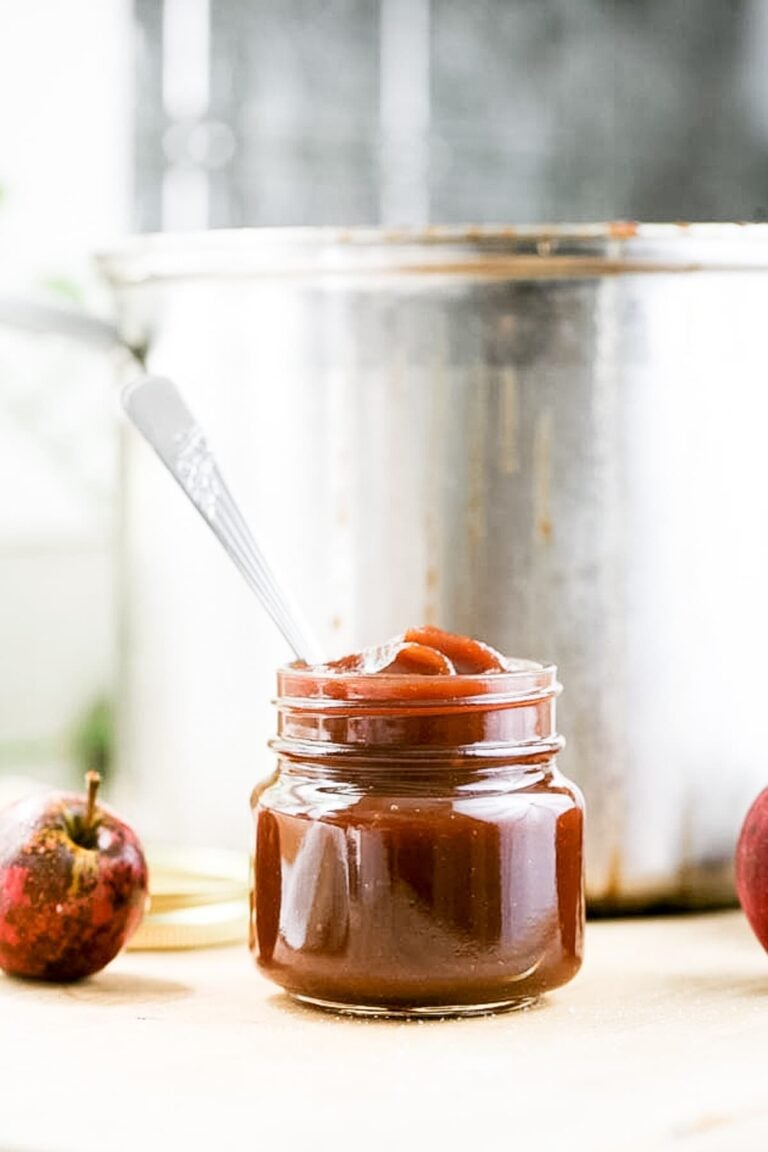
Low sugar peach jam is very easy to make. This recipe uses half of the amount of sugar than a traditional peach jam as well as no store-bought pectin. It’s also a simple jam to can, so really a must have summer jam to have on the shelf!
Peaches, peaches, peaches… Is there a better summer fruit? Well, watermelons, cantaloupe, grapes, and figs are right up there on the list, but peaches… When they ripen, it’s as if you know for sure that you’ve lived another beautiful summer!
Here in the South, sun-kissed, sweet, juicy, ripe peaches are the highlight of summer. They are here for a short few weeks and we go crazy for them. We find them in the farmer’s markets and on road stands everywhere, literally still warm from the Southern sun, just picked a few hours before they are sold. You can never compare them to store-bought peaches!
Low Sugar Peach Jam Recipe…
We eat as many as we can fresh, however, you probably know how a homesteader’s brain works… We immediately contemplate all the ways to preserve the goodness because what can be better than eating Southern, golden, sweet peaches in winter when it’s cold and grey and you need something to lift your mood? Absolutely nothing!
I personally can all the peaches I can put my hands on. I use these to add as a side for french crepes or pancakes or to add to yogurt and homemade granola. I also make enough low sugar peach jam to last us until the next summer. It’s a really simple jam to make, great for a beginner, it’s delicious, and it lasts on the shelf for many months, never losing its amazing peachy taste!

Ingredients…
- Peaches – make sure to choose ripe, soft, sweet peaches. The kind of peaches doesn’t matter. In this recipe, I used orange flesh peaches but you can also use white peaches if you’d like. You might have read that white peaches are low in acid and therefore not safe to can, however, we are going to use lemon juice to add some acid anyway so that should take care of this issue. In fact, you can also use nectarines if you’d like or you can mix all of them together. I started with about 8 pounds of peaches but after removing the pits and dicing them I was left with a little over 4 pounds of fruit to make jam with.
- Sugar – traditionally, you’d use a ratio of one part fruit to one part sugar when making jams. This is way too sweet for me so I cut this in half. We are going to use 2 pounds of sugar with the 4 pounds of peaches. If your peaches are really ripe and sweet, you can even use a little less sugar. And if you are processing a different amount of fruit, just weigh it and then weigh the sugar (use half of the weight of the fruit in sugar).
- Lemon juice – fresh lemon juice is rich in pectin and adds a little bit of acidity to jams. It makes them taste better too. We are going to add the juice from half a lemon.
- Lemon seeds – since we are cutting the sugar in half, we can’t use store-bought pectin to help us gel the jam. That’s not a problem. Lemon seeds are rich in pectin and they are a big help in gelling jams. We’ll add 5-6 lemon seeds. You can fish them out before canning or leave them in, it doesn’t matter.
- Vanilla – this is optional but adds great taste! If you’d like, you can add a tablespoon of vanilla extract to your low sugar peach jam after it’s done cooking, right before you can it.
Kitchen Tools…
- Cutting board, and a knife – to prepare the peaches.
- Deep pan – or pot with a heavy bottom to cook the jam in.
- Spatula or a wooden spoon – for stirring and a potato masher for mashing the fruit. If you like your jam to be real smooth without a lot of chunky fruit in it, you can use an immersion blender instead.
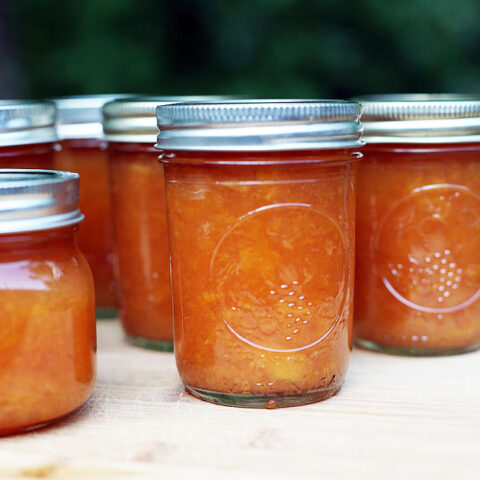
- Half-pint jars – you can keep this low sugar peach jam in the fridge if you’d like but you can also can it. If you choose to can it, I think that half-pint jars work best. You’ll also need…
- Canning utensils – we’ll use the funnel and the bubble remover. Also, make sure that you have a ladle or a large spoon to help you fill the jars and a damp paper towel to clean the rim of the jar before closing it.
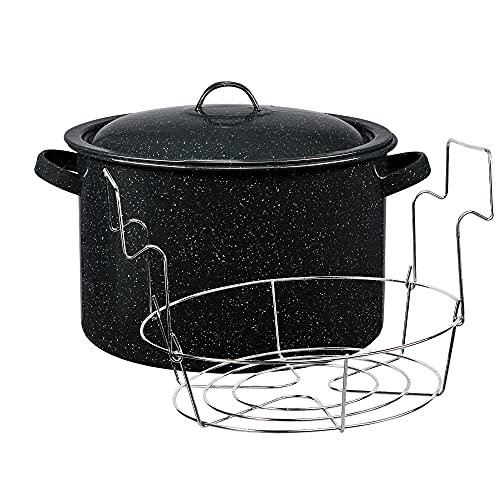
- Water bath canner – to process those jars we are going to need the good old water bath canner and the rack that it comes with.
How to Make Low Sugar Peach Jam Step By Step…
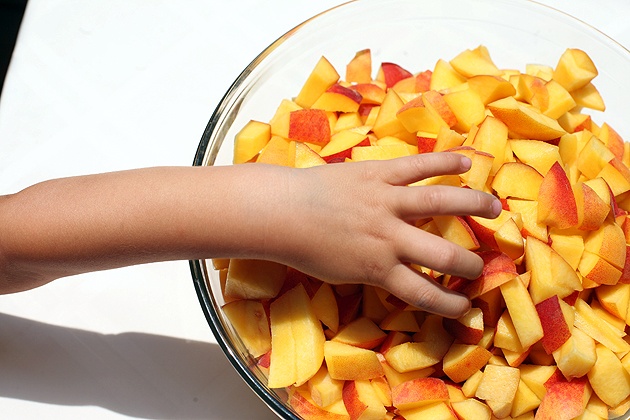
Step 1 – prep the fruit and try to keep the kids from eating all of it. Give the peaches a good wash, cut around the pit and remove it and then dice the peaches. You do not have to remove the skin of the peaches. I actually like it in my jam and since I blend it or mush it I often don’t feel the skin at all when the jam is ready.
If you want to remove the skin of the peaches you are going to have to blanch them. Boil a pot of water and cut an x at the bottom of each peach. Add the peaches to the boiling water (work in batches) for about two minutes before you remove them right into a bowl filled with water and ice. Let them stay in the ice water for a couple of minutes and then peel them. The skin should come off easily. Once they are peeled you can remove the pit and dice them.

Step 2 – bring to a boil. Add the fruit and the sugar to a deep pan, set on the stovetop, turn the heat to medium-high and bring the mixture to a boil (stir frequently).

Boil for 7 minutes or so, stirring frequently. Then, turn the temperature to medium-low and keep cooking for about 20 minutes.

Step 3 – mash and add lemon juice. At this point, the fruit is soft. Use a potato masher or an immersion blender to blend it. If you like large chunks of fruit in your jam, use the potato masher. If you’d like your jam smooth use the immersion blender.

You might notice some foam forming around the pan, you can scoop it with a spoon or you can leave it and just keep stirring it in. In many cases, the foam disappears by the time that the jam is ready.

Next, add the lemon juice and 5-6 lemon seeds and stir them in.

Step 4 – check if the jam is ready. Cook the jam for an additional 20 or 30 minutes, stirring frequently. By this time you should notice that it’s starting to thicken and gel. If you are an experienced jam-maker it will be easy to recognize this stage, if you need help to figure it out, you can do the spoon test…

Scoop a little bit of jam with a spoon and set it on the kitchen counter to cool for five minutes. Then, add it back to the pot and as it leaves the spoon you’ll be able to measure how thick it is. Just take into consideration that the jam will keep on thickening as it cools in the jars after you can it so you don’t want it too thick. Once the jam is done, remove it from the heat and if you want, stir in the vanilla extract.
How to Can Low Sugar Peach Jam…

This recipe makes 7 half-pint jars of peach jam. You can definitely store this jam in the fridge, however, if you would like to can it, follow the instructions below…
- Fill the water bath canner with enough water to cover the jars by at least an inch. Set on the stovetop and turn the heat to high. Bring the water to a boil.
- Wash the jars, lids, and bands with hot water and dish soap (there is no need to sterilize the jars since we are going to process the jam for 10 minutes).
- Fill the jars with the hot jam leaving 1/2 inch of headspace. Use the bubble remover to remove air bubbles by scraping it along the inside of the jar. Use a damp paper towel to clean the rim of the jar before centering the lid and closing it with the band.
- Set the filled jars on the rack of the canner and lower them into the boiling water. Cover the canner and process the jars for 10 minutes.
- Turn the heat off and uncover the canner. Let the jars rest in the hot water for five minutes before you remove them. Set them on a kitchen towel on the counter to completely cool overnight.
Remember to adjust processing time according to the table below if you live above 1000 feet in elevation…


Storing Canned Peach Jam…
Before you store the jars, check to make sure that they have all sealed properly by pressing on the center of each lid. If there is no movement there it means that the jars have sealed. If you have a jar that didn’t seal you can store it in the fridge and use it first.
I usually wipe the jars and remove the bands before storage because they sometimes rust and it’s hard to open the jars down the road. I can also reuse the bands and it’s easier for me to monitor what is happening inside of the jar if the band is not in the way. Store this jam in the pantry. It should last up to 18 months.

How to Serve This Jam…
Peach jam is sweet and delicious! It’s a pretty thick jam, so it can be easily used in baked goods like these delicious thumbprint cookies or in cake or other baked goods. We love it on toast or bagel or homemade bread with or without cream cheese. It’s great in the classic peanut butter and jelly sandwich and it’s a great addition on top of yogurt with some homemade granola.
Frequently Asked Questions…
You can process any amount of fruit you’d like, however, I recommend not processing more than 4 pounds at a time (things get a bit tricky with a larger amount of fruit and the jam sometimes has a hard time gelling). Simply keep a ratio of one part fruit to one-half part sugar, keep the other ingredients the same. So if you came across three pounds of peaches, remove the pit and dice them. Then, weigh your fruit and use half of its weight in sugar.
You can use any kind of peach to make peach jam, you can combine different kinds, and you can make this same jam with other kinds of stone fruits like nectarines for example.
Nope! I never peel my peaches before making jam. I simply don’t mind the skin and, in fact, I don’t really feel it much when the jam is ready. If you want to peel your peaches you’ll have to blanch them in hot water. Here are instructions on how to do that.
Yes, you can keep this low-sugar jam in the fridge and it should last for weeks.
Canned, sealed, homemade low-sugar peach jam should last on the shelf for up to 18 months. I personally try to use all of my canned goods within a year though.
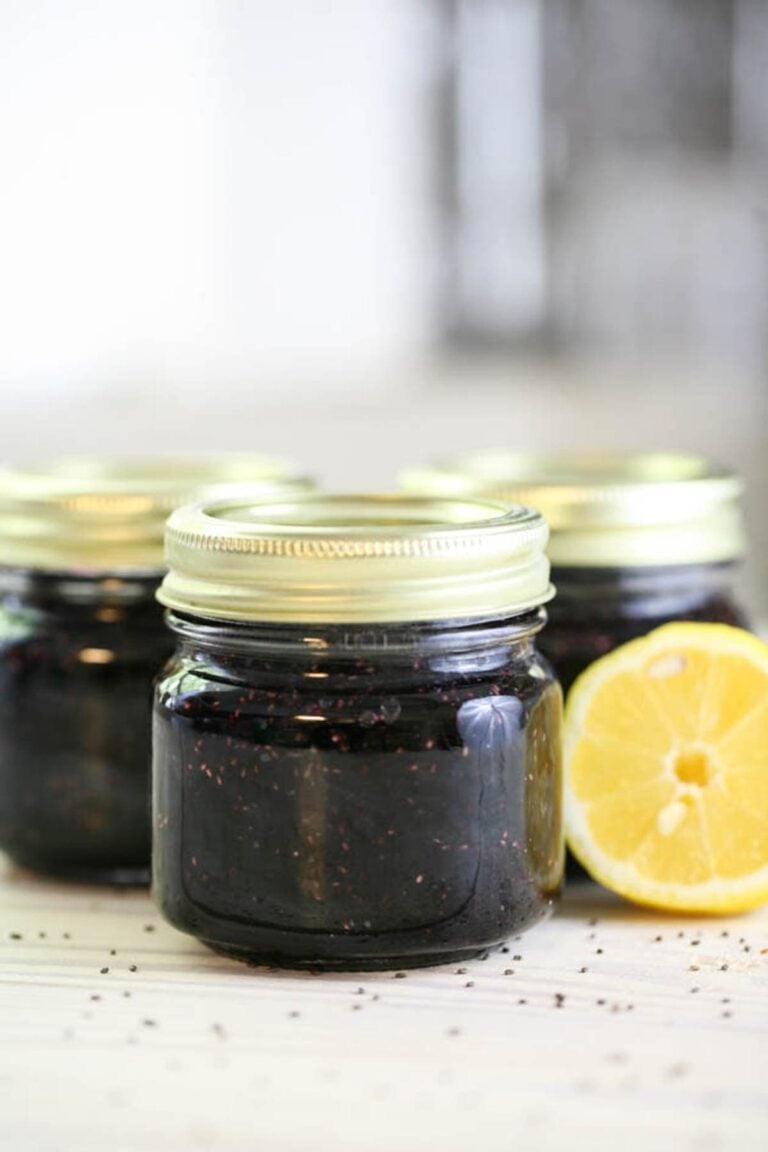
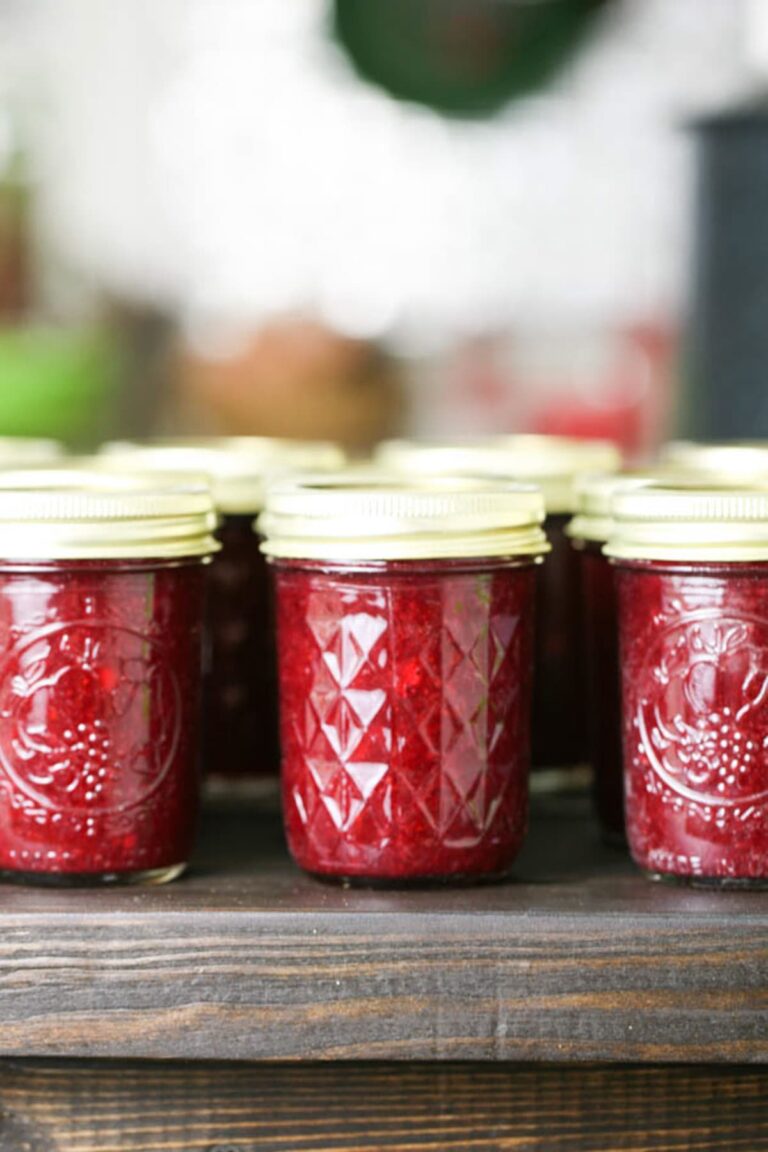
Other Jam Recipes That You Might Like…
Making jams is my favorite way of preserving fruit and I have a lot of jam recipes here on the blog. You can check the full list on my Low-Sugar Jam Recipes page. If you are in search of more delicious summer jams, try these ones…
- Grape jam – no, not grape jelly, we are talking about jam with seedless grapes. It’s delicious!
- Mango jam – pretty much the same as placing summer in a jar and canning it (pineapple jam is the same thing). You gotta try it.
- Cantaloupe jam – I bet that you didn’t know that you can make jam from cantaloupes! I got stuck with a whole lot of them one year and this jam is what happened. It tastes like candy from the candy store.
- Fig jam – hands down, my favorite jam of them all.
Low Sugar Peach Jam
Simple and delicious low sugar peach jam with no store-bought pectin.
Ingredients
- 4 lb peaches, pit removed and diced (no need to peel)
- 2 lb sugar
- Juice from half a lemon
- 5-6 lemon seeds
- 1 tablespoon vanilla extract (optional)
Instructions
- Add the diced peaches and sugar to a deep pan. Set on the stove top, turn the heat to medium-high and bring to a boil, stirring frequently. Let boil for 7 minutes.
- Turn the heat to medium-low and keep cooking, stirring frequently for 20 minutes.
- Mash the fruit with a potato masher or an immersion blender. Add lemon juice and the lemon seeds and stir them in. You might notice that some foam is forming on top of the jam, you can scoop it out or keep stirring it in, usually it disappears by the time that the jam is ready.
- Cook for an additional 20-30 minutes until the jam gels. If you need help to determine if the jam is ready, scoop a little bit of it with a spoon and set on the kitchen counter to cool for five minutes. Then, add it back to the pot and as it leaves the spoon you'll be able to measure how thick it is. Just take into consideration that the jam will keep thickening as it cools completely in the jars after canning.
- When the jam is ready, remove from the heat and add in the vanilla extract if you'd like.
- You can keep this jam in the fridge or you can can it. If you choose to can it, follow the instructions below...
Fill the water bath canner with enough water to cover the jars by at least an inch. Set on the stovetop and turn the heat to high. Bring the water to a boil. - Wash the jars, lids, and bands with hot water and dish soap (there is no need to sterilize the jars since we are going to process the jam for 10 minutes).
- Fill the jars with the hot jam leaving 1/2 inch of headspace. Use the bubble remover to remove air bubbles by scraping it along the inside of the jar. Use a damp paper towel to clean the rim of the jar before centering the lid and closing it with the band.
- Set the filled jars on the rack of the canner and lower them into the boiling water. Cover the canner and process the jars for 10 minutes (remember to adjust processing time according to the table below if you live above 1000 feet).
- Turn the heat off and uncover the canner. Let the jars rest in the hot water for five minutes before you remove them. Set them on a kitchen towel on the counter to completely cool overnight.
Notes
You can use any kind of peaches to make this jam. If you have a different amount of fruit, it's no problem. Remove the pit and dice your fruit. Then weigh it and use half of its weight in sugar so you keep a one part fruit to one-half part sugar ratio. Keep all the rest of the ingredients the same. Cooking time will probably change. I do not recommend processing more than 4 pounds of fruit at a time.
If you'd like to peel your peaches before making jam, you are going to need to blanch them.
Water bath canner altitude adjustment table:
Recommended Products
As an Amazon Associate and member of other affiliate programs, I earn from qualifying purchases (there is no change in product cost or charge to you! Thank you for helping me support the blog).
-
 Granite Ware Covered Preserving Canner with Rack, 12-Quart
 -
Norpro Canning Essentials Boxed Set, 6 Piece Set
-
Heim Concept Organic Bamboo Cutting Board for Kitchen Extra Large Chopping Board with Juicy Groove Perfect for Meat, Vegetables, Fruits, Cheese
-
PremiumVials 12 pcs 8 oz Mason Jars with Silver Lids for Jam, Honey, Wedding Favors, Shower Favors, Baby Foods, Canning, spices, Half Pint


Nutrition Information:
Yield: 7 Serving Size: 1Amount Per Serving: Calories: 649Total Fat: 1gSaturated Fat: 0gTrans Fat: 0gUnsaturated Fat: 0gCholesterol: 0mgSodium: 24mgCarbohydrates: 166gFiber: 6gSugar: 157gProtein: 3g
Nice peach jam
Do you leave the lemon seeds in the jam? I’d love to make jam with no pectin, but not sure about getting seeds when we eat the jam?
I leave the seeds in the jam. It doesn’t effect the taste and doesn’t make it any thicker. But they are still there and you will meet them. You can use the lemon seeds to thicken the jam but put them in a tea mesh ball thingy and then remove them before canning. Or simply fish them before you can the jam. It’s usually not too hard to find them.
Hello from South Georgia. I just finished making mulberry jam and happened to see your post after I had made it. But, the recipe I used was the same except for the lemon seed that I did not use. And, did not cut off the pesky stems ?. They soften and once mashed, I had very few stems remaining which is totally fine with me. It turned out beautifully. It is a nice rustic jam??? and delicious. My favorite jam is actually a marmalade- kumquat. If you can find some kumquats, it makes a pure golden treat. It is labor intensive but worth every minute of work. You can usually find those here around January and I would think in North Carolina also. I’m with you, I also reduce the amount of sugar and never use pectin. Making jam and looking at those little jars of sweetness makes my day! I love to share a loaf of homemade bread and a jar of jam with neighbors and friends during the year but especially at Christmas. Thanks for taking the time to create a wonderful post. Happy jamming! God bless.
I’ve never came across kumquat here in the states, but I visit my family often in Israel and they have a ton of them there. If you search the blog for “how to preserve whole lemons” you’ll see how we preserve them in salt and oil. They are delicious! I’ve never made marmalade from them before. Totally going on my list of things to do! I am sure it’s delicious. Thanks for stopping by!
This is a great recipe. I made it tonight and the lemon seeds worked great! Thank you!!!
Wonderful! I’m so happy you liked it.
Do you use the pint size jars, if so how many jars do I need for the 9 pounds of jam?
I used the half pint size and I think that I filled about 7 of them. It has been a couple of years so I can’t remember for sure…
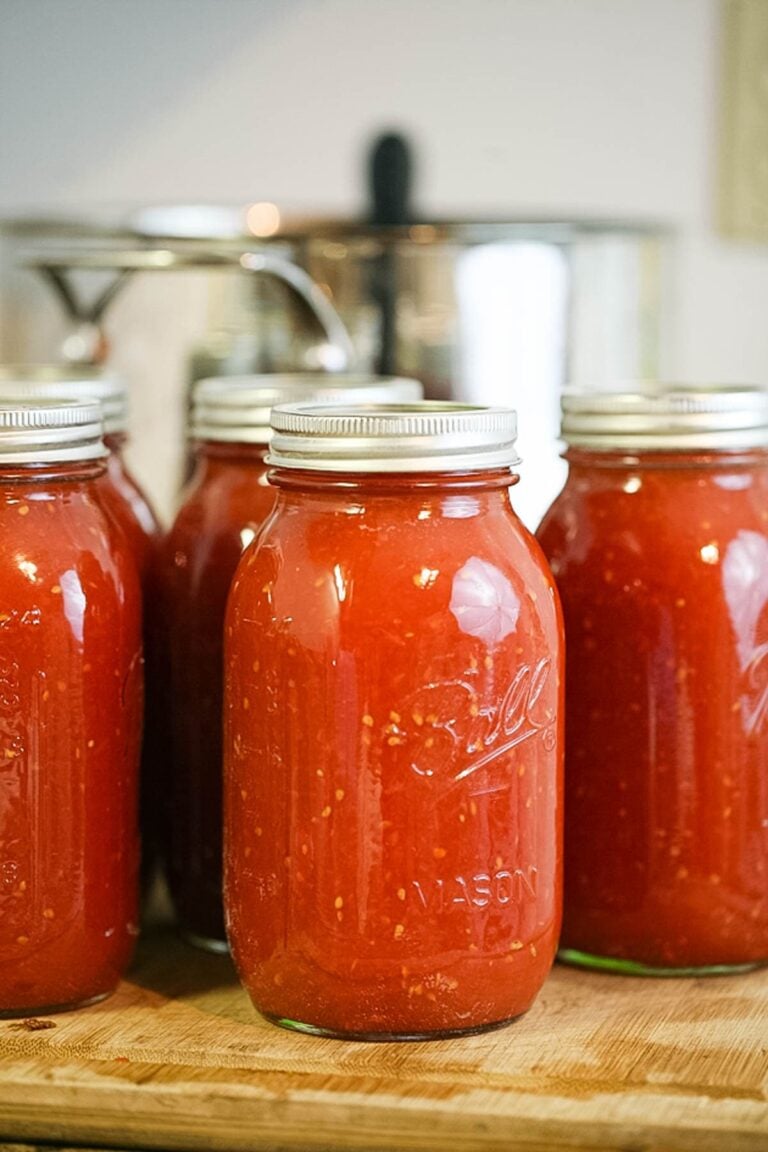
Thanks for the recipe. I used Blackboy Peaches and looks good. Apple cores can be used as pectin too.
Robyn, apple cores with the seeds? Or seeds removed?
Will this work for grape jelly. BTW thank you for the new way to go natural. I made your strawberry and chia jam earlier.
Should work for any jam or jelly!
Hi Lee
I am staying in Dar Es Salaam and we have many problems to bring in seeds or plants from outside our country.
I am interested to out dwarf fruit plants in my farms. Can u explain me how I can do it using our fruit trees locally .
Will appreciate your earliest reply .
By the way I really liked the explanation on the ham. May b I should do a test on mango and pine apples jams now that the season is on .
Mother Earth news has great info on this and pruning fruit trees into any shape and size you can think of. The gist of dwarfing a tree is to cut that baby to knee high when you plant it and keep the central leader pruned to the height you want it. It forced lateral growth vs height, so you can reach everything. It works on the vast majority of fruit trees. I’ve got a few in my yard now that I planted last year, and it seems to be working.
Women are so smart! thanks to our host and all of those phenomenal replies, I learned a lot and I’ve been a professional chef for over 25 years!!!! I knew about the oven processing, and most of the other tips, but not about the tapioca, or lemon seeds for thickening! very cool, can’t wait to try it.
May I offer another way to quick “can” something intended for refrigeration, perhaps for a bit longer than refrigerator storage? It’s the way Italians do it: process the jars as above, add the hot fruit jam, put the lids on as you described, then after sealing, turn over the jars onto a clean towel surface. That, too creates that “pop” which tells you it’s sealed, but I put these into the fridge for long term storage. Keep all those tips coming, ladies, it was great..
Thanks for the tip! I’ll try it next time.
I didn’t know this about lemon seeds. Do they have to be fresh? Or can you save them up and dry them?
Thanks for sharing this.
I never tried it because I always have so many lemons around, but I don’t see why it won’t work. You can try to dry a few, then drop them in a cup of water for a few minutes. Fish them out and see if the outside of the seeds feels like it’s covered in jelly. If it is, it will work just fine in the jam.
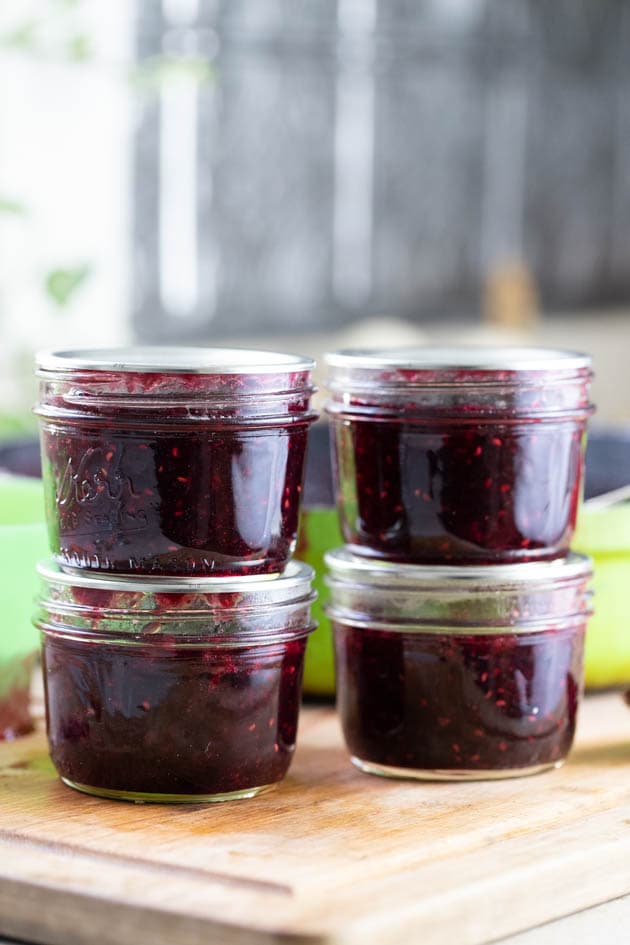
Have you ever canned black berry jelly like this? I can’t wait to try the lemon seeds! Pectin has become so expensive.
Margaret, I make all my jellies this way. Strawberry, cranberry, peach, blueberry… I never made a blackberry jam before but I don’t see why it won’t work. Thanks for visiting!
I made 1/2 of this recipe on August 25, 2015. I was easy to cut up peaches and I added even less sugar since hubby is diabetic…..it is DELICIOUS! I am so glad I tried jam with the skins on, and the lemon seeds worked wonderfully. Thank U.
Awesome! So happy to hear that you liked it. You can try different ratios of fruit and sugar. I never do the same thing twice. Sometimes I have fruit that I see is going to go bad so I make jam from it, even if it’s just a little bit to keep in the refrigerator. If your husband is diabetic you can even try to make this without sugar at all. Maybe add half a cup of honey or so.
Do you not peel the peaches? The ones you have chopped up in the bowl look more like nectarines than peaches. I’m not sure I’d want that fuzzy peel in my jam. Otherwise I love the method and may try it this year.
Yes, some of them were nectarines, but I do the same thing for peaches. I don’t peel because I don’t mind the peel in my jam and it is much less work to just leave it on, but you can peel the peaches if you want. Doesn’t change a thing.
Thanks for visiting!
Oh wow that oven tip is awesome – thanks for sharing! I will definitely be trying that next time I can. No peaches this year sadly but hopefully lots I berries 🙂
this is the easiest way i have seen to make jam …. i pinned it and i am going to try it thanks xx
I am all about easy Chris! Thanks for pinning.
Next time toss in some pre-soaked & strained Tapioca. I soak about a cup per batch.
Does it change the flavor much Sheri?
No change in flavor at all! Little story: Years ago I met a very old woman from war torn Europe. During the war years it was hard to make jam & jelly and the ladies discovered using Tapioca brought wonderful results to their jam. The first time I tasted this done was Adelle’s Apricot Tapioca jam. It’s just wonderful! Also what I discovered was that if you put your fruits through a juicer and put the juice back with the fruit body pulp it doesn’t require any pectin. Pectin is actually “fruit fats” so by pulverization it releases the fats to heat and re-bond. Do realize that some fruits don’t have as much fruit fats as others so when I make eggless lemon curd I use my tapioca as a thickener. Yum!
Sounds good. If to be honest, I don’t think I ever ate tapioca. I’ll have to try this. Thanks.