This post may contain affiliate links, view our disclosure policy for details.

Pineapple jam is easy to make. This recipe uses fresh pineapples, less sugar, and no store-bought pectin. It’s delicious and a must have summer jam to have in the pantry!
Pineapples are juicy and sweet. We love eating them fresh during the summer just as we do watermelon. They are an amazing snack and they are really healthy. Sometimes I freeze some of them during the summer to use in smoothies during the winter months, however, when it comes to preserving pineapples, my favorite way of doing it is making pineapple jam.
It’s a pretty easy jam to put together and a great jam for a beginner. The pineapple holds it taste and color very well during the cooking process and the result is delicious.
Easy Pineapple Jam Recipe…
Pineapples are very sweet (during the season) and so there is no problem using less sugar to make this pineapple jam. Opening a jar of it later in the year feels as if summer came back for a short visit. There is nothing better than that in the middle of a cold winter.
Ingredients…
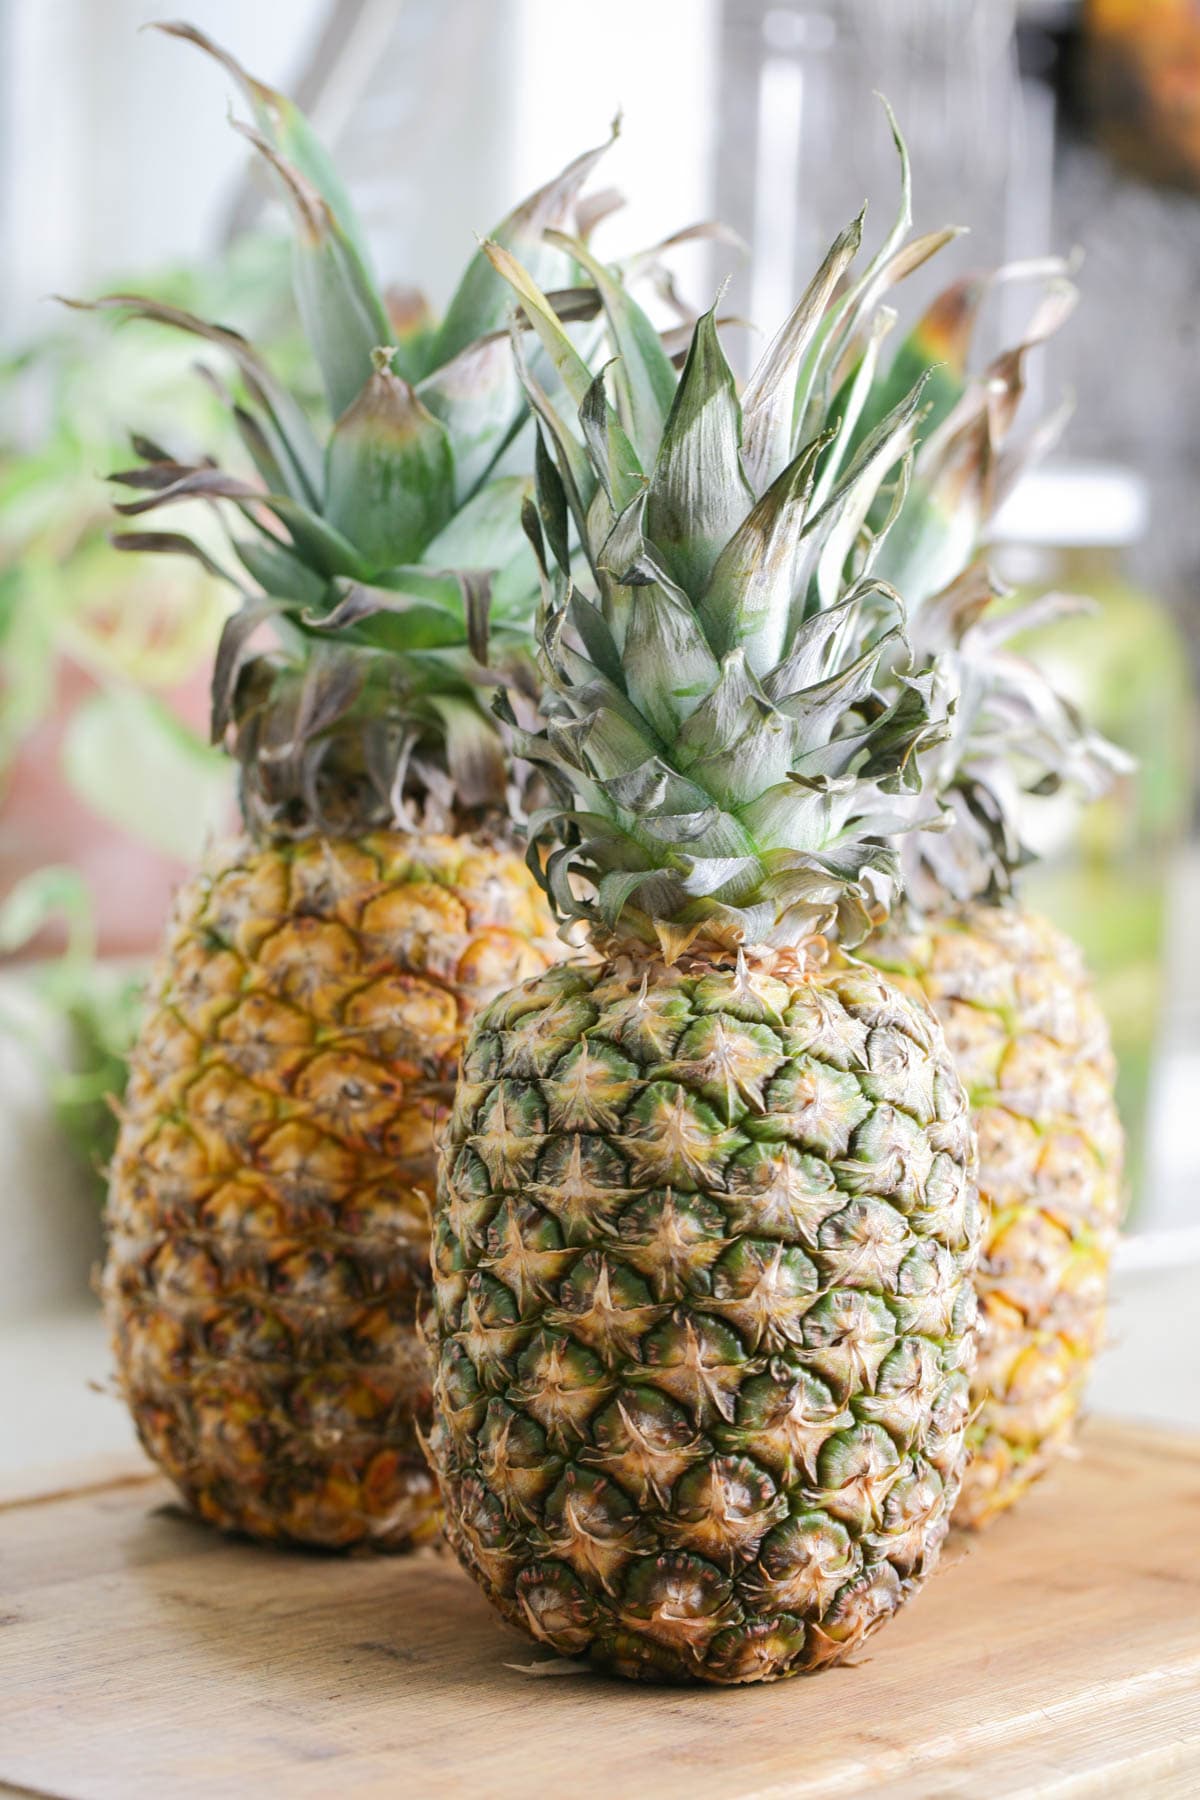
- Pineapples – in this recipe, we are going to use three fresh, ripe pineapples. Yes, you can make pineapple jam with crushed pineapple from a can but what’s the fun in that? Fresh, summer, sun-kissed pineapples is where it’s at baby.
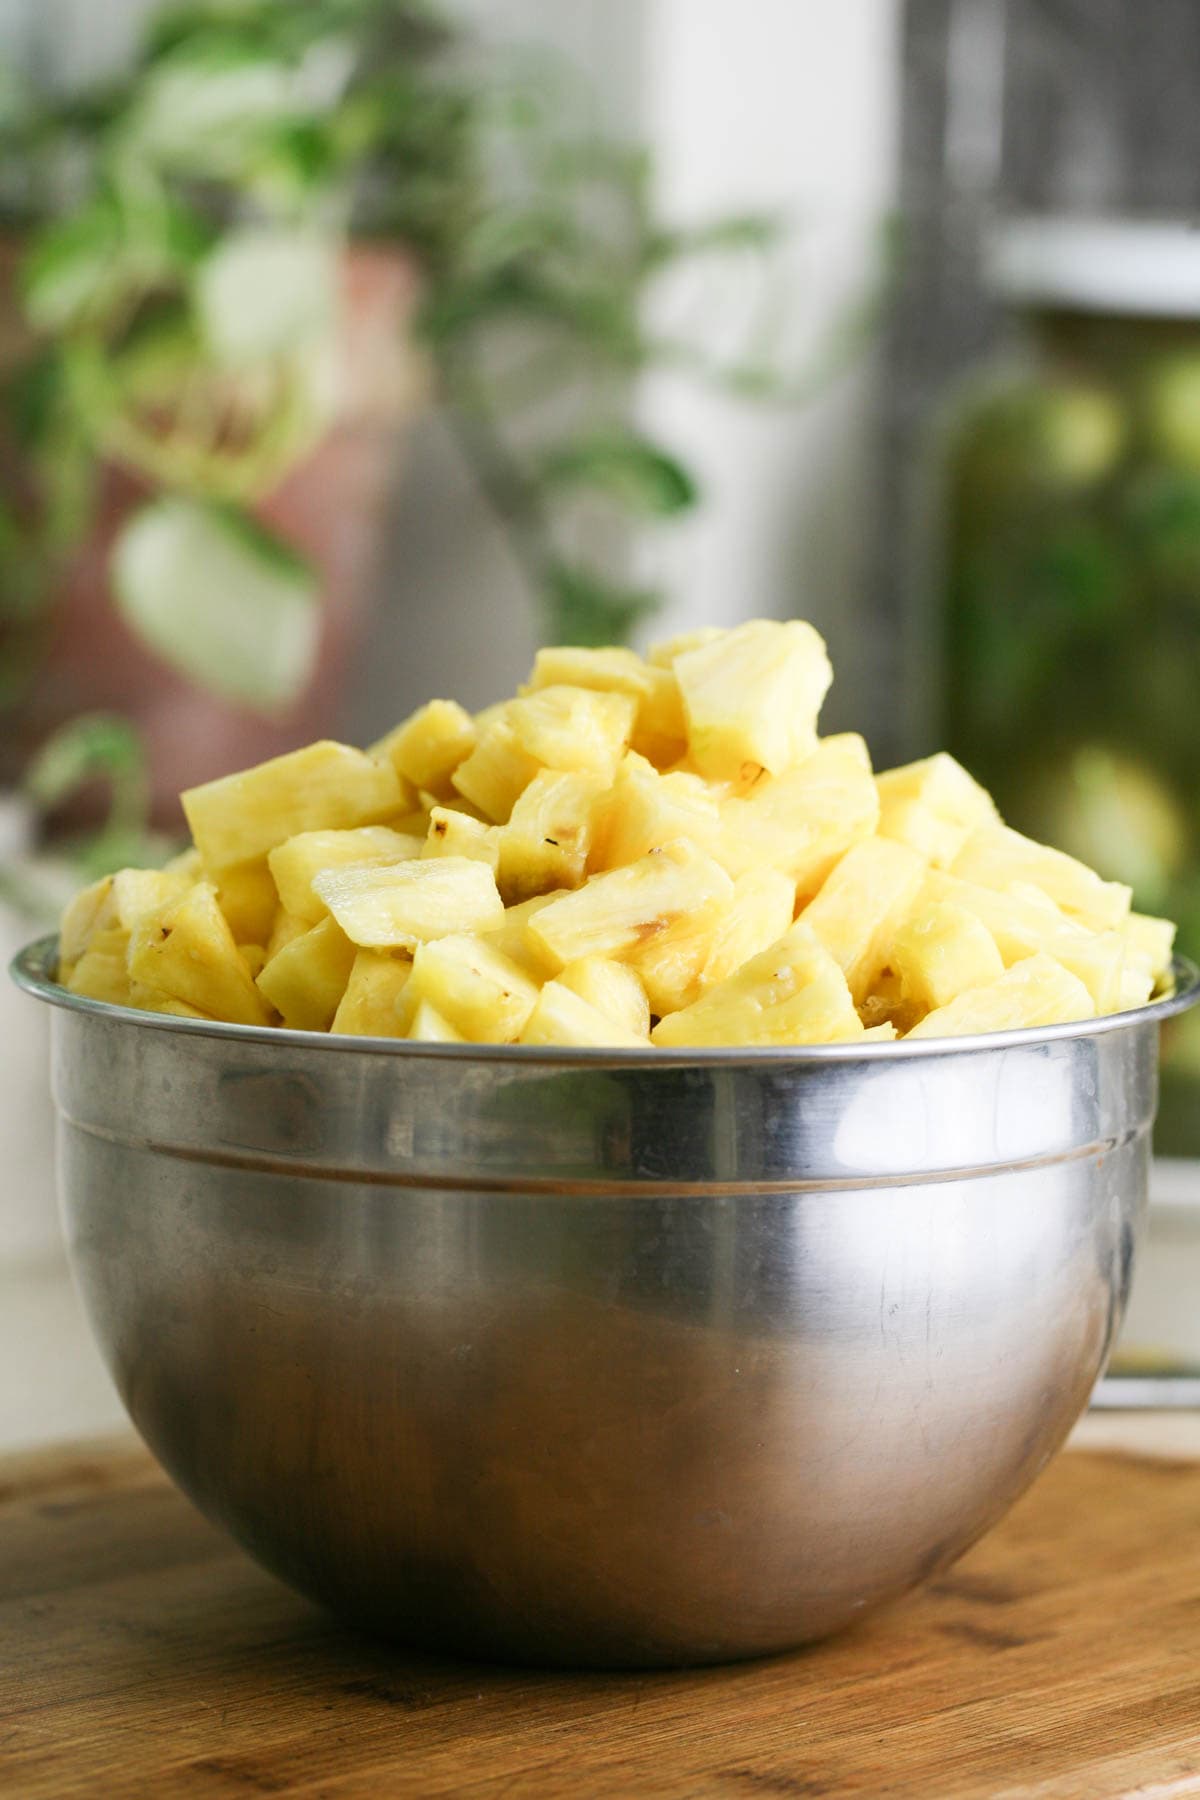
- Sugar – after peeling, coring, and dicing the pineapples, I was left with 5.4 pounds of fruit to make jam with. I usually keep my jams to a ratio of one part fruit to one half part sugar which means we’ll use 2.7 pounds of sugar (more or less, doesn’t have to be exact). To be honest, pineapples are really sweet so just like grape jam, you can probably use even less sugar.
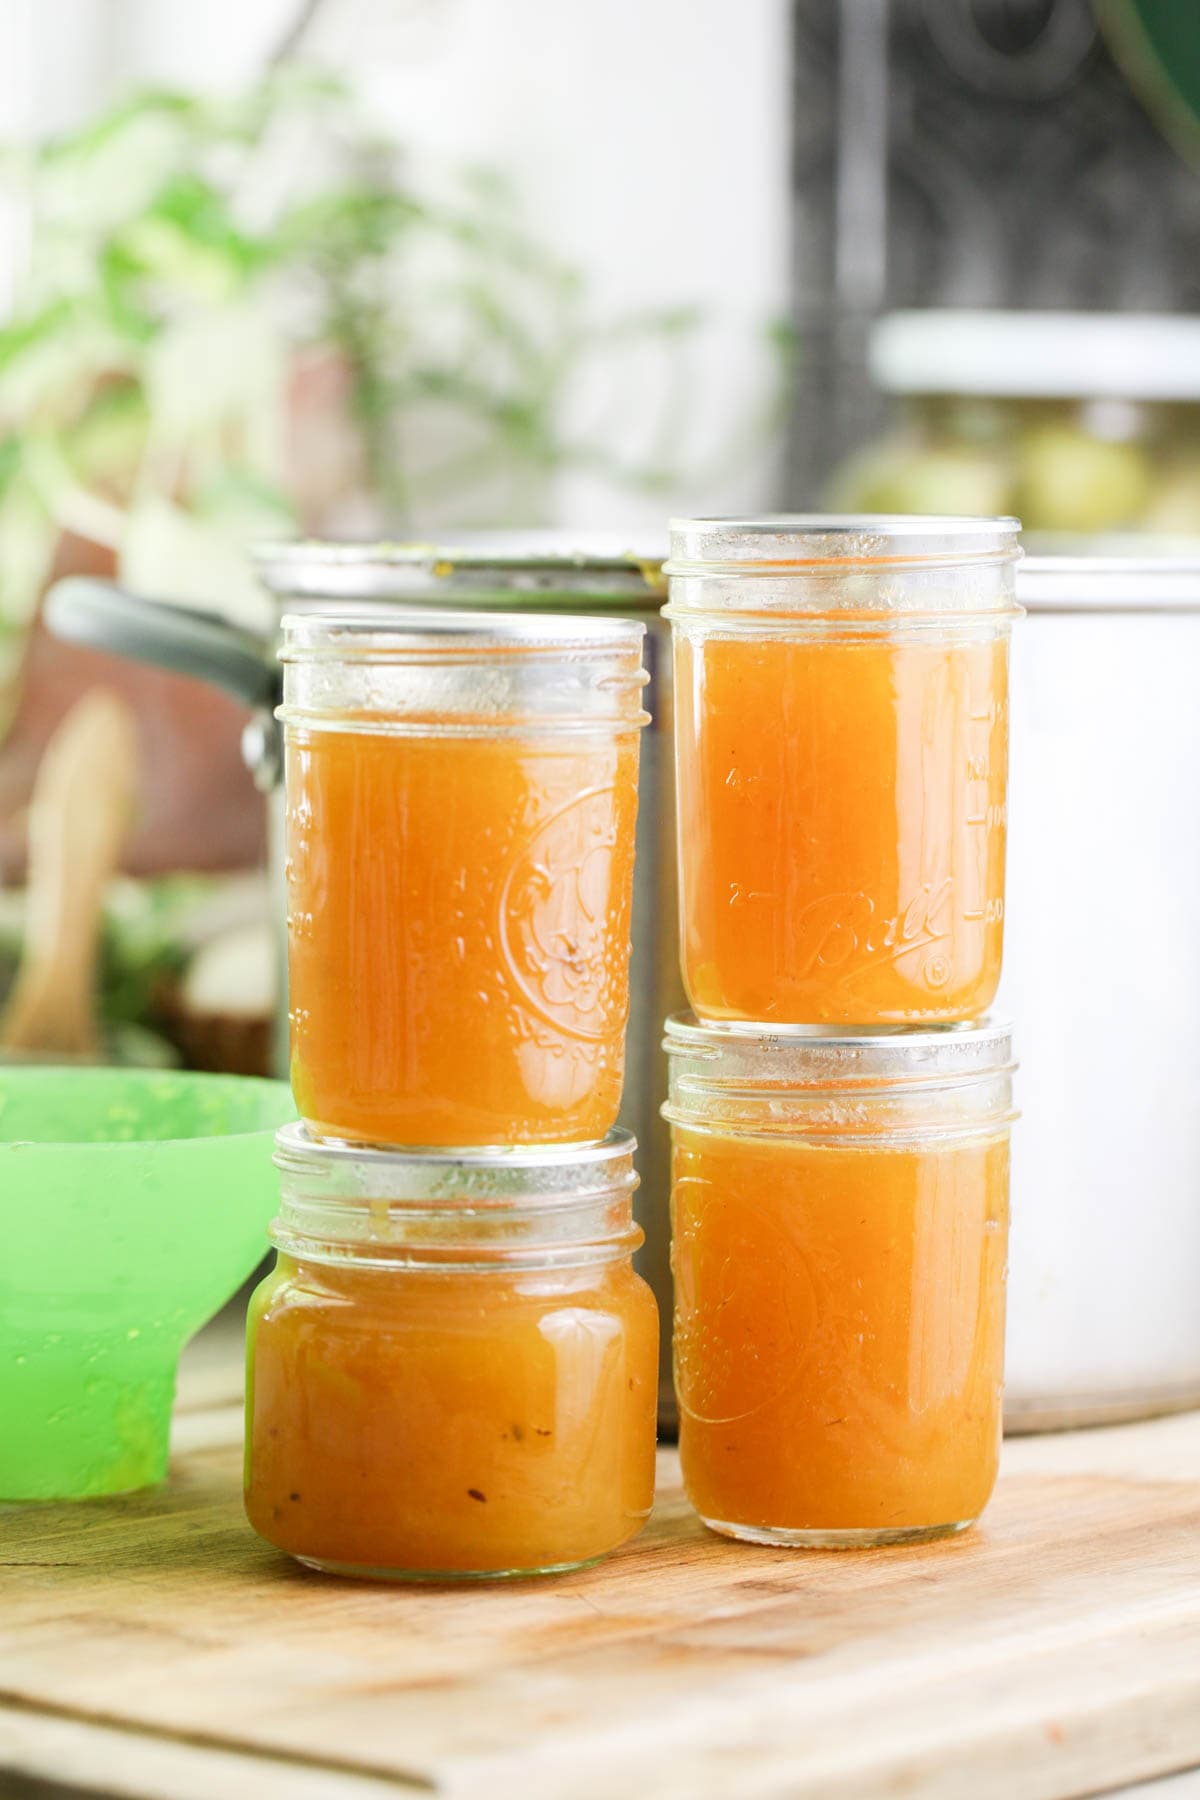
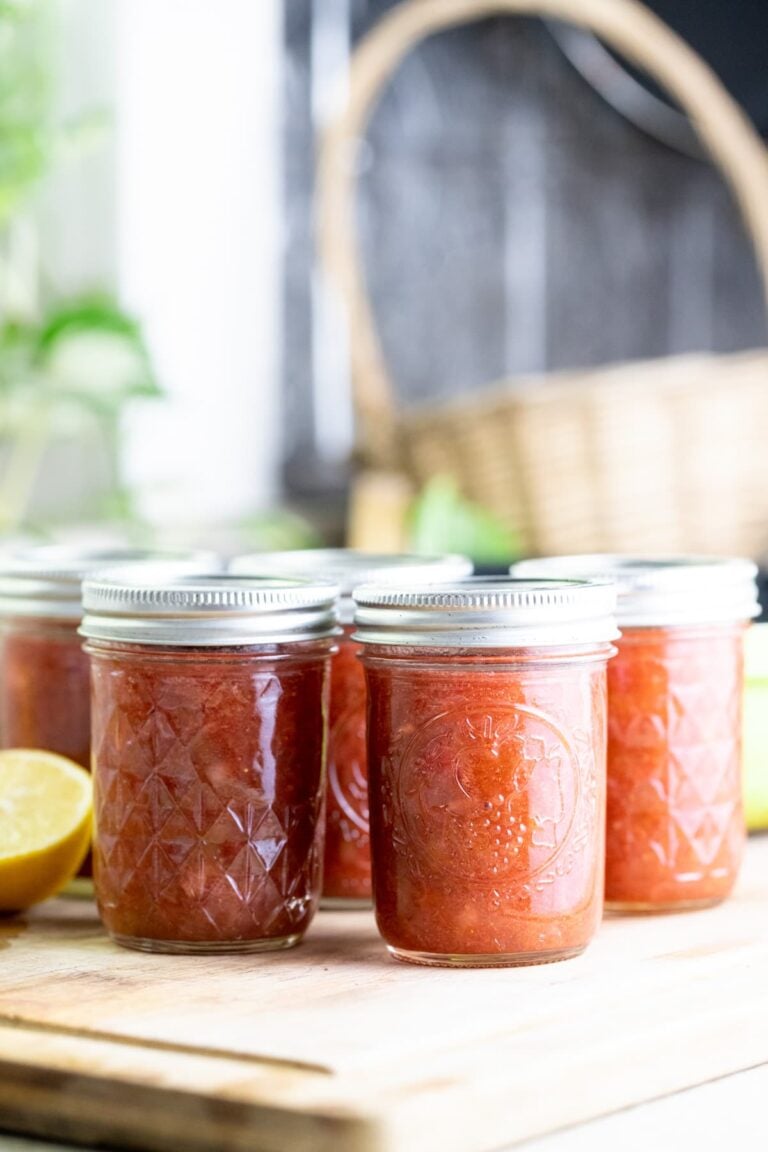
- Lemon and lemon seeds – aside from the pineapple and sugar, we are going to use the juice of one lemon and 5-6 lemon seeds. Both lemon juice and lemon seeds have a lot of pectin in them so they’ll help us thicken the jam without the need to use store-bought pectin. This recipe makes 11 half-pint pineapple jam jars.
Kitchen Tools…
- Cutting board
- Knife
- Wooden or large spoon
- Immersion blender
- Half-pint jars
- Ladle
- Paper towel
- Canning utensils
- Water bath canner
How to Make Pineapple Jam…
Step one – prep the pineapples. Here is how I do it, I cut off the top and then the bottom of the pineapple. Then, I stand it up and use the knife to peel it by cutting the skin off from top to bottom (it’s the same way I cut a watermelon). Once the skin is off, I cut the pineapple in half lengthwise. I lay it on the flat part and cut it in half again so now we have four quarters.
I place my knife on an angle and cut the piece of core out from each quarter. Then, I dice the flesh. I hope that this was a clear explanation, the bottom line is that you want the pineapples peeled, cored, and diced. Since pineapples come in varied sizes, this is a good time to weigh your fruit so you know how much sugar you’ll need. You can keep a ratio of one part fruit to one-half part sugar or a bit less even.

Step two – bring the fruit to a boil. Place the fruit and the sugar in the pot and set it on the stovetop. Turn the heat to medium-high and start cooking while stirring frequently. It should take ten minutes or so before the mixture comes to a boil. Once it does, keep it boiling for seven minutes or so before you lower the heat to medium-low. Keep cooking, stirring frequently for 35 minutes or so.
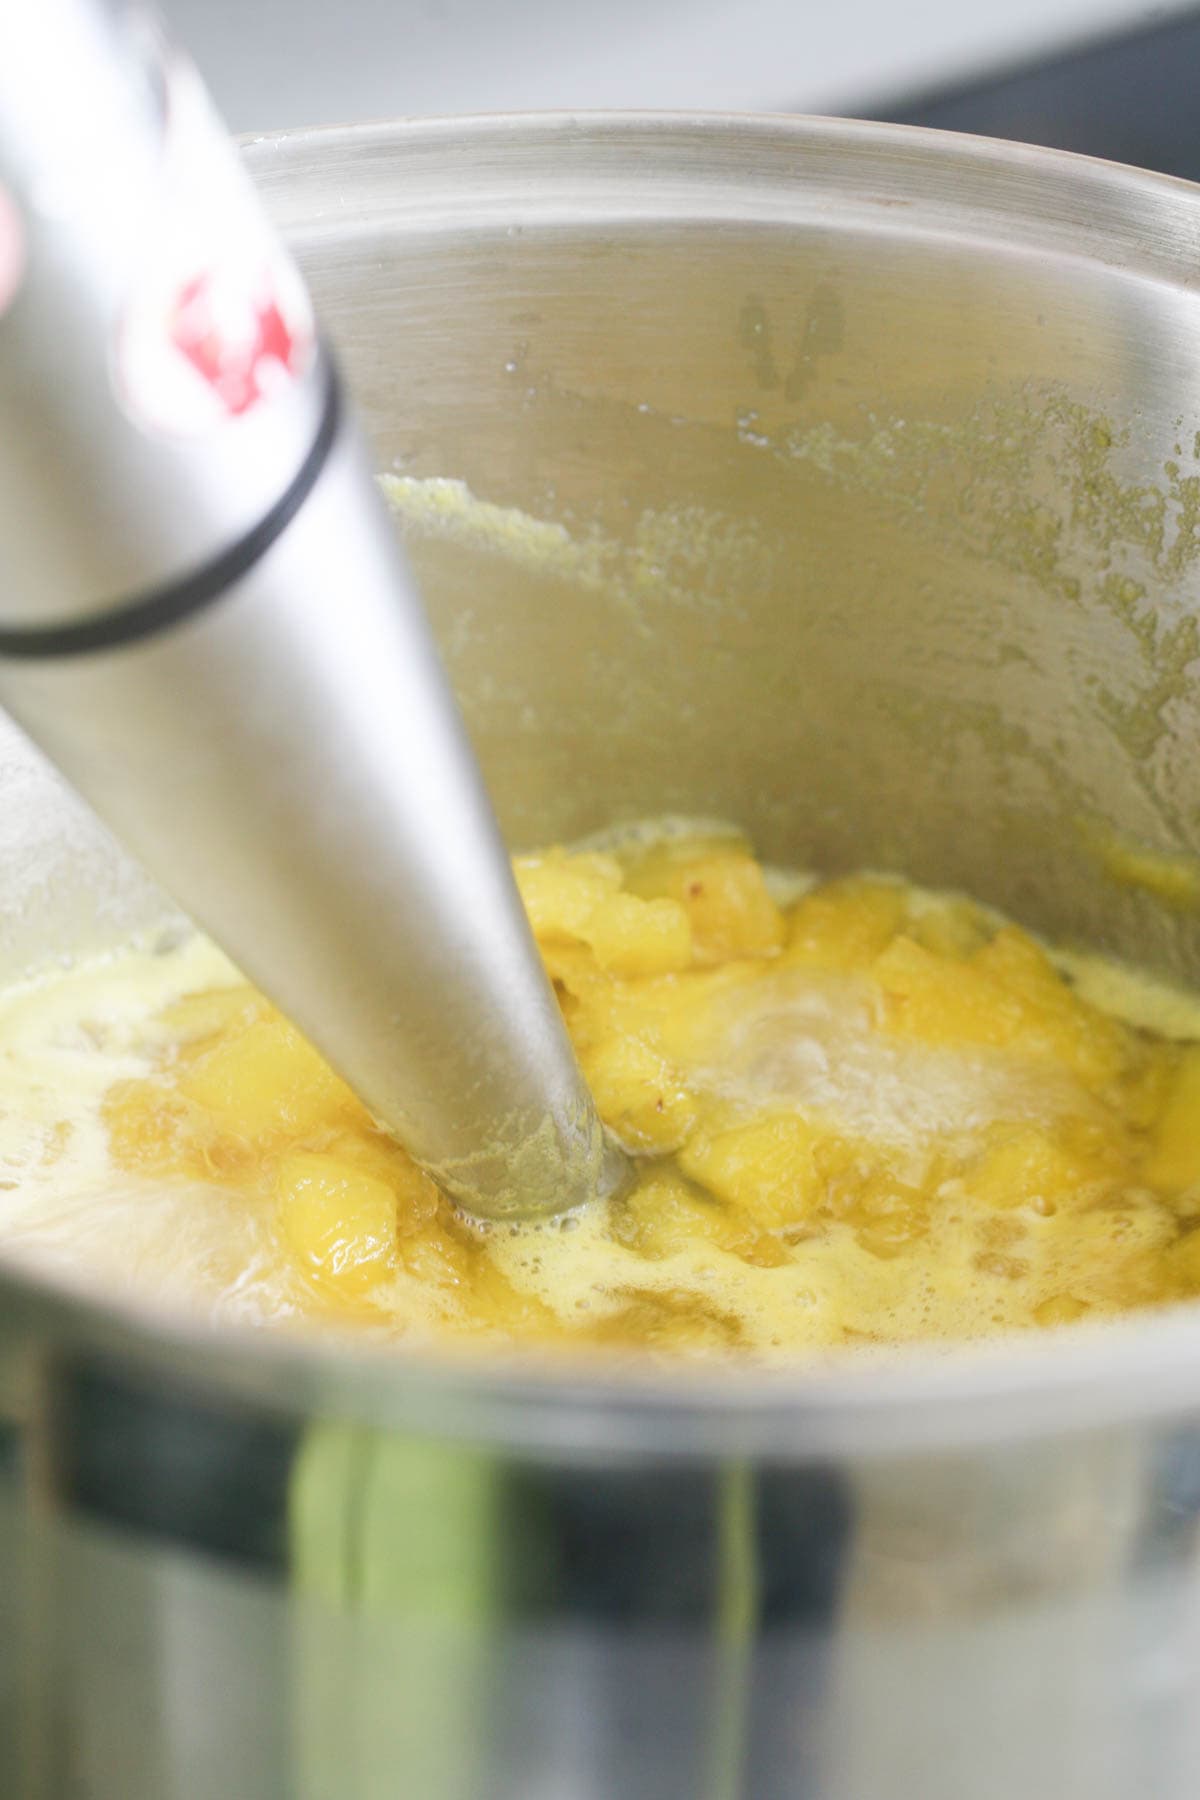
Step three – blend the jam. Use an immersion blender to blend the jam. You can use a potato masher as well but you’ll probably end up with large chunks. If you like it, that’s great. I find that the immersion blender does a great job at breaking up the pineapple pieces (which hold their shape surprisingly well during cooking). After the fruit is blended to your liking, add the juice of half a lemon and 5-6 lemon seeds and stir them in.
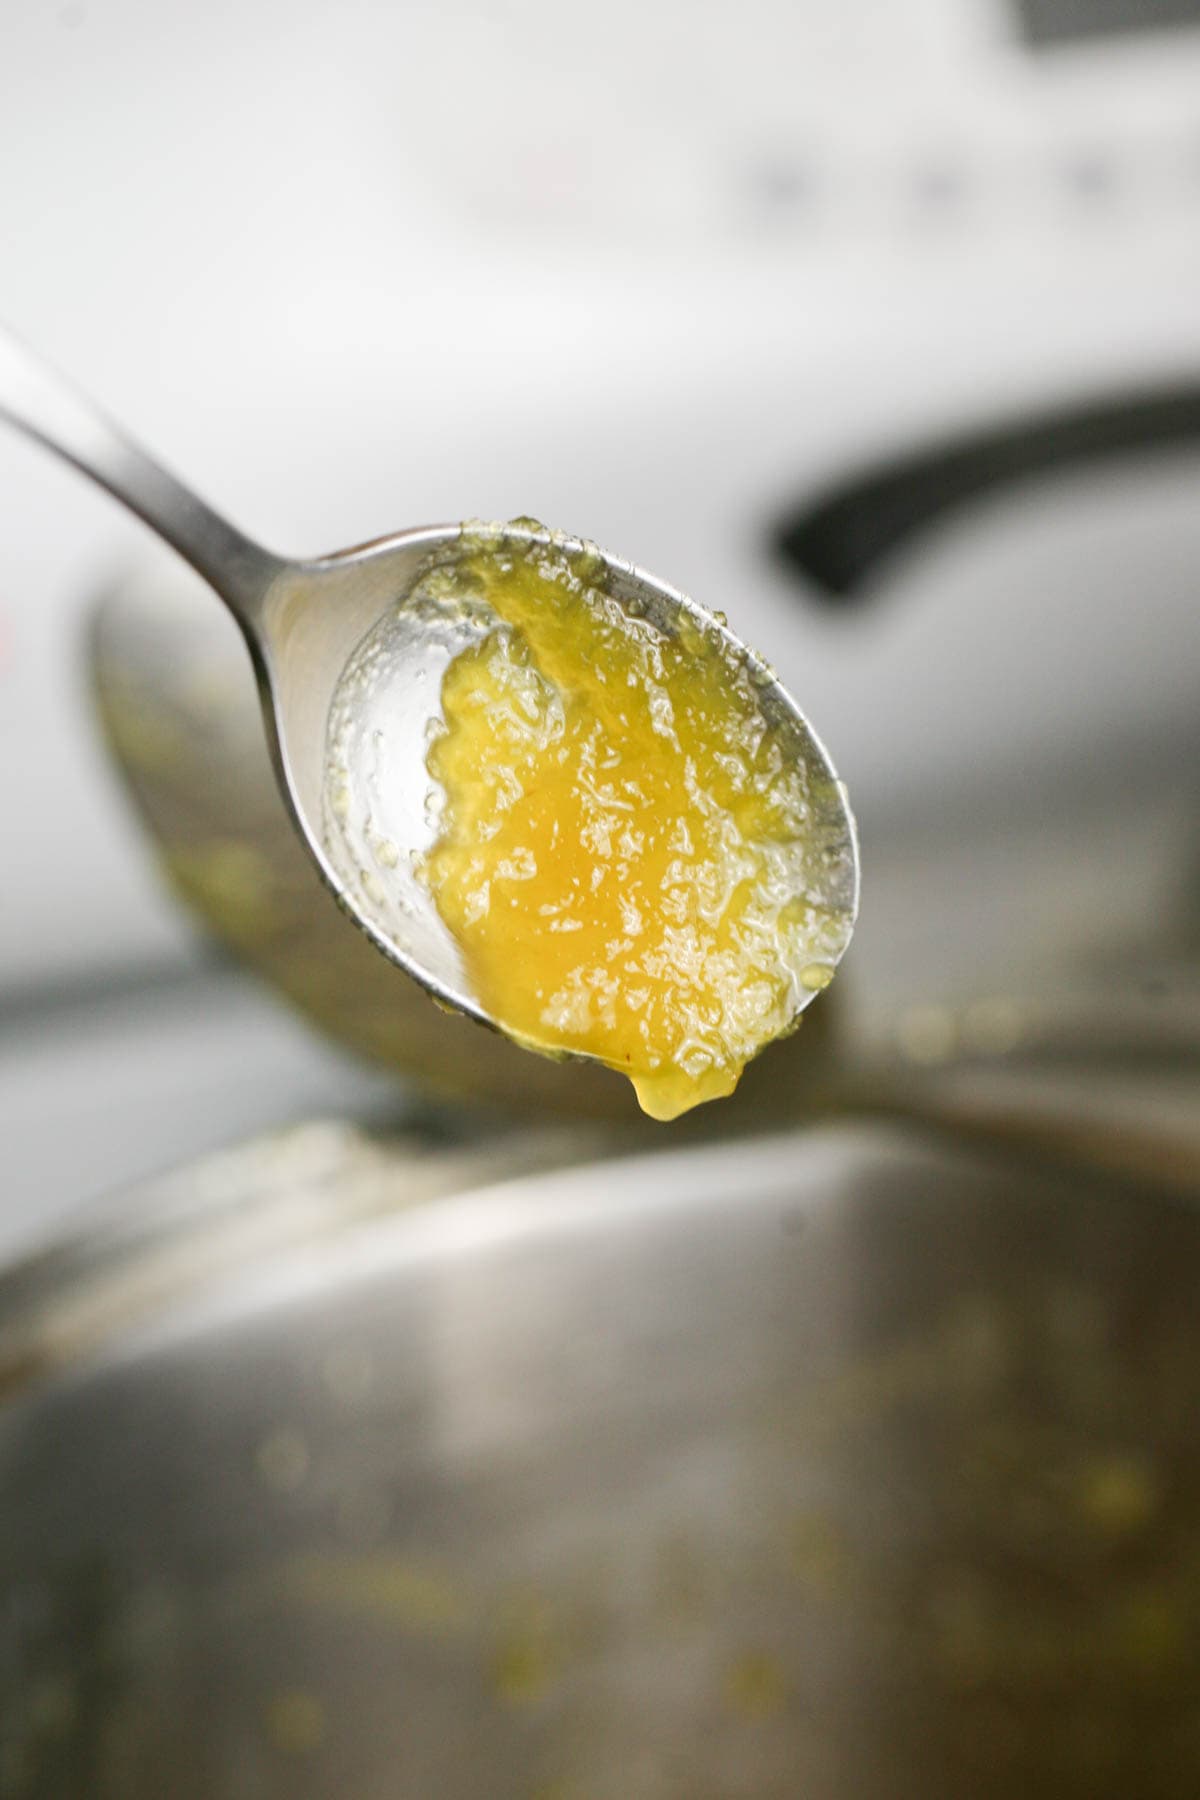
Step four – check if the jam is ready. After you add the lemon and its seeds, keep cooking the jam (stirring frequently) until it reaches gel phase. For me, it was an additional 45 minutes but this time might vary depending on how juicy your fruit was to begin with.
If you are an experienced jam-maker, you’ll recognize when the jam is ready. If you need a little help, scoop a little bit of jam on a spoon and leave it on the counter to cool for a few minutes. Then, add it back to the pot and as it leaves the spoon you’ll be able to measure how thick it is. Just keep in mind that the jam will keep on thickening in the jars as they cool completely.
Canning Pineapple Jam…
Step five – prep the jars for canning. While the jam is cooking, fill the water bath canner with enough water to cover the jars by about an inch. Set it on the stovetop and turn the heat to high. Bring the water to a boil. Since we are going to process the jam for 15 minutes, there is no need to sanitize the jars, just make sure to wash them well with hot water and dish soap.
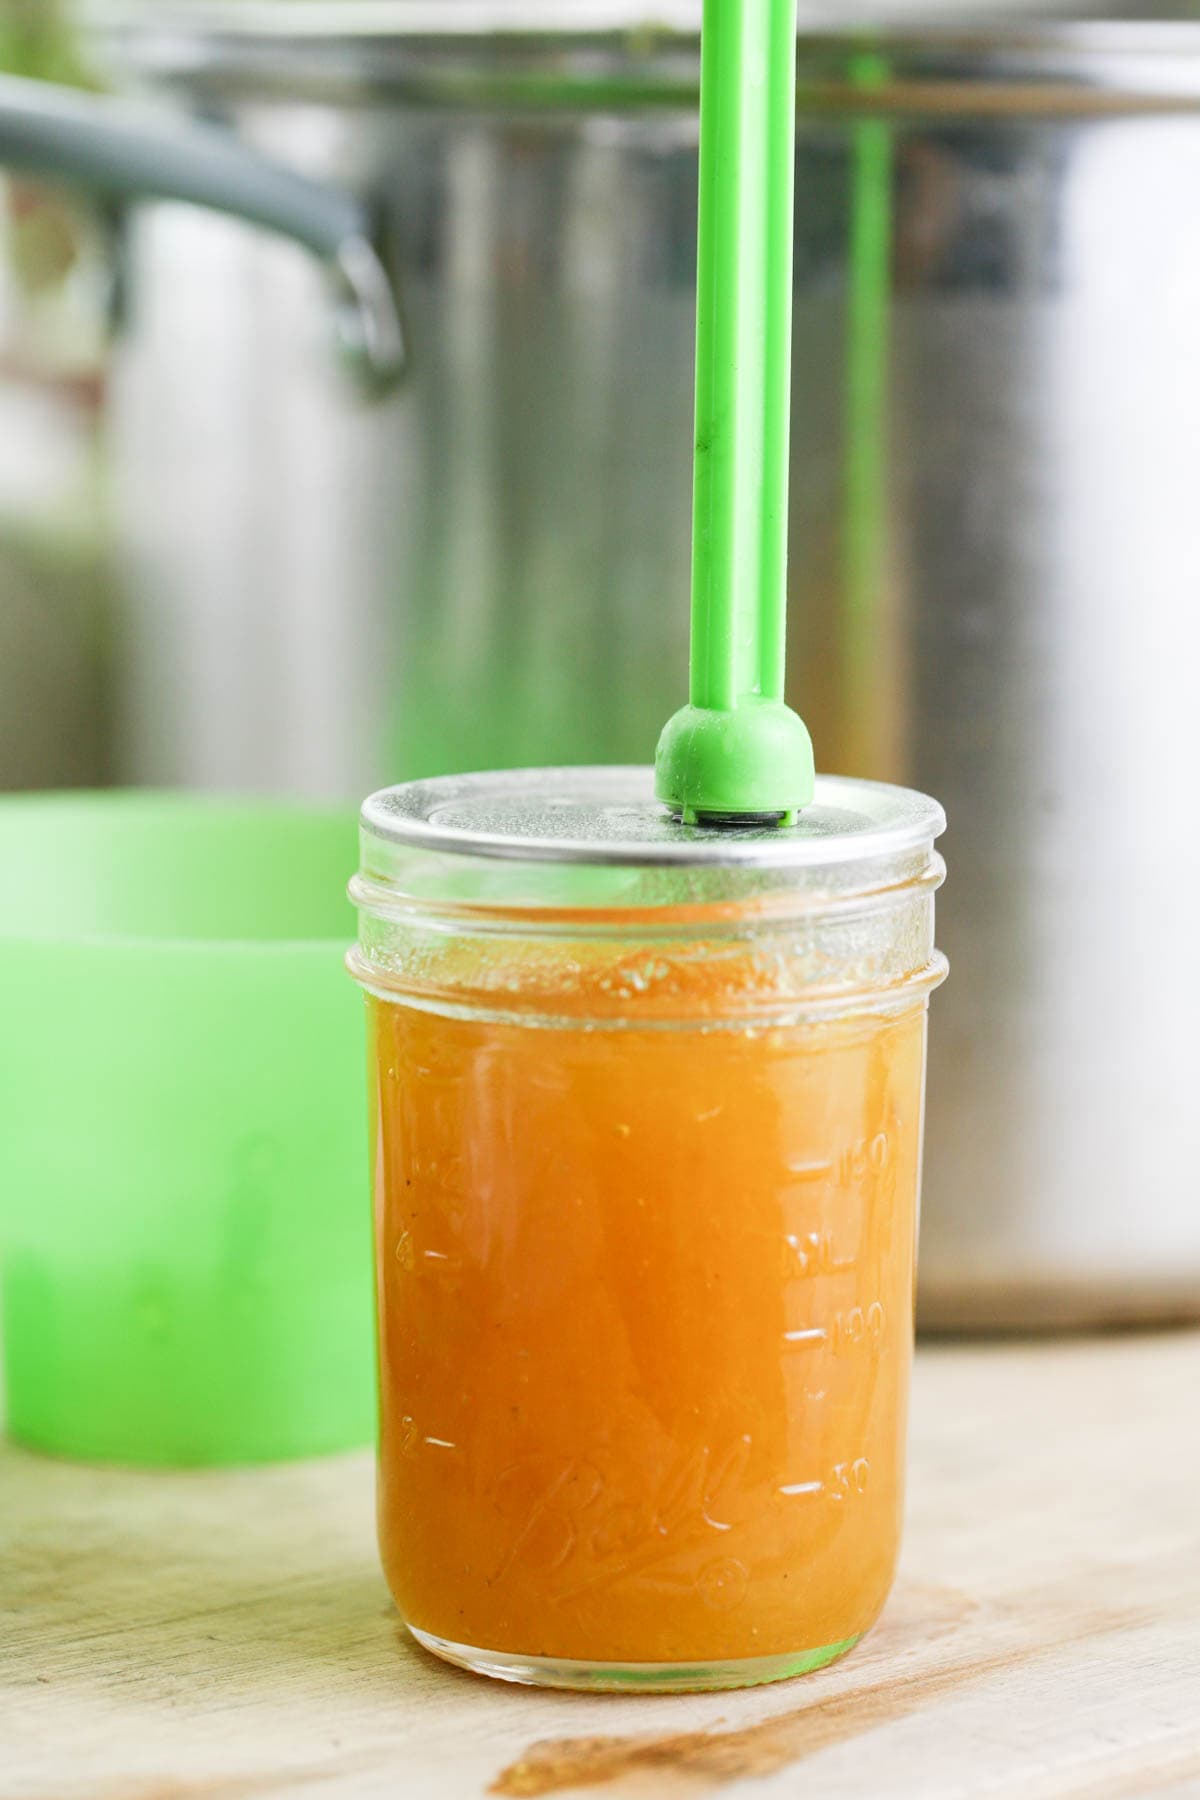
Use the canning funnel and a ladle to fill the jars leaving about 1/2 inch of headspace. Use the bubble remover to remove bubbles by scraping it along the walls of the jar from the inside, then, clean the rim of the jar with a damp paper towel, center the lid and close the jar with the ring finger tight.
Step six – process the jars. Set the jars on the rack of the canner and lower them into boiling water. Cover the canner and process the jars in boiling water for 15 minutes (both pint and half pint). Remember to adjust processing time according to the table below if you live above 1000 feet in elevation.

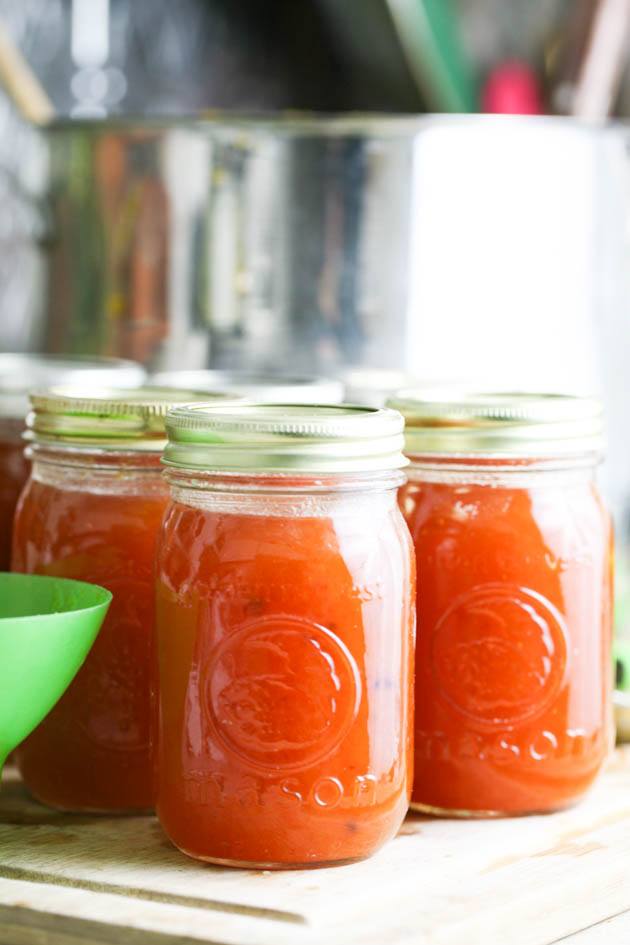
Once processing time is up, turn the heat off and uncover the canner. Let the jars rest in the hot water for an additional 5 minutes before you remove them. Use the jar lifters to remove them from the canner and set them on a kitchen towel on the counter to cool completely overnight.
Storing Pineapple Jam…
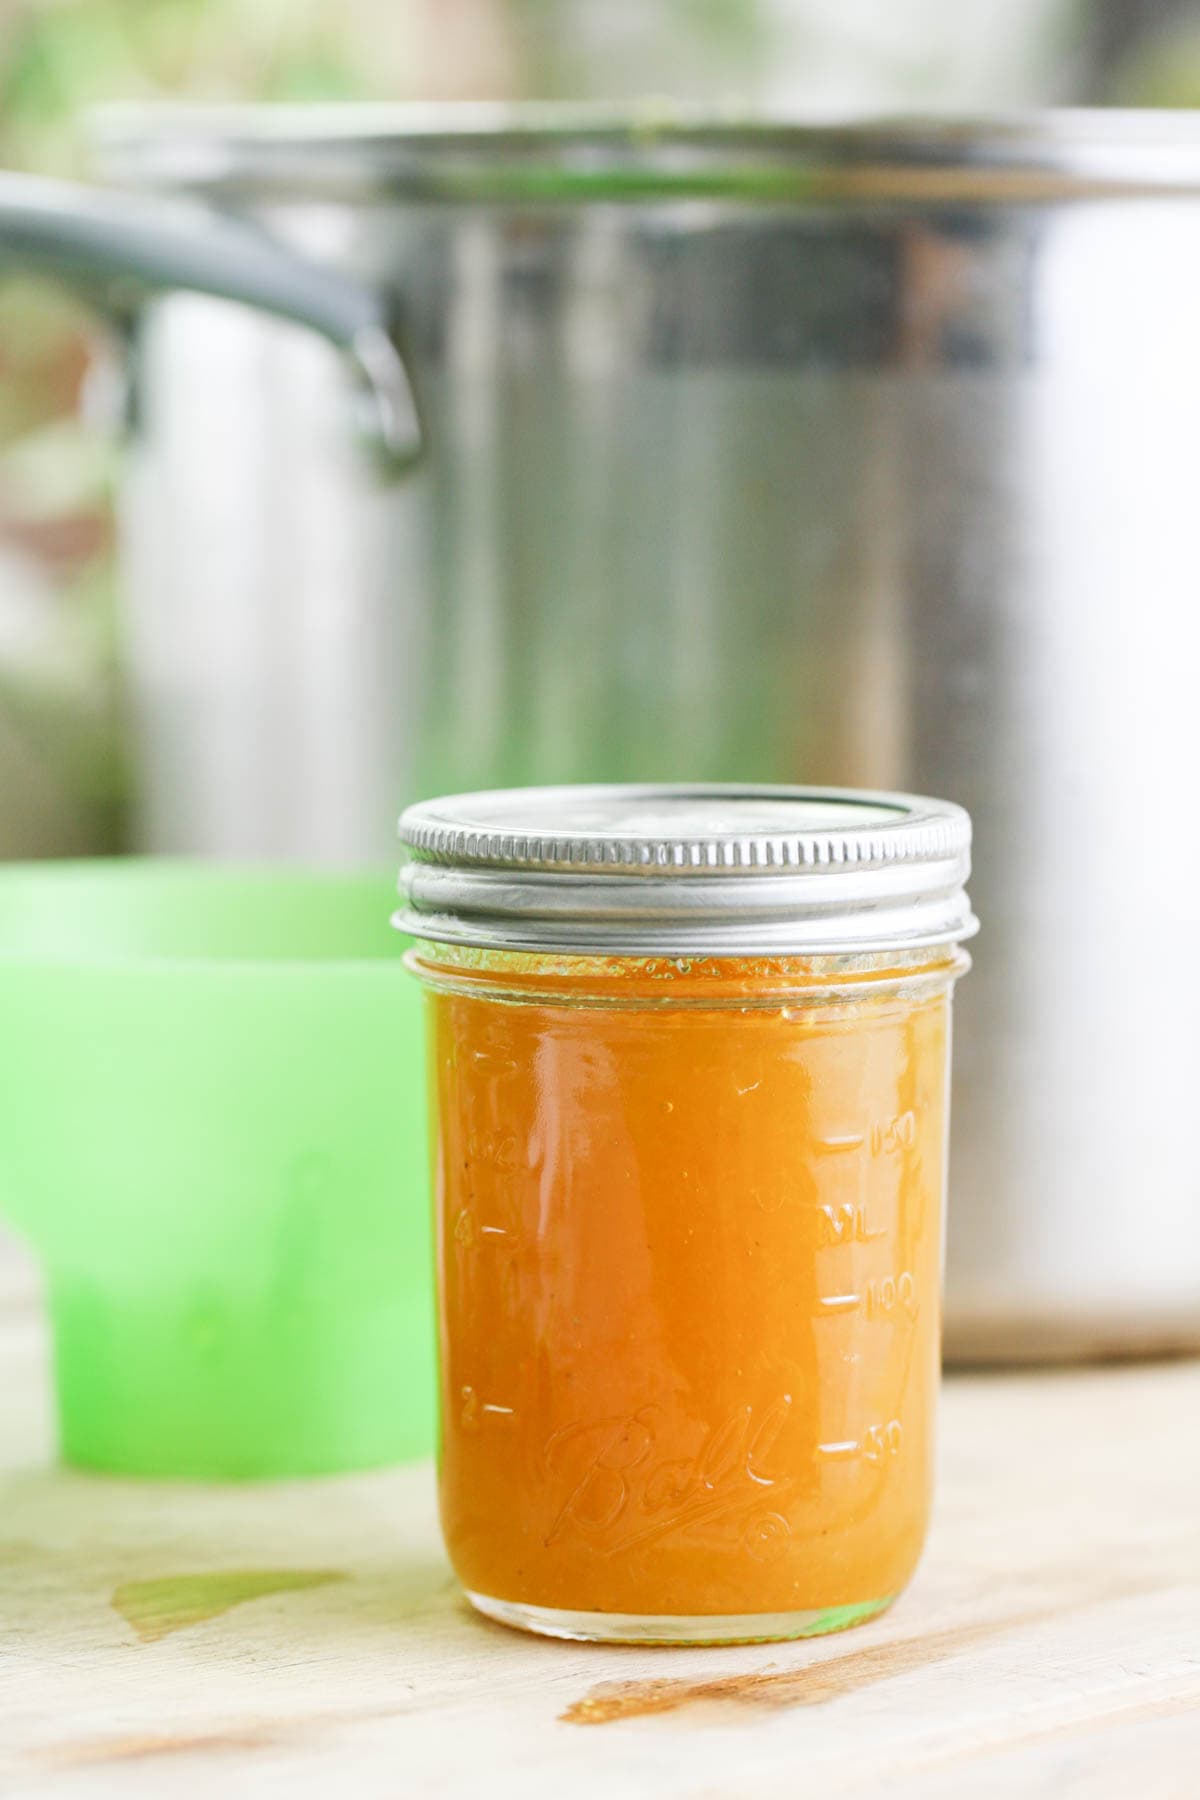
Before you store your jars, make sure that they have all sealed by pressing on the center of each lid. If there is no movement there it means that the jars have sealed. If you have a jar that didn’t seal you can store it in the fridge to use first.
Wipe your jars and remove the rings before you store the jars in the pantry. I remove the ring because sometimes it rusts over time and makes it hard to open the jars down the road. You can also reuse the ring when canning something else and it’s easier to monitor what’s going on inside the jar if the ring is not in the way.
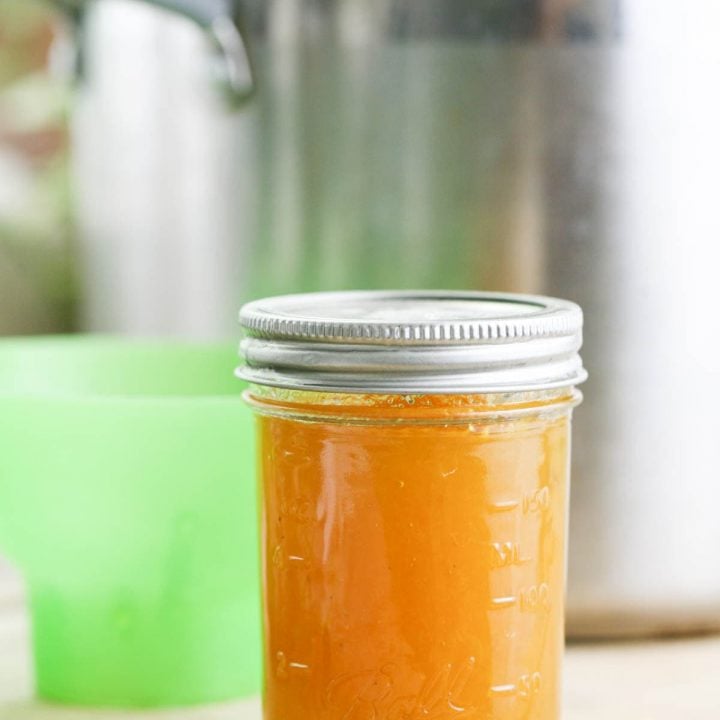
Pineapple jam should last 12-18 months in storage.
Serving Homemade Pineapple Jam…
- As a snack – we love spreading cream cheese on crakers (or a bagle) and adding some jam on top. It’s an awesome mid day snack for the whole family.
- On a toast – I always drink coffee in the morning and a toast with some jam on it is the perfect companion.
- In cookies – I make these thimbprint cookies and add jam in the center. They melt in your mouth and are absolutly addictive!
- On yogurt – homemade yogurt (made with either raw milk or store-bought) with homemade granola and a tablespoon or so of jam is my go-to meal when I have no energy to cook a “real” one.
- Add it to baked goods – if it’s a baked bree puff pastry, an Italian jam tart, a turnover, jam filled bars, or any other baked good, this jam will work great!
Frequently Asked Questions…
I don’t. I leave the seeds in the jam. They don’t break down, don’t change the taste of the jam no matter how long it stays on the shelf and once you stopped cooking the jam they don’t keep thickening it. You can, however, fish them out when the jam is ready if you’d like, they are usually easy to find.
Honestly… Any fruit! If you find yourself with plums, apricot, figs, mangos, oranges… Follow this recipe and it should work every time. Just take into consideration that cooking times will probably change depending on how juicy your fruit is.
Yes! Actually, I usually don’t process more than 4 pounds of fruit at a time, but it’s harder with pineapples because they are so large. No matter how much fruit you have, let’s say that you ended up with 2 pounds of fruit, just add one-half of its weight in sugar. So for 2 pounds of fruit, you’ll add one pound of sugar. The rest can stay the same, the only thing that will change is the cooking time. If you make a really small batch, you can simply keep it in the fridge, it should last for weeks!
Yes, you can. Feel free to add nutmeg, cinnamon, cardamom, or vanilla extract. I usually like adding spices in the last ten minutes of cooking.
I hope that you give this jam a try! Remember that you don’t have to make a large batch as I did here. Whatever amount of fruit you have, just add half of its weight in sugar, some lemon juice, and a few lemon seeds and cook until it gels.
Other Jam Recipes…
- Mango Jam Recipe
- Cantaloupe Jam Recipe
- Fig Jam Recipe
- Mixed Berry Jam
- Low Sugar Strawberry Jam
- Mulberry Jam Recipe
- Peach Jalapeno Jam
- You can find all the jam recipes that I have here on the blog on my low sugar jam page here.
Pineapple Jam Recipe For Canning
Easy and simple low sugar pineapple jam recipe for canning using fresh pineapples.
Ingredients
- 3 pineapples, peeled, cored, and diced (I ended up with 5.4 pounds of pineapple)
- 2.7 pounds of sugar (half of the weight of the fruit or a little less)
- Juice from one lemon
- 5-6 lemon seeds (for their natural pectin)
Instructions
- Add the fruit and sugar to a pot or deep pan. Set on the stovetop, turn the heat to medium-high and bring to a boil. Boil for 7 minutes.
- Lower the heat to medium-low and keep cooking, stirring frequently, for an additional 35 minutes or so.
- Use an immersion blender or a potato masher to mash the fruit. Mash it all the way or leave large chunks. It’s up to you.
- Add the juice of one lemon and 5-6 lemon seeds. Stir them in and keep cooking until the jam gels (for me it was about 45 additional minutes but this might change depending on how juicy your fruit was to begin with).
- To check the thickness of the jam you can use the spoon test. Scoop a little bit of jam into a spoon and set on the kitchen counter to cool for five minutes. Then add the jam back to the pot and as it leaves the spoon you’ll be able to measure how thick it is. Just remember that the jam will thicken a little further as it cools completely in the jars after canning it. Once the jam is ready, turn off the heat.
- To your water bath canner, add enough water to cover the jars by at least an inch. Set the canner on the stovetop and turn the heat to high. Bring the water to a boil.
- Wash the jars, lids, and rings well with hot water and dish soap.
- Pack the jars with the hot jam, leaving 1/2 inch of headspace. Use the bubble remover to remove bubbles by scraping it along the walls of the jar from the inside. Use a damp paper towel to clean the rim of the jar. Center the lid and close the jar with the ring finger tight.
- Set the jars on the rack of the water bath canner and lower them into the boiling water. Cover the canner and process half-pint and pint jars for 15 minutes (remember to adjust processing time according to the table in the notes if you live above 1000 feet in elevation).
- When processing time is up, uncover the canner and turn the heat off. Let the jars rest in the hot water for five minutes before you remove them.
- Use the jar lifters to remove the jars from the canner. Set them on a kitchen towel on the counter to cool completely overnight.
- Before storing the jars, make sure that they all sealed by pressing on the center of each lid. If there is no movement there it means that the jars have sealed (if you have a jar that didn’t seal you can store it in the fridge and use it first). Wipe your jars and remove the ring before you store the jars in the pantry (I remove the ring because it sometimes rusts over time and makes it hard to open the jar down the road and because it’s easier to monitor what’s happening in the jar without the ring in the way).
Pineapple jam should last 12 to 18 months in storage.
Notes
Remember to adjust processing time according to the table below if you live above 1000 feet in elevation...
Frequently Asked Questions…
- Do you remove the lemon seeds before canning the jam?
I don’t. I leave the seeds in the jam. They don’t break down, don’t change the taste of the jam no matter how long it stays on the shelf and once you stopped cooking the jam they don’t keep thickening it. You can, however, fish them out when the jam is ready if you’d like, they are usually easy to find. - Can I follow this recipe with other fruit?
Honestly… Any fruit! If you find yourself with plums, apricot, figs, mangos, oranges… Follow this recipe and it should work every time. Just take into consideration that cooking times will probably change depending on how juicy your fruit is. - Can I make a smaller batch of this jam?
Yes! Actually, I usually don’t process more than 4 pounds of fruit at a time, but it’s harder with pineapples because they are so large. No matter how much fruit you have, let’s say that you ended up with 2 pounds of fruit, just add one-half of its weight in sugar. So for 2 pounds of fruit, you’ll add one pound of sugar. The rest can stay the same, the only thing that will change is the cooking time. If you make a really small batch, you can simply keep it in the fridge, it should last for weeks! - Can I add spices to this jam?
Yes, you can. Feel free to add nutmeg, cinnamon, cardamom, or vanilla extract. I usually like adding spices in the last ten minutes of cooking.
Recommended Products
As an Amazon Associate and member of other affiliate programs, I earn from qualifying purchases (there is no change in product cost or charge to you! Thank you for helping me support the blog).
-
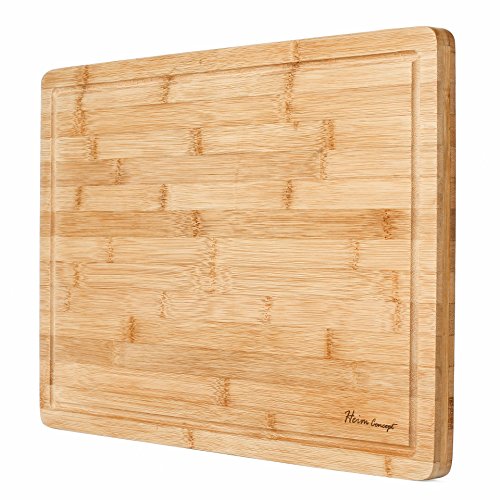
 Heim Concept Organic Bamboo Cutting Board for Kitchen Extra Large Chopping Board with Juicy Groove Perfect for Meat, Vegetables, Fruits, Cheese
 -
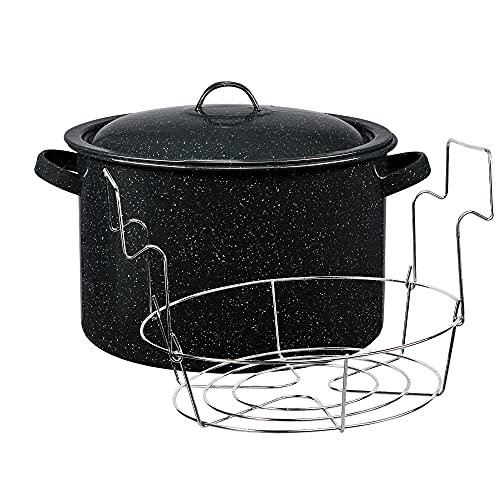
Granite Ware Covered Preserving Canner with Rack, 12-Quart
-
Norpro Canning Essentials Boxed Set, 6 Piece Set
-
PremiumVials 12 pcs 8 oz Mason Jars with Silver Lids for Jam, Honey, Wedding Favors, Shower Favors, Baby Foods, Canning, spices, Half Pint


Nutrition Information:
Yield: 11 Serving Size: 1 half-pint jarAmount Per Serving: Calories: 481Total Fat: 0gSaturated Fat: 0gTrans Fat: 0gUnsaturated Fat: 0gCholesterol: 0mgSodium: 16mgCarbohydrates: 125gFiber: 2gSugar: 119gProtein: 1g


Can I use 20oz cans of grocery store pineapple?
Yes! Should work just fine. Just consider that they are canned in a sugary syrup I think, so you might want to add less sugar to the jam so it’s not overwhelmingly sweet.