This post may contain affiliate links, view our disclosure policy for details.

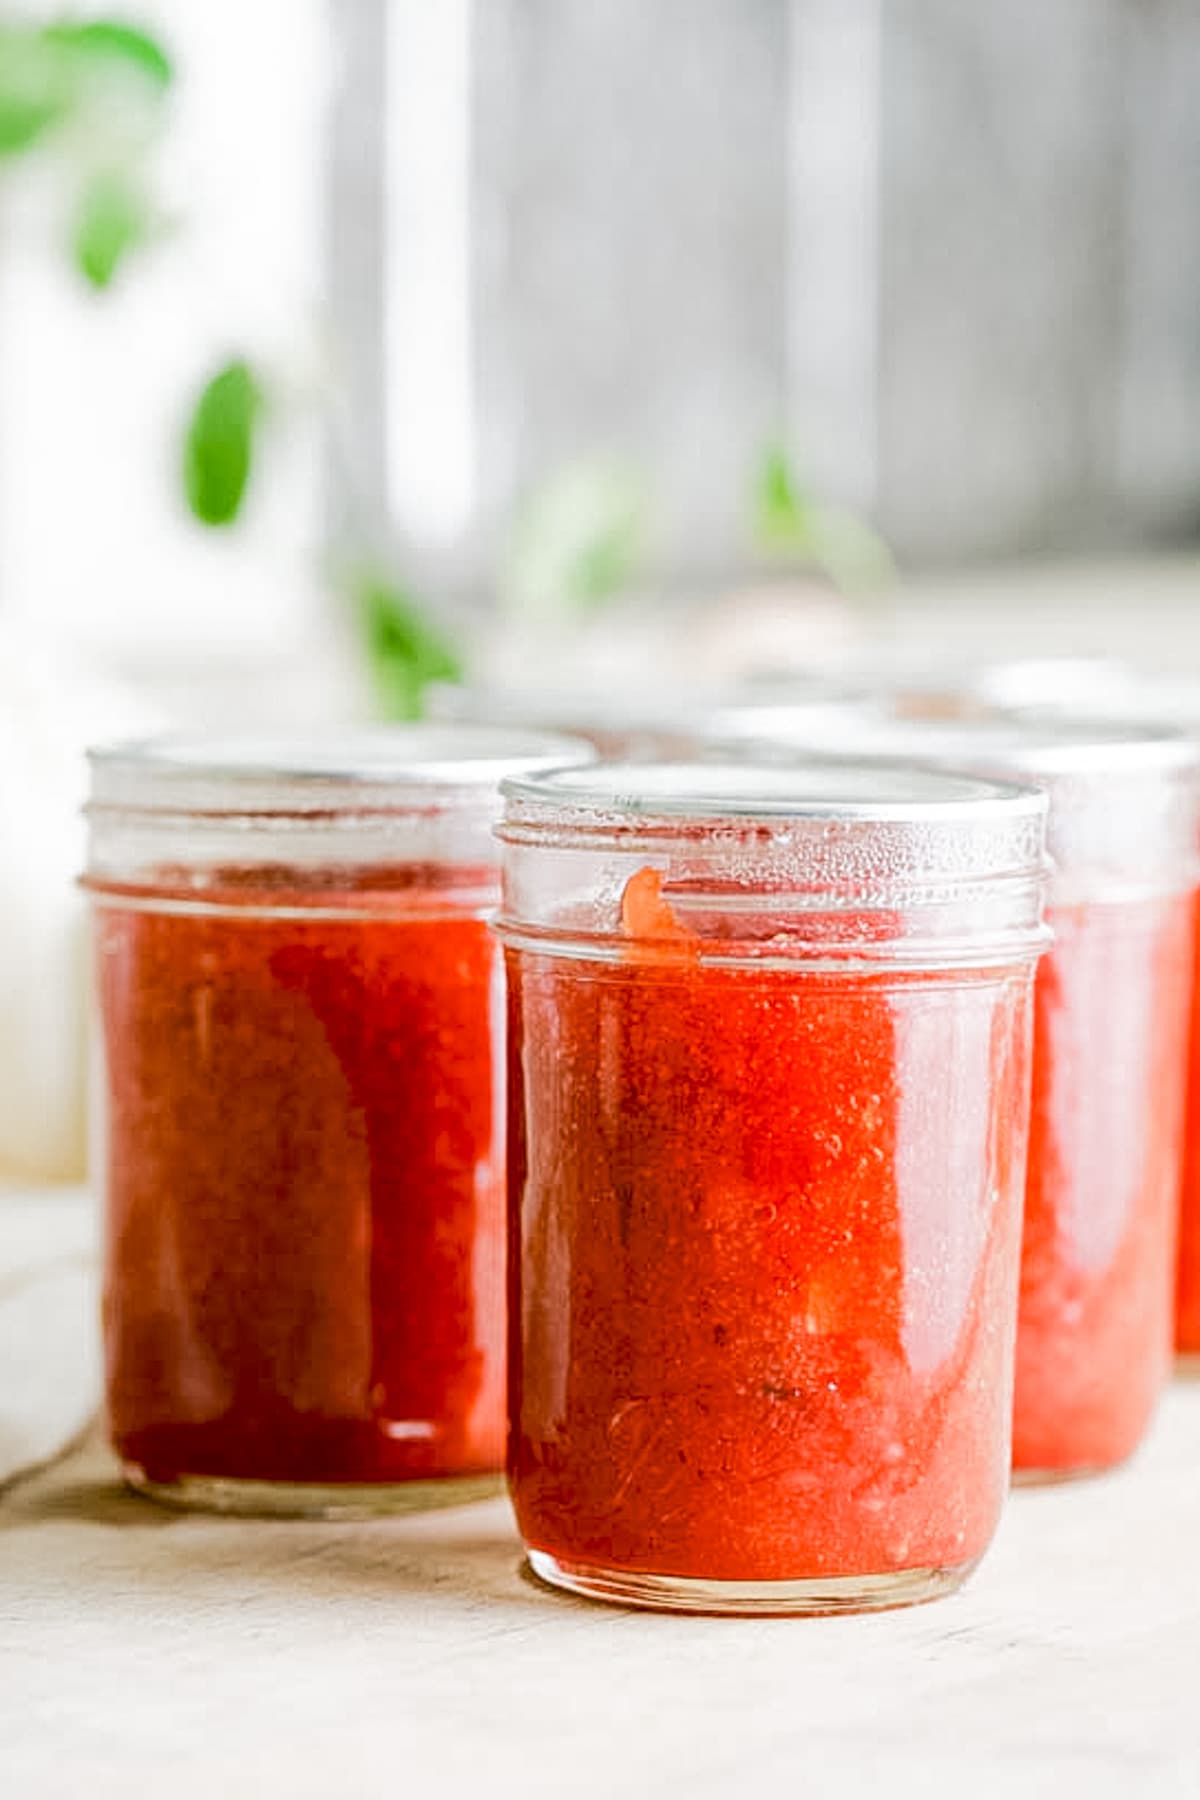
This low-sugar (no store-bought pectin) plum and apple jam is sweet and tangy, easy and quick to make, and a great way to preserve fresh fruit.
Lady Lee’s Note…
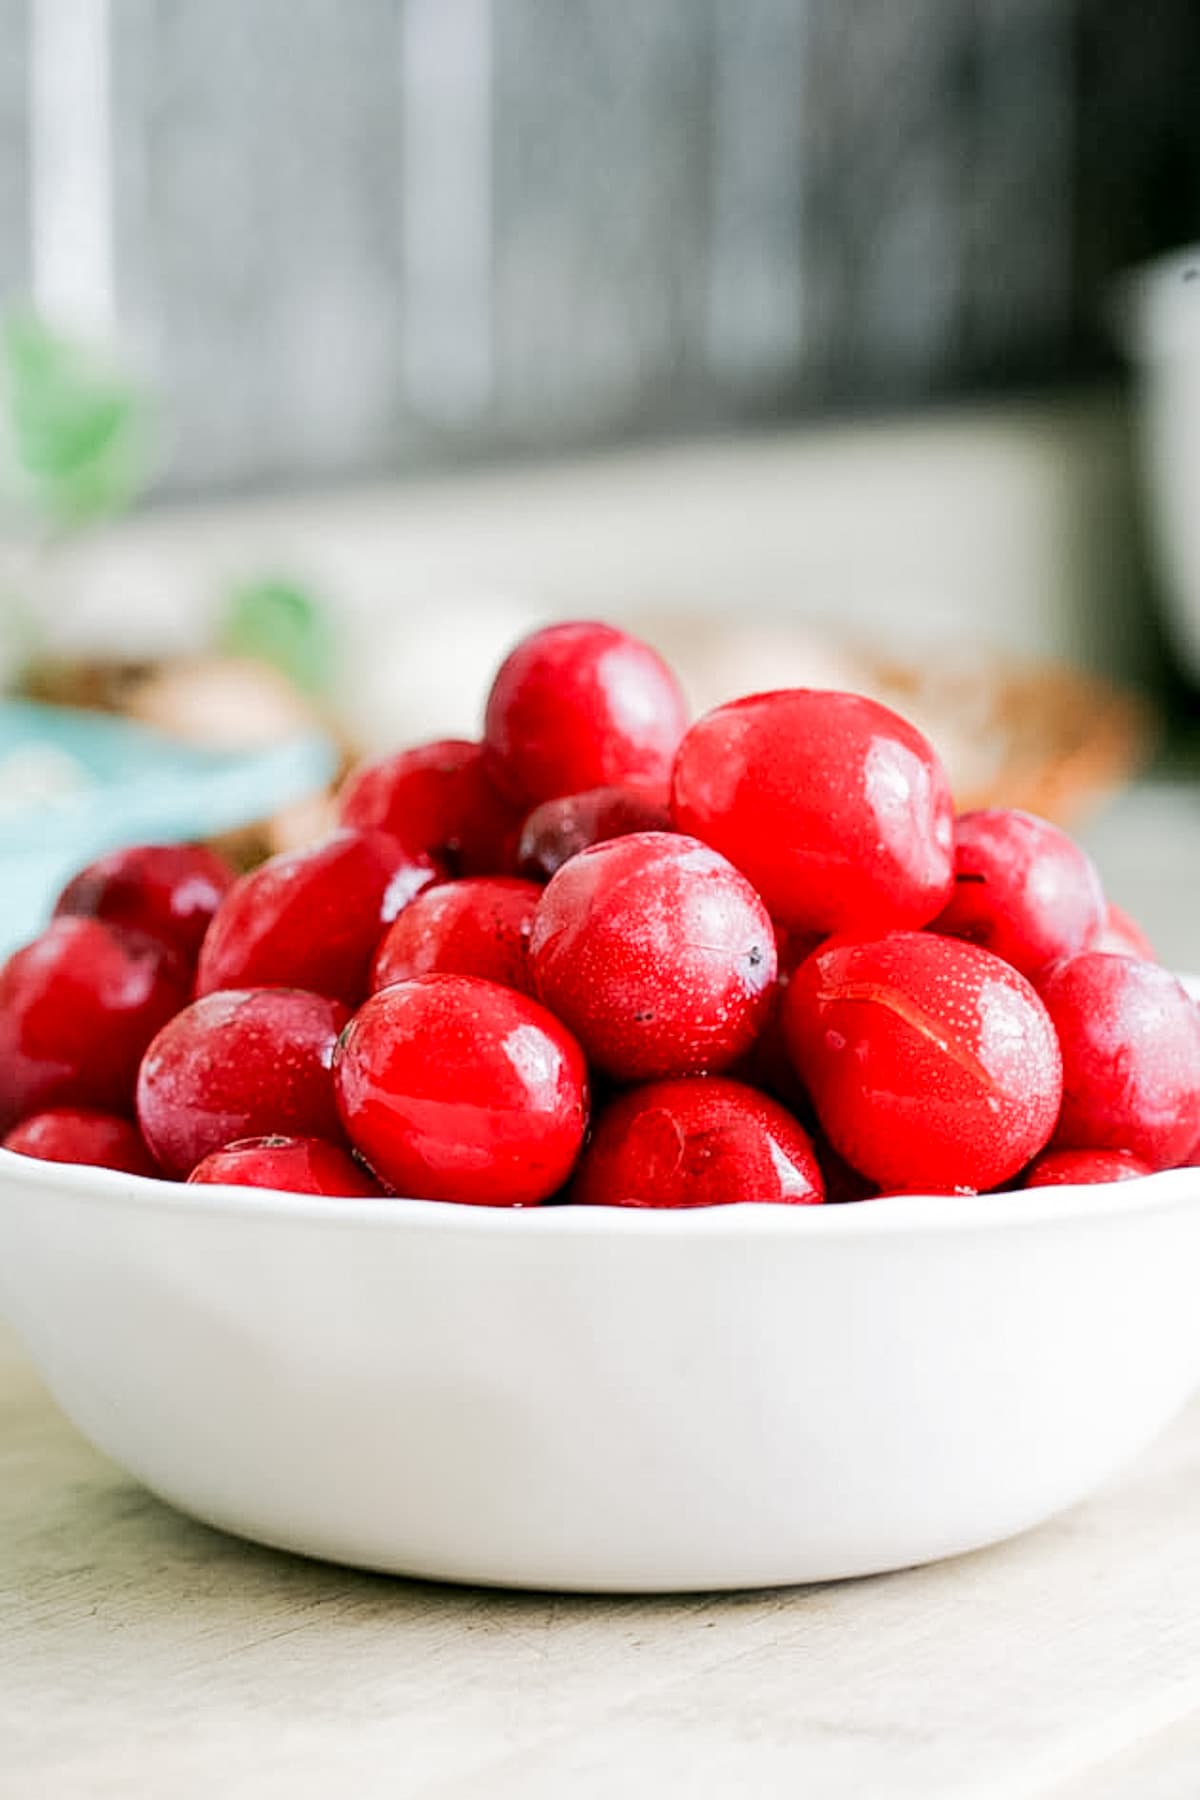
The centerpiece of my backyard is an old plum tree. It’s huge and has a wise old man look about it. It has been here for many, many years, I can tell, and even though it produces plums, they aren’t the greatest to eat fresh. But they are great for a jam! I can cut around the not-so-great parts and still have enough fruit to make a few jars each season. So if the plums in the images below look a bit odd, it’s just because my grandpa tree is not in the best shape; you can use any type of plum you can put your hands on to make this delicious jam.
Ingredients:
- Plums
- Apples
- Sugar
- Fresh lemon juice
- Lemon seeds
- Vanilla extract
Step-by-Step Instructions…
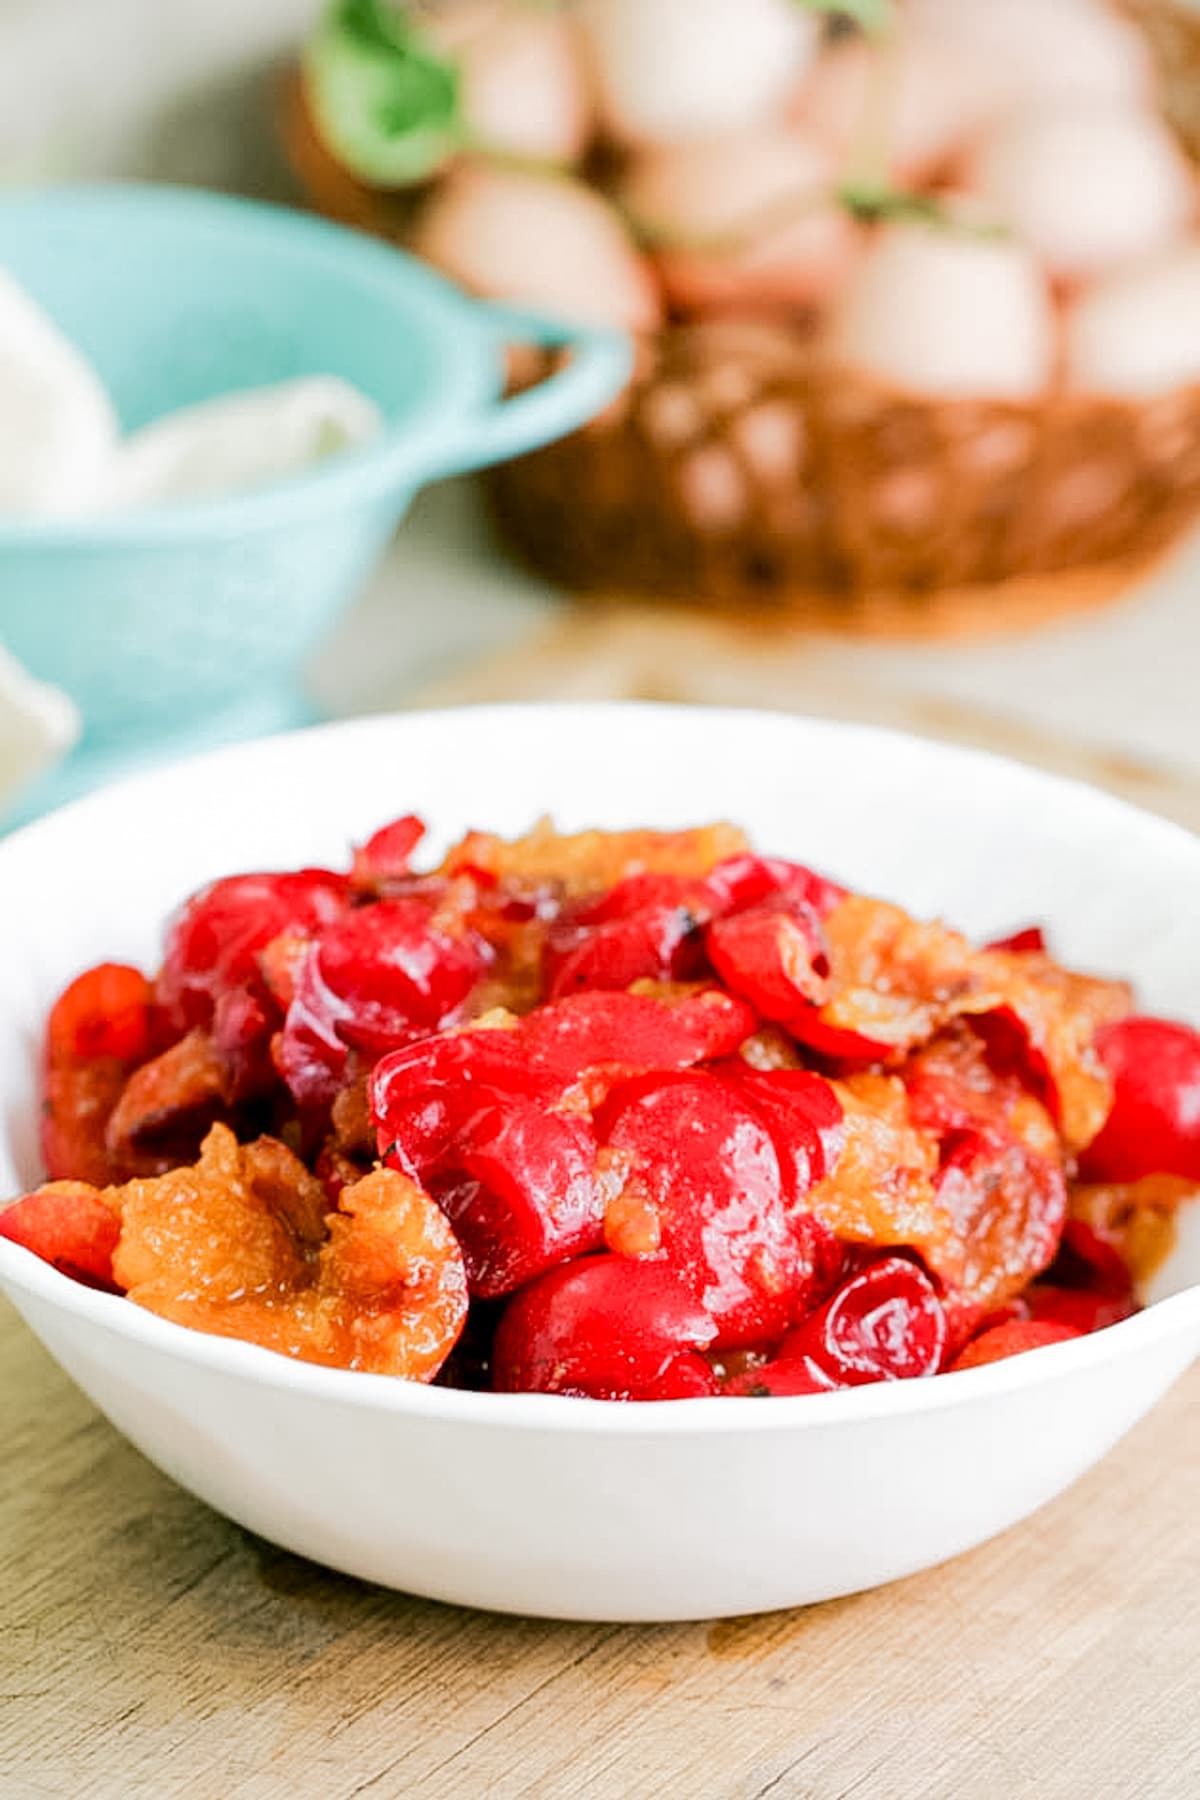
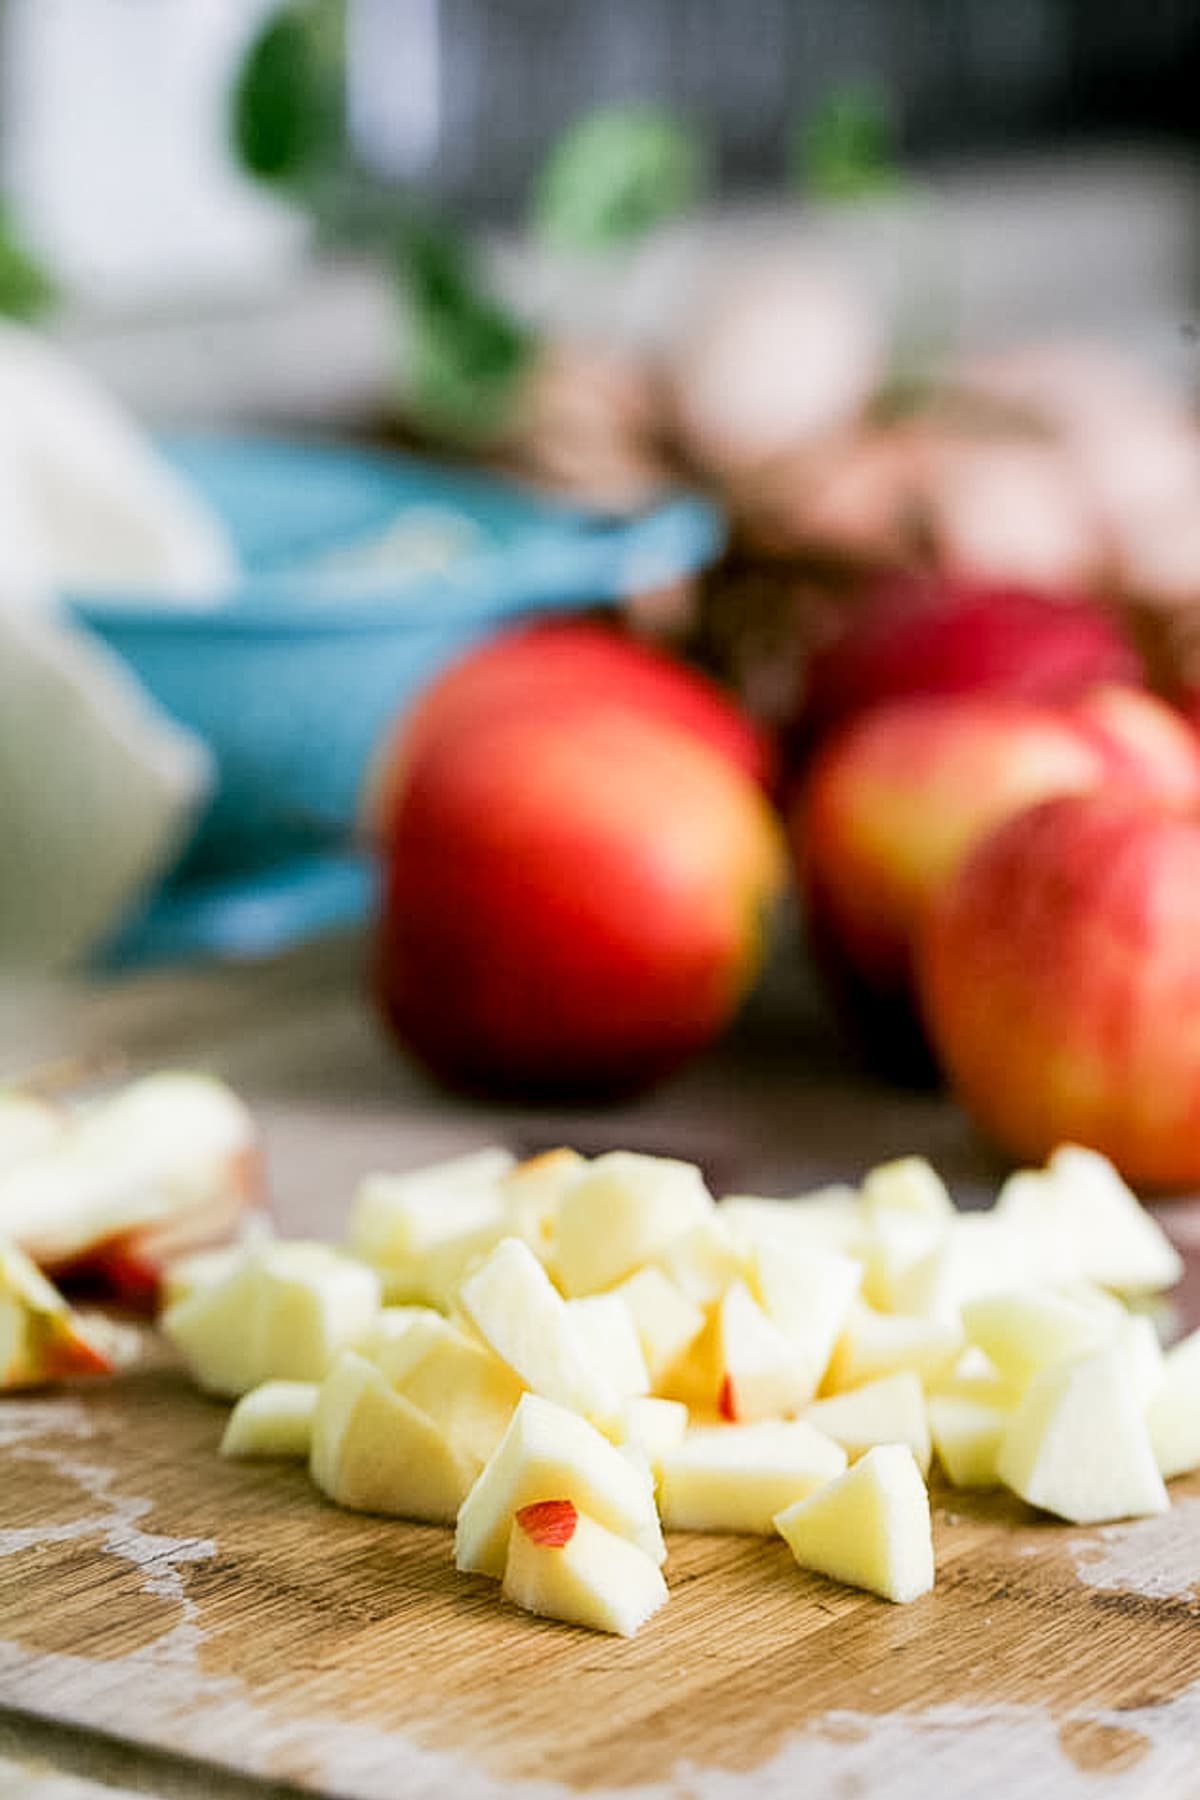
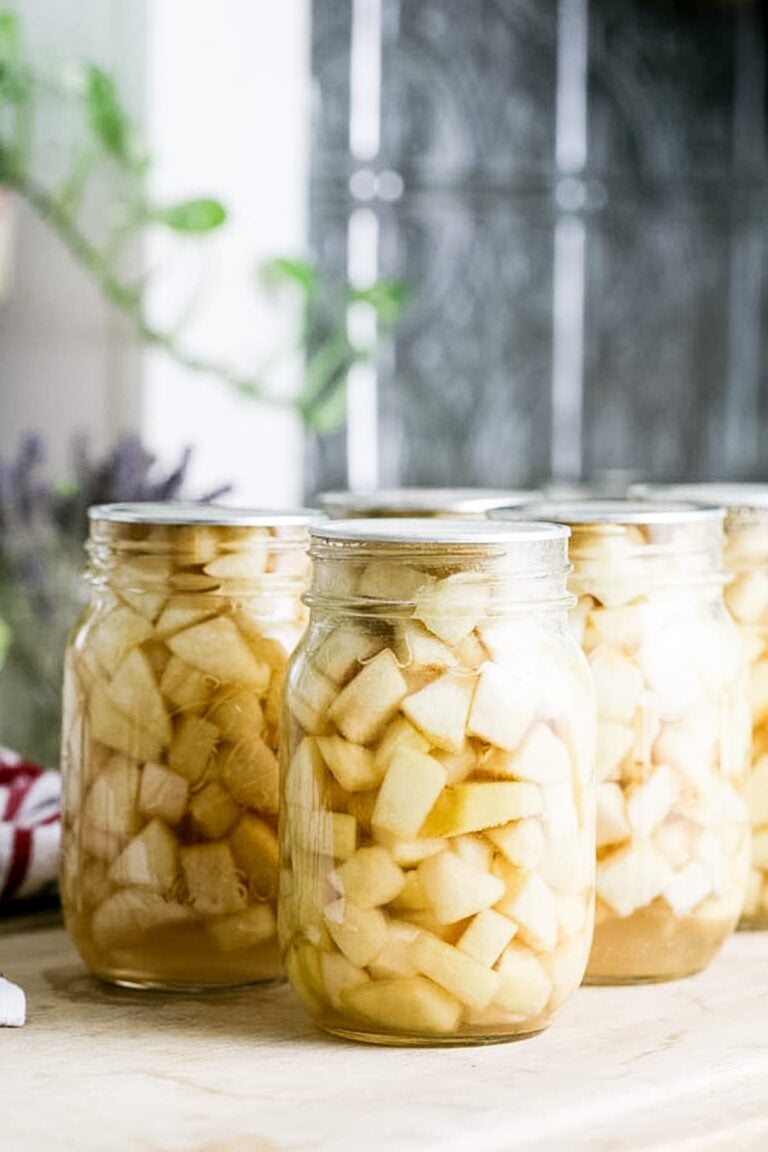
Step one – prep the fruit. Start by cutting the plums in half and removing the pit. If your plums are as ripe as mine were, just leave them in halves. If your plums are larger and not as ripe, you can dice them. Next, peel, core, and dice the apples.
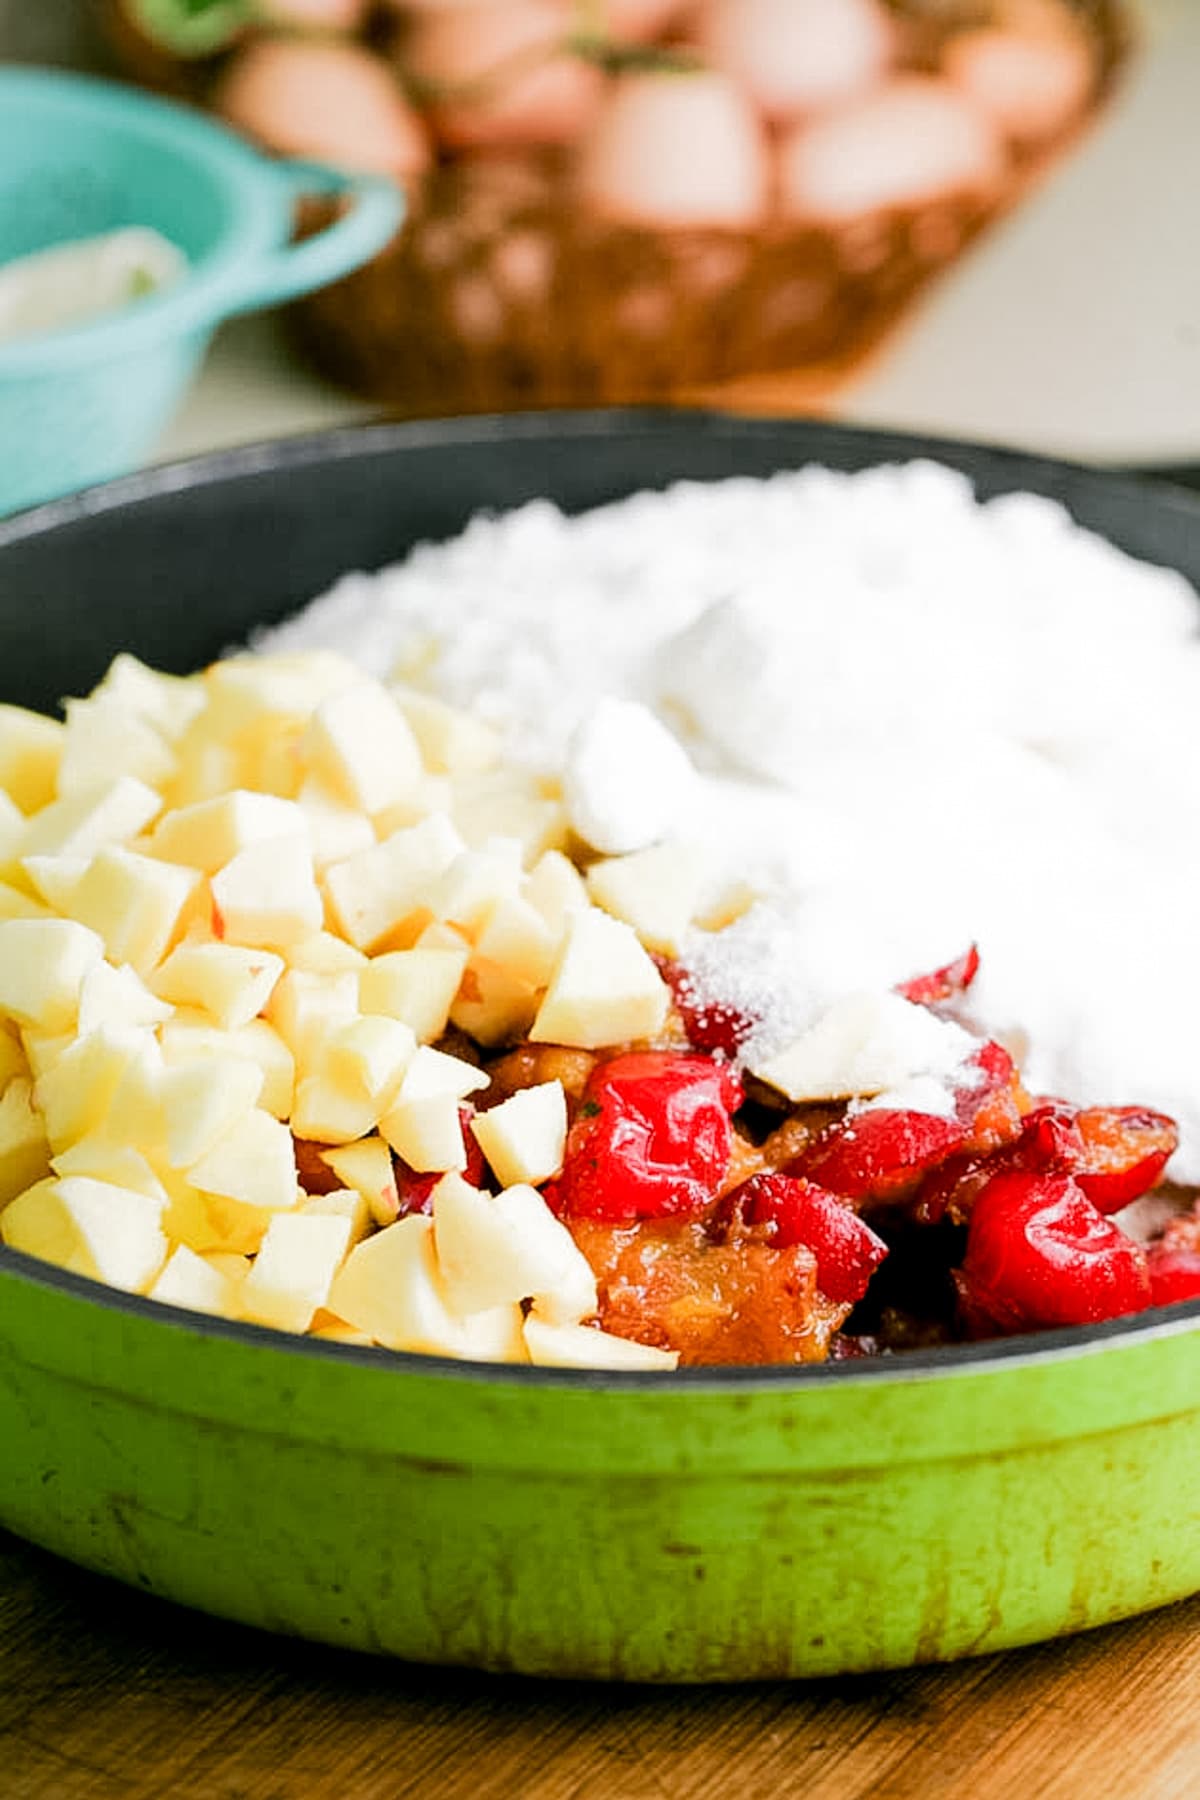
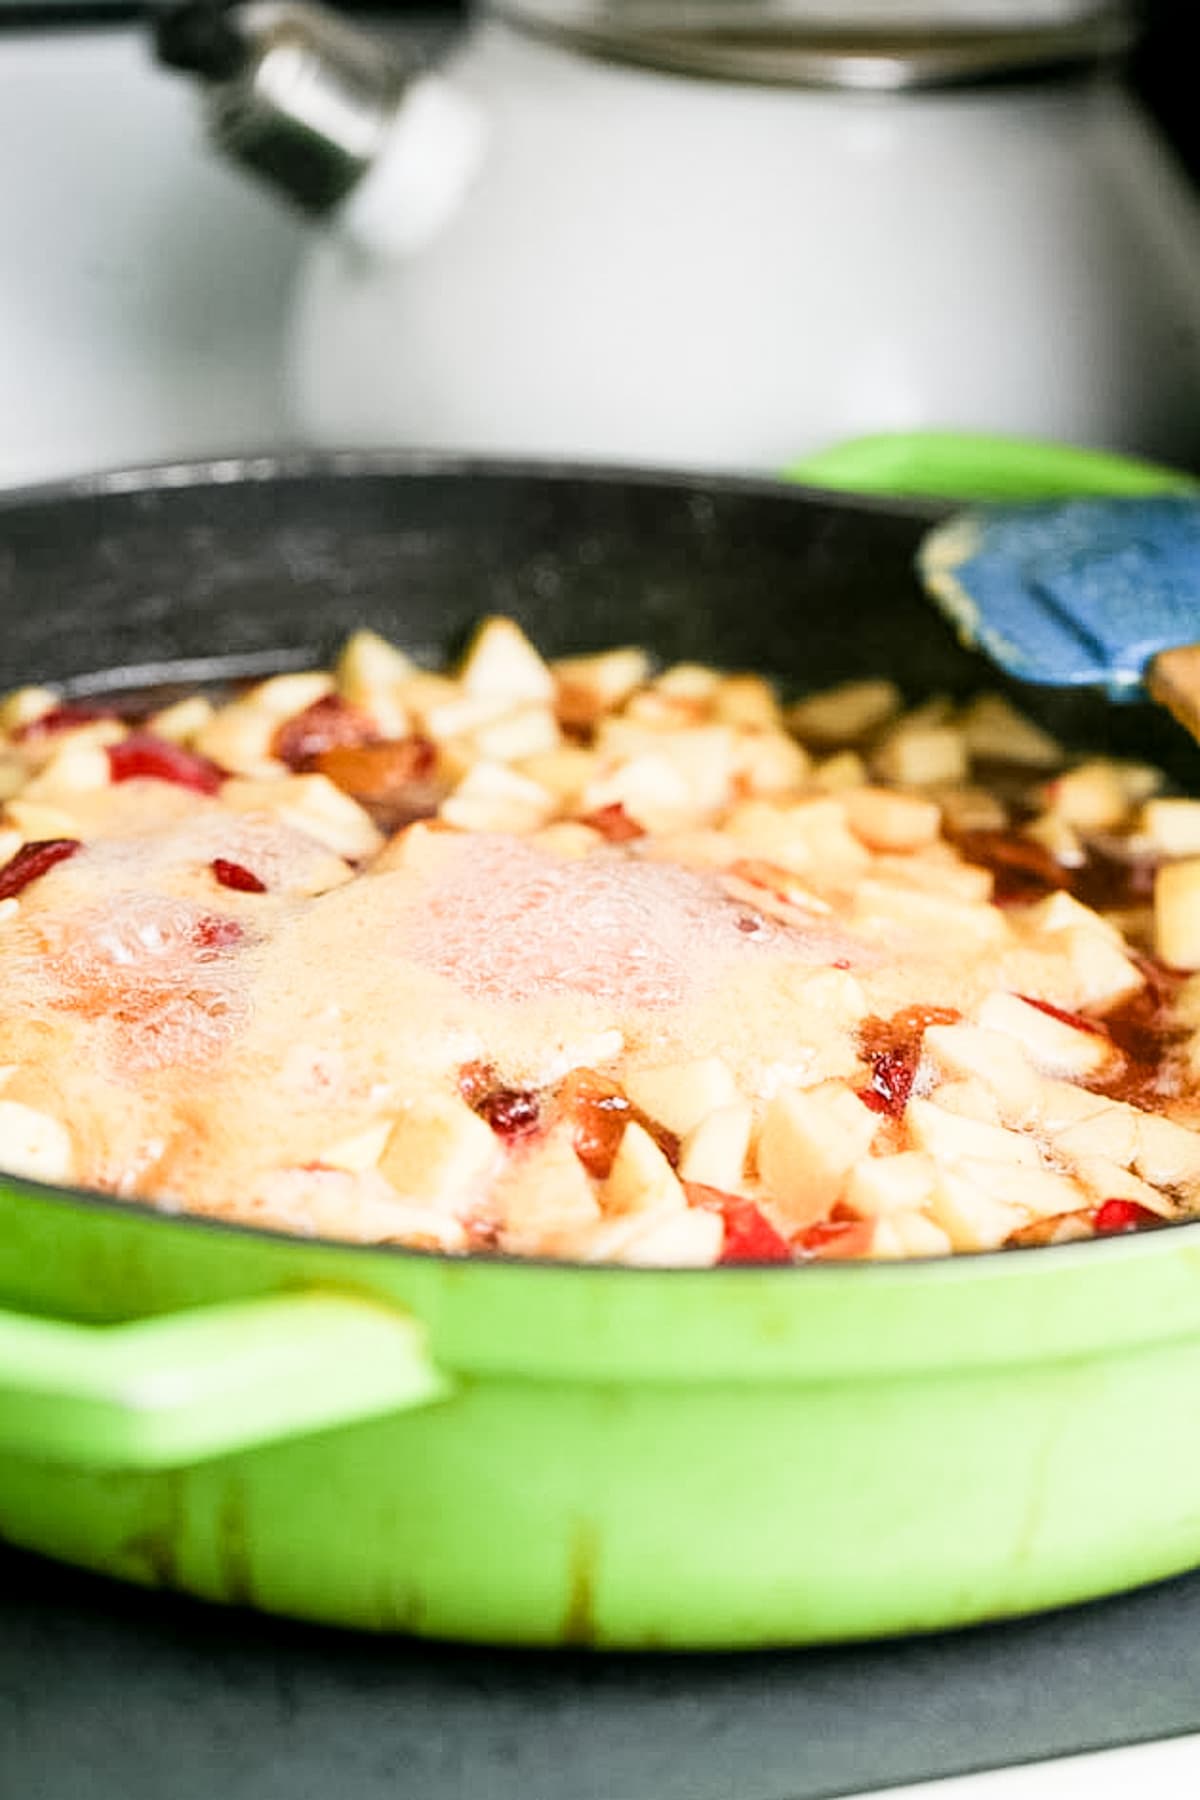
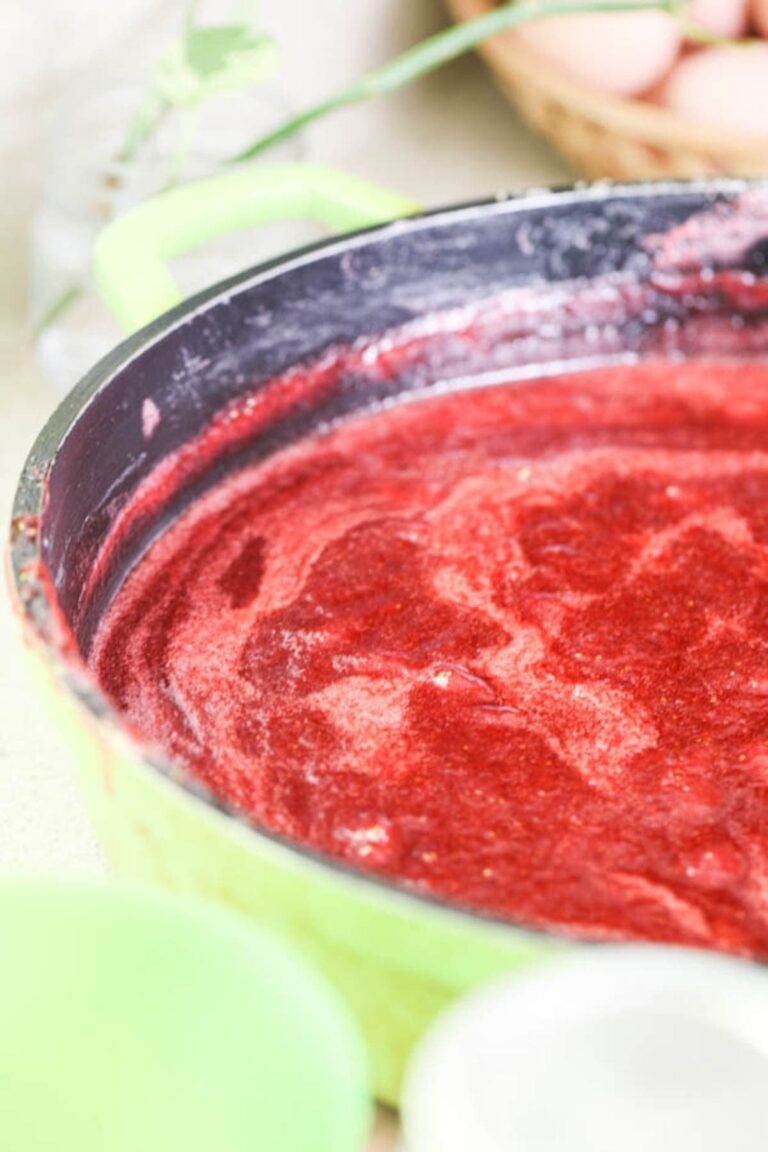
Step two – bring the fruit to a boil. Add the fruit and sugar to a deep and wide jam pot, turn the heat to medium-high and bring the jam to a boil. Let boil gently for 10 minutes.
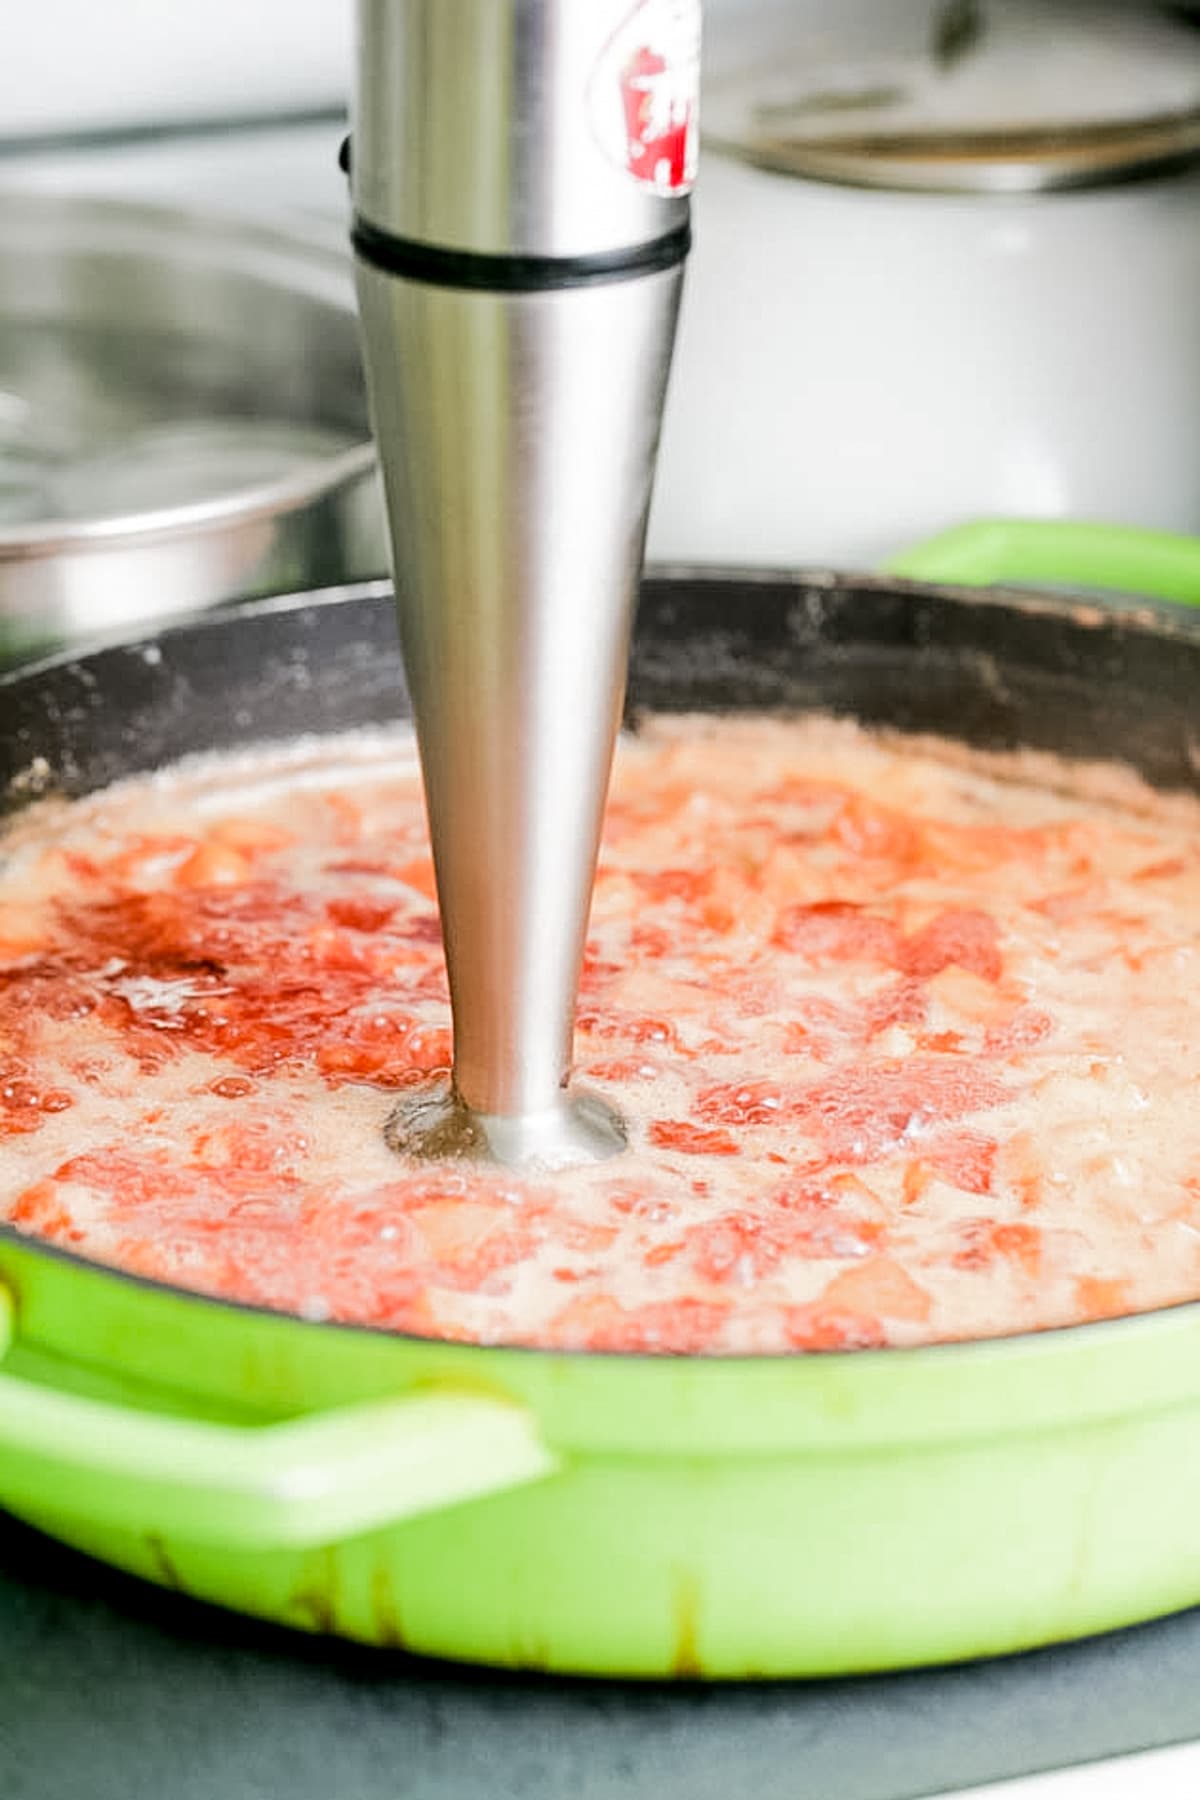
Step three – blend and cook. After ten minutes, reduce the heat to medium-low. Cook the jam, stirring frequently, for an additional 10 minutes. By this time, the fruit should be soft. Use an immersion blender to blend the fruit (all the way, or leave big fruit chunks. It’s up to you). Cook for an additional 10-15 minutes, stirring frequently.
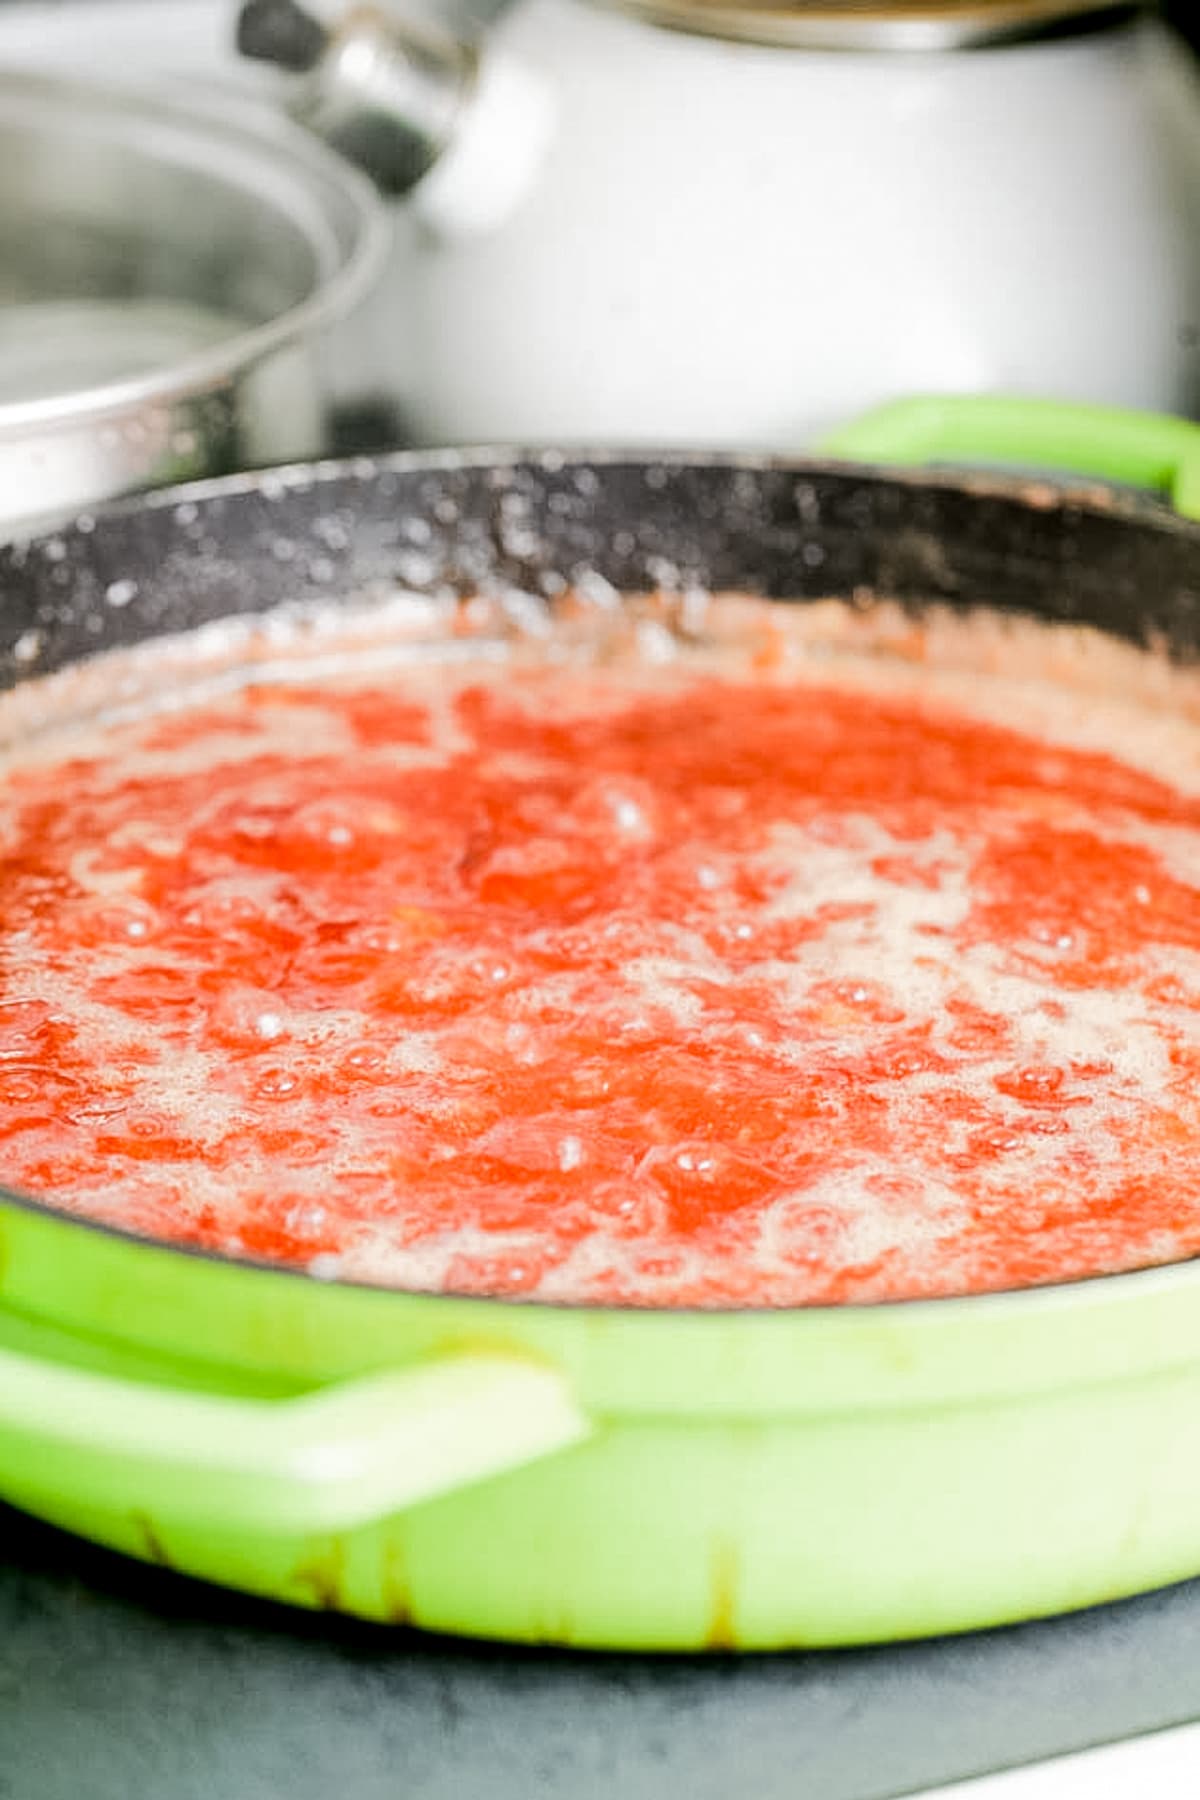
Step four – add lemon juice. Squeeze the juice of one lemon right into the pot. Then add a few lemon seeds. Both the juice and the seeds have natural pectin in them and will help the jam thicken. Stir, and cook for an additional 15 minutes or until the jam reaches your desired thickness.
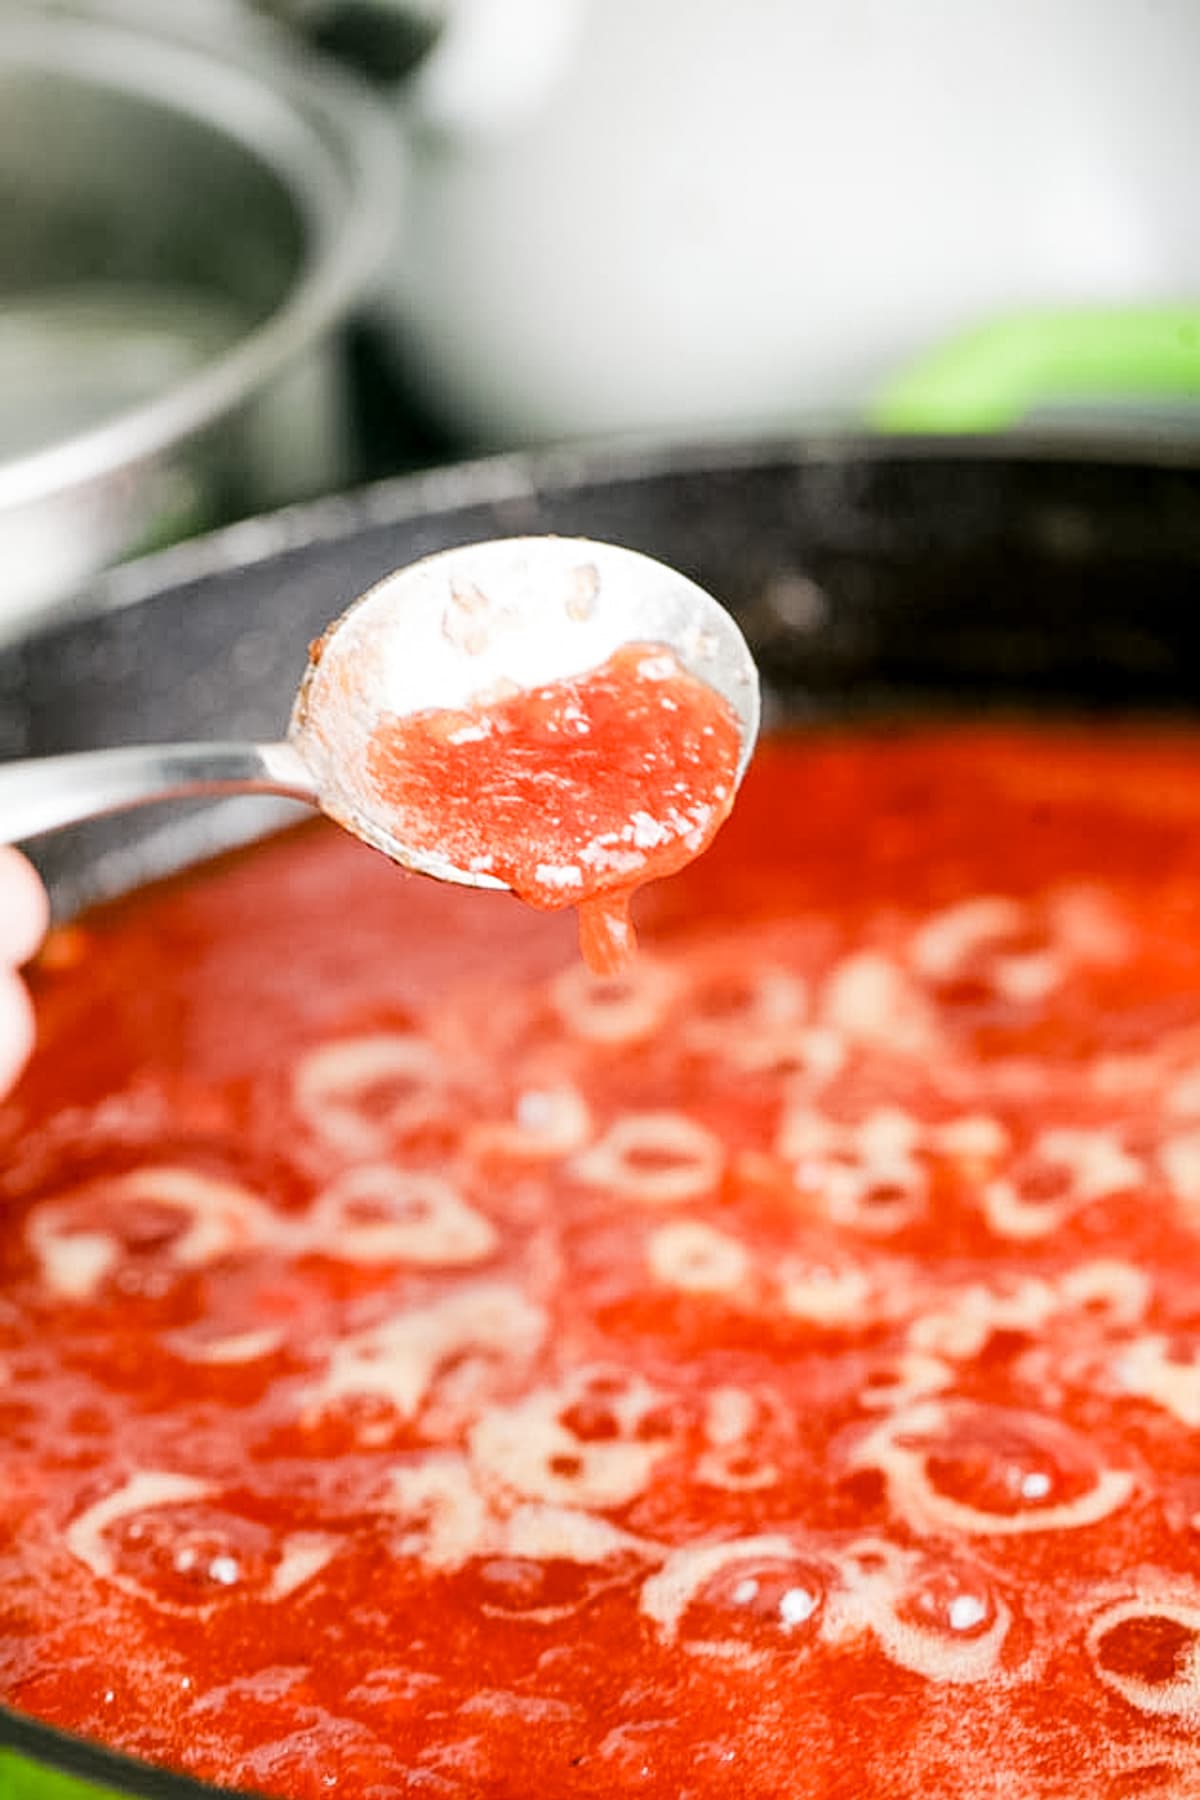
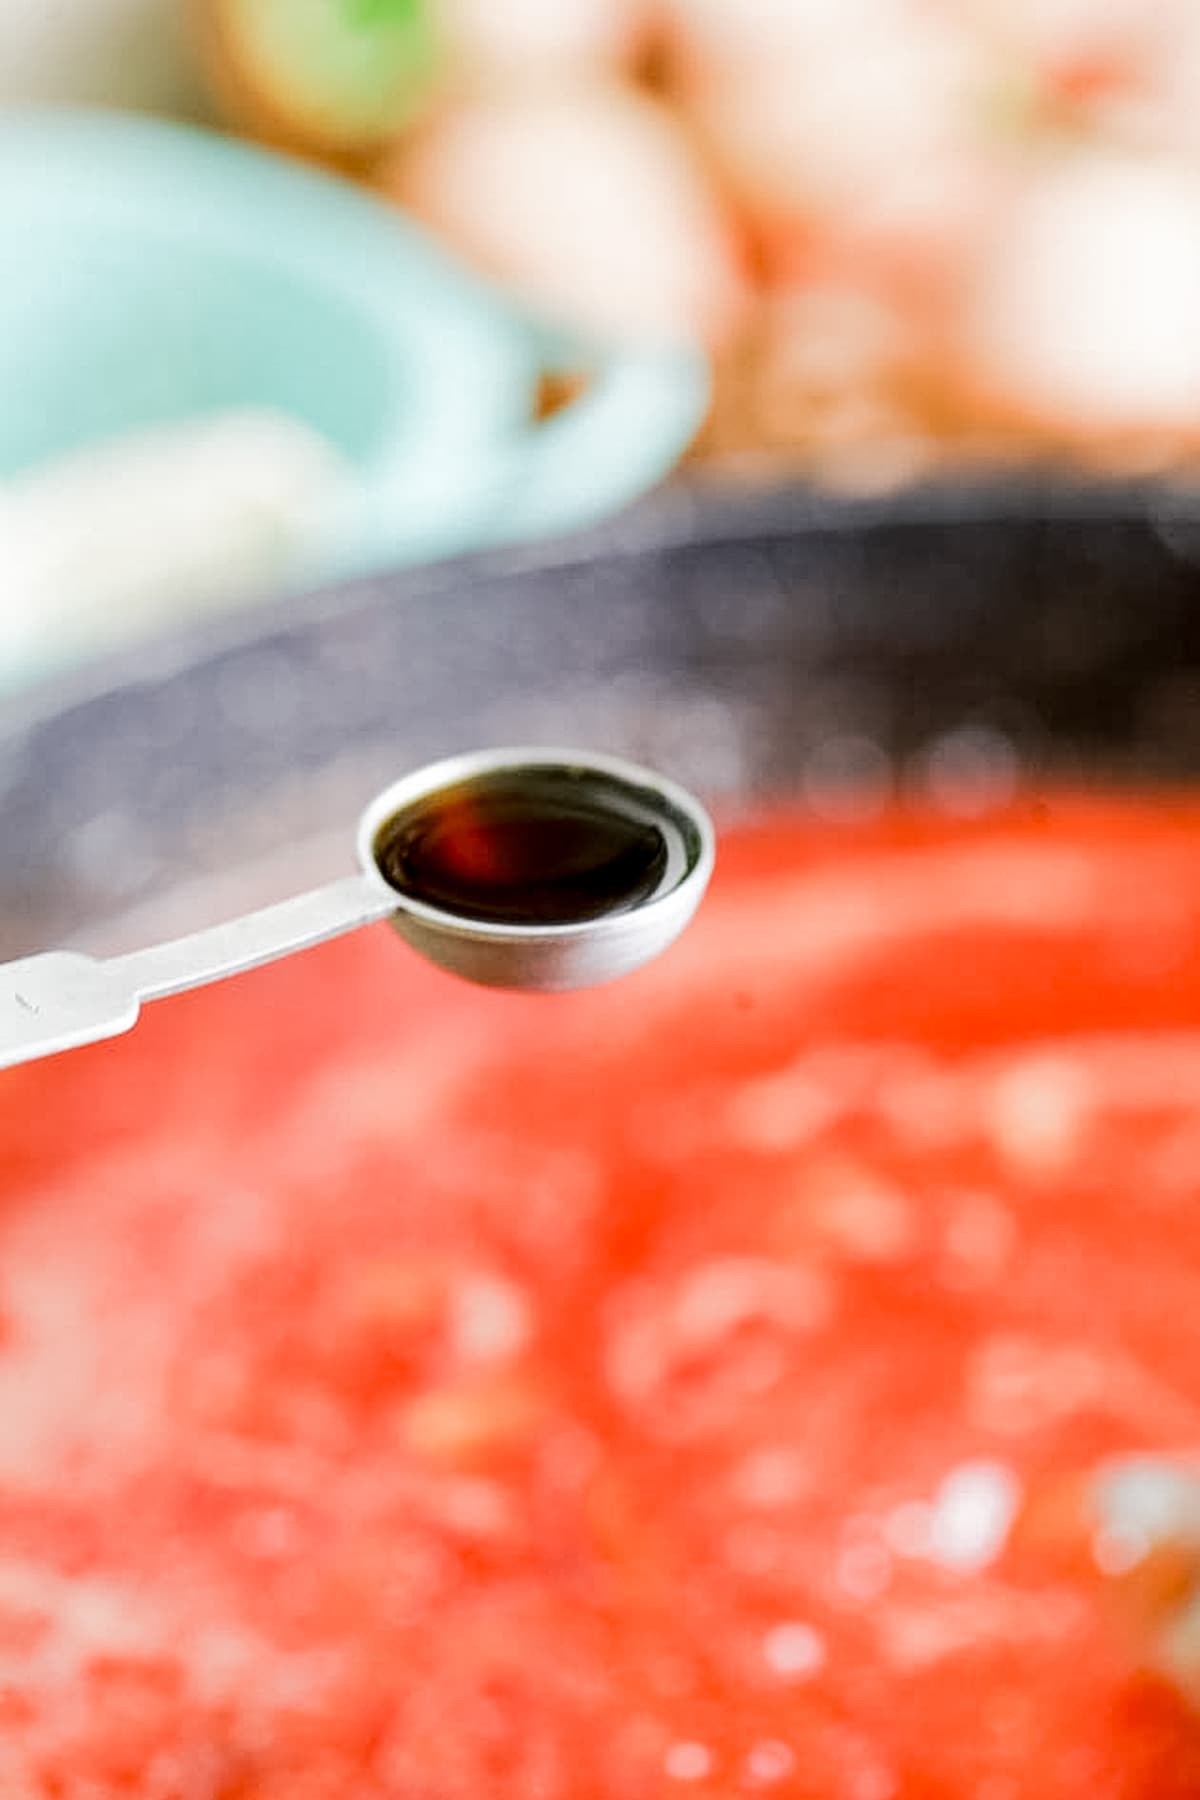
Step five – check for thickness. To check if the jam is thick enough, scoop some jam with a spoon. Leave the spoon on a plate on the counter for a few minutes to cool. Once the jam has cooled, add it back to the pot slowly. As it leaves the spoon, you’ll be able to tell how thick it is. Remember that the jam will keep thickening as it cools. Once the jam is ready, remove it from the heat and add vanilla extract.
Canning Plum and Apple Jam…
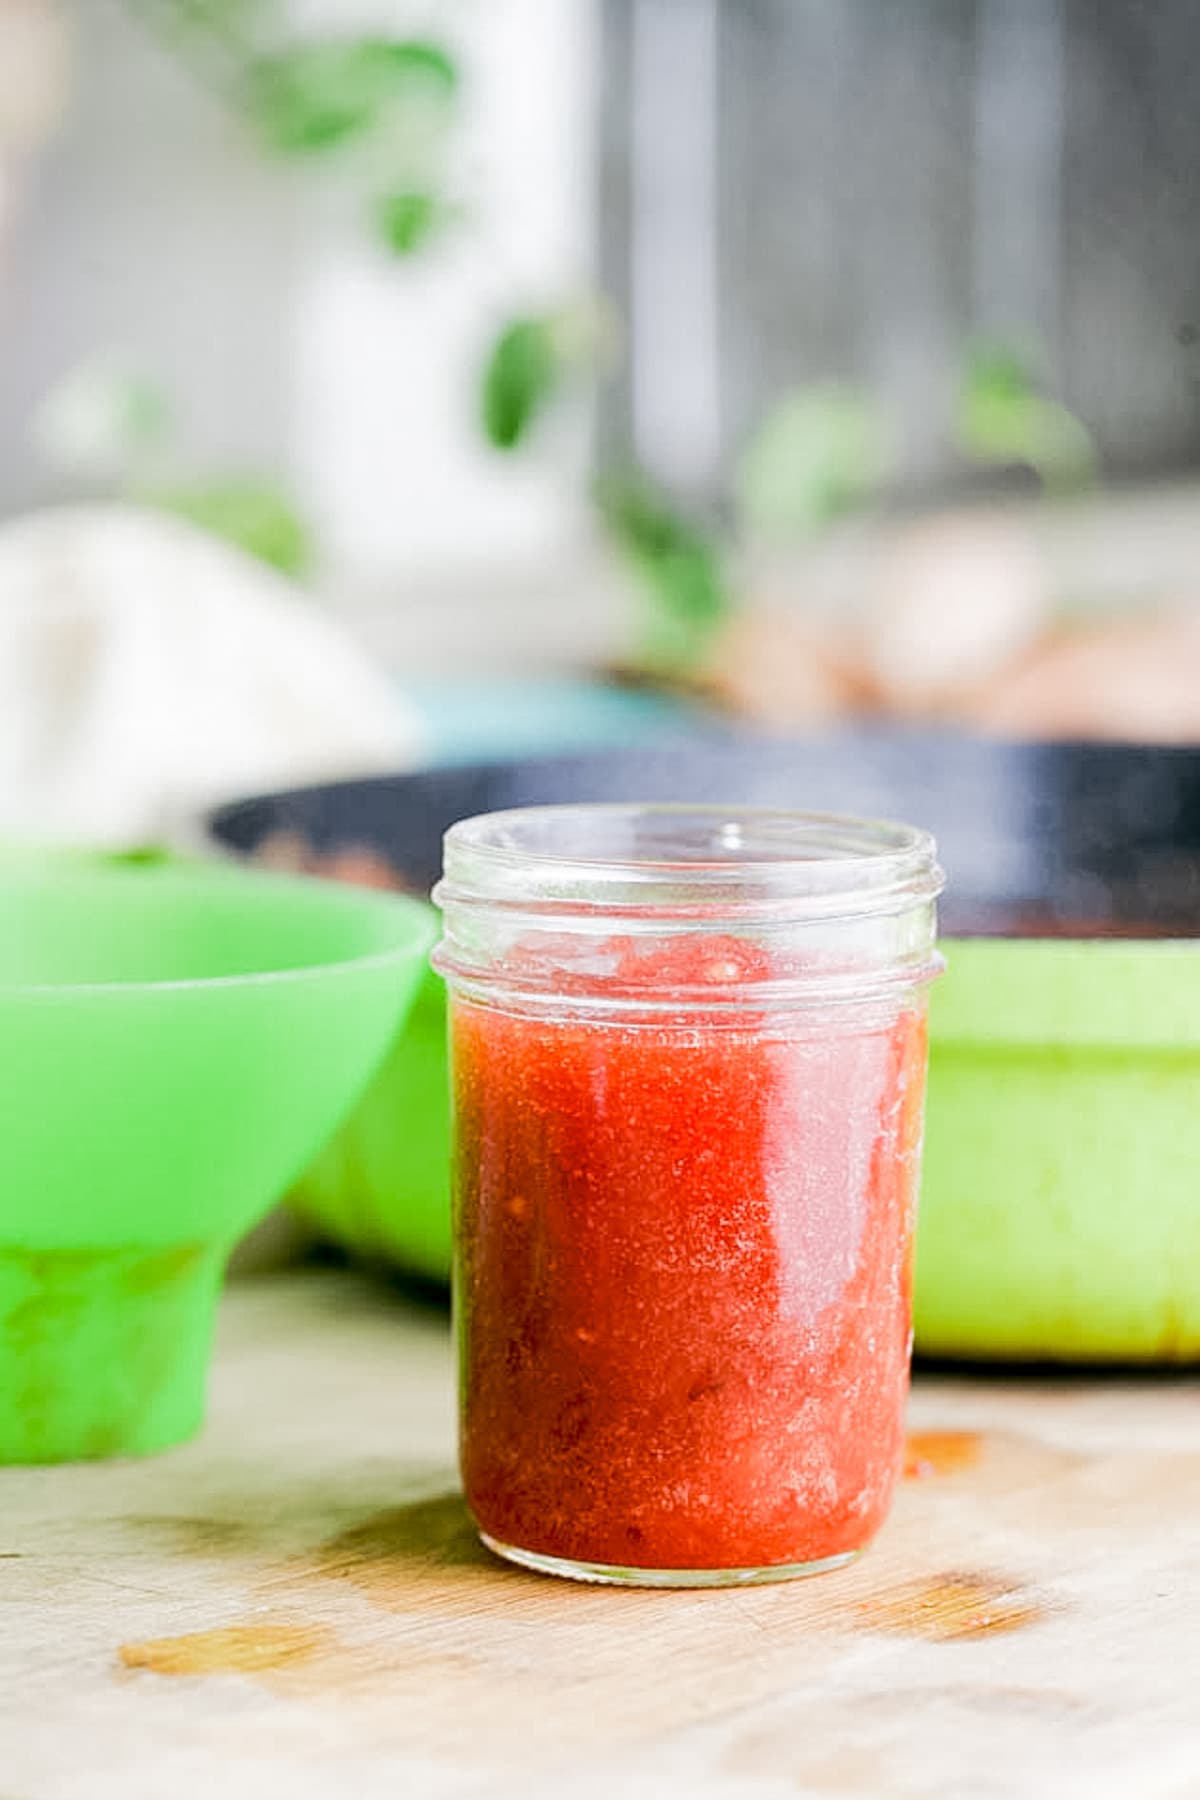
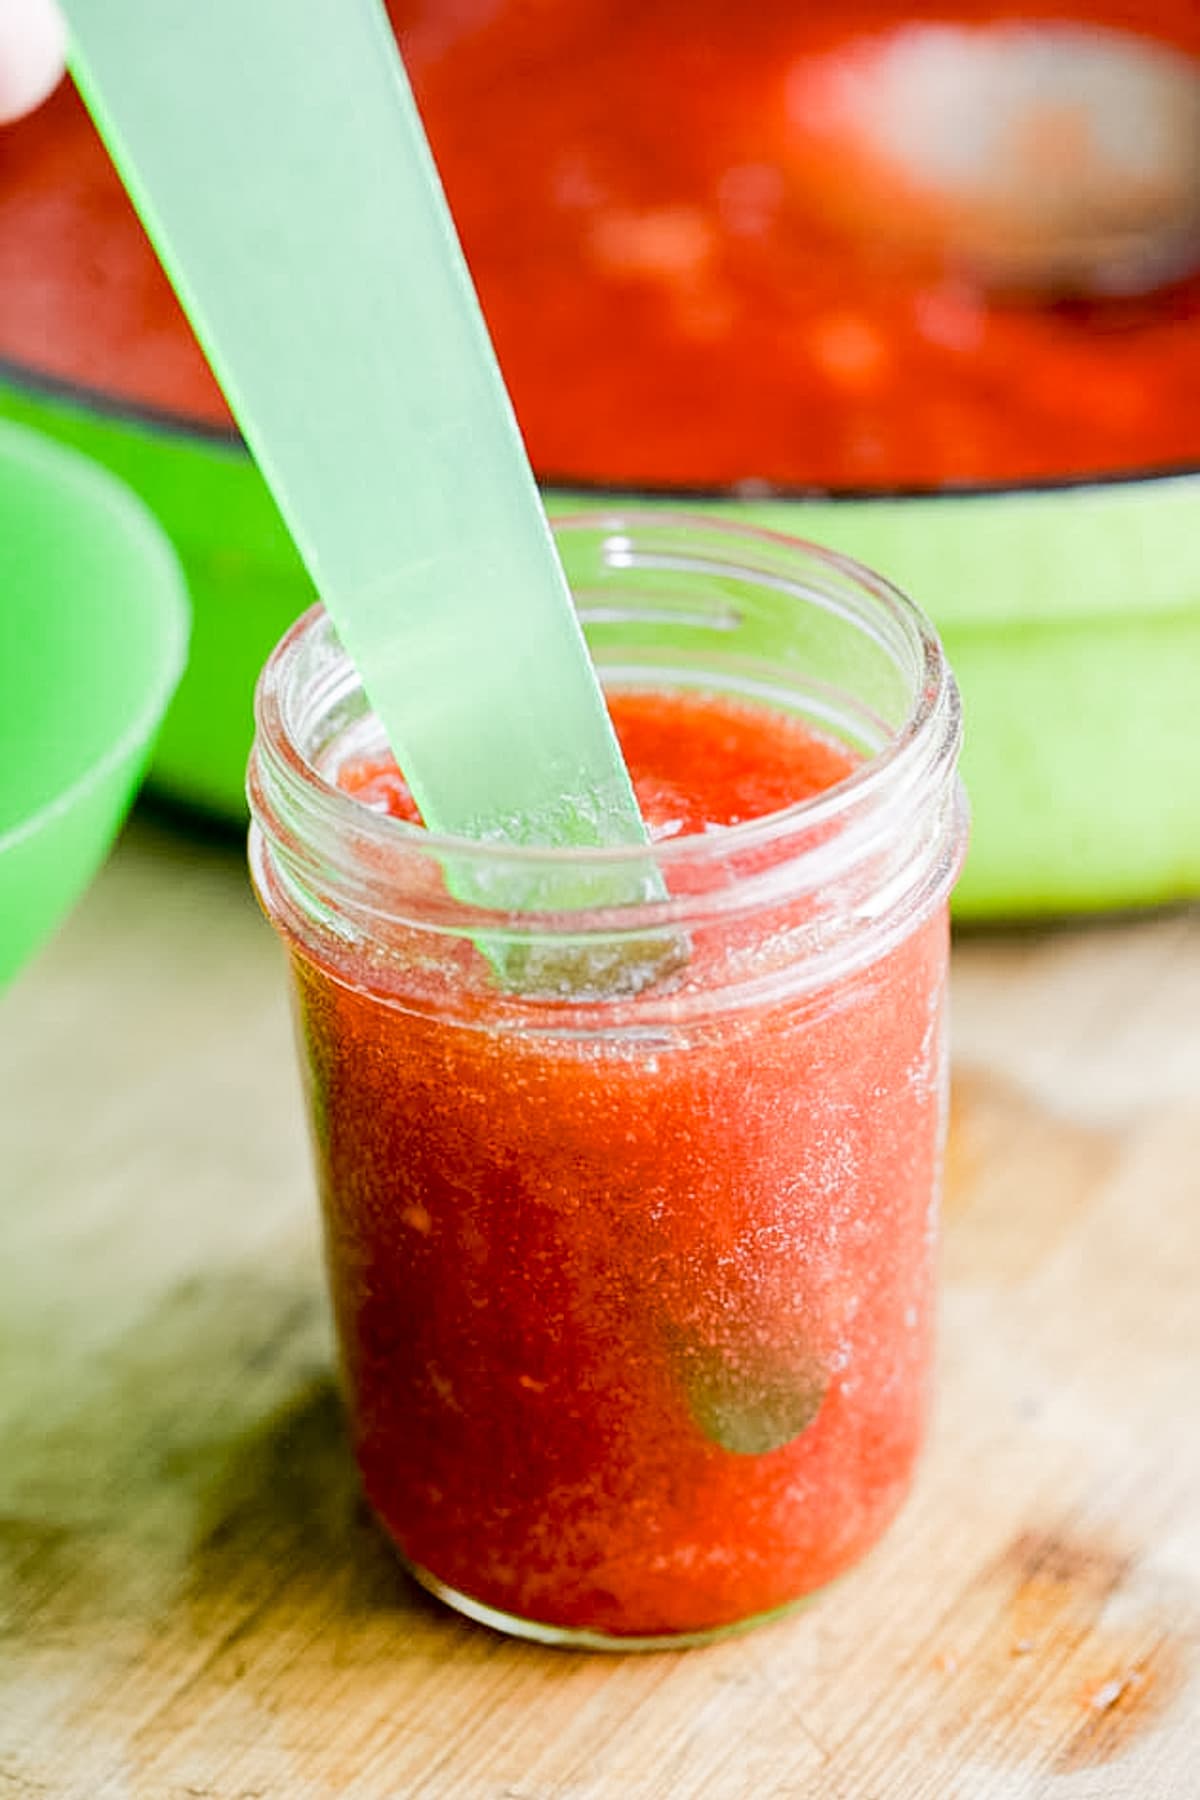
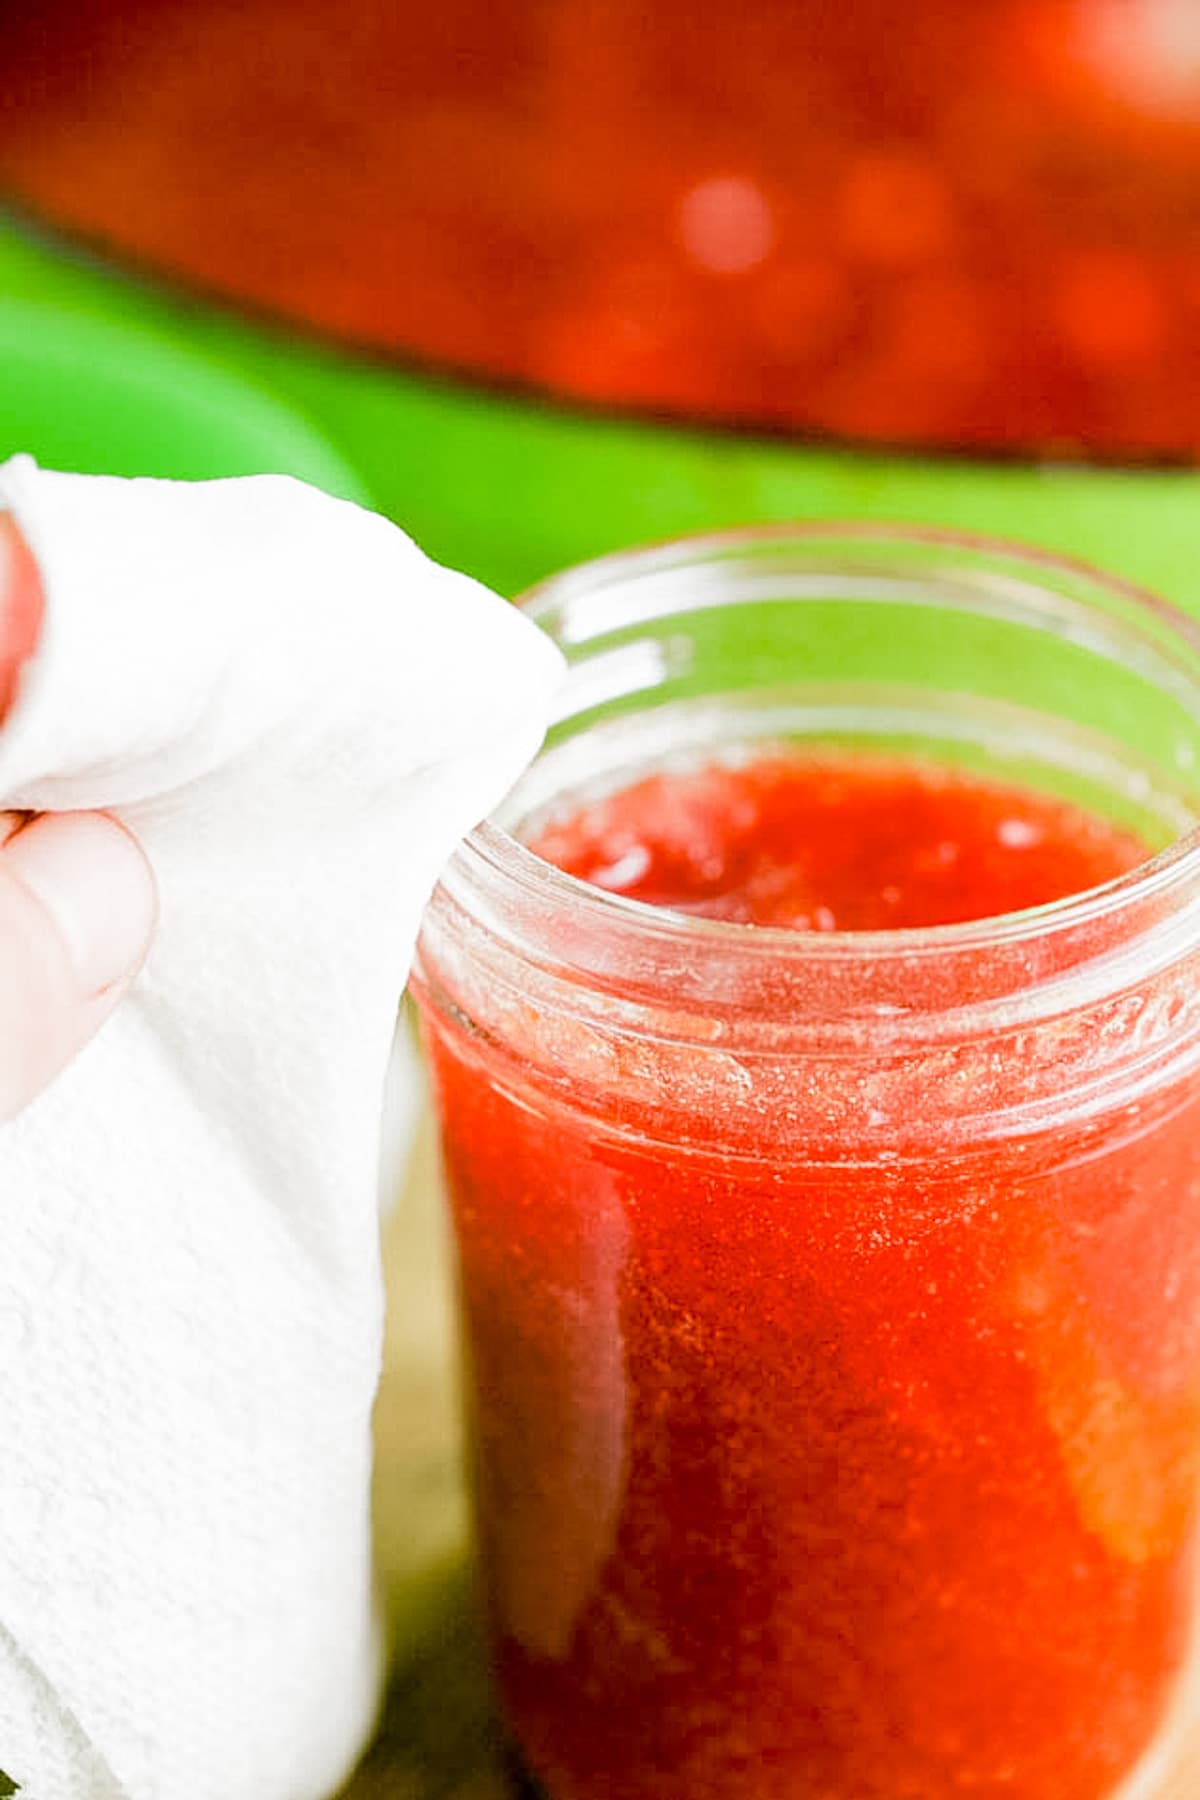
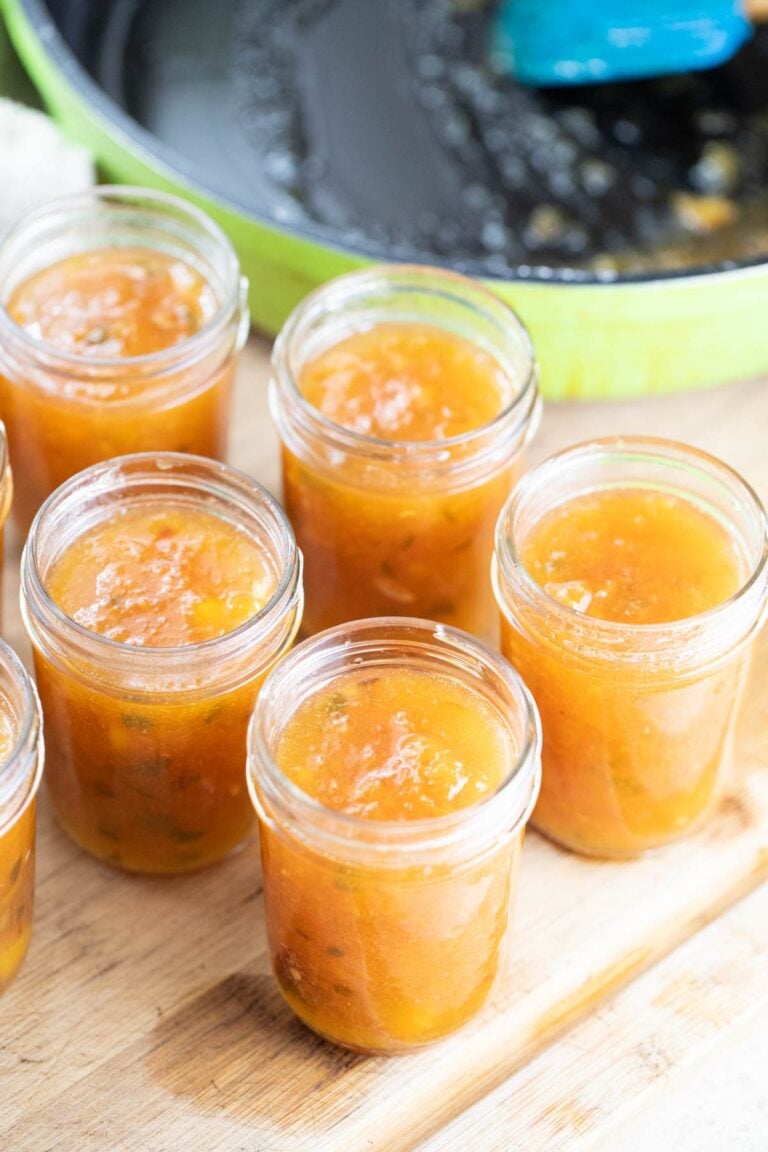
Step six – pack the jars. While the jam is cooking, bring water in the waterbath canner to a gentle boil (enough water to cover the jars by about an inch). Wash jars/lids thoroughly. Fill jars with jam using a ladle and funnel, leaving one-half inch headspace. Remove air bubbles, wipe rims, and apply lids finger-tight.
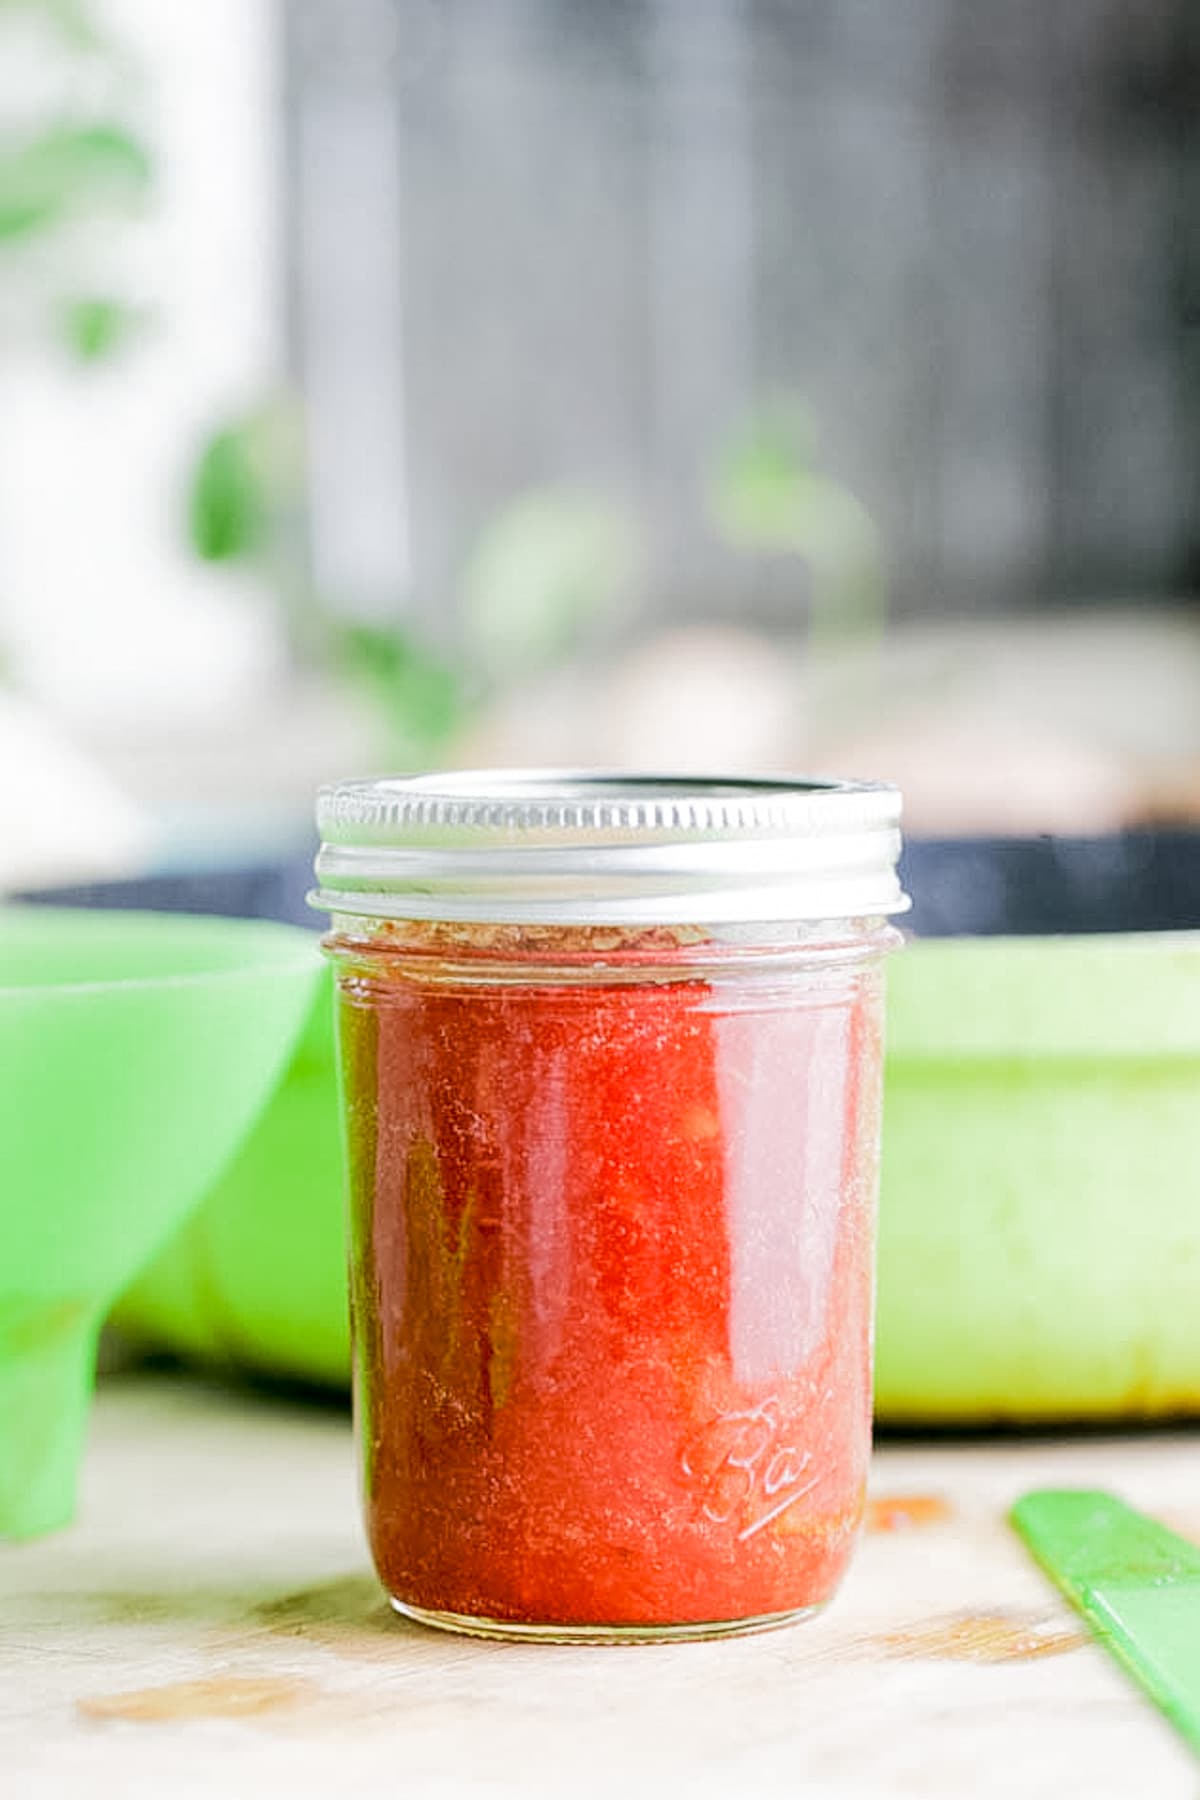
Step six – process the jars. Lower jars into the boiling water of the water bath canner. Process half-pints for 15 minutes (adjust for altitude if needed according to the table below). After processing, turn off the heat. Let the jars rest for five minutes in the canner before removing them. Set the jars on a wooden cutting board or a kitchen towel to cool overnight.

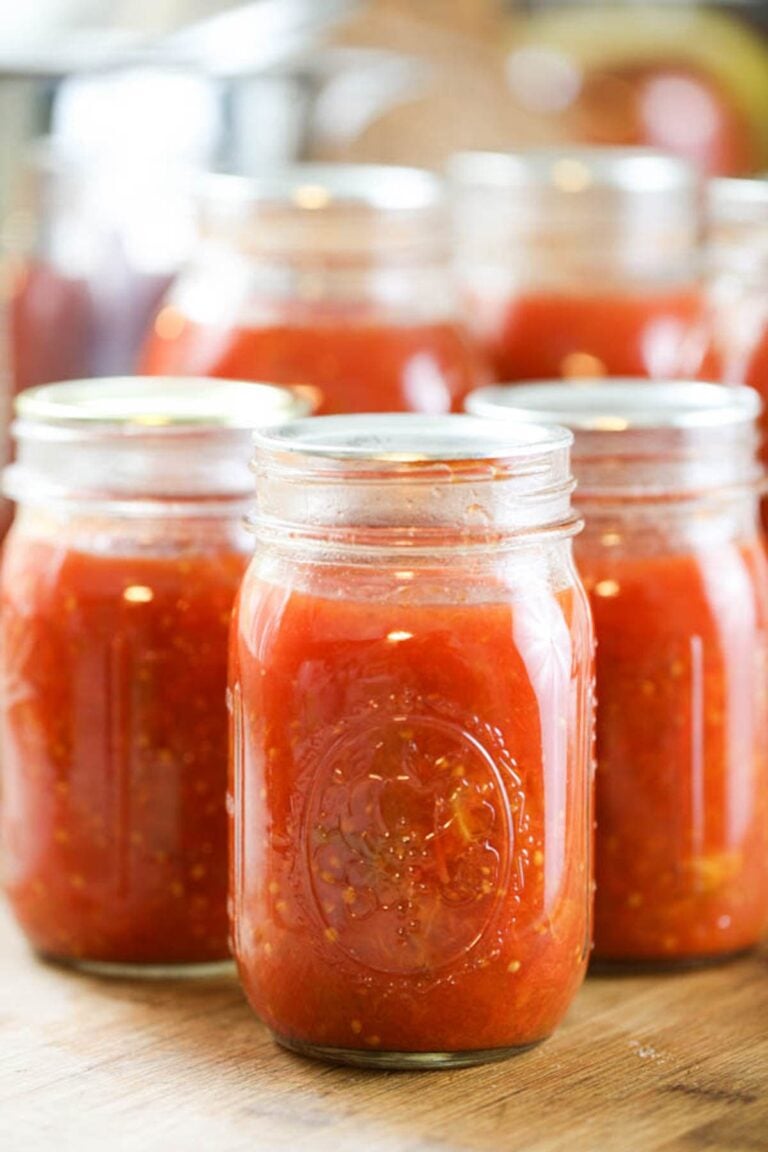
How to Store…
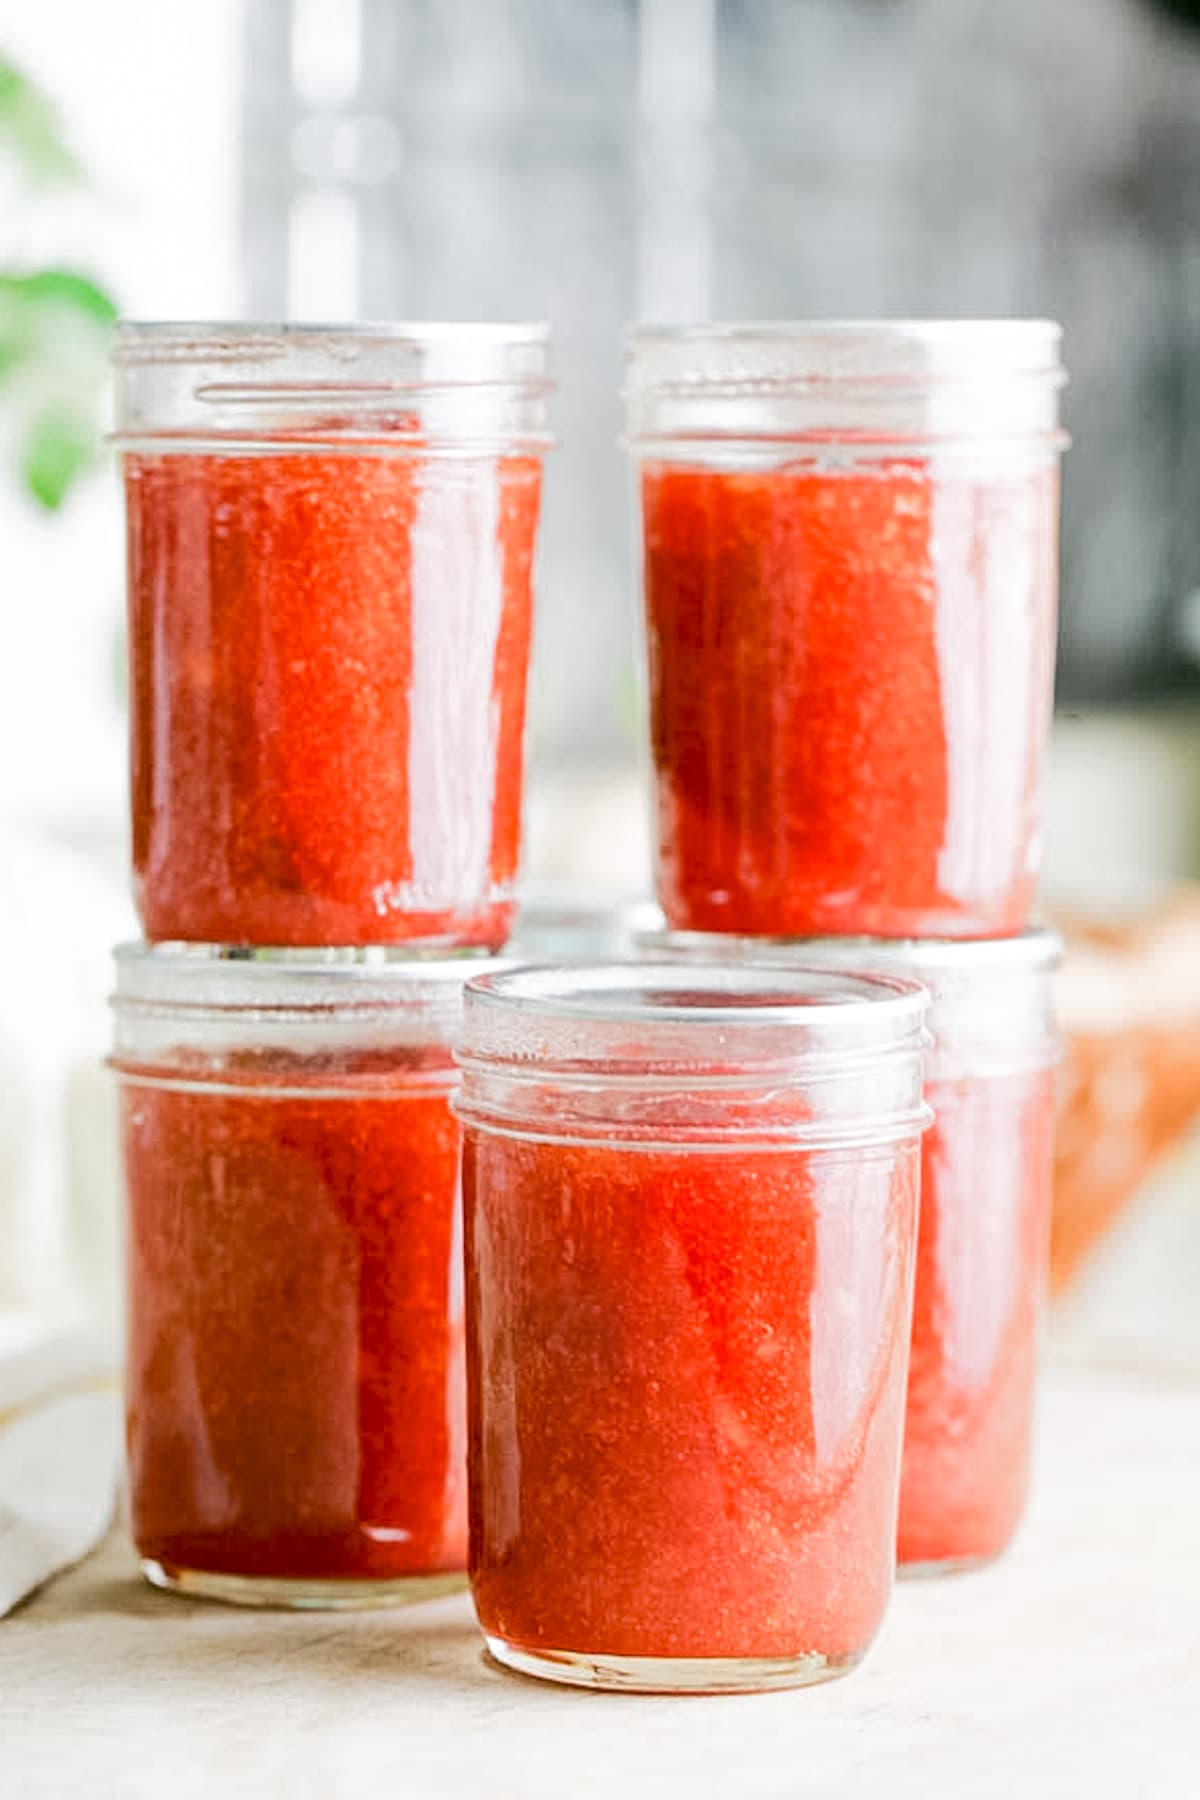
Once cooled, check that lids are sealed (the center of each lid should not flex). If a jar didn’t seal — store it in the fridge and use first, or re-process. Remove jar bands (they may rust) and wipe jars before storing. Properly sealed jars keep in a cool pantry up to 18 months.
How to Serve…
- On toast – I love it with a thin smear of tahini underneath the jam.
- On bagels or crackers with cream cheese – a simple, quick snack for any time.
- Mixed into yogurt or homemade granola – for breakfast or a snack.
- In baked goods – because of it’s texture, I love using this jam in baked goods. Try it in thumbprint cookies, jam-filled bars, or atop a simple zucchini or challah bread to add both sweet and tart flavor.
Plums and apples are a great combination. This jam is a regular at our house and will be as long as my old tree keeps producing plums. This is a great way to preserve both apples and plums during the growing season. I hope that you’d give it a try!
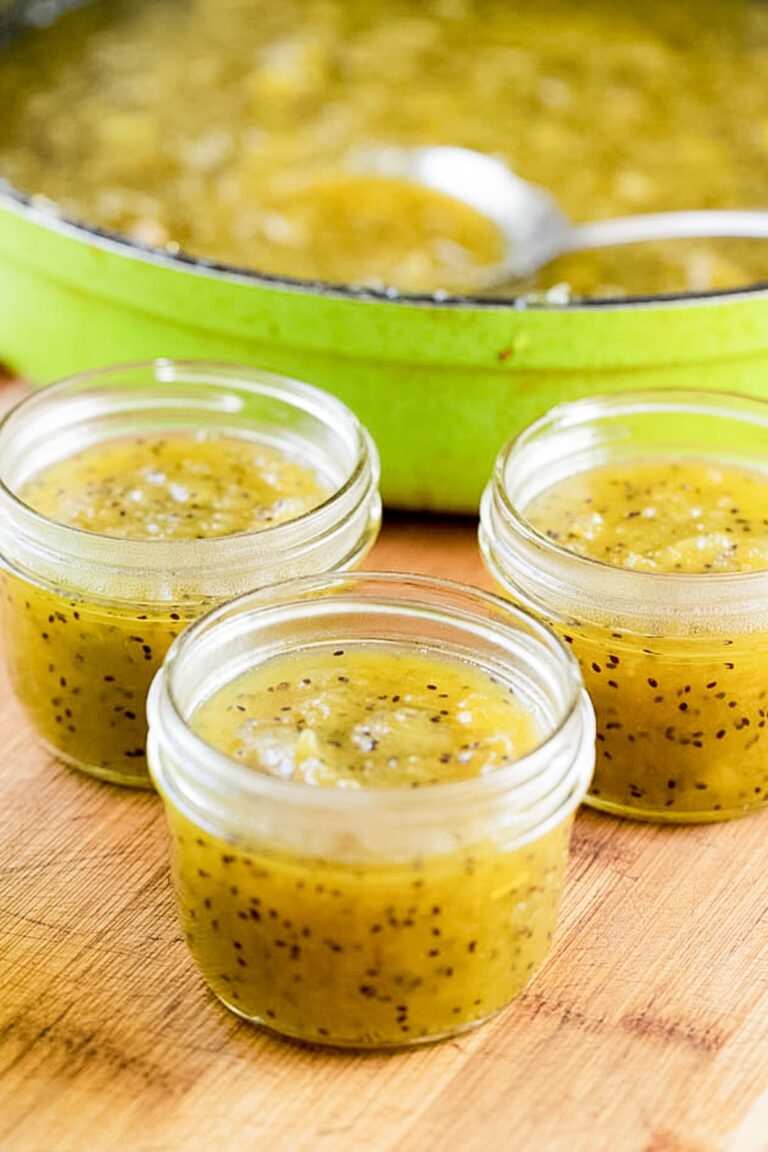
More Homemade Jams…
- Cranberry Apple Jam
- Stovetop Apple Butter Recipe
- Low Sugar Fig Jam
- Mulberry Jam Recipe
- Low Sugar Peach Jam
- Check out more on my jam recipe page!

Plum and Apple Jam Recipe
Delicious and super simple plum and apple jam with less sugar and no store-bought pectin.
Ingredients
- 2 lb of plums, diced and pit removed (leave skin on)
- 7 medium-large apples, peeled, pit removed, and diced
- 2 lb sugar
- Juice of one lemon
- 6-7 lemon seeds (to thicken the jam naturally)
- 1 teaspoon vanilla extract
Instructions
- Start by cutting the plums in half and removing the pit. If your plums are as ripe as mine were, just leave them in halves. If your plums are larger and not as ripe, you can dice them. Next, peel, core, and dice the apples.
- Add the fruit and sugar to a deep and wide jam pot, turn the heat to medium-high, and bring the jam to a boil. Let boil gently for 10 minutes.
- Reduce the heat to medium-low. Cook the jam, stirring frequently, for an additional 10 minutes. By this time, the fruit should be soft. Use an immersion blender to blend the fruit (all the way, or leave big fruit chunks. It’s up to you). Cook for an additional 10-15 minutes, stirring frequently.
- Squeeze the juice of one lemon right into the pot. Then add a few lemon seeds. Both the juice and the seeds have natural pectin in them and will help the jam thicken. Stir, and cook for an additional 15 minutes or until the jam reaches your desired thickness.
- To check if the jam is thick enough, scoop some jam with a spoon. Leave the spoon on a plate on the counter for a few minutes to cool. Once the jam has cooled, add it back to the pot slowly. As it leaves the spoon, you’ll be able to tell how thick it is. Remember that the jam will keep thickening as it cools. Once the jam is ready, remove it from the heat and add vanilla extract.
- While the jam is cooking, bring water in the waterbath canner to a gentle boil (enough water to cover the jars by about an inch). Wash jars/lids thoroughly. Fill jars with jam using a ladle and funnel, leaving one-half inch headspace. Remove air bubbles, wipe rims, and apply lids finger-tight.
- Lower jars into the boiling water of the water bath canner. Process half-pints for 15 minutes (adjust for altitude if needed according to the table below). After processing, turn off the heat. Let the jars rest for five minutes in the canner before removing them. Set the jars on a wooden cutting board or a kitchen towel to cool overnight.
Notes
- You can use any variety of plums and any variety of apples in this recipe.
- You don't have to can this jam. It can easily be stored in the fridge for a few months.
- Adjust processing time for altitude according to the table below...
Nutrition Information:
Yield: 128 Serving Size: 1 tablespoonAmount Per Serving: Calories: 37Total Fat: 0gSaturated Fat: 0gTrans Fat: 0gUnsaturated Fat: 0gCholesterol: 0mgSodium: 0mgCarbohydrates: 10gFiber: 0gSugar: 9gProtein: 0g
Sounds like a great recipe I was looking for. Can I make it in a slow cooker? I make plum or apple butter in my slow cooker.
Thank you.
Grace
Mmmm… I’m not sure. I’ve never made jam in the crockpot before.
I found myself with an abundance of apples and Italian plums this year- this sounds like the perfect recipe. This maybe a silly question, but do the lemon seeds break down?
Not a silly question at all! They don’t break down and they don’t change the taste of the jam at all even if you leave them in there and can them. You can fish them out at the end if you’d like but I never do. No matter what kind of jam I made and how long it has been on the shelf, they never gave me any problem.
This also probably thickens well because apples contain some natural pectin. I remember hearing that from my mother.
That’s true! And jam made with apples will thicken well. Some people add just a half apple or a whole, small one to any jam to help it thicken instead of using pectin.