This post may contain affiliate links, view our disclosure policy for details.

Canning homemade applesauce is easy! Making and canning applesauce is a great way to preserve apples. Applesauce is a great ingredient and a great snack to have on hand!
Lady Lee’s Note…
It’s the season of apples. I love apples! Green, red, sour, or sweet, I love them all. I have two apple trees. I didn’t plant any of them, they were here when we moved in. They are very old and, unfortunately, very sick.
They produce little apples full of black spots and never reach picking size, they usually fall to the ground while still small. The inside of the tree is soft and rotten, probably home to chubby worms.
I might try to prune the trees or fertilize, or even graft them, but for now, neighbors, local apple orchards, the farmer’s market, and the grocery store are where I get my apples.
I am a fan of the famous apple pie just like anyone else, but there is an apple cake I make all the time that is so easy to put together and is so delicious that I love even more and make on a regular basis.
We also love apples as a snack (these apple chips in the oven are so good!), just raw by themselves or with peanut butter or dipped in honey.
And then there is applesauce… The perfect baby food, the perfect snack, the base for homemade apple butter, and the perfect ingredient to have on hand for baking. And… the perfect way to preserve apples!
Best Apples For Applesauce…
Feel free to use any apple variety that you come by but generally speaking, it’s better to choose a sweet variety (So… Not Granny Smith).
It doesn’t matter what variety of apples you choose, they can be red, green, yellow, or even crabapples. Just make sure that the apples you choose for applesauce are ripe, juicy, and sweet.
If you find a variety with a softer, “sandier” texture like Golden Delicious, for example, that’s even better but not mandatory. We are going to cook and puree the apples with an immersion blender anyway.
How Many Apples Do You Need…
You’ll need an average of three pounds of apples per quart (two pints) of applesauce. I used 28 medium-sized apples and ended up with 4 quarts (or 8 pints), just to give you an idea.
Ingredients…
- Apples
- Water
Kitchen Tools…
- Cutting board
- Knife
- Large mixing bowl
- Large pot
- Two cup measuring cup
- Wooden spoon
- Immersion blender
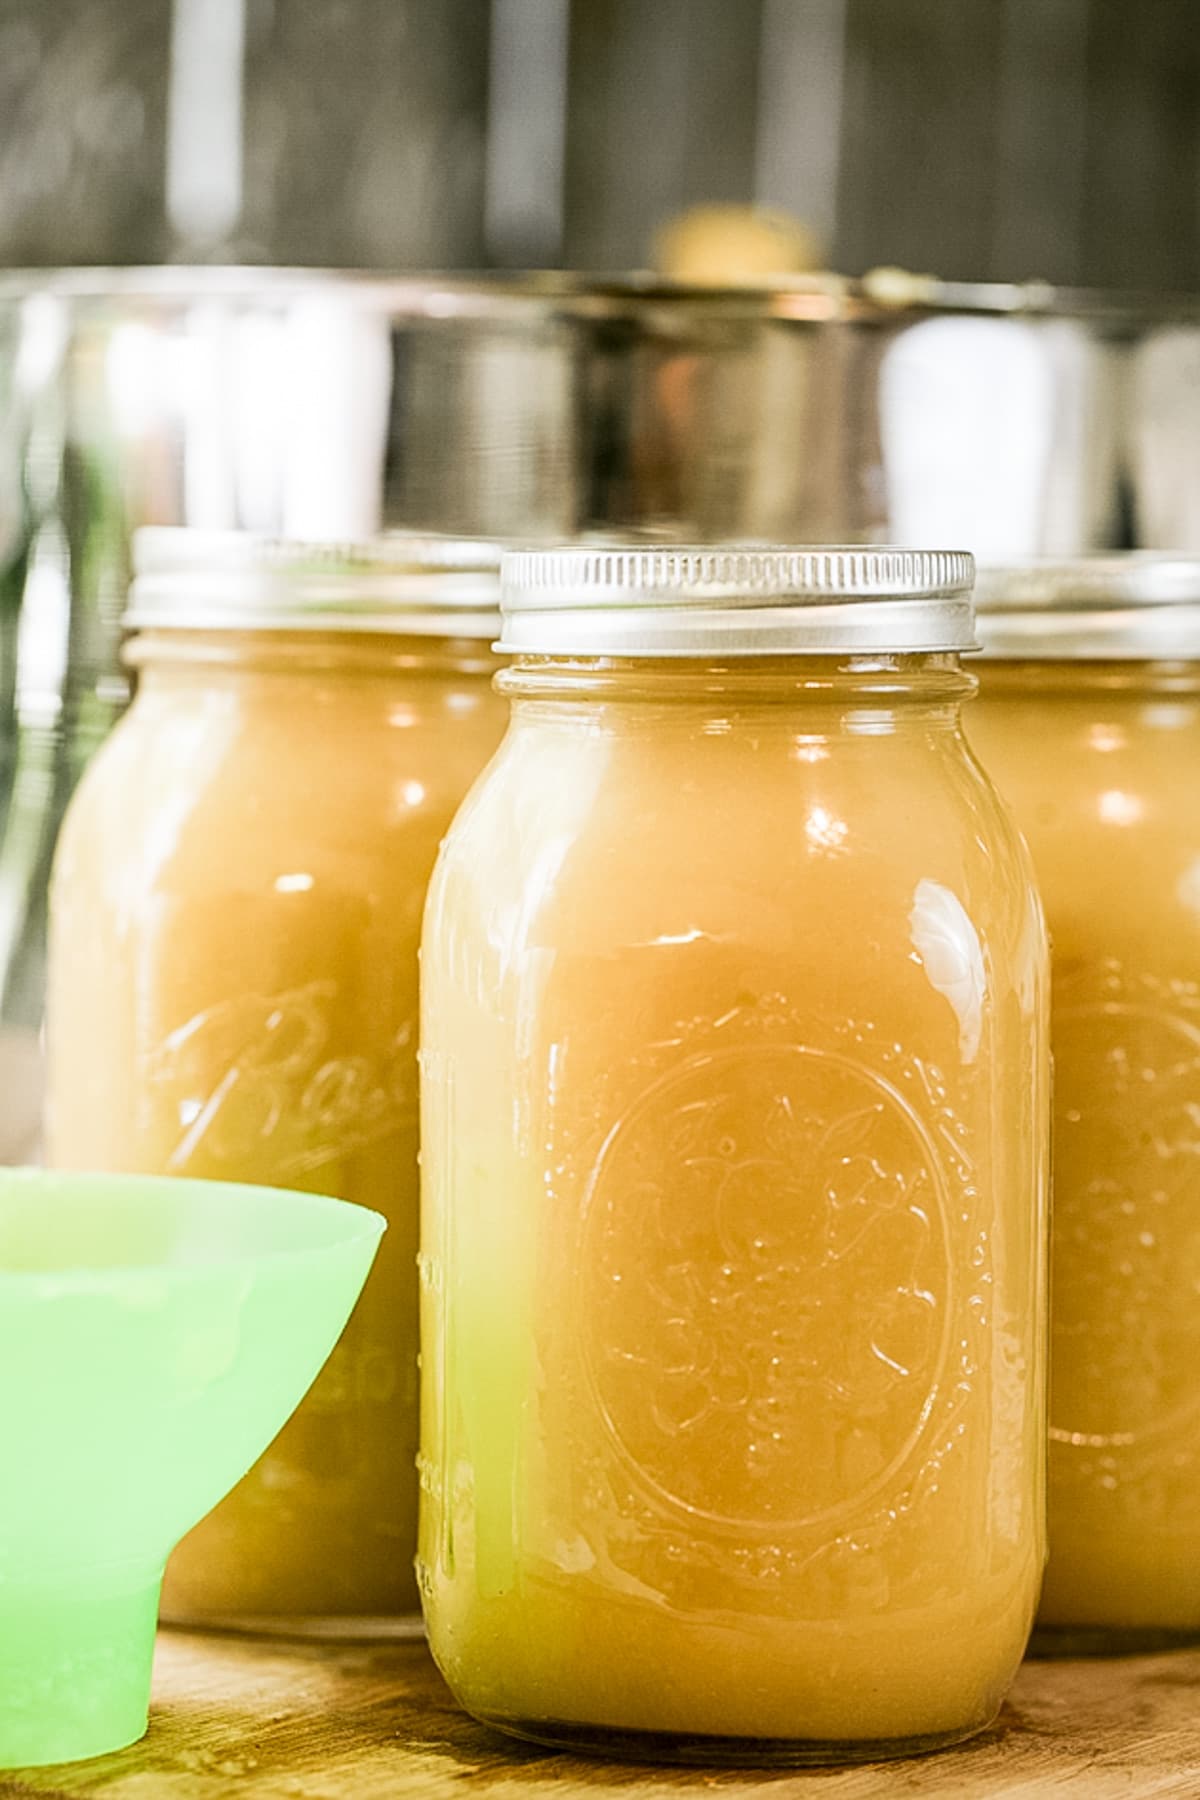
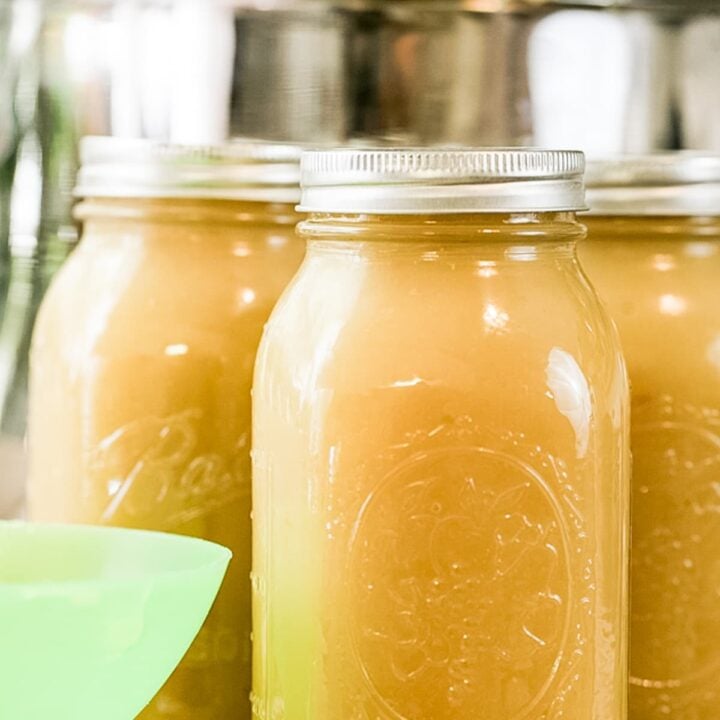
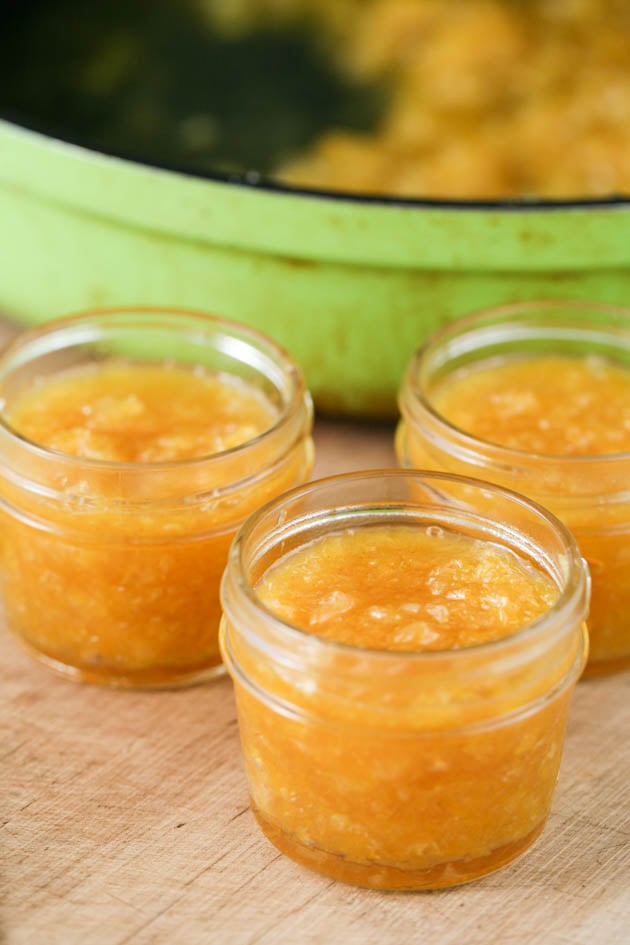
- Jars – I used quart here but I actually prefer using pints. If you want to can your applesauce as a snack, you might want to use half a pint jars so you can just hand it to the kiddos whenever.
- Lids and bands
- Small pot
- Canning utensils
- Ladle
- Paper towel
- Water bath canner
Step-by-step Instructions…
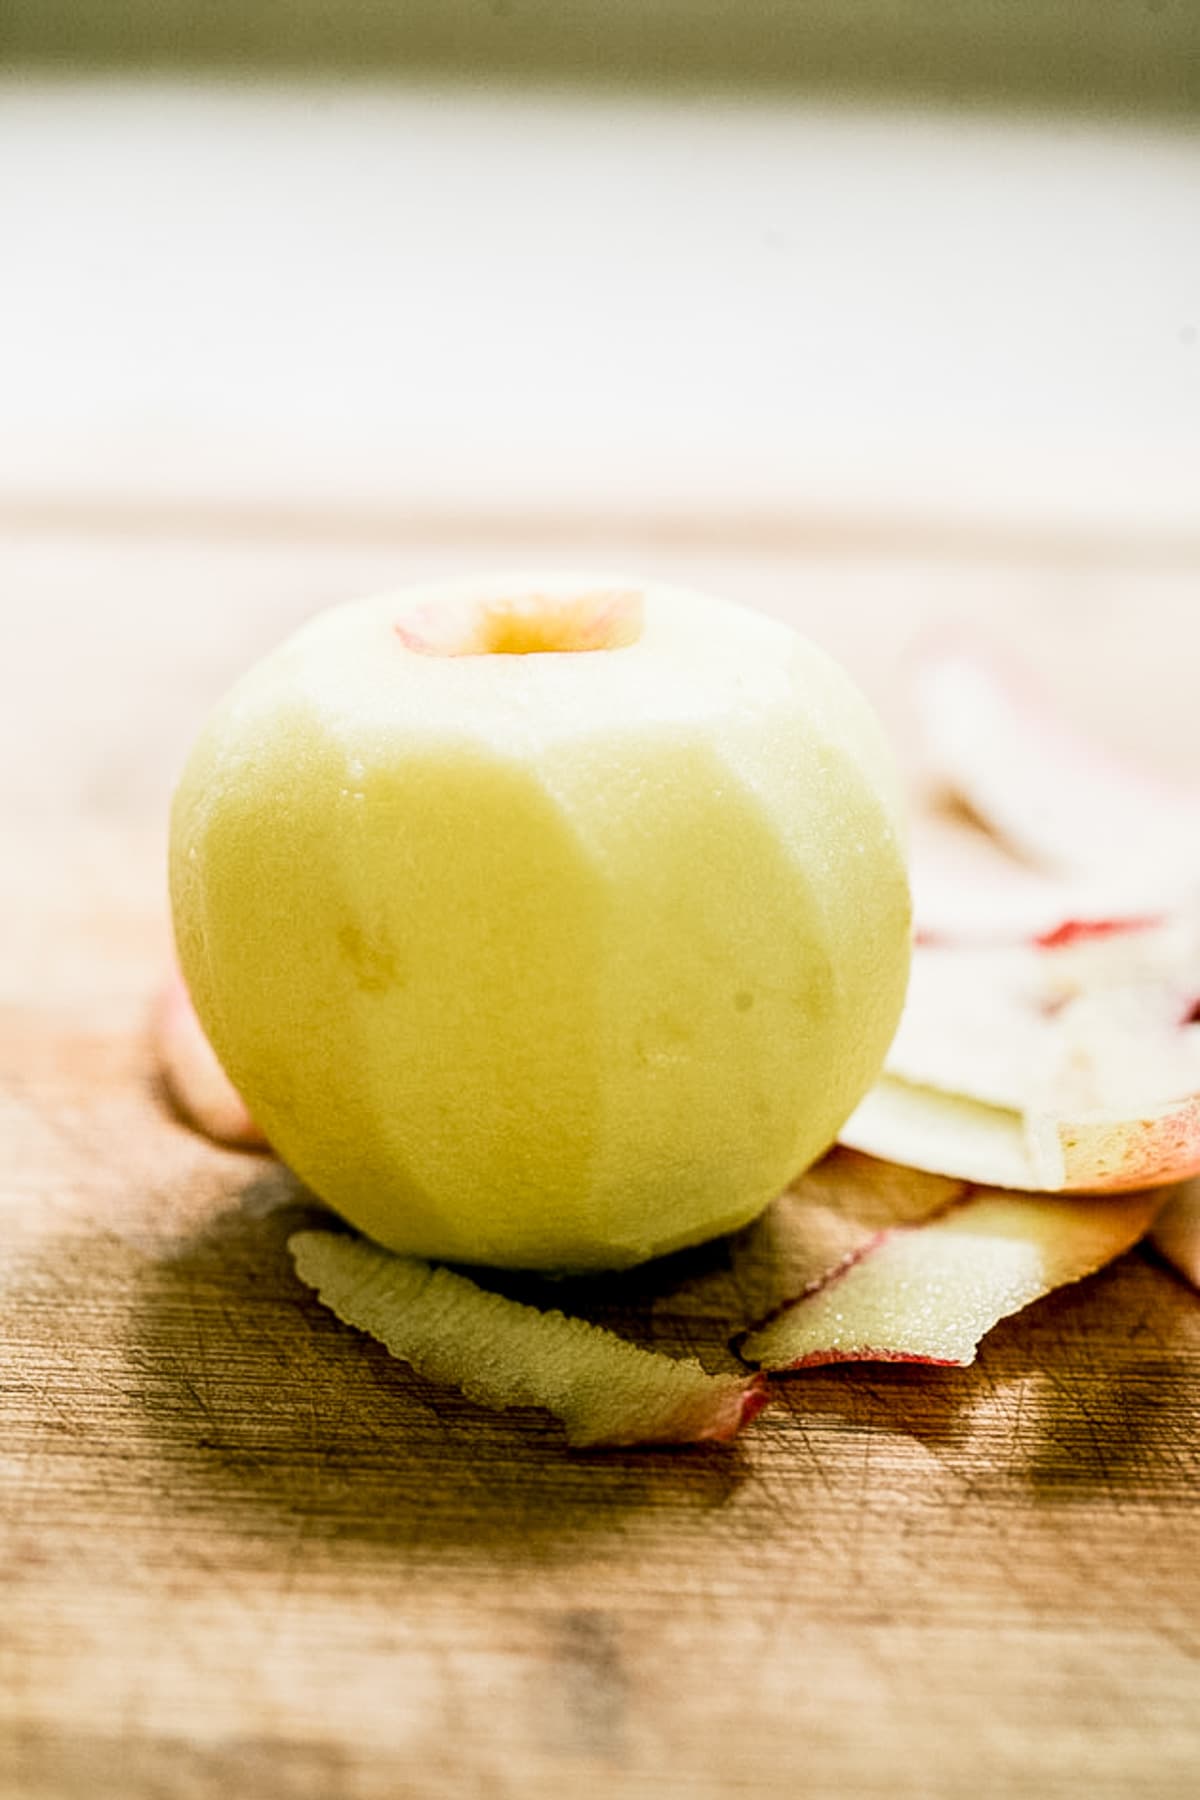
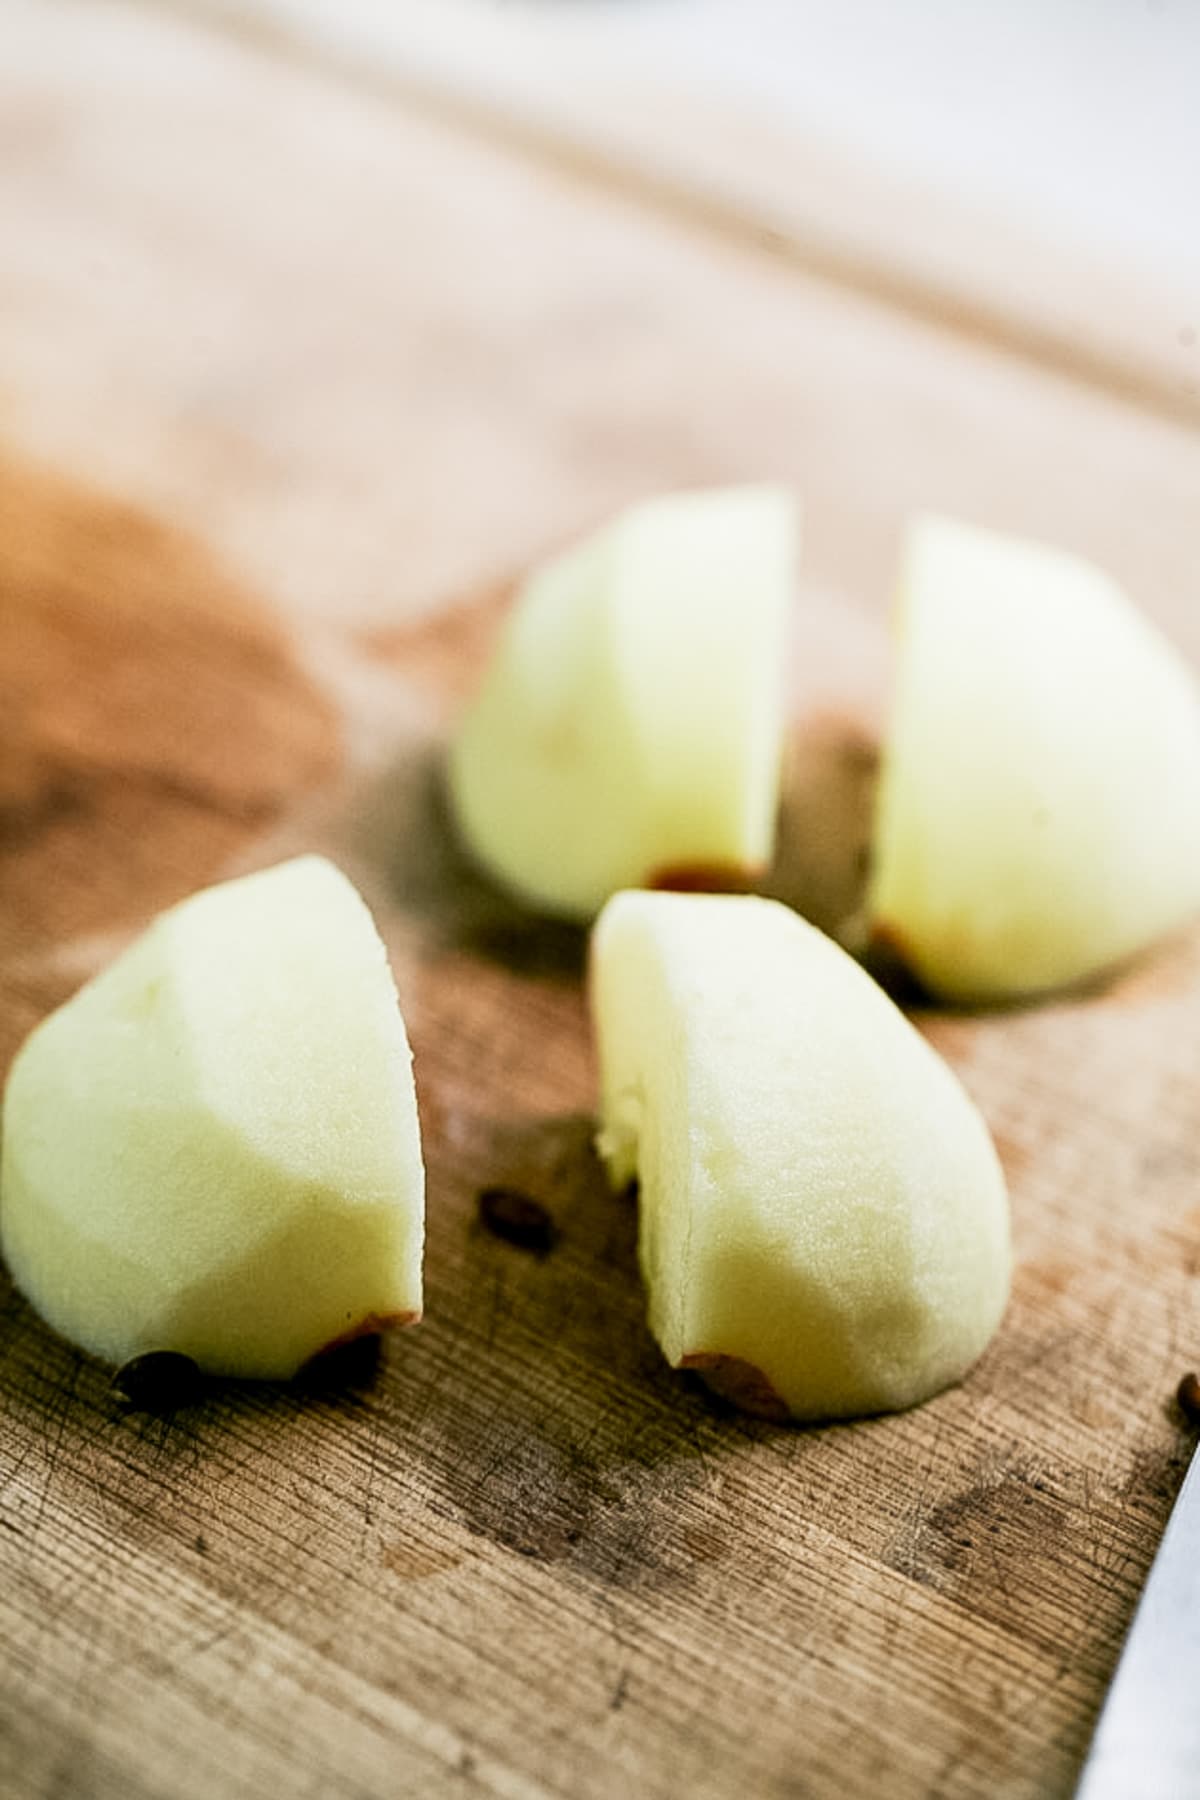

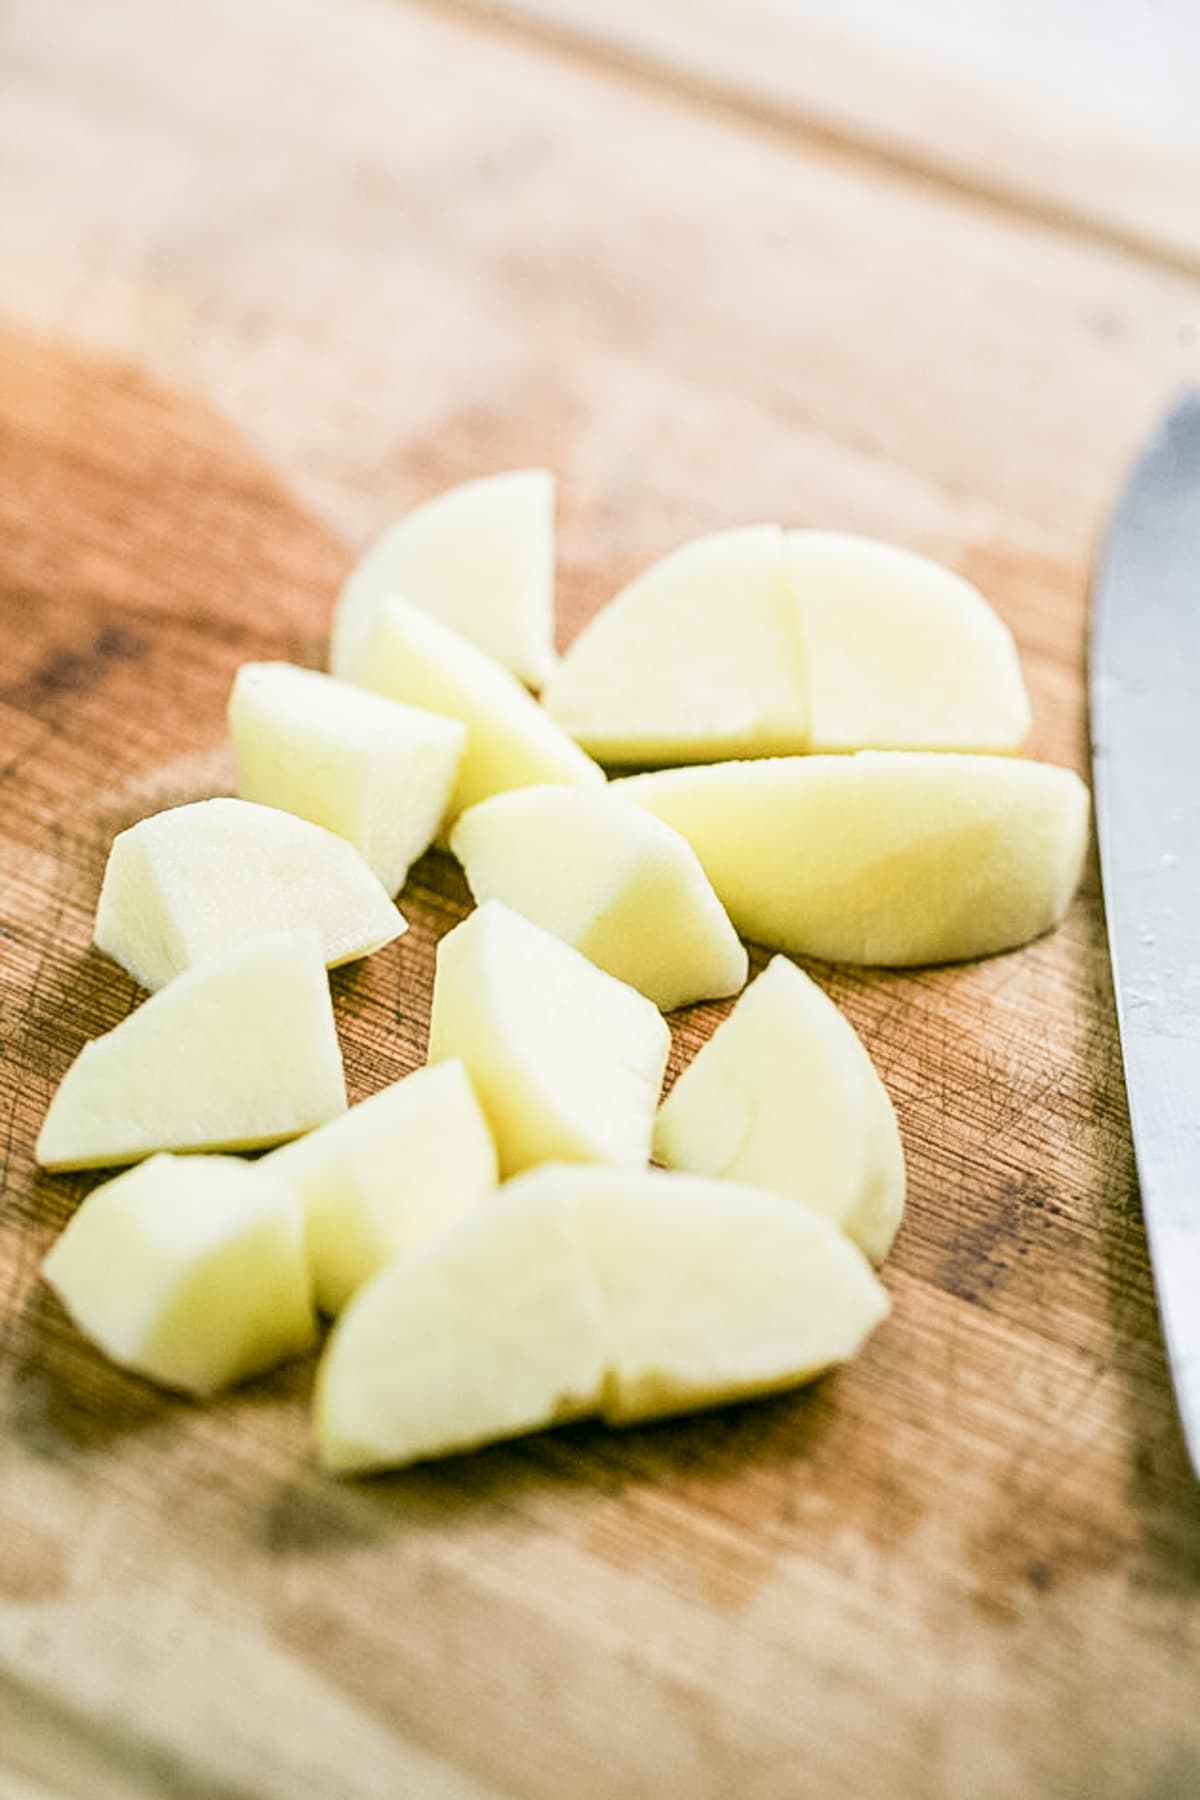
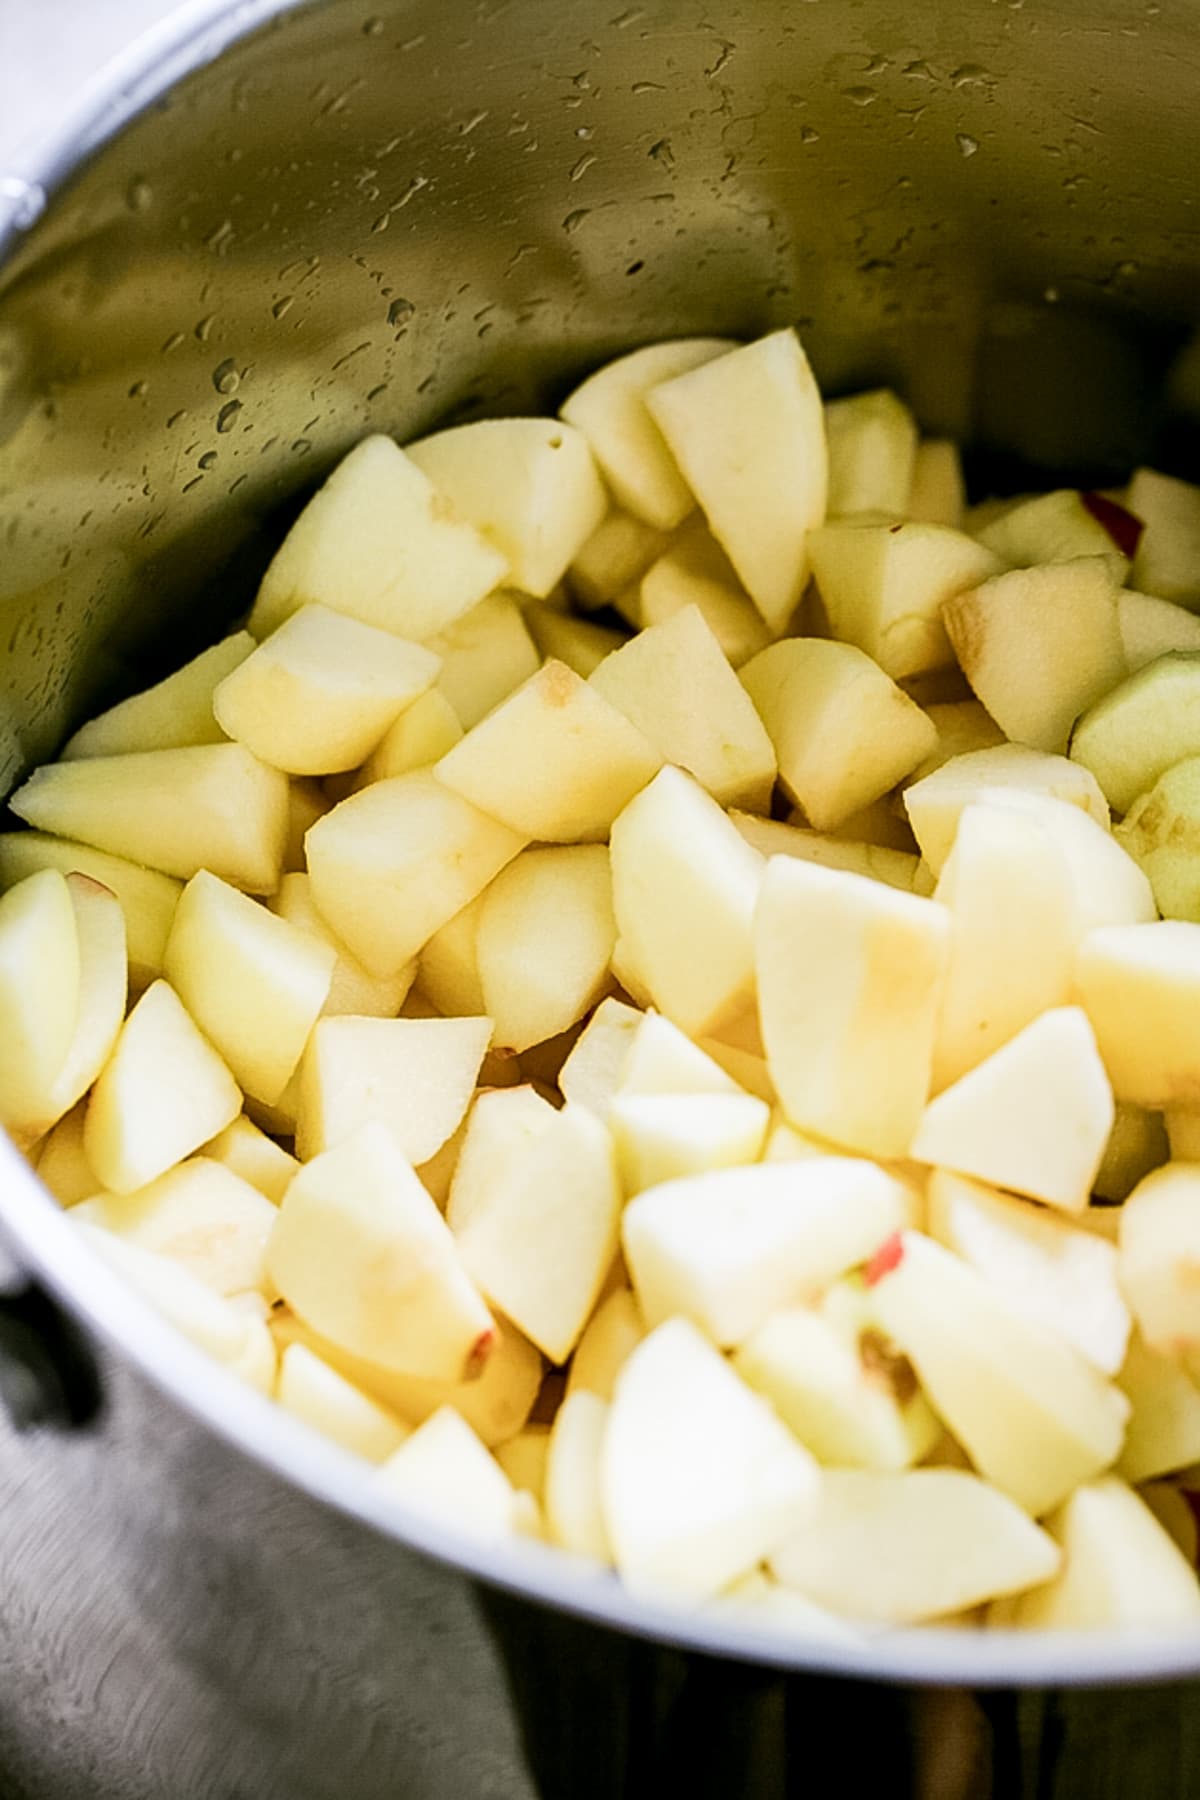
Step one – prep the apples. Start by peeling the apples. Then quarter each apple. Place your knife in a diagonal just above the core and cut the core out. Then, dice.
Prep options…
- If you have a food mill, you can skip this step and cook the apples with the skin and the core. Then, when they are soft, run them through the food mill and it will get rid of the skin and core. I don’t have a food mill so I do this by hand (plus, I love having the fresh peels and core pieces for homemade apple scrap vinegar).
- Get this awesome apple peeler, slicer, and corer! I didn’t have it when I wrote this post but I do now. It’s a kitchen gadget that changed my life!

Tip – if you prep the apples with a knife, it might take some time to get them all ready for cooking. Set a bowl with cold water next to your cutting board and add the diced apples to the bowl as you work to prevent them from turning brown.
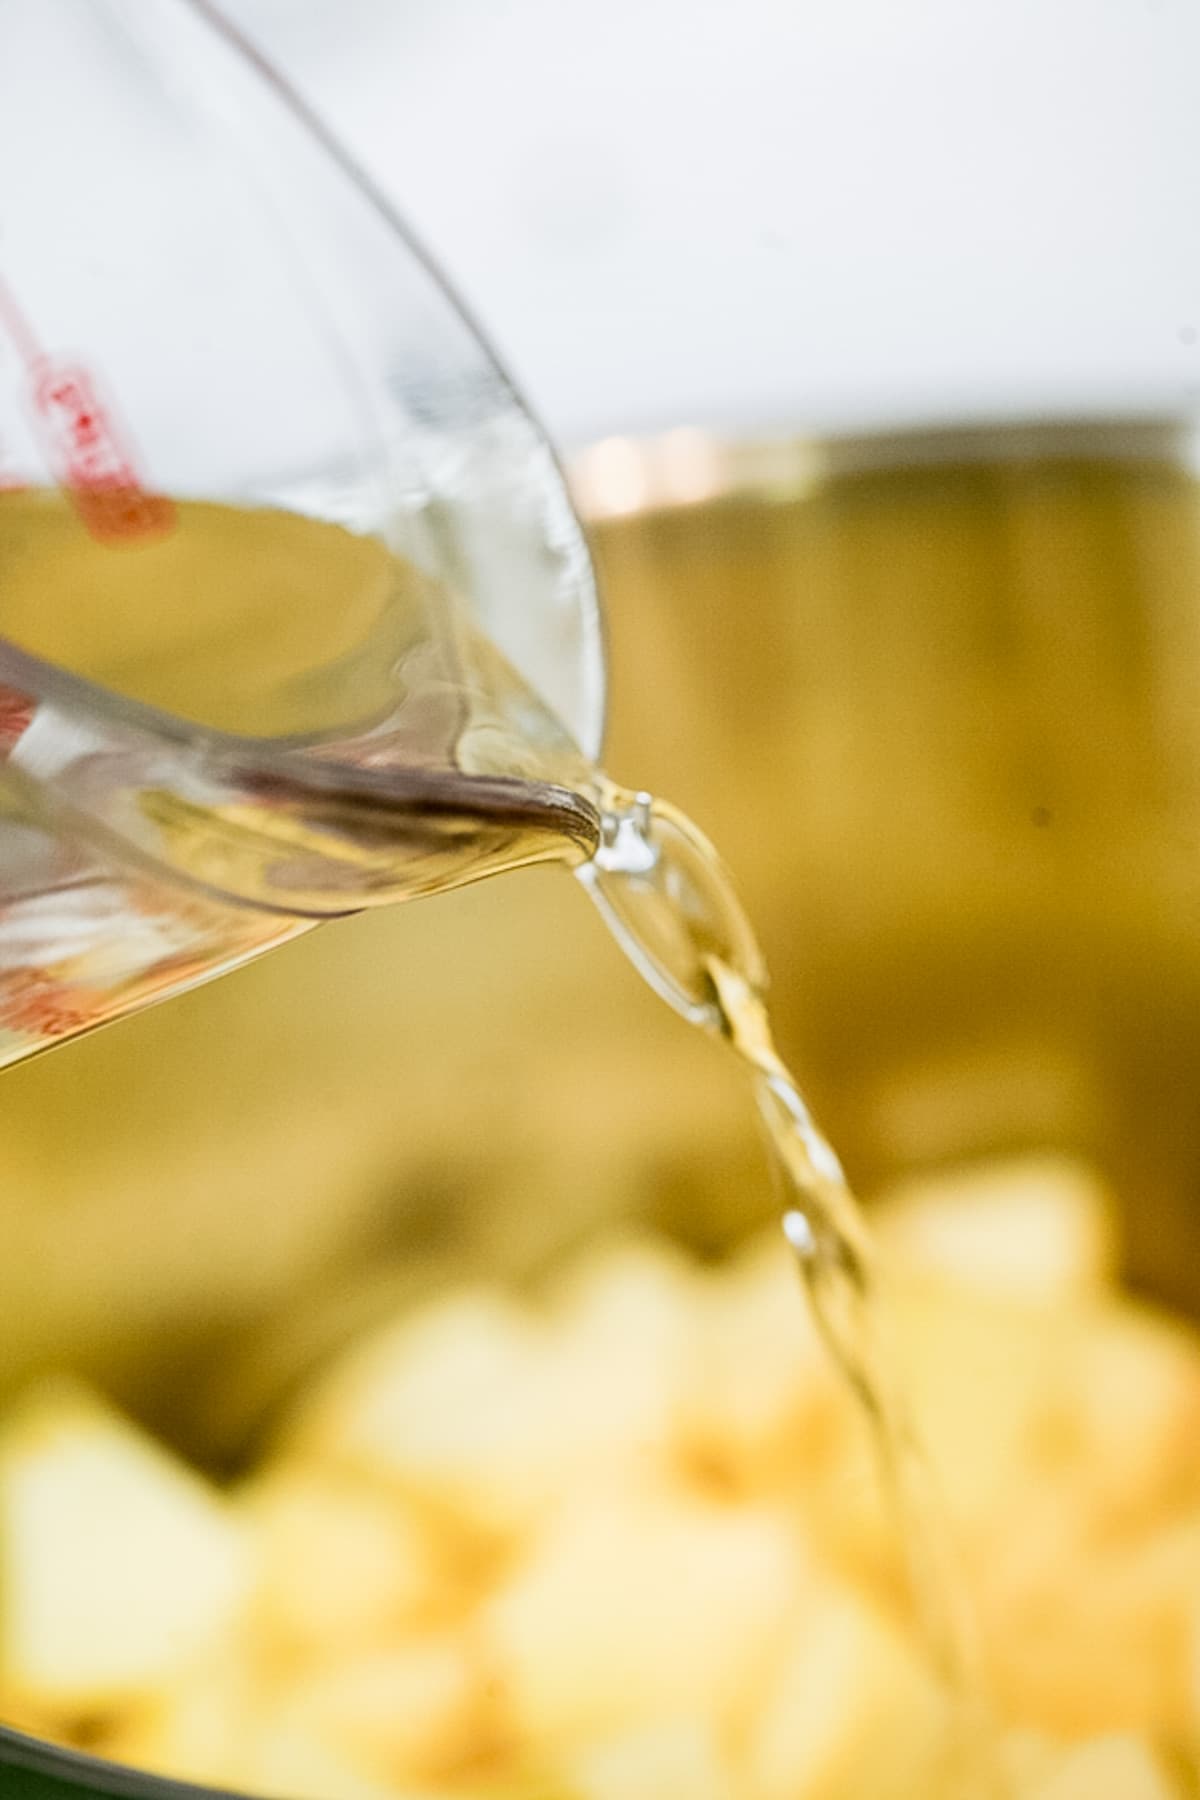
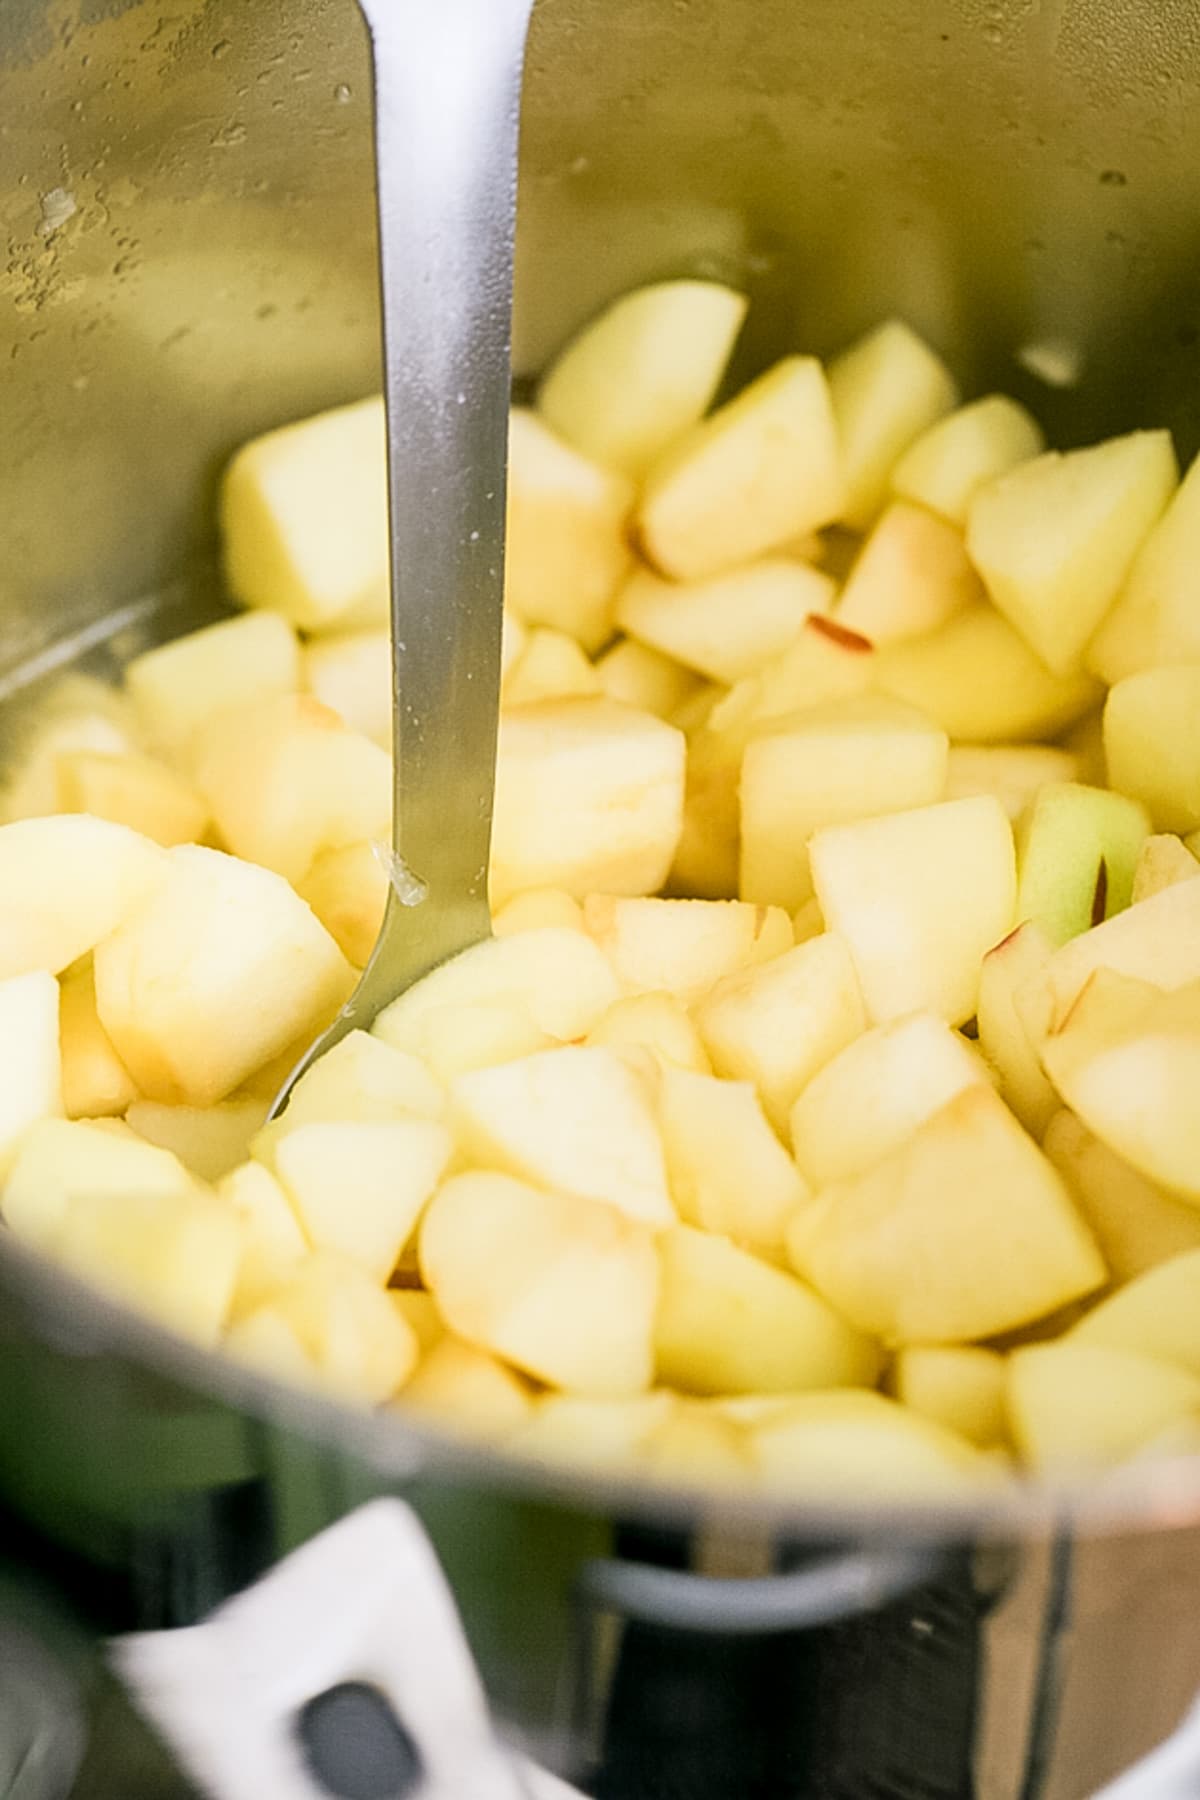
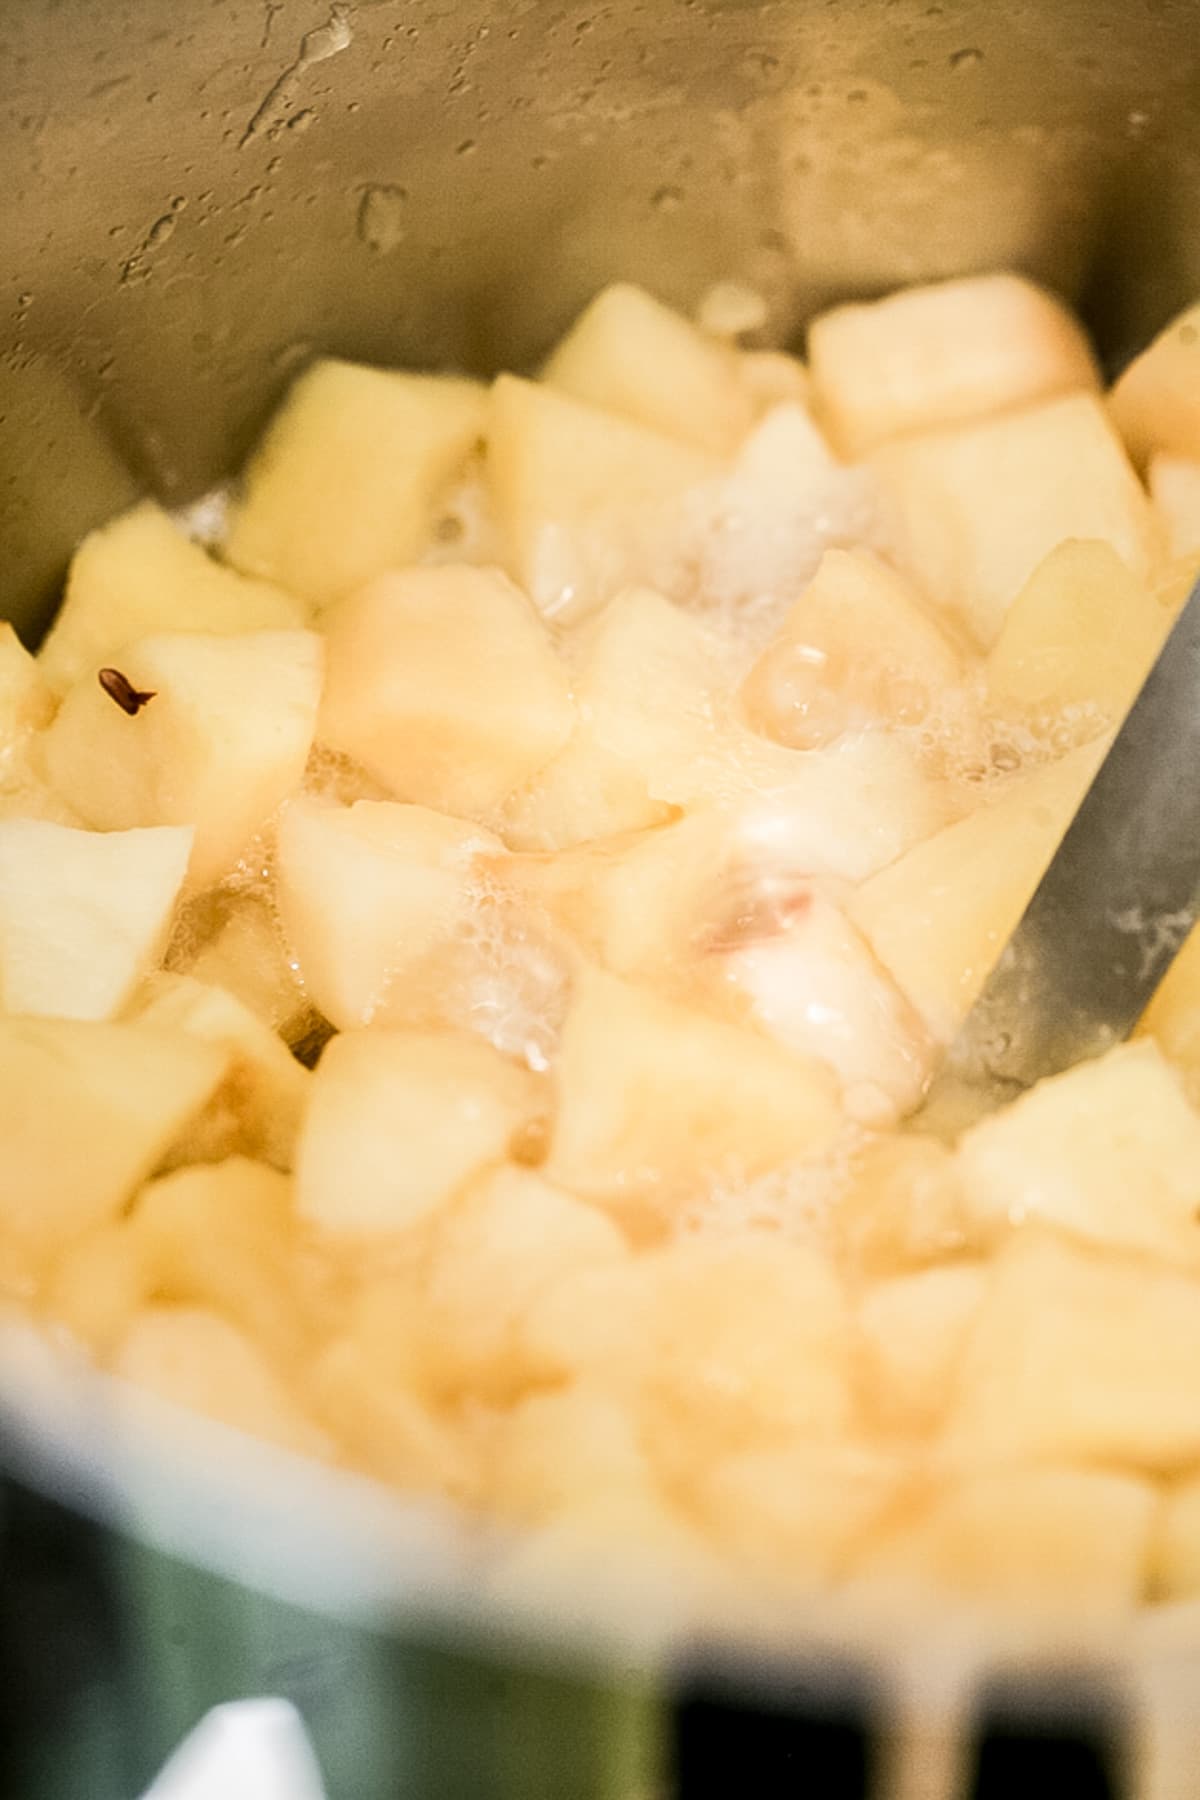
Step two – cook the apples. Add the apples to a large stockpot, add two cups of water and turn the heat to medium-high. Stir frequently and bring the apples to a boil. Let boil gently for 30 minutes.
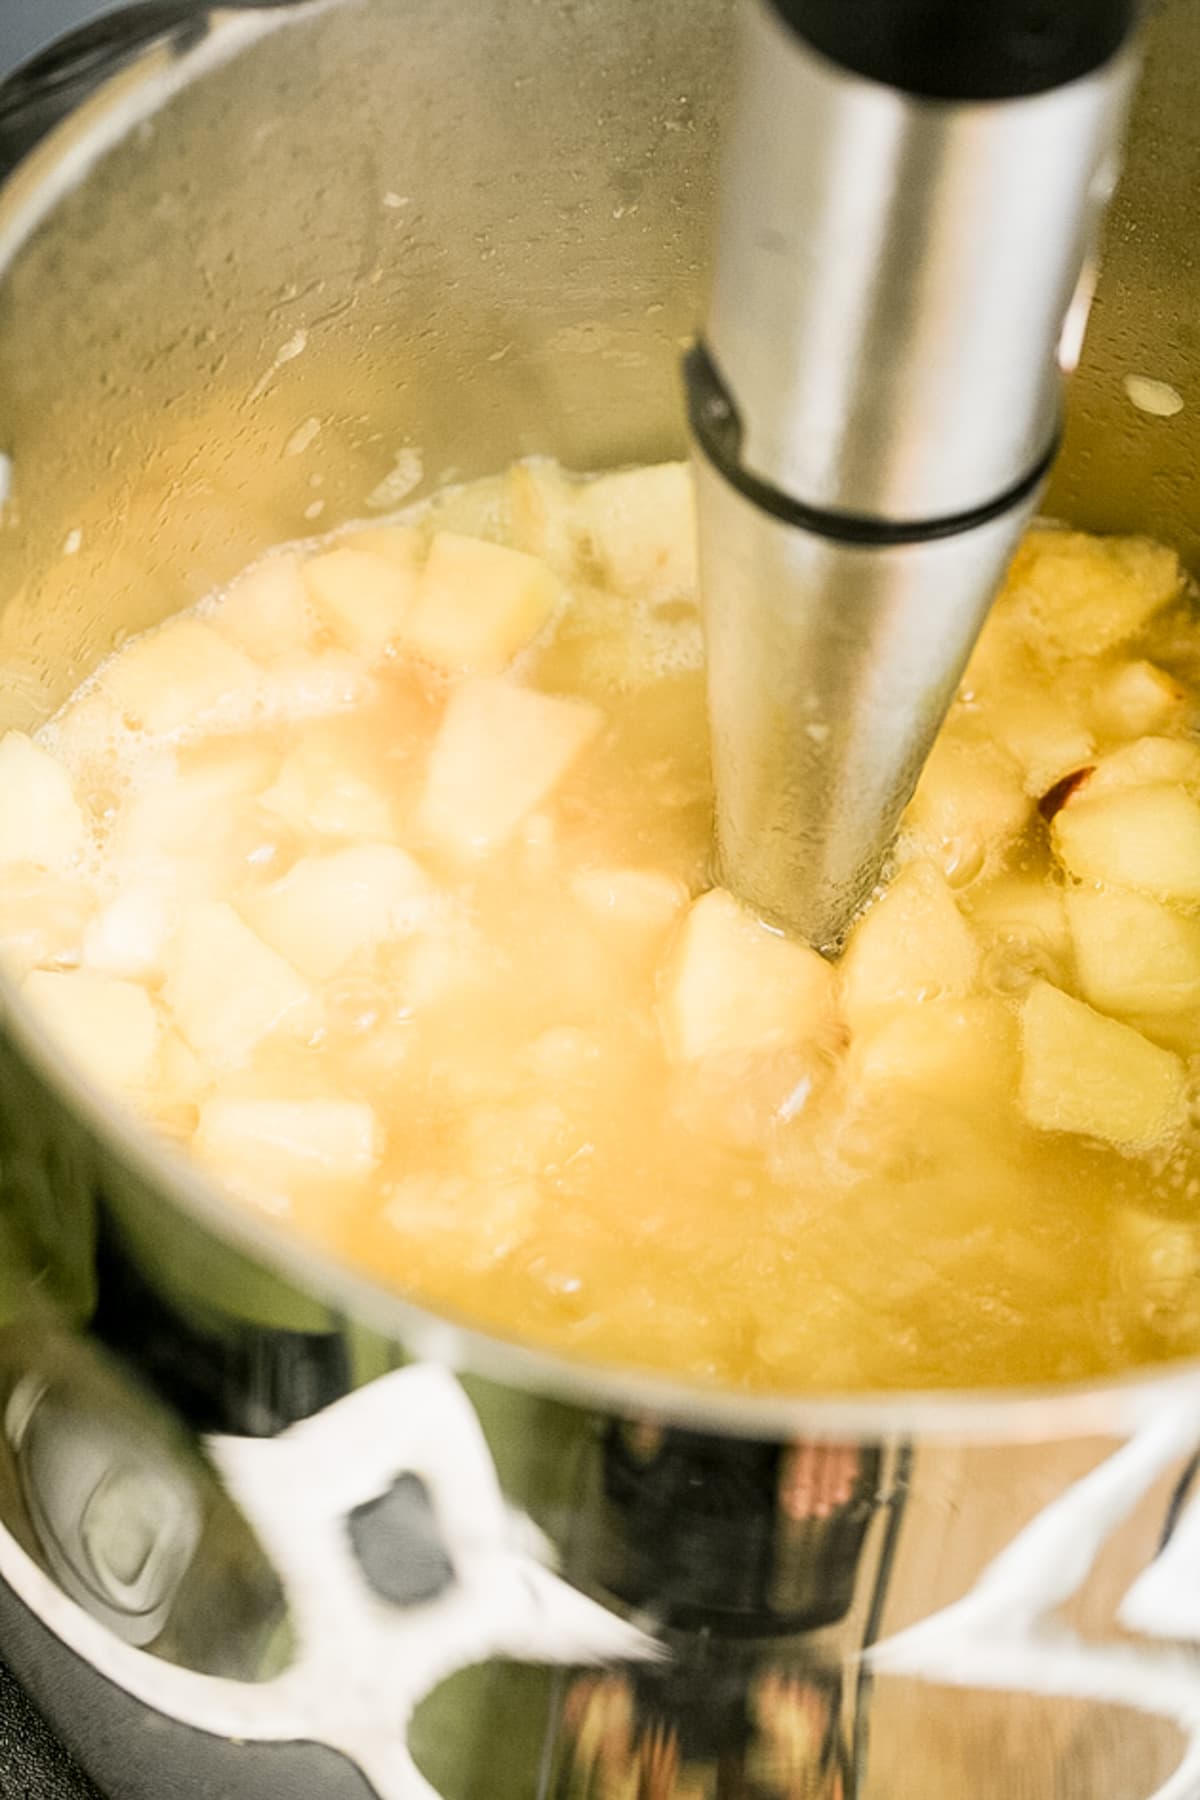
Step three – blend the apples. When the apples are soft, remove the pot from the heat and let it stand for a few minutes before using the immersion blender to puree the apples into a sauce.
Two important notes here… First, applesauce is a mean mean kinda sauce! If you try to stir it or turn your apples into sauce while the pot is on the stovetop it will bubble and explode in your face! Don’t ask me how I know this… So make sure to remove the pot from the heat, give it a minute and then uncover it and go in there with the blender.
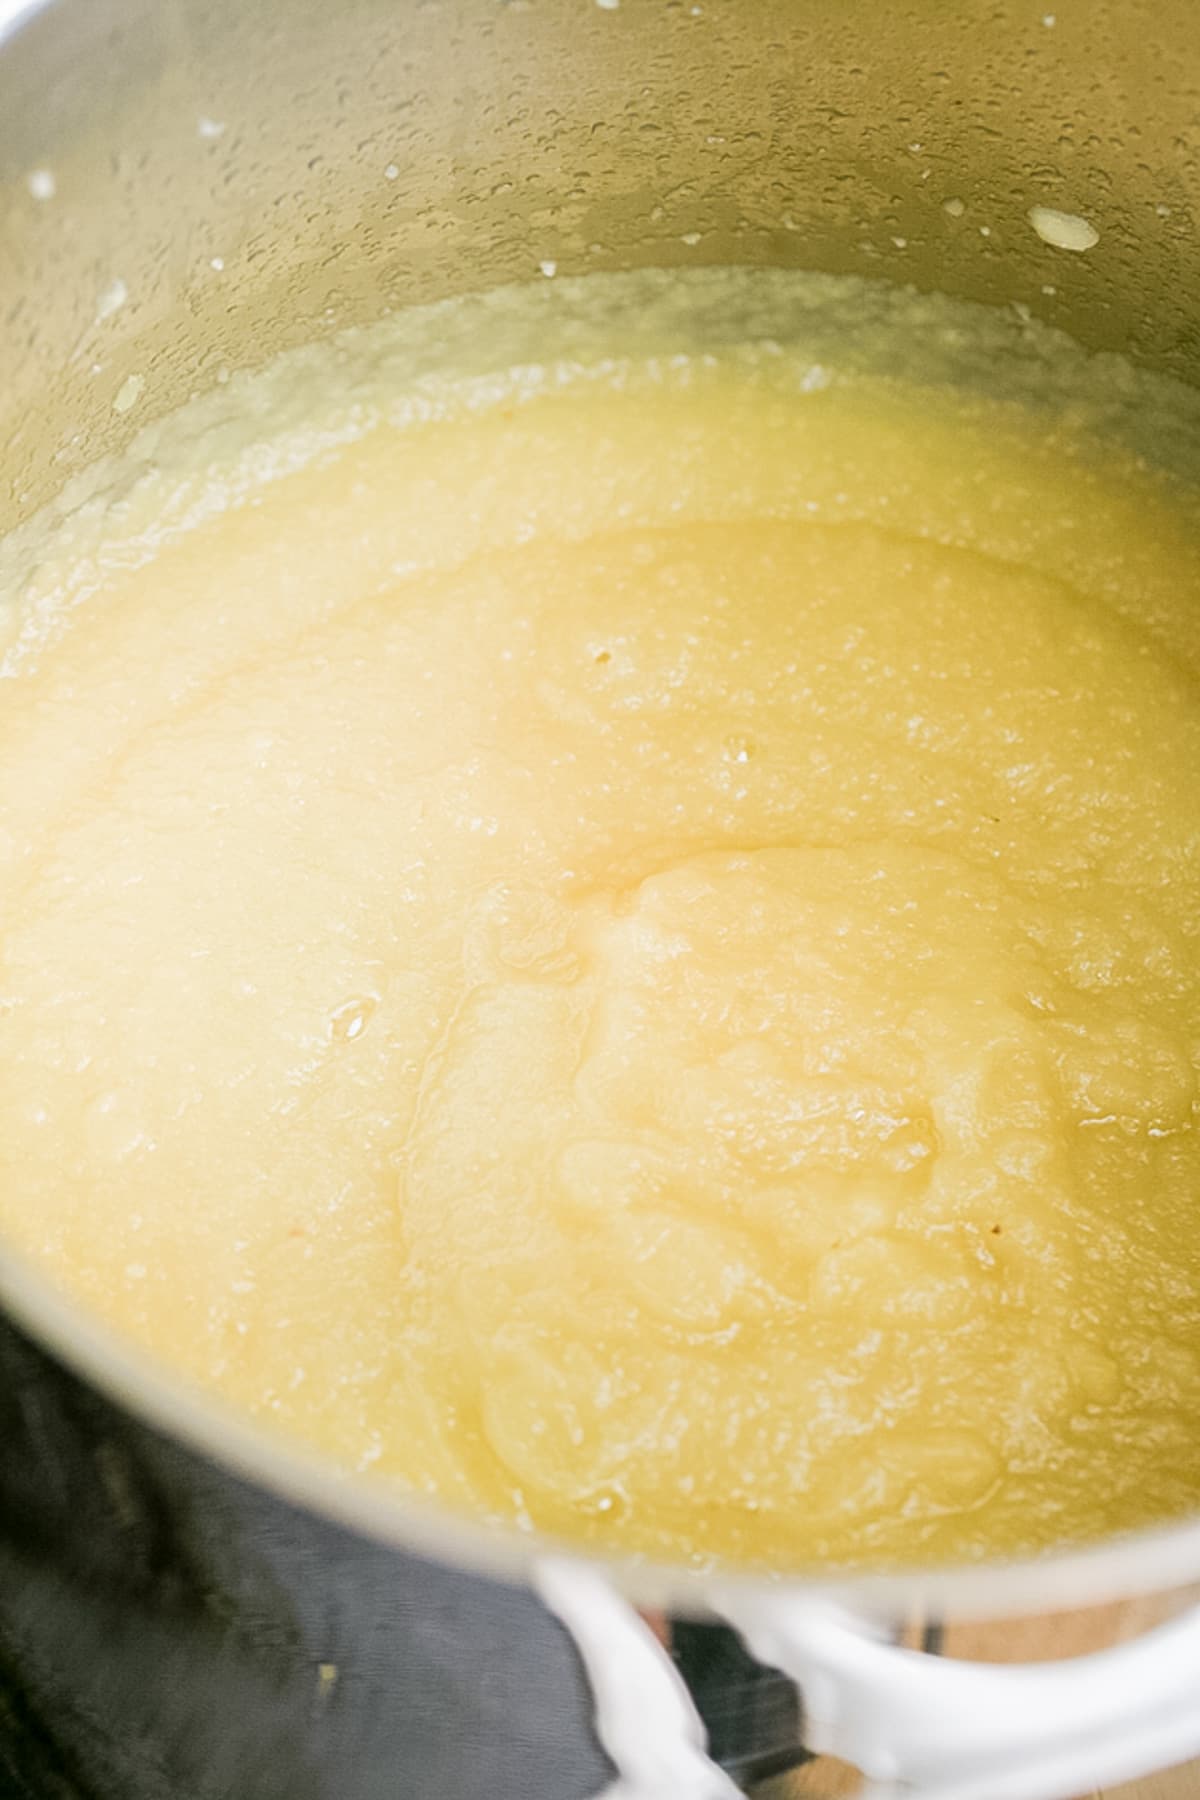
Second, it’s up to you if you want to puree it all the way. If you’d like chunky applesauce, go for it. As far as canning, it doesn’t matter. If the consistency is right for you, then your applesauce is ready.
If you’d like it a little thicker, cover the pot but place the lid in a way that it’s slanted on one side to allow steam to escape and cook it a little longer until it’s thick enough. If you feel that it’s too thick, you can add some more water and mix.
How to Can Applesauce…
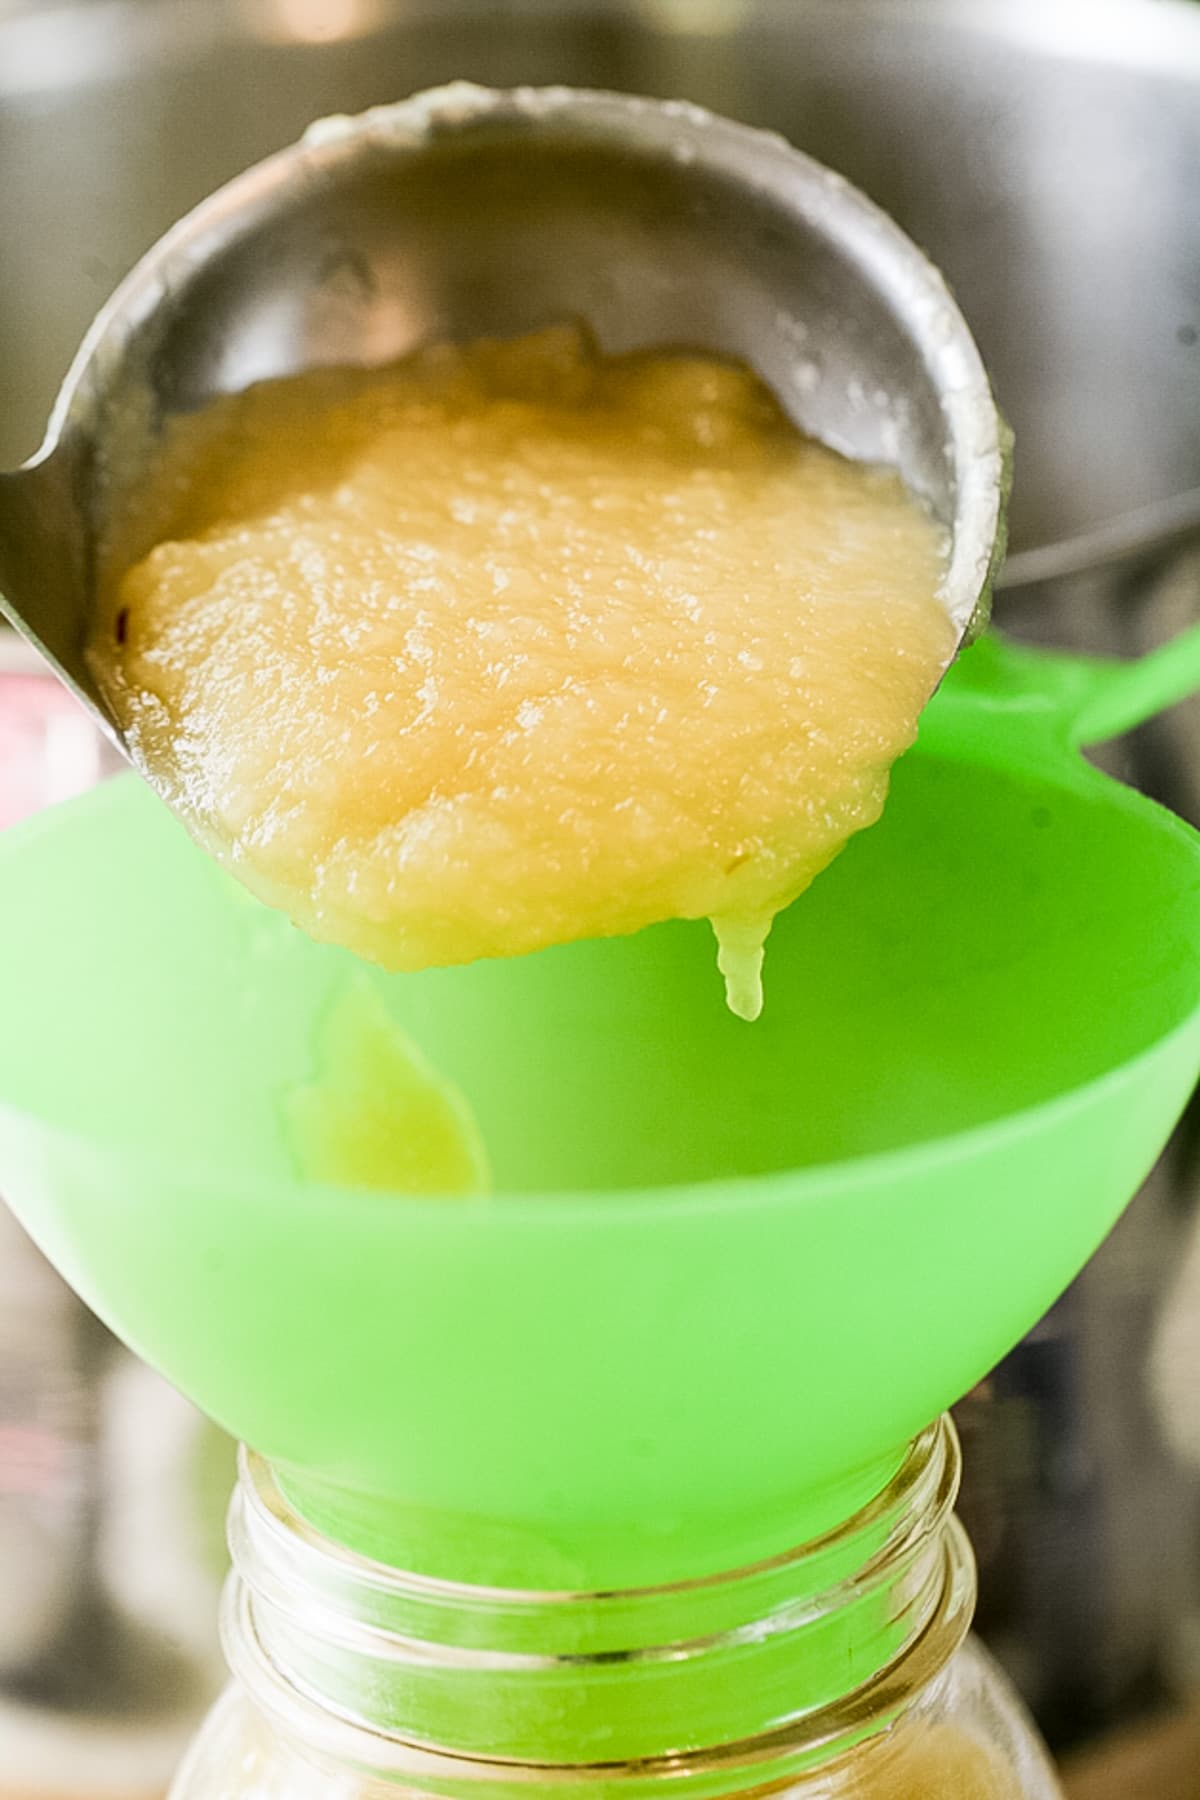

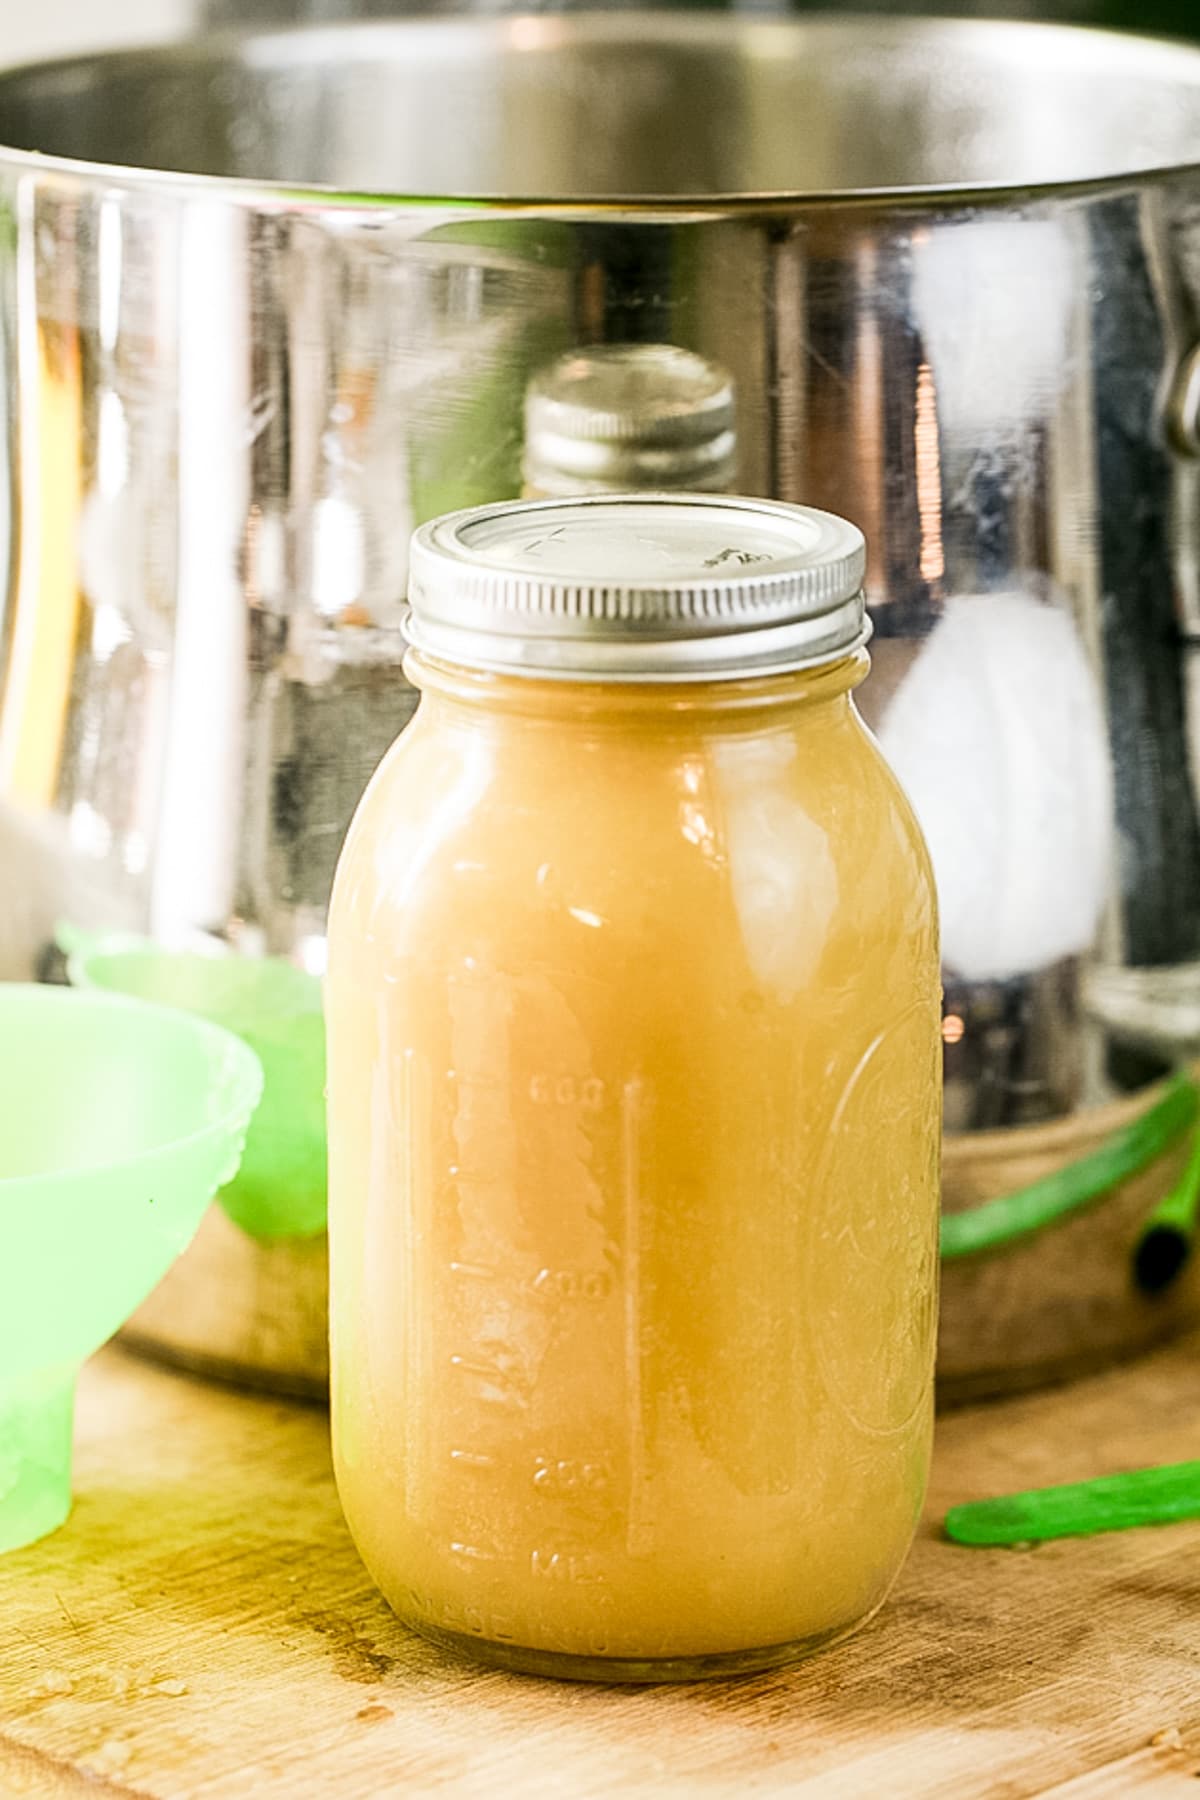
Step four – prep for canning. Wash the jars, lids, and bands with hot water and dish soap. Use the funnel and a laddel to fill the jar with the applesauce leaving half an inch of headspace.
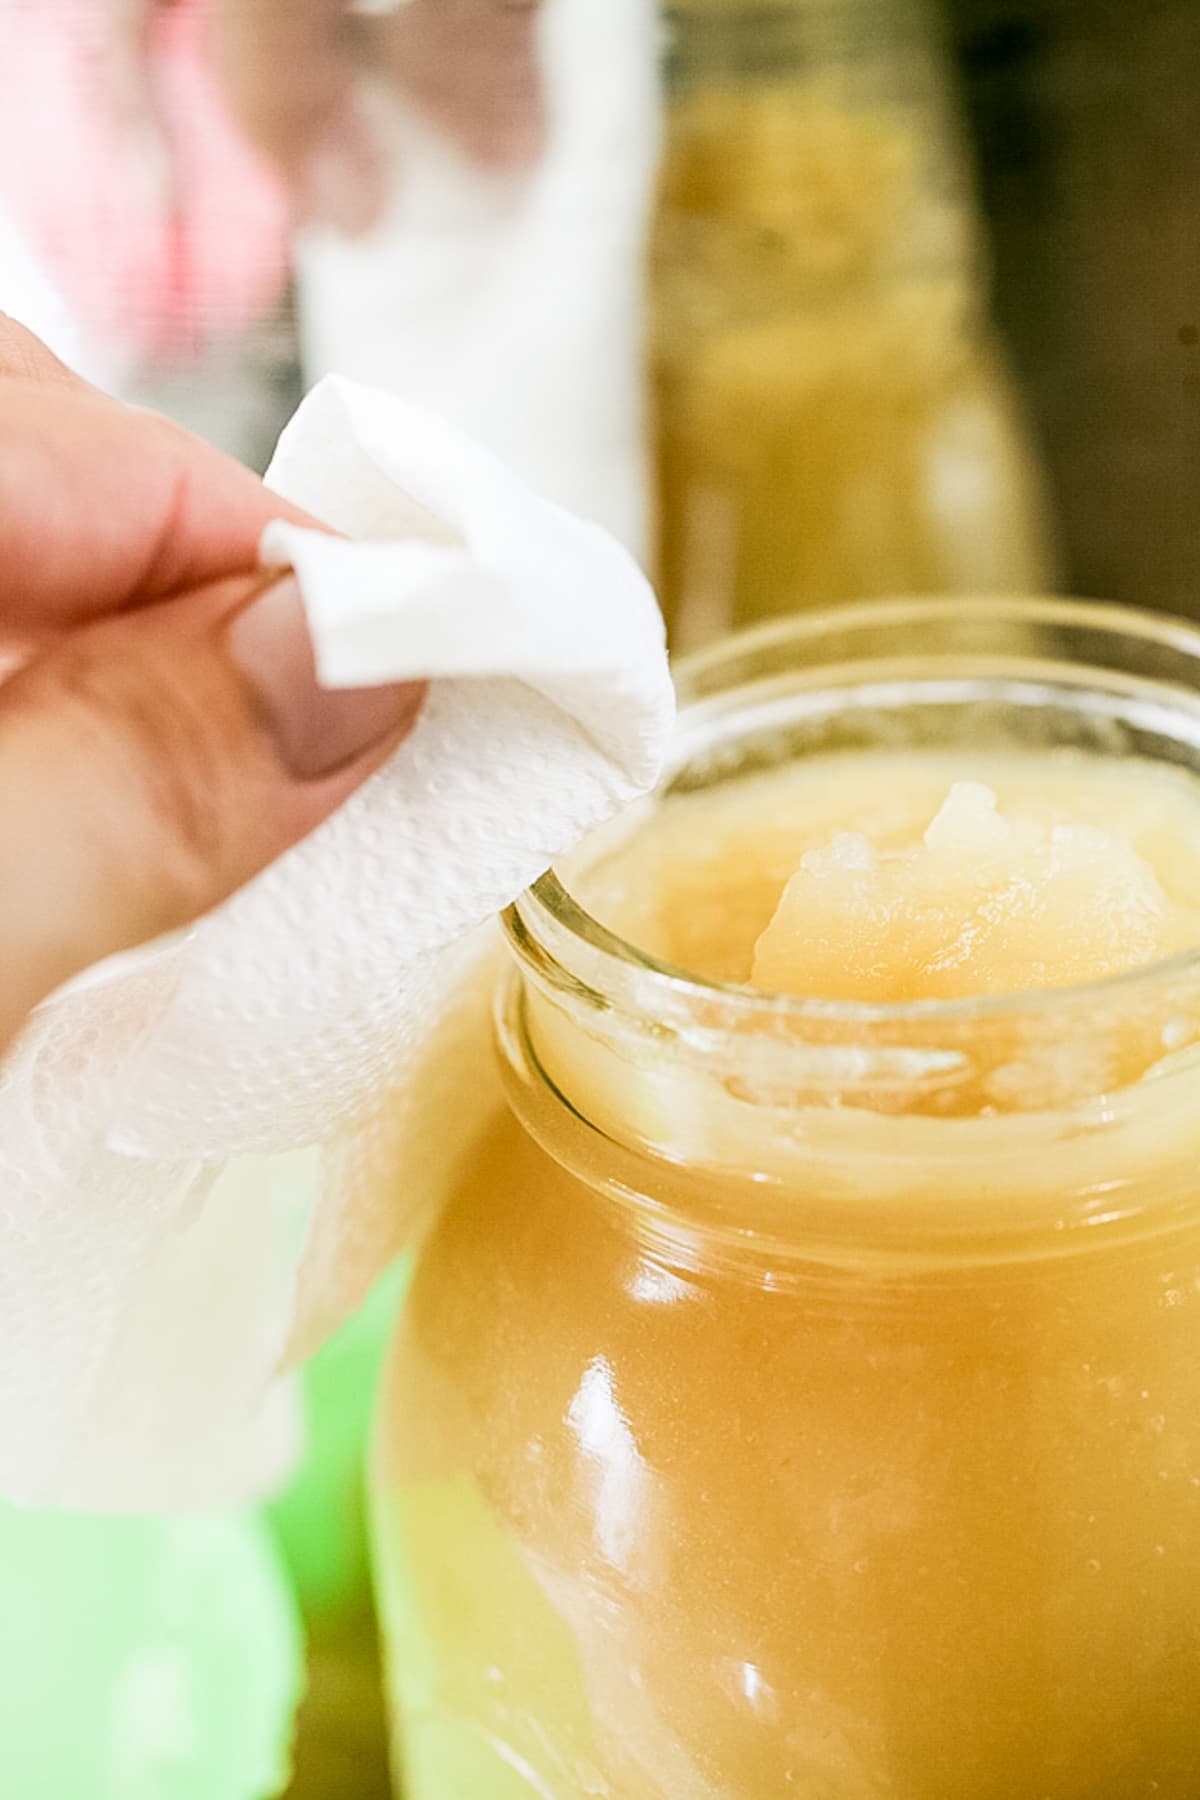
Use the bubble remover to remove air bubbles. Then use a damp paper towel to clean the rim of the jar. Center the lid on the jar and close the jar with the band fingertight. Repeat with all the jars.

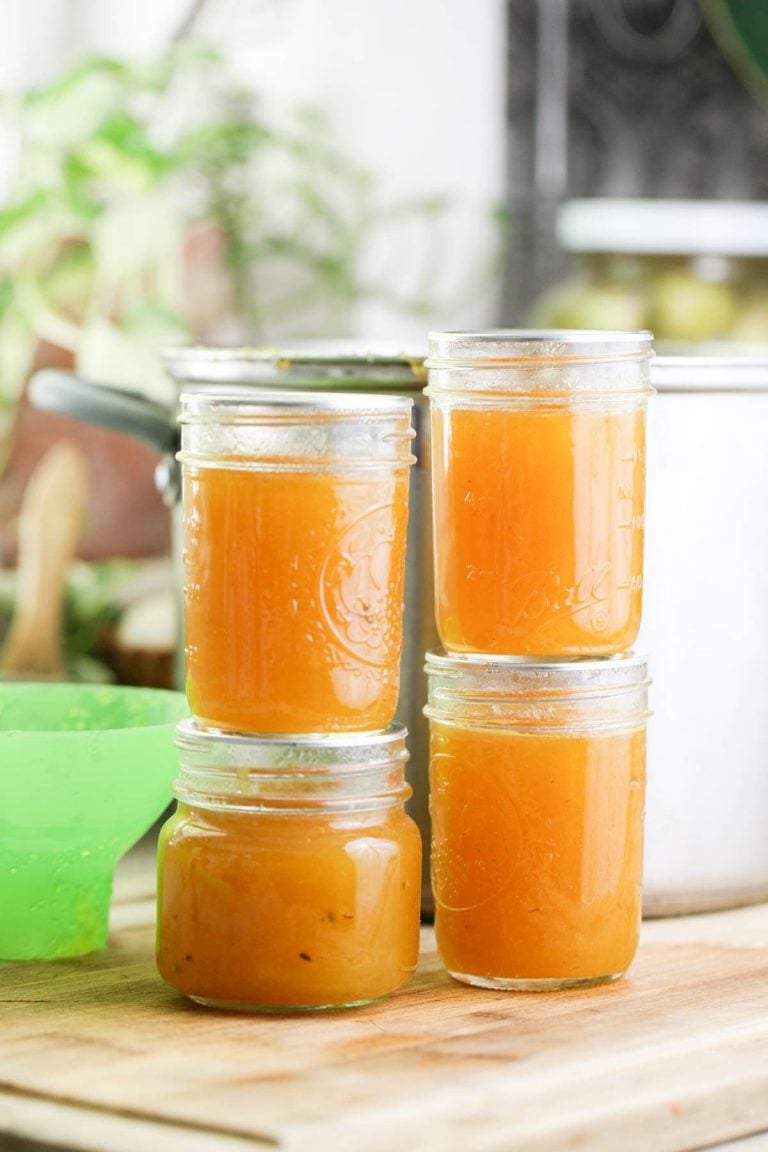
Step five – process. Place the packed jars on the elevated rack of the water bath canner so they don’t touch each other. Slowly lower the rack into the hot water. Cover the canner and bring the water back to a boil. Keep the water at a rolling boil and process quart jars for 20 minutes and pint and half pint jars for 15 minutes.

If you live in altitude higher than 1000 feet, make sure to adjust the processing time according to the table above. When processing time is up, turn the heat off and uncover the canner. Let the jars stay in the hot water for 5 more minutes before you remove them with the jar lifters. Set the jars on a kitchen towel on the counter and let them cool completely overnight.
How to Store Applesauce…
Once the jars are completely cool, check to make sure that they are sealed properly before storing them. Press the center of the lid. If there is no movement there it means that the jar is sealed and ready for storage.
I usually remove the band and wipe the jar before storing it on a shelf or in the pantry. I like storing the jars without the bands because this way I have a better view into the jar and I can make sure that nothing funny is growing in there. I can also reuse the bands for canning something else.
If you have a jar that didn’t seal, you can keep it in the fridge or try to process it again (replace the lid and clean the rim). Canned applesauce will last a long time on the shelf or in the pantry… Between 12-18 months but we usually use it sooner.
Serving Homemade Applesauce…
- As a snack – we simply open a jar and scoop some apple sauce into a bowl. You can heat it before serving or serve at room temperature. You can add cinnamon, brown sugar, maple, or seeds like chia before serving.
- In baked goods – applesauce is a great substitute for oils in baked goods. If a recipe calls for half a cup of oil or butter, replace it with half a cup of applesauce.
Kitchen Notes…
- Refrigerate the apple sauce – you don’t have to can your applesauce! You can make it in smaller quantities and store it in the fridge to use right away. It should last at least a week.
- Freeze the applesauce – if you are processing a large amount of apples and you don’t want to can the sauce, feel free to freeze it. It freezes very well. Place in jars with a freezer lid and place in the fridge. It should last 18 months or more!
- Season – you can make your applesauce a bit different each time. Season it with nutmeg, cinnamon, pumpkin spice, clove, or a combination of these.
- Sweeten – sometimes we harvest apples that aren’t the sweetest. Feel free to sweeten your sauce with brown sugar, maple syrup, or honey.
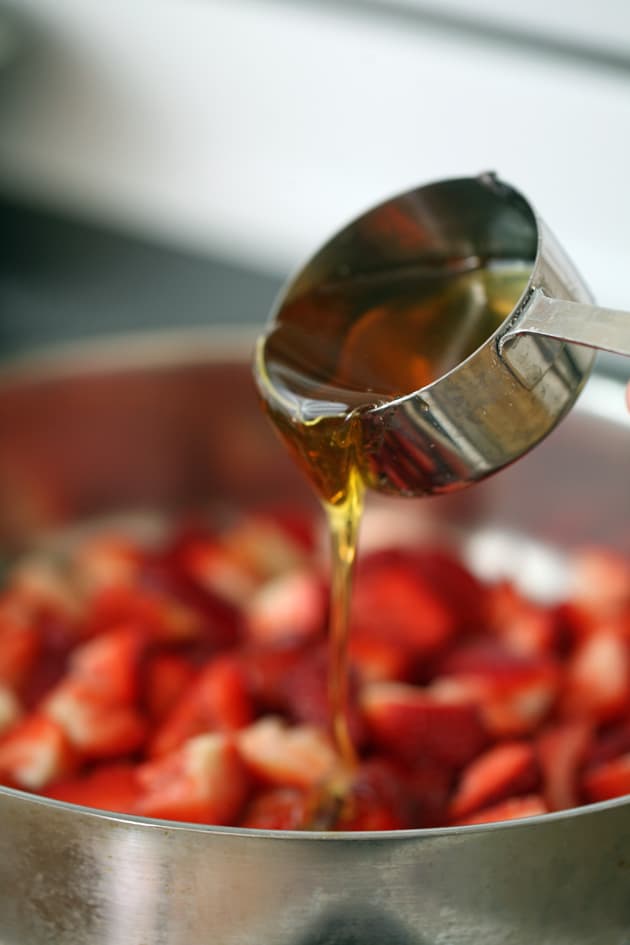
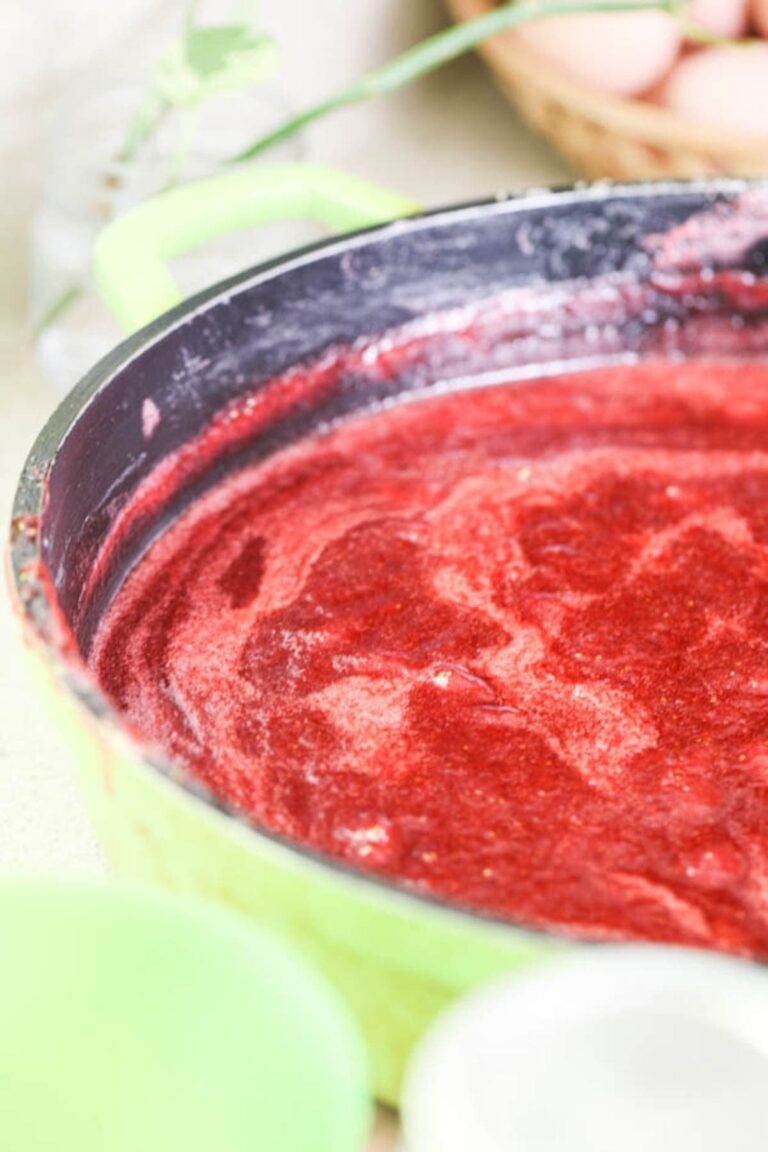
- Add other fruit – add strawberries, plums, peaches, pears… Just make sure to core the fruit and remove the skin. Adding other fruit should not make a difference in the canning process.
This is such a simple way to preserve apples! Applesauce is delicious and a great ingredient to have in the pantry. I hope that you’ll give this a try!
More Canning Tutorials…
- Cranberry Apple Jam Recipe For Canning
- Canning Apples in Light Syrup
- Apple and Plum Jam Recipe
- Canning Peaches
- How to Can Pumpkin
Canning Homemade Applesauce
Follow the instructions below to make and can applesauce at home.
Ingredients
- 28 medium apples
- 2 cups of water
Instructions
- Peel your apples, remove the core, and dice them. As you work, add the diced apples to a big bowl filled with cold water to prevent them from turning brown.
- Add the diced apples to a large pot. Add 2 cups of water and set on the stovetop. Turn the heat to medium-high and bring to a gentle boil.
- Cook the apples approximately 30 minutes or until they are soft, stirring frequently.
- When the apples are soft, remove the pot from the heat and let it rest for a few minutes. Then use an immersion blender to puree the apples into a sauce. You can leave your sauce chunky or puree it all the way, it's up to you.
If you like the consistency, your applesauce is ready. If your applesauce is too thick you can add some water. If it's too thin, you can return the pot to the stovetop and cook it a little longer. Make sure to partly cover the pot. - Wash the jars, bands, and lids well with hot water and dish soup.
- Use the canning funnel and a ladle to fill the jars with the hot applesauce leaving one-inch headspace.
- Use the bubble remover to remove air bubbles by moving it around the inside of the jar.
- Clean the rim of the jar with a damp paper towel before centering a lid on the rim and closing the jar with the band, fingertight.
- Add the jars back to the water bath canner (place on the rack), turn the heat to high and bring the water back to a boil. Process pint and half-pint jars for 15 minuts and quart jars for 20 minutes (adjust processing time according to the table below if you live above 1000 feet in elevation).
- When processing time is up, turn the heat off and uncover the canner. Let the jars rest in the canner for 5 minutes before removing them. Set them on a kitchen towel on the counter and let them cool completely overnight before storing them in the pantry.
Notes
Adjust processing time according to the table below...
Kitchen Notes...
- Refrigerate the apple sauce – you don’t have to can your applesauce! You can make it in smaller quantities and store it in the fridge to use right away. It should last at least a week.
- Freeze the applesauce – if you are processing a large amount of apples and you don’t want to can the sauce, feel free to freeze it. It freezes very well. Place in jars with a freezer lid and place in the fridge. It should last 18 months or more!
- Season – you can make your applesauce a bit different each time. Season it with nutmeg, cinnamon, pumpkin spice, clove, or a combination of these.
- Sweeten – sometimes we harvest apples that aren’t the sweetest. Feel free to sweeten your sauce with brown sugar, maple syrup, or honey.
- Add other fruit – add strawberries, plums, peaches, pears… Just make sure to core the fruit and remove the skin. Adding other fruit should not make a difference in the canning process.
Nutrition Information:
Yield: 4 Serving Size: 1 quart jarAmount Per Serving: Calories: 662Total Fat: 2gSaturated Fat: 0gTrans Fat: 0gUnsaturated Fat: 1gCholesterol: 0mgSodium: 17mgCarbohydrates: 176gFiber: 31gSugar: 132gProtein: 3g
Just made this applesauce it was so easy and so good. Thanks for sharing
Awesome! So glad you liked it. Thanks for stopping by!
This applesauce recipe was easy peasy! My first time canning applesauce was a success thanks to this recipe. The instructions were spot on and the applesauce tastes great.
Yay! I’m so happy you liked it. And thanks for the feedback!
thank you for saying I dont have to add anything but a little bit water to apples to can.
I just got through canning my pears and picking the last 6 off the tree today for the final “fresh eating”, it was a glorious pear year! The apples are looking good too and I’ve harvested some to make my Deep Dish Pear & Apple bake (It’s like pie but without the crust!). Very ripe pears can also help sweeten your baking apples which tend to be more tart. Lee, your 2nd apple looks like a “Red Delicious”. They originated in Iowa in 1880. A good eating apple but not good for baking. LOL! The very first apple pie I baked was with Red Delicious and when it was done the apples shrunk to a very thin layer (they freaking disappeared!) and I had this high mountain of crust! When I went to cut it the mountain collapsed! My dinner guest started laughing! I was very embarrassed! Thank goodness I had ice cream to fill the bowls and spoon the little amount of apple filling on top! I feel so bad for your poor old apple tree. It does need some tender loving care and a good pruning and feeding (light in fall and heavy in spring) is necessary. My friend Sally had the same problem, we chatted and she called an arborist to care for her tree. She was amazed that the tree again produced fruit! I grow 100% organic. I have bad bugs too but I trust “The Natural”…call it G-d, The Great Spirit, The Earth Mother..ya-da……ya-da…..but I trust and have faith in the “Good Guys”. I’ve sat in my garden chair and watch in deep meditation nature at work. It’s truly beautiful when you reach a “balance” with nature. Your in a “good place”. You can grow fruit trees….but they need companions…herbs, beans, squash, berries………and spiders!
I agree with you very much! I, too, believe in this beautiful balance 100% this is why I said that I didn’t try hard enough yet. My problem is that I often don’t have enough patience. I need to learn how to chill! It’s not hard for me with vegetables because I don’t have to wait a long time to see something happening. In just a few short weeks we go from planting a seed to harvesting food.
But I love fruit and it’s totally worth the time of waiting. I am a bit mad at myself that I’ve got those fruit trees (that were here when we moved) for a year now and still didn’t find time to care for them. I’ll do it this fall for sure and hopefully I’ll see some improvement next year.
I also have pear and plum. They are sick too. Pear goes so well with apple, they are really best friends.