This post may contain affiliate links, view our disclosure policy for details.
Learn how to dry apples in the oven, or in other words, how to make apple chips or how to dehydrate apples without a dehydrator. It’s all the same thing and the result is a fun, healthy, tasty, and easy snack!
I have to admit that I don’t often make this dish. Drying apples in the oven takes some time and usually we just prefer eating them fresh.
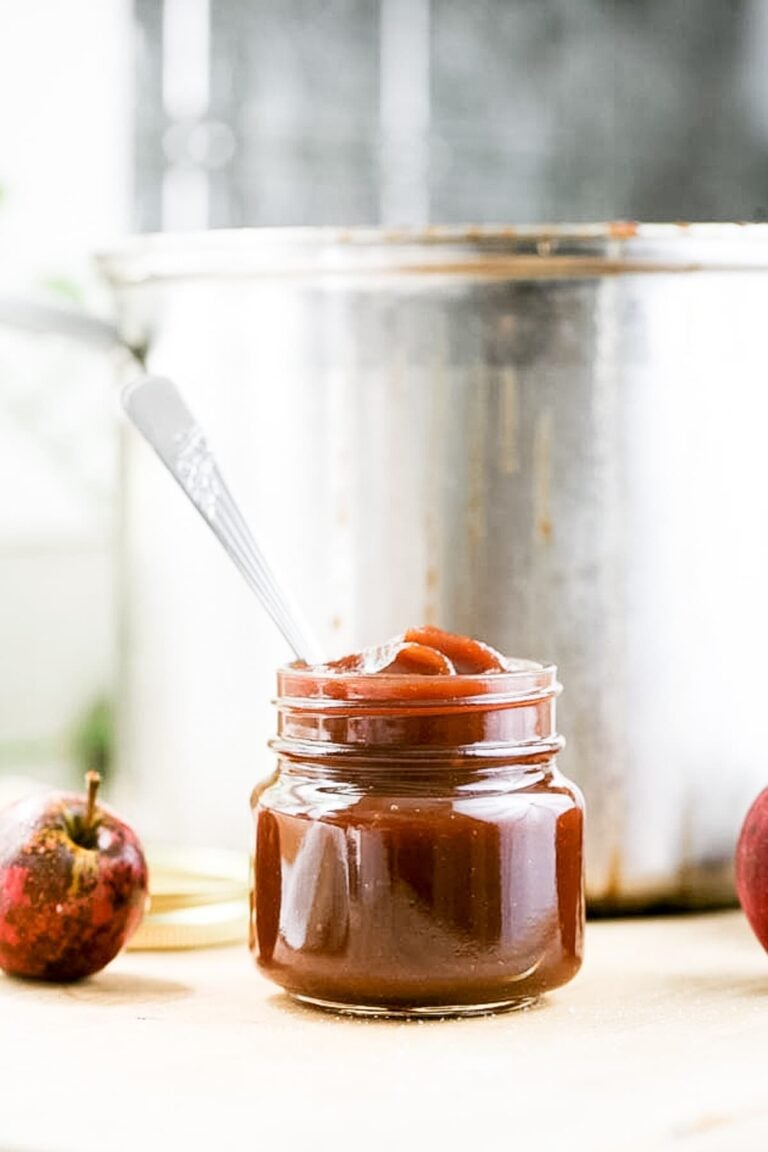
However, when apple season arrives and there are apples coming at us from everywhere (and you’ve made all the apple butter that you want), we often tend to try and find new and exciting ways to use them. One of these ways is making apple chips. This is a fun, fall recipe for us. One that we always make around the holidays.
How to Dry Apples in the Oven…
I don’t own a dehydrator (yet), so when we feel like enjoying apple chips or dried apples (whatever you want to call them), I dry them in the oven. It’s not much work at all, however, the drying process takes a while.
Best Varieties of Apples For Apple Chips…
- Sweet apples – to make the apple chips taste a little better, I think that it’s best to choose sweet apple varieties (so not sour varieties like Granny Smith). Pink Lady, Honey Crisp, Red Delicious, and Gala apples work well.
- Firm apples – I also think that it’s better to choose firm varieties instead of the softer kinds like Golden Delicious (again, Pink lady and Honey Crisp are my two favorites).
- Any kind – yes, firm and sweet might work better for us, but, at the end of the day, you can use this tutorial dry any kind of apple.

Ingredients…
- Apples – I am usually able to fit two medium apples on a baking sheet.
- Seasonings – if you want, you can season your apples. I love to sprinkle cinnamon on my apples. You can sprinkle nutmeg, pumpkin spice, or even a bit of brown sugar.
Kitchen Tools…
- Cutting board and knife or…
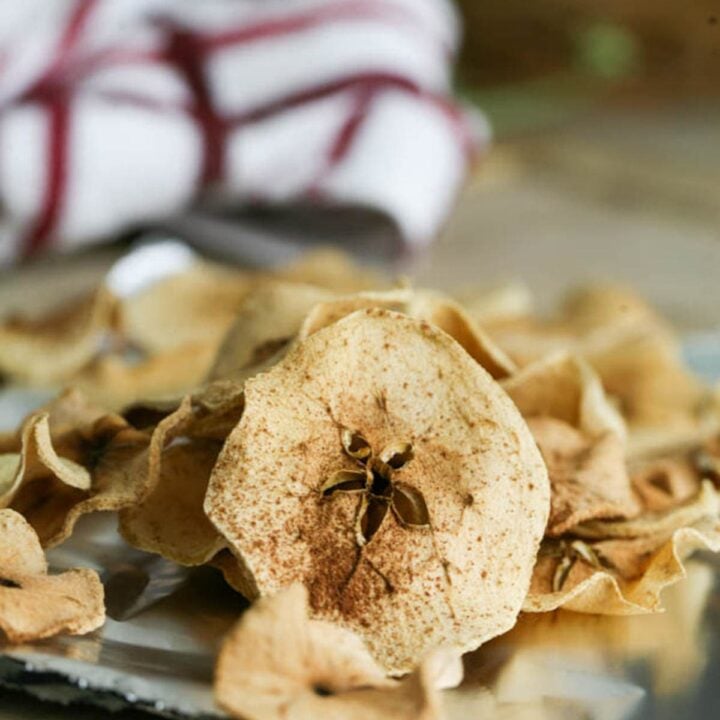
- When it comes to slicing apples for apple chips, your life will probably be much easier, and the job will go much faster if you use a mandoline slicer after you remove the core with an apple corer (however, I personally love leaving the core. It makes this beautiful shape of a star or flower in the center of the chip).
- Peeler – this is another optional tool. You don’t have to peel your apples when drying apples in the oven. You can leave the skin or remove it, it’s up to you.
- Parchment paper
- Baking sheet
Drying Apples in The Oven Step-By-Step…

Step one – prep the apples. In this particular case, since I was using apples from my neighbor’s tree, I did choose to peel my apples since the skin didn’t look too appetizing. If you choose to peel your apples, make sure to use the scraps to make homemade apple scrap vinegar. If you choose to remove the core, now is the time to do so. Next, slice the apples very thin…

About 1/8th of an inch. Try to slice them evenly. This is easier to do if your knife is very sharp. If you do this with a mandoline then it’s even easier.

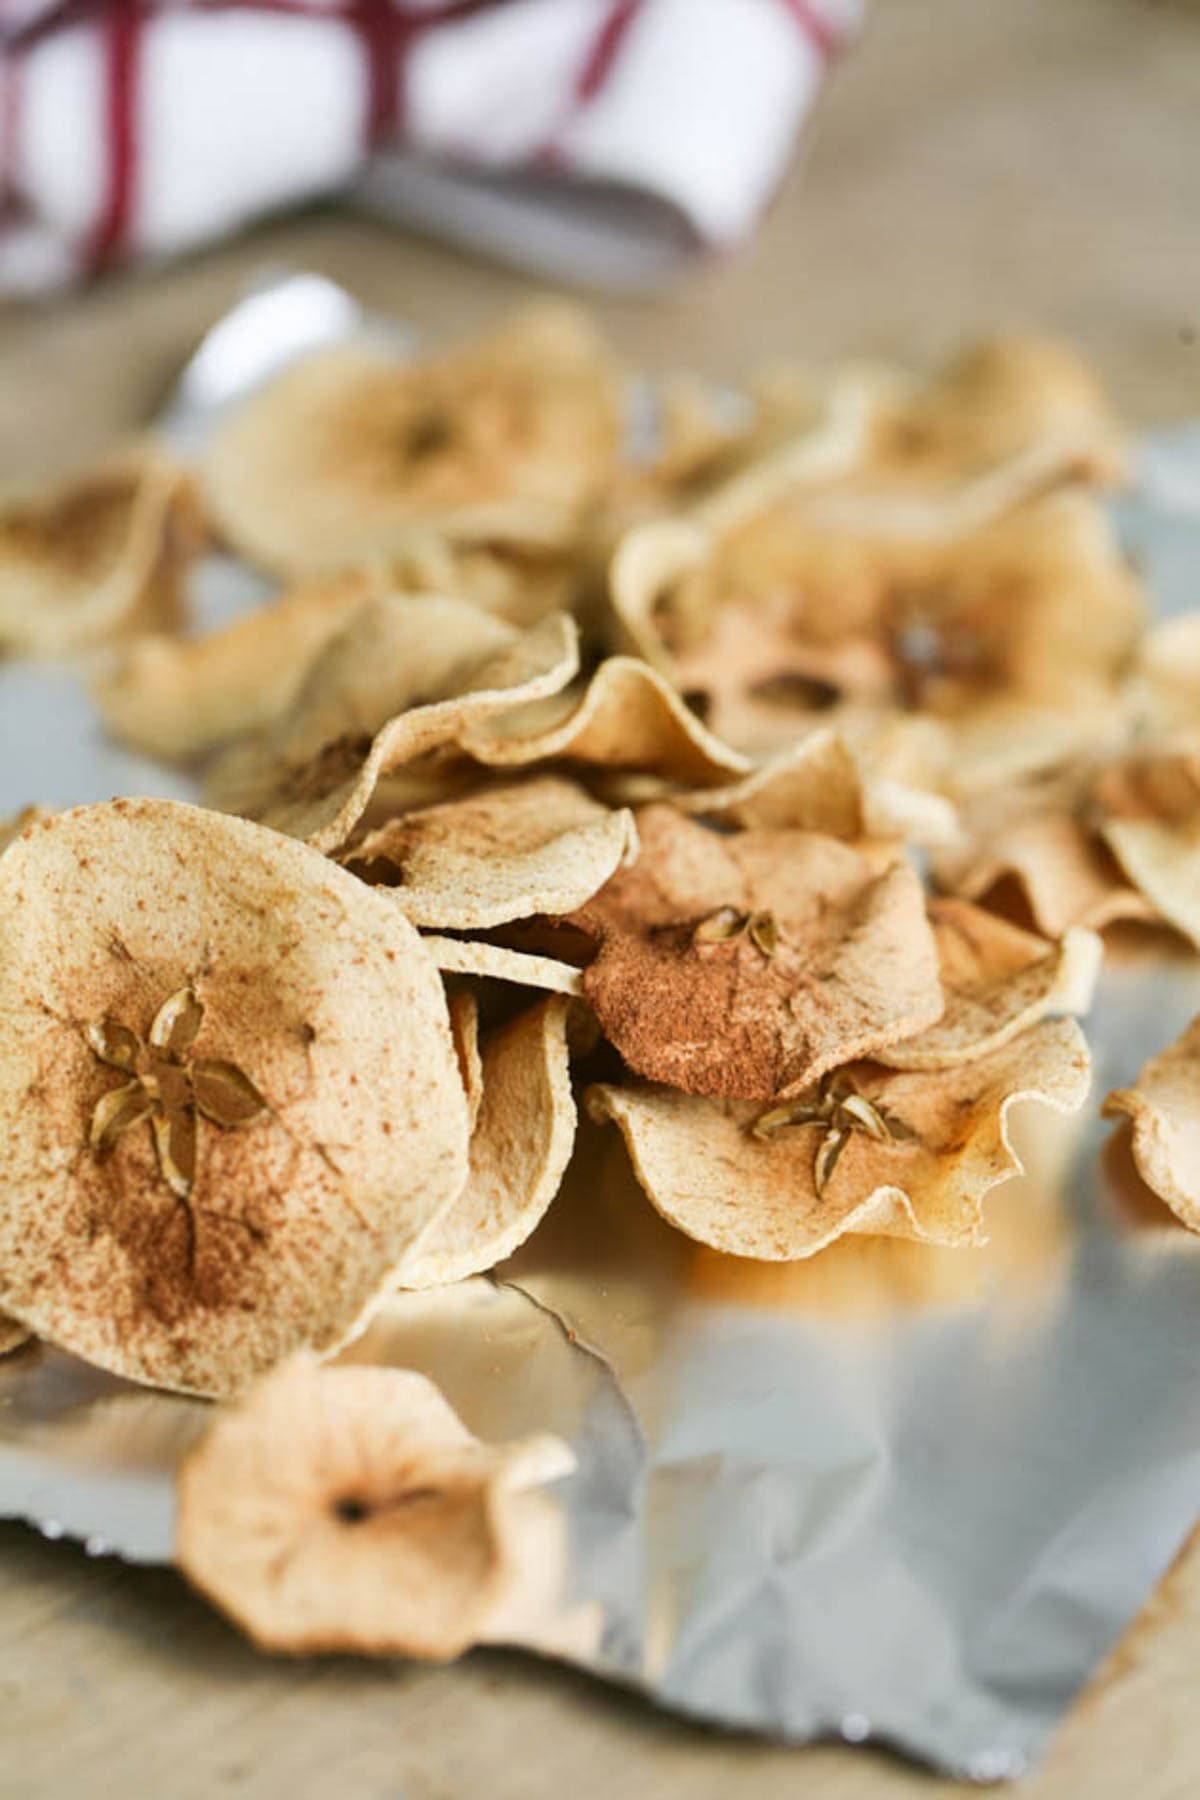
Step two – set on a baking sheet. Line a baking sheet with parchment paper and set the apple slices on the paper in one layer. If you choose to add any seasonings, now is the time to do that. I only sprinkled a little bit of cinnamon here.

Step three – dry the apples in the oven. Bake the apple chips in a preheated 200 degree Fahrenheit oven for 2-3 hours depending on how thin your slices are and how crispy you want your chips. I usually bake them for an hour or so and then take the baking sheet out of the oven and flip the apples. I then bake them for another hour and check again. Sometimes they are done and sometimes I have to flip them again and bake some more. It really depends on your personal preference.

How do You Know When Apple Chips Are Done…
Apple chips are done when they are as crispy as you’d like them. Make sure to check them every 15 minutes or so after the first 2 hours of baking to ensure that you don’t burn them. My kids love them a bit chewy, I like them more crispy. I usually end up removing some after 2 hours or so and leave some a bit longer to get more crispy.
If you didn’t use a mandoline to slice your apples then they are probably not sliced 100% even. Some of them might dry before the others. As you check your apples, just remove the ones that are ready and keep baking the other ones. Set the apples on a drying rack or a serving dish to cool to room temperature before serving them.
How to Serve Oven-Dried Apples…
- As a snack – this is an amazing, simple, and healthy snack. In fact, around here they don’t last long at all. Once the are cool, the kids and I usually munch on them until they are all gone!
- As a side – apple chips can easily replace potato chips. So if you are making a burger, a pulled meat wrap, or maybe a BBQ sandwich for lunch or dinner, just serve apple chips next to it instead of potato chips. They are much healthier and delicious.
- As an appetizer – hosting a Fall party? Need a fun appetizer? Try setting the table with these fried turkey meatballs and apple chips right along with them. I’m not sure your guests won’t care about the main dish!
- As hiking food – if you are planning a hike or a picnic, dried apples are a great kind of food to take with you. Store them in vacuum bags (see below) and they will be a great and easy snack during your time outdoors.

How to Store Homemade Apple Chips…
- Air tight container – if you find yourself with dry apples to store, let them cool completely, add to an airtight container and store on the counter at room temperature for a couple of days or in the fridge for a week or so.
- In a zip lock bag – same at the air tight container… let them cool first, add to the bag and try to remove as much air from the bag as possible.
- In vacuum bags – if you want to try to keep your apple chips for longer, you can try to store them in vacuum bags. If stored this way, they should last at room temperature for a few months.
This is a very simple snack and a great substitute to the chips we find at the store. It’s a fun recipe and a great way to use apples. It’s a recipe that kids can easily make by themselves and I love that it teaches them that there are simple ways to make snacks that are both tasty and healthy.
Other Recipes You Might Like…
- Purple Sweet Potato Chips
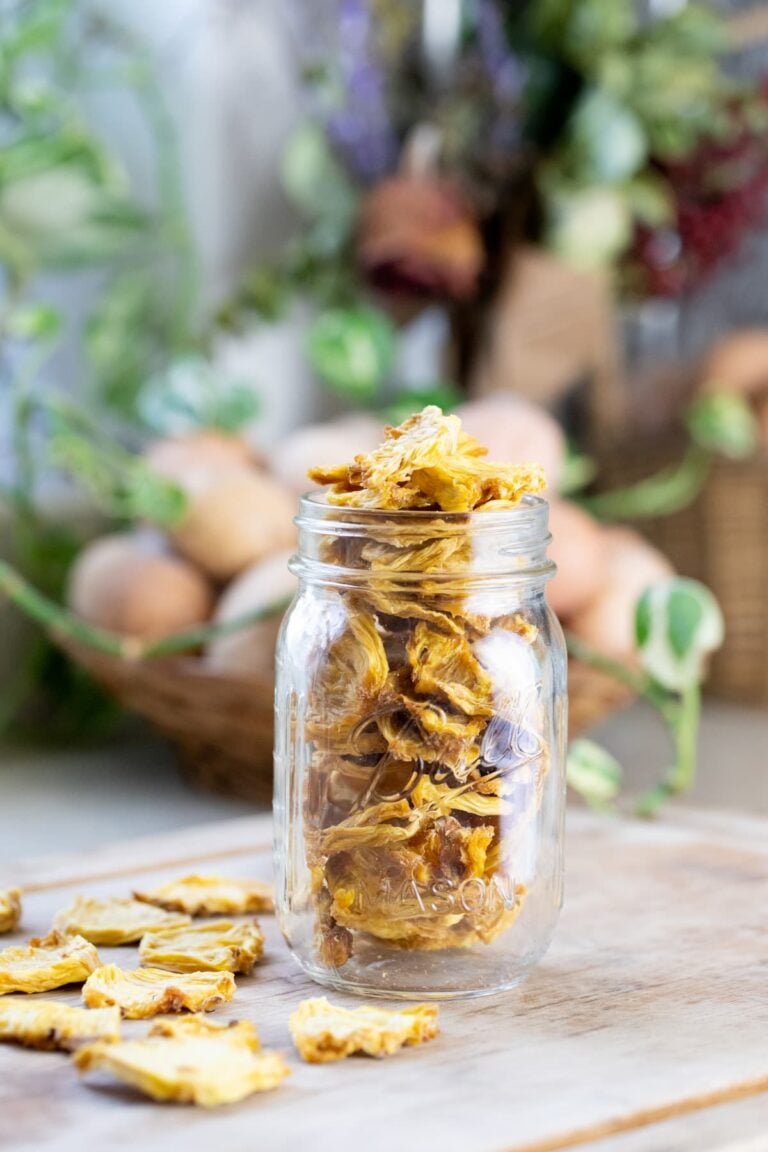
- How to Dehydrate Pineapple
- Kale Chips Recipe!
- Canning Apples in Light Syrup
- How to Make Applesauce and Can It
- Apple Cake Recipe
- Apple and Plum Jam
- Cranberry Apple Jam
How to Dry Apples in the Oven
How to dry apples in the oven: a fun, easy, healthy homemade apple chips recipe.
Ingredients
- 2 apples
- 1 teaspoon cinnamon
Instructions
- Preheat oven to 200 degrees Fahrenheit.
- Peel and core your apples (this is optional).
- Slice your apples into thin slices, 1/8th of an inch. This will be easier if you use a mandoline. If you use a knife, make sure that it's sharp and try to make the slices as even as possible.
- Lay the apple slices in one layer on a parchment paper lined baking sheet. You don't have to season them, but if you'd like you can sprinkle with cinnamon, pumpkin spice, or even a bit of brown sugar.
- Bake the apples for one hour.
- Remove from the oven and flip the apple slices. Return to the oven and bake for another hour.
- From here on out, check your apple slices every 15-20 minutes. Bake them until they are as crispy as you'd like them to be. You can remove the chips that are done from the baking sheet and keep baking the rest of the slices until they are all done.
Notes
It will take the chips just a few minutes to cool once you remove them from the oven. They are better served right away. If you have any leftovers, you can store them in an airtight container for a few days.
Recommended Products
As an Amazon Associate and member of other affiliate programs, I earn from qualifying purchases (there is no change in product cost or charge to you! Thank you for helping me support the blog).
-
 Premium Apple Corer - Easy to Use Durable Apple Corer Remover for Pears, Bell Peppers, Fuji, Honeycrisp, Gala and Pink Lady Apples - Stainless Steel Best Kitchen Gadgets Cupcake Corer - Zulay Red
 -
Fullstar Mandoline Slicer Spiralizer Vegetable Slicer - Cheese Slicer Food Slicer 6-in-1 Vegetable Spiralizer Potato Slicer Zoodle Maker BPA-Free Veggie Spiralizer Slicers for Fruits and Vegetables
-
OXO Good Grips Prep Y-Peeler
-
Nordic Ware Natural Aluminum Commercial Baker's Half Sheet (2 Pack), Silver


Nutrition Information:
Yield: 2 Serving Size: 1 appleAmount Per Serving: Calories: 98Total Fat: 0gSaturated Fat: 0gTrans Fat: 0gUnsaturated Fat: 0gCholesterol: 0mgSodium: 2mgCarbohydrates: 26gFiber: 5gSugar: 19gProtein: 1g
wonderful recipe
Glad you liked it! Thanks for stopping by.
I’m having troubles drying apples on the oven.
They have been on a drying sheet on top of a cookie sheet for 3 hrs and are not getting crispy.
Do you know what is the temperature in your oven?