This post may contain affiliate links, view our disclosure policy for details.

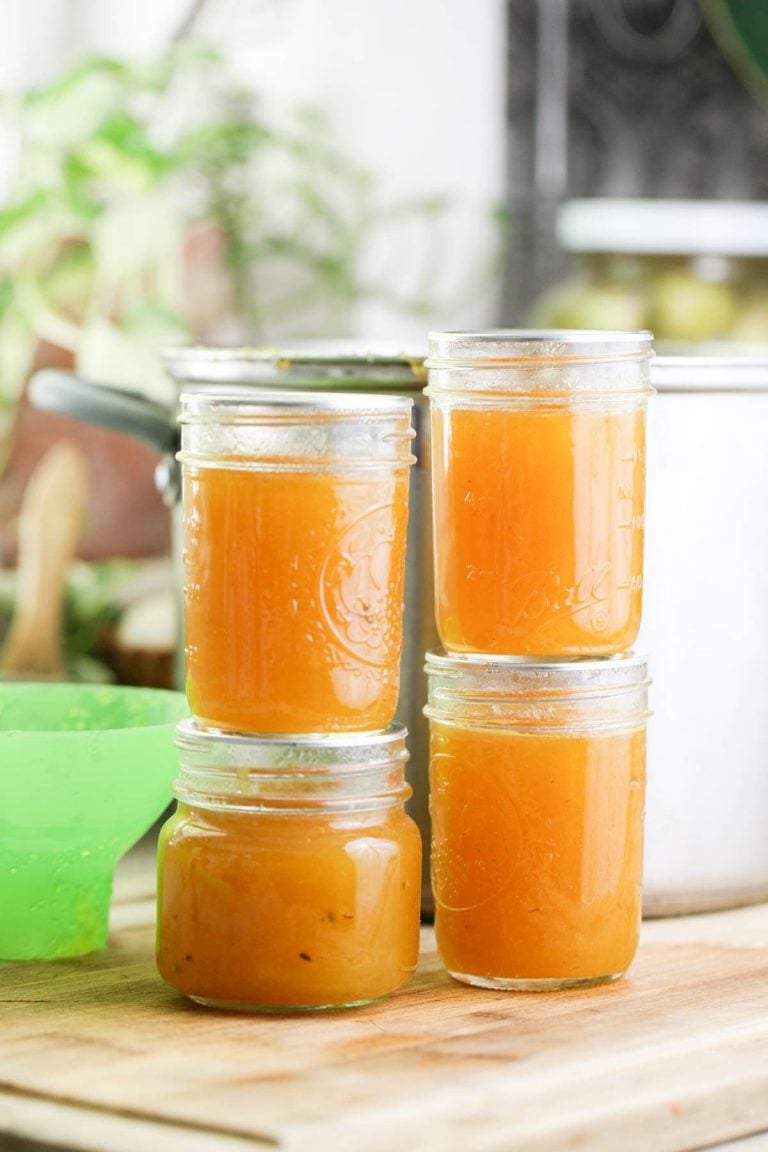
Kiwi jam is simple to make and delicious! This winter-time jam is made with less sugar, no store-bought pectin, and lots of ripe kiwis. It’s also simple to can, and it lasts on the shelf for months.
Lady Lee’s Note…
In the past few years, I’ve learned to appreciate winter. After a long, exhausting growing season, I always look forward to the quiet and rest it brings — but by January, once the holiday buzz has faded, I start itching for the garden again. With nothing much happening outside, the kitchen becomes the place where I chase that familiar homesteading sense of accomplishment.
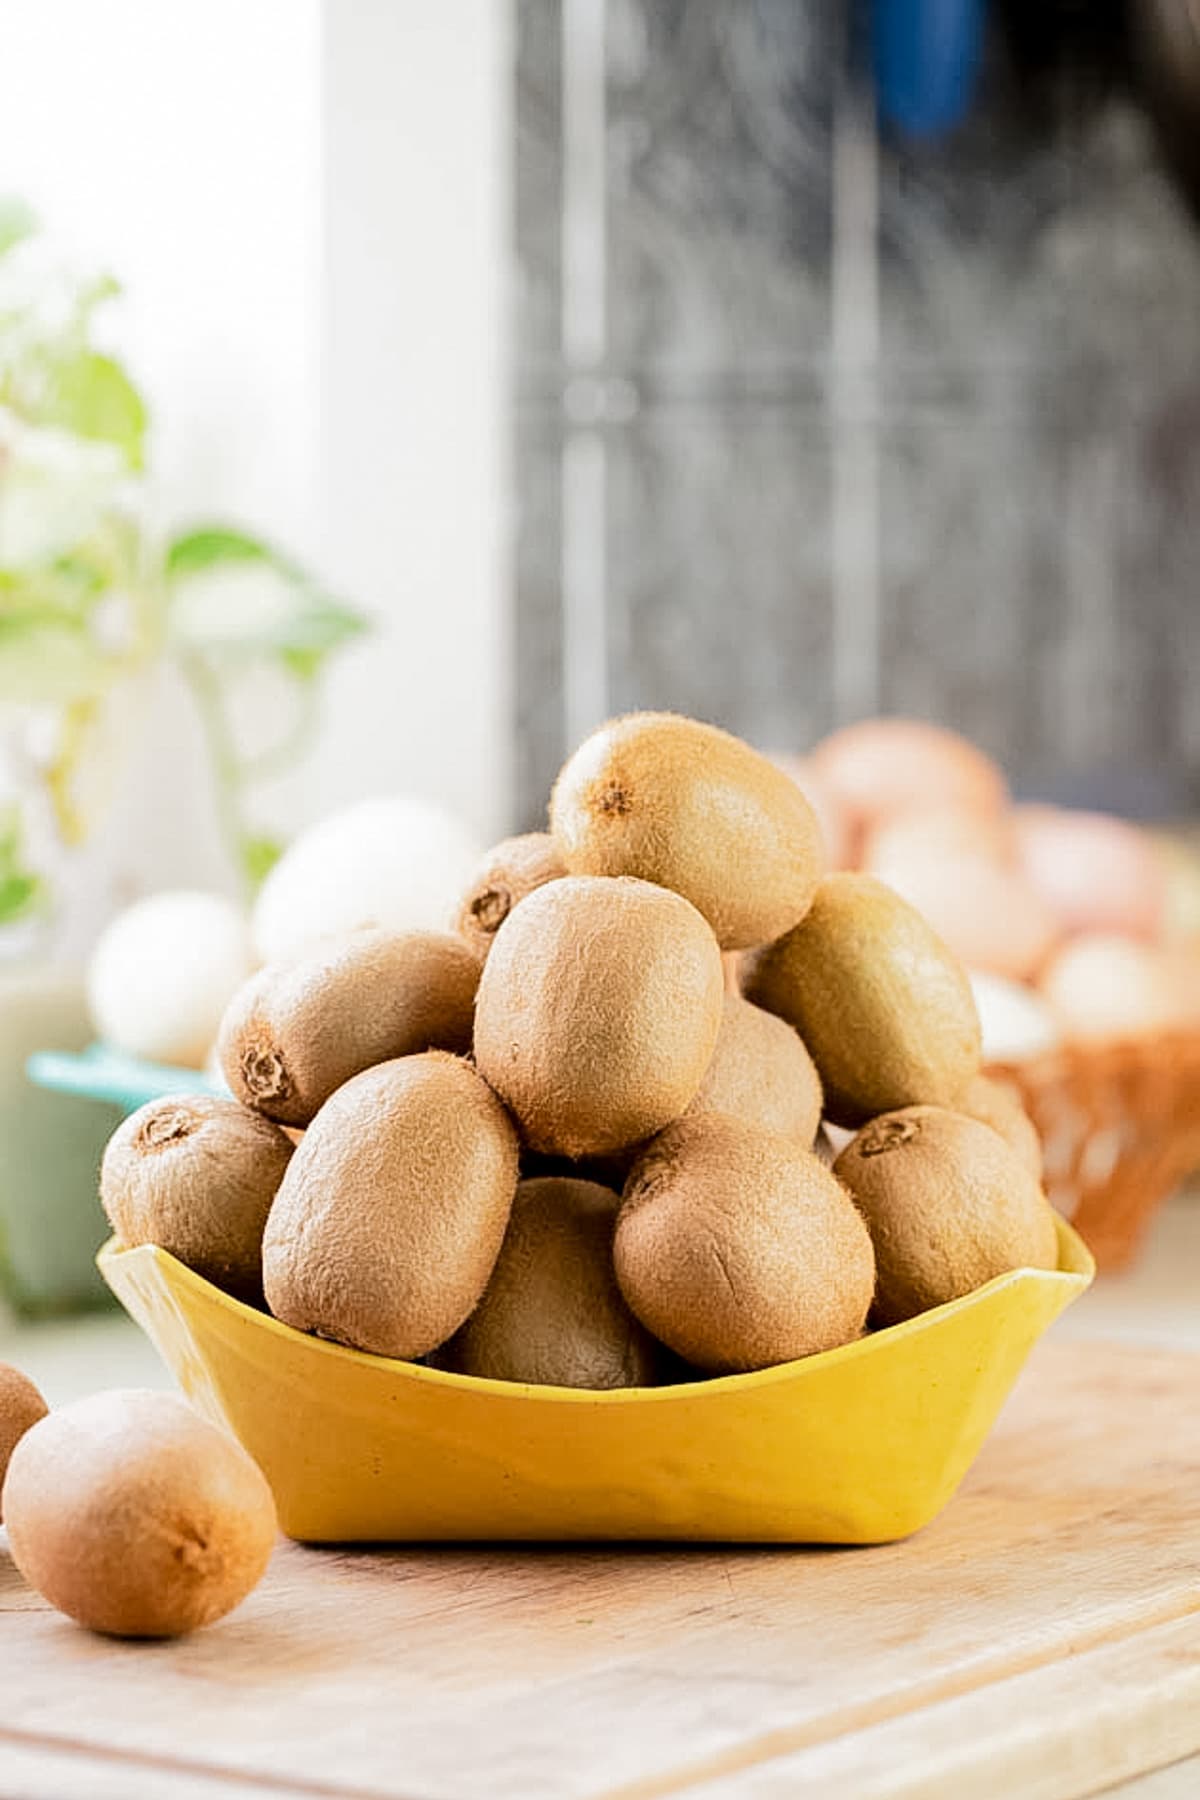
One mid-January morning, while wandering the grocery store produce section looking for something I could can in the dead of winter, I spotted a sale on kiwis. I’d already made orange jam, grapefruit marmalade, and even pear-ginger marmalade, but kiwi jam was new territory. I grabbed a bag, followed my usual jam-making rhythm, and ended up with something unexpectedly bright, simple, and delicious.
Ingredients…
- Ripe kiwis
- Sugar
- Fresh lemon juice
- Lemon seeds
Step-by-Step Instructions…
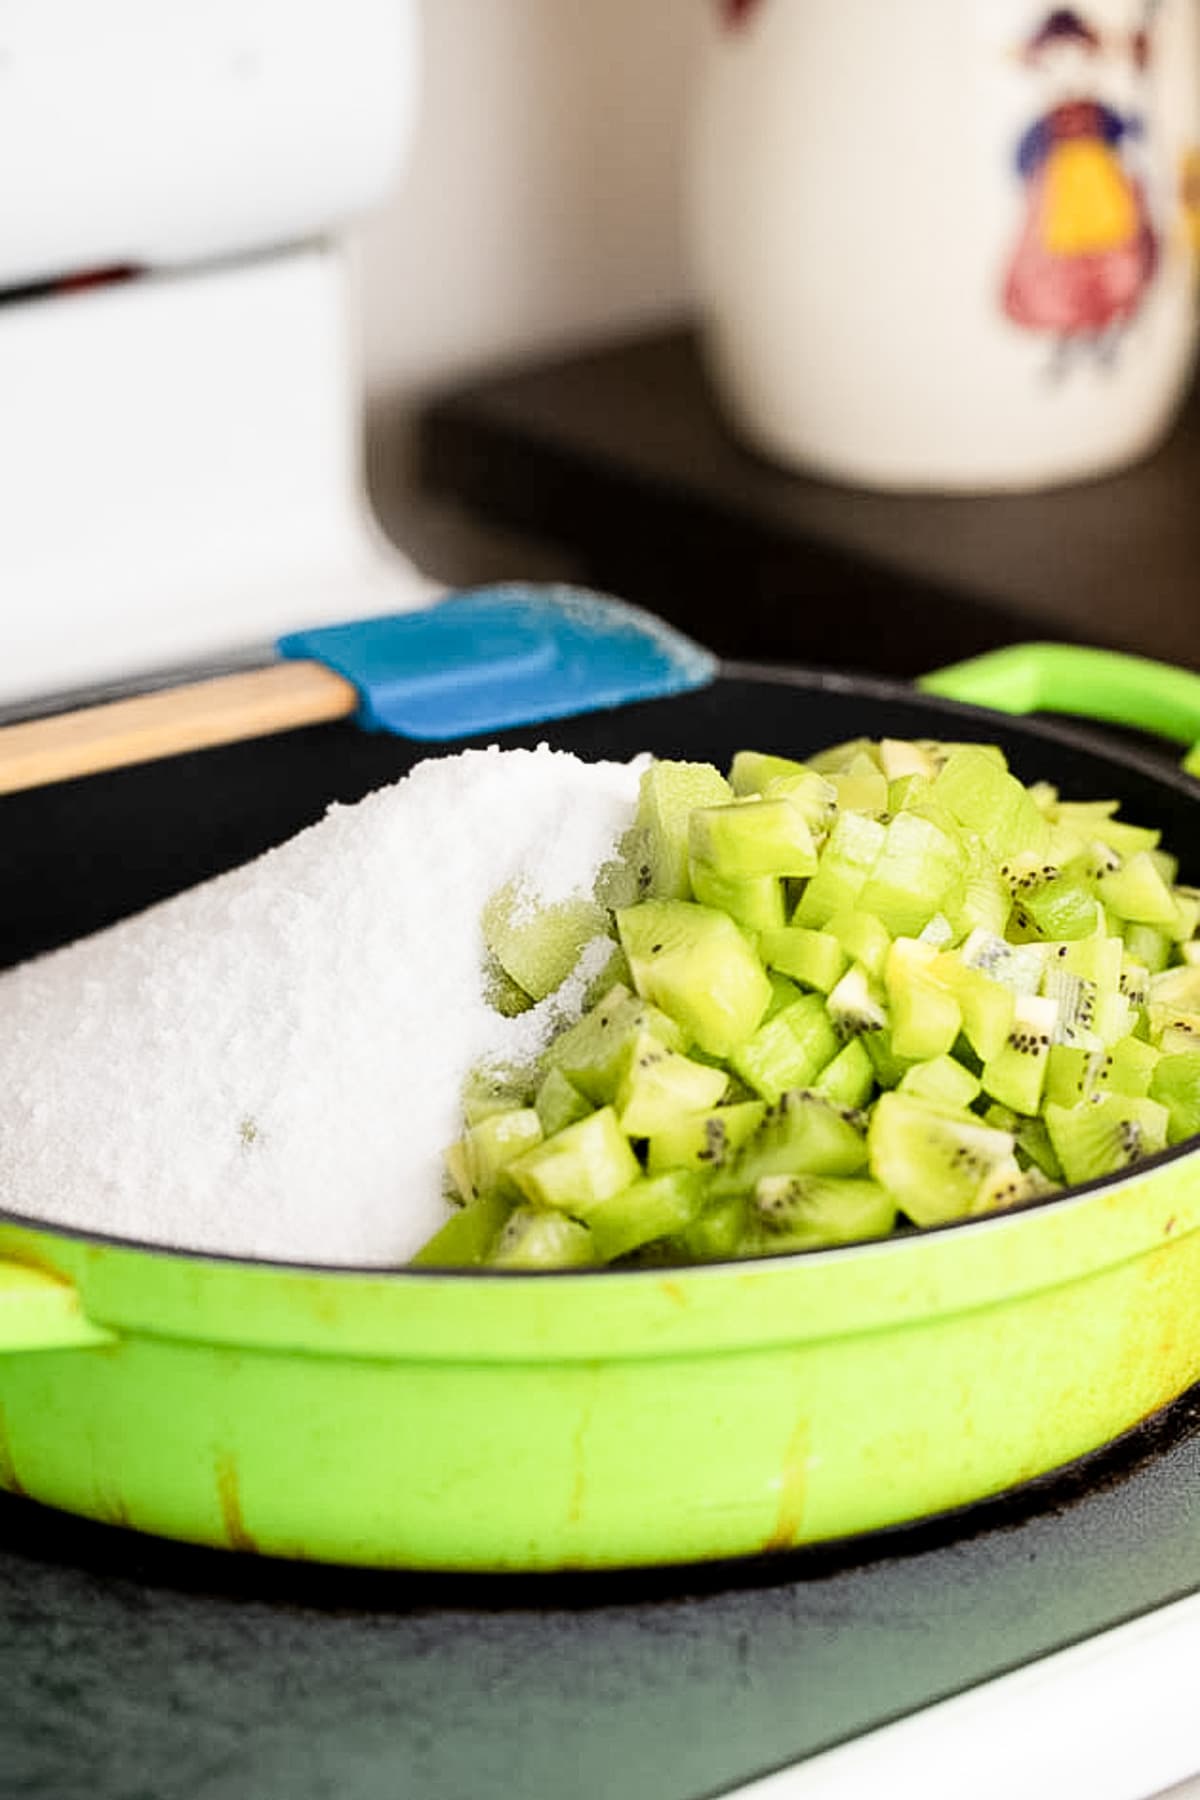
Step one – prepare the kiwis. Peel and dice the kiwis, then add them to the pan with sugar.
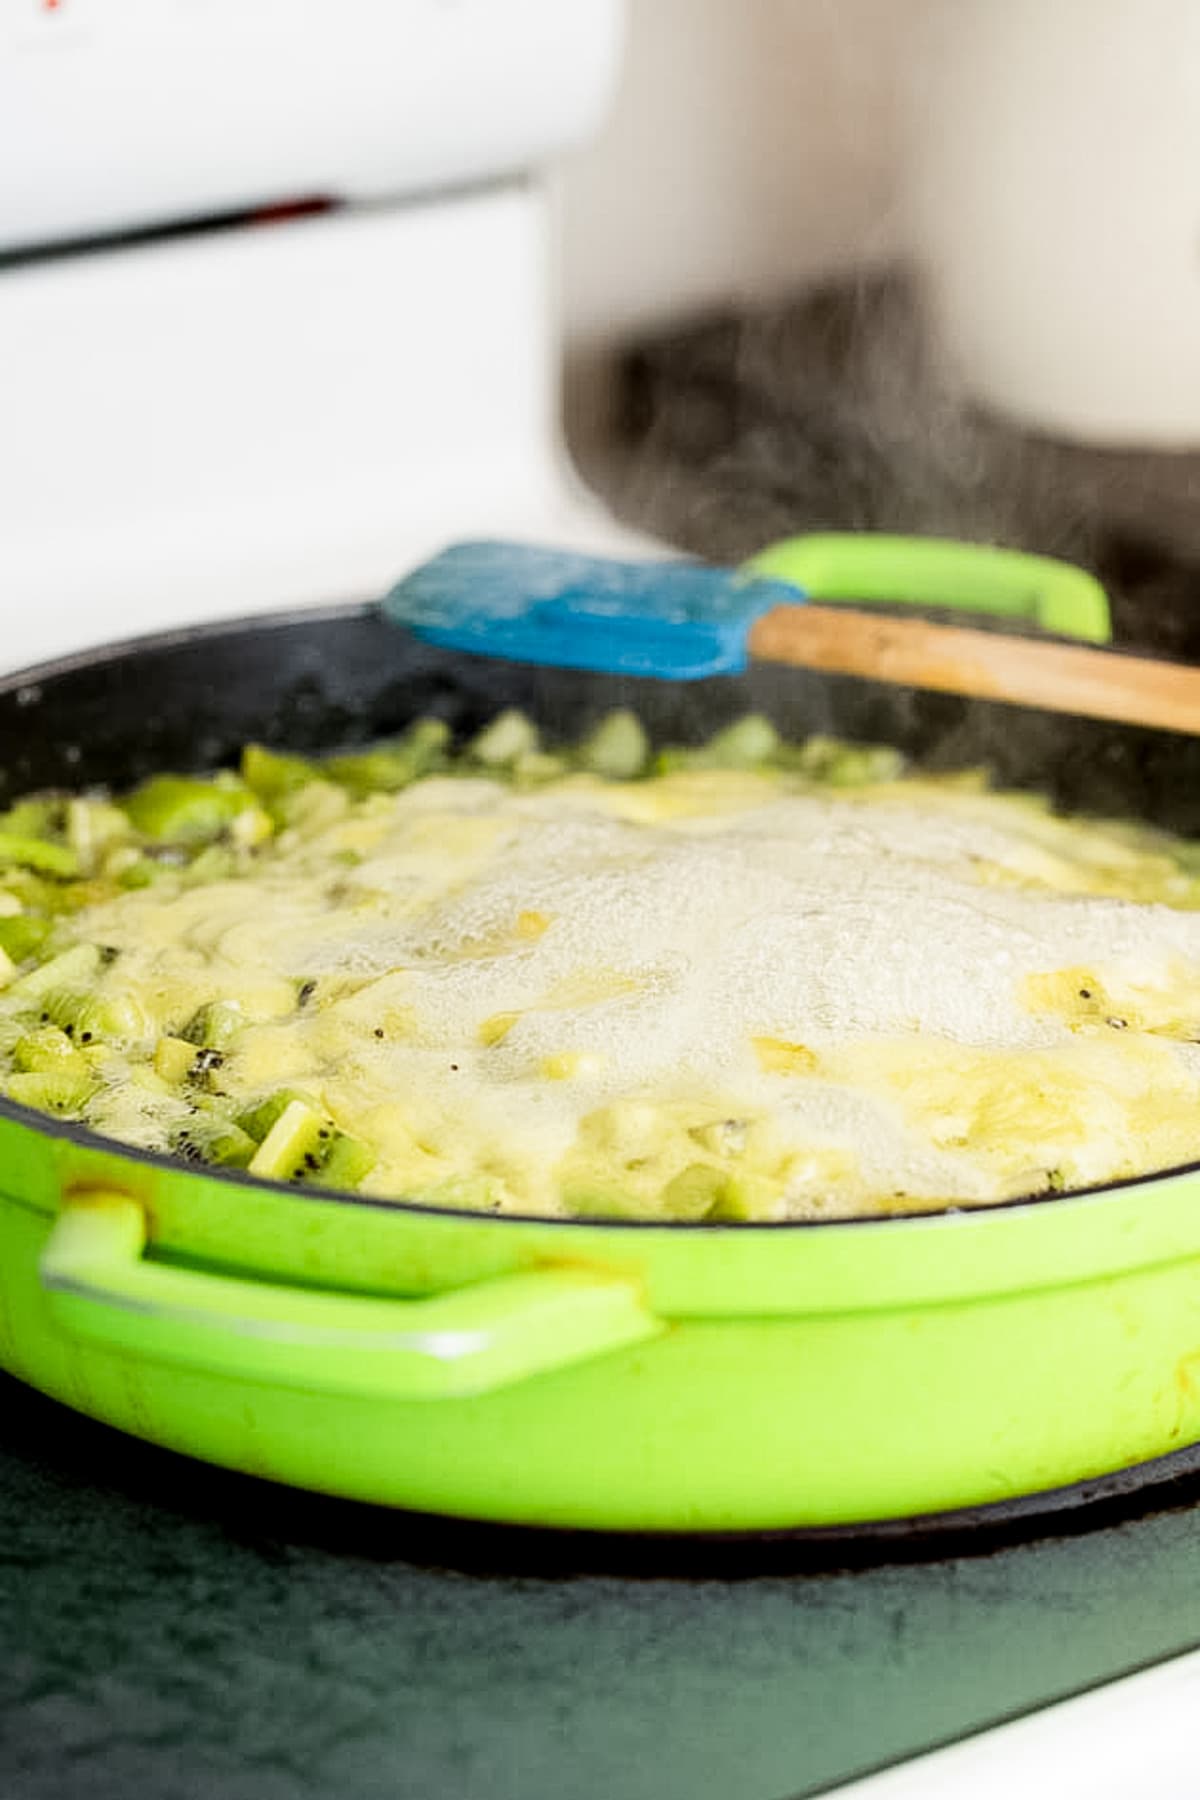
Step two – bring to a boil. Turn the heat to medium-high, stir, and bring to a gentle boil. Boil 5 minutes, then reduce heat — stir frequently.
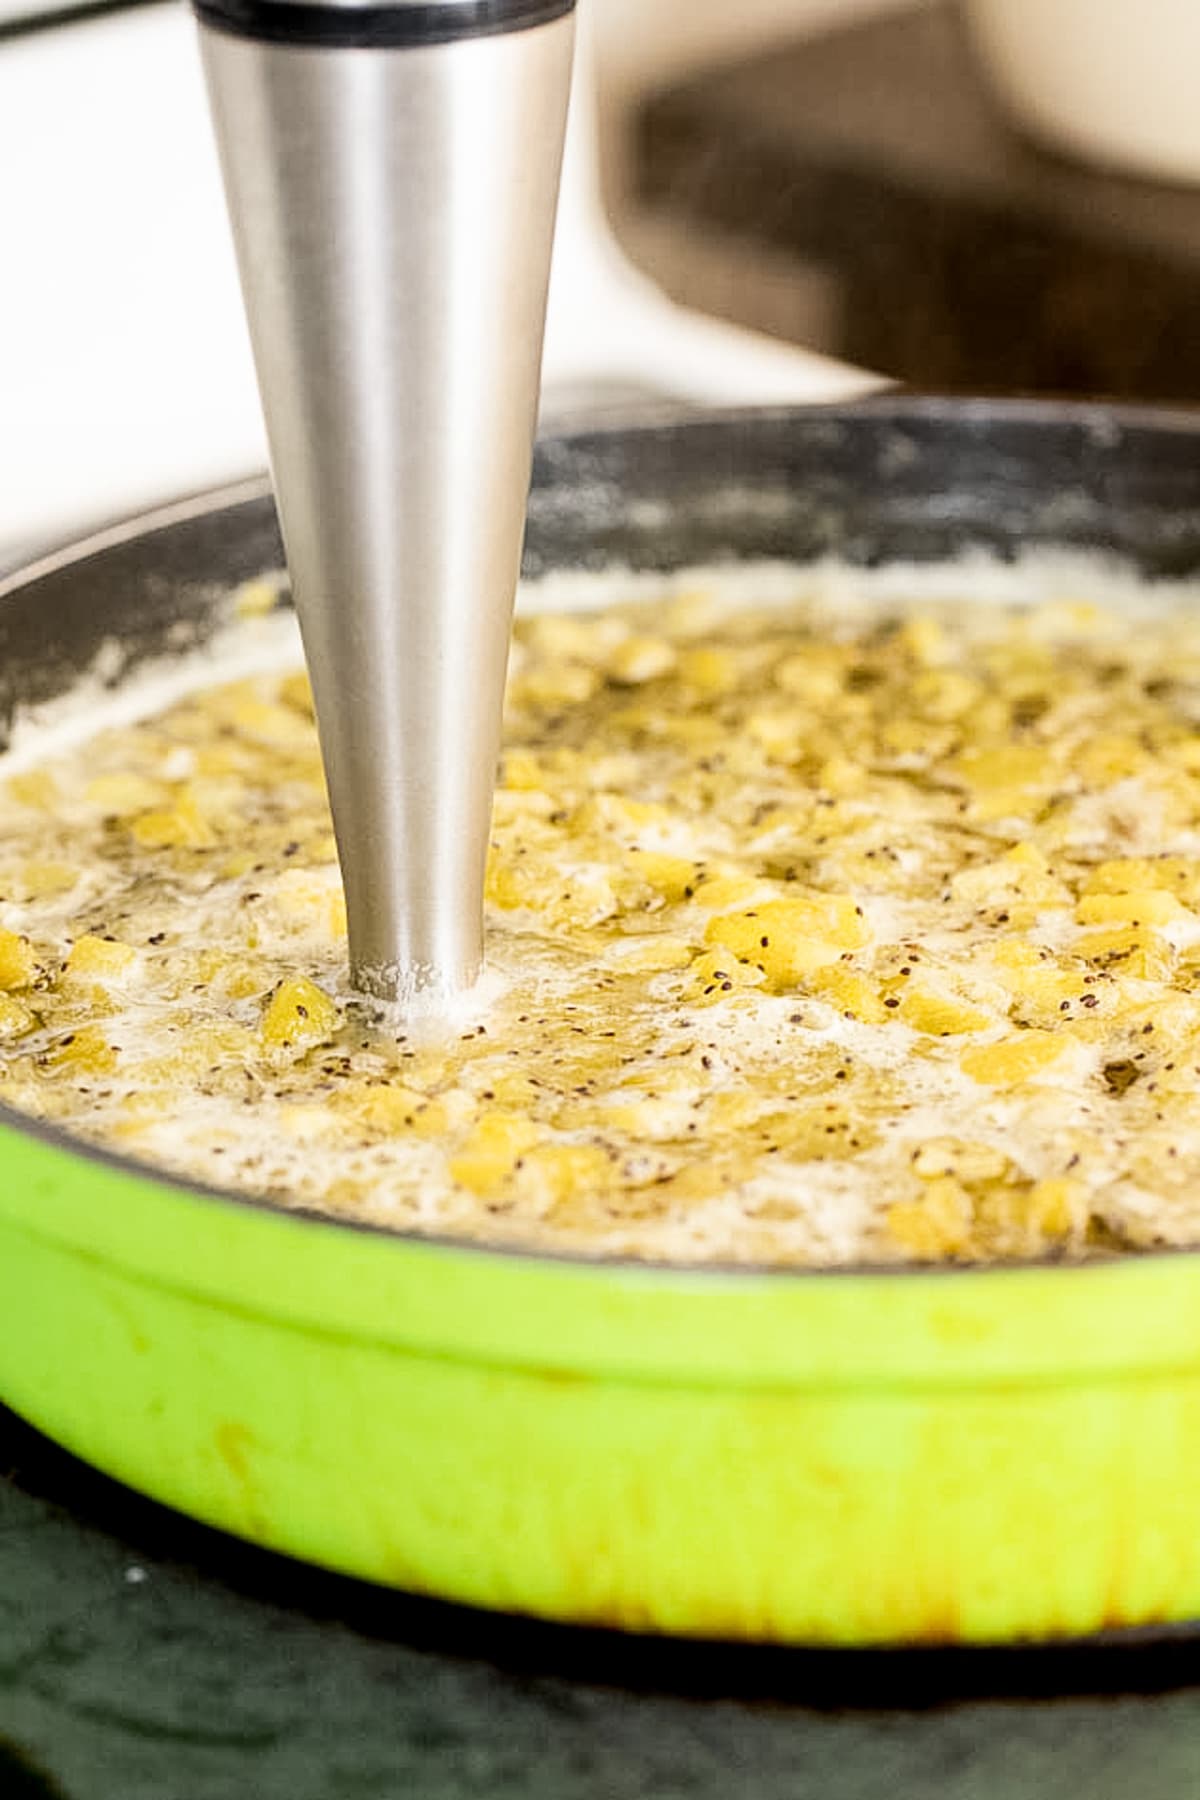
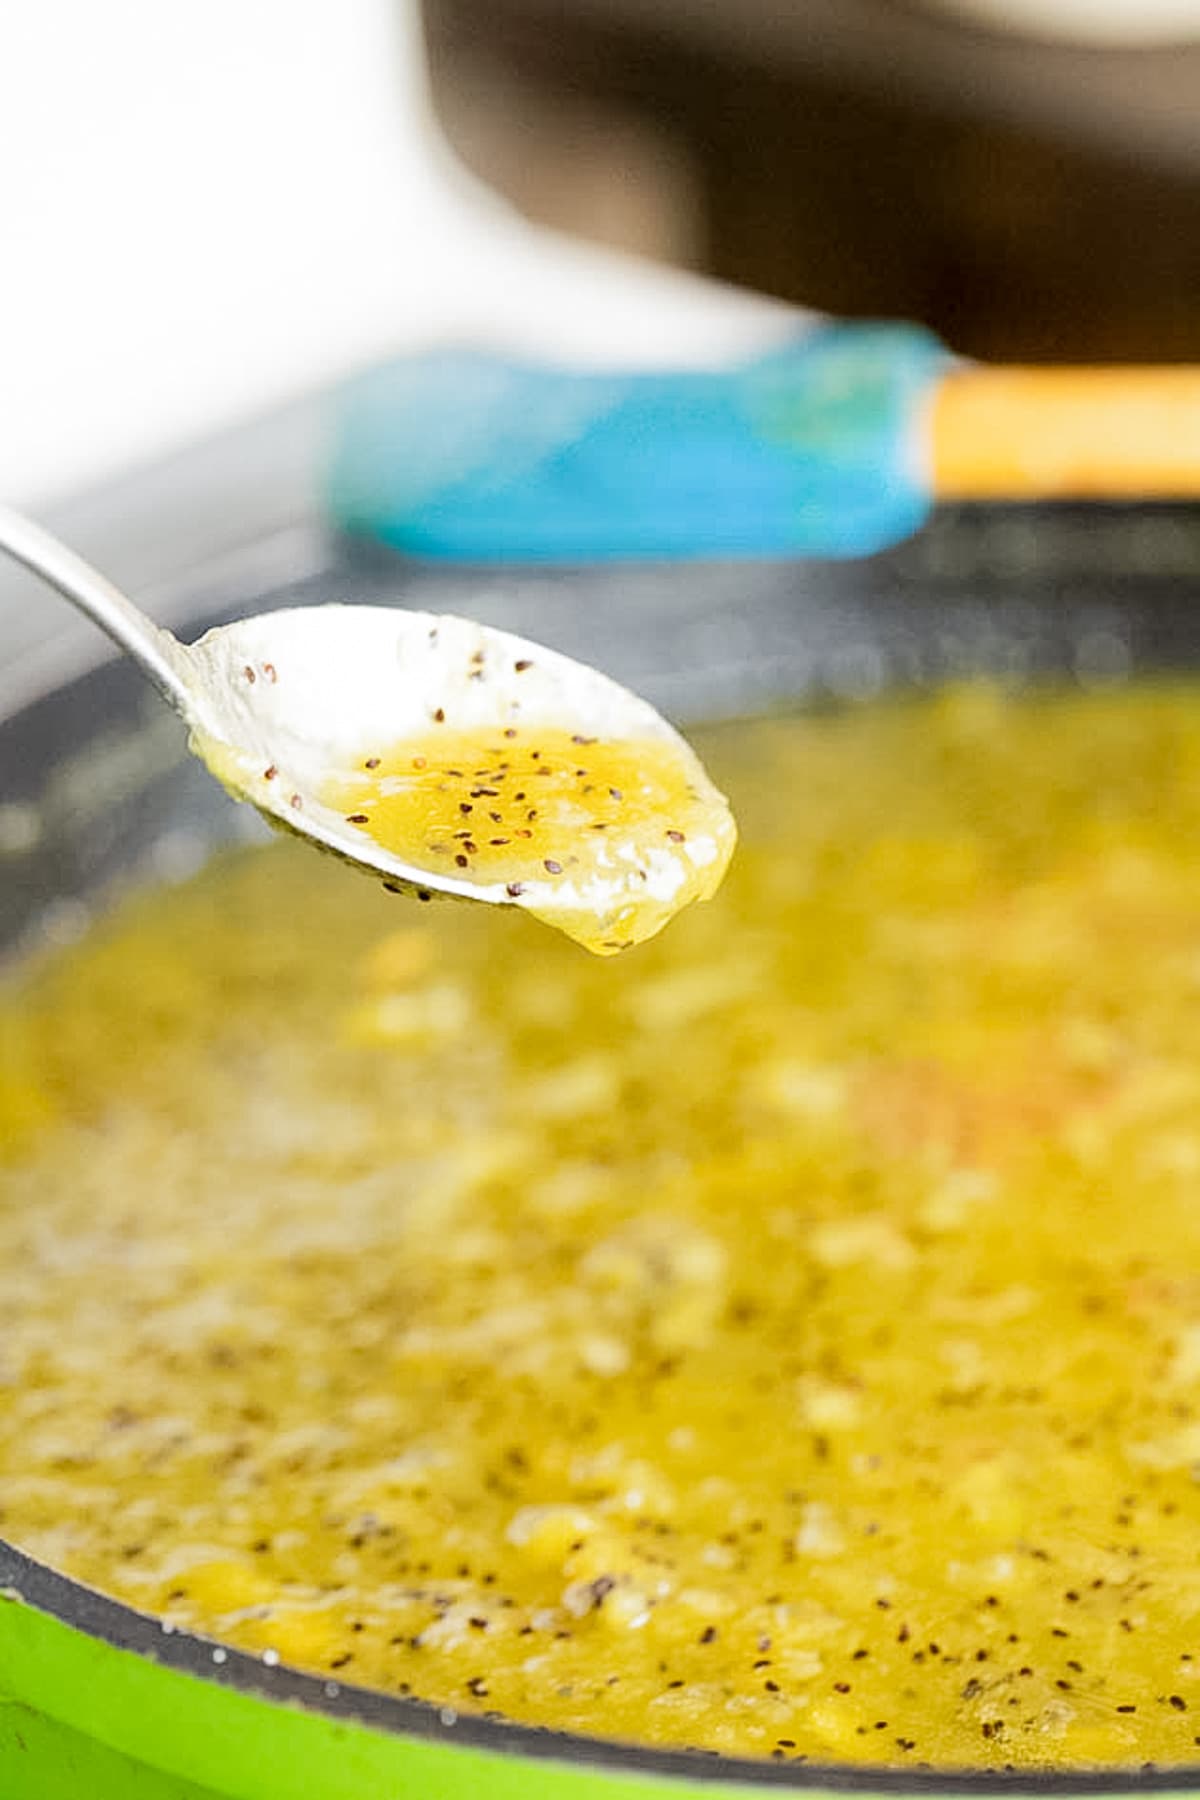
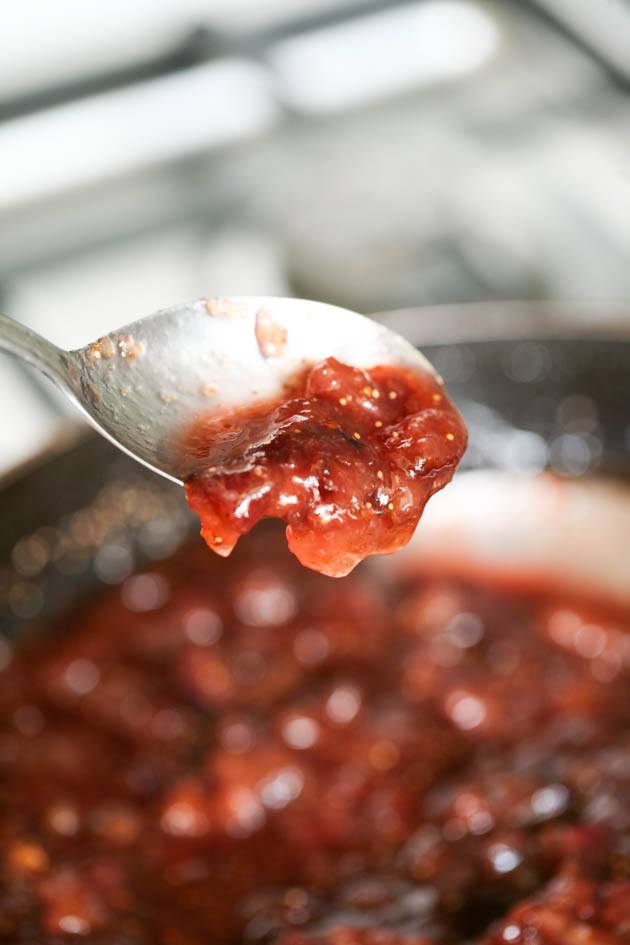
Step three – blend & add lemon. After ~10 minutes, when the fruit softens, blend with an immersion blender (or mash for chunks). Squeeze in lemon juice and stir in lemon seeds. Continue cooking until the mixture reaches the gel phase. Use the spoon test: spoon a little jam onto a plate, let cool 5 min — if it thickens nicely, it’s ready. (Total cooking time ~ 1 hr 15 min — depends on kiwi juiciness.)
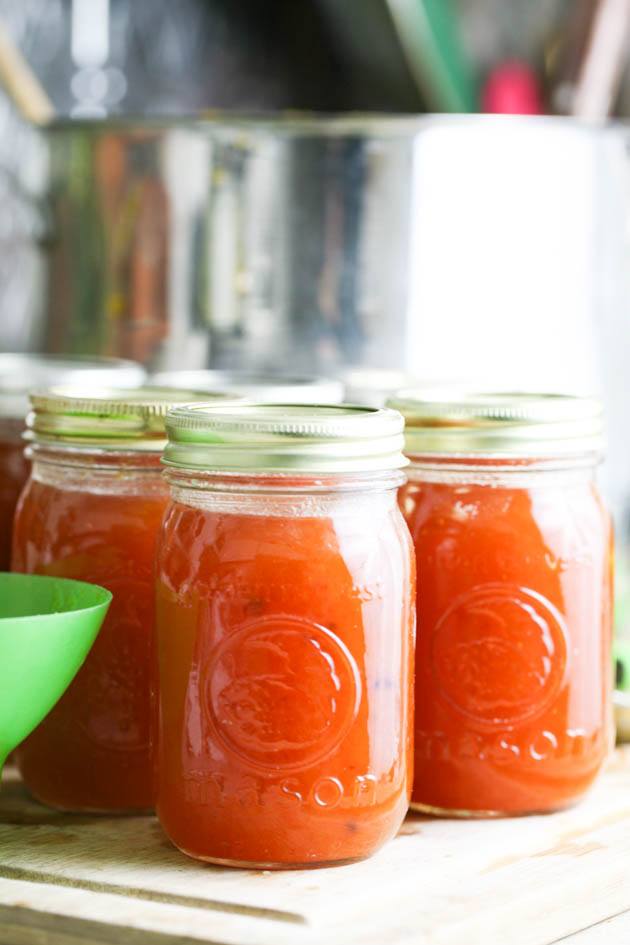
Canning Kiwi Jam…
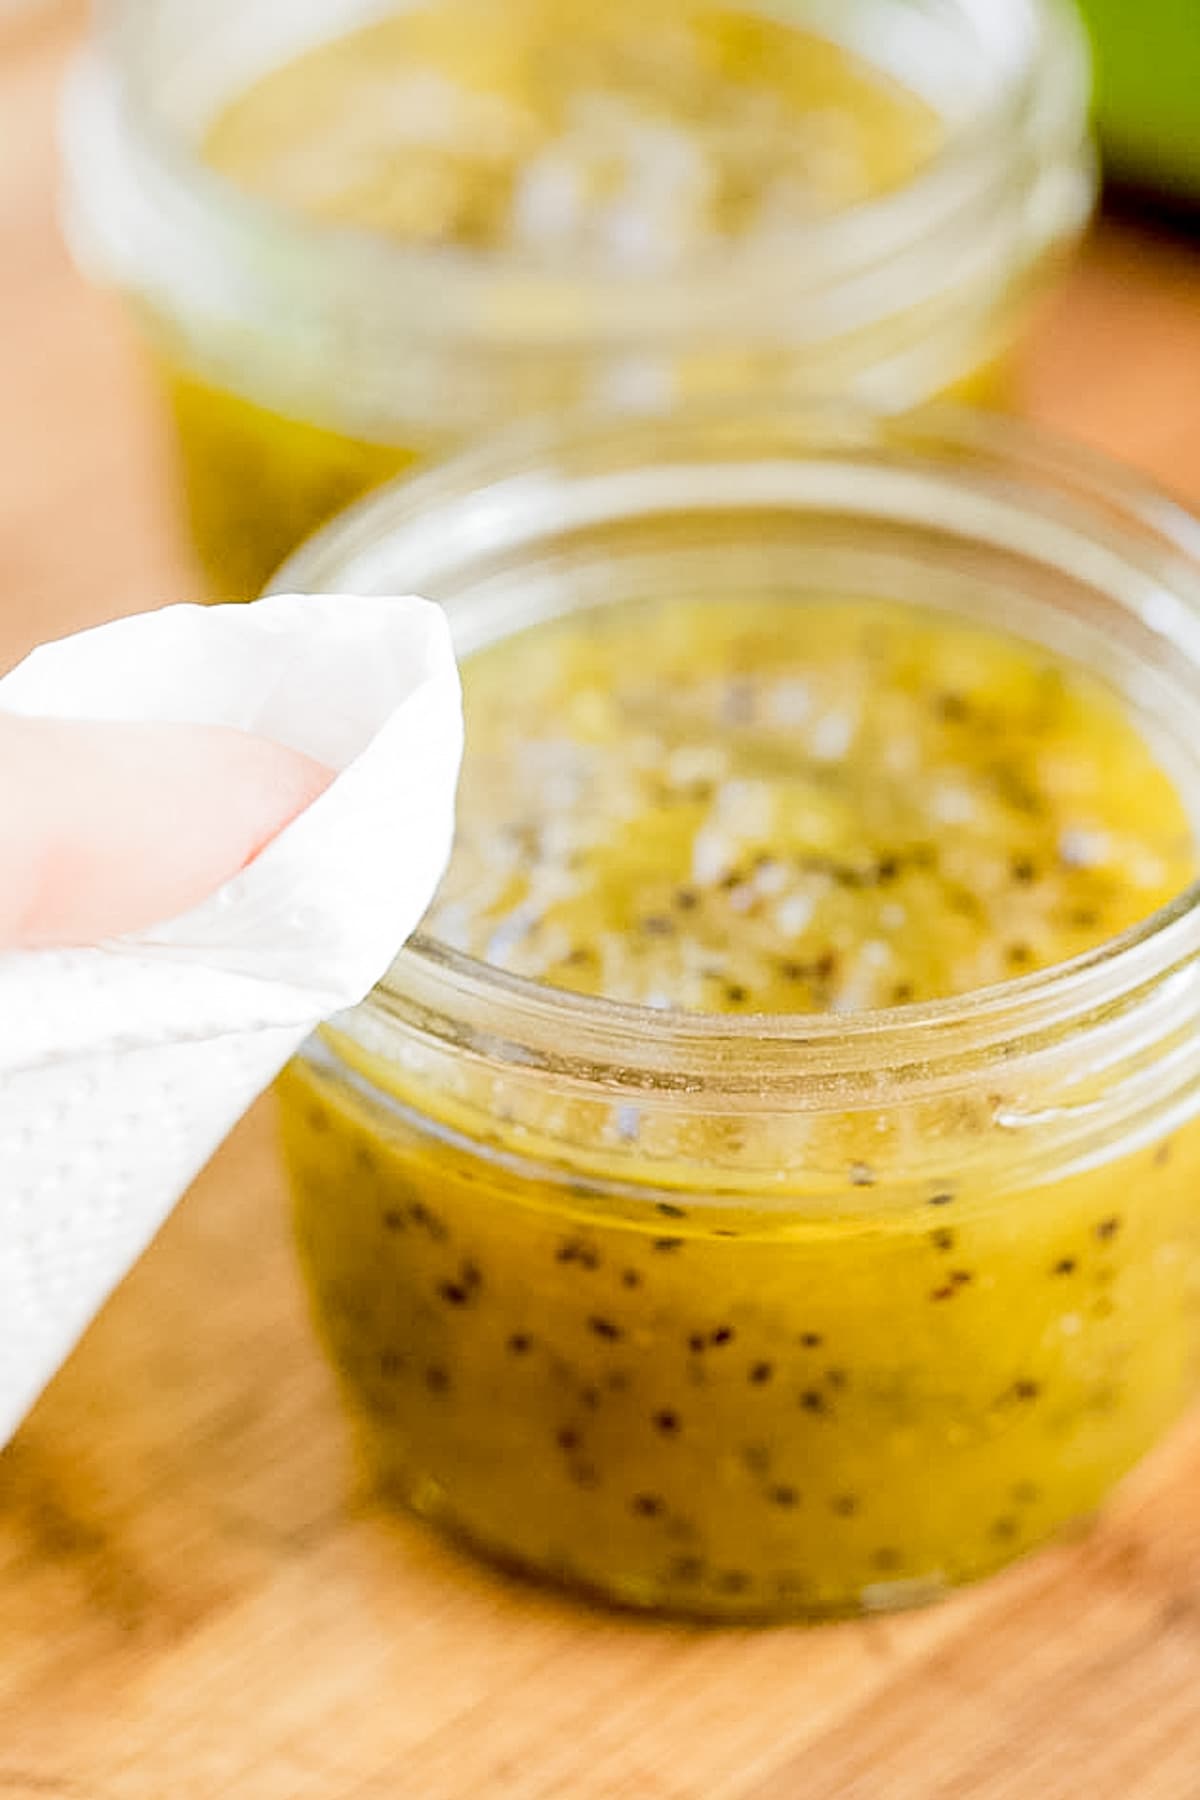
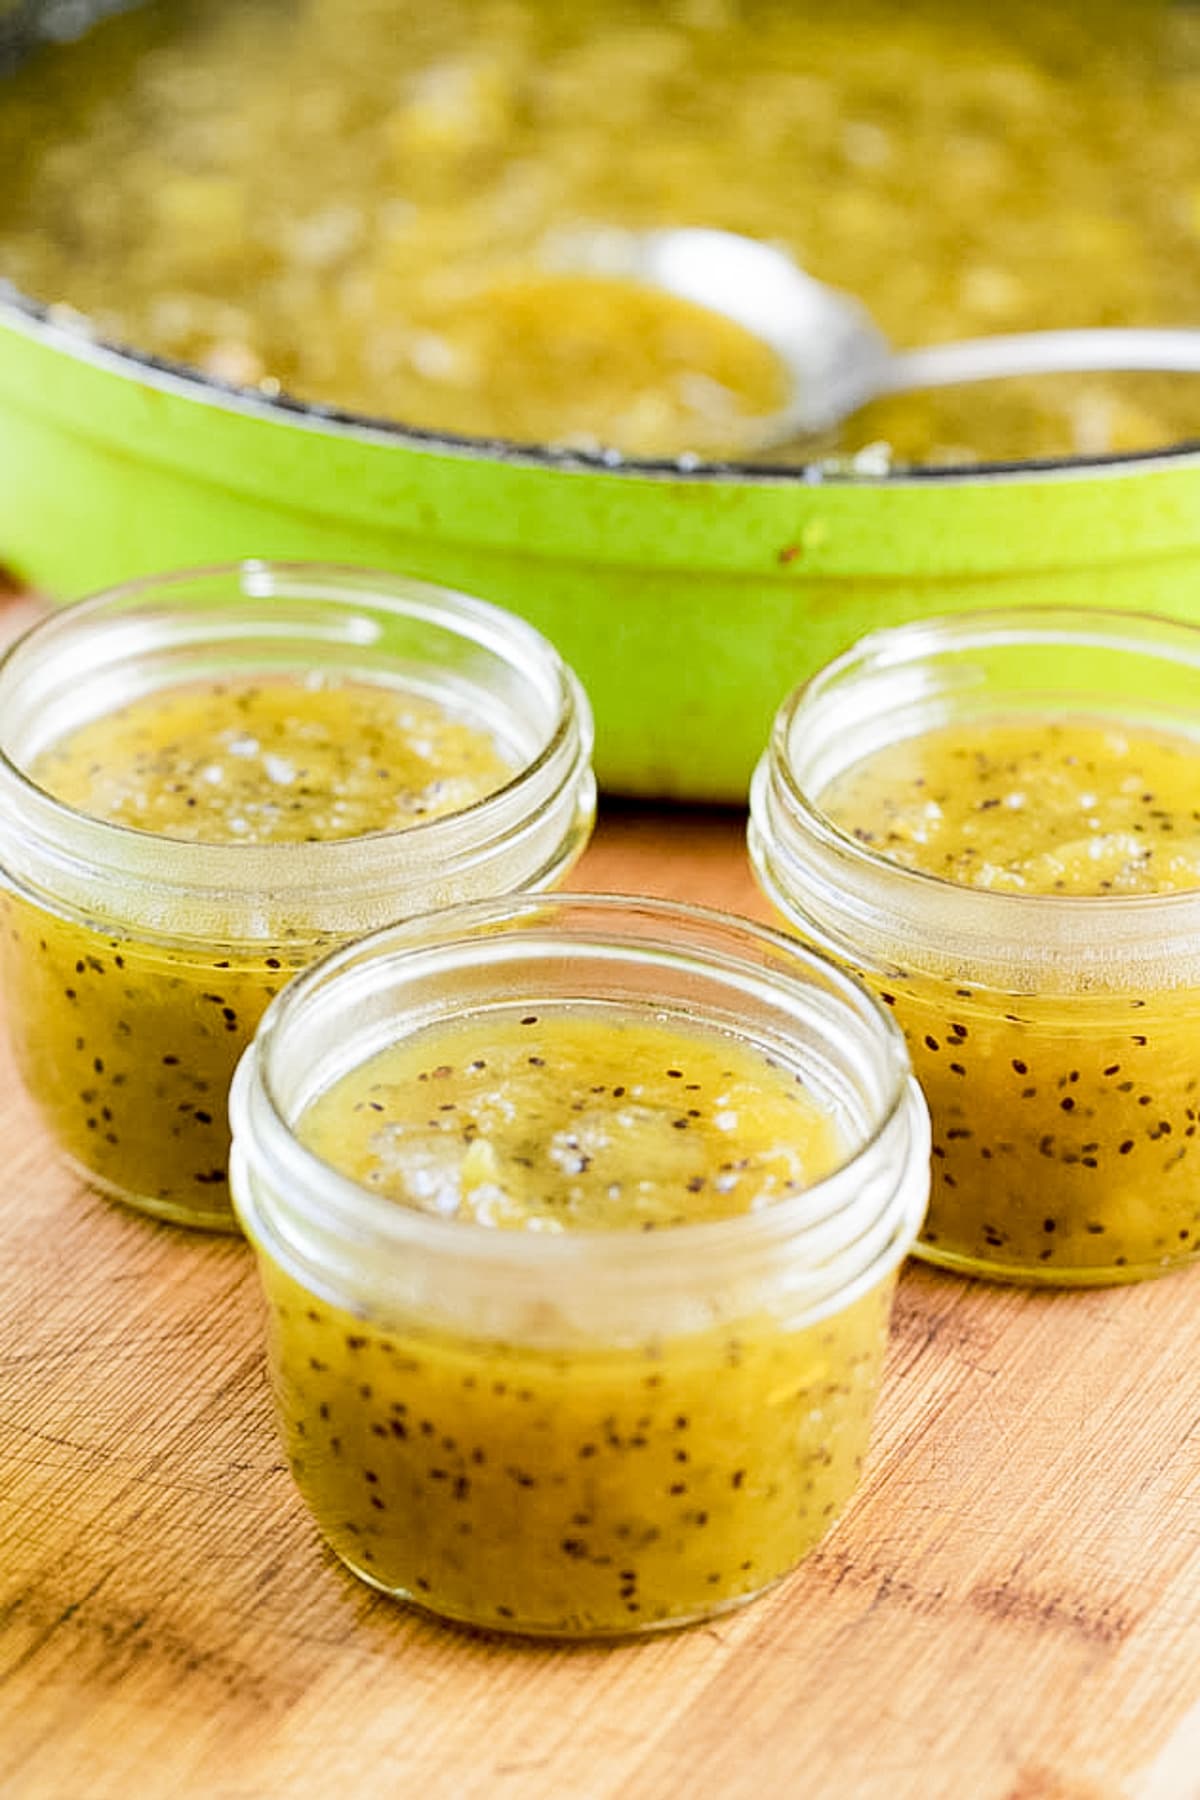
Step four – pack the jars. While the jam is cooking, bring water in the waterbath canner to a gentle boil. Wash jars/lids thoroughly. Fill jars with jam using a ladle and funnel, leaving one-half inch headspace. Remove air bubbles, wipe rims, and apply lids finger-tight.
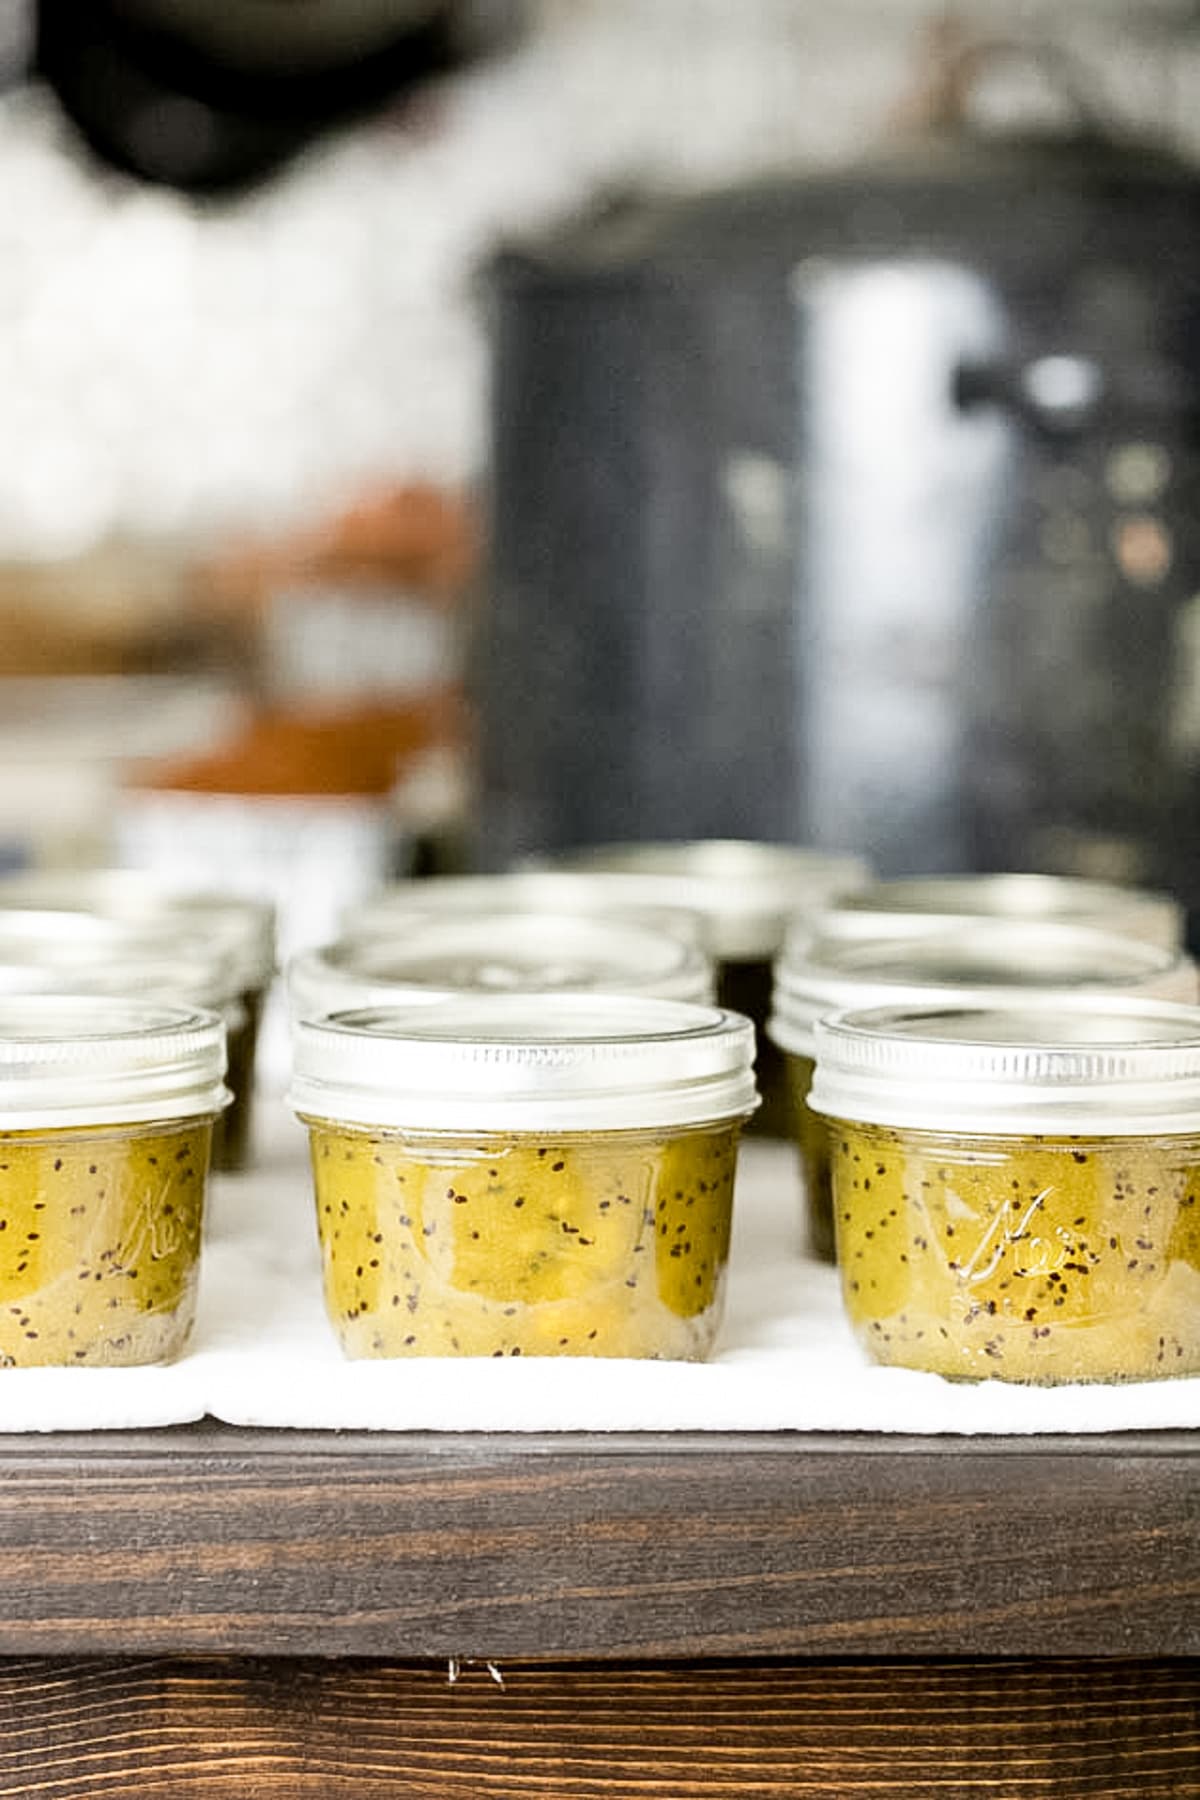
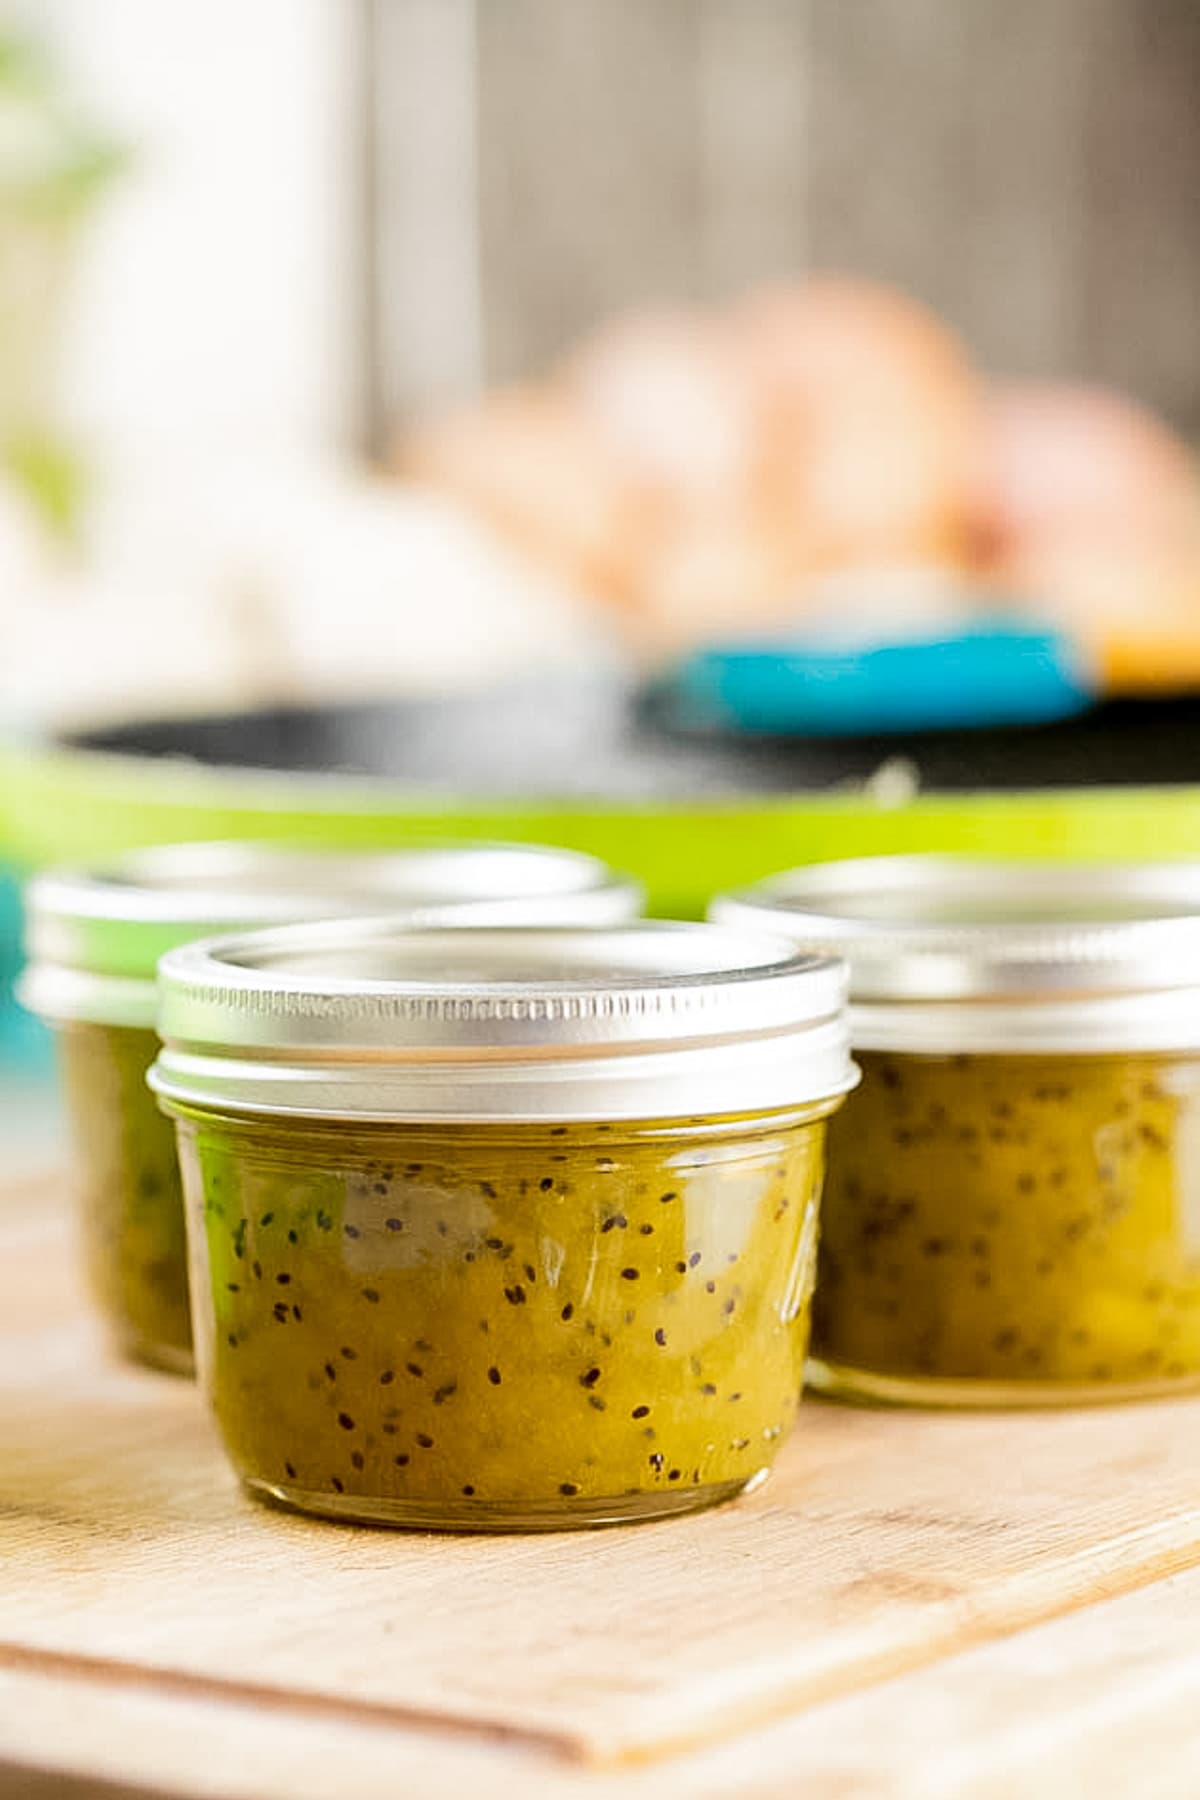
Step five – process jars. Lower jars into the boiling water of the water bath canner. Process half-pints for 10 minutes (adjust for altitude if needed according to the table below). After processing, turn off the heat. Let the jars rest for five minutes in the canner before removing them. Set the jars on a wooden cutting board or a kitchen towel to cool overnight.

Storing Kiwi Jam…
Once cooled, check that lids are sealed (the center of each lid should not flex). If a jar didn’t seal — store it in the fridge and use first, or re-process. Remove jar bands (they may rust) and wipe jars before storing. Properly sealed jars keep in a cool pantry up to 18 months.
Serving Kiwi Jam…
Kiwi jam has a unique texture and flavor — slight green-fruit tartness, with delightful kiwi-seed crunch. Here are some favorite ways to enjoy it:
- As a homemade gift – jars of kiwi jam stand out on a shelf and are always a conversation starter.
- On toast – I love it with a thin smear of tahini underneath the jam.
- On bagels or crackers with cream cheese – a simple, quick snack for any time.
- Mixed into yogurt or homemade granola – for breakfast or a snack.
- In baked goods – in thumbprint cookies, jam-filled bars, or atop a simple zucchini or challah bread, the flavor adds a sweet, slightly tangy lift.
Kiwi jam isn’t something you will commonly find in the grocery store, which is a great reason to make it at home. I love the way it looks with the black kiwi seeds floating in it. It makes a great conversation starter. I take my jam with me to the farmer’s market, and people are always curious and ask what is in the jar. And it’s delicious! I hope that you’ll give it a try.
More Jam Recipes on the Blog…

Kiwi Jam Recipe
Kiwi jam is simple to make and delicious! This winter time jam is made with less sugar, no store-bought pectin, and lots of ripe kiwis. It’s also simple to can and it lasts on the shelf for months.
Ingredients
- 4 pounds of ripe kiwis
- 2 pounds of sugar
- Juice from half a lemon
- 5-6 lemon seeds
Instructions
- Use a knife to peel the kiwis and dice them. Add the kiwis and sugar to a wide, deep pan.
- Turn the heat to medium-high, stir, and bring the mixture to a boil. Boil for five minutes then lower the heat and keep cooking, stirring frequently.
- After ten minutes or so of cooking, when the fruit is soft, use the immersion blender to blend the fruit. If you want to leave larger chunks of fruit in your jam you can use a potato masher instead. Then, squeeze the half lemon right into the pot and add 5 -6 lemon seeds. Stir them in and cook until the jam reaches the gel phase (it took my jam around 50 minutes. It might vary depending on how juicy and ripe your fruit was to begin with).
- To check the thickness of the jam, scoop a little bit with a spoon and lay the spoon on the cutting board to cool for five minutes. Then, add the jam back into the pot and as it leaves the spoon it will be easier for you to gauge how thick it is (because a jam keeps thickening as it cools).
- While the jam is cooking, fill your water bath canner with enough water to cover the jars by at least an inch. Set it on the stovetop and turn the heat to high. Bring the water in the canner to a gentle boil.
- Wash the jars, lids, and rings well with hot water and soap. Since we are going to process this jam in the canner for ten minutes, there is no need to sanitize the jars.
- Use a ladle and canning funnel to fill the jars with the jam leaving 1/2 inch headspace. Use the bubble remover to remove bubbles by scraping it along the side of the jar. Then, use a clean, damp paper towel to clean the rim of the jar before centering the lid and closing the jar with the ring finger tight.
- Set the jars on the rack of the water bath canner and lower the rack into the boiling water. process half-pint jars for 10 minutes (and pint jars for 15 minutes). Remember to adjust processing time according to the table in the notes if you live in altitudes above 1,000 feet in elevation.
- Once processing time is over, turn the heat off, uncover the canner and let the jars rest in the hot water for five minutes. Then, use the jar lifter to remove the jars from the canner. Set them on a kitchen towel on the counter to cool completely, undisturbed, overnight.
- Once the jam is cool, before you store it remember to check that the jars are sealed by pressing the center of each jar. If there is a jar that didn’t seal you can store it in the fridge to use first.
- Before storing the kiwi jam, remove the rings (because they rust and stick, and make it hard to monitor the food in the jars) and wipe your jars. Store the jars in the pantry or a kitchen cabinet for up to 18 months.
Notes
Adjust processing time according to the table below...
Nutrition Information:
Yield: 10 Serving Size: 1 half pint jarAmount Per Serving: Calories: 458Total Fat: 1gSaturated Fat: 0gUnsaturated Fat: 1gSodium: 6mgCarbohydrates: 118gFiber: 5gSugar: 107gProtein: 2g
Can you use chia seeds to thicken the jam?
Absolutely!
Did you mean quarter pint jars? A half of a pint is a cup…
Where in the post do you mean? I used half-pint jars for the canning of this jam…
Shalom, I would like to know what is the purpose of the lemon seeds?
Lemon seeds have natural pectin in them. Since I am cutting sugar in half in all of my jams, I can’t use store-bought pectin so instead I am using lemon seeds. They help the jam gel and it’s natural and easy.
Do you leave the seeds in when you fill the jars?
Yes, I do. They don’t thicken the jam any further after it’s done cooking or change the taste in any way.