This post may contain affiliate links, view our disclosure policy for details.
Fermented jalapenos are super easy to make. They are a great addition to any sandwich or salad. They are spicy and salty and garlicky. Lacto fermenting jalapenos is also a great way to preserve jalapeno peppers.
Lady Lee’s Note…
I started growing jalapenos in my garden a few seasons ago mostly for others (I sell them at the farmer’s market) since I’m not a huge fan of hot peppers or spicy food in general.
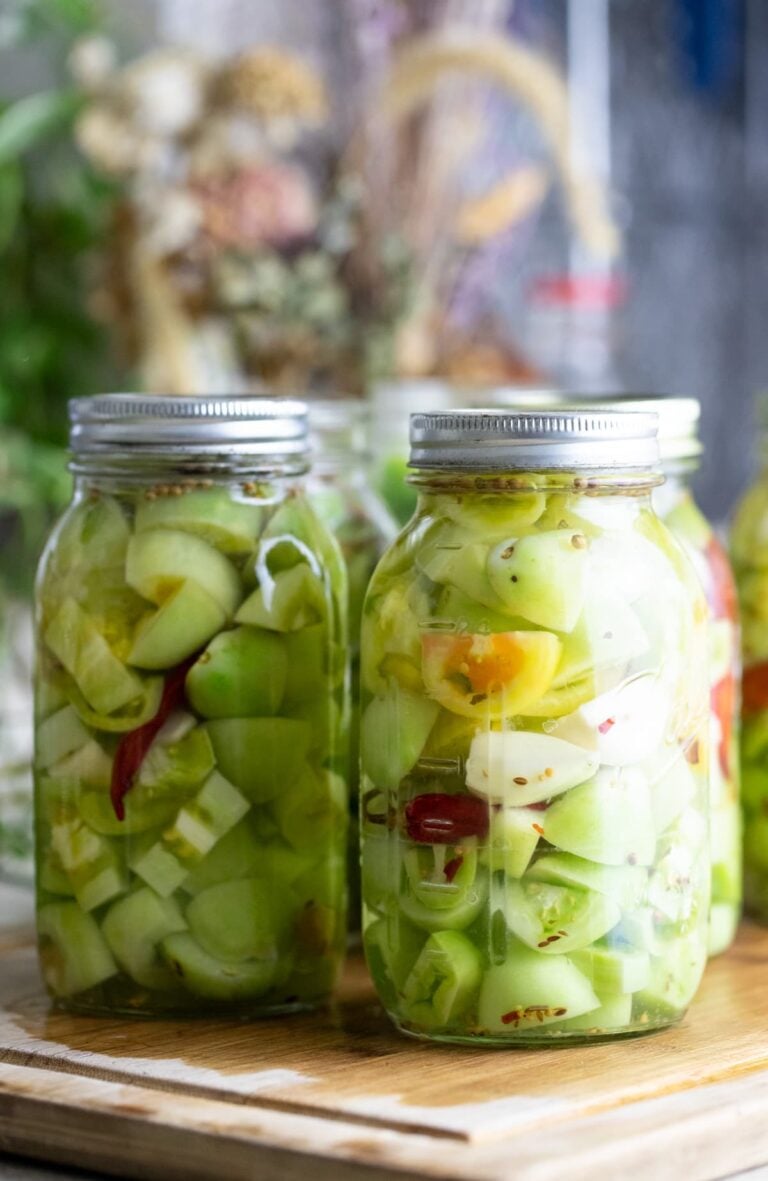
I do love adding jalapenos to shakshuka (an Israeli sort of breakfast of eggs cooked in tomato sauce) and to a Morrocan fish dish that I love to make, and I also add them to Israeli pickles and fermented tomatoes. But other than that I don’t use them much.
Last year I had so many of them that I had to venture out and try other dishes. I ended up using most of the jalapenos that I had to make cowboy candy (or in other words, candied jalapenos) but I left a few to try to ferment.
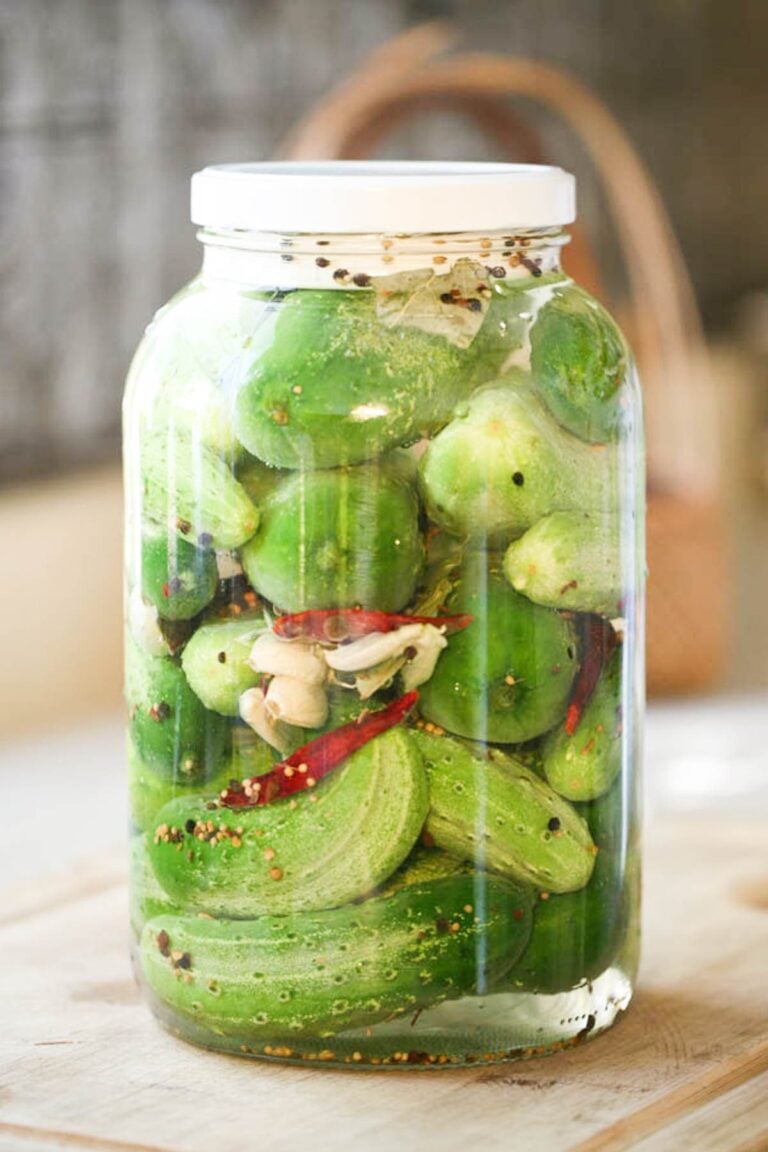
A few years ago, my mother came for a visit from Israel and taught me how to preserve peppers in vinegar and salt. Since there is vinegar in that dish it’s more a pickle than a ferment. It’s a delicious way to preserve peppers and you can definitely follow that recipe and use jalapenos instead of the sweet lunch box peppers that we used, however, I wanted to try and lacto-ferment jalapenos in a simple brine as I do with other vegetables.
It turned out great! The peppers kept their texture, were very spicy, and were very easy to make. Before we move on to the recipe, let’s cover the basics in case you are new to fermentation…
What is Fermentation?
Fermentation is the process of using microorganisms, such as bacteria or yeast, to convert carbohydrates to alcohol or lactic acid under anaerobic conditions. There are a couple of types of fermentation…
Alcoholic fermentation is when we use yeast to break down sugars into carbon dioxide and ethanol. This is the process we use to make beer, wine, and bread.
Lacto-fermentation is the process of using bacteria, named Lactobacillus, to convert sugars into lactic acid. This bacteria (some form of it) is actually present in our digestive system naturally and is also present on the surface of plants.
Lactic acid is a preservative that helps us preserve foods by preventing the growth of harmful bacteria. Lacto-fermentation, which is the process we are going to use to preserve our jalapenos, also increases the vitamin and enzyme levels in the vegetables we ferment. Adding fermented foods to our diet can help us introduce additional probiotics, or in other words, beneficial bacteria to our digestive system in a natural way.
Beneficial bacteria help us digest food, help us support a healthy metabolism and an overall well functioning and healthy digestive system which we all know is super important for our overall health and strength (read more about the health benefits of fermentation).
So let’s recap… We take a vegetable, let it sit in a solution and steep for a few days. The sugars in the vegetable break down and start promoting the growth of beneficial bacteria. Lactic acid is formed and prevents the growth of harmful bacteria which makes it possible for us to preserve what’s in the jar (in cold storage).
Ingredients…
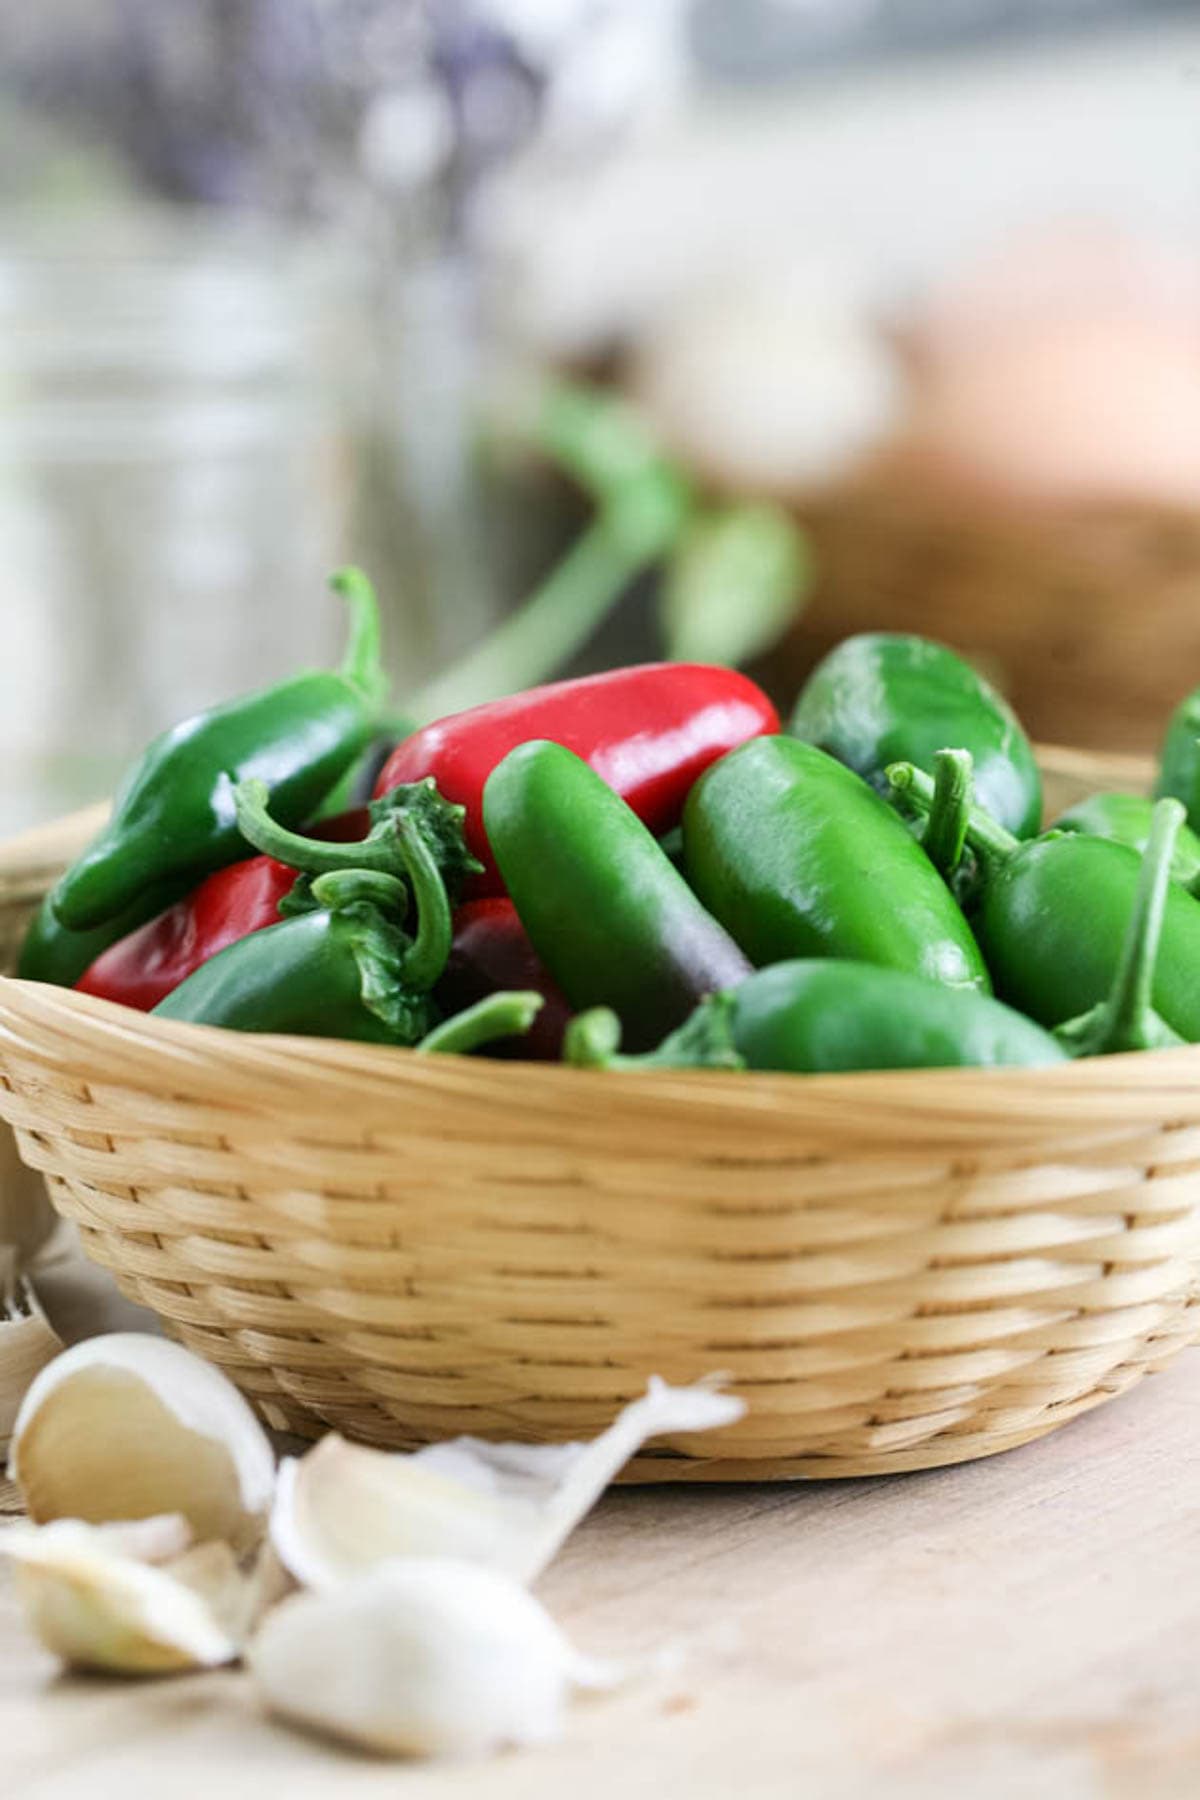
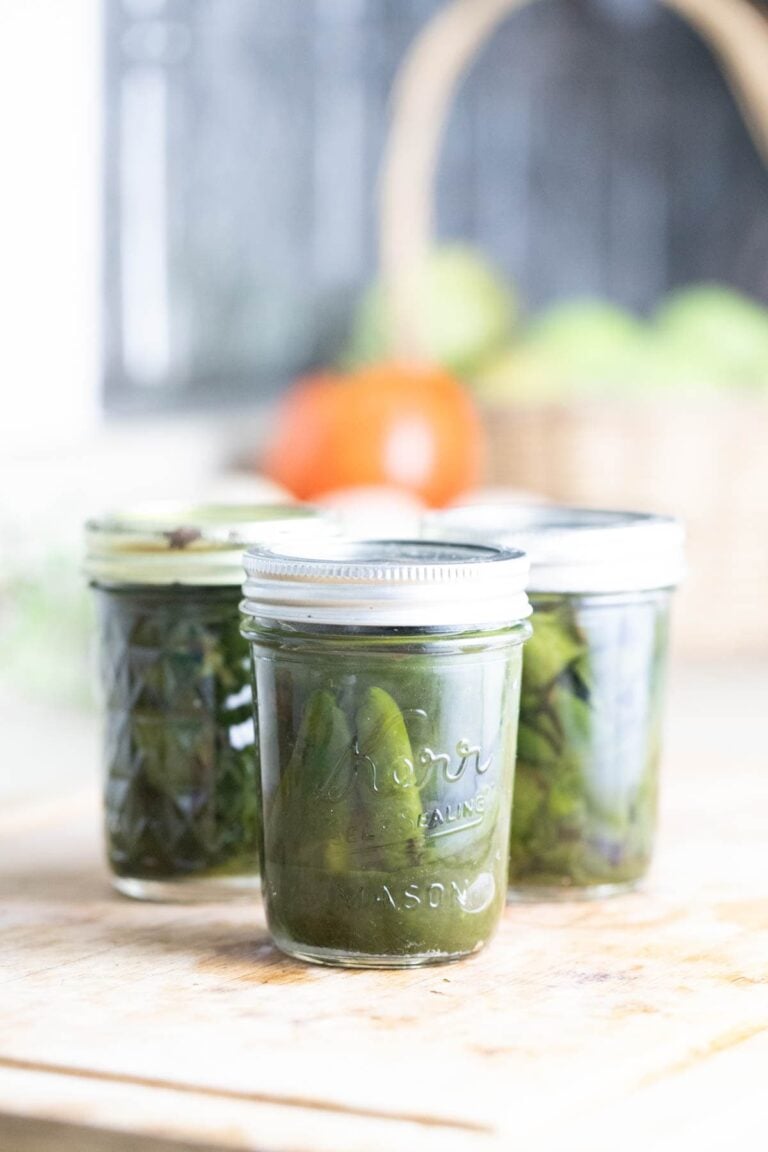
- Jalapeno peppers – in the grocery store, you’ll probably find only green jalapenos. It’s better to pick them green if you grow them in your garden, however, I left a few of them a little too long on the plant and they turned red. They were still firm and fresh so I used them as well. I used 13 jalapenos to fill a pint jar. Depending on the size of the peppers, this number may change. You can also easily use a quart jar for this ferment. Whatever size jar that you choose to use, just make sure that you have enough peppers to fill it. And keep in mind that you can use other types of peppers as well, it doesn’t have to be just jalapenos.
- Seasonings – I kept these fermented jalapenos very simple and only added 2 garlic cloves to my pint jar. You can use just garlic or you can add dill, thyme, bay leaves, rosemary, mustard seeds, pickling spice mix, peppercorns, hot or mild dry peppers, chili flakes, or anything else that you can come up with. Try something different each time until you find your favorite seasoning combination.
- Brine – you are going to need salt and water. When you use salt to preserve food, always make sure that you use kosher, sea, or canning salt and not table salt (or in other words, use non-iodized salt). Also, make sure that you are using non-chlorinated water (distilled is fine if you have to buy your water). I used 1 teaspoon of salt per one cup of water to make the brine for this ferment.
- Optional – some vegetables, especially those with high water content, may become soft during the fermentation process. If you want to make sure that your vegetables stay as crunchy as possible, you can add tannin-rich leaves like blackberry leaves, bay leaves, or horseradish leaves to the jar. For a list of tannin-rich leaves, visit this post. I find that jalapenos peppers keep their texture well so I didn’t add any leaves here but if you’d like, feel free to add them.
Kitchen Tools…
- Cutting board and a knife
- Wide mouth pint or quart jar with a lid. I recommend using a freezer lid or you can go with a fermentation lid.
- 2 cup measuring cup
- Fermentation weight – you can find all kinds of homemade fermentation weight ideas online like using rocks and apples and whatever else but I strongly suggest that you purchase glass fermentation weights. They will save you a lot of time and food!
How to Lacto-Ferment Jalapenos…
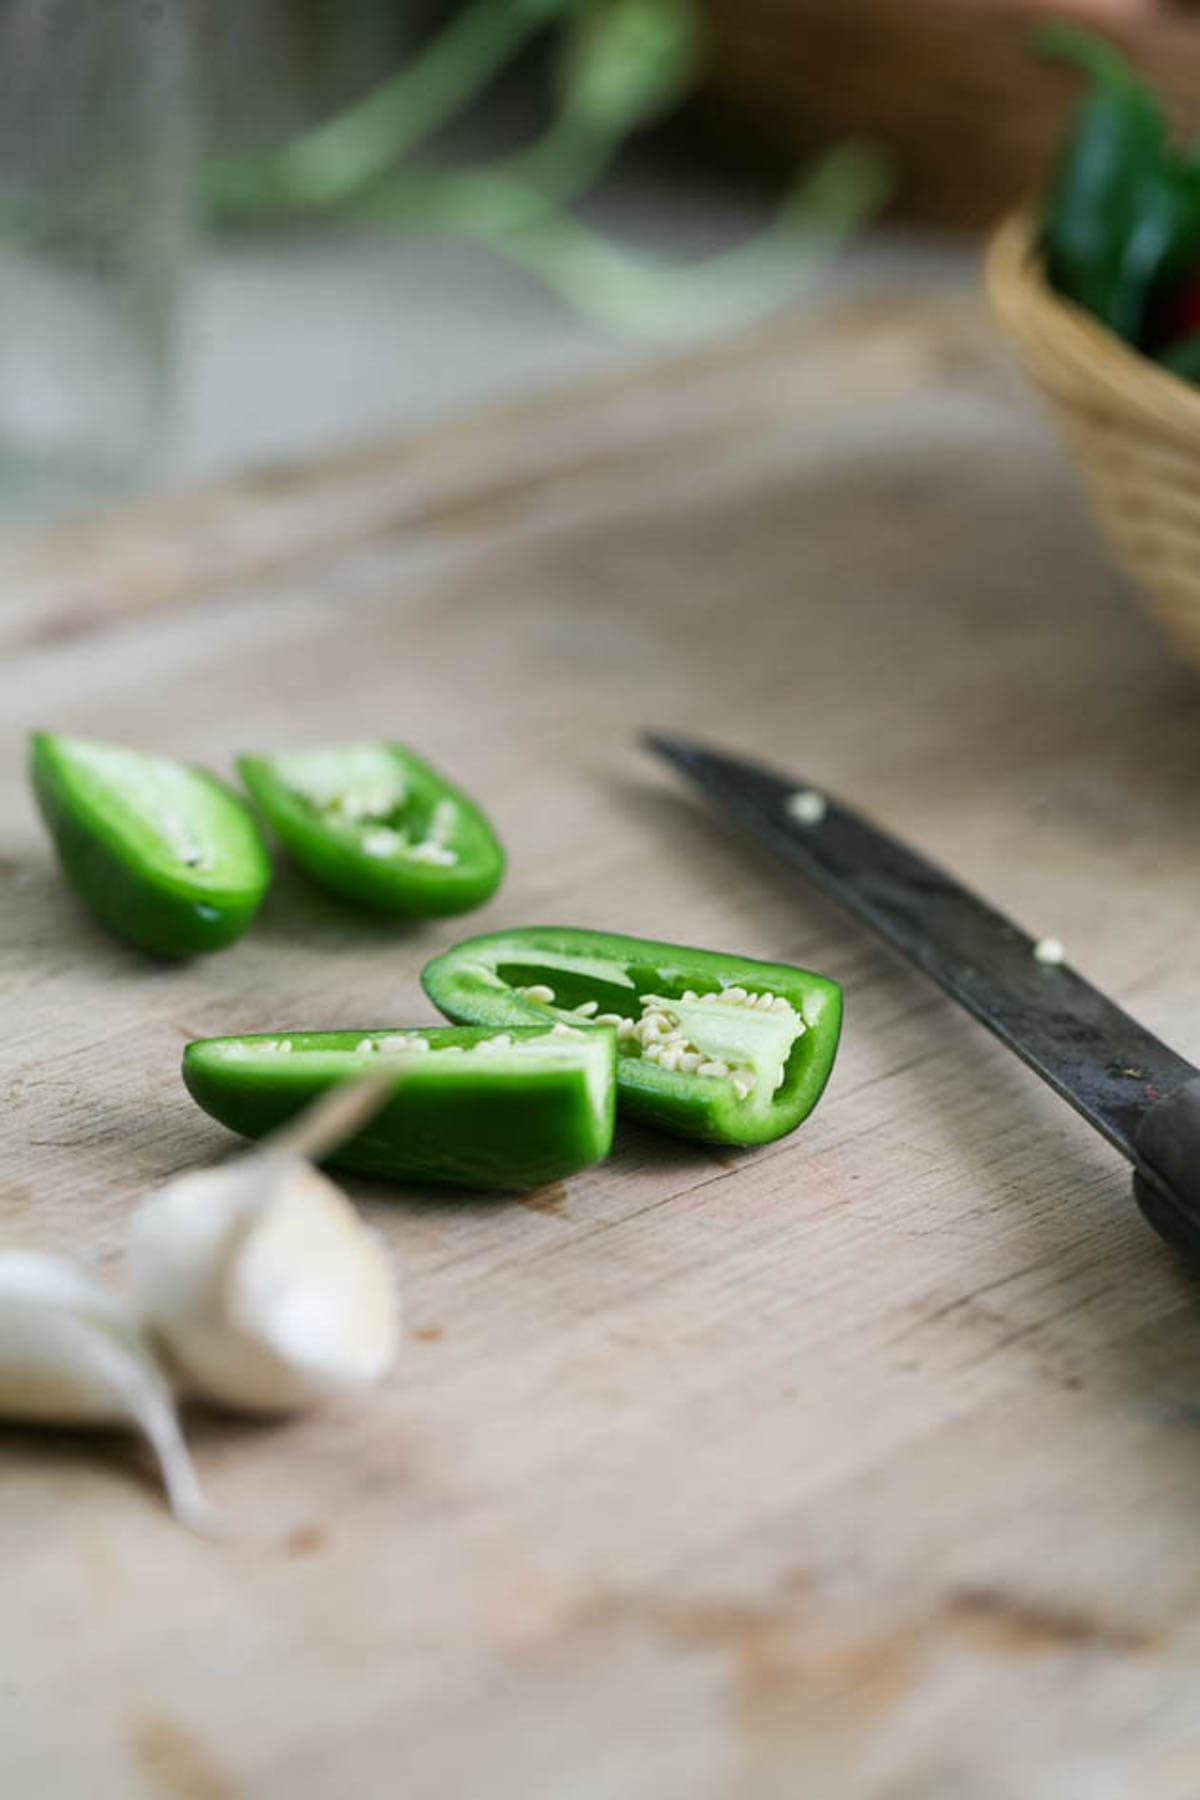
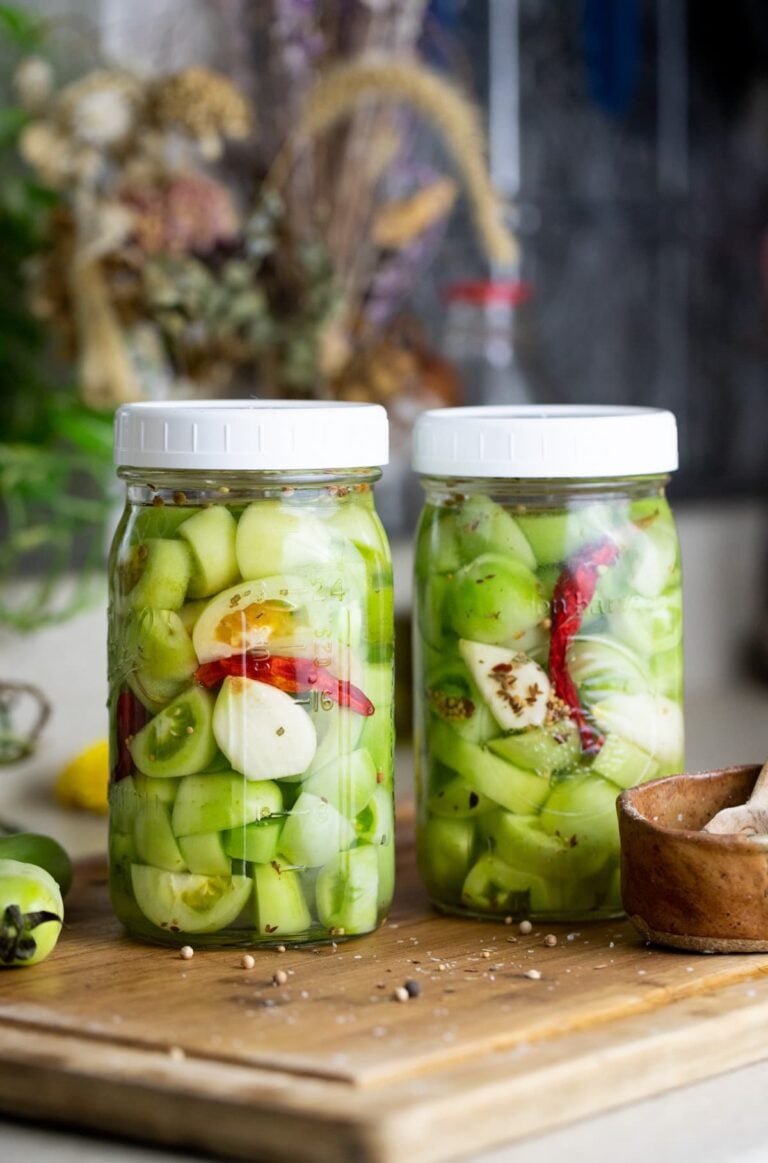
Step one – prepare the peppers. Wash your peppers before slicing them. There are a few ways to do this… You can leave the peppers whole and just make a small cut at their bottom to allow the brine to enter the pepper or you can remove the top of the peppers, slice them in half as I did and then you have the choice of leaving the seeds or removing them. The seeds add a lot of heat so depending on how spicy you want your ferment, it’s up to you to decide.
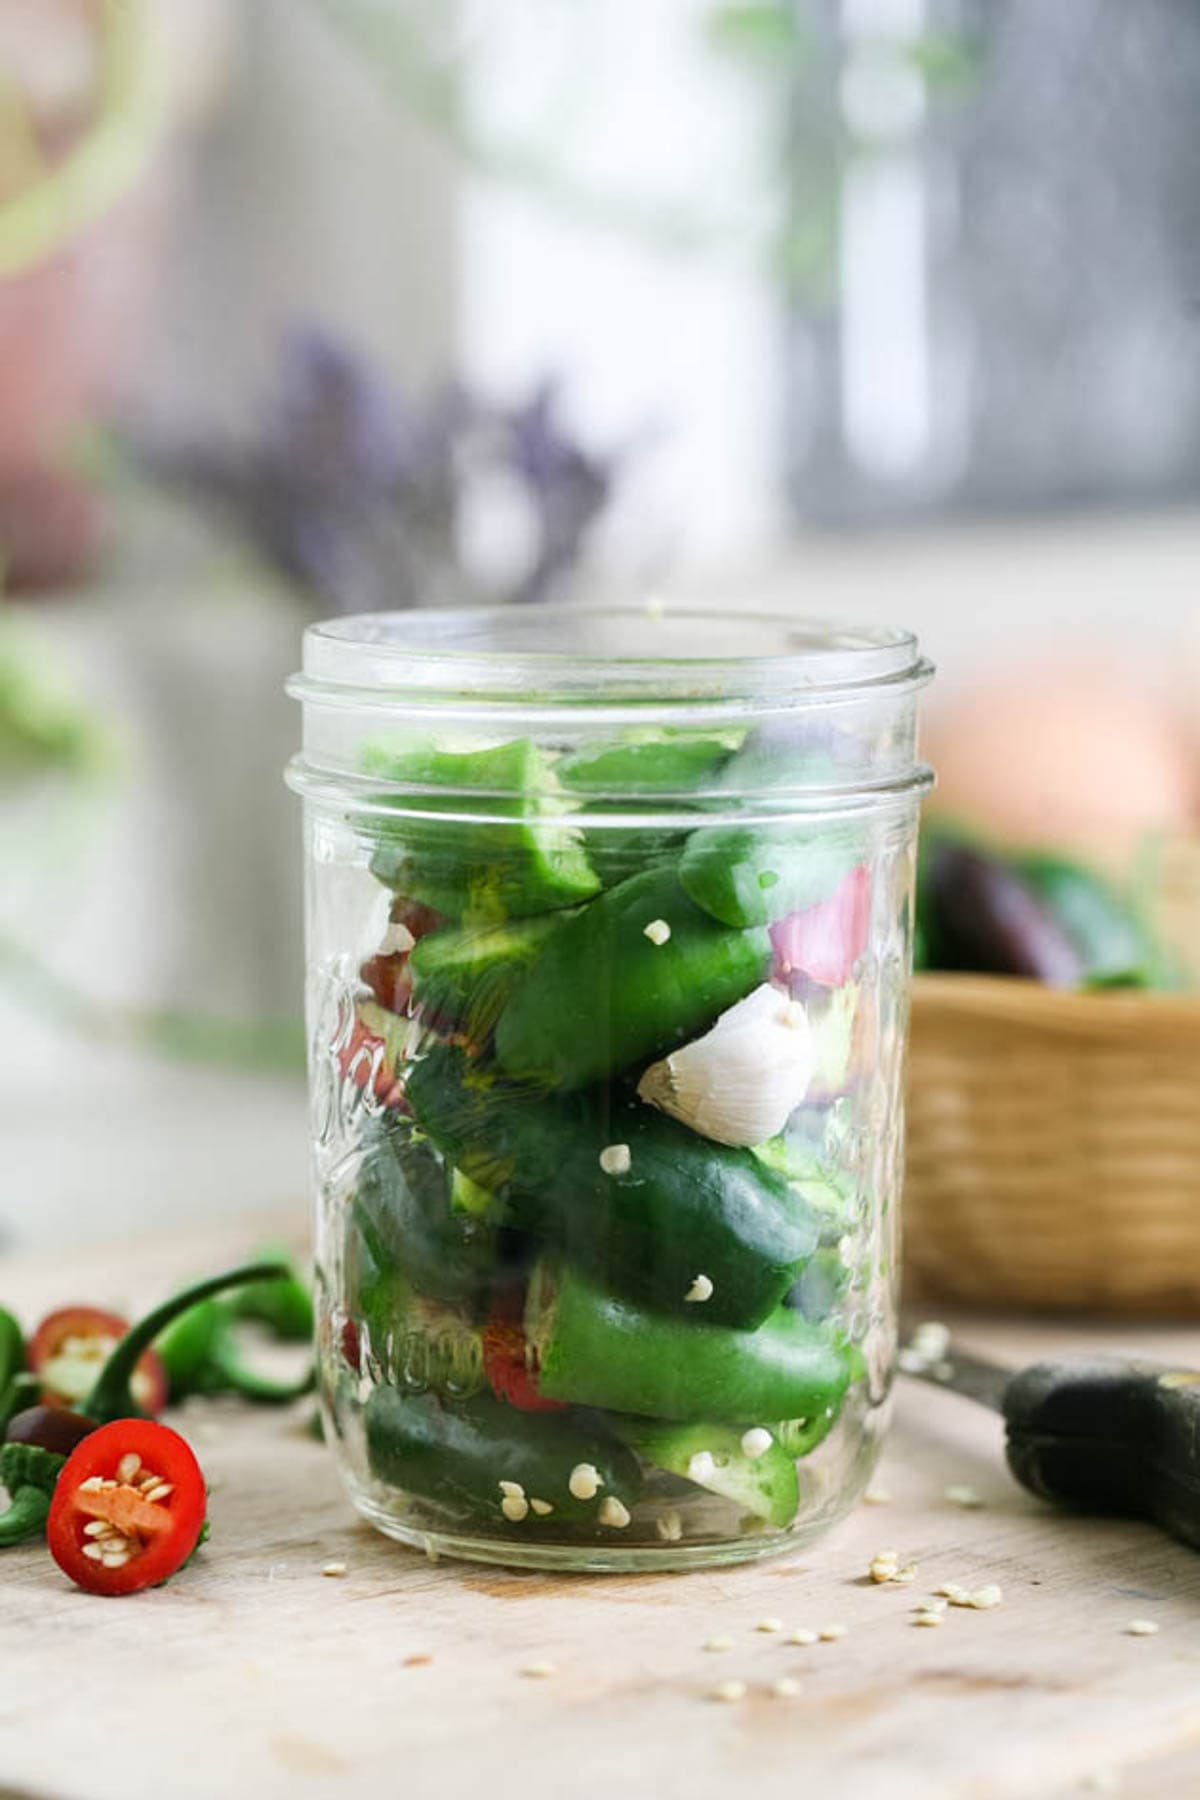
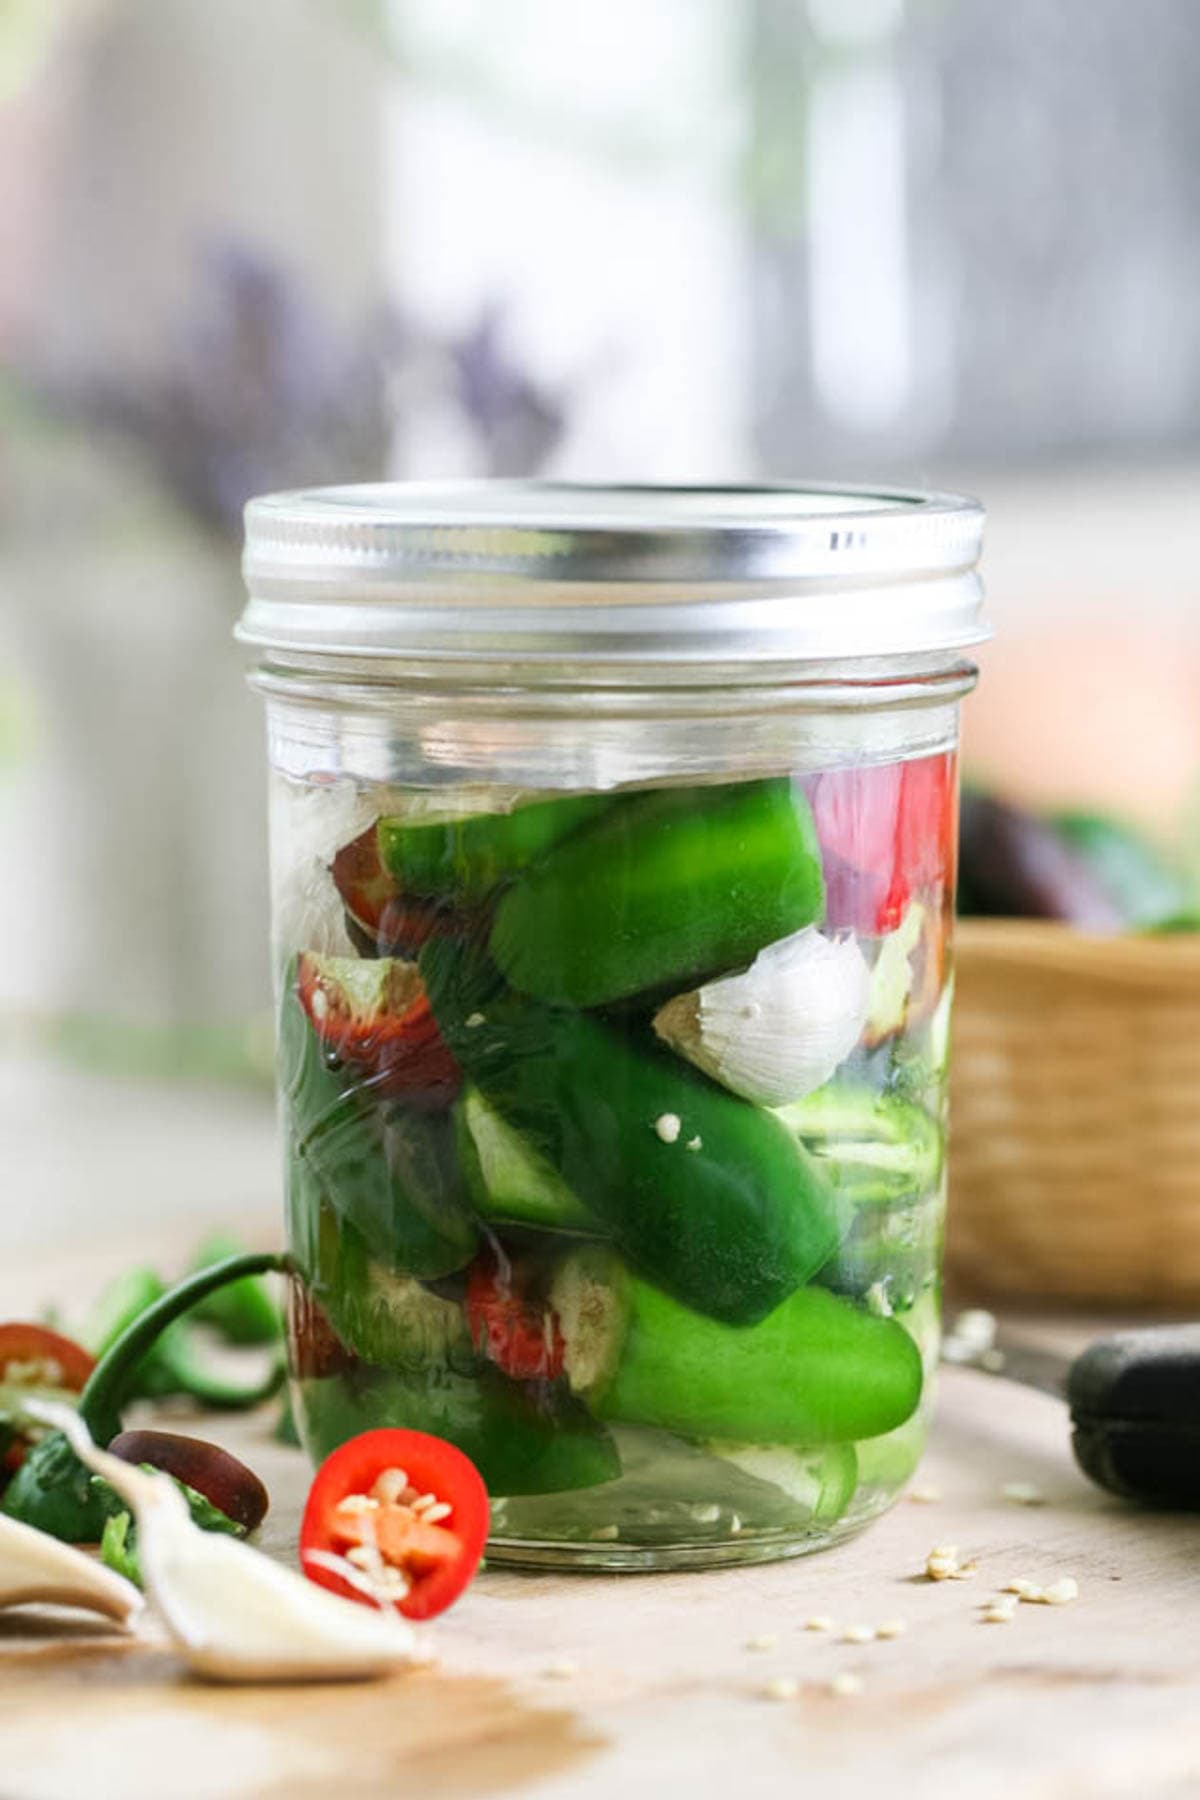
Step two – pack the jar. Pack the jar halfway with peppers, then, add the garlic and whatever other seasonings you choose to use. You don’t have to peel the garlic. Just place it on the cutting board, place a wide chopping knife on top of the clove and crush it. Then, add the crushed garlic clove to the jar with the peel still on it.
Once your seasonings are in, go ahead and fill the jar the rest of the way with the peppers. You want to make sure that you leave enough room for the fermentation weight. I find that I need to leave almost 2 inches of headspace.
Step three – make the brine. Add two cups of water to a two-cup measuring cup and add 2 teaspoons of salt. I find that this ratio creates a brine that is salty enough for me. If you like a more salty brine you can go up to one tablespoon of salt per one cup of water but no more. Add the brine to the jar until it covers the peppers…
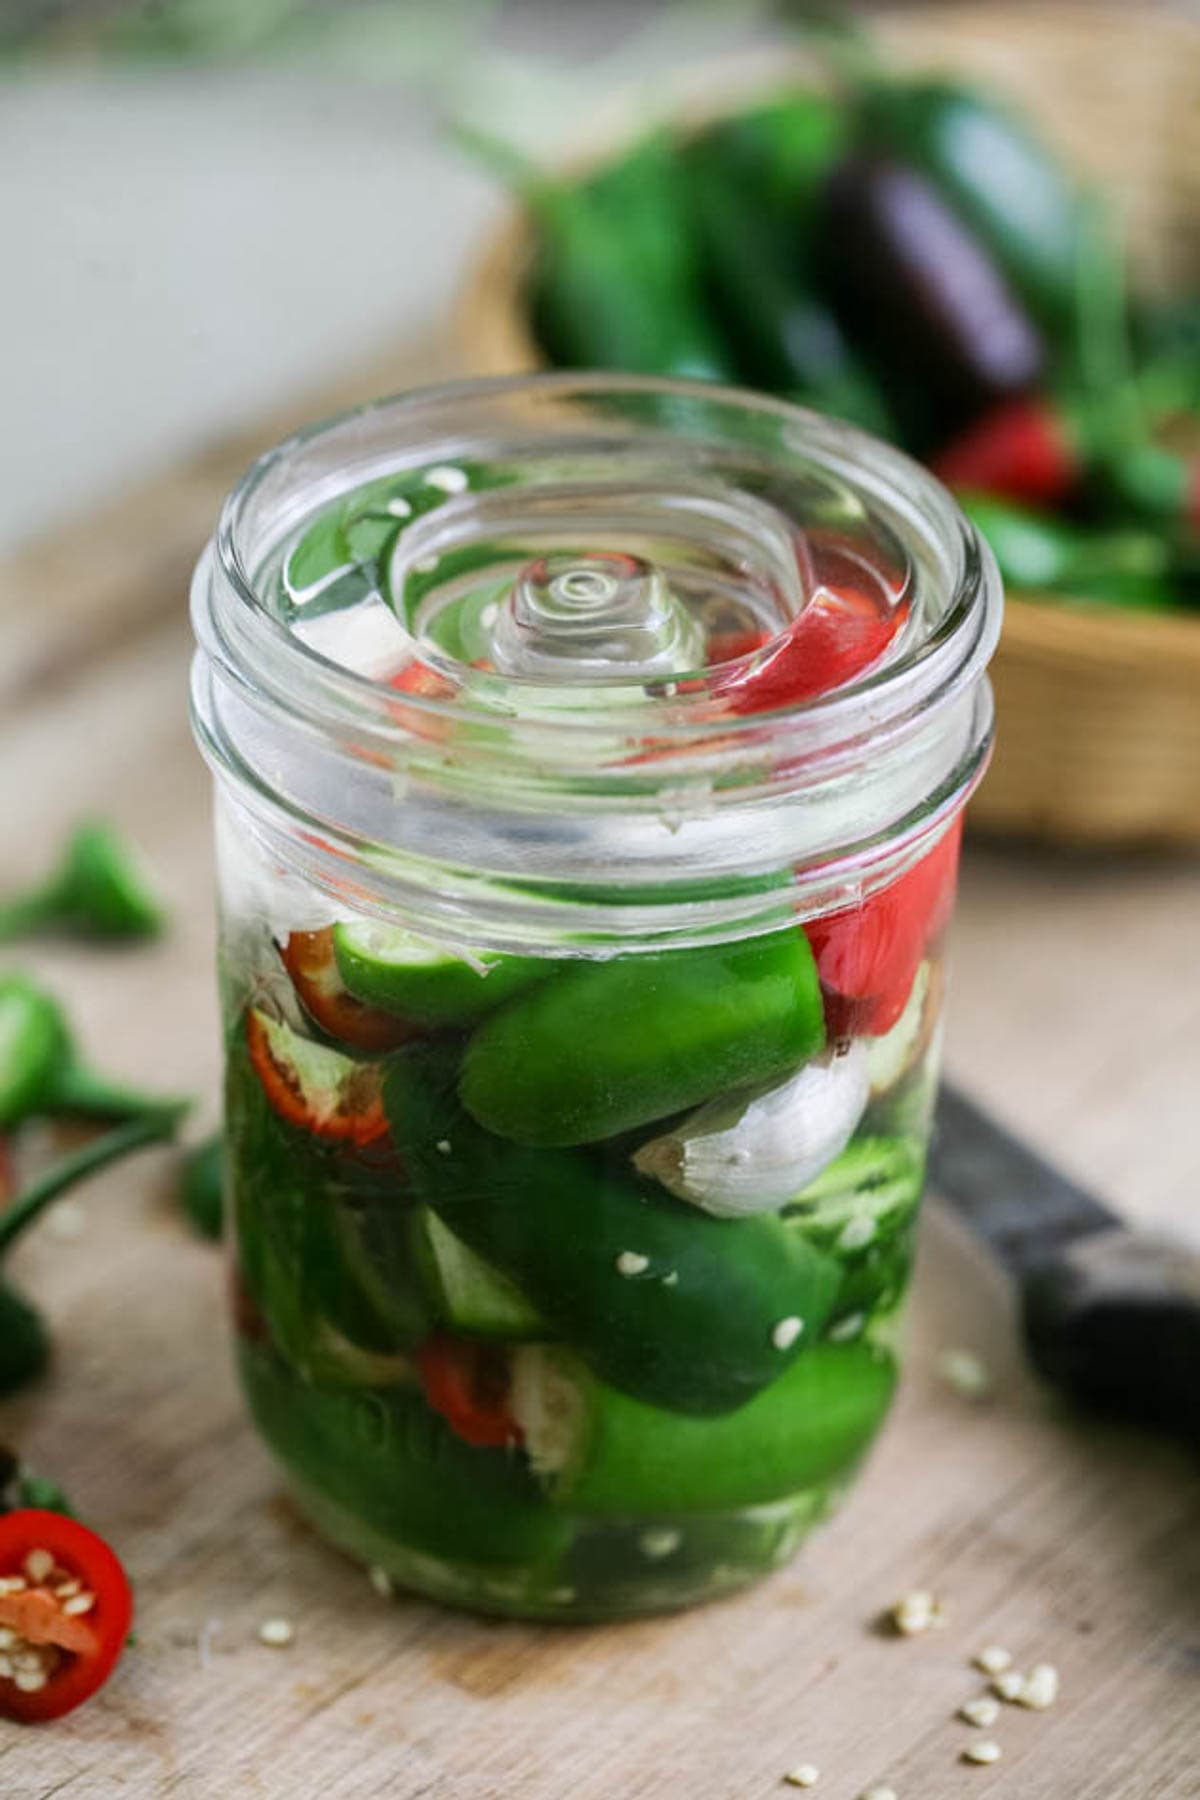
Step four – close the jar. Place the fermentation weight on top of the peppers and push it down a bit. It’s very important that all of the vegetables are under the brine. Then, screw the lid on.
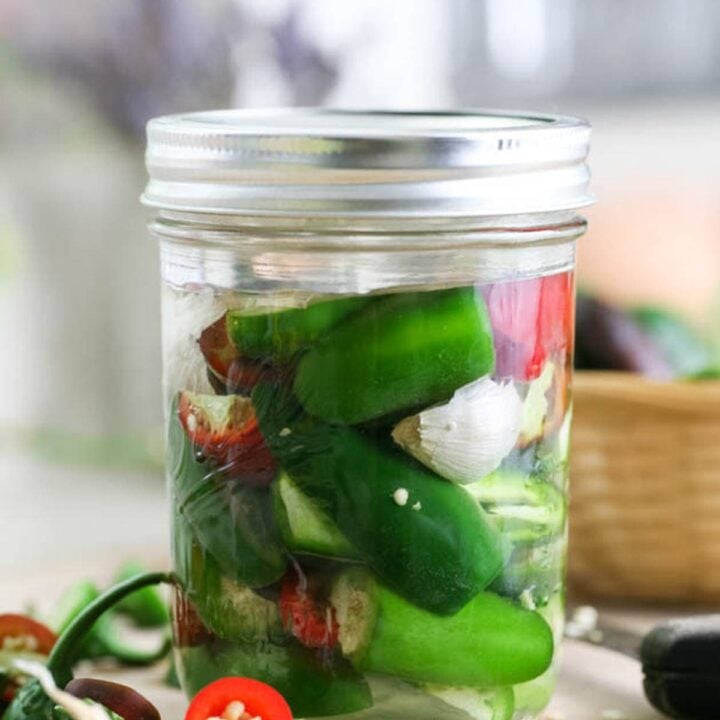
Step five – let your jar ferment. All that is left to do is to set the jar aside to ferment at room temperature (I place it on a plate to catch some of the extra brine that might spill during the fermentation process). For a pint size jar it’s probably going to take 5 to 7 days to ferment. For a quart jar, it’s probably going to take 7 to 10 days to ferment.
After a couple of days, you’ll notice some bubbles forming at the top of the jar, the brine will start to look foggy, and the peppers will start changing their color. That’s great, this is how you know that the process of fermentation is on its way.
Remember that if you are not using a special lid for fermentation you will have to “burp” the jar, meaning once a day you’ll need to twist the lid open (don’t lift it) for a couple of seconds before twisting it back. This will let the gases that form inside the jar during the fermentation process a way to escape.
Storing Fermented Jalapenos…
You’ll know that the fermentation process is complete when the brine clears again. It won’t be as clear as it was when you added it to the jar but it will be clearer than what it was during the fermentation process.
Once the fermentation process is done you can store your jar in cold storage. If you have a root cellar that’s great, if not, store your jar in the fridge. You can leave it at room temperature for a couple of weeks but I find that after that the vegetables start to soften and I personally don’t like the texture that they get.
It’s better if the jalapenos stay under the brine while the jar is in storage so keep the weight there for as long as it’s needed. Make sure that you use a clean fork or spoon each time to scoop peppers out.
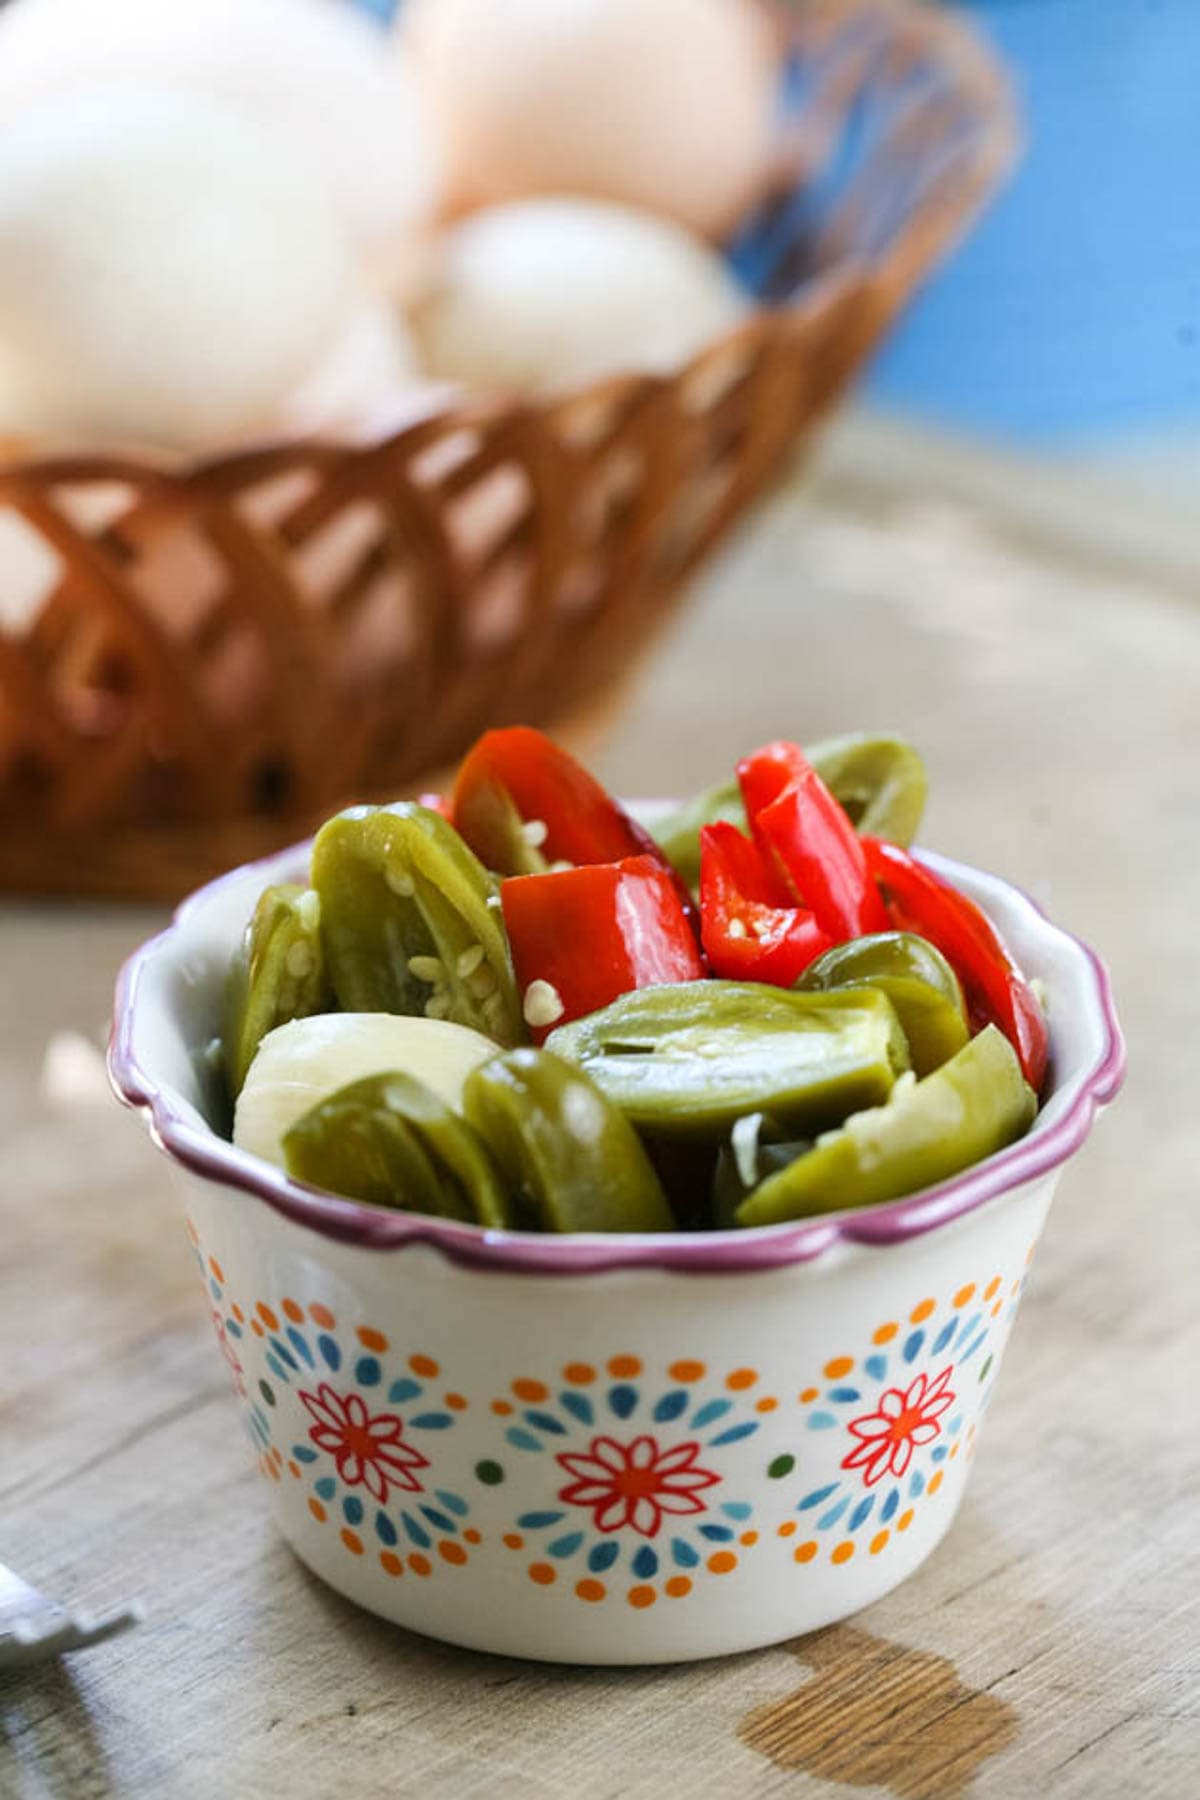
Serving Fermented Jalapenos…
- In a sandwich – add them to a burger or a BBQ sandwich or pulled venison wrap.
- Add them to stews – if your recipe calls for peppers, you can substitute with these fermented Jalapenos, or add them to a pot of chili.
- Throw them in salads – add them to an egg salad or a tuna salad, or chicken salad.
- Add them to casseroles – like this amazing zucchini casserole.
- Add them in bread – think cornbread or add them to the dough of this delicious Artisan bread.
- Use them as a snack – you can simply eat them as a snack whenever you feel like it!
Frequently Asked Questions…
The white film is kahm yeast and is not harmful. It develops when the sugars are used up and the pH of the ferment drops because of the lactic acid formation. Simply scoop it out when the ferment is done. More will develop but just scrape it off when you’re ready to eat your fermented jalapenos.
If your ferment develops raised and fuzzy black, pink, green, or blue mold throw it out. Be sure to clean all the utensils and vessels well.
Yes! Try adding carrots or cauliflower for a different flavor combination.
Definitely! You can add pickling spice mix, whole peppercorns, mustard seeds, bay leaves, dill, rosemary, chili flakes (for even more heat), or any other seasonings and spices you can come up with. You can make it a bit different each time.
This is a fun way to preserve jalapenos. Sometimes when there are a ton of vegetables coming from the garden all at once, you need a quick way to process them and fermentation is just it. It only takes a few minutes to put a jar together and they can last a long time in cold storage. Add to that the fact that they are also tasty and healthy and I think that we have a winner! I hope that you’ll give this recipe a try.
More Fermenting Tutorials…
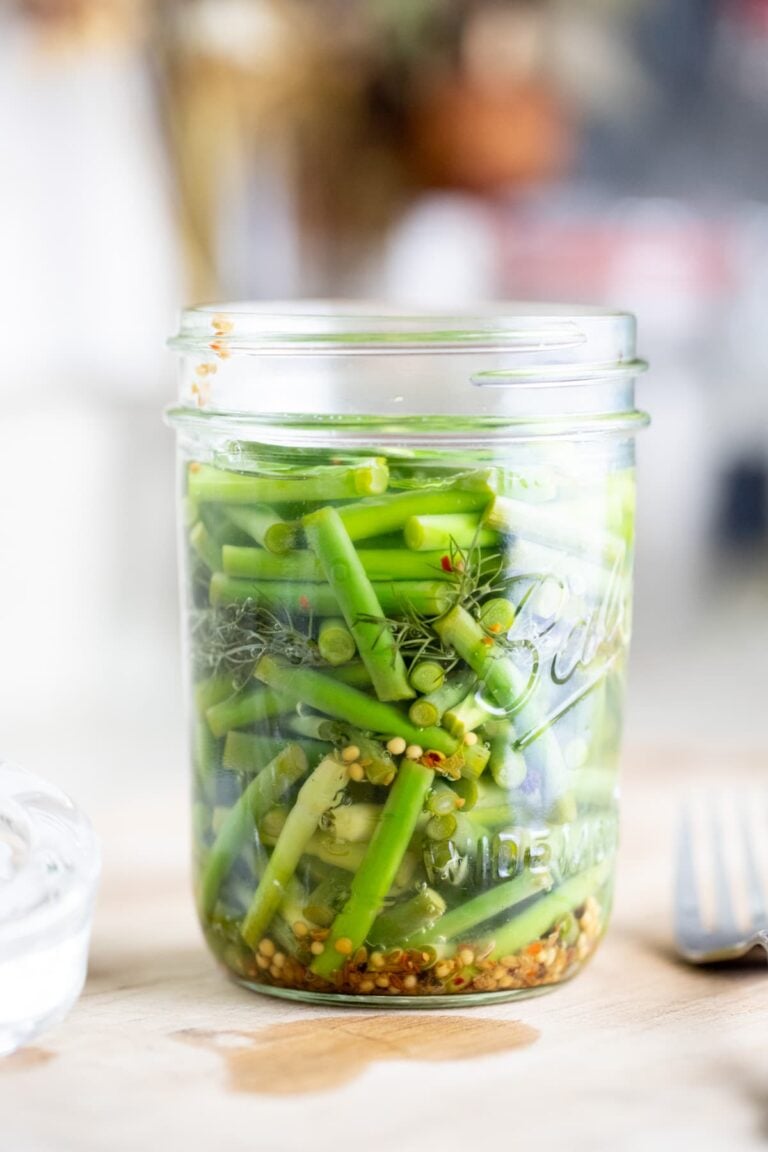
- Lacto Fermented Green Beans
- How to Ferment Beets (and watch the YouTube video tutorial)
- Easy Fermented Radish
- How to Ferment Turnips (and watch the YouTube video tutorial)
- Fermented Cauliflower
More Pepper Recipes and Tutorials…
- Canning Hot Peppers
- Canning Roasted Red Peppers
- How to Make Red Pepper Paste
- Mediterranean Stuffed Peppers
- Canning Poblano Peppers
Fermented Jalapenos
These lacto-fermented jalapenos are easy to make. They are healthy and delicious!
Ingredients
- Enough jalapenos to fill a pint or quart size jar (I used about 13 peppers for a pint jar but this will change depending on the size of the peppers).
- 2 garlic cloves, crushed (no need to peel them)
- Seasonings of your choice (ideas in notes)
- 1 teaspoon of kosher, sea, or canning salt per one cup of non-chlorinated water
- Tannin-rich leaves (optional. Read more in the notes below)
Instructions
- Wash your peppers before slicing them. There are a few ways to do this… You can leave the peppers whole and just make a small cut at their bottom to allow the brine to enter the pepper. You can remove the stem of the peppers, slice them in half, and then you have the choice of leaving the seeds or removing them. The seeds add a lot of heat so depending on how spicy you want your ferment, it’s up to you to decide.
- Pack the jar halfway with peppers, then, add the garlic and whatever other seasonings you choose to use. Once your seasonings are in, go ahead and fill the jar the rest of the way with the peppers. You want to make sure that you leave enough room for the fermentation weight. I find that I need to leave almost 2 inches of headspace.
- Place the fermentation weight on top of the peppers and push it down a bit. It's very important that all of the peppers are under the brine. Then, screw the lid on.
- Set the jar aside to ferment at room temperature (I place it on a plate to catch some of the extra brine that might spill during the fermentation process). For a pint-size jar, it’s probably going to take 5 to 7 days to ferment. For a quart jar, it’s probably going to take 7 to 10 days to ferment.
- After a couple of days, you'll notice some bubbles forming at the top of the jar, the brine will start to look foggy, and the peppers will start changing their color. That's great, this is how you know that the process of fermentation is on its way.
- Remember that if you are not using a special lid for fermentation you will have to "burp" the jar, meaning once a day you'll need to twist the lid open (don't lift it) for a couple of seconds before twisting it back. This will let the gases that form inside the jar during the fermentation process a way to escape.
- You’ll know that the fermentation process is complete when the brine clears again. It won't be as clear as it was when you added it to the jar but it will be clearer than what it was during the fermentation process. Once the fermentation process is done you can store your jar in cold storage. If you have a root celler that's great, if not, store your jar in the fridge. You can leave it at room temperature for a couple of weeks but I find that after that the vegetables start to soften and I personally don't like the texture that they get.
Notes
Frequently Asked Questions...
- What is the white film on top? Is it dangerous? Do I have to throw it out?
The white film is kahm yeast and is not harmful. It develops when the sugars are used up and the pH of the ferment drops because of the lactic acid formation. Simply scoop it out when the ferment is done. More will develop but just scrape it off when you’re ready to eat your fermented jalapenos. - If mold develops can I just scrape it off?
If your ferment develops raised and fuzzy black, pink, green, or blue mold throw it out. Be sure to clean all the utensils and vessels well. - Can I add other vegetables in with the jalapenos?
Yes! Try adding carrots or cauliflower for a different flavor combination. - Can I season my fermented Jalapenos?
Definitely! You can add pickling spice mix, whole peppercorns, mustard seeds, bay leaves, dill, rosemary, chili flakes (for even more heat), or any other seasonings and spices you can come up with. You can make it a bit different each time.
- Some vegetables, especially those with high water content, may become soft during the fermentation process. If you want to make sure that your vegetables stay as crunchy as possible, you can add tannin-rich leaves like blackberry leaves, bay leaves, or horseradish leaves to the jar. For a list of tannin-rich leaves, visit this post. I find that jalapeno peppers keep their texture well so I didn’t add any leaves here but if you’d like, feel free to add them.
- It’s better if the jalapenos stay under the brine while the jar is in storage so keep the weight there for as long as it's needed. Make sure that you use a clean fork or spoon each time to scoop peppers out.
Recommended Products
As an Amazon Associate and member of other affiliate programs, I earn from qualifying purchases (there is no change in product cost or charge to you! Thank you for helping me support the blog).
-
 6-Pack Easy Fermentation Glass Weights with Handles for Keeping Vegetables Submerged During Fermenting and Pickling, Fits for Any Wide Mouth Mason Jars, FDA-Apporved Food Grade Materials
 -
Ball Wide Mouth Pint 16-Ounce Glass Mason Jar with Lids and Bands, 12-Count
-
TUO Cutlery Vegetable Meat Cleaver Knife - Chinese Chef's Knife - HC German Stainless Steel with Pakkawood Handle with Case - 7" - Fiery Series
-
Heim Concept Organic Bamboo Cutting Board for Kitchen Extra Large Chopping Board with Juicy Groove Perfect for Meat, Vegetables, Fruits, Cheese


Nutrition Information:
Yield: 6 Serving Size: 1Amount Per Serving: Calories: 19Total Fat: 0gSaturated Fat: 0gTrans Fat: 0gUnsaturated Fat: 0gCholesterol: 0mgSodium: 356mgCarbohydrates: 4gFiber: 2gSugar: 2gProtein: 1g
Hi, I am doing a couple of fermentation. I am glad I found your site. I am fermenting beets and carrots, and halopino at the moment. I will let you know how they turn out.
Elfa, it can be many things. First, it’s just some sort of weight to keep your veggies under the brine so mold does not grow. Some people buy a ceramic weight to keep the veggies under the salt brine. Some buy glass weighted or half fill a baggie with some water to use as a weight.
I bought some Ball fermentation lids and some springs that go with them and use them right now. So I don’t have to burp the jars or waste a lid and band ferment something.
Can I just ferment the jalapeno peppers? I’m not a fan of vinegar.
Yes, you don’t have to use vinegar, you can just ferment the peppers in a brine.
What is a fermentation weight?
I linked to it in the post under the section of kitchen tools. If you click on it it will take you to Amazon so you can see it. It’s a glass weight disk that you place on the vegetables. It pushes them down so they are all under the brine.