This post may contain affiliate links, view our disclosure policy for details.

Fermenting turnips is easy and quick! The fermenting process turns the turnips into a probiotic food that is both delicious and very healthy. This is a great way to preserve turnips!
Confession time… I hate turnips. Ok, I don’t hate, HATE turnips but I just don’t like them much. I never grow them in the garden, my kids won’t eat them and I don’t like them raw (I know some people that will eat them like an apple…).
I’ve never tried cooking them… Do you cook them? I don’t even know… So why do I write about fermented turnips you ask? Let me tell you…
Fermenting Turnips…
You know how some homesteaders can’t help themselves in the spring when they enter Tractor Supply and come face to face with a bunch of chirping, fuzzy, baby chickens? They end up going home with 10 chicks that they have no clue where they are going to house… You know those homesteaders? Maybe you are one of them?
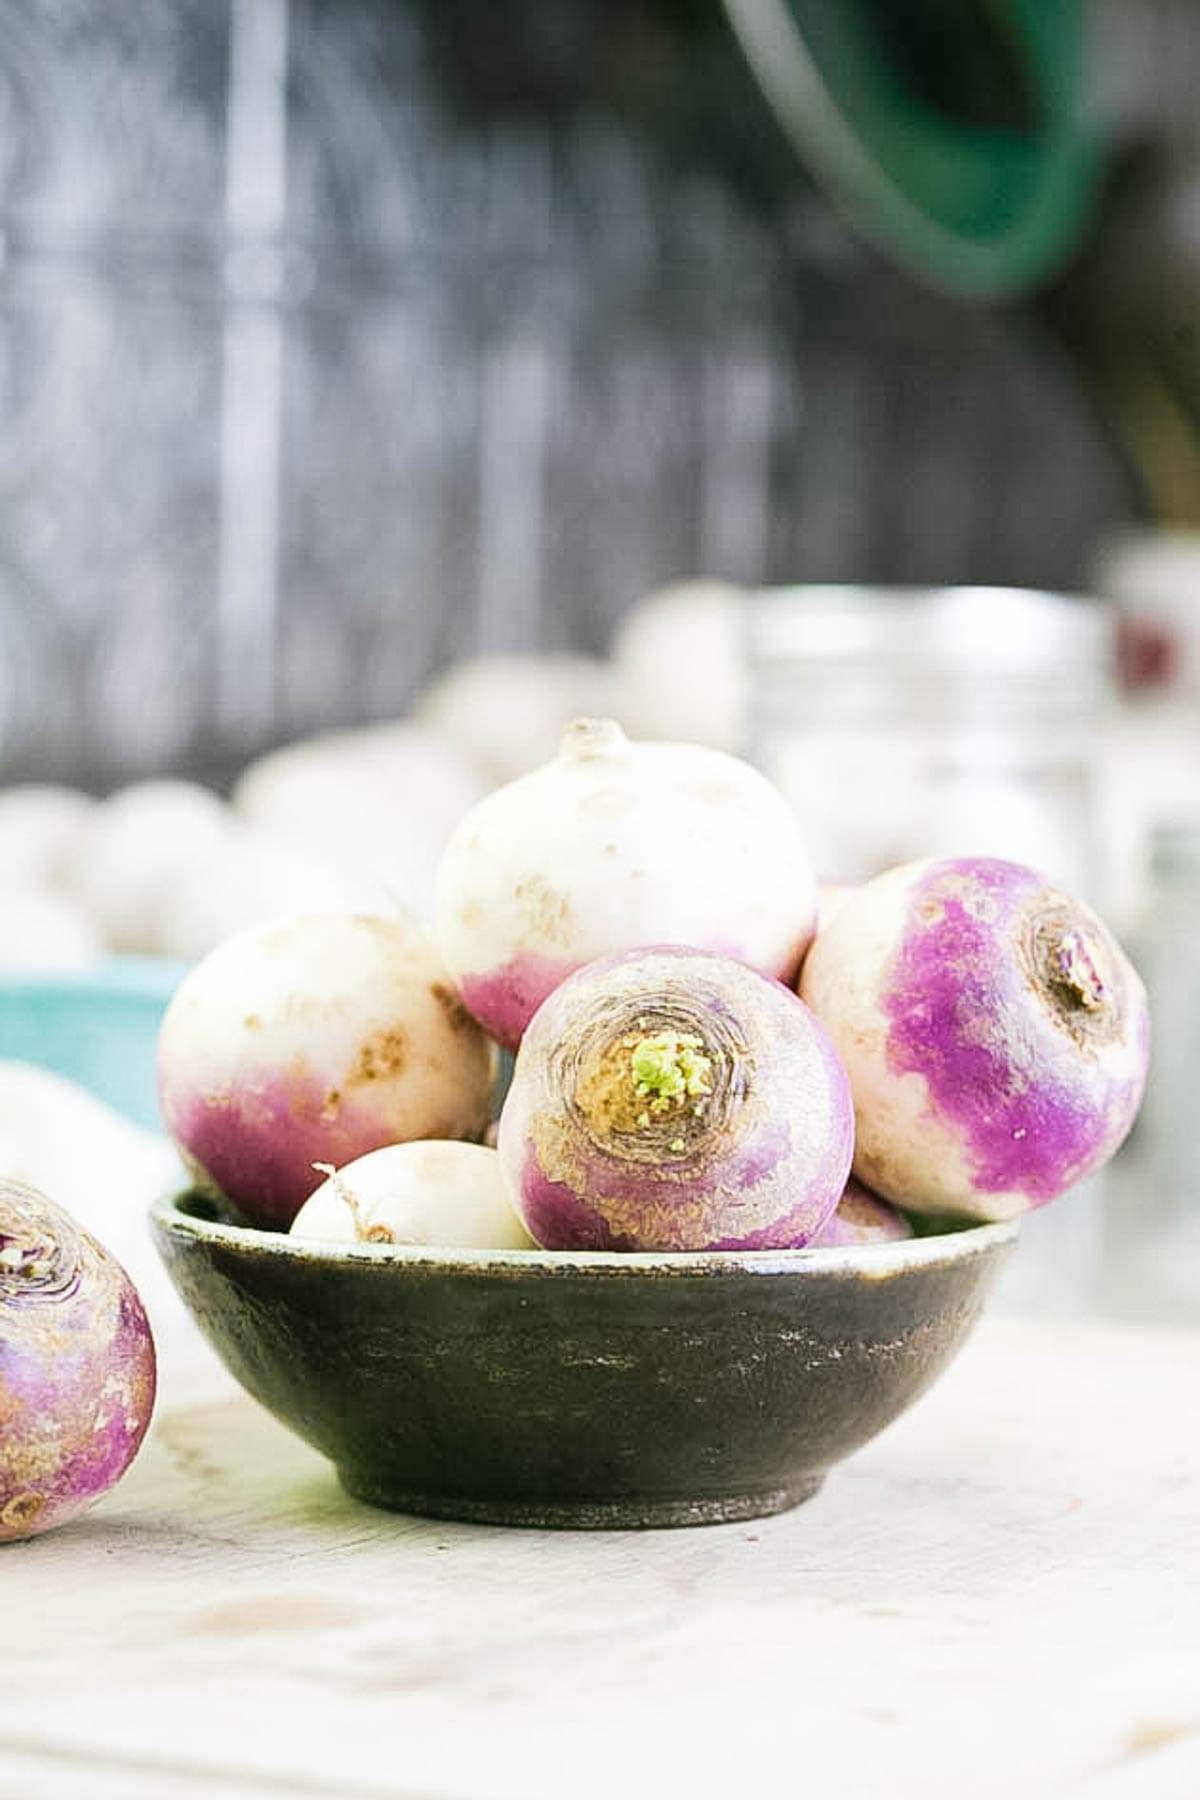
I am not. I don’t impulse buy animals. I impulse buy plants. Mainly vegetable plants and seeds… And also vegetables… I have a thing with vegetables. So a few weeks ago when I came face to face with a free bag of firm, round, white/purple, delicious-looking (even though I know that I don’t like them) turnips, I couldn’t leave it behind.
I had to take the bag home and, as always, I thought to myself that if I don’t eat them the goats and the chickens will eat them. Then they’ll poop their glorious poop which will feed the tomatoes that I do really, really, really like to eat. Anyway, I looked at it as a win-win.
So then I got home and couldn’t bring myself to feed the delicious-looking turnips to the goats… I wanted to find something to do with them that would make me like turnips. Now, I had already done something similar a few months ago… Back then, the star of the show was radish. Same story… I don’t like radishes but I ended up with a huge crate of them. I decided to ferment some of the radishes and discovered that I really really liked them lacto-fermented.
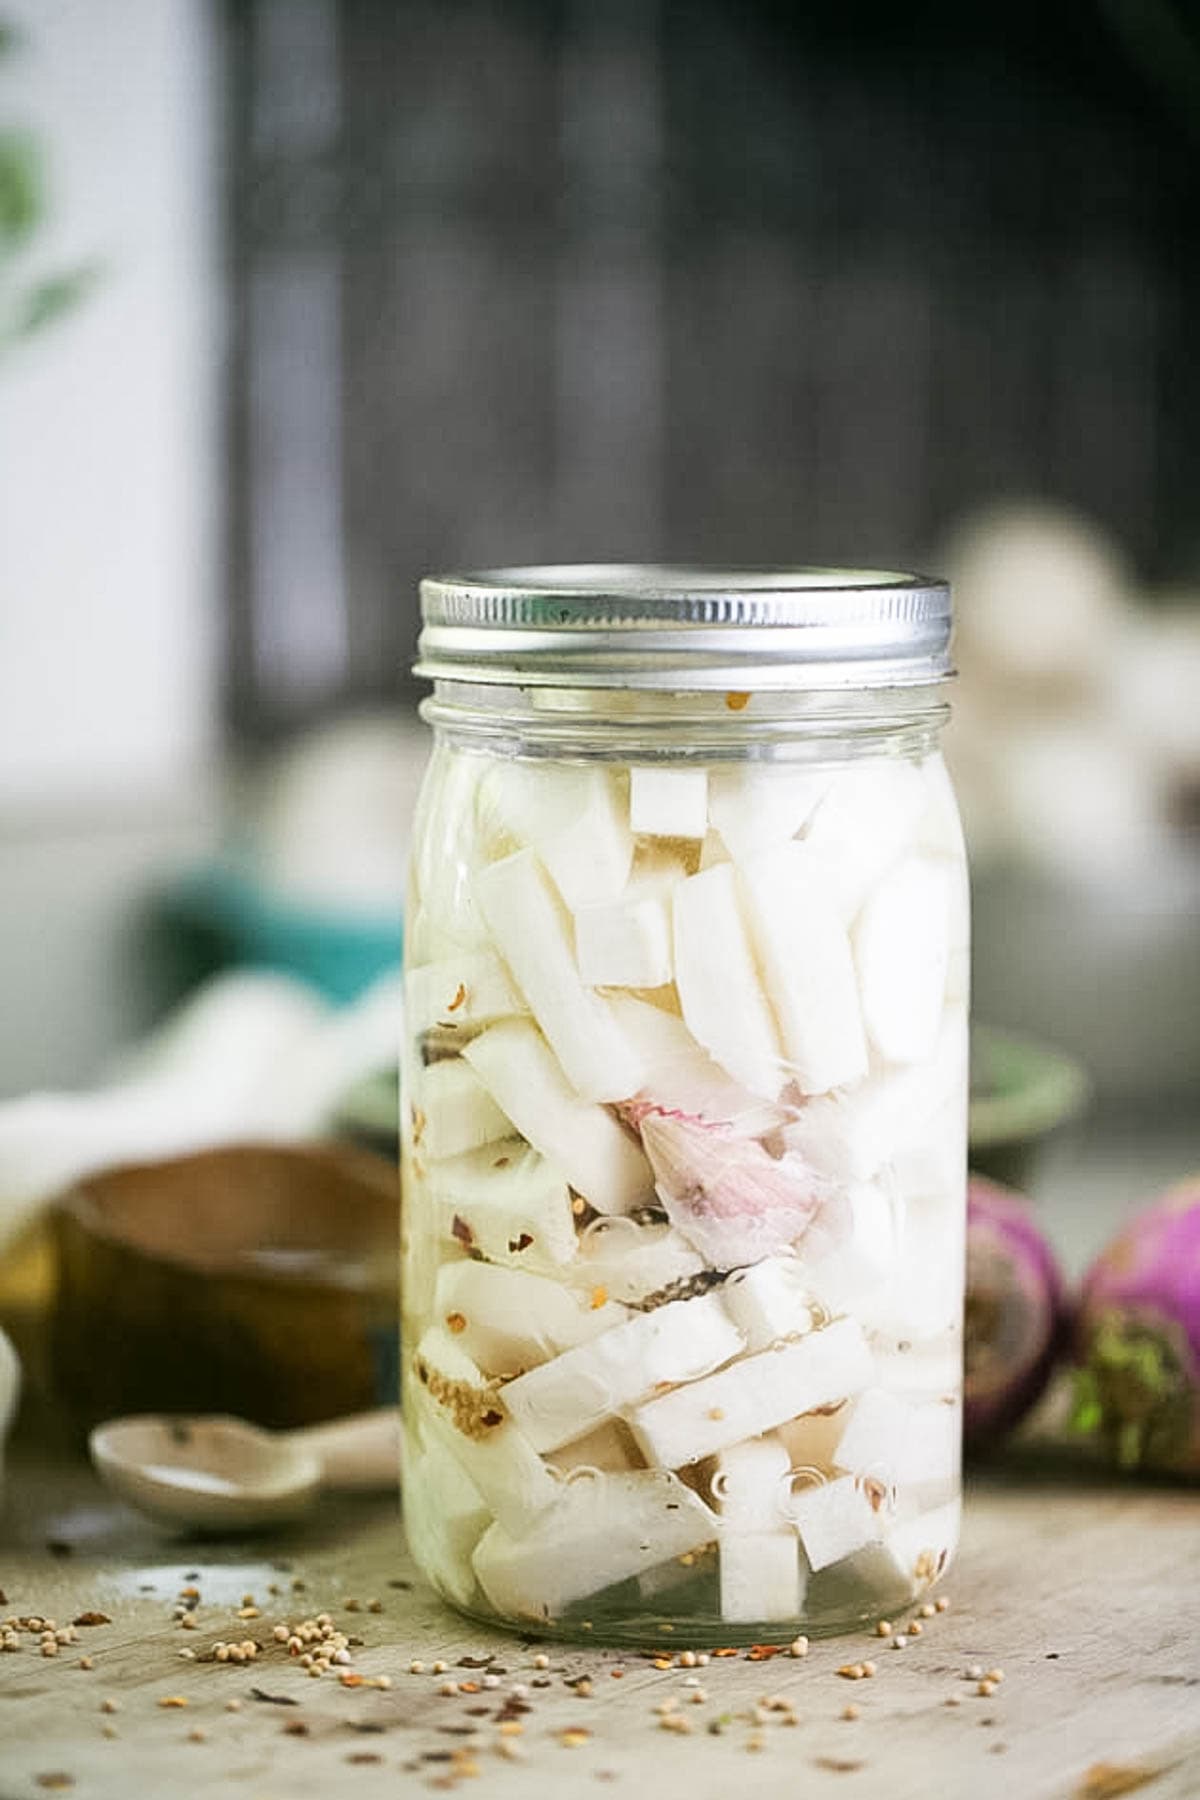
So I figured I’d do the same with the turnips and ferment them. Oh my! I might not like turnips but I do indeed like fermented turnips! Fermenting turnips is easy and quick and the fermenting process gives them much more flavor. You can season them however you want and make them a bit different each time.
They stay firm but they are salty and a little spicy. They are a great snack and a healthy one too because of all the added good bacteria that is forming due to the fermenting process.
What is Fermentation?
Fermentation is the process of using microorganisms, such as bacteria or yeast, to convert carbohydrates to alcohol or lactic acid under anaerobic conditions. There are a couple of types of fermentation…
Alcoholic fermentation is when we use yeast to break down sugars into carbon dioxide and ethanol. This is the process we use to make beer, wine, and bread.
Lacto-fermentation is the process of using bacteria, named Lactobacillus, to convert sugars into lactic acid. This bacteria (some form of it) is actually present in our digestive system naturally and is also present on the surface of plants.
Lactic acid is a preservative that helps us preserve foods by preventing the growth of harmful bacteria. Lacto-fermentation, which is the process we are going to use to preserve our turnips, also increases the vitamin and enzyme level of the vegetables we ferment.
Adding fermented foods to our diet can help us introduce additional probiotics, or in other words, beneficial bacteria to our digestive system in a natural way. Beneficial bacteria help us digest food, helps support a healthy metabolism and an overall well functioning and healthy digestive system which we all know is super important for our overall health and strength.
So let’s recap… We take a vegetable, let it sit in a solution and steep for a few days, the sugars in the vegetable break down and start promoting the growth of beneficial bacteria. Lactic acid is formed and prevents the growth of harmful bacteria which makes it possible for us to preserve what’s in the jar (in cold storage). With fermented food, we get to add beneficial bacteria to our gut and are able to keep the food for a longer period!
Ingredients…
- Turnips – make sure to start with fresh, firm turnips. To fill a quart size jar I ended up using 5 medium turnips. How you slice them really doesn’t matter just take into consideration that the thinner the slices are the faster they’ll soften in the brine, which is not necessarily a bad thing. Some people like to slice them really thin or even shred their turnips which makes it easier to use them in a sandwich.
- Spices – to season the turnips, I used 1/4 teaspoon of chili flakes, 1/2 teaspoon of mustard seeds, and 2 crushed (not peeled) garlic cloves. You can do the same or get creative and use whatever other seasonings that you want. You can use just garlic or you can add dill, thyme, bay leaves, rosemary, mustard seeds, pickling spice mix, peppercorns, hot or mild dry peppers, chili flakes, or anything else that you can come up with. Try something different each time until you find your favorite seasoning combination.
- Brine – we are going to need salt and water. When you use salt to preserve food, always make sure that you use non-iodised salt like kosher, sea, or canning salt and not table salt. Also make sure that you are using non-chlorinated water (distilled is fine).
Tools…
- Cutting board
- Vegetable peeler
- Knife
- Wide mouth quart jar (I think that quart jars with a wide mouth are the best size to use here but of course you can use any jar size that you want).
- 2 cup measuring cup to make the brine.
- Fermentation weight to place on the turnips so they stay under the brine. You can find online all kinds of homemade fermentation weight ideas like using rocks and apples or whatever else but I strongly suggest that you purchase glass fermentation weights. They will save you a lot of time and food!
- Wide mouth lid and band. I used the metal lid here but I actually suggest that you use the freezer lid since it won’t rust in storage. There are many fancy fermentation lids on Amazon if you feel like trying them but I usually just use the regular lids and “burp” the jar myself (more on this later).
How to Ferment Turnips…

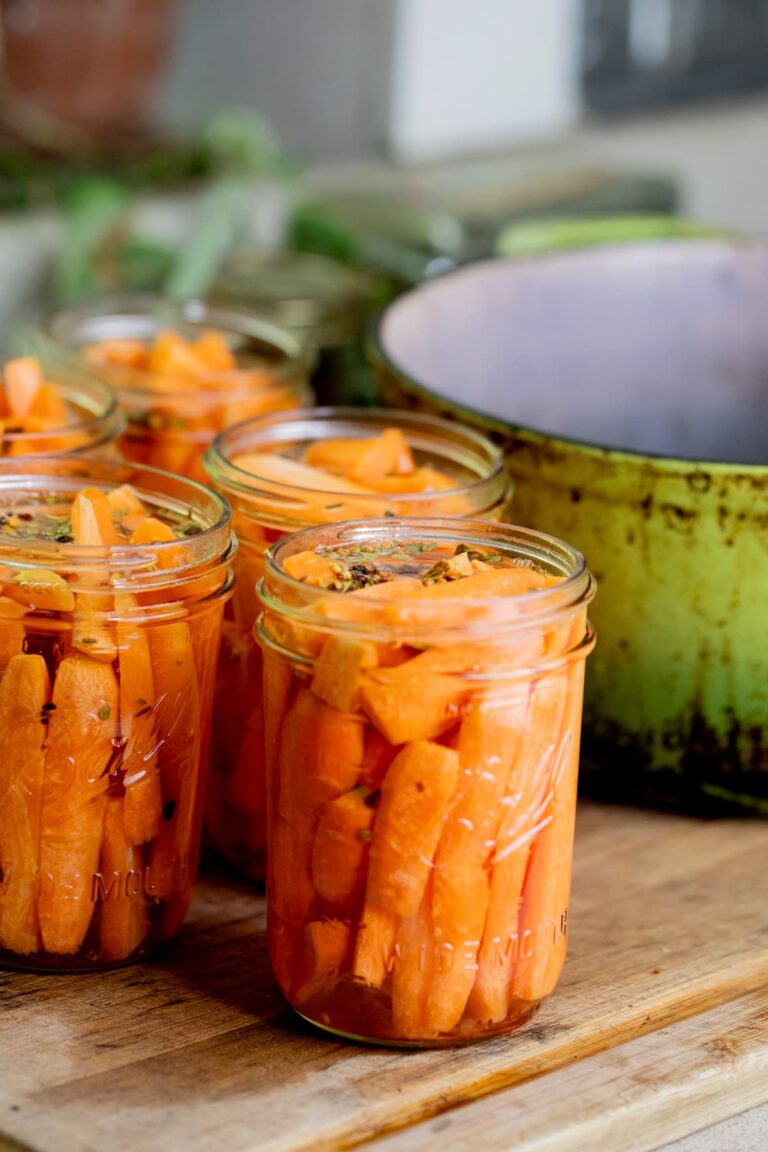
Step 1 – prep the turnips. Wash the turnips and cut off the top and bottom. Use the vegetable peeler to peel the turnips and then slice them however you want (again, you can even shred them if you’d like). I cut mine just like you’d cut a potato into french fries.
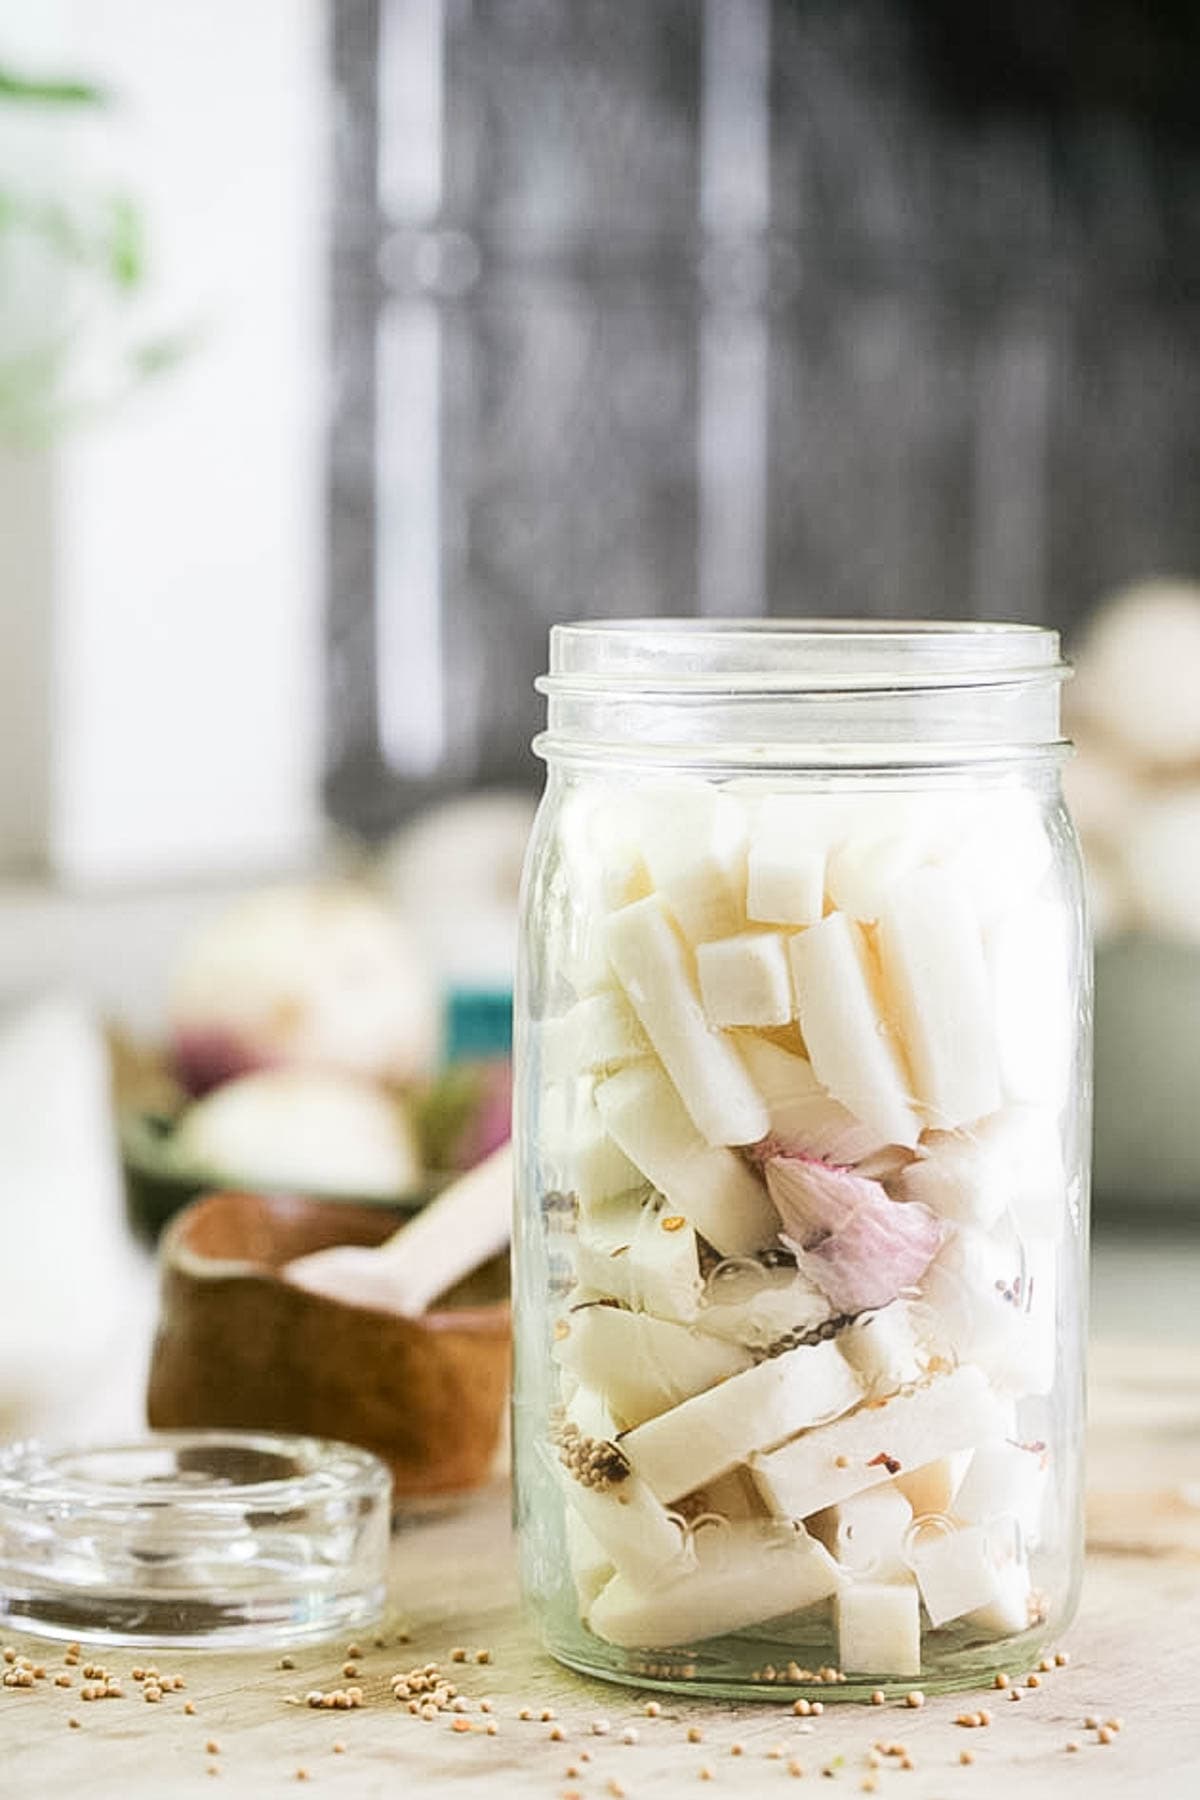
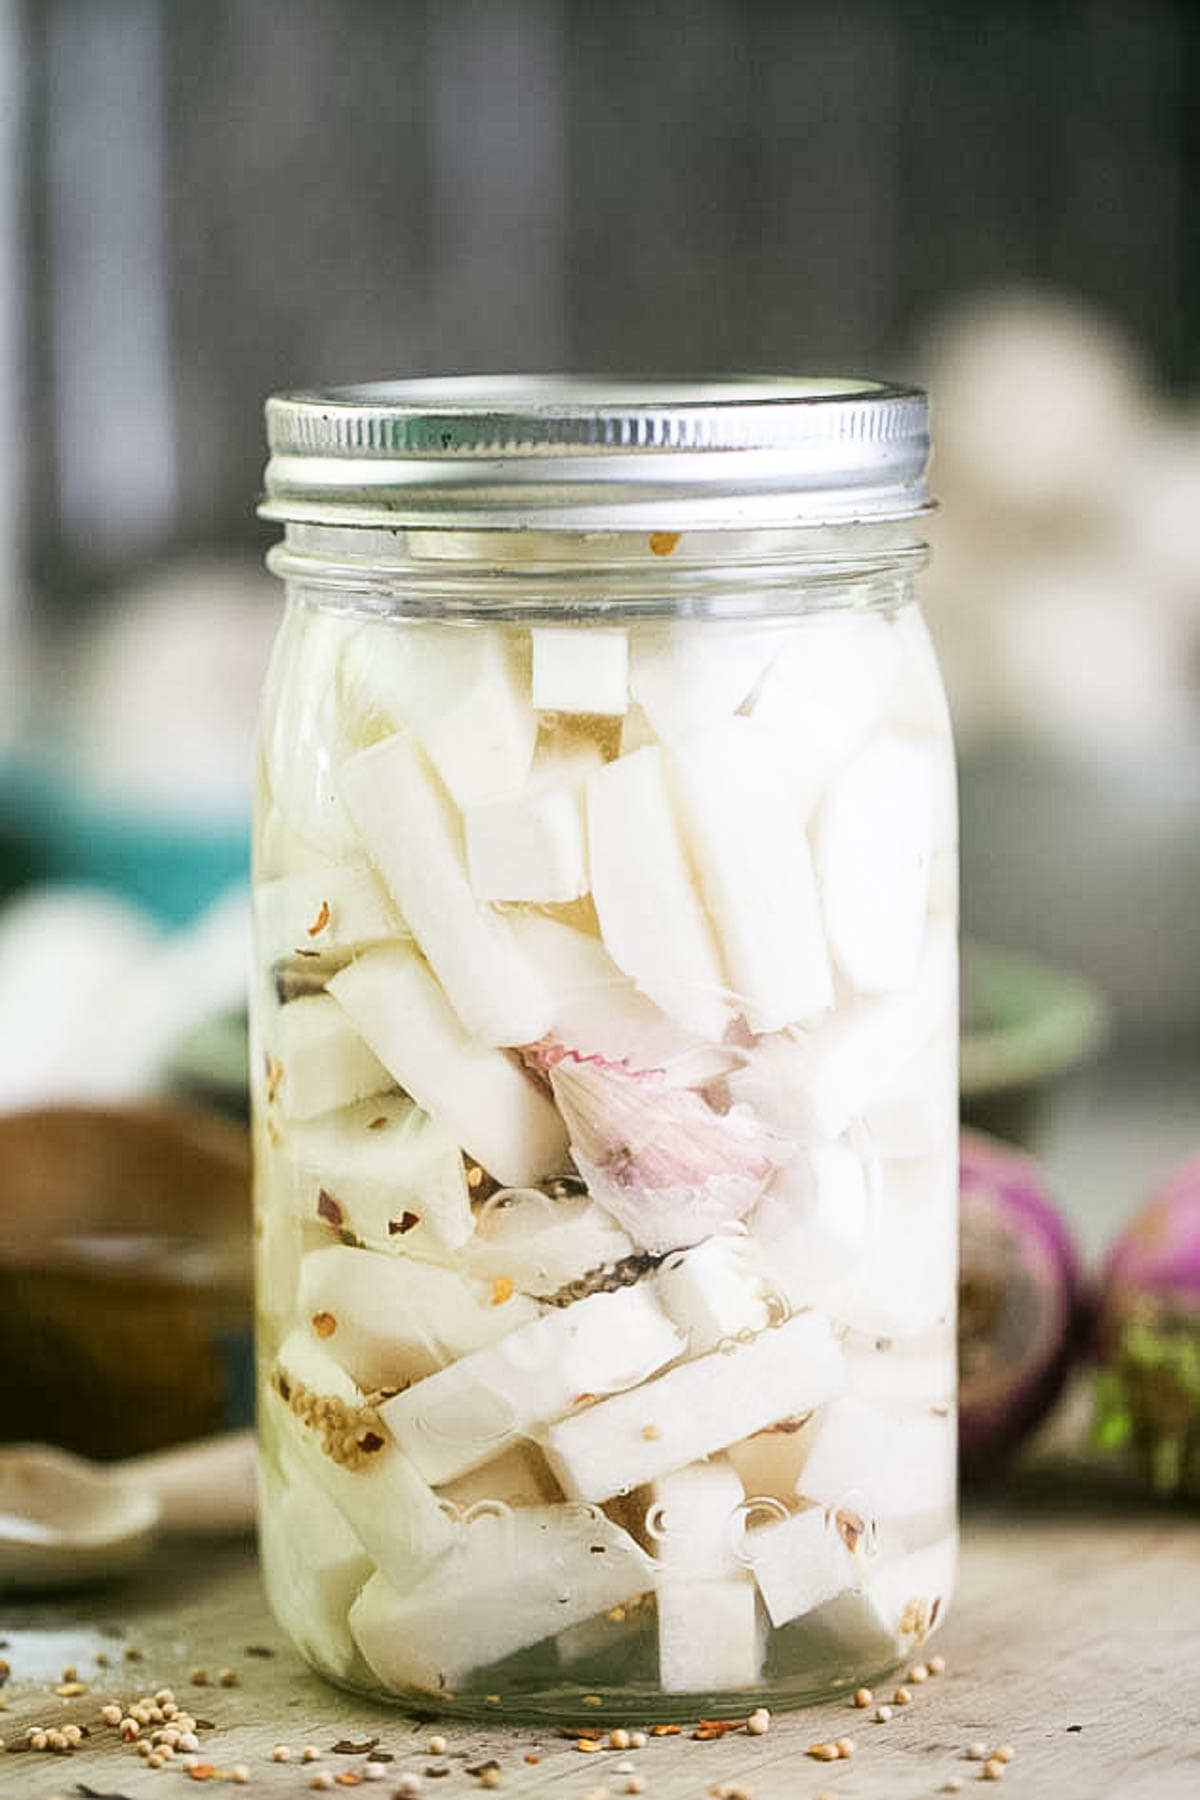
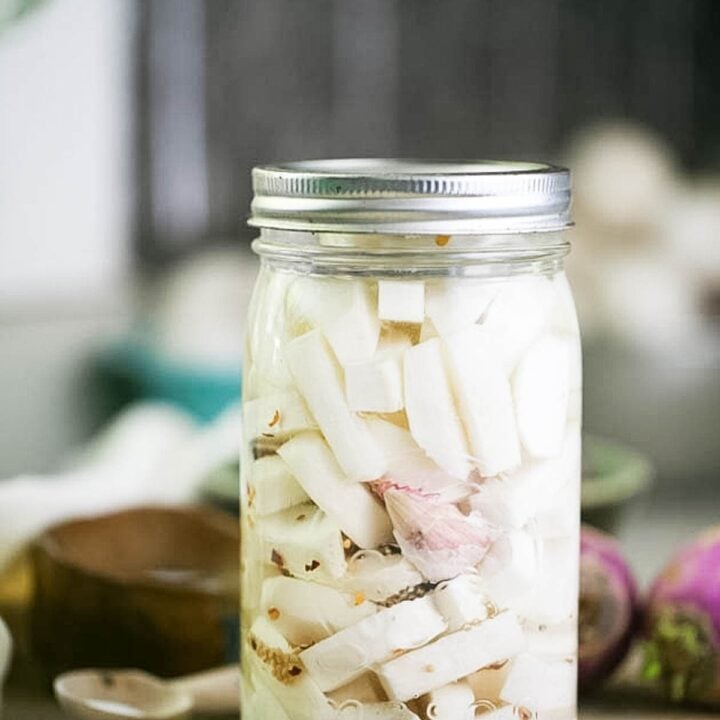
Step 2 – pack the jar. Wash your jar with hot water and soap then pack it halfway with the turnips, add the seasonings and fill the jar with the rest of the turnips making sure to leave 2 inches of headspace.
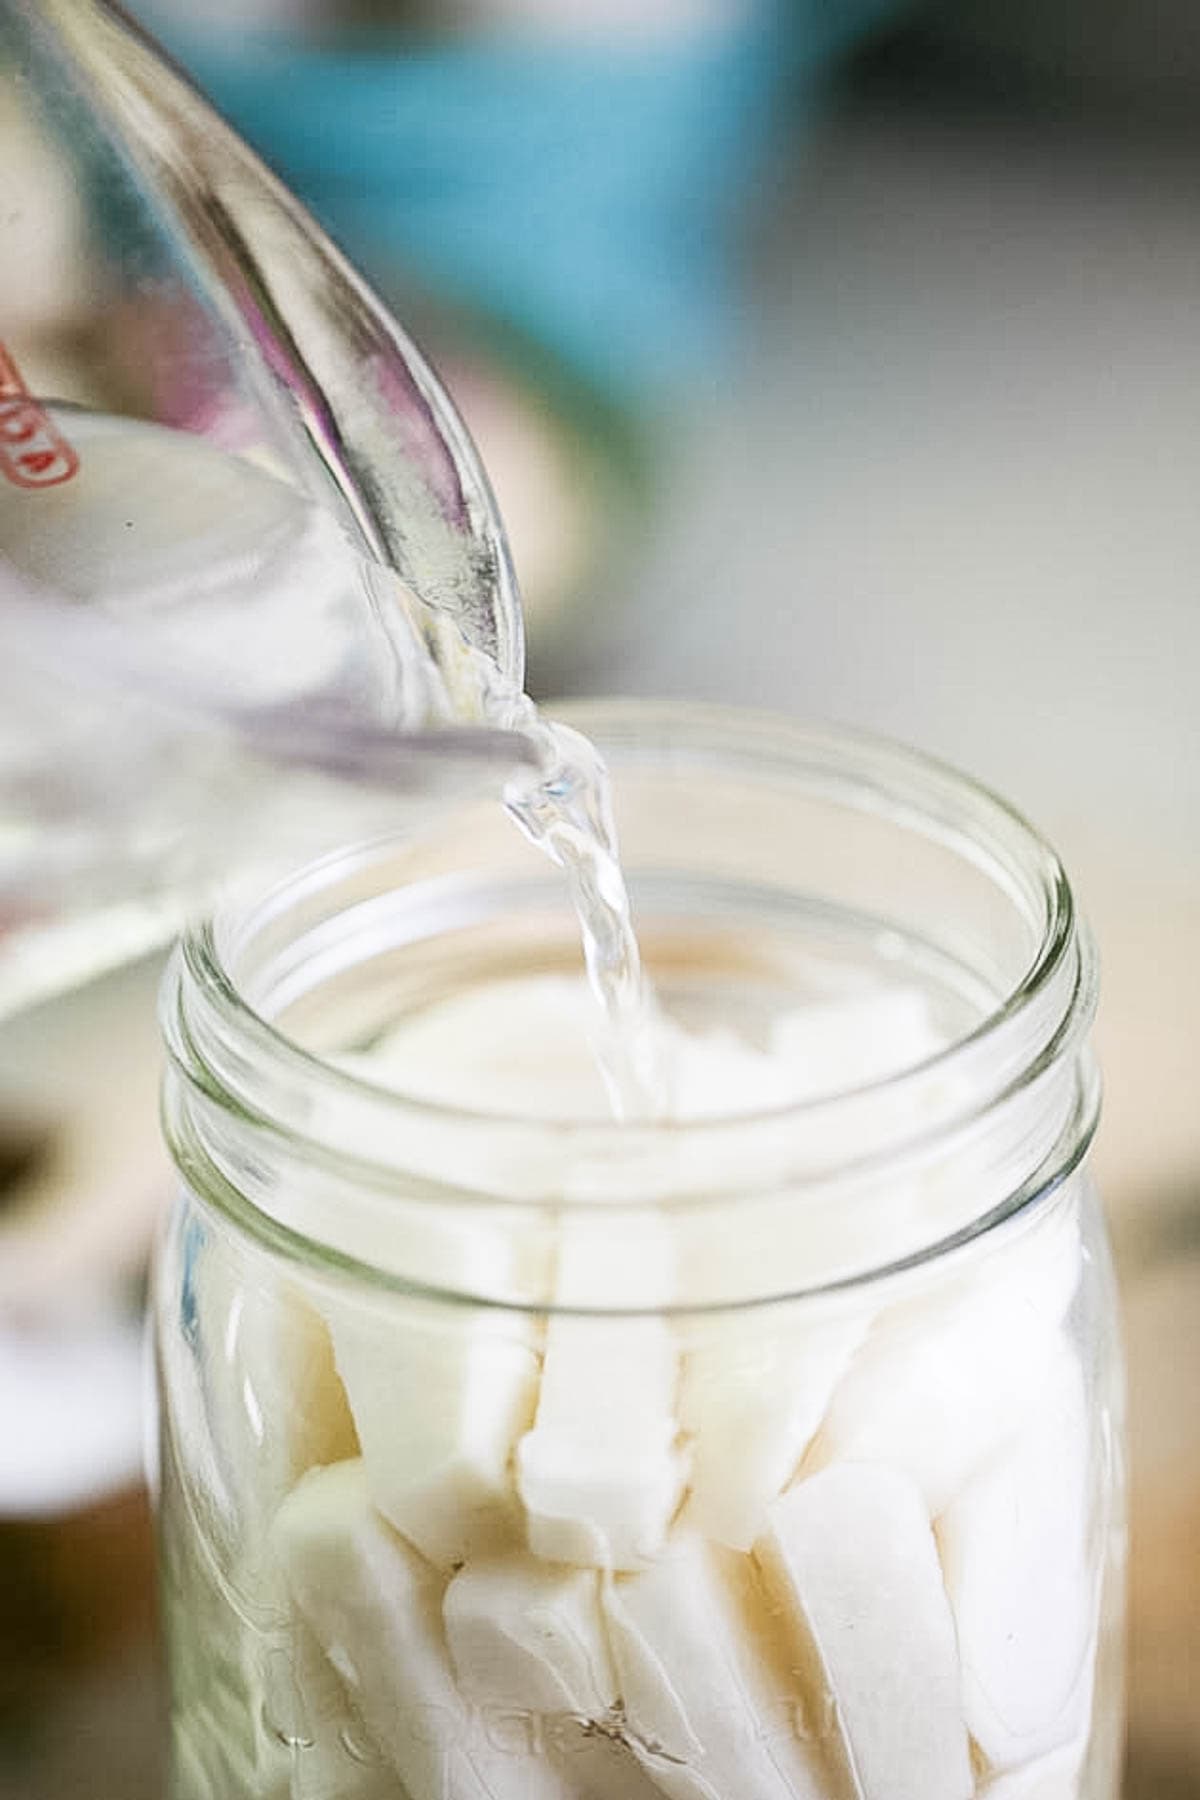
Step 3 – add the brine. To make the brine, add two cups of water to a two-cup measuring cup and add 2 teaspoons of salt. I used a ratio of one teaspoon salt for every cup of water here. If you like a more salty brine you can go up to one tablespoon of salt per one cup of water. Add the brine to the jar until it covers the turnips…
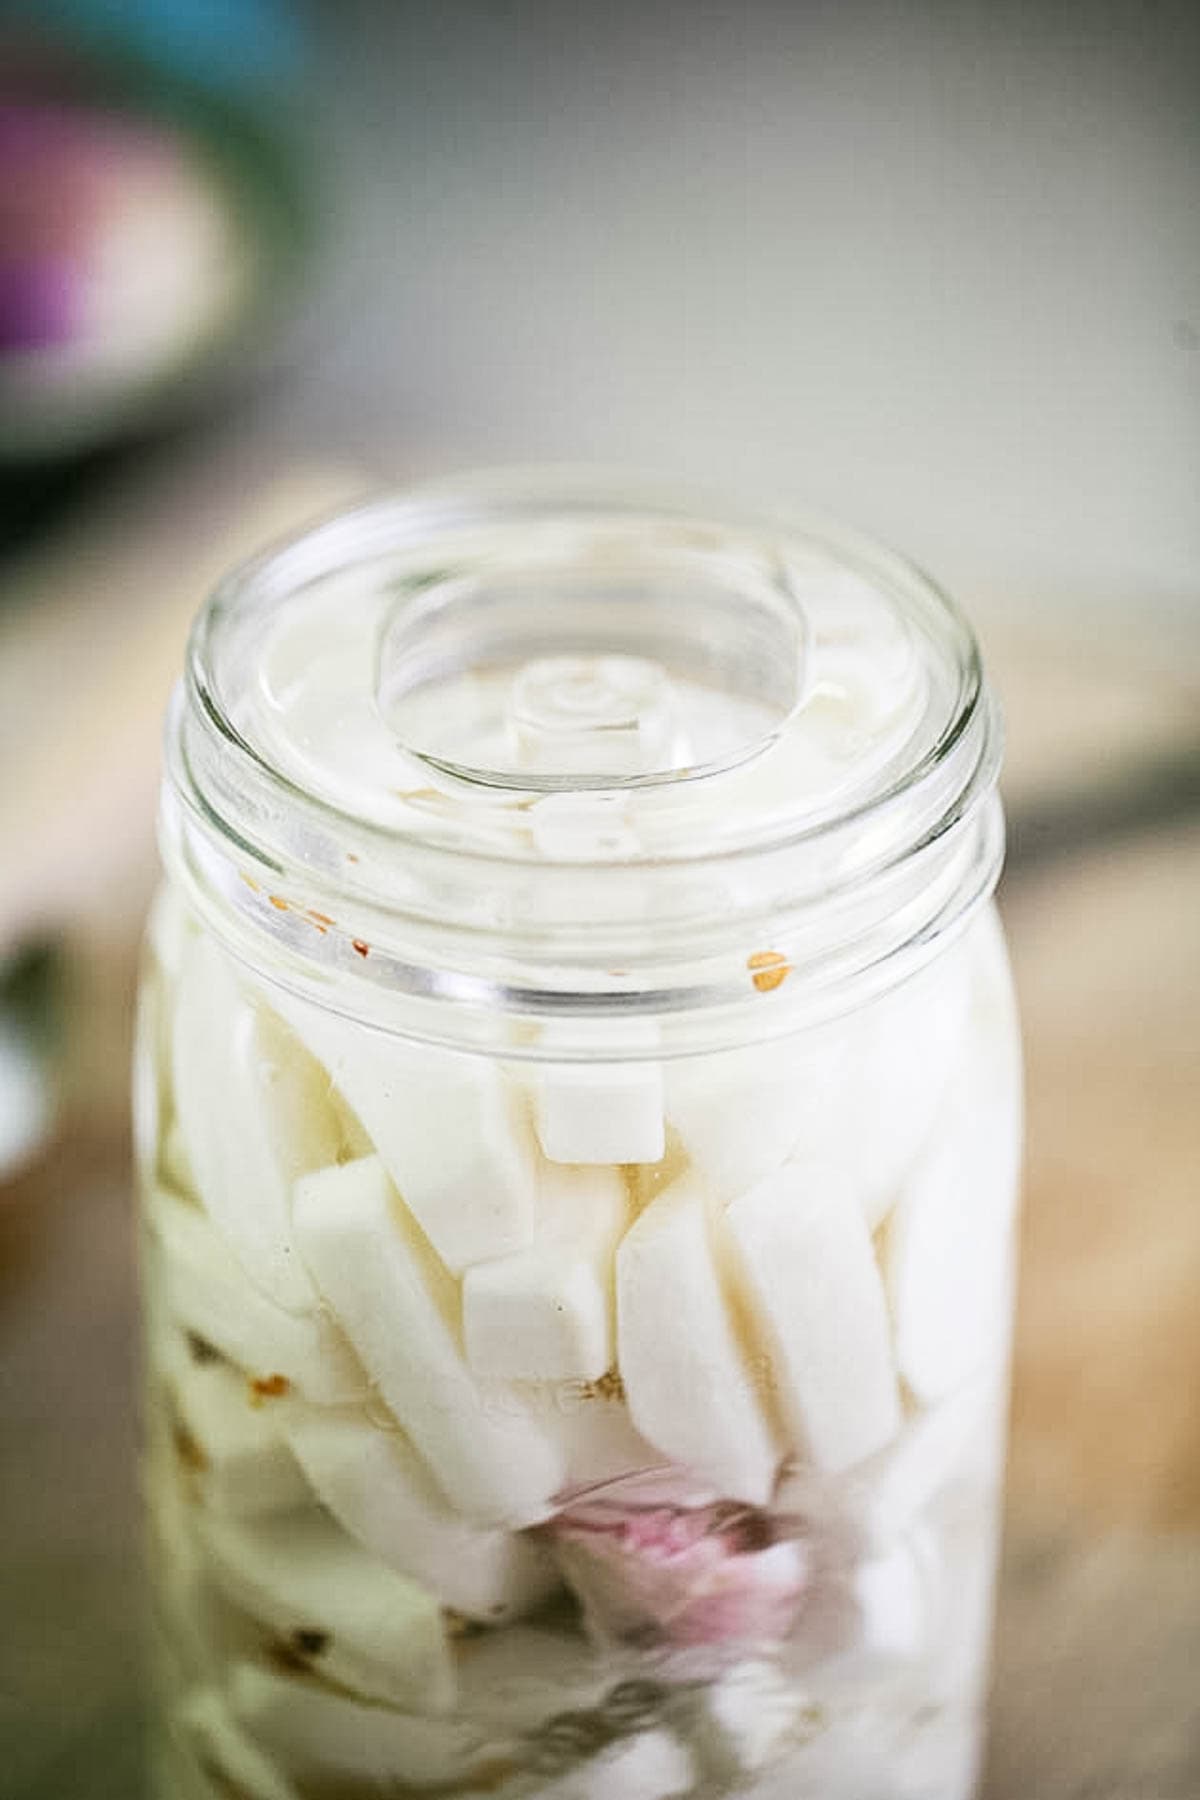
Step 4 – close the jar and let it ferment. Place the fermentation weight on top of the vegetables and push it down a bit. It’s very important that all of the vegetables are under the brine.
All that is left to do is close the jar and set it aside to ferment at room temperature. I usually place my jars on a plate and leave them on the kitchen counter. During the fermentation process, some brine is going to bubble and spill over, the plate catches it and saves me the mess on the counter. For a quart jar, it takes about 7 days to ferment. After a couple of days, you’ll notice some bubbles forming at the top of the jar and the brine will start to look foggy. That’s great! It means that the fermentation process is underway.
Remember that if you are not using a special lid for fermentation you will have to “burp” the jar, meaning once a day you’ll need to twist the lid open (don’t lift it) for a couple of seconds before twisting it back. This will let the gases that form inside the jar during the fermentation process a way to escape.
Storing Fermented Turnips…
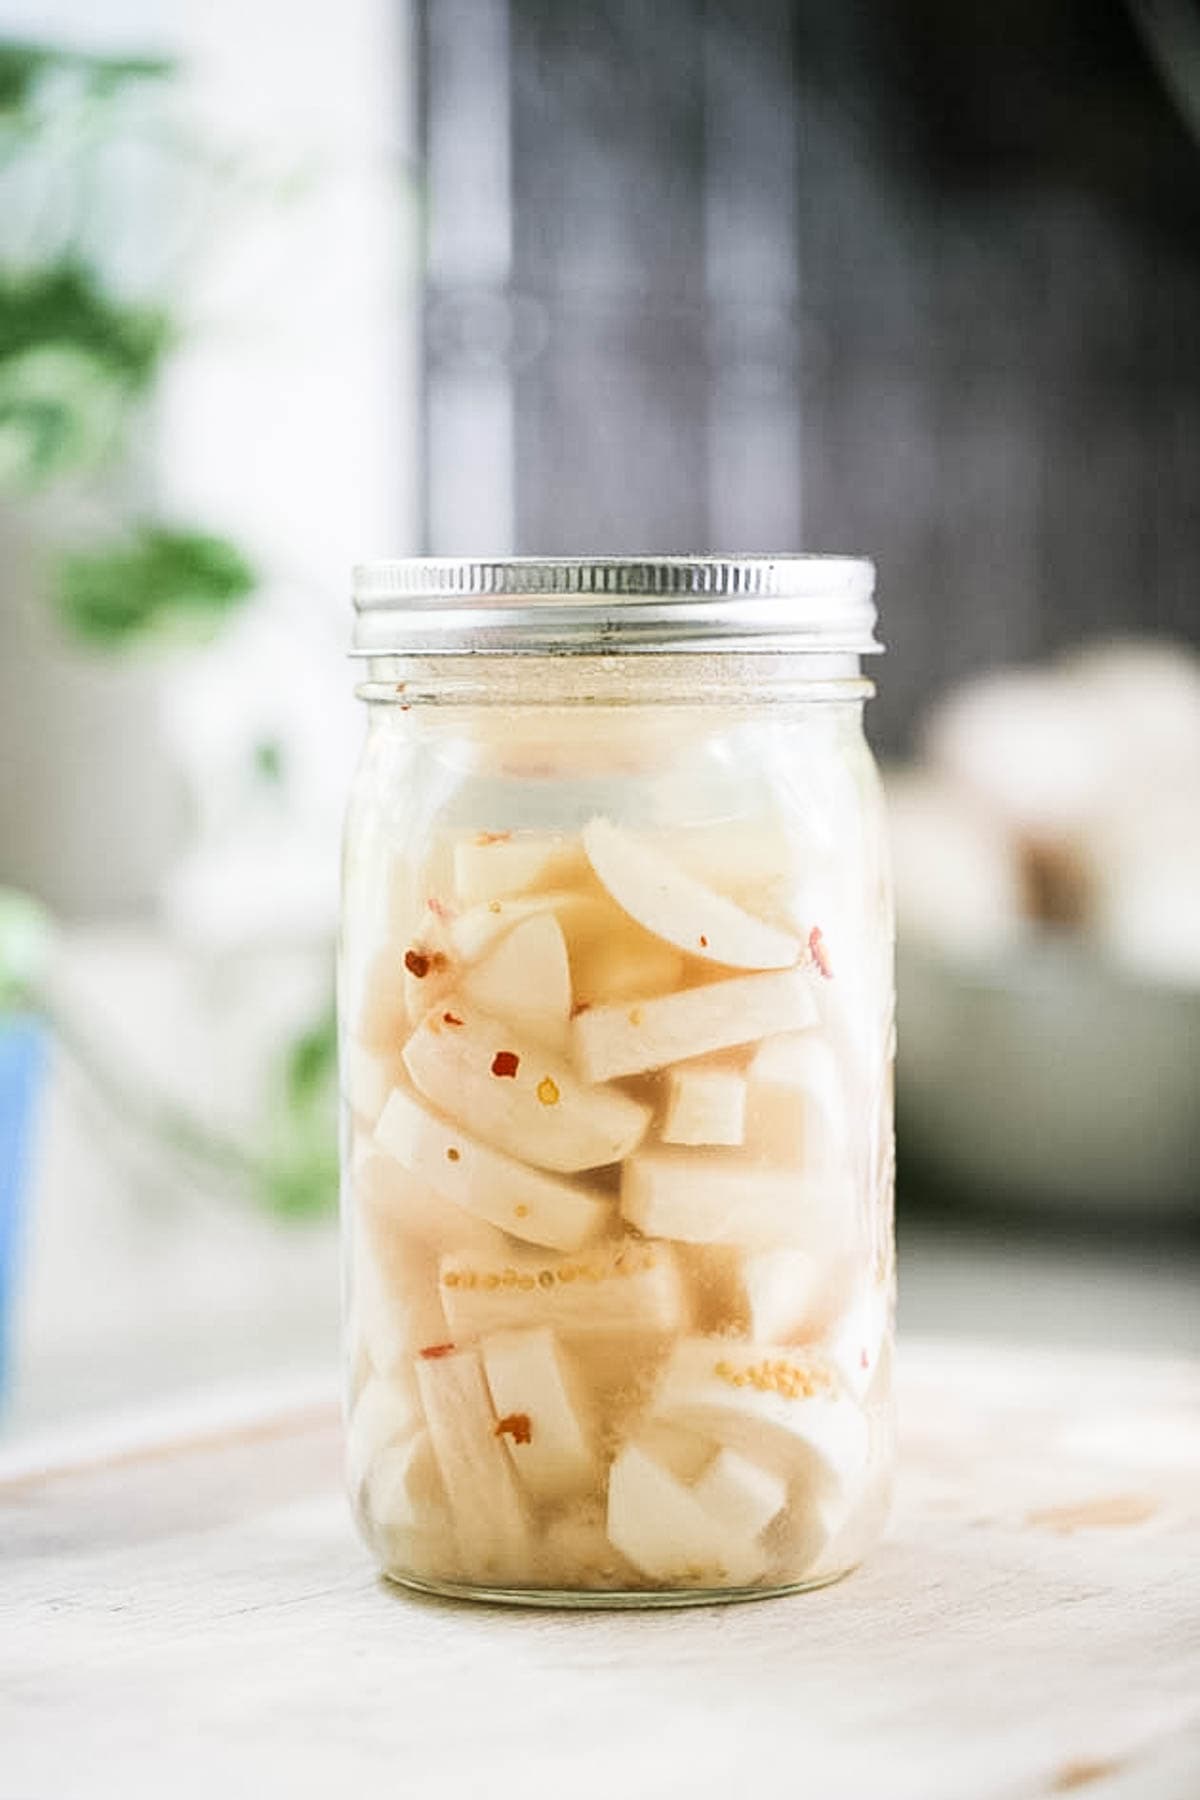
After about 7 days, the brine will clear again. It won’t be as clear as it was when you added it to the jar but it will be clearer than what it was during the fermentation process. The turnips get a hint of yellow color to them but they don’t change their color too much.
Once the fermentation process is done you can store your jar in cold storage. If you have a root cellar that’s great, if not, store your jar in the fridge. You can leave it at room temperature for a couple of weeks but I find that after that the vegetables start to soften and I personally don’t like it. The turnips need to stay under the brine while the jar is in storage so keep the weight there for as long as it’s needed.

Serving Fermented Turnips…
- Snack – we eat fermented turnips as a healthy snack. They are a great solution for those moments that you feel like eating something but not sure what. Instead of reaching for a cookie, reach for a little bowl of fermented turnips.
- Side to a sandwich – they are a great side to pretty much any sandwich or a burger.
- Add them to a salad – they are a great addition to any salad! Like egg salad, tuna salad, chicken salad, beetroot salad, or any other.
- Side for a vagetarian meal – serve them as a side for spinach patties or for a zucchini casserole, or zucchini and corn fritters.
However you use them, make sure to use a clean fork or spoon every time that you grab turnips from the jar so the brine stays clean.
Frequently Asked Questions…
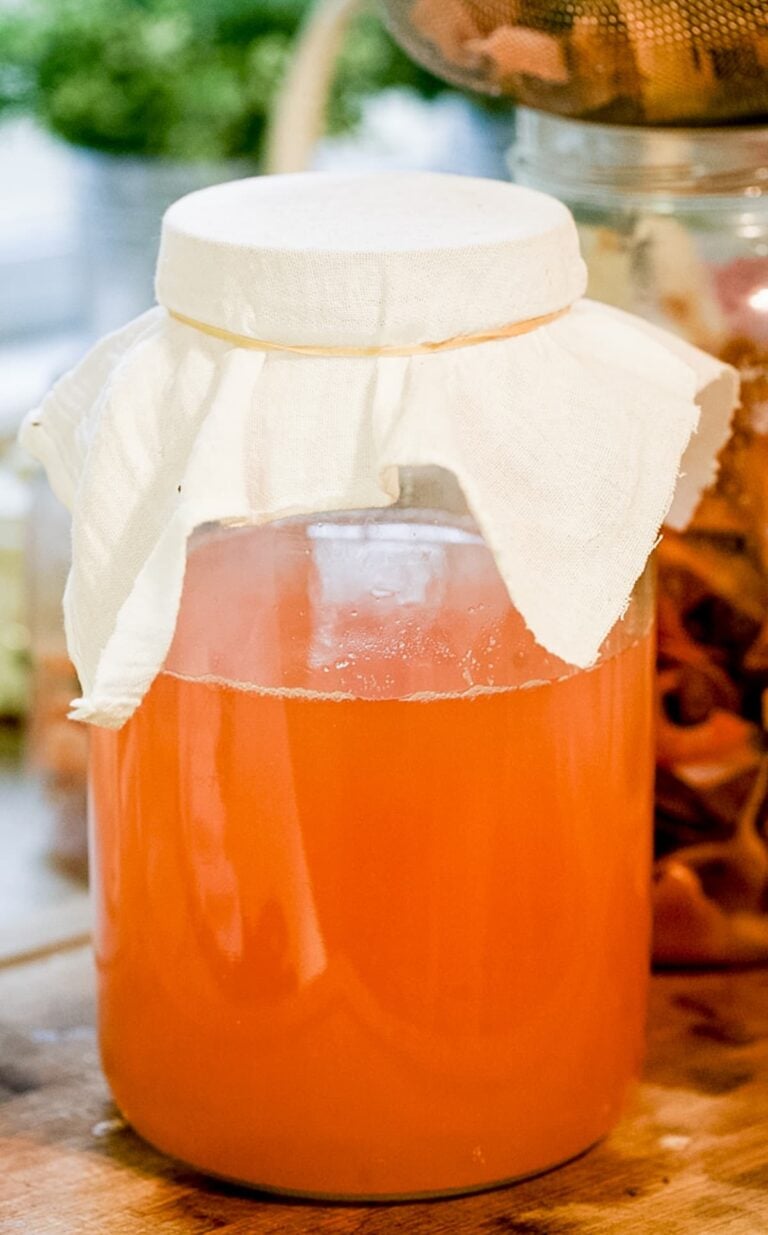
The white film is kahm yeast and is not harmful. It develops when the sugars are used up and the pH of the ferment drops because of the lactic acid formation. Simply scoop it out when the ferment is done. More may develop but just scrape it off when you’re ready to eat your fermented turnips.
If your ferment develops raised and fuzzy black, pink, green, or blue mold throw it out. Be sure to clean all the utensils and vessels well.
If you’re new to fermenting the smell of normal fermentation may be off-putting at first. Open up the jar and see how it’s doing. Wait until after the gasses have disperse to smell your ferment. You’ll get a truer sense of what it smells like when you let the gas release first before smelling the ferment. If it smells sour, acidic, or a little yeasty it’s completely fine. If it smells excessively yeasty, alcoholic, metallic, or similar to paint thinner then that’s a sign that your ferment is too warm and might not be good to eat anymore. Aim for a room temperature of around 72 degrees Fahrenheit when fermenting.
No, the food needs to remain submerged.
Next time that you come across turnips, give fermented turnips a try. If you grow turnips in your garden, fermenting turnips is a great way to use your harvest and preserve it. It really only takes minutes to put a jar together and it’s just another delicious and healthy snack!
More Fermenting Recipes…
- Lacto Fermented Green Beans
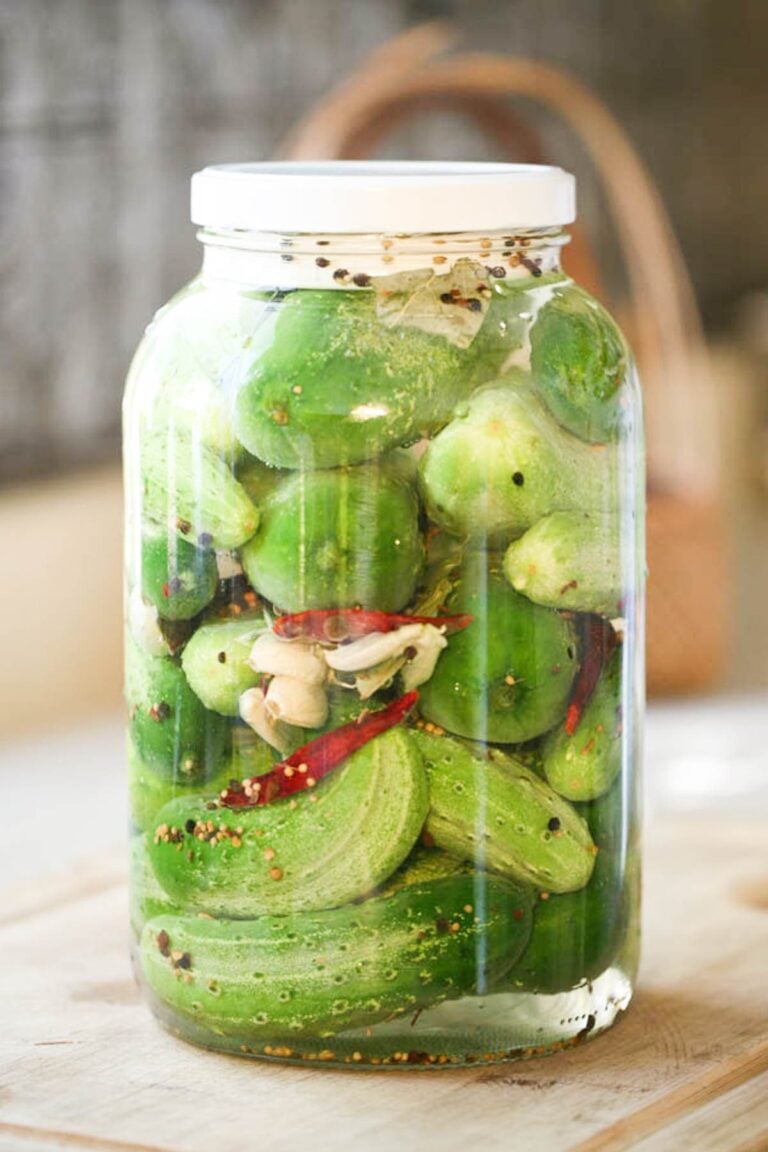
- Israeli Fermented Cucumbers
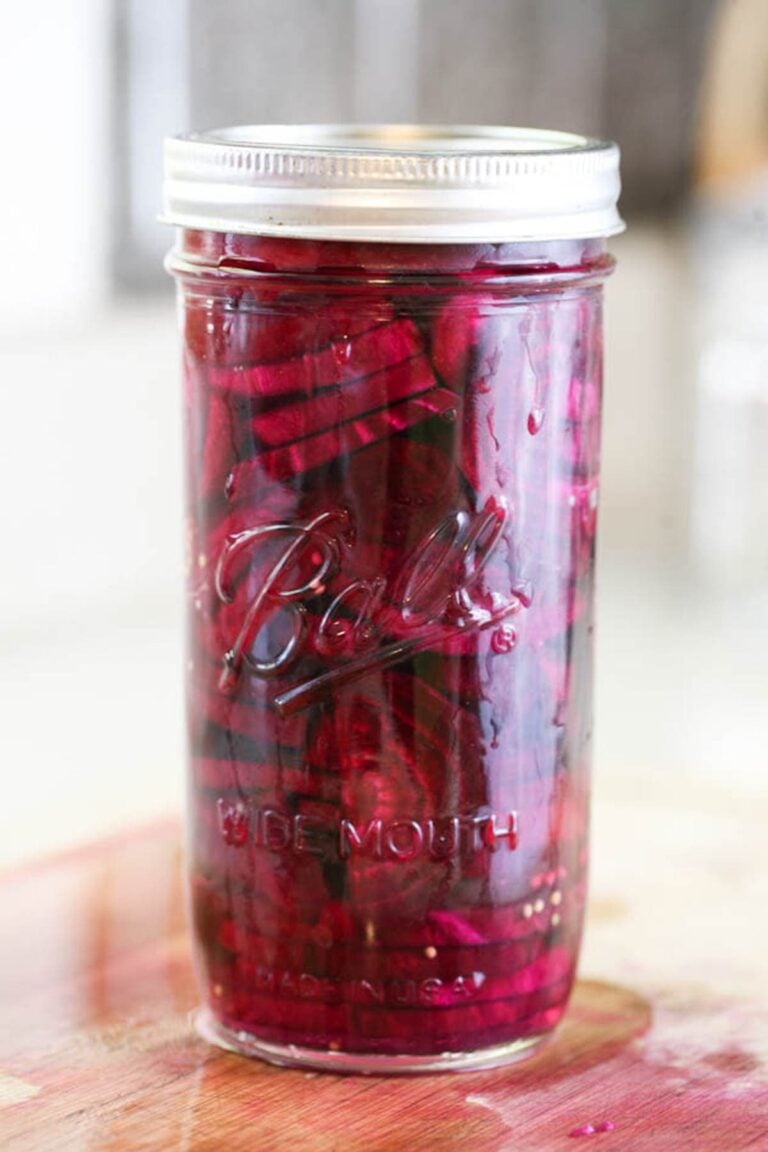
- How to Ferment Beets
- Fermented Tomatoes
- How to Preserve Peppers in Vinegar and Salt
- Fermented Jalapenos
- Fermented Cauliflower
Fermenting Turnips
Fermenting turnips is easy and quick! The fermenting process turns the turnips into a probiotic food that is both delicious and very healthy. This is a great way to preserve turnips!
Ingredients
- 5 medium turnips
- 2 garlic cloves (crushed but not peeled)
- 1/4 teaspoon of red chili flakes
- 1/2 teaspoon of mustard seeds
- 2 teaspoon salt (Kosher, sea, or canning) + 2 cups of non-chlorinates water (distilled is fine)
Instructions
- Wash the turnips. Cut off the top and the bottom. Use a vegetable peeler to remove the skin. Slice the turnips however you want (take into consideration that the thinner the slices the faster they'll soften in the brine).
- Pack a clean wide mouth quart jar halfway with the turnips. Add the garlic, chili flakes, and mustard seeds (see notes for other seasoning ideas). Fill the jar the rest of the way with the turnips leaving a two-inch headspace.
- Make the brine by adding a teaspoon of salt to a cup of water. Add to the jar. Repeat until the water covers the turnips.
- Place a fermentation weight on top of the turnips. Make sure that all of the turnips are under the brine.
- Cover, close the jar, and place it on a plate. Leave it at room temperature to ferment for about 7 days. Remember that if you are not using a special fermentation lid you will have to "burp" the jar once a day. This means that you have to twist the lid, wait a couple of seconds and twist it back (don't lift it). We do this to let the gas that is forming during the fermentation process out.
During the fermentation process, you will notice bubbles rising to the top of the jar and some of the brine might spill out (the plate will catch it and save you some mess). The brine will also become foggy. This is normal. - When the fermentation process is done the brine will clear again (it won't be as clear as when you added it to the jar but much clearer than it was during the fermentation). You can then store your jar in cold storage (in the fridge or root cellar). Make sure to use a clean fork every time that you take turnips out of the jar. Also, make sure that the turnips stay under the brine while they are in storage.
Notes
Seasonings - you can season your turnips as I did or you can use just garlic. You can add dill, thyme, bay leaves, rosemary, mustard seeds, pickling spice mix, peppercorns, hot or mild dry peppers, chili flakes, or anything else that you can come up with. Try something different each time until you find your favorite seasoning combination.
Brine - I used a ratio of one teaspoon salt for every cup of water here. If you like a more salty brine you can go up to one tablespoon of salt per cup of water. Make sure to use non-iodized salt and non-chlorinated water.
Nutrition Information:
Yield: 1 Serving Size: 1 quart jarAmount Per Serving: Calories: 148Total Fat: 1gSaturated Fat: 0gTrans Fat: 0gUnsaturated Fat: 1gCholesterol: 0mgSodium: 4346mgCarbohydrates: 33gFiber: 12gSugar: 18gProtein: 5g
I have a lot of turnips from the garden and very little storage space. Is it ok to “water bath can” fermented foods like turnips (or cabbage) for long term storage? Or is this only possible with “quick pickling” recipes using vinegar?
You know, this is something that I really want to research but never had the time to. I don’t like pickling with vinegar simply because I don’t like the taste of vinegar. I know that you can can those kind of pickles but I am not sure that you can can fermented foods. I think that they need to be kept in the fridge or a root caller.
I found your website uncomfortable to view due to the number of pop-up’s, video ads embedded in the text and obnoxious Google Ads banner that can’t be closed.
It’s unfortunate, because I think the information you provide is valuable.
Thank you for the feedback! I try to limit those as much as I can. I want to provide this content for free to everyone but it takes a whole lot of time to put it together and this is the only way that I can monetize it and still keep it free for everyone to view. I’ll keep trying to reduce the ads even more. Thanks again for the feedback!
I love to make and eat lacto fermented foods.I have found that putting a grape leaf or oak leaf in foods I want to be crunchy helps a lot because of the tanning in these leaves
Thanks for the tip! Definitely going to try this next time that I ferment something!