This post may contain affiliate links, view our disclosure policy for details.
This grape jam recipe is simple to make. It uses seedless grapes, which are easy to find, less sugar, and no store-bought pectin. Also included are canning instructions.
Lady Lee’s Note…
Aside from figs (which I make a delicious fig jam with), grapes are my favorite summer fruit. They are sweet and fun to eat! As someone who loves to make jam and preserve food by canning, I always wonder about different ways to turn my favorite foods into preserved goodness.
As I was enjoying a delicious bowl of grapes, I was wondering if I could turn them into jam. Now, grape jelly is very popular, but grape jam… Not so much. I love using the whole fruit, so I’m not a huge fan of jellies. I was wondering why grape jam was not so popular…
After a little bit of research, I found that grape jam used to be a thing, but it would require a huge amount of work since you had to remove the seeds from the grapes. Until just a few decades ago, there were no varieties of seedless grapes; the heirloom varieties all have large seeds that don’t go so well in a jam.
So you had to peel the grapes, cook the pulp, run it through a strainer or something similar, remove the seeds, and then combine the skin with the cooked pulp and sugar and make your jam. Can you imagine peeling grapes? I guess it was just too much work, and therefore grape jelly became much more popular.
But, you see… These days, we have delicious grapes that are completely seedless. And so, I say, let’s bring back the grape jam!
Ingredients…
- Grapes – use any type of seedless grape that you can put your hands on. The ones that I used in this recipe are called Raisins Rouges Sans Pe’pins
- Sugar
- Juice of one-half lemon
- 5-7 lemon seeds – Lemon seeds have natural pectin in them so they will help the jam gel.
- Vanilla extract
Tools You’ll Need…
- Cutting board
- Knife
- Deep pan
- Spatula or wooden spoon
- Immersion blender – or you can use a potato masher if you like large chunks of fruit in your jam.
- Half-pint jars with lids – this is my favorite size of jars to use when canning jam, but you can also use a pint.
- Canning utensils
- Ladle
- Paper towel
- Water bath canner
Step-by-Step Instructions…
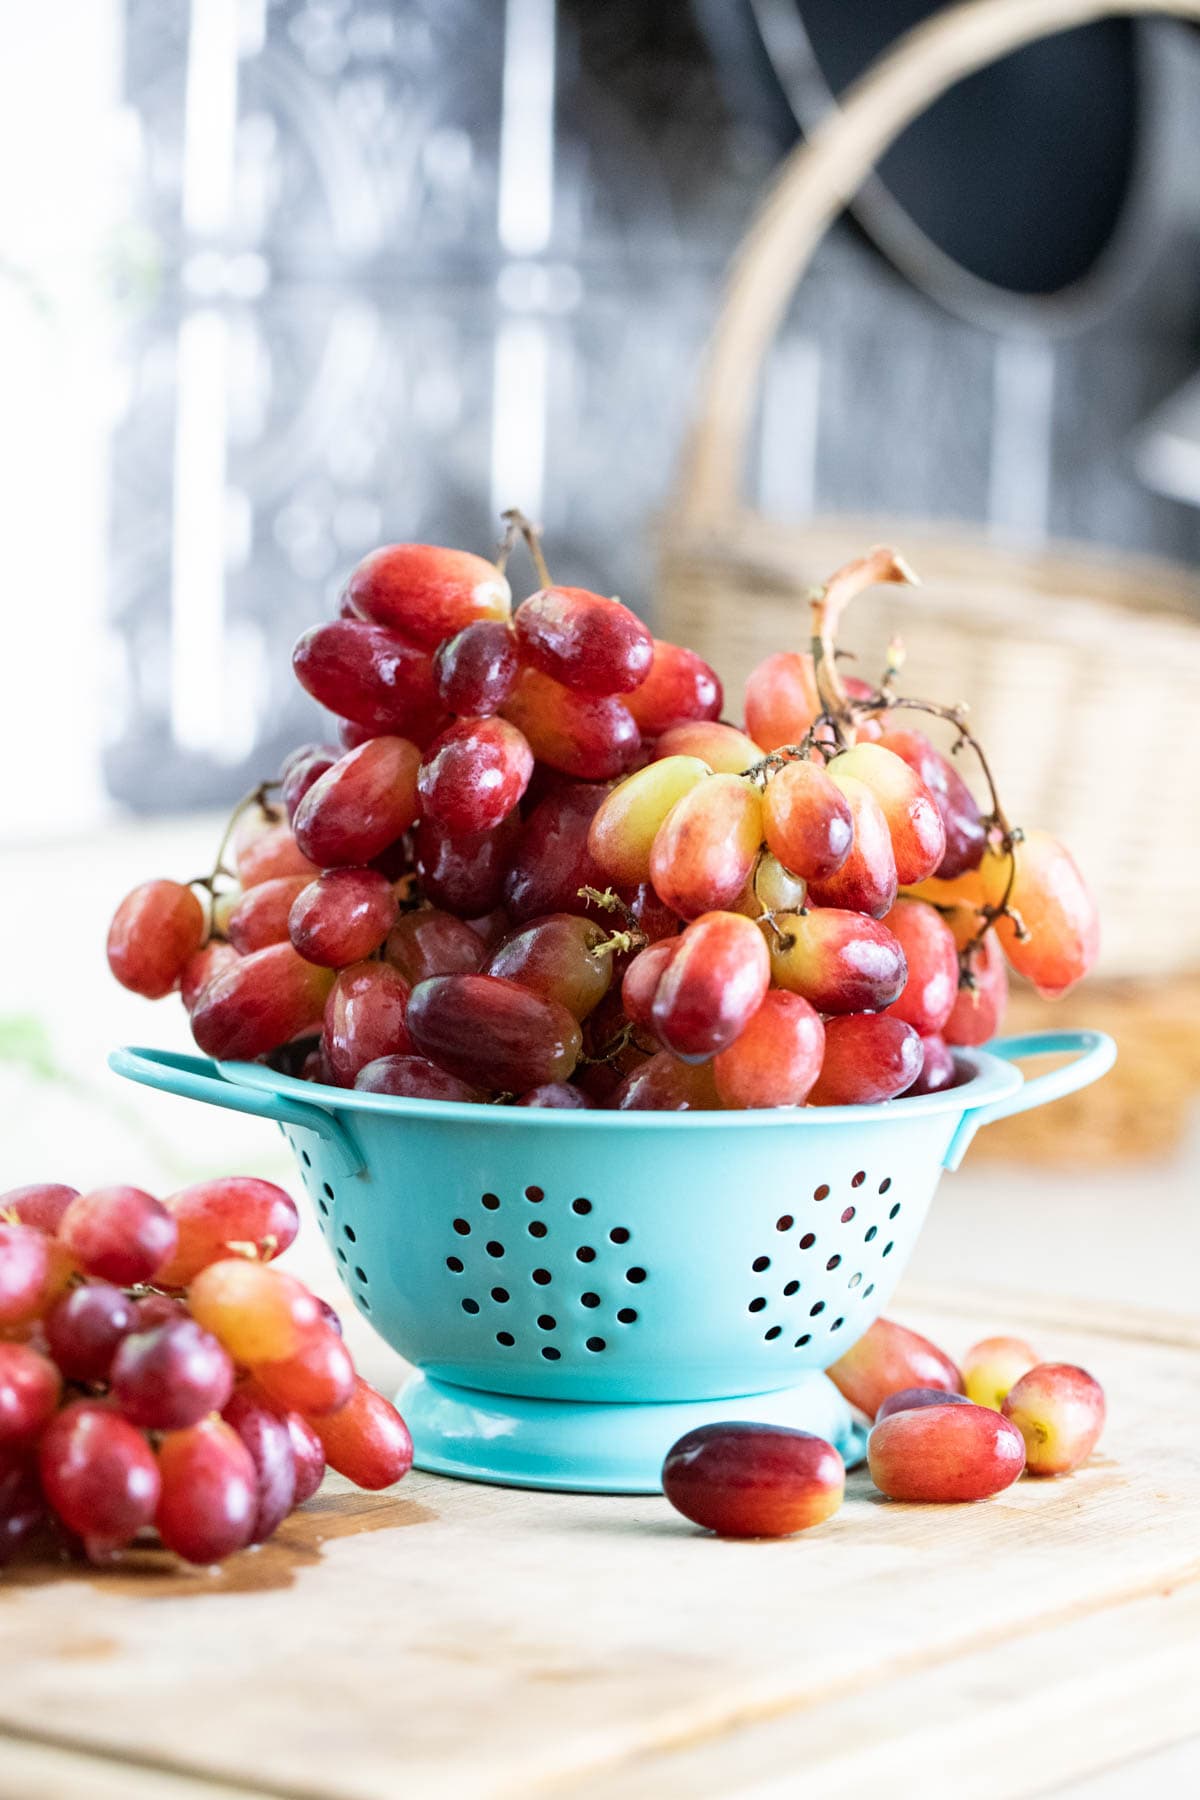
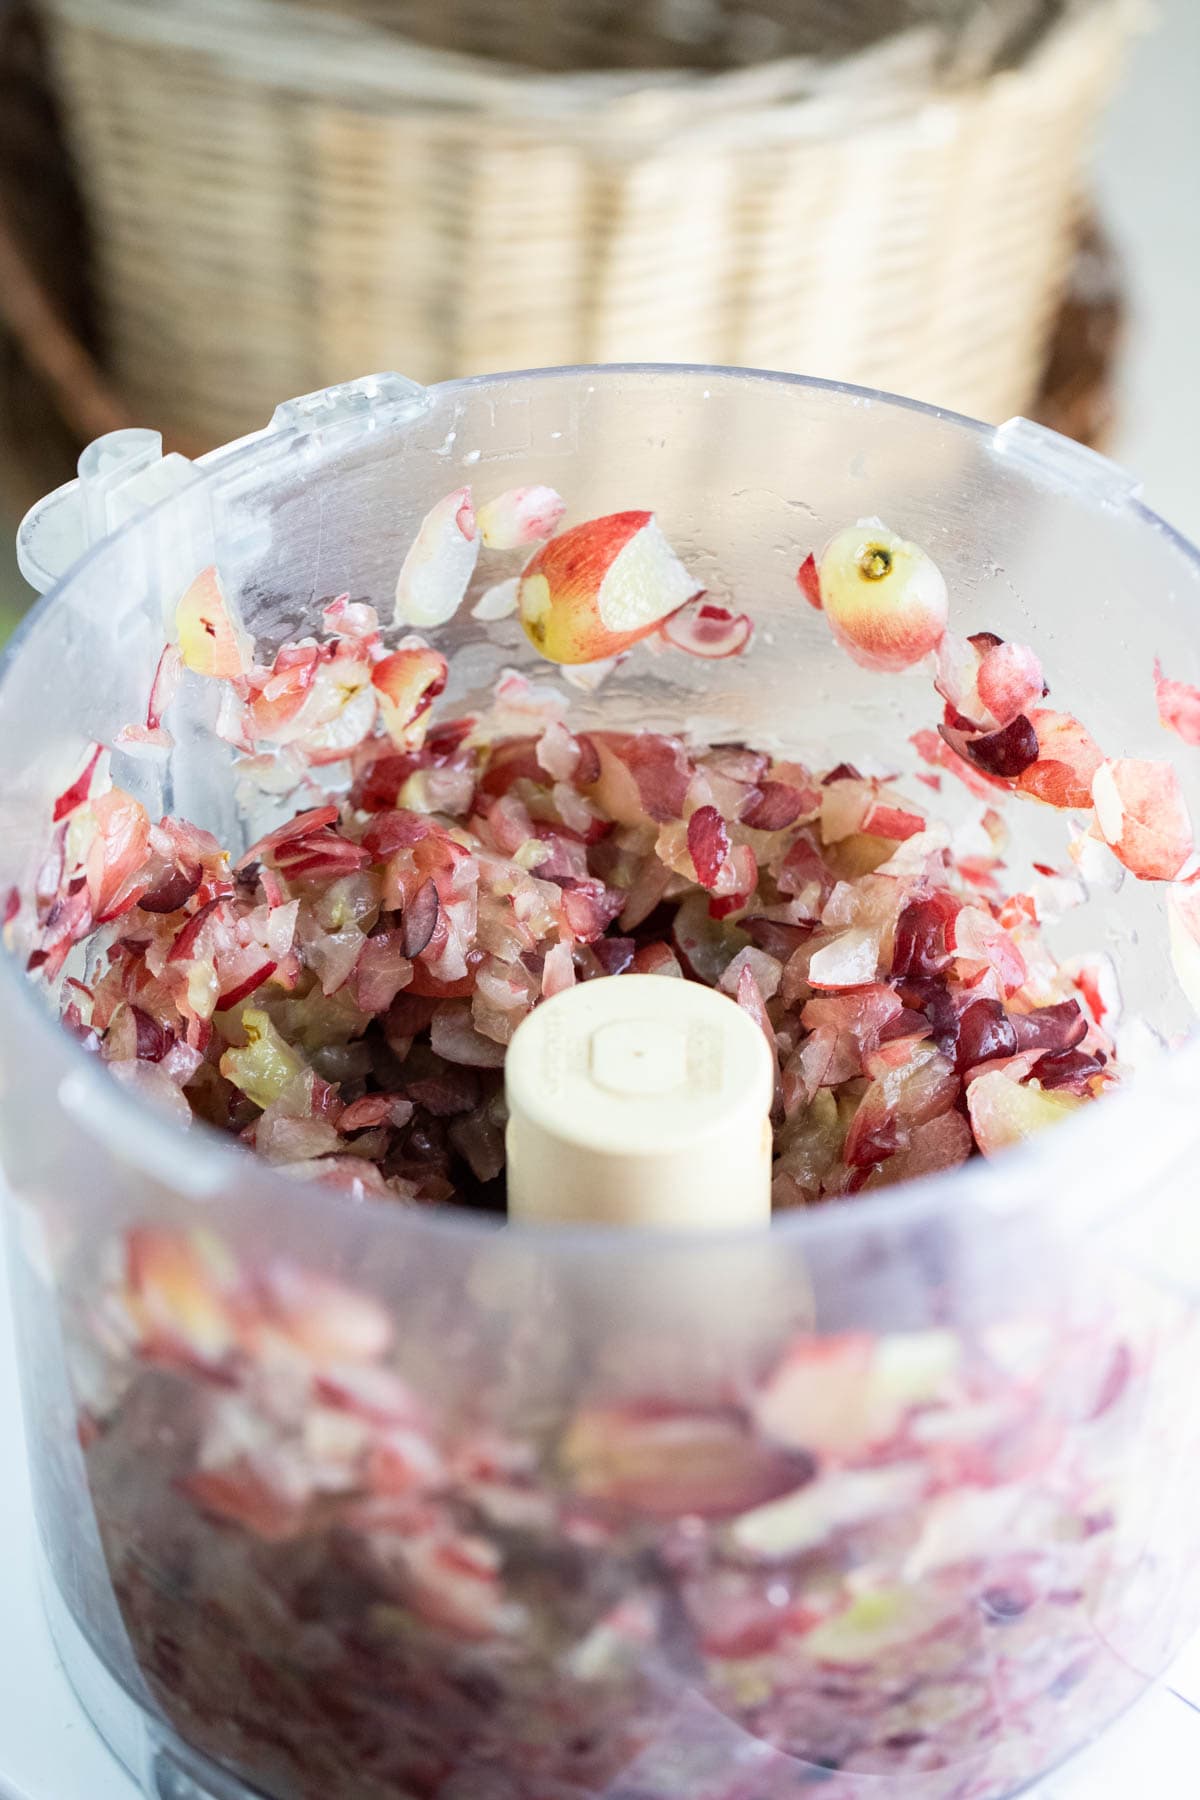
Step one – prepare the grapes. First, make sure that you wash the grapes well and take them off the stems. Add the grapes to the bowl of the food processor and pulse a few times to chop them into smaller pieces. With four pounds of grapes, I do this in two batches.
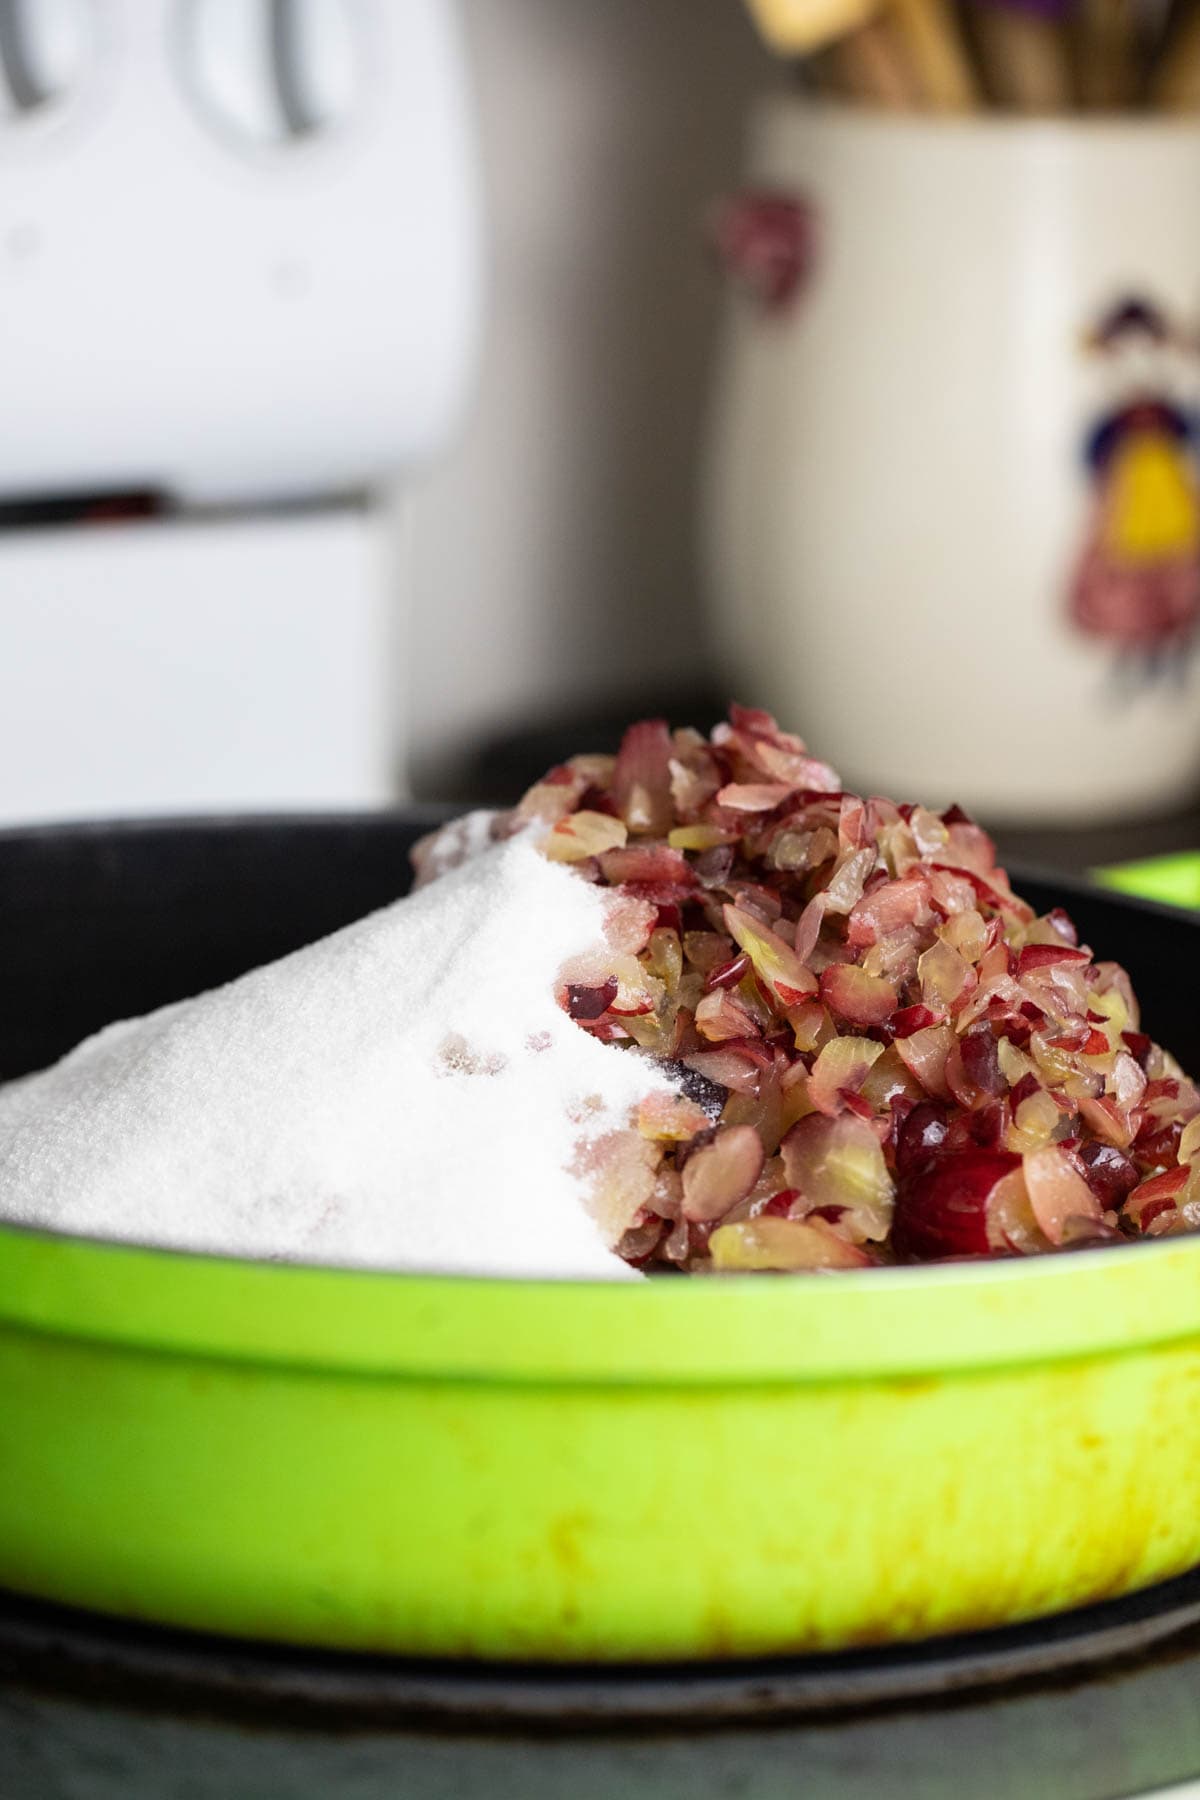
Step two – boil the fruit. Add the grapes to the pan and add the sugar. Turn the heat to medium-high and start cooking the grapes.
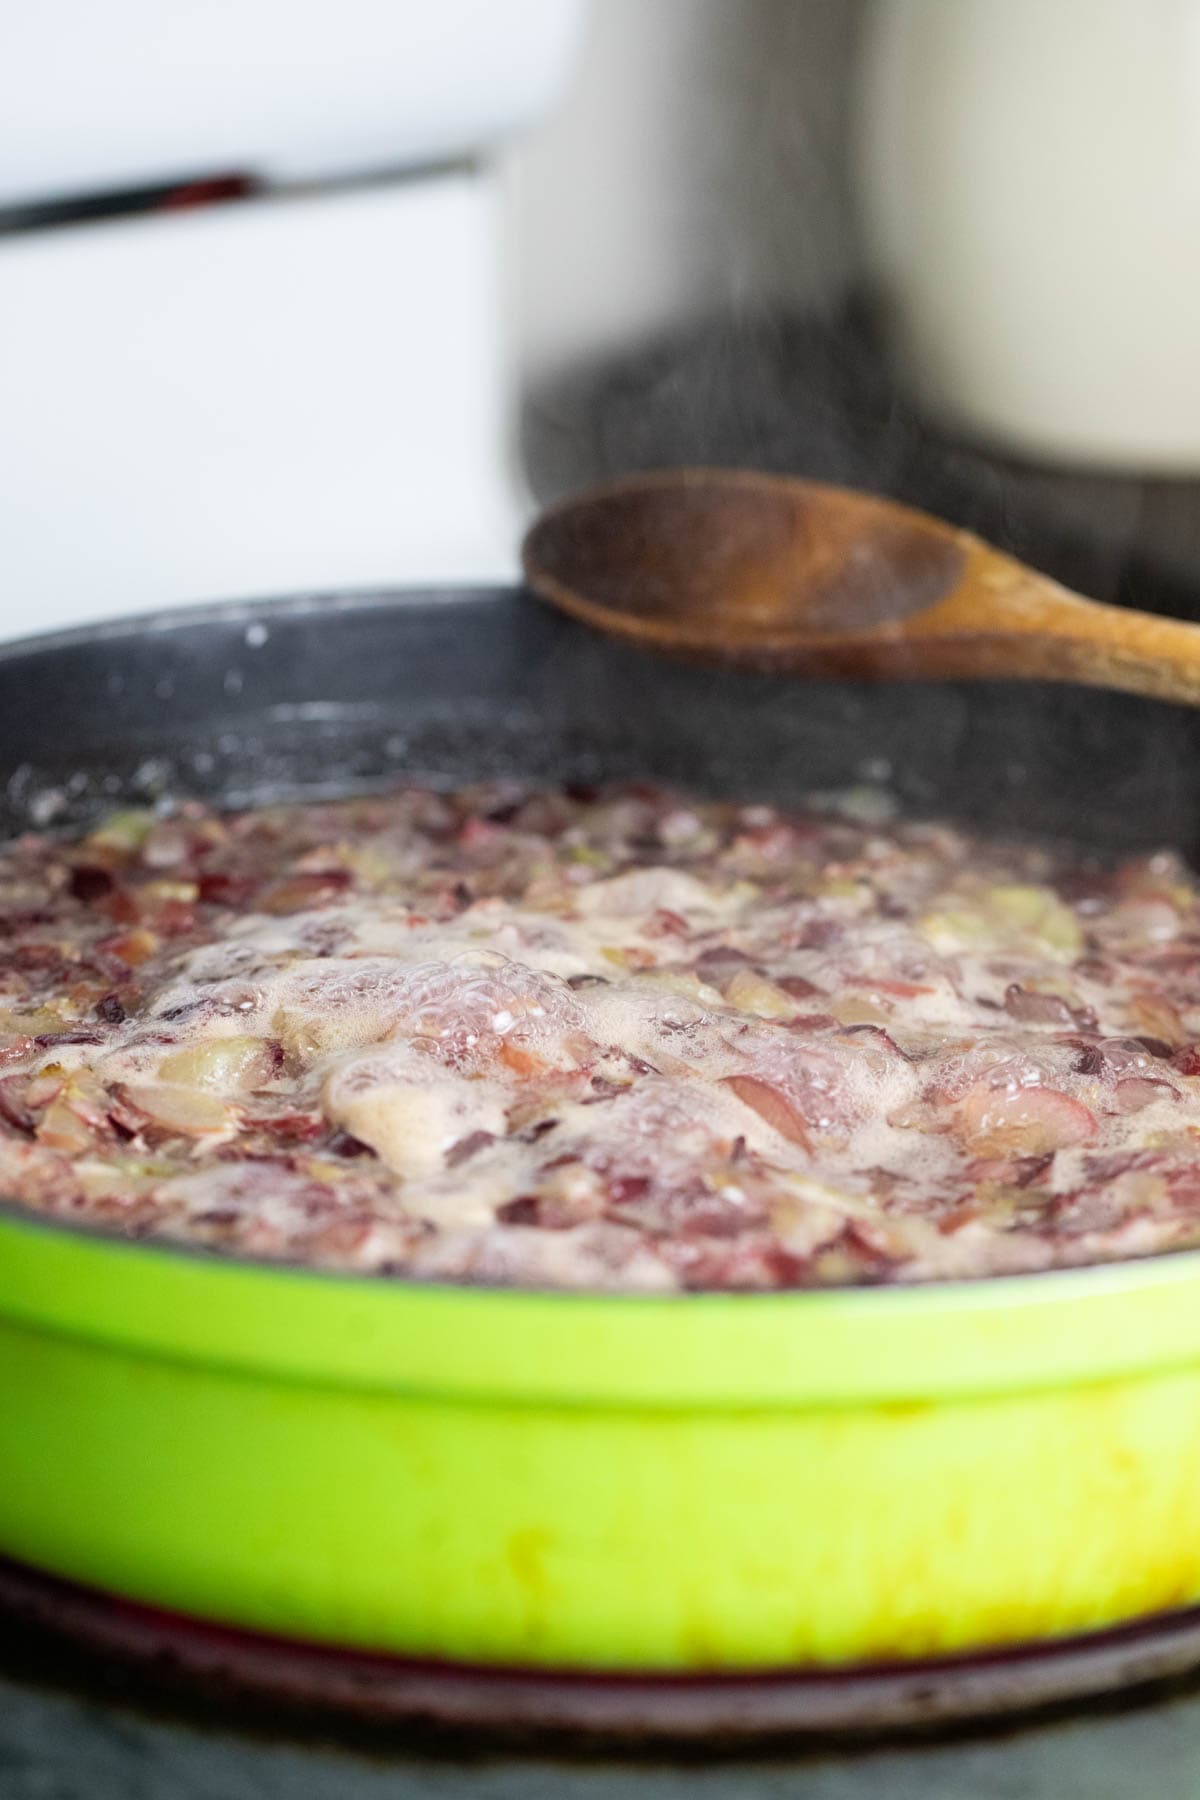
It will take about 10 minutes for the fruit to start boiling. Gently boil for about 10 minutes, then lower the heat to medium-low for the rest of the cooking. Make sure to stir frequently.
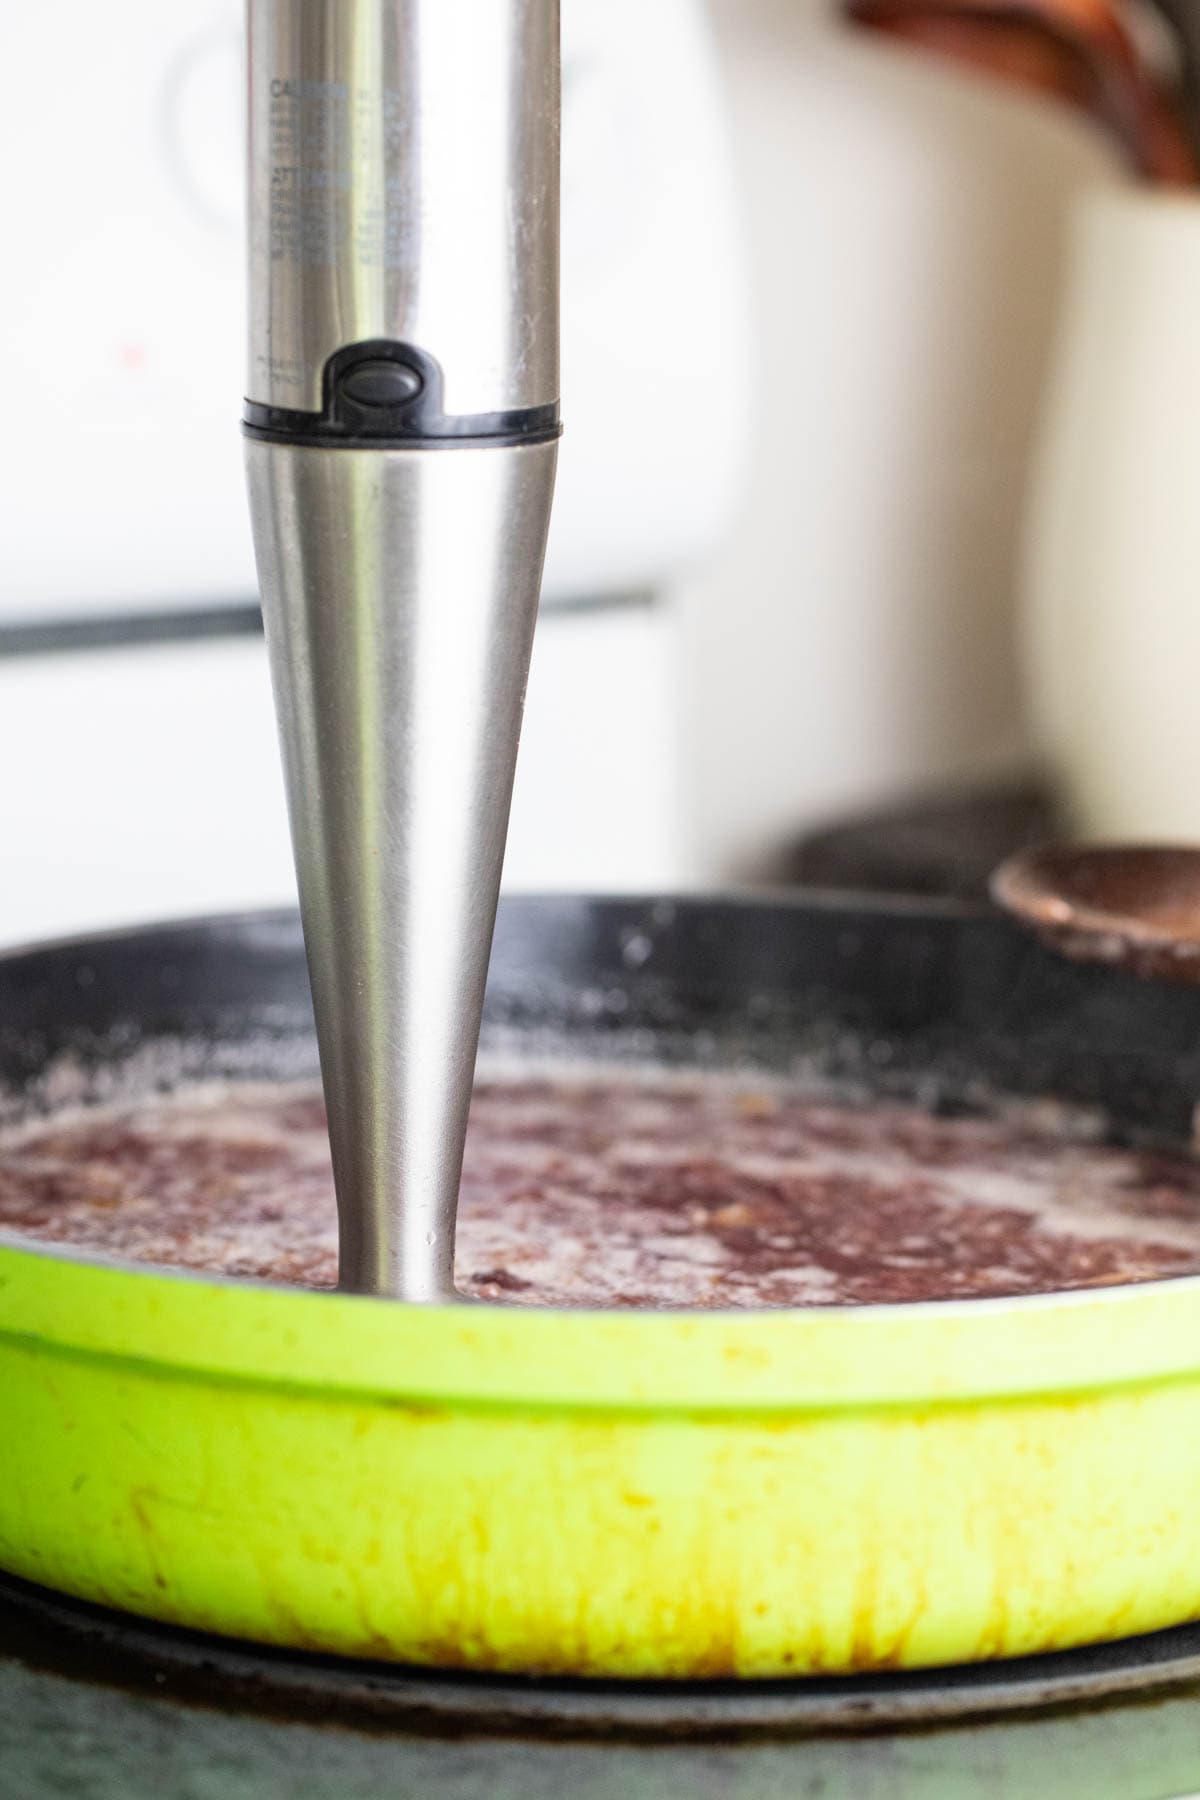
Step three – blend and add lemon. Cook for an additional 15 minutes. By this point, the grapes should be soft, and you can use an immersion blender or a potato masher to blend or mash the fruit. I use an immersion blender, yet I still like to leave chunks of fruit in my jam. After you blend the jam, add the juice of half a lemon and its seeds (about 5 or 6). Stir this in.
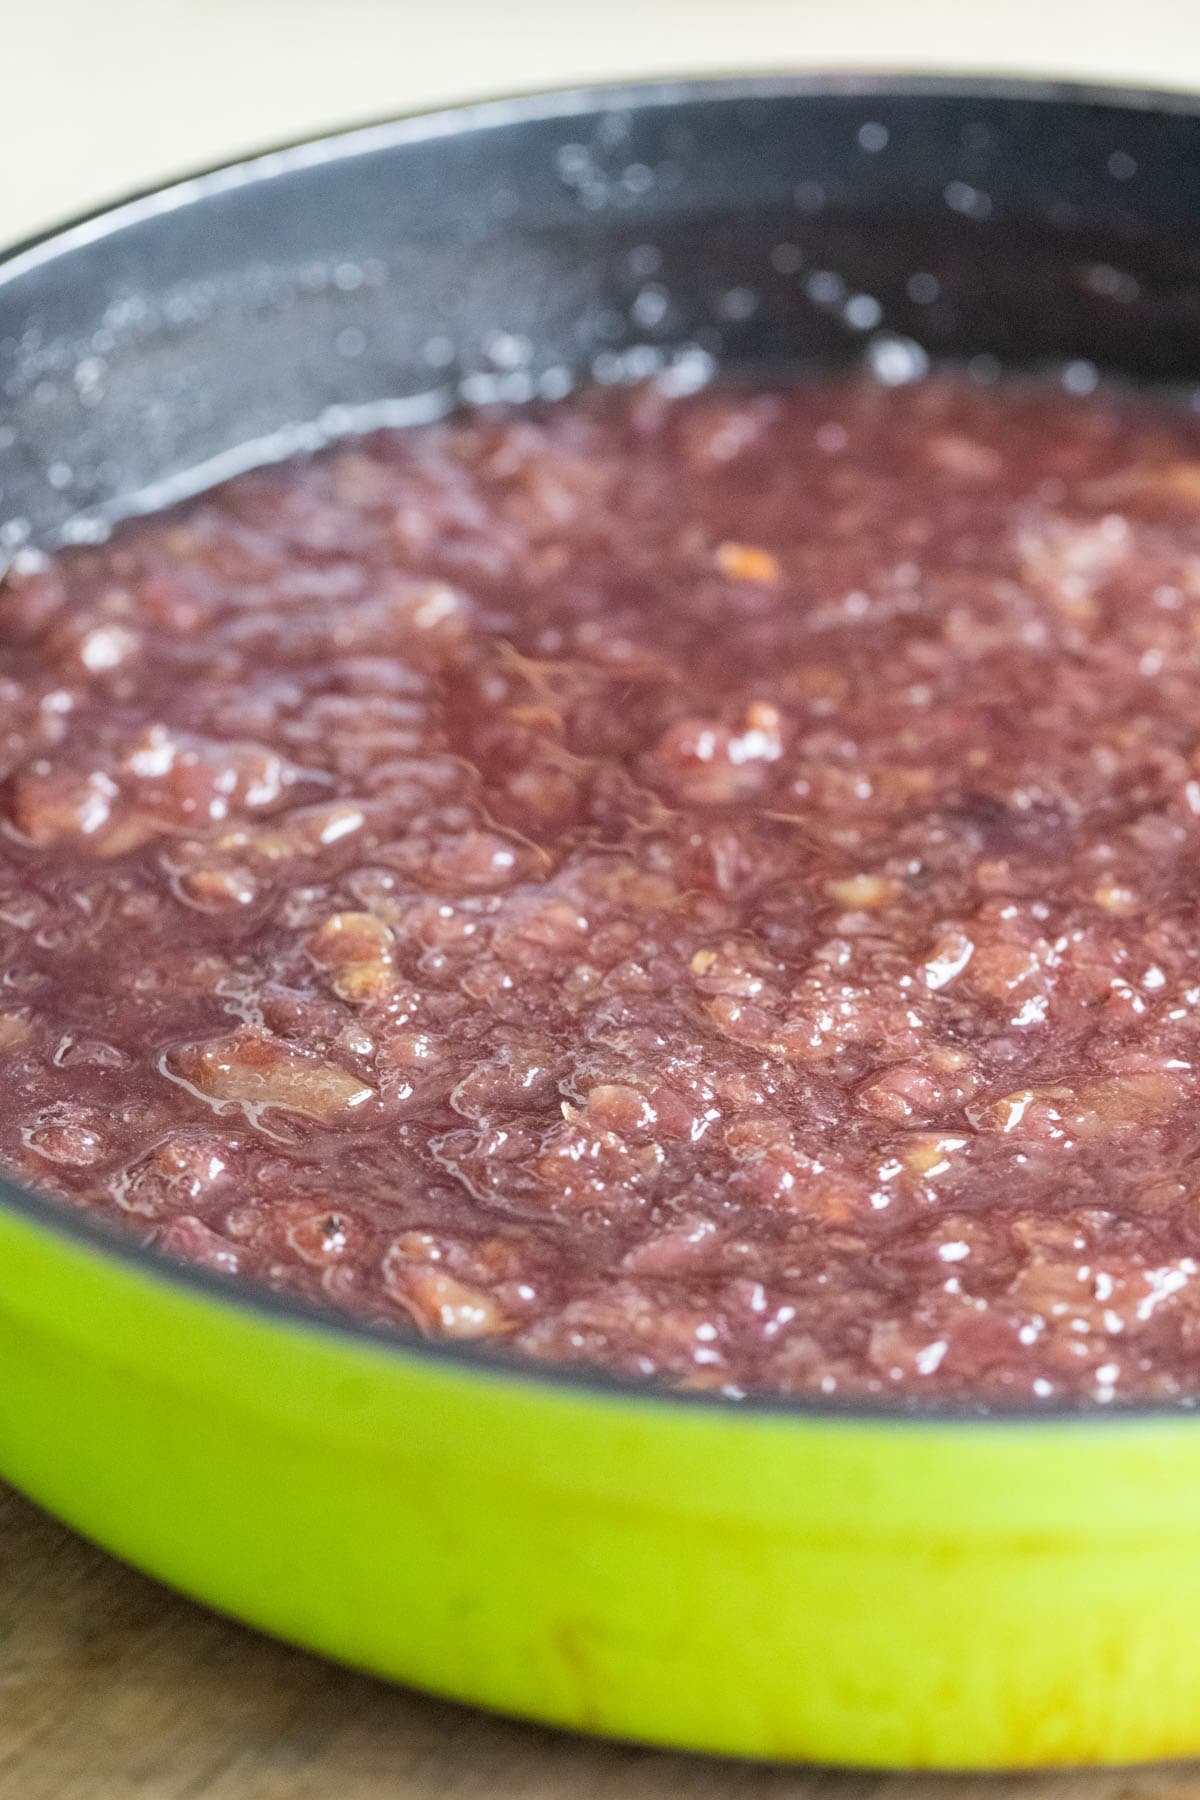
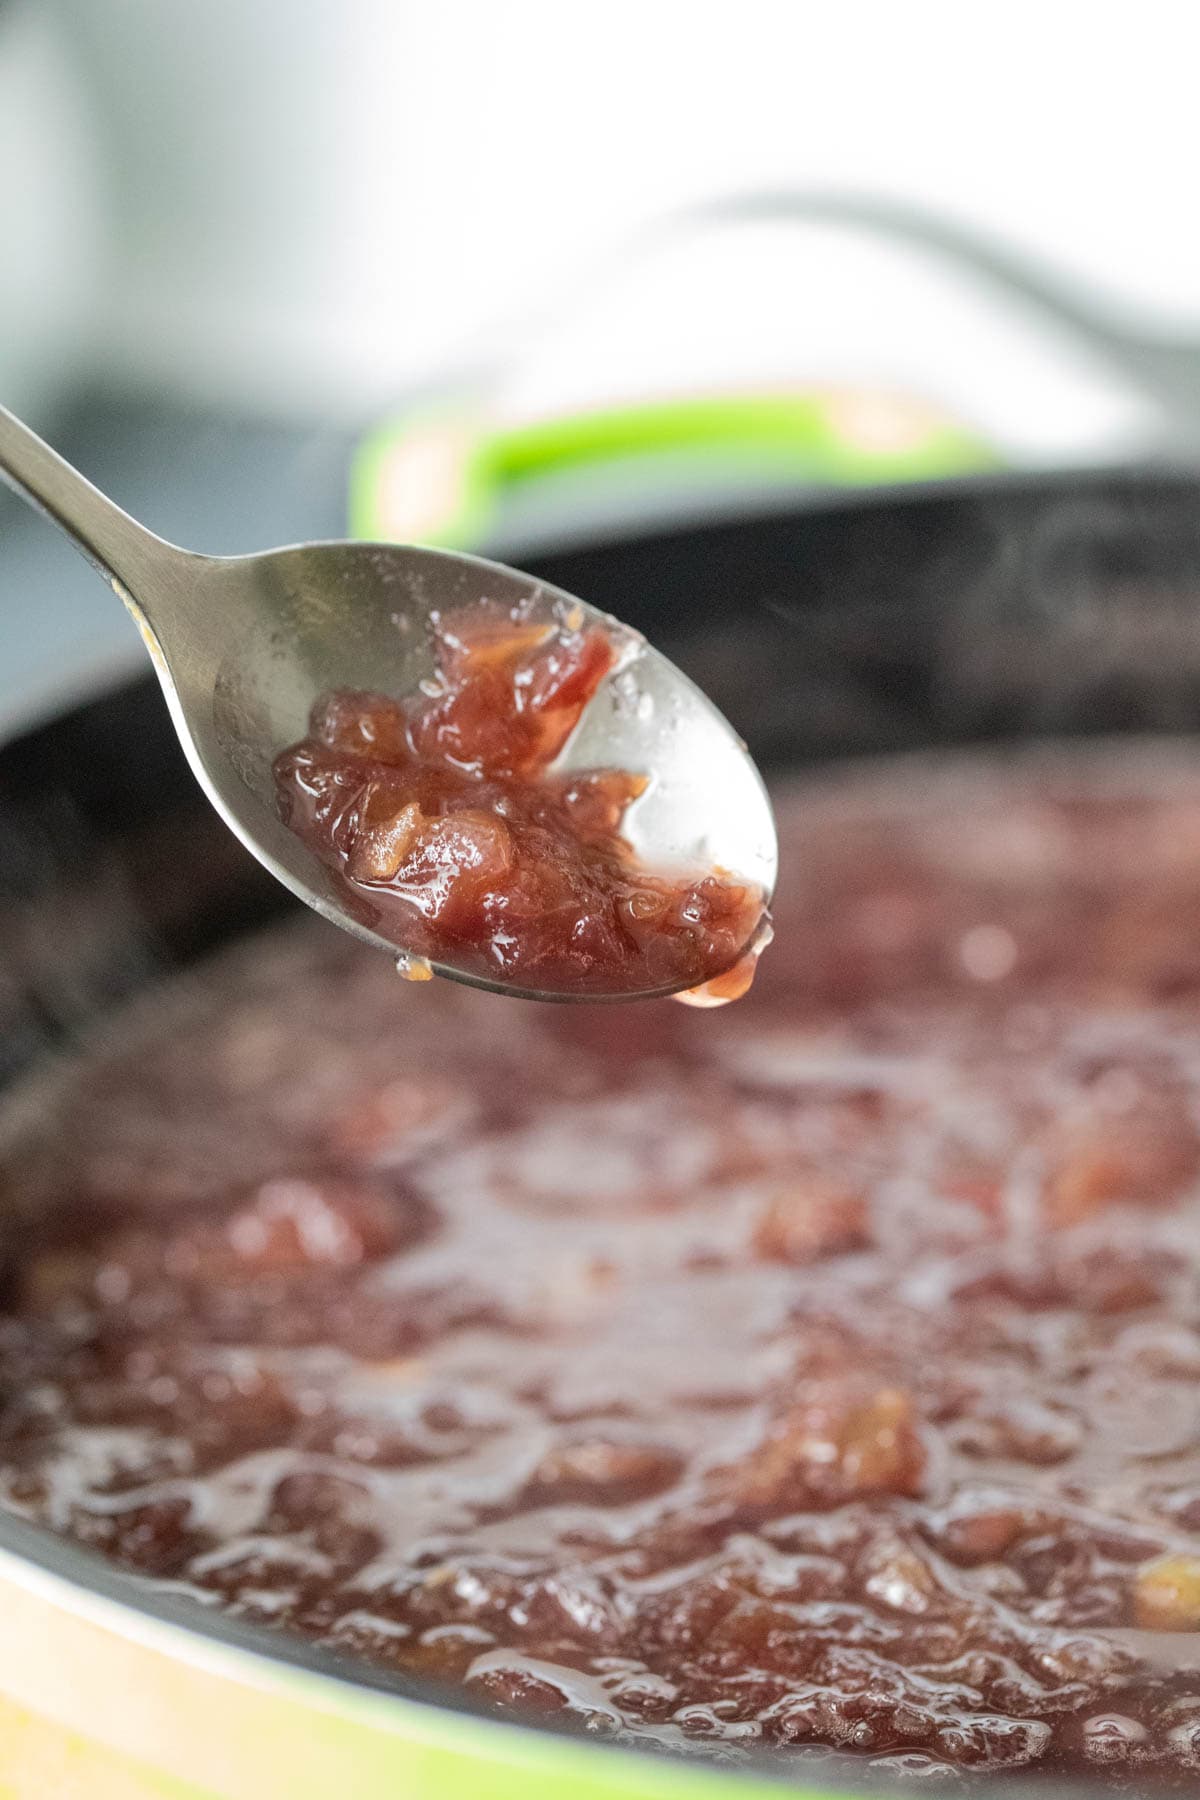
Step four – check if the jam is ready. Keep cooking and stirring for another hour or so. The time might change depending on how juicy the grapes you used were, but it’s usually around an hour to reach the gel phase. Experienced jam makers will be able to recognize when the jam reaches this stage. If you are not sure, you can use the spoon test to help you…
Scoop a little bit of jam with a spoon and set it on a plate on the counter to cool for 5 minutes or so. Then, add the jam back to the pot, and as it leaves the spoon, you’ll be able to measure how thick it is. Just take into consideration that jams thicken further in the jars as they completely cool after canning.
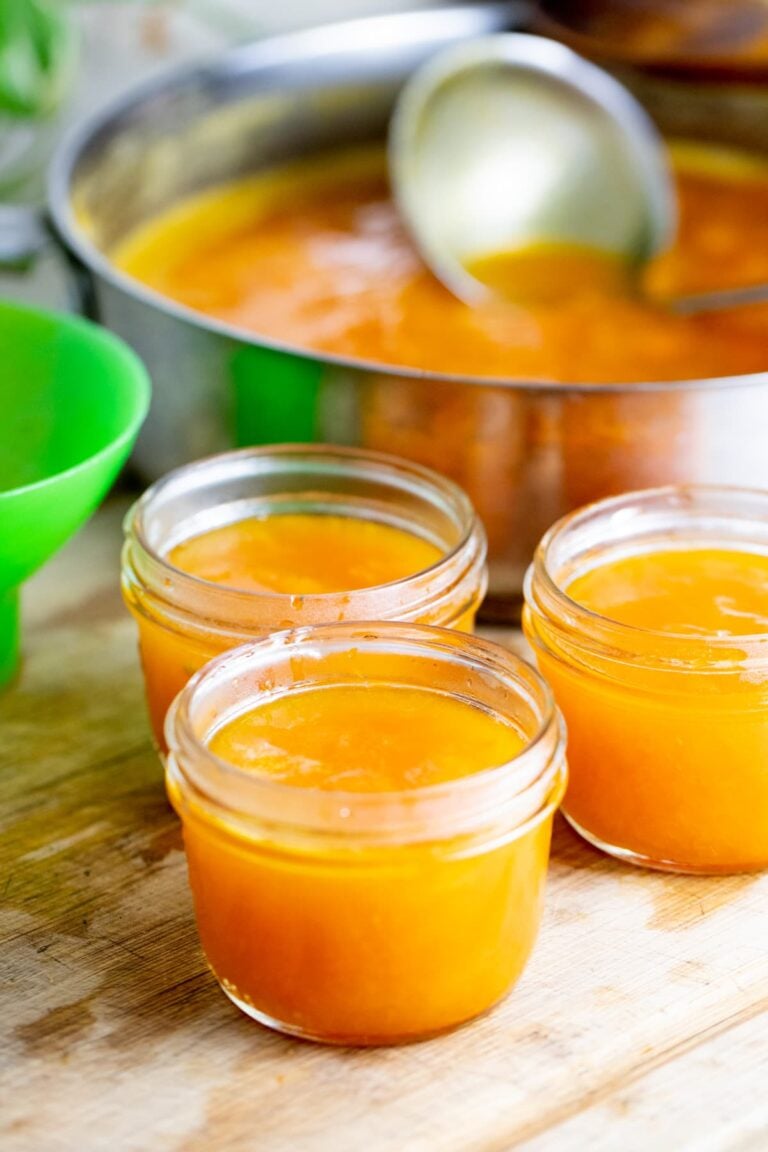
Once the jam is ready, remove it from the heat and add two teaspoons of vanilla extract, stir it in. Your grape jam is ready for canning!
Canning Grape Jam…
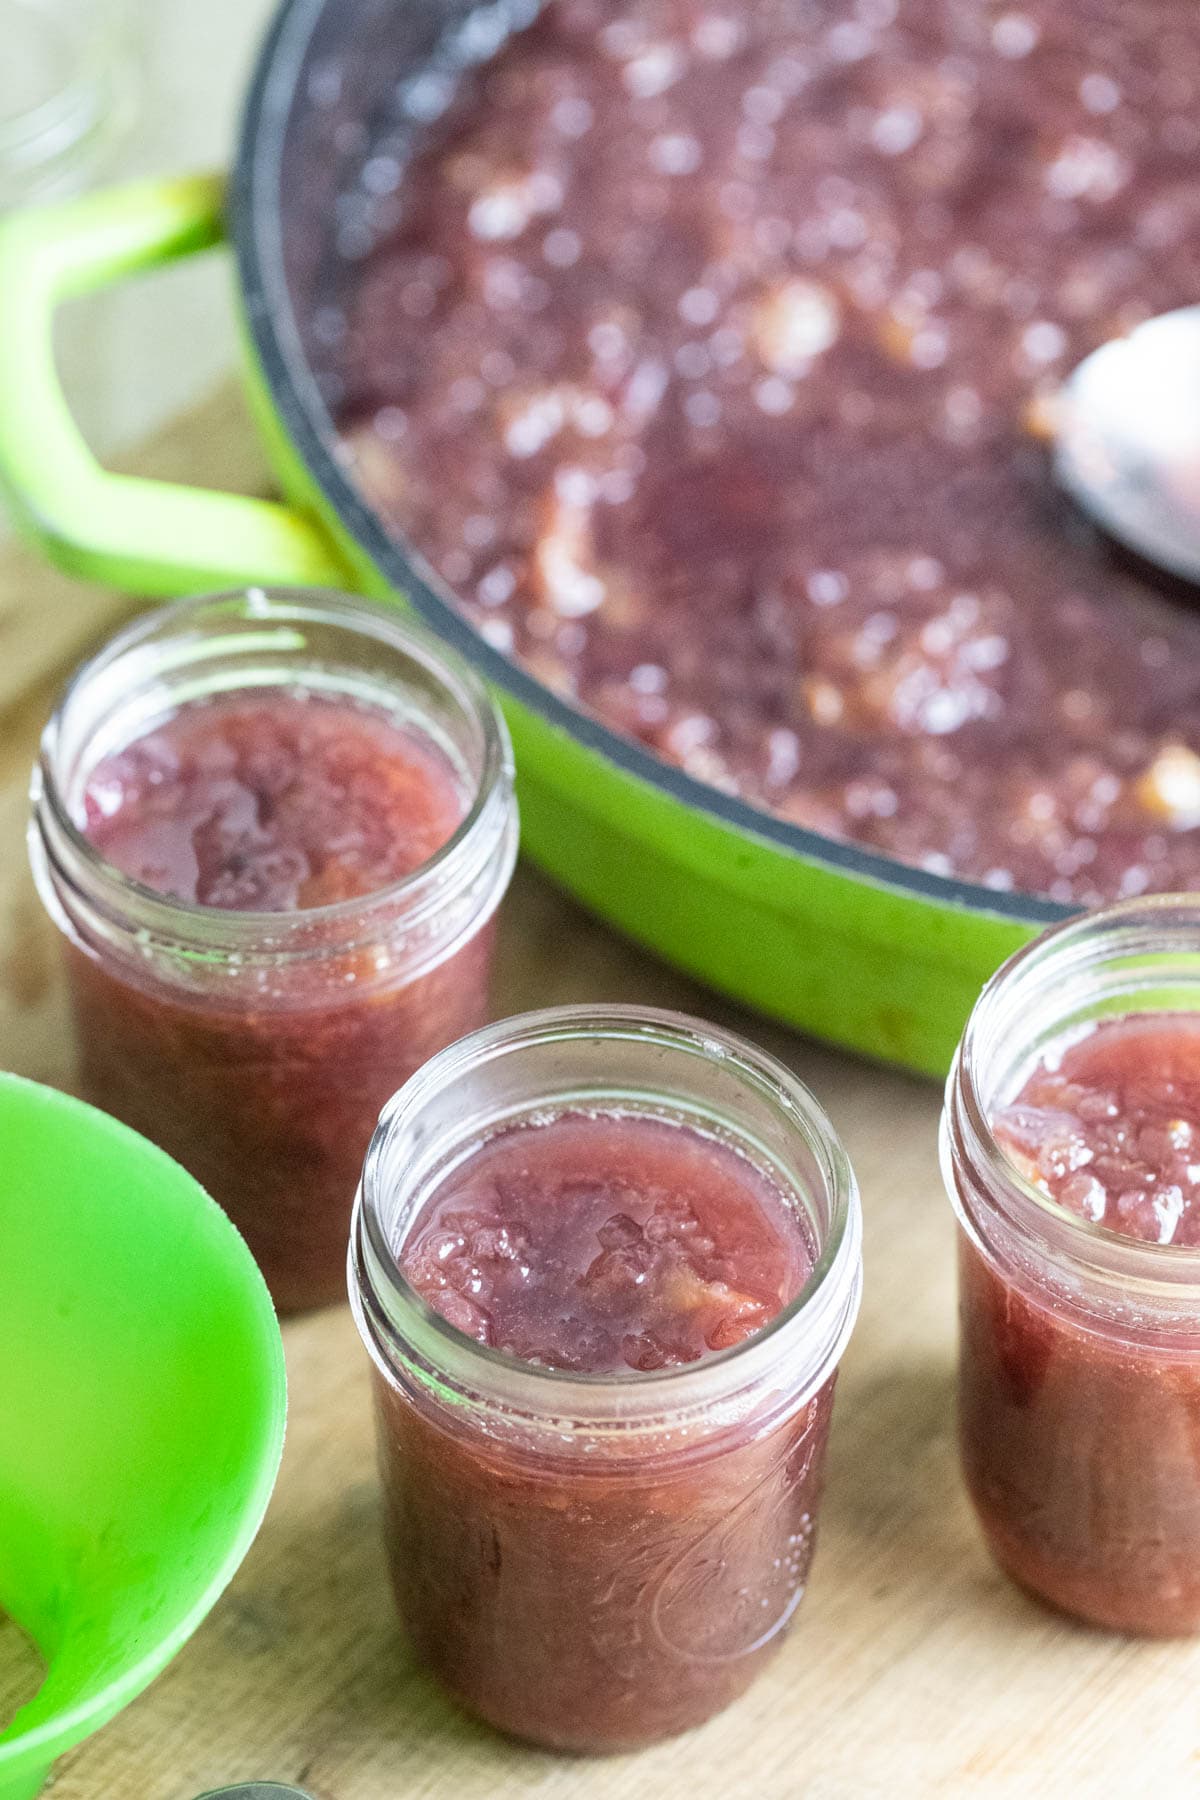
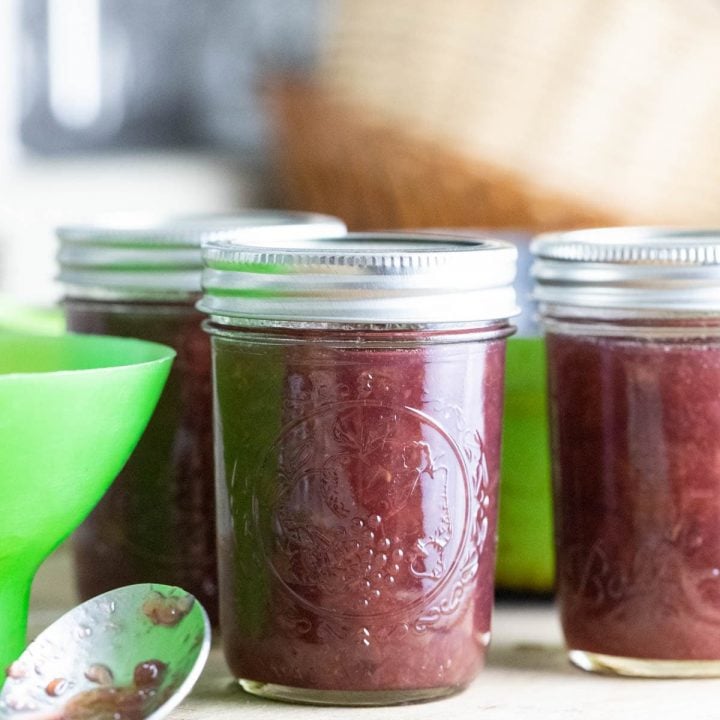
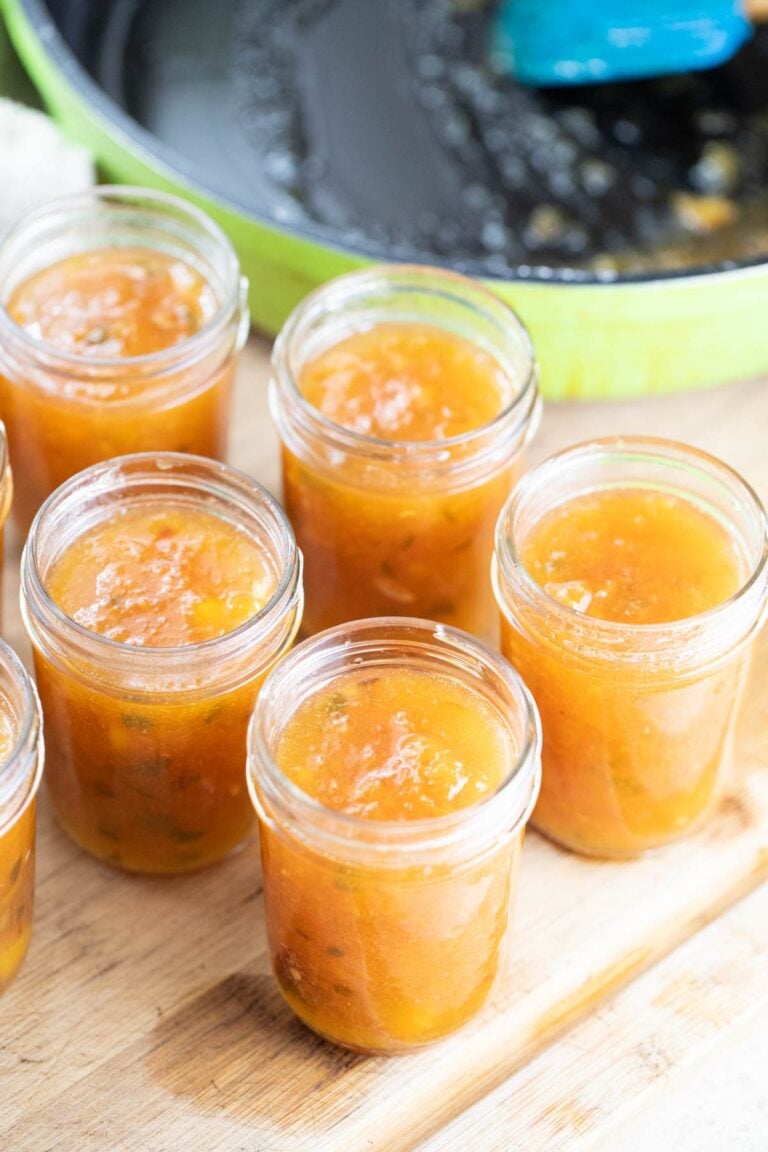
Step five – pack the jars. Fill the water bath canner with enough water to cover the jars by about an inch. Place it on the stovetop and bring the water to a gentle boil (you can do this as the jam is cooking). Wash the jars, lids, and bands well with hot water and soap (since we are going to process the jam for 10 minutes, there is no need to sanitize the jars).
Use a ladle or a spoon and the canning funnel to fill the jars with the jam. Make sure to leave 1/2 inch of headspace. Use the bubble remover to scrape the inside of the jar to remove any air bubbles. Then use a damp paper towel to clean the rim of the jar before you center the lid and close the jar with the band fingertight.

Step Six – process the jars. Place the jars on the rack of the canner and lower them into the boiling water. Cover the canner with its lid and process the jars in boiling water for 10 minutes if you live at an altitude under 1000 feet. Adjust processing time according to the table above if you live in higher elevations.
Once processing time is up, turn the heat off and uncover the canner. Let the jars hang out in the hot water for five minutes before you remove them. Use the jar lifters to remove the jars from the canner. Place them on a kitchen towel on the counter to cool completely overnight.

How to Store…
Once the jars have cooled completely, check to see if they are all sealed by pressing the center of the lid. If there is no movement there, this means that the jars are sealed and ready for storage. If you have a jar that didn’t seal, you can keep it in the fridge and use it first or you can try to process it again.
I like storing my jars without the bands since they tend to rust and make it hard to open the jar months later. So remove the bands and wipe your jars before placing them in the pantry. Grape jam should last for up to 18 months on the shelf.
How to Serve…
- As a snack – we love spreading cream cheese on crackers or a bagel and adding some jam on top. It’s an awesome midday snack for the whole family.
- On a toast – I always drink coffee in the morning, and a toast (preferably made with challah bread or this artisan bread!) with some jam on it is the perfect companion. Tip – add raw tahini on the toast before you add your jam… Oh man, it’s so so good!
- In cookies – I make these thumbprint cookies and add jam in the center. They melt in your mouth and are absolutely addictive!
- On yogurt – homemade yogurt (made with either raw milk or store-bought) with homemade granola and a tablespoon or so of jam is my go-to meal when I have no energy to cook a “real” one.
- Add it to baked goods – if it’s a turnover, jam-filled bars, or any other baked good, this jam will work great!
Frequently Asked Questions…
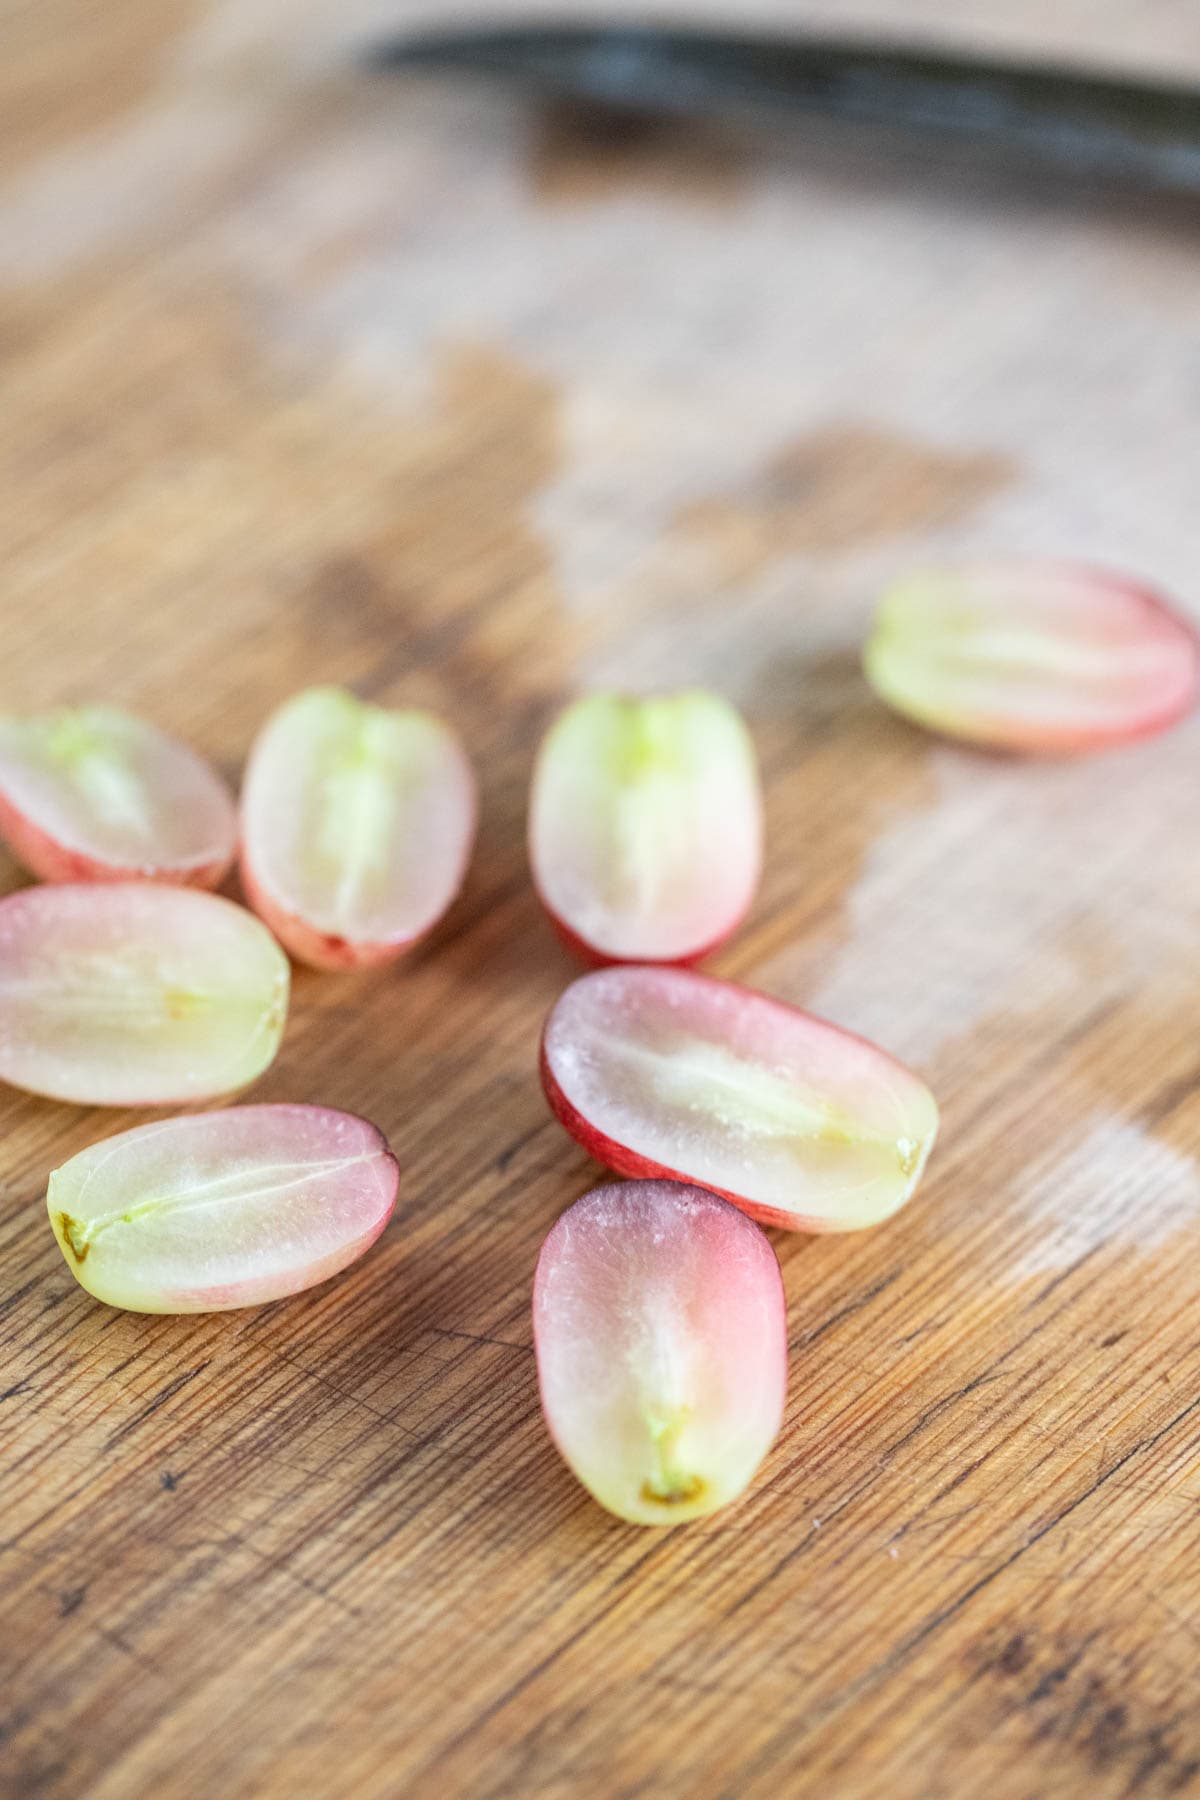
Yes, you’ll just have to remove the seeds first. It takes some time, but sometimes you just have to do it. Cut them in half and remove the seeds, then continue with the recipe as described above.
I don’t. I leave the seeds in the jam. They don’t break down, don’t change the taste of the jam no matter how long it stays on the shelf, and once you stop cooking the jam, they don’t keep thickening it. You can, however, fish them out when the jam is ready if you’d like; they are usually easy to find.
Yes, and it’s very easy. Just follow a ratio of one part fruit to one-half part sugar. So if you have 2 pounds of fruit, use one pound of sugar. The only thing that is going to change is the cooking time, mainly because of the different amounts of juice each fruit has.
A note here – I don’t recommend processing more than 4 pounds of fruit at a time. Simply because it makes it hard for the jam to thicken properly.
Absolutely! You don’t have to can this jam. If you are making a smaller batch, you can simply keep it in the fridge. It will last for a few weeks.
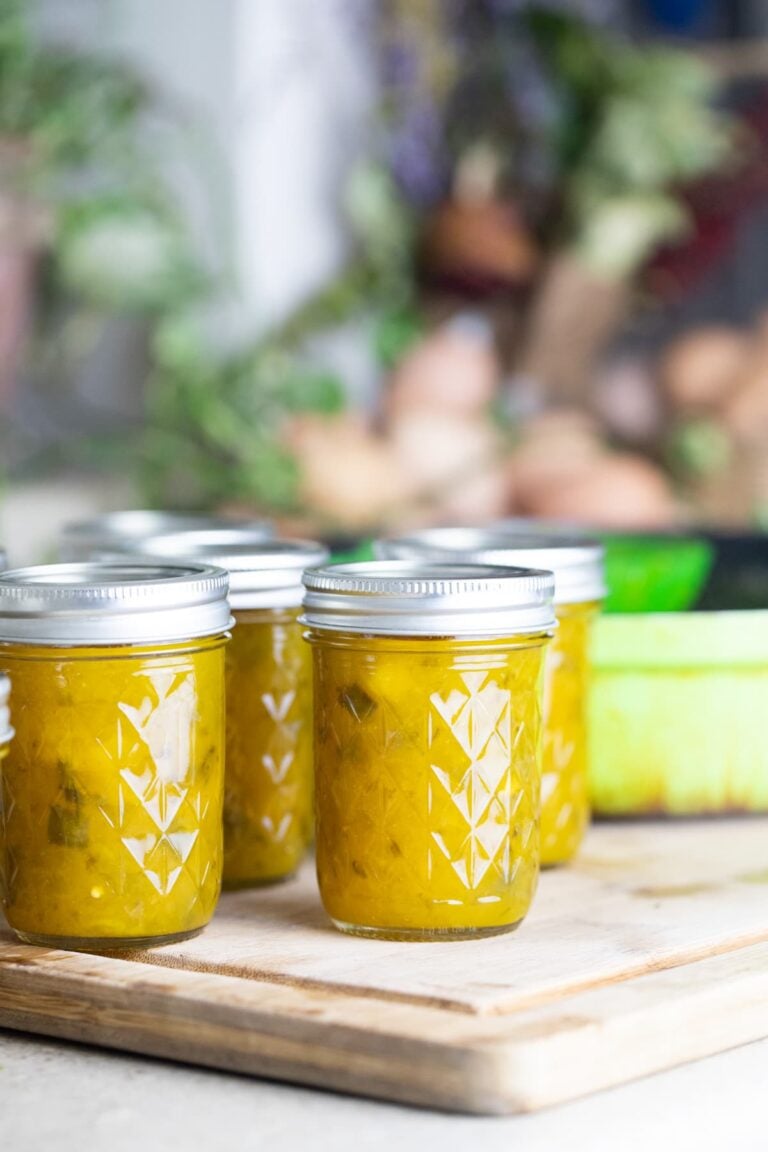
We are bringing back the grape jam, people! I am telling you, rows of grape vines are in my future! This jam is simple and so worth making. Nothing like opening a jar in the cold of winter and enjoying some summer goodness. I hope you’ll give it a try!
More Jam Recipes…
- Pineapple Jam
- Mulberry Jam
- Peach Jam
- Strawberry Jalapeno Jam
- Mango Jam
- Cantaloupe Jam
- Find more less-sugar jam recipes on my jam page here.
Grape Jam (No Pectin)
Grape jam is sweet and delicious! This recipe uses less sugar and no store-bought pectin.
Ingredients
- 4 lb seedless grapes
- 1.7 lb sugar
- Juice of half a lemon
- 5 - 6 lemon seeds
- 2 teaspoons vanilla extract
Instructions
- Wash the grapes well and take them off the stems, add the grapes to the bowl of the food processor and pulse a few times to chop them into smaller pieces. I do this in two batches.
- Add the grapes to a deep pan and add the sugar. Turn the heat to medium-high and start cooking the grapes. It will take about 10 minutes for the mixture to start boiling. Gently boil for about 10 minutes then lower the heat to medium-low for the rest of the cooking. Make sure to stir frequently.
- Cook for an additional 15 minutes. By this point, the grapes should be soft and you can use an immersion blender or a potato masher to blend or mash the fruit.
- Add the juice of half a lemon and its seeds (about 5 or 6). Stir them in.
- Keep cooking and stirring for another hour or so. The time might change depending on how juicy the grapes you used were but it's usually around an hour to reach gel phase. Experienced jam makers will be able to recognize when the jam reaches this stage, if you are not sure, you can use the spoon test to help you.
Scoop a little bit of jam with a spoon and set it on a plate on the counter to cool for 5 minutes or so. Then, add the jam back to the pot and as it leaves the spoon you'll be able to measure how thick it is. Just take into consideration that jams thicken further in the jars as they completely cool after canning. - Once the jam is ready, remove it from the heat and add two teaspoons of vanilla extract, stir it in. Your grape jam is ready for canning!
- Fill the water bath canner with enough water to cover the jars by about an inch. Place it on the stovetop and bring the water to a gentle boil (you can do this as the jam is cooking).
- Wash the jars, lids, and bands well with hot water and soap (since we are going to process the jam for 10 minutes, there is no need to sanitize the jars).
- Use a ladle or a spoon and the canning funnel to fill the jars with the jam. Make sure to leave 1/2 inch of headspace. Use the bubble remover to scrape the inside of the jar to remove any air bubbles. Then use a damp paper towel to clean the rim of the jar before you center the lid and close the jar with the band fingertight.
- Place the jars on the rack of the canner and lower them into the boiling water. Cover the canner with its lid and process the jars in boiling water for 10 minutes if you live at an altitude under 1000 feet. Adjust processing time according to the table in the notes if you live in higher elevations.
- Once processing time is up, turn the heat off and uncover the canner. Let the jars hang out in the hot water for five minutes before you remove them. Use the jar lifters to remove the jars from the canner. Place them on a kitchen towel on the kitchen counter to cool completely overnight.
- Once the jars have cooled completely check to if they are all sealed by pressing the center of the lid. If there is no movement there this means that the jars are sealed and ready for storage. If you have a jar that didn't seal, you can keep it in the fridge and use it first or you can try to process it again.
- I like storing my jars without the bands since they tend to rust and make it hard to open the jar months later. So remove the bands and wipe your jars before placing them in the pantry. Grape jam should last for up to 18 months on the shelf.
Notes
Adjust processing time according to the table below...
Nutrition Information:
Yield: 7 Serving Size: 1 half-pint jarAmount Per Serving: Calories: 650Total Fat: 1gSaturated Fat: 0gTrans Fat: 0gUnsaturated Fat: 0gCholesterol: 0mgSodium: 29mgCarbohydrates: 169gFiber: 5gSugar: 156gProtein: 3g
I have been checking out your jam recipes. I’m impressed. I’ve always preferred less sugar, but also always used pectin (Sure-Jel) for lower sugar.
Never heard of using lemon seed! Impressive!! I’m going to have to try it, but first I must go buy fresh lemons and as I typically save the zest, now I guess I’ll save the seeds too.
Now my question… a couple of years ago, while in CA, at my in-laws, I picked and juiced (actually I probably threw it all in the blender), then canned the result in quart jars so I could bring it home (TX) to make into jelly/jam. Any idea if this would work with your recipe? And have you ever used any sweetener besides sugar? I’m trying to get away from processed sugar. Thanks for any help and advice.
So, I’m not sure that I am understanding why you juice it… can’t you just take the fruit home fresh?
But, you can throw it in the blender, place it in a container, and freeze it. Then, take it home and use it for jam. If for some reason that works better then, yes, you can do that.
Also, check out my post on how to preserve lemon peel. They are delicious!
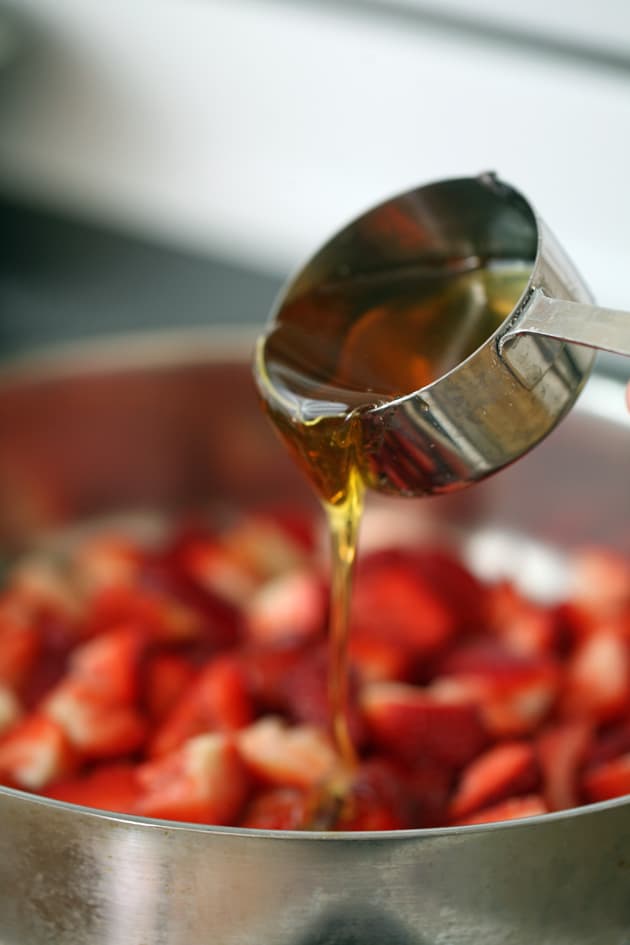
And, search for my honey strawberry jam recipe. That one is using honey instead of sugar and you can use that method with any fruit.
I hope this helps! Thanks for stopping by!