This post may contain affiliate links, view our disclosure policy for details.

In this post we are going to go over the basics of how to make cheese at home. I think that it helps if we understand the overall process of cheesemaking and the steps involved in making cheese at home before we dive into the art of cheesemaking. At the end of the post you will find the list of homemade cheese recipes that I have here on the blog.
I’ve always wanted to learn how to make cheese.
I grew up in a small kibbutz in Israel. A the age of nine, I found my way to the barn and horses became my life. I spent every waking hour that I could in the barn with the horses.
Our barn was located at the edge of the village, right beside the cowsheds. In the kibbutz, there was a huge dairy operation.
Where the barn wasn’t a profitable business for the village (it was there for us kids), the dairy farm was a huge money maker.
600 cows would get milked twice a day right in front of my face for years and years…
How to Make Cheese at Home…

I don’t know many horse people who don’t love cows… The two kinda go together naturally, and so, when I got older and looked for a job I went right next door to the milking parlor.
I worked for months as a night milker, hooking up milking machines to udders full of milk and watching gallons and gallons of milk flowing all around me.
I loved taking care of the cows and I loved the fresh milk. And I’ve always loved cheese!
Fast forward a few years and I now have my own homestead in the country in NC. It took what felt like forever to get out of the city and back into my country roots but the moment I got here I knew that my first priority was a dairy animal.
Even though I grew up around gallons and gallons of fresh milk, I had never tried raw milk before.
While we lived in the city, I did try my hand at making cheese from store-bought milk and that got me even more interested in cheesemaking.
Once we left the city I couldn’t wait to put my hands on “the real thing”. I wanted to milk again. I wanted to be a part of producing this golden product that is milk and I was eager to learn how to make cheese at home.
I couldn’t and still can’t keep a cow. It was my first choice (I am still a cowgirl at heart!) but I am just not set up for a large animal like that yet. But I could definitely keep a few goats!
I purchased my Lamancha goats a few short months after we moved to the country and I’ve been hand milking and making cheese at home ever since.
I’ve been documenting and sharing my cheesemaking journey here on the blog one cheese recipe at a time but I realized that it would be beneficial for a new cheesemaker to understand the overall process.
No matter what kind of cheese you are making, the steps are somewhat similar, and having a good understanding of the overall process would make it much less intimidating to learn how to make cheese at home.
So let’s start at the beginning…
A Little History of Cheesemaking…

Since we were hunter/gatherers way before we ever planted seeds in a neat row, the relationship between humans and milk is even older than the practice of agriculture!
It goes way back to around 11,000 BC when humans started to domesticate animals.
Back then, most of the milk came from goats and sheep since these were small animals that could move with the tribes easily wherever they went.
These small animals also thrive on dry leaves, thorny bushes, and weeds or whatever else was available in the dry regions described in the bible.
These animals also provided meat, and while gutting them the stomach pouch was saved and used to carry the surplus of milk (how they lived without mason jars back then only God knows!).
Legend has it that one day, a herder set out with his herd carrying his daily milk supply in a stomach pouch. The milk in the pouch, the hot sun, and the enzyme rennin (that is found in animals’ stomachs), along with the movements of the nomad, turned the milk into curds.
The curious (and hungry) nomad tried the lumpy substance and fell in love, becoming the first ever cheese lover!
Then around 9000 BC, people started practicing agriculture. They started learning how to put down roots and how to grow their own food instead of moving around in search of it.
This was when they were able to provide green fields for cows to graze on and the milk started flowing in large quantities.
But what does a community with no means of refrigeration do with all this milk? Well, cheese, of course.
Cheese is really a form of preserving milk. Whereas milk spoils after a few days, cheese can be smoked, dried, or aged and kept for months.
I know that I don’t have to convince you of the greatness of cheese. Not only is it a form of preservation, it’s a delicious one! Cheese actually improves the taste of the milk and allows us to season it and manipulate it in so many different ways.
Equipment Needed For Making Cheese at Home…

We’ve come a long way since the days of making cheese in animals’ stomach pouches. Today, easy to use cheesemaking equipment is available for us to order online.
I’ve learned in this homesteading journey that the first thing to do whenever embarking on a new adventure is always setting up the right way the first time.
You build the barn before you buy the horses…
You figure out how to water the ducks before you bring them home…
You build a good fence before you buy the goats…
Are you catching my drift?
What I am trying to say is that if you want to learn how to make cheese at home, the first thing you should do is make sure that you have the right tools.
Depending on the kind of cheese you want to start with, this might not be much. But start by making the decision of what kind of cheese you want to learn how to make and make sure that you have the supplies needed to make it before you put your hands on fresh milk.
Do you need cultures and rennet? Do you need a cheesecloth? Do you need a cheese press?
After you read through the basics of cheesemaking (this post), please make sure to check my cheesemaking equipment post that will help you understand what equipment you might need and why.
The Basics of Making Cheese at Home…
There are six basic steps to making cheese at home…
- Choosing milk and heating it.
- Adding cultures (or acidifying the milk in other ways like adding citric acid or vinegar).
- Coagulating the milk.
- Handling the curds.
- Draining the curds.
- Seasoning and aging the cheese.
Let’s go over each step in a little more details…
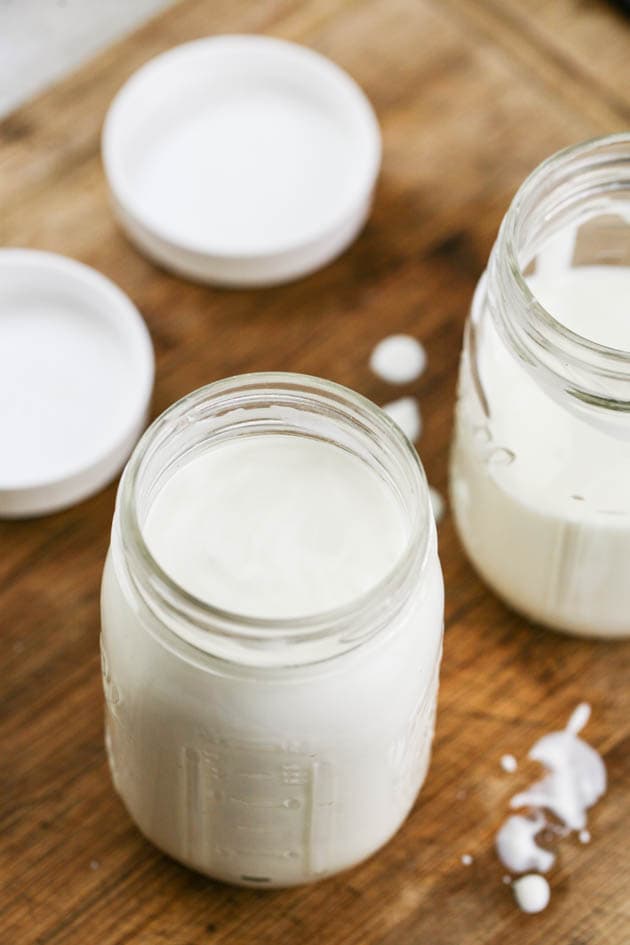
Step 1 – Choosing Milk For Cheesemaking…

Cheese can be made from any kind of milk. It can be cow’s milk, goat’s milk, sheep milk, and so on.
The fresher the milk, the better your cheese is going to taste.
If you own a dairy animal or if you have access to raw milk, of course it can be used for making cheese. However, you can also make cheese with store bought milk.
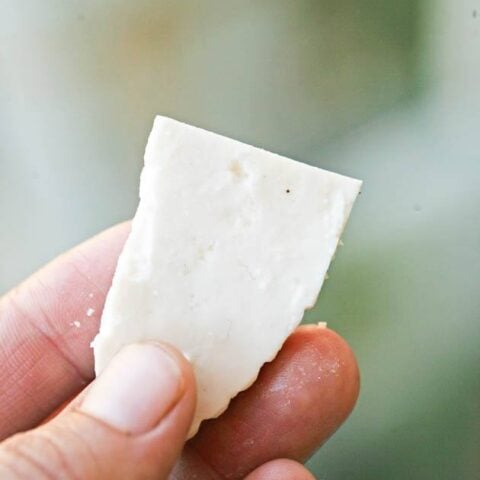
If you choose to use store-bought milk for cheesemaking, take into consideration that since it’s pasteurized and homogenized you are going to have to add calcium chloride to the milk in order to get a good set (in cheeses like feta and such).
I have to note here that I am not sure if you can make cheese from canned milk. In addition to preserving my milk by making cheese, I also can my milk. However, I’ve never tried to make cheese with my canned milk.
We always want to start with warm milk when making cheese. If you make cheese right after you milked your goat or cow the milk might still be warm enough.
But if you are using milk that was in the fridge you’ll have to warm it to a certain degree according to the recipe.
When warming milk, make sure to stay close by. Milk can scorch quickly and heat fast. Keeping a close eye on temperatures is a very important part of cheesemaking success.
Step 2 – Adding Cultures or Acidifying the Milk…

This is where we start the process of creating different kinds of cheeses…
The next step in making cheese is to acidify the milk by adding cultures or citric acid (lemon juice for example), or vinegar.
You will add citric acid or vinegar to milk to make cheeses like ricotta or mascarpone. Most other cheeses are made by adding one of two types of culture (or in other words, good bacteria) to the milk.
It’s important to have a good understanding of cultures and I explain more about them in my cheesemaking equipment post, but for now, you just need to know that this is usually the second step in making cheese.
The added bacteria will multiply and consume the lactose in the milk (the sugars) raising its acidity. This process is called ripening and it helps the rennet coagulate the milk.
Step 3 – Coagulating the Milk…

After we raised the acidity, it’s time to coagulate the milk. This is done by adding rennet.
Rennet is an enzyme traditionally taken from the stomach of animals. It causes the protein components in the milk to coagulate and turn to curds which we can then work in different ways.
Today we can also find vegetable based manufactured rennet (in case you are a vegetarian) and we can find rennet in a liquid form or tablet form (I prefer liquid).
I explain more about rennet in my cheesemaking equipment post.
Step 4 – Handling the Curds…

Once the milk has coagulated the next step involves handling the curds.
The way we handle the curds is different for each type of cheese that we are making.
Cutting the curds: most of the time, we start by cutting the curds. It’s important to use a long knife or icing spatula that can reach all the way to the bottom of the pot.
We start by cutting vertically in 1/2 inch wide rows. Then we cut at a 90 degree angle to form 1/2 inch squares. Lastly, we hold the knife at a 45 degree angle and make sideways cuts.
The goal is to cut the curds evenly so they cook evenly.
Cooking the curds: in some types of cheeses, we have to heat the curds (cook them).
This is done slowly to prevent the curds from turning to rubber. At some point of the heating, you’ll notice that the curds become firm enough to hold their shape. They kinda resemble scrambled cheese.
Stirring the curds: the purpose of stirring the curds is preventing them from sticking together.
Usually it’s done while we heat the curds or when we want to help the curds get rid of more whey. We want to keep the curds separated so they can firm better.
Stirring curds is a gentle work. We don’t want to completely break them, just gently keep them from sticking to each other.
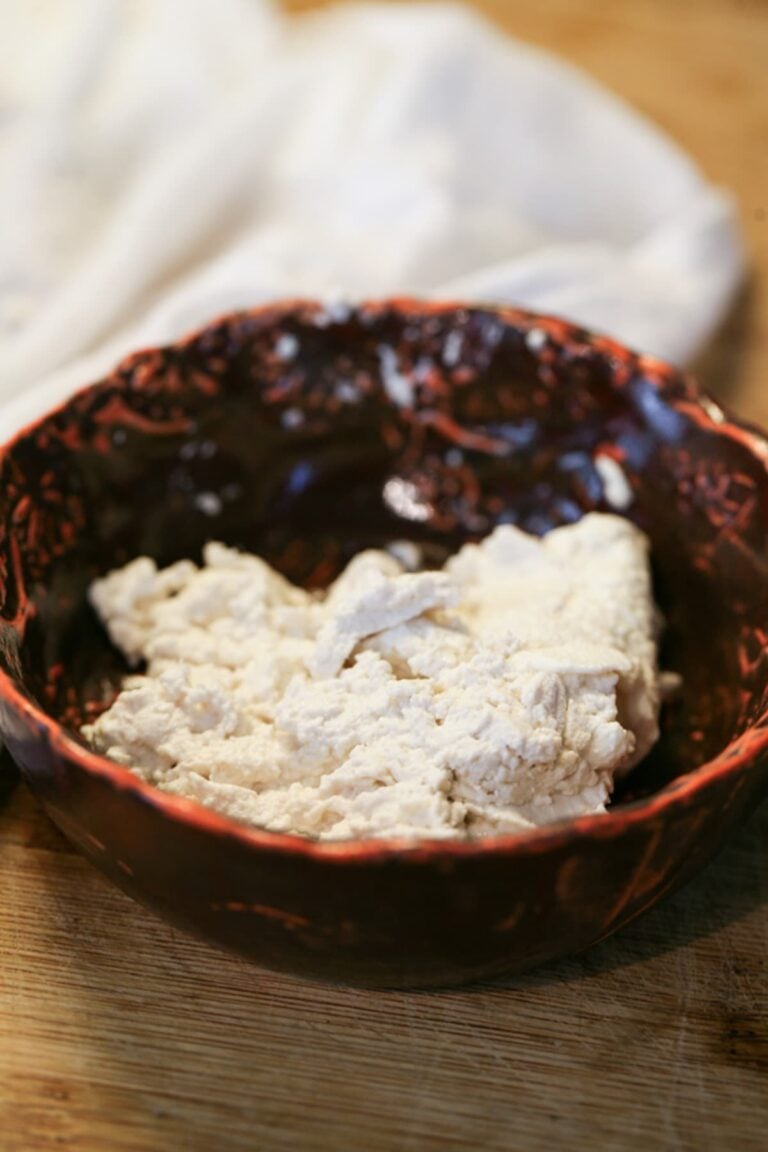
Step 5 – Draining the Cheese…

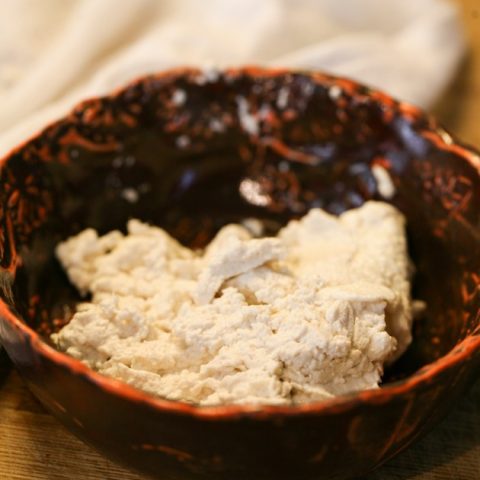
This simply means separating the curds from the whey.
We usually use a cheesecloth in this step. We line a large bowl with the cheesecloth and transfer the curds to the bowl.
Then, we collect the sides of the cheesecloth and tie it with a string before hanging it. The whey is going to keep dripping and after a few hours we find a solid cheese in the cheesecloth.
Remember that whey can always be used instead of water in any recipe. It’s rich and healthy.
You can also give it to your farm animals or pets or drink it yourself (replace water with whey in smoothies and such).
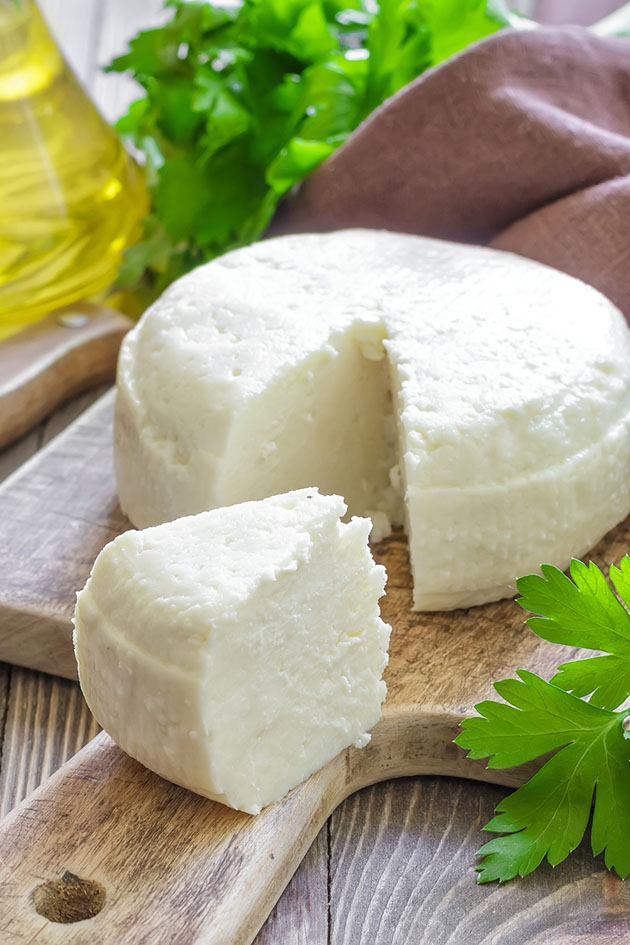
Step 6 – Season and Age Your Cheese…

There are many ways to season and age cheese and again, the way that you’ll choose will depend on the type of cheese that you are making.
Seasoning can be just adding salt or it can be adding black pepper, garlic, different kinds of herbs and so on.
When it comes to aging, not all types of cheese require aging. Some can be served right away but I find that even those benefit from a couple of days of aging in the fridge.
More complicated aging that requires a cheese cave of some sort (a place where you can control the temperature and humidity) is geared more toward hard cheeses like Parmesan cheese, Brie, Camembert, and so on.
If you are a beginning cheesemaker I suggest that you start with simpler types of cheese that don’t require long aging.
These are the basics of the cheesemaking process.
Of course not all steps are followed for making all the types of cheeses. Sometimes you don’t need to heat the curds, sometimes you don’t need to hang the curds…
Sometimes you’ll season your cheese and sometimes you won’t. Sometimes you’ll age it and sometimes you won’t.
But I hope that having a basic understanding of the overall process makes it easier for you to understand what you are getting into!
Cheesemaking is an art! There is so much to learn and so many recipes to experiment with. I’ve been doing this for a while and still feel as if I haven’t even scratched the surface.
The best way is to just do it. Learn the basics and then choose one type of easy to make cheese to start with. Gather your equipment and try.
If you fail, don’t get frustrated! Just try again and then again. Once you master one type of basic cheese, move on to the next one.
Below you’ll find a list of all the cheese recipes that I have here on the blog. Right now, all of them are very easy recipes and they are all in a form of a step by step picture tutorial.
This is a good place to start so choose one and let’s make it!
How to Make Cheese
Learn how to make cheese at home by following one of the cheesemaking recipes and tutorials below...
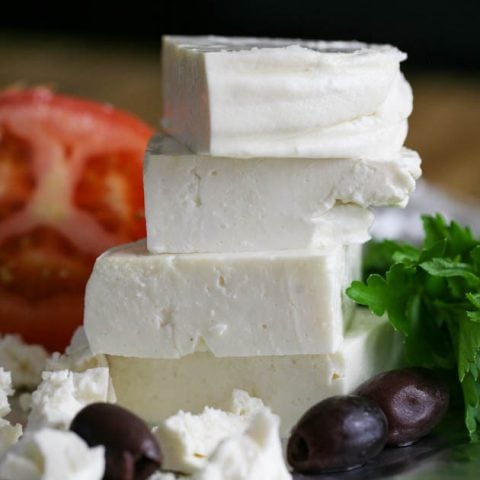
Homemade Feta Cheese
Homemade feta cheese is easier to make than you might think! It takes some time but I’ll show you how to make a large batch of feta and preserve it so you only need to do this every few months if you want a constant supply of feta in your fridge.
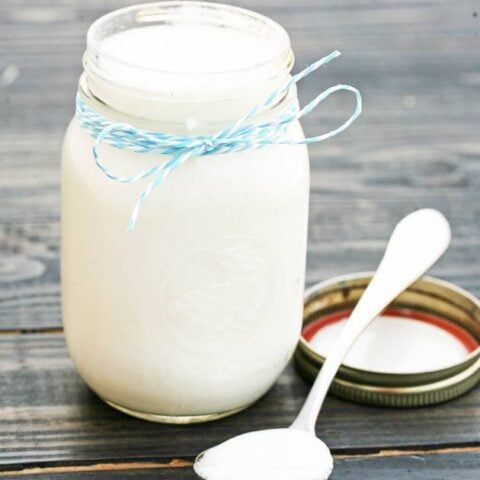
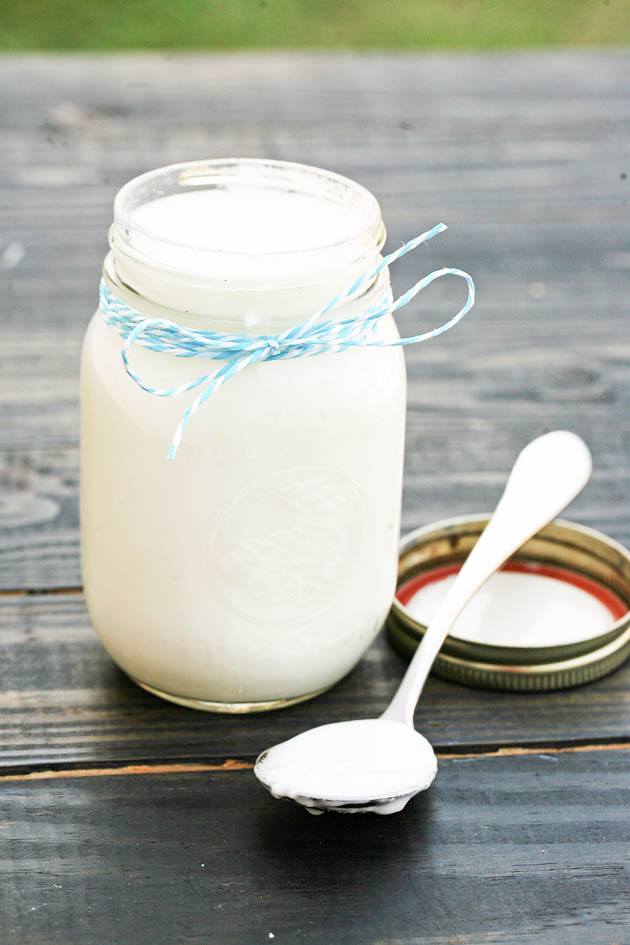
Homemade Crock-Pot Yogurt
This homemade crock-pot yogurt is easy to make. This method takes some time but the result is always great and it produces a whole lot of yogurt from a gallon of milk. Let me show you how to make yogurt in a crock-pot.
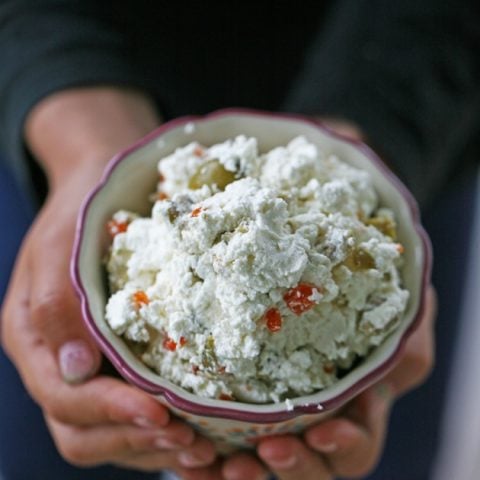
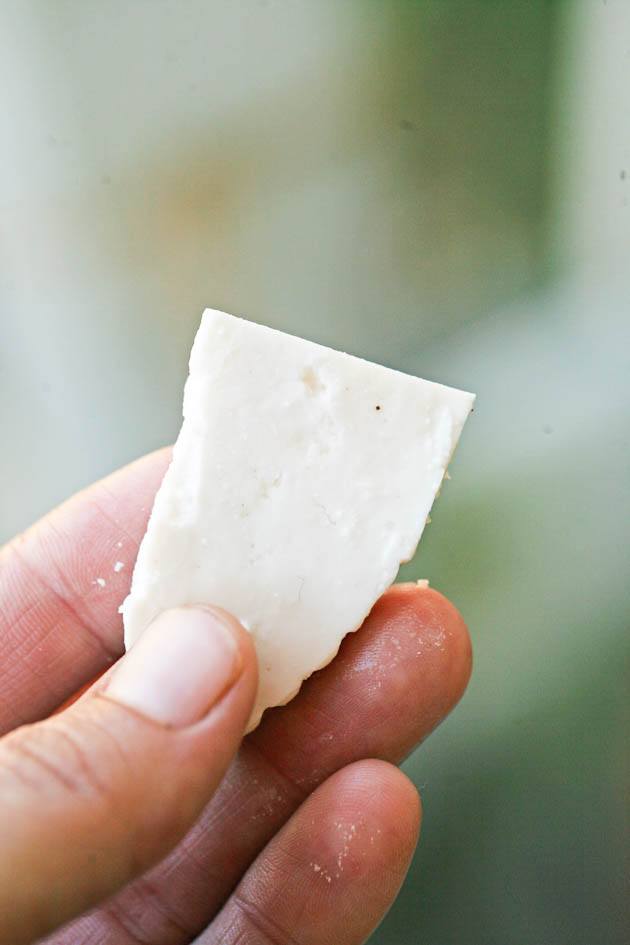
Homemade Soft Cheese Recipe
This homemade soft cheese is really easy to make. I make it here with store-bought milk but it can be done with any kind of milk. This is a basic recipe for homemade soft cheese that you can season however you want.
Raw Goat Milk Cheese
In this post, I’ll show you how you can quickly turn your raw goat milk into a cheese that you can eat right away or freeze for later. This easy raw goat milk cheese is seriously my favorite way to process goat milk and my favorite way to preserve milk. I make a lot of it since it takes just an hour to make and then freeze the cheese.
How to Make Goat Cheese
In this post, you will learn how to make goat cheese. This is a soft goat cheese also called chevre cheese. It’s very simple to make and is tasty and healthy. You can season it or leave it plain.
How to Make Ricotta From Whey
In this post, we will learn how to make ricotta from whey. After making cheese, we are left with a good amount of whey, making ricotta from it is simple and quick. This homemade ricotta from whey is delicious and very simple to make!