This post may contain affiliate links, view our disclosure policy for details.

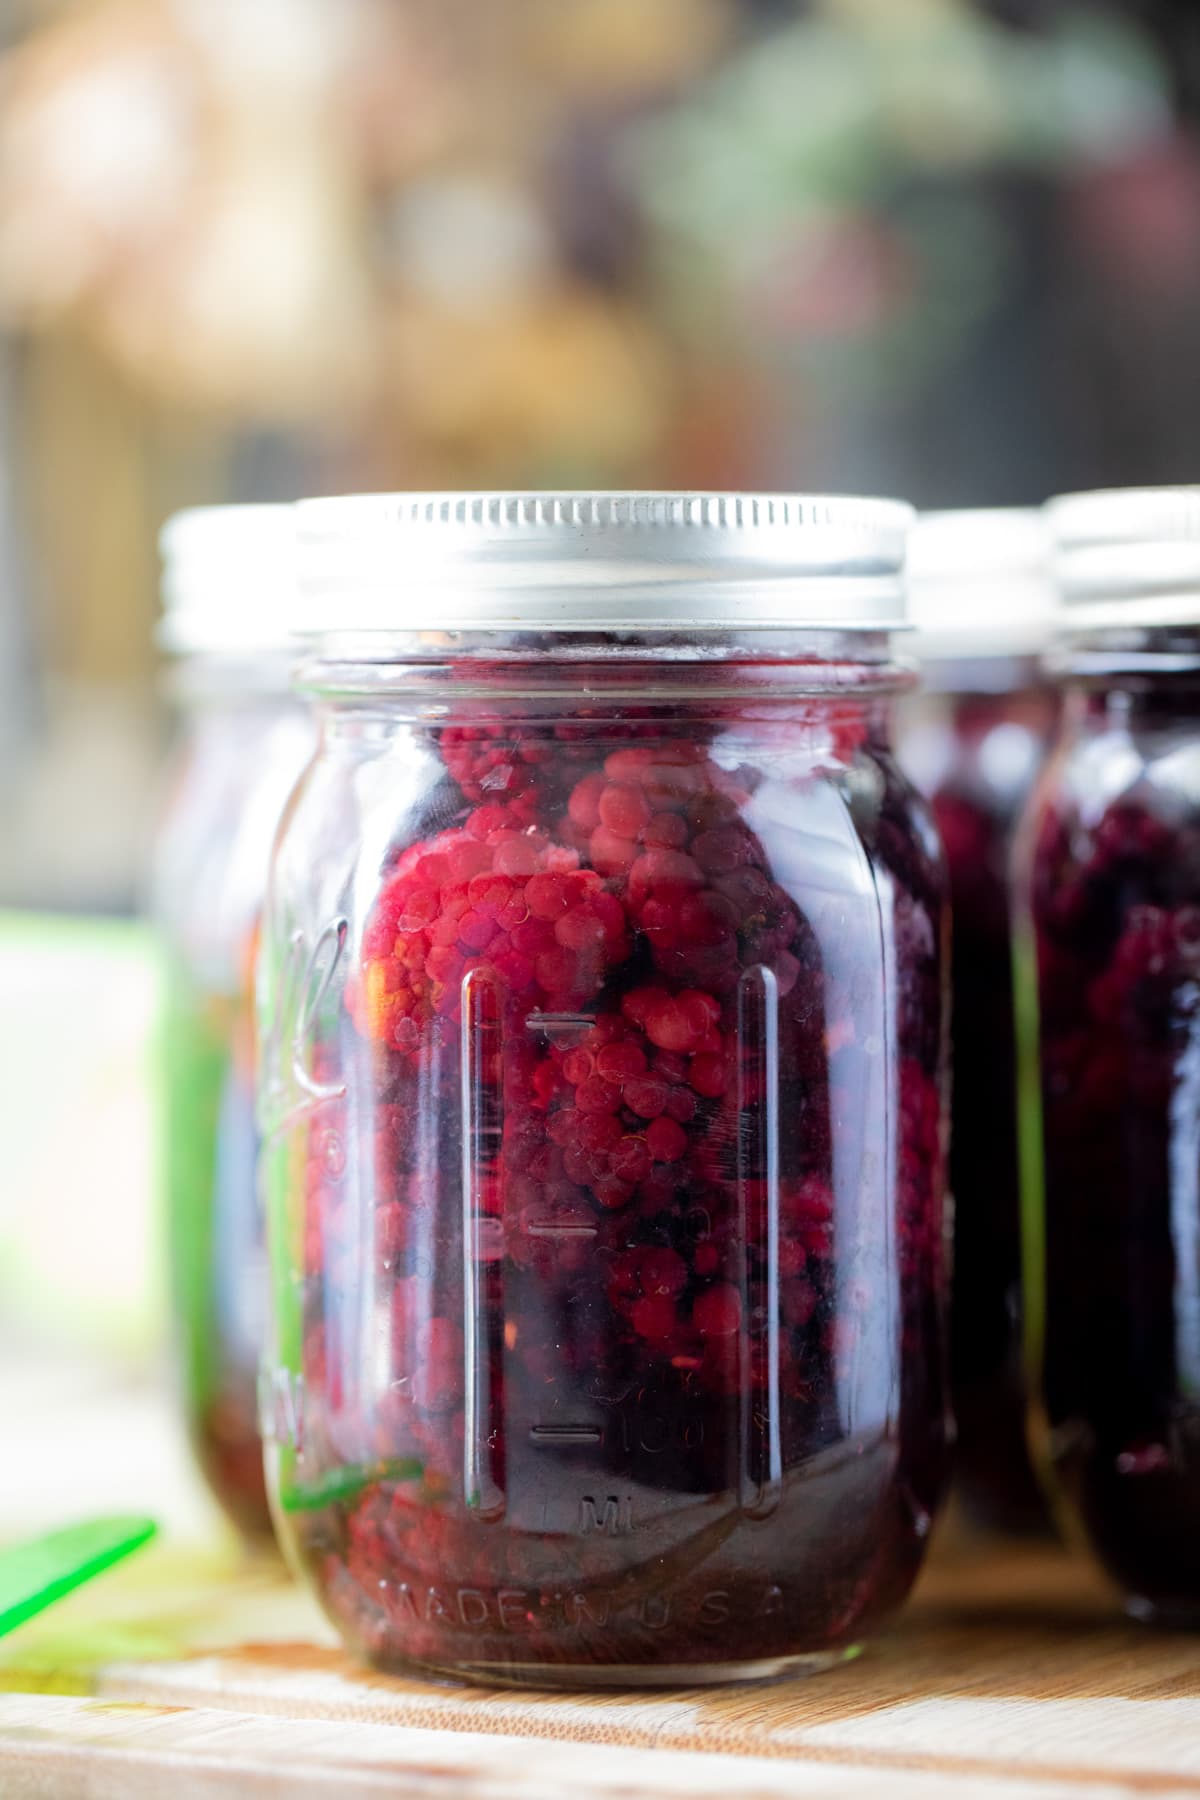
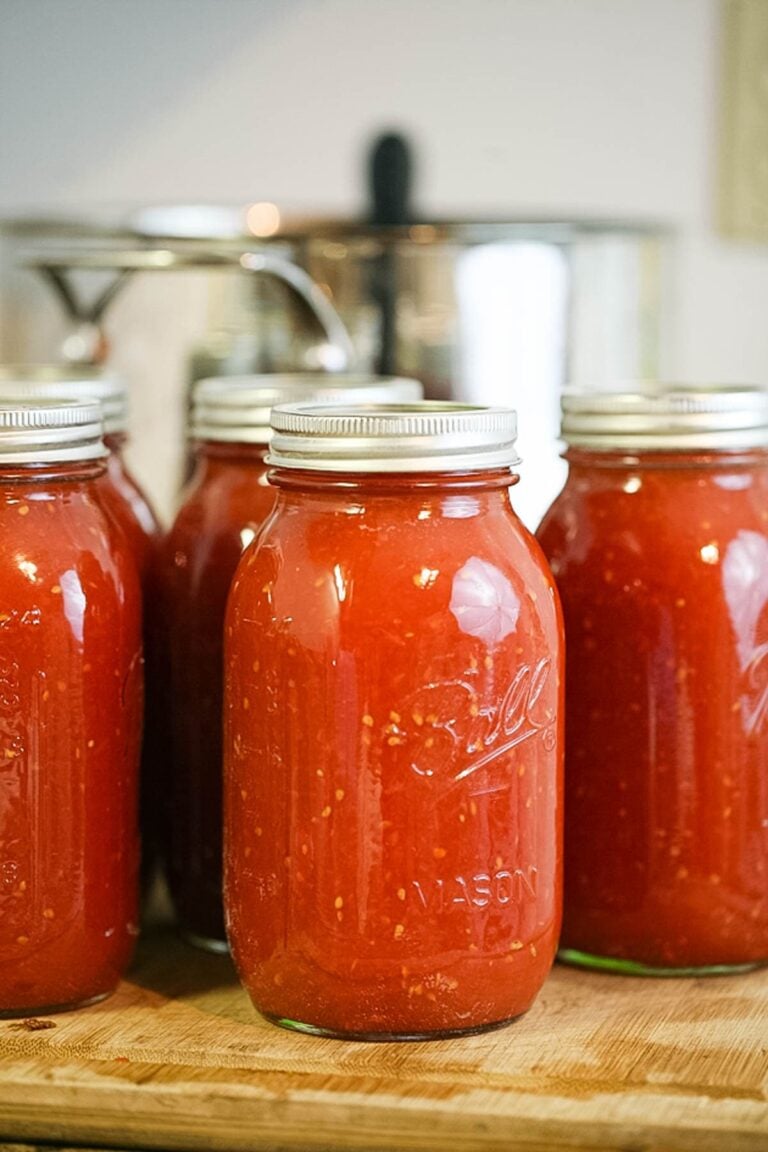
Canning blackberries at home is a great way to preserve blackberries. The berries hold very well through the process, last a long time on the shelf, and can be used in many different ways.
I own 20 acres of farmland in North Carolina. Another way to read this sentence is “I own 20 acres of wild blackberry plants in North Carolina”. I swear they are everywhere! And they’re the most annoying plant you ever met.
They are thorny, and the tiny things can get you even if you wear gloves. And if they get you, they are so so darn painful! The roots of this plant are brewing a plan to take over the planet, I am sure of that. Everywhere I dig there is a blackberry root even if the closest above-ground stem is 100 feet down the field.
Canning Blackberries at Home…
I cut out one plant and the following summer there are seven new ones in its place. They are like grey hairs… So I figured I need to change the way I look at this problem and hopefully the problem will change, right? Right.
From now on I am going to try and be the blackberries friend and attempt to take the kids on a merry blackberry foraging expedition around the property at least a few times each summer. We will probably have to consult Tony Stark on the gear necessary to survive said expedition but we’ll save the details for later.
As I was trying so hard to envision the greatness all the berry plants can bring into our life, I visualized baskets and baskets of tiny and beautiful, dark fruit. Then, as the good homesteader that I am, I immediately thought about storing all the berries. Freezing berries is easy enough, however, you know how valuable freezer space is, so canning blackberries came to mind. And since I had to practice I thought I’d take you with me for a canning blackberries tutorial! It’s all making sense, huh?
Ingredients…
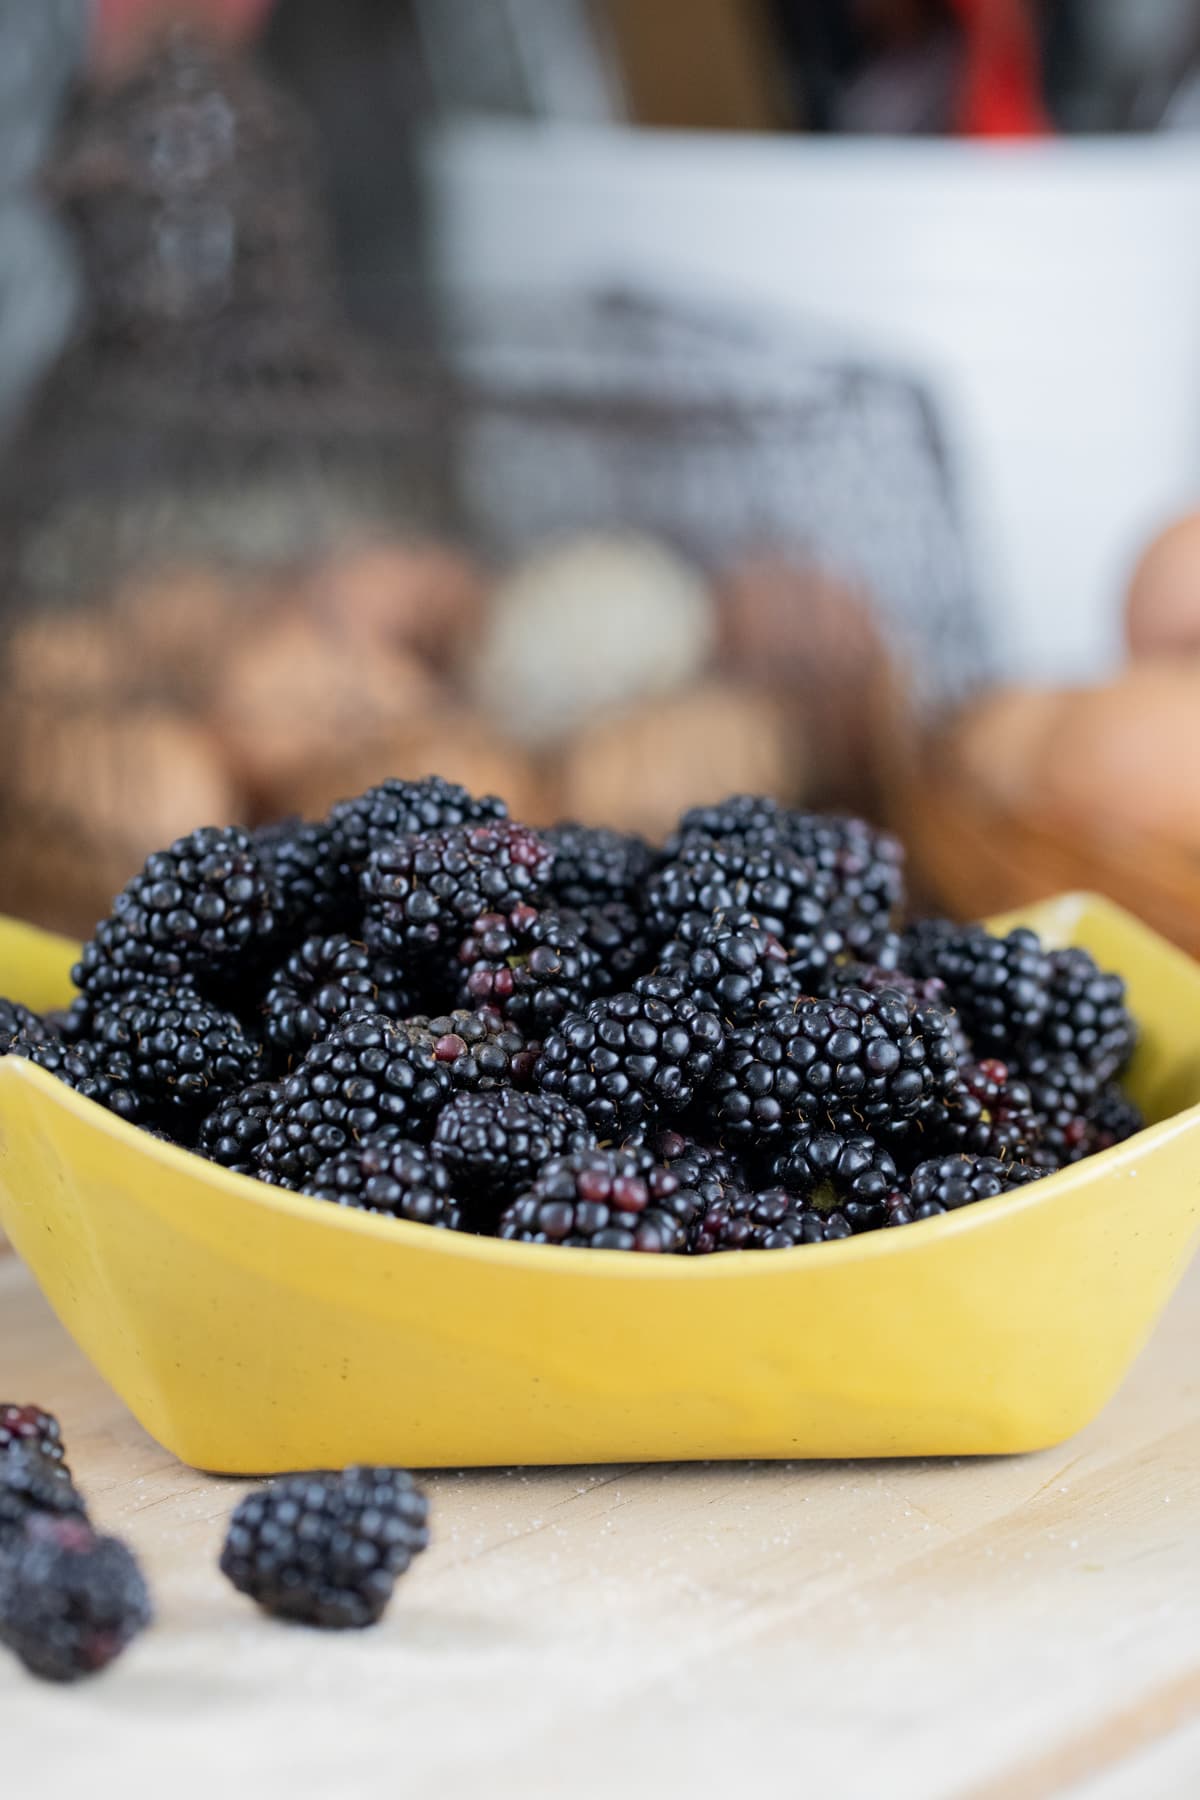
- Blackberries – choose firm blackberries. Ripe and sweet but not too ripe that they are falling apart.
- Sugar – good old white sugar is what I used. If you need a honey option check the FAQ section below.
Kitchen Tools…
- Mixing bowl
- Measuring cup
- Wooden spoon
- Wide and deep pan
- Pint or quart jars with two-piece lids
- Canning utensils
- Paper towel
- Water bath canner
Raw Pack Vs. Hot Pack…
Raw Pack – if you choose this method for canning blackberries you won’t cook the blackberries. Here is the process of raw packing blackberries…
- Wash the berries, the jars, and the two-piece lids.
- Prepare a light syrup by adding 2 1/2 cups of sugar and 5 1/4 cups of water to a saucepan. Bring the mixture to a simmer (180 degrees F). I usually choose this light syrup if I raw pack my berries, however, if you want a heavier syrup you can find the measurements here.
- Pack the jars with the fresh berries then add the syrup over them to fill the jar. Leave 1/2 inch of headspace.
- Remove air bubbles, clean the rim of the jar, center the lid, and close the jar with the band finger tight.
- Process in a water bath canner for 15 minutes (pints or quarts).
There is nothing wrong with using the raw pack method to can blackberries (I use this method when canning raspberries and blueberries). It’s simple and quick. I do have to admit that there are a couple of benefits to the hot pack method though…
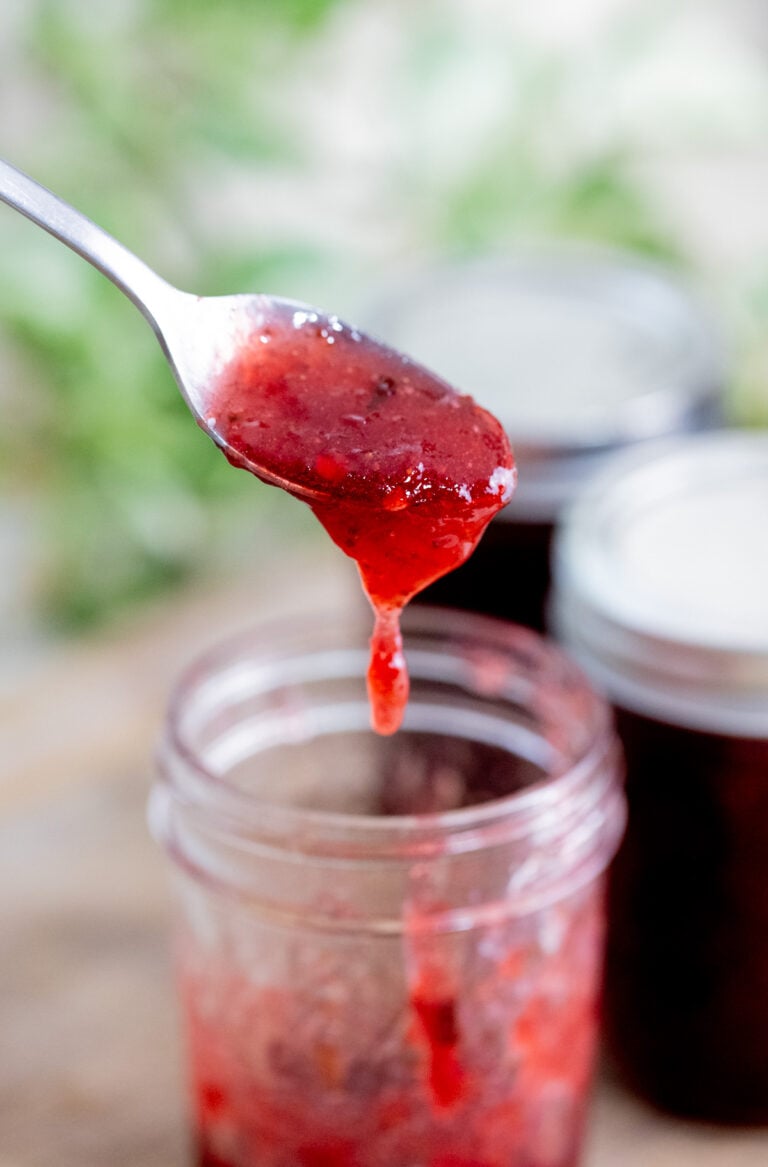
Hot Pack – this method consists of cooking the fruit for a few minutes before packing it. I feel like overall it produces a better product in the long run because it preserves the taste a bit better. In this method, we are going to let the fruit sit with the sugar for a little bit. This produces a very flavorful juice that we are then going to heat (with the fruit) and use when canning.
Since the fruit is packed in its own juice I think that the flavor is preserved better. However, I have to admit that when it comes to blackberries, even after a couple of hours covered with sugar, the fruit usually doesn’t produce that much juice. You’ll see below that I still needed to add some water to the jars (unlike when canning strawberries. Often they make enough of their own juice). At the end of the day though, I do feel like the end product is better so this is the method that I chose to use.
How to Can Blackberries…
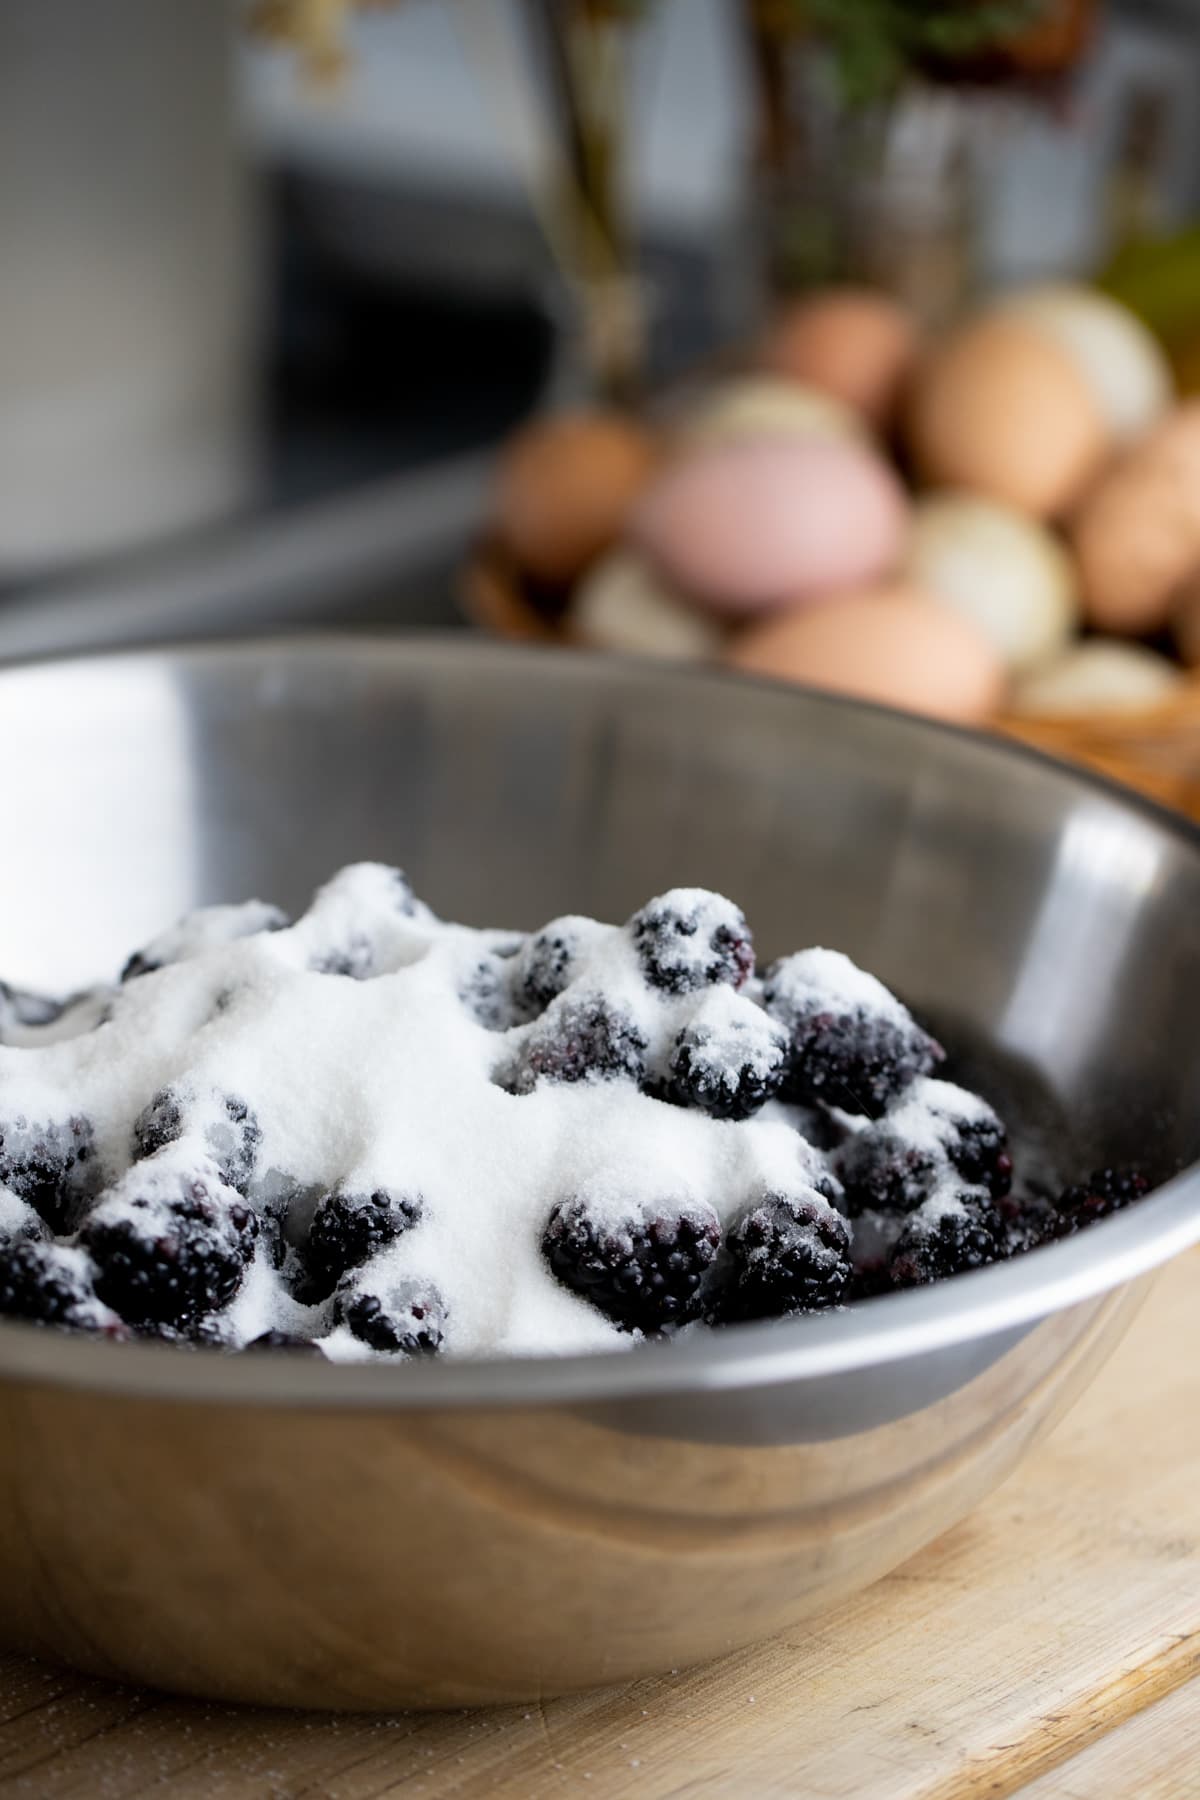
Step one – prep the berries. Start by washing the blackberries well. I usually add the berries to a large mixing bowl and fill the bowl with cool water. I let the berries float in the water for a minute and then I scoop a few of them out at a time, wash them under running water, and place them in a different bowl. Then, add the sugar and mix it in gently so it covers all of the berries (try not to squish the berries). Cover the bowl with plastic wrap and let the berries and sugar rest for two hours.

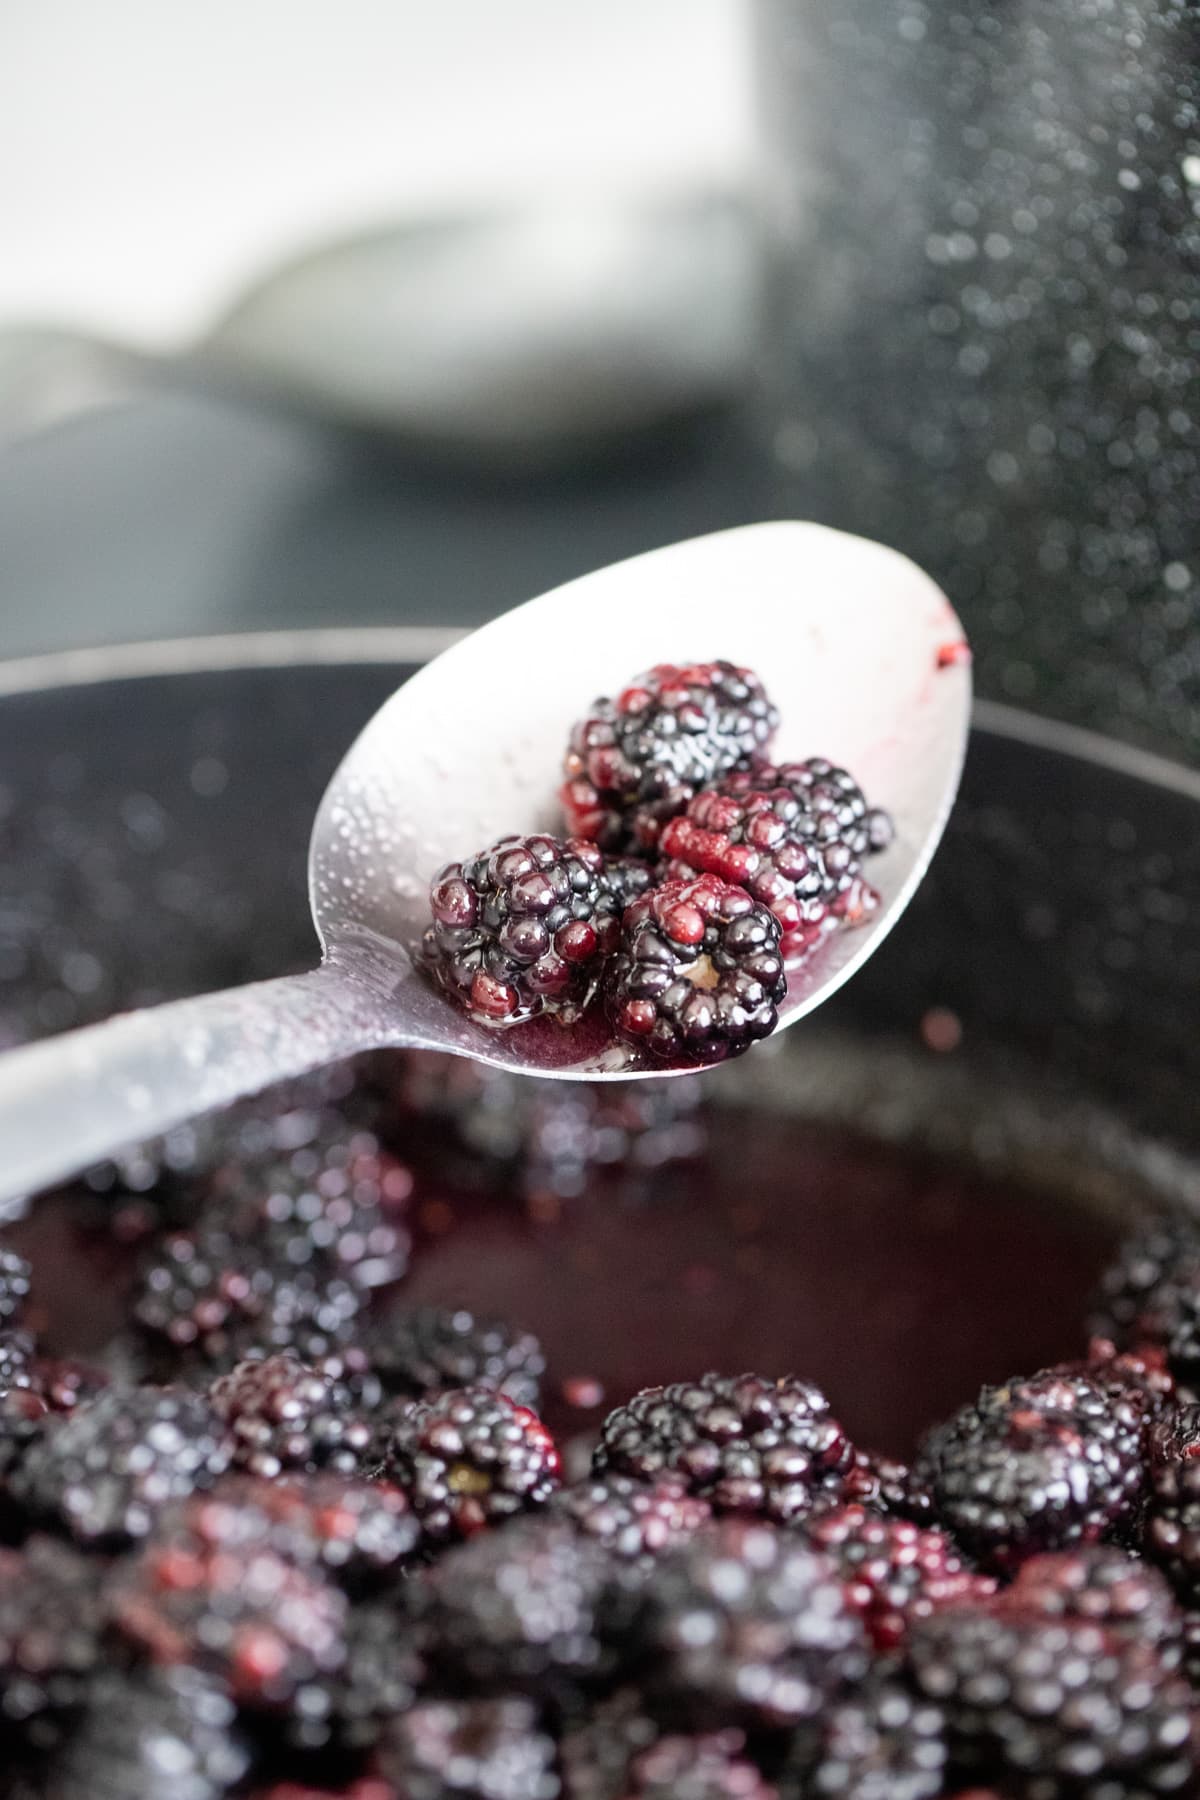
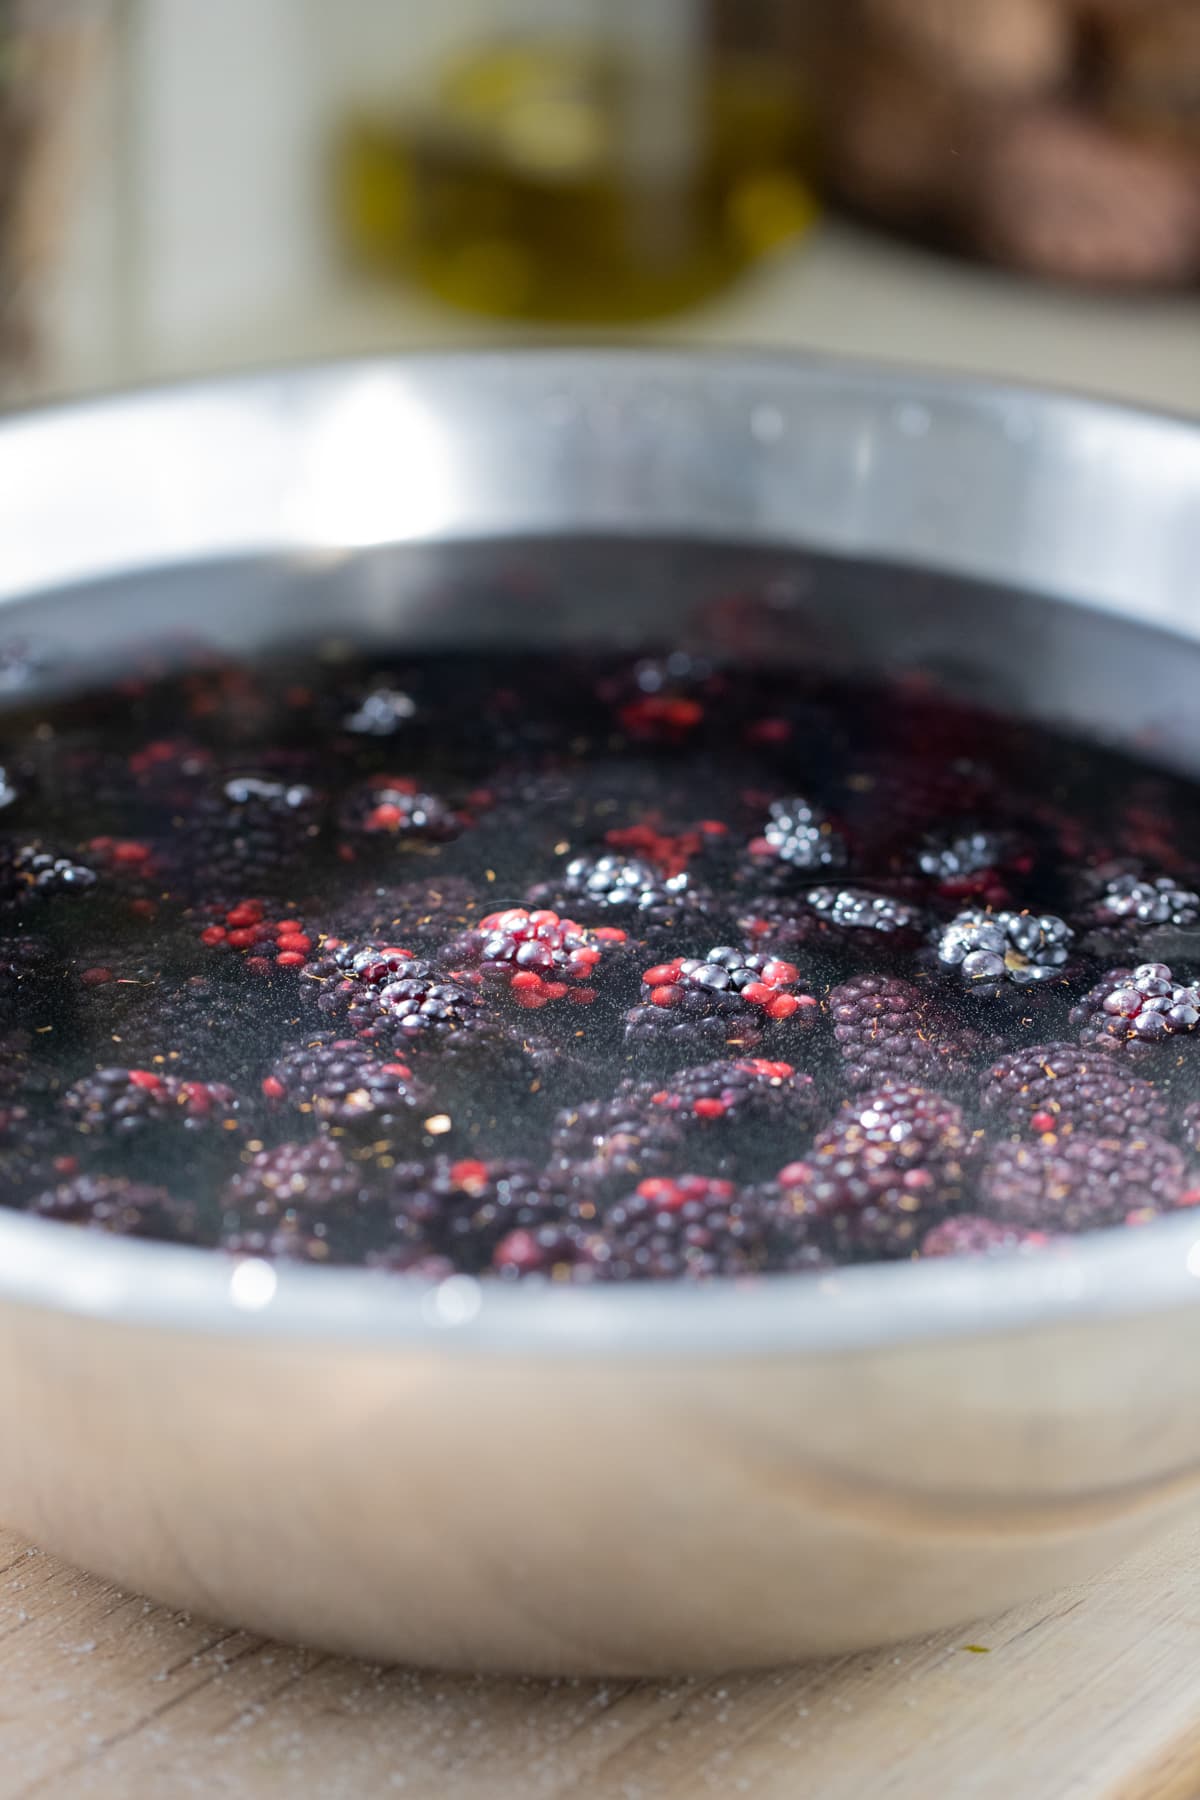
Step two – cook the berries. Add the berries and their juice to a deep and wide pan. Place the pan on the stovetop and turn the heat to medium. Cook the berries, stirring frequently for 5-7 minutes until the sugar dissolves and the fruit and juice are warm.
Note – this is a good time to fill the water bath canner with enough water to cover the jars by at least an inch and set it on the stovetop. Turn the heat to high and bring the water to a boil (while the water is heating up we’ll keep working on the blackberries).
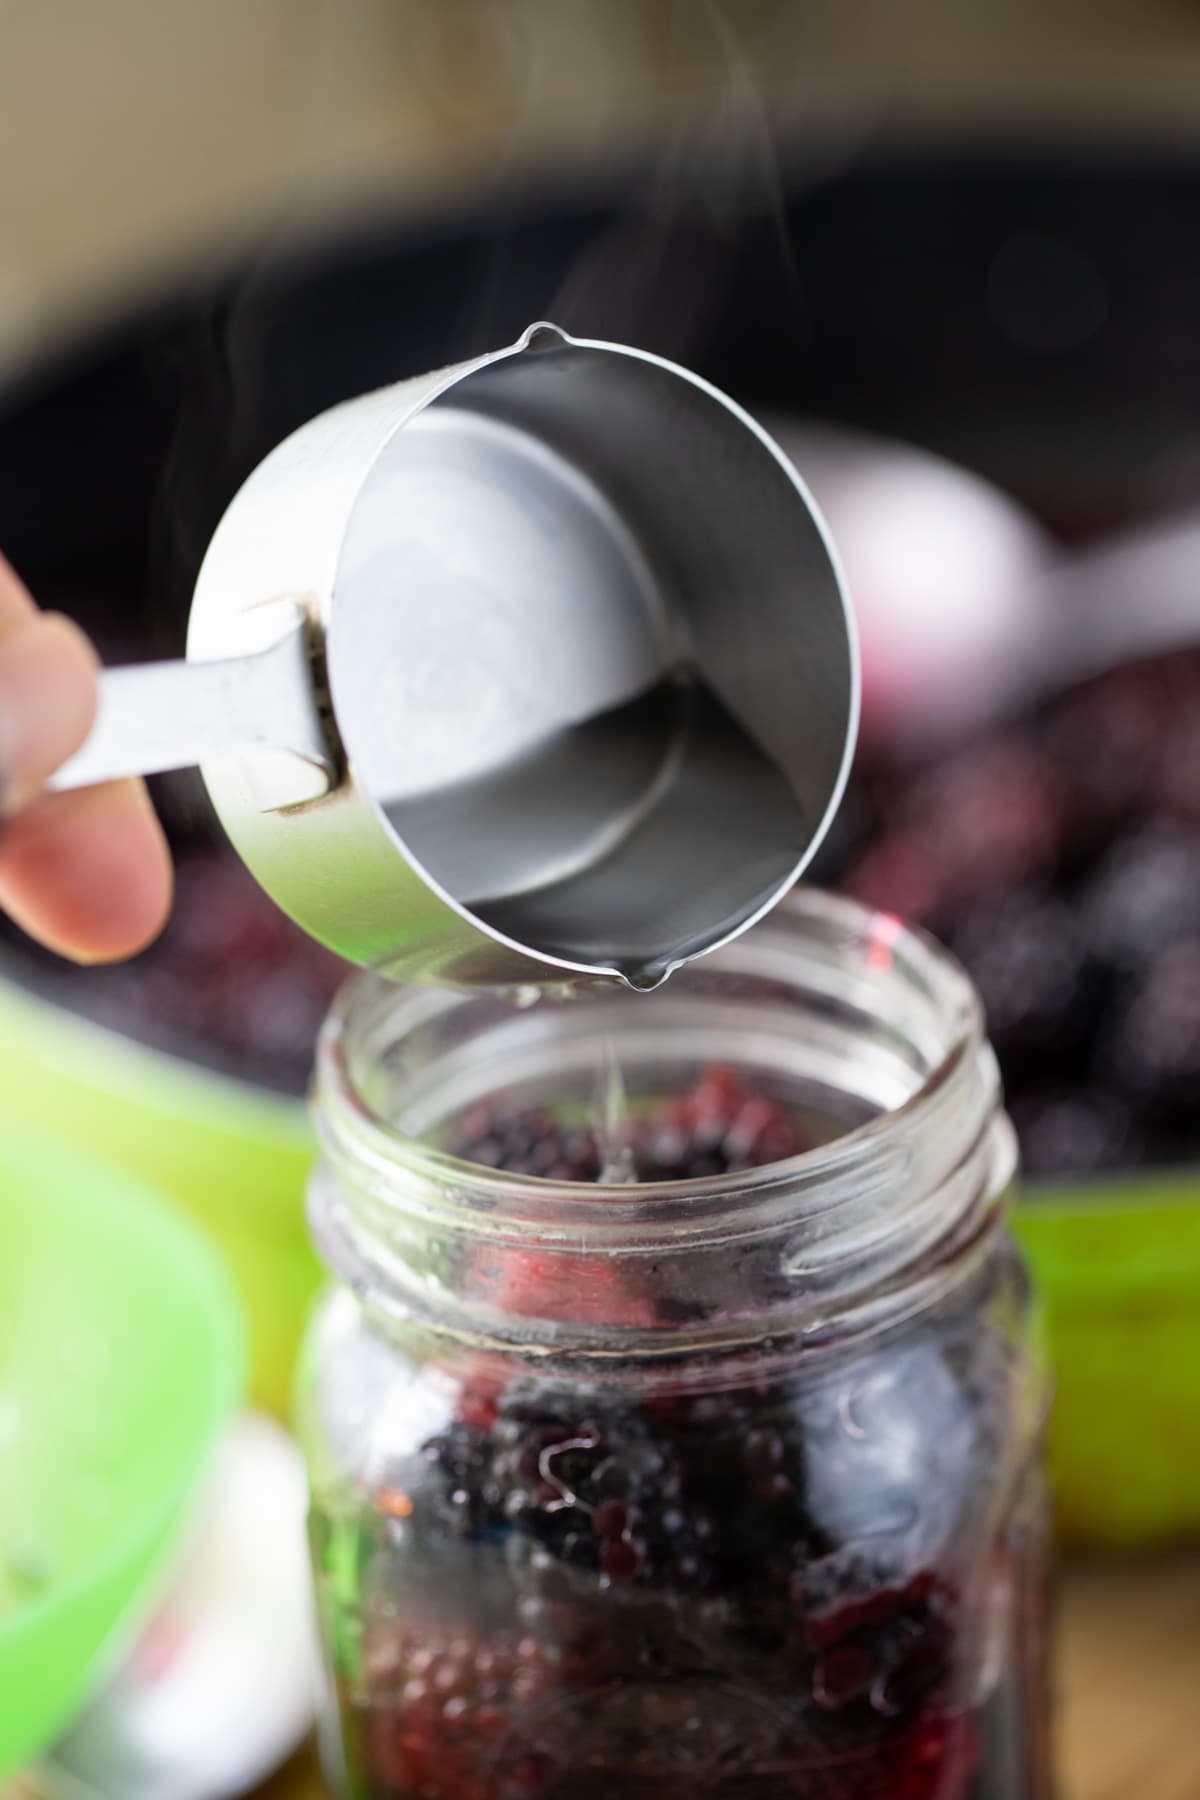
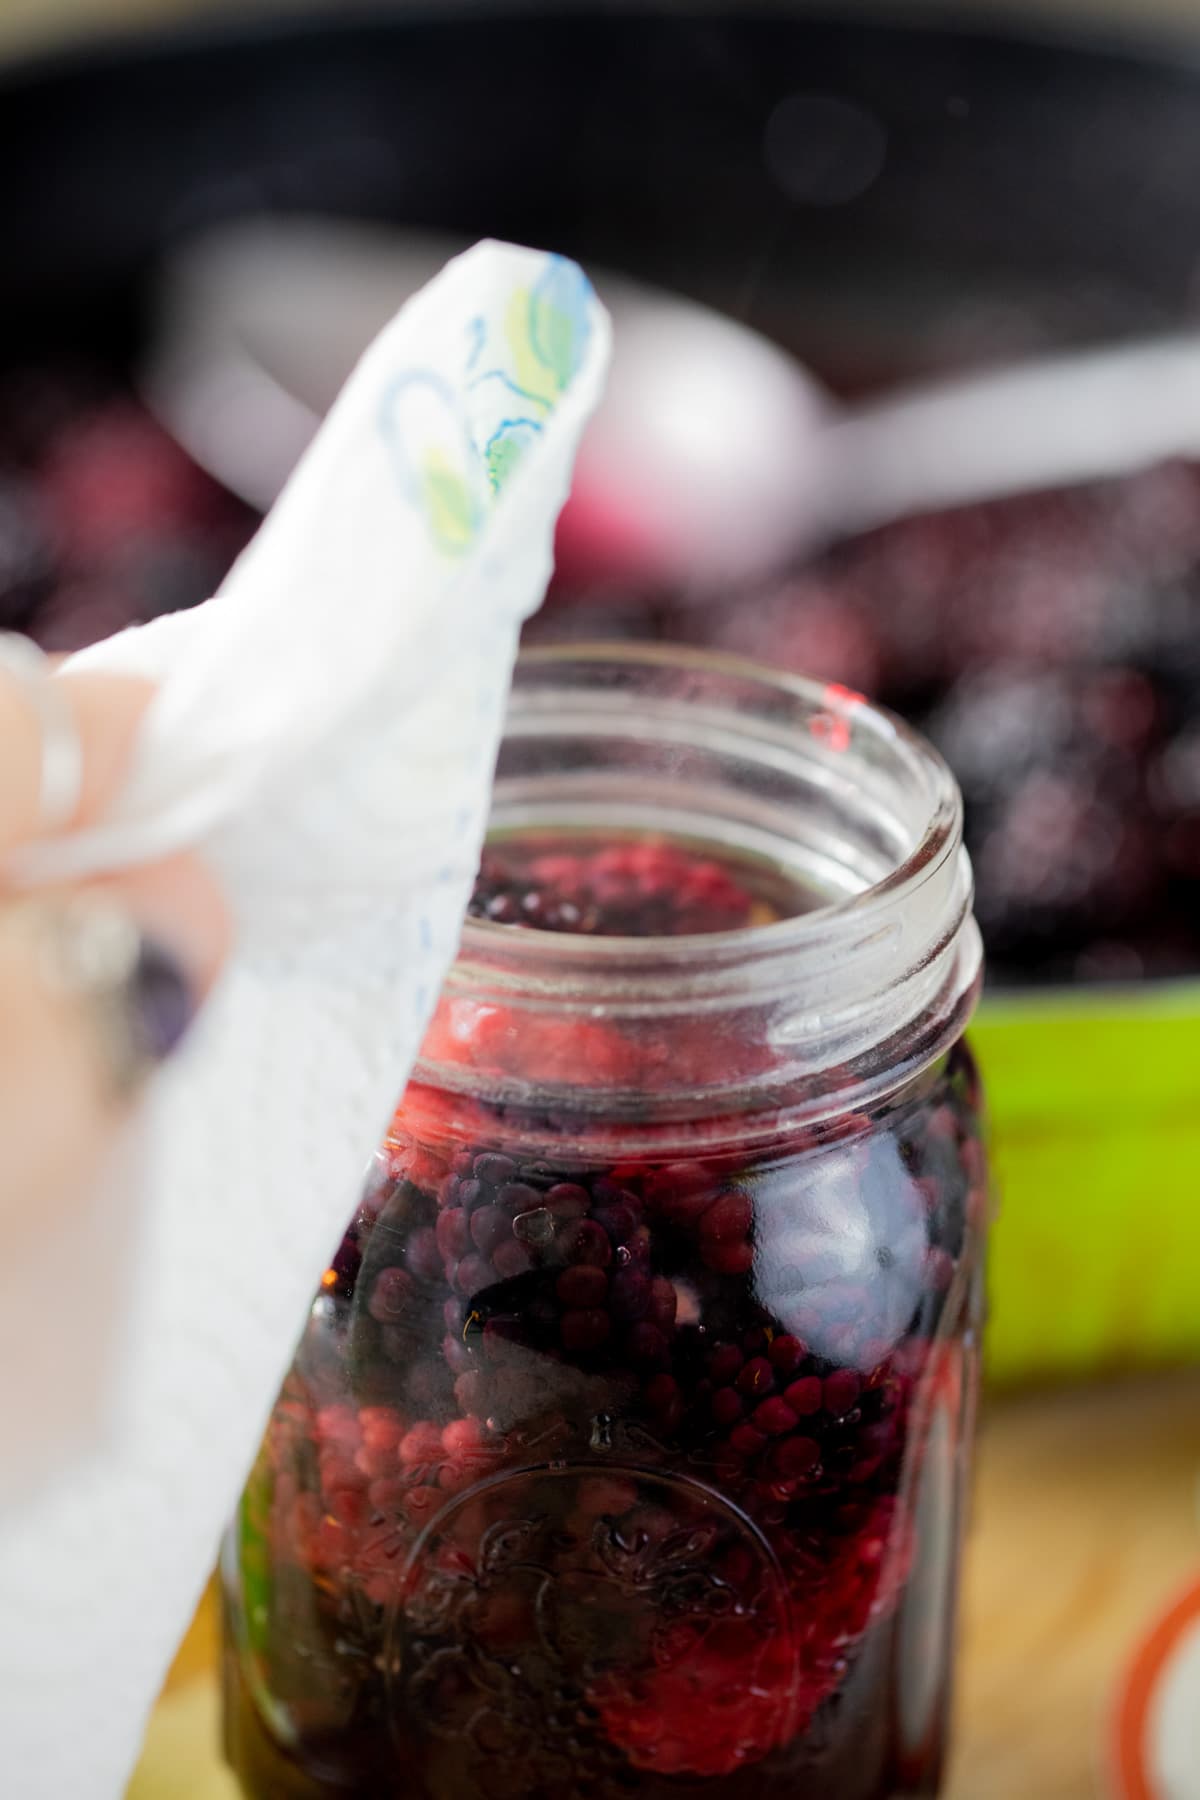
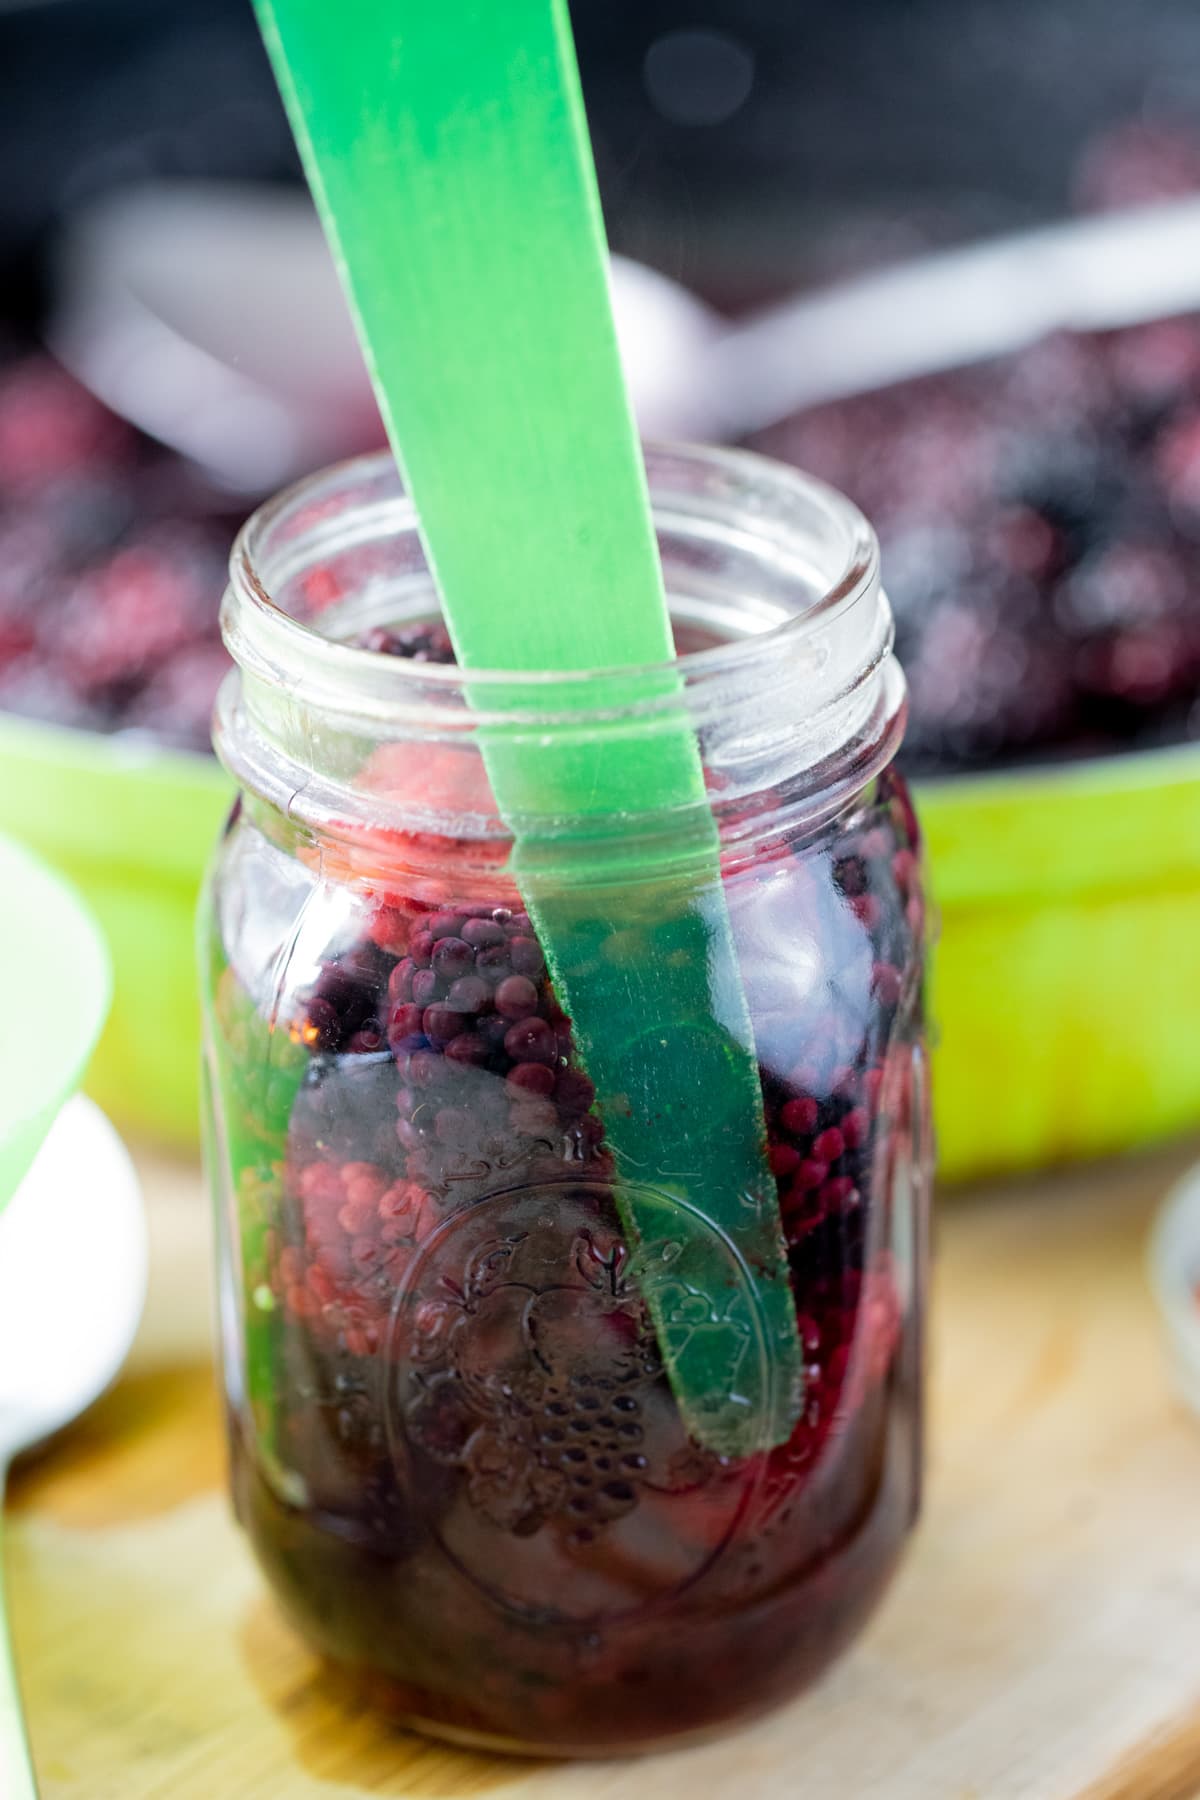

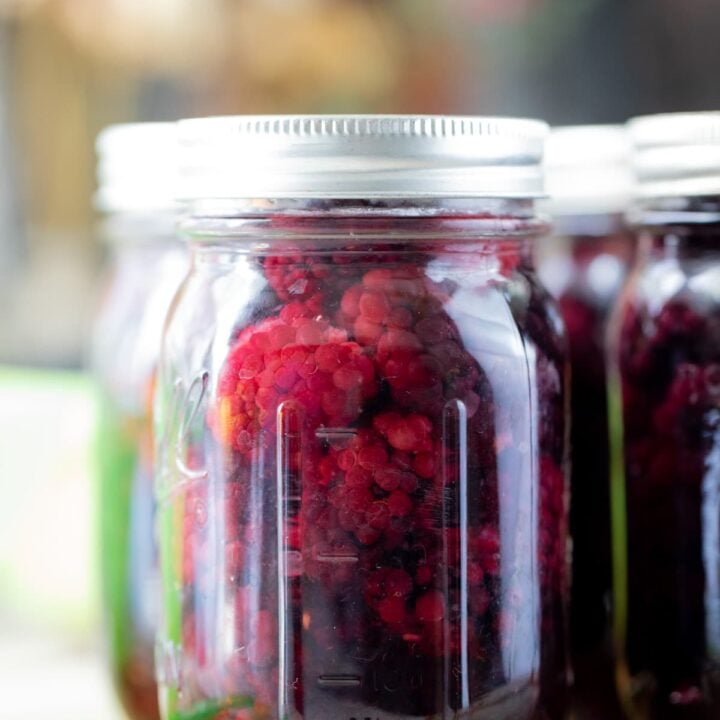
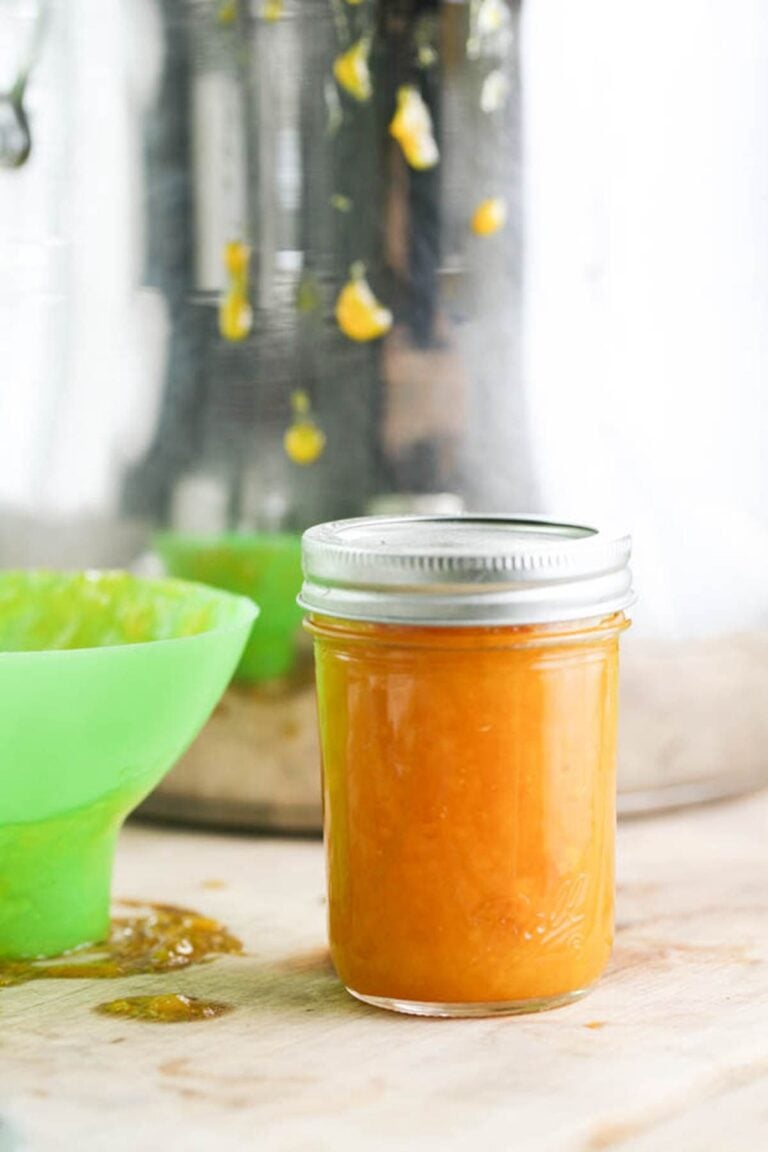
Step three – pack the jars. Wash the jars and the two-piece lids with hot water and some dish soap. Pack each jar with blackberries and their juice. If there is not enough juice to fill the jars add boiling water to each jar. Make sure to leave 1/2 inch of headspace. Next, remove air bubbles, clean the rim of the jar with a damp paper towel, center the lid, and close the jar finger tight.
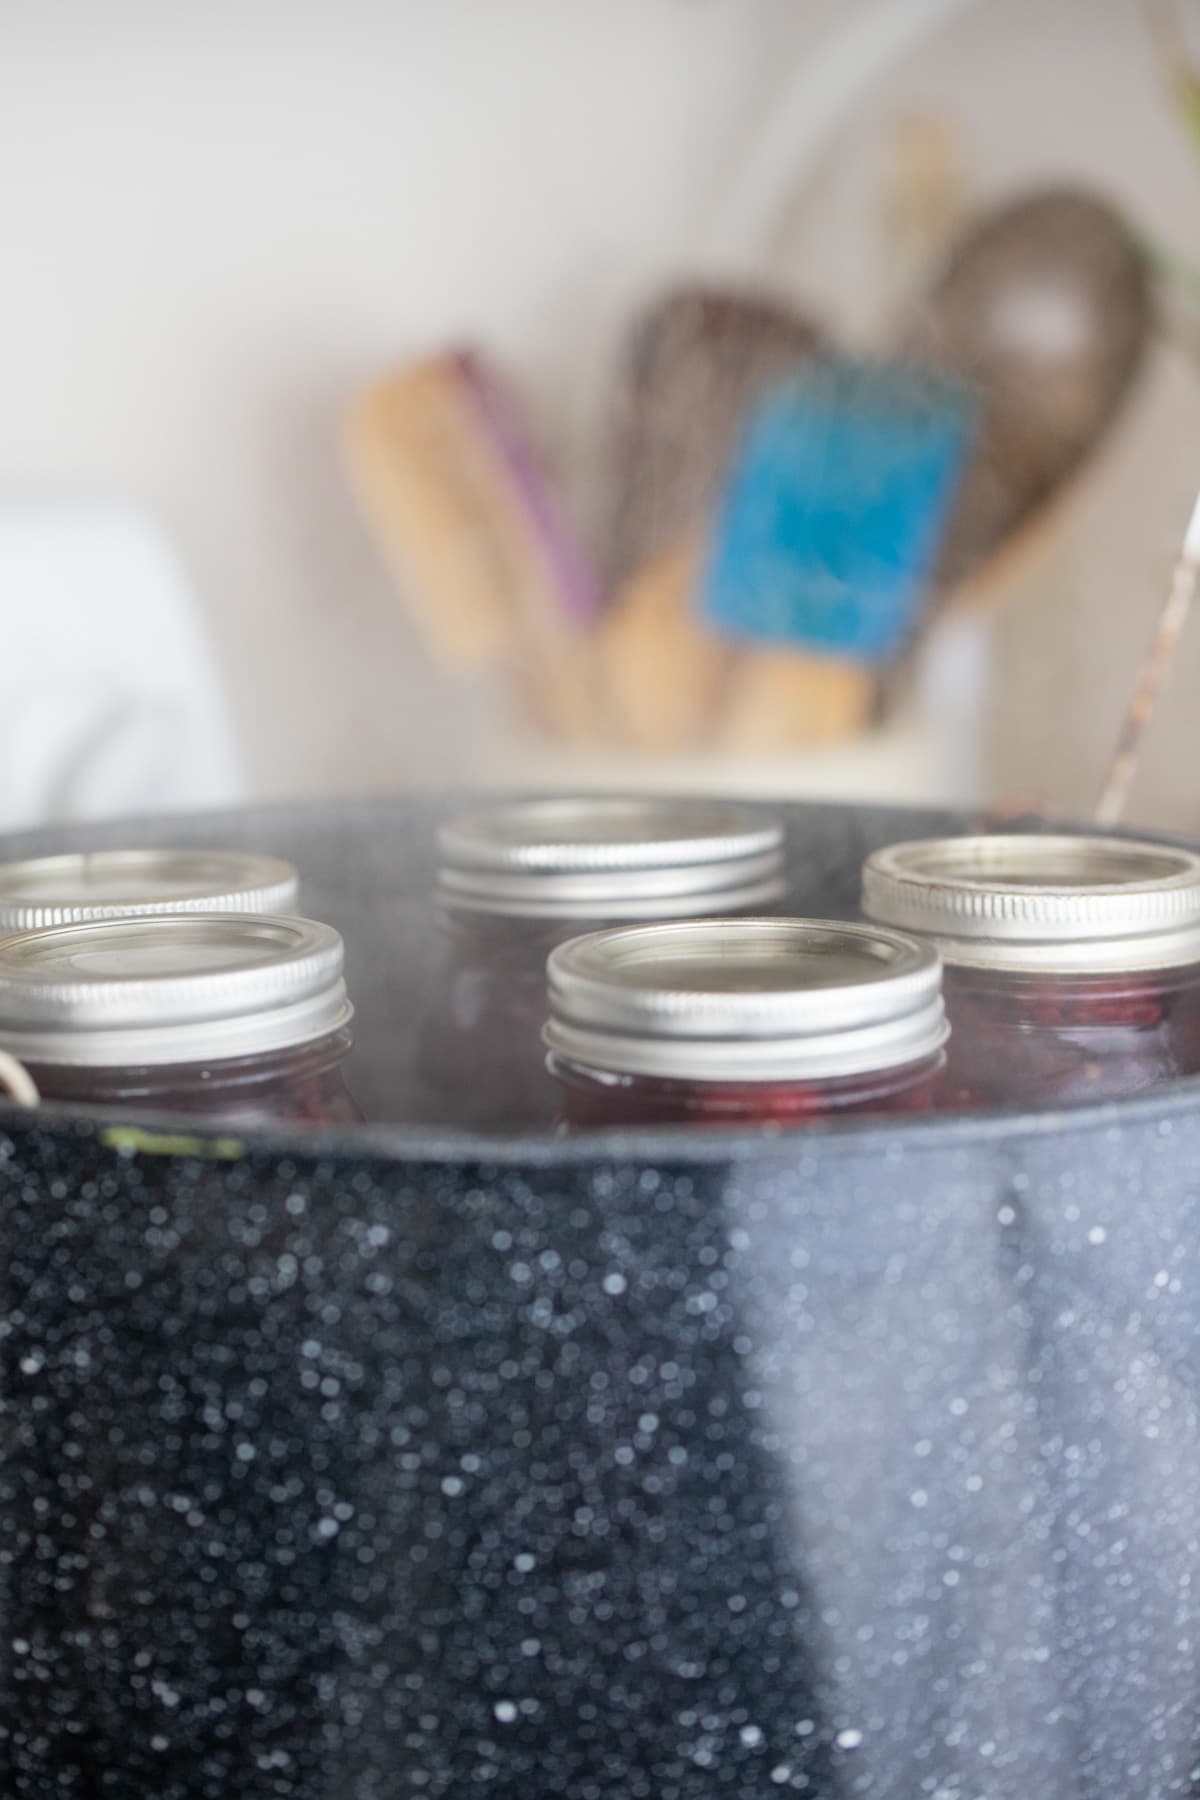
Step four – process the blackberries. Elevate the rack of the water bath canner. Place the packed jars on the rack and let them warm up for a few minutes. Lower the rack into the boiling water of the canner (I usually lower the heat to medium-high to keep a rolling boil), cover the canner, and process both pint and quart jars for 15 minutes.

Remember to adjust processing time according to the table above if you live above 1000 feet in elevation.

Storing Canned Blackberries…
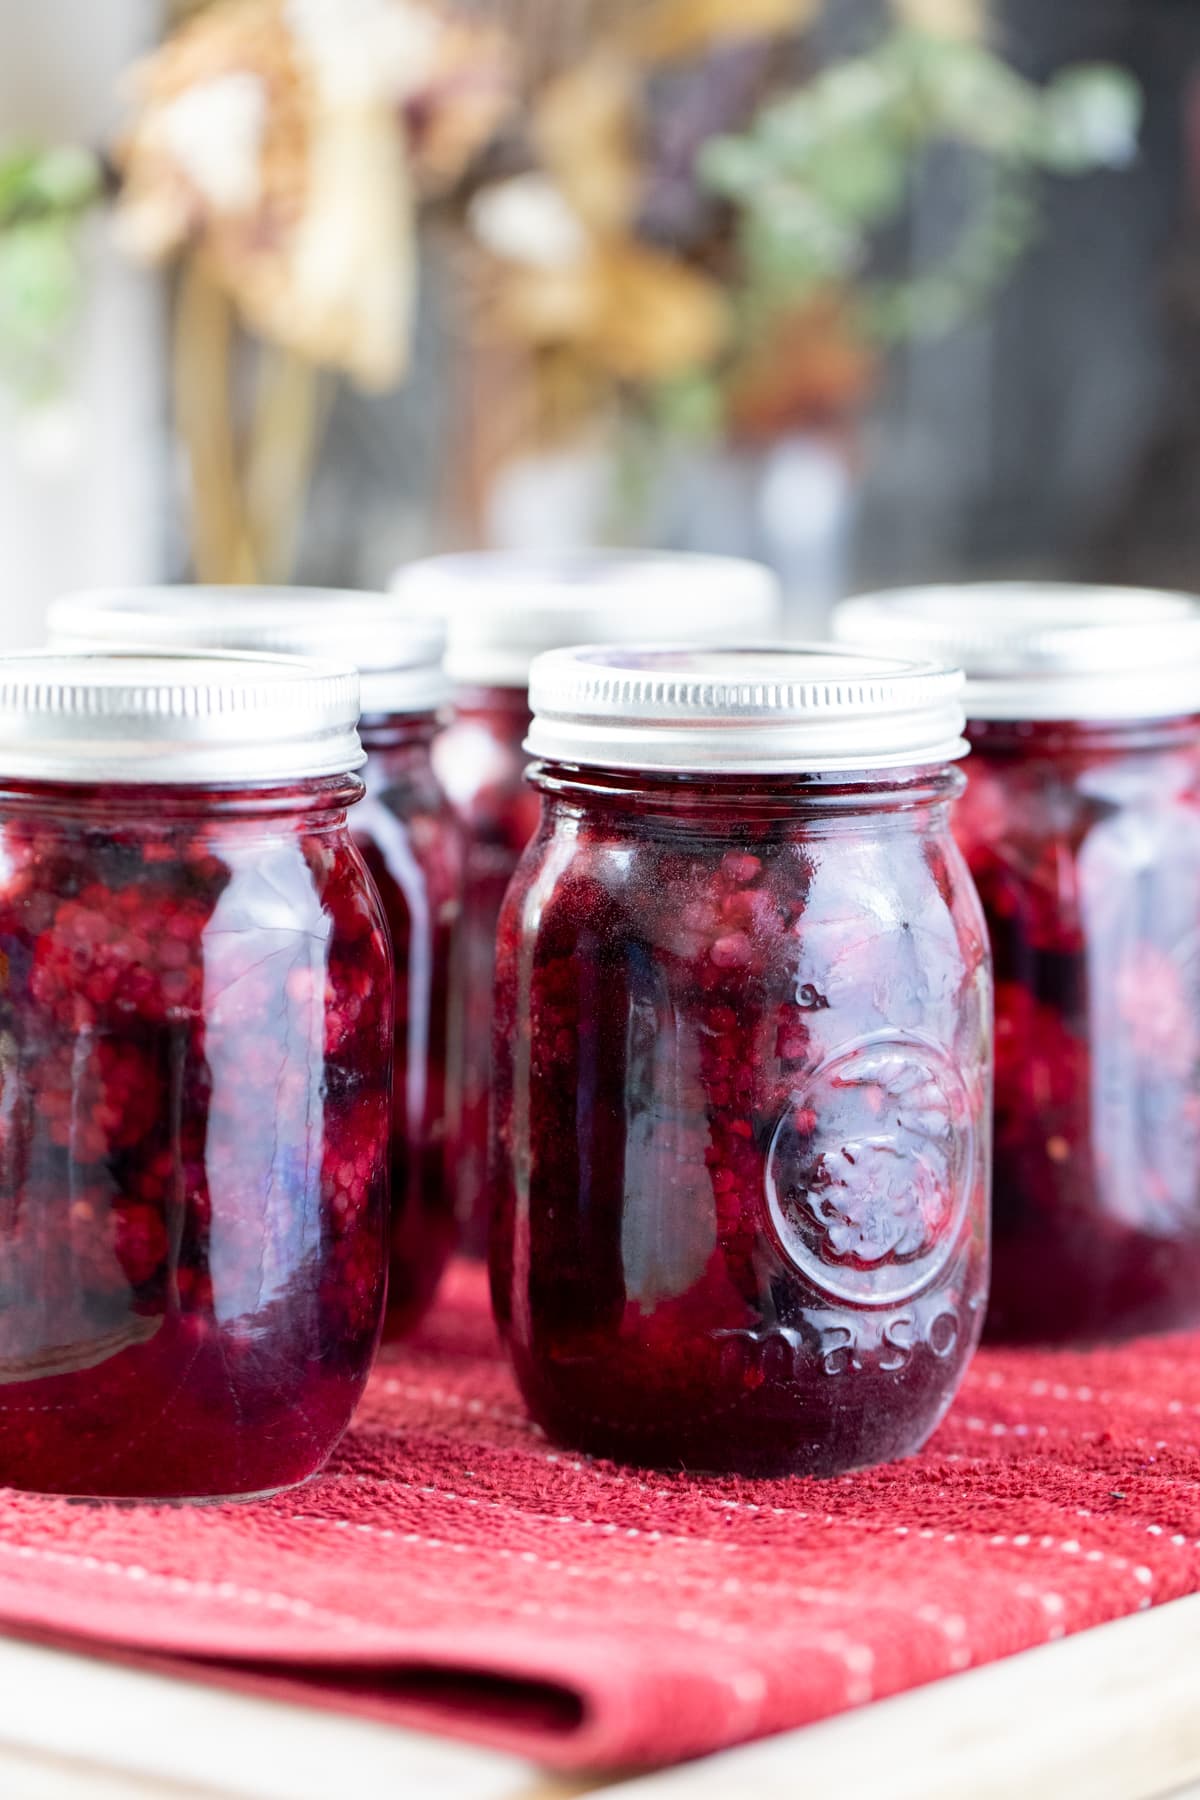
Once processing time is up, turn the heat off and uncover the canner. Let the jars rest in the water for five more minutes. Then use the jar lifters to lift them out of the water and onto a wooden cutting board or a kitchen towel on the counter. Let the jars cool slowly and undisturbed for 12 hours.
Before storing your canned blackberries, make sure that the jars are sealed by pressing the center of each lid. If there is no movement there, the jars have sealed and are ready for storage. Remove the band (it sticks to the jar, rusts over time, and you can use it when canning something else), wipe the jars, and store them in the pantry, a kitchen cabinet, or on a shelf. Somewhere away from direct sun and at room temperature.
Serving Canned Blackberries…
- As a snack – feel free to open a jar and just snack on the berries right from the jar as if you are eating them fresh. They are delicious! Make sure to keep the juice to use in baking or in homemade drinks.
- Over pancakes or crepes – we make pancakes or French crepes or toast at least once every couple of weeks. These canned blackberries are delicious as topping with some good old condensed milk.
- With yogurt – we love raw goat milk yogurt or crock-pot yogurt (made with store-bought milk). I usually top it with homemade granola and fruit. These blackberries work great.
- With sour cream – if you need a tiny yummy snack just add some canned blackberries and a bit of their juice on top of a few tablespoons of sour cream and call it a day!
- In shakes or other drinks – any fruit smoothie is going to benefit from a few blackberries. Add them to shakes too or even homemade alcoholic drinks.
- Use in baking – you can use these blackberries in any baked recipe that calls for blackberries. One thing to take into consideration is that you might want to adjust the amount of sugar in the recipe if the berries are very sweet (since we used sugar to preserve them)
- Use to make ice cream – ice cream making is still a mysterious world to me, however, homemade blackberry ice cream definitely sounds like a thing I’d want to try.
Frequently Asked Questions…
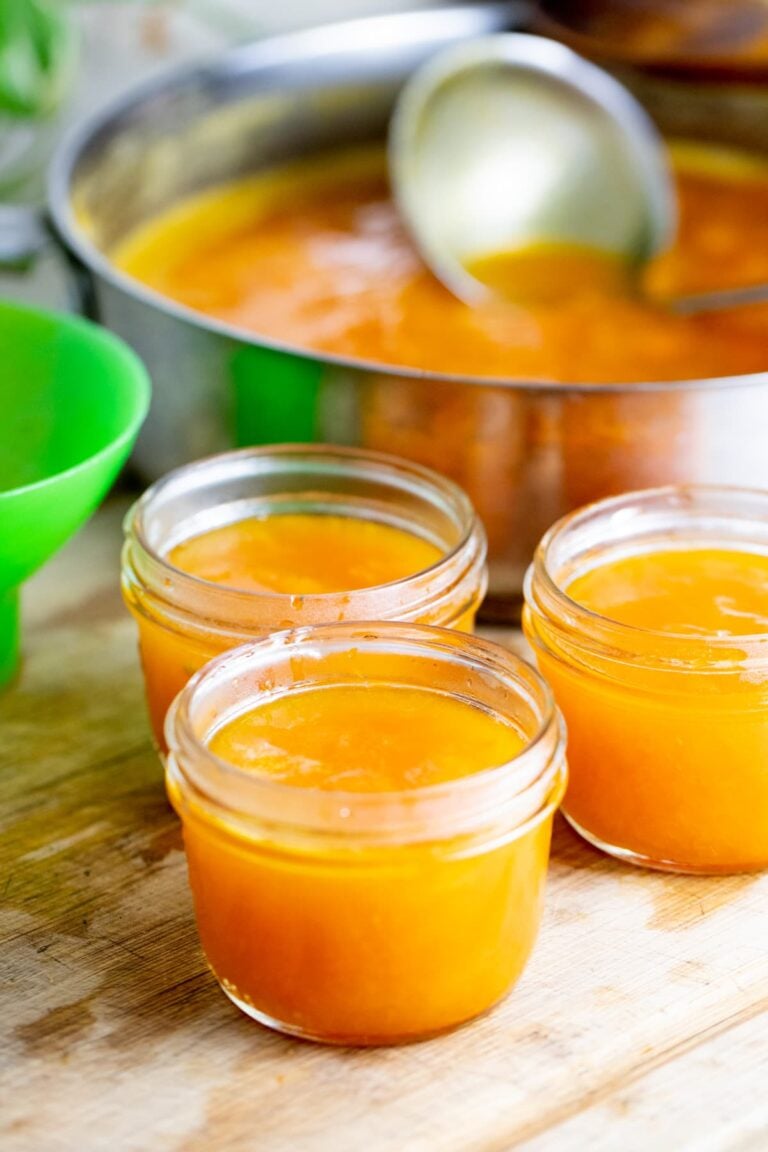
Yes! Follow this recipe to can blueberries, raspberries, currants, elderberries, and huckleberries… Strawberries are a bit different though.
Yes, you can combine a few of the kinds of berries that I mentioned above and can them together. Let’s say, a mix of blackberries and blueberries is totally fine.
You can add mint, thyme, rosemary, a piece of a cinnamon stick… If you are using the raw pack method, add whatever you choose to use to the syrup as you cook it, then remove the herbs or seasonings and use the syrup. If you are using the hot pack method, you can try adding a little bit of seasonings to each jar.
Yes. You can use honey instead. Follow the raw pack method and instead of making a sugary syrup, make your syrup by mixing one cup of honey and four cups of water in a saucepan. Bring to a boil (make sure the honey dissolves in the water) and use that to fill the jars. Process the same exact way and time.
Sometimes it happens that a jar or two won’t seal. In this case, you can try to process the jar again (I usually recommend changing the lid before you do that) or you can simply save this jar in the fridge and use it first. Since the blackberries are in a sugary syrup they should last a few weeks in the fridge.
Home-canned blackberries should last about a year on the shelf before they start to lose their taste.
It’s so much fun having jars and jars of fresh summer fruit right there on the shelf, ready to be used and chase away any cold, winter morning. Blackberries are one of those fruits that taste like summer even if it’s snowy outside. I love preserving them for that reason and simply because they are delicious! I hope that this tutorial was helpful.
More Canning Tutorials…
More Berry Recipes…
- Strawberry Mango Jam
- Strawberry Rhubarb Jam
- Mulberry Cookies
- Mixed Berry Jam
- Simple Strawberry Bread
Canning Blackberries
Learn how to preserve blackberries using the hot pack method. Instructions for the raw pack method can be found in the notes.
Ingredients
- 3 1/2 quarts of blackberries
- 1 3/4 cups of sugar
- (3 1/2 quarts of blackberries equal 8 6oz blackberry containers that you can find at the grocery store. It doesn't matter how many blackberries you process, just make sure to use 1/2 cup of sugar to each quart of berries)
Instructions
- Start by washing the blackberries well. Then, add the sugar and mix it in gently so it covers all of the berries (try not to squish the berries). Cover the bowl with plastic wrap and let the berries and sugar rest for two hours.
- Add the berries and their juice to a deep and wide pan. Place the pan on the stovetop and turn the heat to medium. Cook the berries, stirring frequently for 5-7 minutes until the sugar dissolves and the fruit and juice are warm.
- Fill the water bath canner with enough water to cover the jars by at least an inch and set it on the stovetop. Turn the heat to high and bring the water to a boil (while the water is heating up we’ll keep working on the blackberries).
- Wash the jars and the two-piece lids with hot water and some dish soap. Pack each jar with blackberries and their juice. If there is not enough juice to fill the jars add boiling water to each jar. make sure to leave 1/2 inch of headspace. Next, remove air bubbles, clean the rim of the jar with a damp paper towel, center the lid, and close the jar finger tight.
- Elevate the rack of the water bath canner. Place the packed jars on the rack and let them warm up for a few minutes. Lower the rack into the boiling water of the canner (I usually lower the heat to medium-high to keep a rolling boil), cover the canner, and process both pint and quart jars for 15 minutes. Remember to adjust processing time according to the table in the post if you live above 1000 feet in elevation.
- Once processing time is up, turn the heat off and uncover the canner. Let the jars rest in the water for five more minutes. Then use the jar lifters to lift them out of the water and onto a wooden cutting board or a kitchen towel on the counter. Let the jars cool slowly and undisturbed for 12 hours.
- Before storing your canned blackberries, make sure that the jars are sealed by pressing the center of each lid. If there is no movement there, the jars have sealed and are ready for storage. Remove the band (it sticks to the jar, rusts over time, and you can use it when canning something else), wipe the jars, and store them in the pantry, a kitchen cabinet, or on a shelf. Somewhere away from direct sun and at room temperature.
Notes
Raw Pack – if you choose this method for canning blackberries you won’t cook the blackberries. Here is the process of raw packing blackberries…
- Wash the berries, the jars, and the two-piece lids.
- Prepare a light syrup by adding 2 1/2 cups of sugar and 5 1/4 cups of water to a saucepan. Bring the mixture to a simmer (180 degrees F). I usually choose this light syrup if I raw pack my berries, however, if you want a heavier syrup you can find the measurements here.
- Pack the jars with the fresh berries then add the syrup over them to fill the jar. Leave 1/2 inch of headspace.
- Remove air bubbles, clean the rim of the jar, center the lid, and close the jar with the band finger tight.
- Process in a water bath canner for 15 minutes (pints or quarts).
There is nothing wrong with using the raw pack method to can blackberries. It’s simple and quick. I do think that overall the quality of the final product is a bit better when using the hot pack method as described in the instructions above.
Frequently Asked Questions...
- Can I use this method to can other berries?
Yes! Follow this recipe to can blueberries, raspberries, currants, elderberries, and huckleberries… Strawberries are a bit different though. - Can I combine a few kinds of berries for canning?
Yes, you can combine a few of the kinds of berries that I mentioned above and can them together. Let’s say, a mix of blackberries and blueberries is totally fine. - Can I add seasonings to my canned blackberries?
- You can add mint, thyme, rosemary, a piece of a cinnamon stick… If you are using the raw pack method, add whatever you choose to use to the syrup as you cook it, then remove the herbs or seasonings and use the syrup. If you are using the hot pack method, you can try adding a little bit of seasonings to each jar.
- Can I can blackberries without sugar?
Yes. You can use honey instead. Follow the raw pack method and instead of making a sugary syrup, make your syrup by mixing one cup of honey and four cups of water in a saucepan. Bring to a boil (make sure the honey dissolves in the water) and use that to fill the jars. Process the same exact way and time. - What should I do if one of my jars didn’t seal?
Sometimes it happens that a jar or two won’t seal. In this case, you can try to process the jar again (I usually recommend changing the lid before you do that) or you can simply save this jar in the fridge and use it first. Since the blackberries are in a sugary syrup they should last a few weeks in the fridge. - How long should home-canned blackberries last?
Home-canned blackberries should last about a year on the shelf before they start to lose their taste.
Nutrition Information:
Yield: 5 Serving Size: 1Amount Per Serving: Calories: 444Total Fat: 2gSaturated Fat: 0gTrans Fat: 0gUnsaturated Fat: 1gCholesterol: 0mgSodium: 5mgCarbohydrates: 109gFiber: 21gSugar: 90gProtein: 6g


why no lemon juice..
I think that it messes with the acidity. Not sure… I’ve never added it.
I have sooooo many blackberries in the freezer and running out of room! would it be possible to take them from the freezer and can them as whole berries?
I think so!
I’ve tried this recipe twice now and my jars leak out in the canner and a lot of juice spills out onto my towel on the tray but they still look full – all of my jars sealed, why do they leak so badly?
It’s called siphoning if you want to research it further.
It can happen because of uneven temperatures throughout the processing, air bubbles in the jars (make sure to remove them before canning), or not leaving enough headspace.
It’s not a problem if the jars sealed properly! You can still use them with no worry.
My blackberries are clean & frozen already. What process is better hot or cold packing? Any directions?
I would go with hot packing.
My mother canned them, I froze them. I read your recipe and now canned them. I love it. Thank you. I have canned 15 pints and I want to do more. I will follow to see more stuff to can. THANK YOU
You are welcome! Super easy thing to do and saves so much room in the freezer!