Making pear ginger jam at home is a great way to celebrate the wonderful flavors of fall. This jam is very easy to make (takes less than an hour to cook!) and is simple to can in the water bath canner.
Every fall, there is a battle for pears in my backyard. I have one tree, that was planted long before I moved here. It’s old and established but it was neglected. I took the time to prune it and fertilize it and love it and a couple of years ago it started producing.
I was very excited! And then I found out that I wasn’t the only one who was excited about the pears. The deer and the sqerrils were just as excited as I was. If I’m completely honest, I haven’t harvested much from that tree. Somehow, the creatures find their way to the ripe fruit a minute ahead of me.
Pear Ginger Jam Recipe…
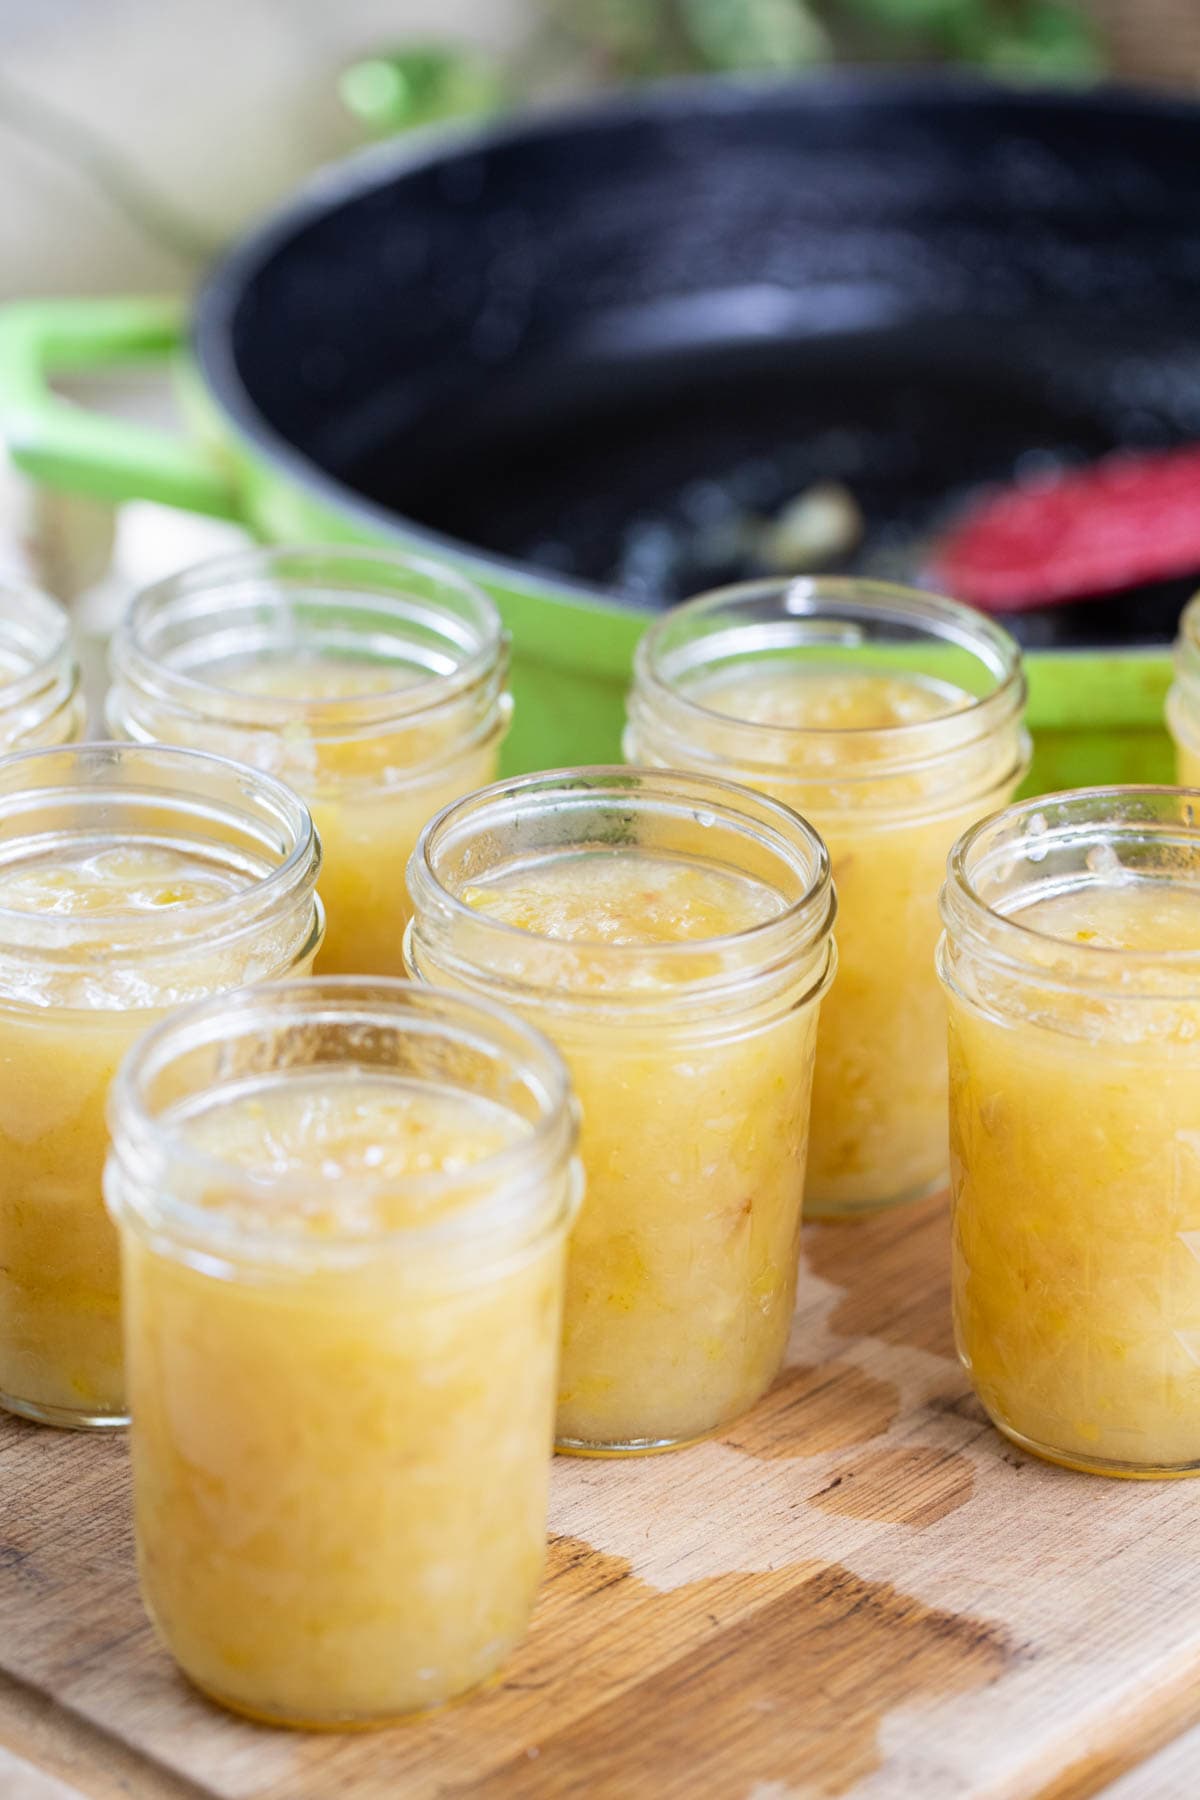
But, you gotta enjoy pears in the fall and thankfully here in the South, there are many others with pear trees in their yards. So I harvest from a few neighbors and get some pears at the farmer’s market and if all this fails, well, thankfully I can find some in the grocery store. We love eating them fresh, I love making pear pie, and I also freeze pears for spring. In addition, I always make and can a large batch of pear ginger jam so we have enough until next fall.
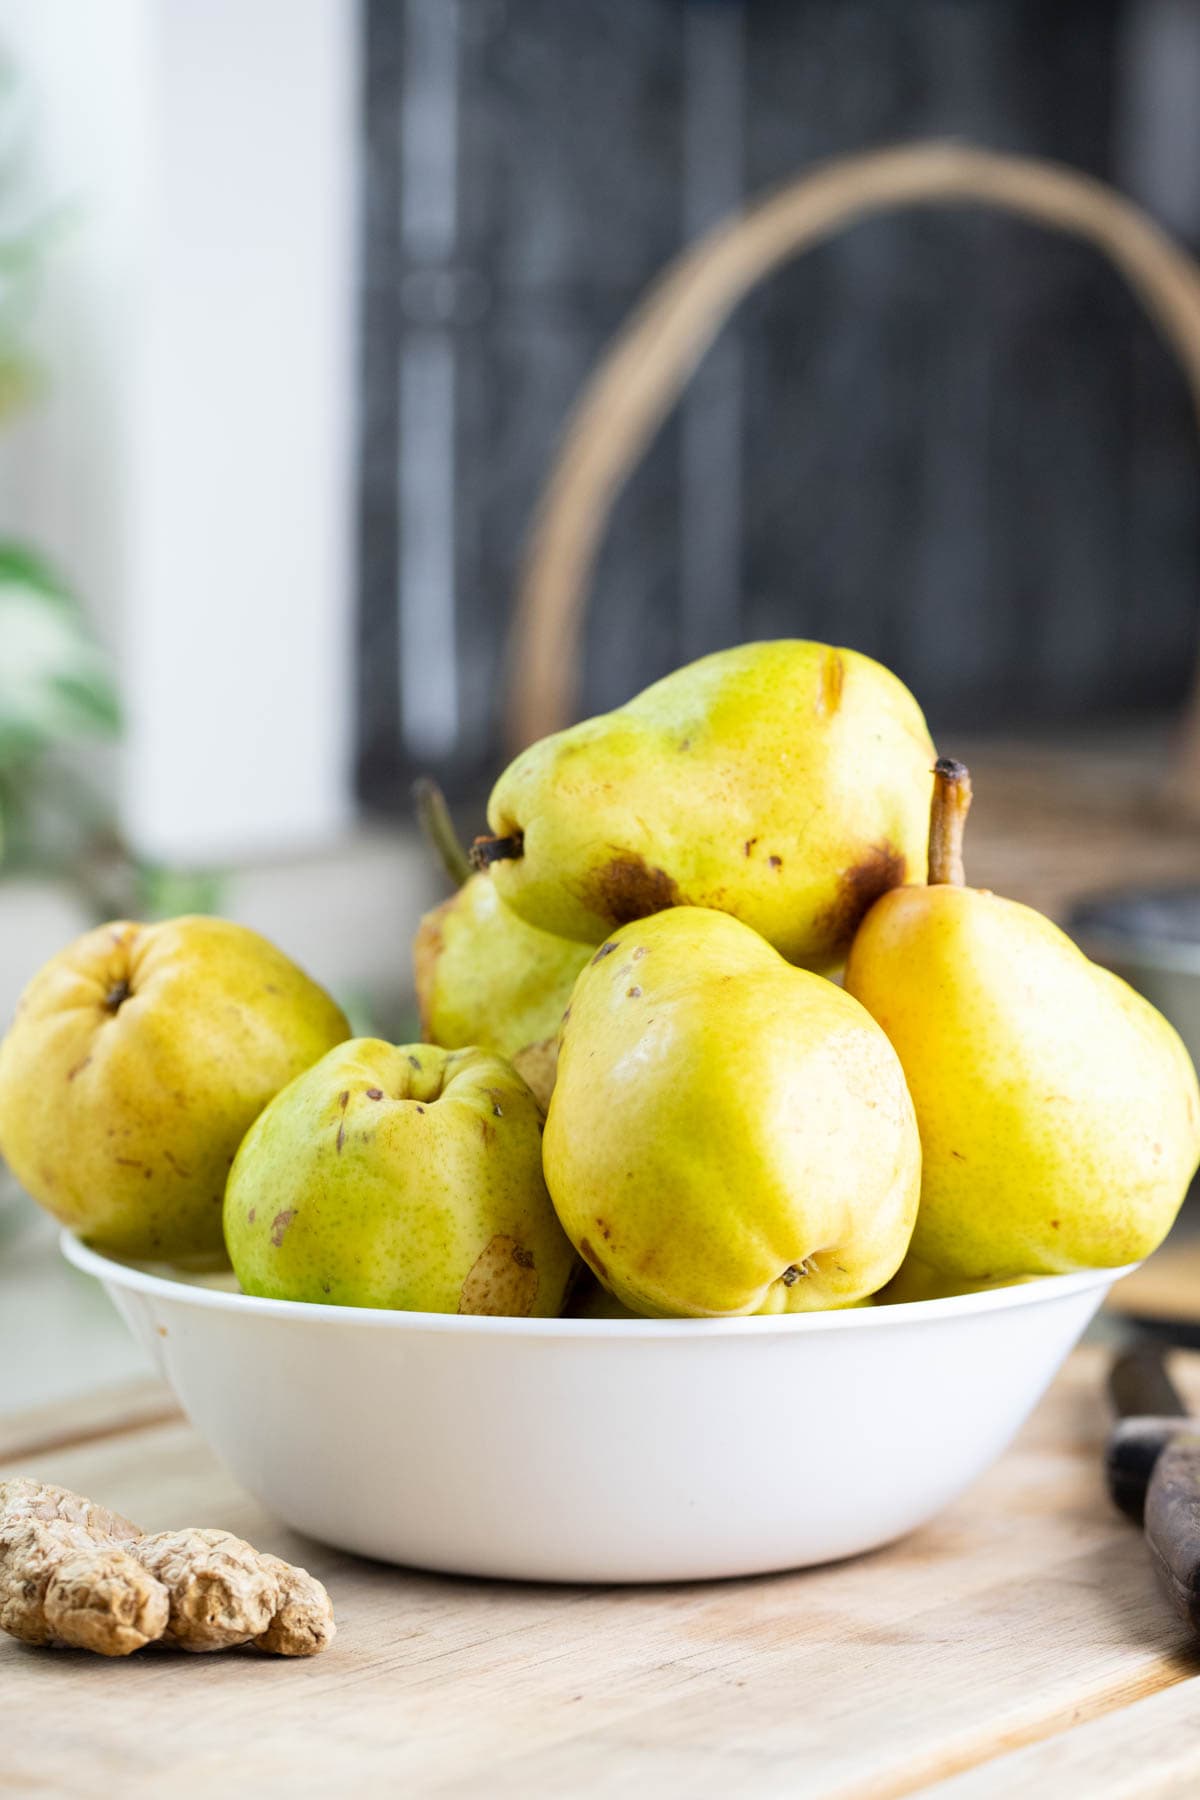
Ingredients…
- Pears – you can use any kind of pear to make this jam. You want to make sure that the fruit is soft and ripe, that’s when it’s at its best for jam making because it’s very sweet and not too grainy. The pears that I am using here are the Bartlett pears which are pretty common and easy to find at the grocery store. Another favorite variety is Anjou pears which are the red ones. But again, you can use any type of pear as long as it’s ripe.
I used 4 lb of diced pears (about 11 pears) in this recipe and ended up with 10 half-pint jars. I do not recommend processing more than 4 lb of fruit at a time. - Ginger – you can certntly make pear jam without ginger however, it’s a wonderful addition to this jam. There are a few ways to use ginger in a jam…
Cubbed – peel a fresh ginger root and cut it to 1/2 inch cubes. I used three of those cubes in this pear jam. When you do it this way you’ll cook the jam with the ginger but remove the ginger cubes before canning the jam. This will give the jam a hint of ginger taste but it won’t be too strong.
Shredded – if you’d like to actually feel the ginger in your jam you can chop it to tiny pieces or shred it. Use three teaspoons or so. Add it to the fruit at the beginning and cook it with the jam. You won’t be removing it before you can the jam and it wil result in a stronger ginger taste.
Ground – you can also use ground, dry ginger if you’d like. Cook the jam and about 10 minutes before it’s ready season it with a couple of teaspoons of ground ginger. Mix it in and can your jam. - Sugar – just good old white sugar. In traditional jams, the ratio is one part fruit to one part sugar. For me, it’s just too sweet so I cut the sugar in half and use one part fruit to one-half part sugar. I used about 2 pounds of sugar in this jam.
- Lemon juice and seeds – lemon juice and seeds have a lot of natural pectin in them so instead of using store bought pectin I add lemon juice and a few seeds to my jams. No matter what fruit I use, it always works well. I used the juice of half a lemon and about 5 seeds in this jam.
Kitchen Tools…
- Cutting board
- Knife
- Deep pan
- Spatula or wooden spoon
- Immersion blender – or you can use a potato masher if you like large chunks of fruit in your jam.
- Half-pint jars with lids – this is my favorite size jars to use when canning jam but you can also use a pint.
- Canning utensils
- Ladle
- Paper towel
- Water bath canner
How to Make Pear Ginger Jam Step By Step…
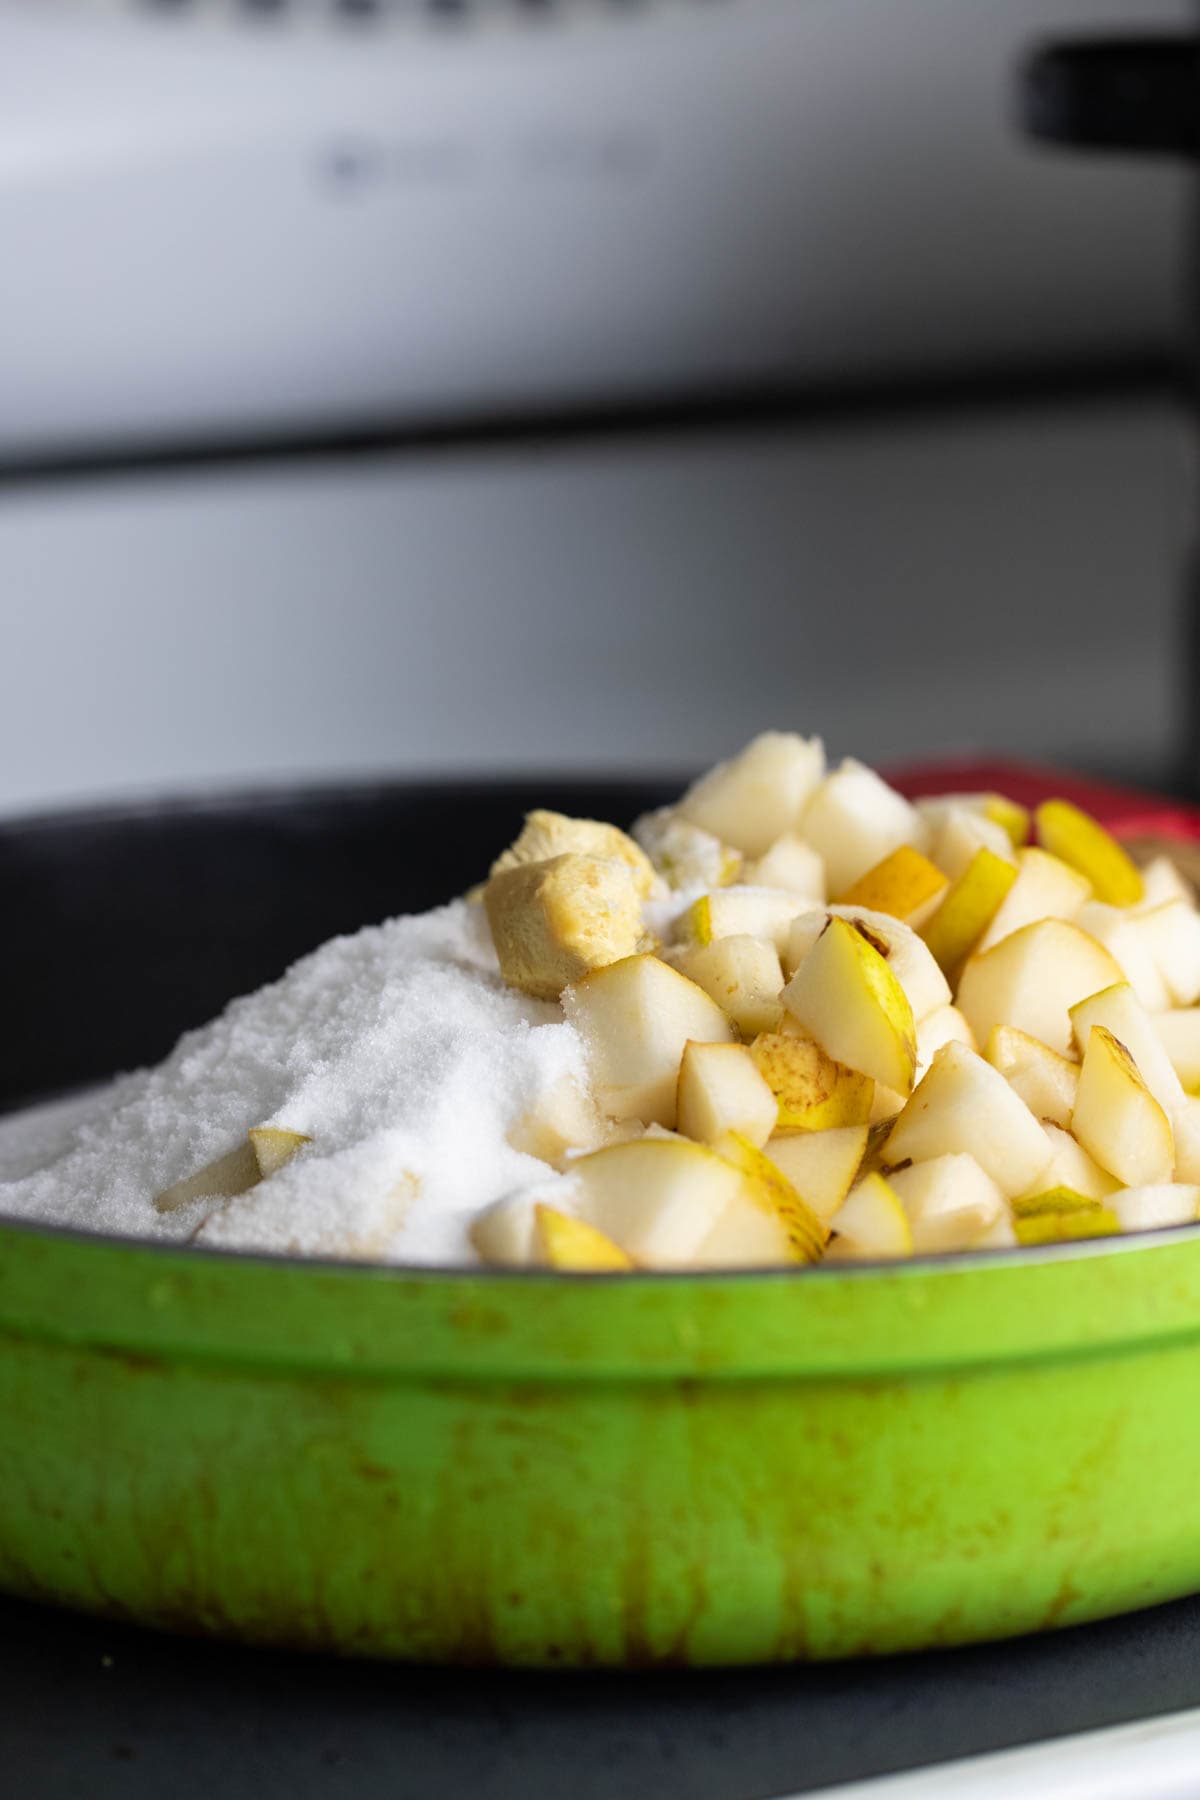
Step one – prep the ingredients. You don’t have to peel the pears, I usually don’t. Remove the stem and the core and dice the pears. If you are using fresh ginger, as I did here, peel the ginger root and cut it into 1/2 inch cubes. Add three ginger cubes to the pan with the pear, then, add the sugar.
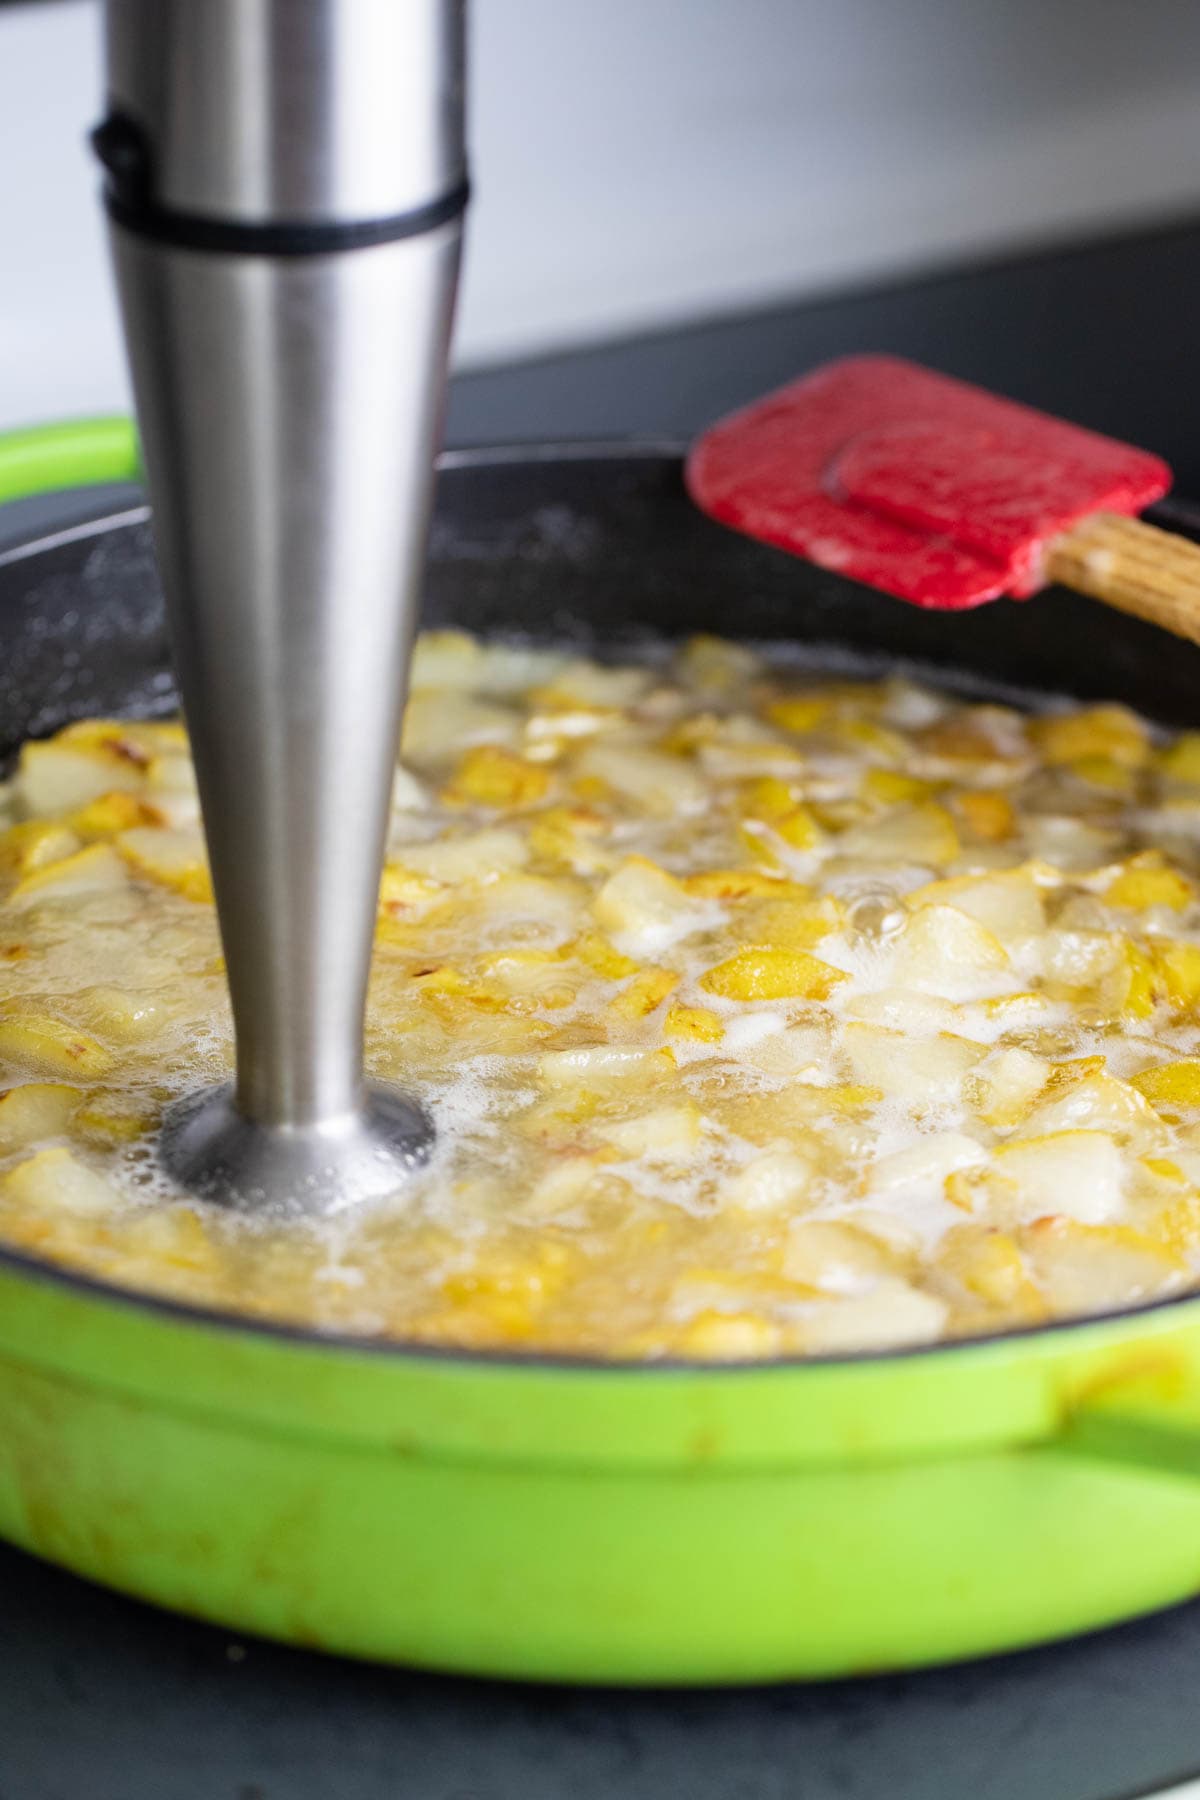
Step two – cook the jam. Turn the heat to medium-high and start cooking the jam. Use the spatula to stir frequently. It will take a few minutes until the sugar melts and the juices are released from the fruit. Keep stirring and bring the mixture to a boil. Let it boil for five minutes before lowering the heat to medium-low for the rest of the cooking.
Keep cooking, stirring frequently for about 15 minutes. At this point, the fruit should be soft and you can blend it with an immersion blender or mash it with a potato masher. Since I had the fresh ginger cubes in there I had to make sure that I don’t blend them. They are pretty large and relatively easy to get out of the way. You can also take them out, blend the jam, and place them back in.
Step three – add lemon juice and seeds. Squeeze the juice of half a lemon right into the pan and throw in about 5 seeds. Stir them in.
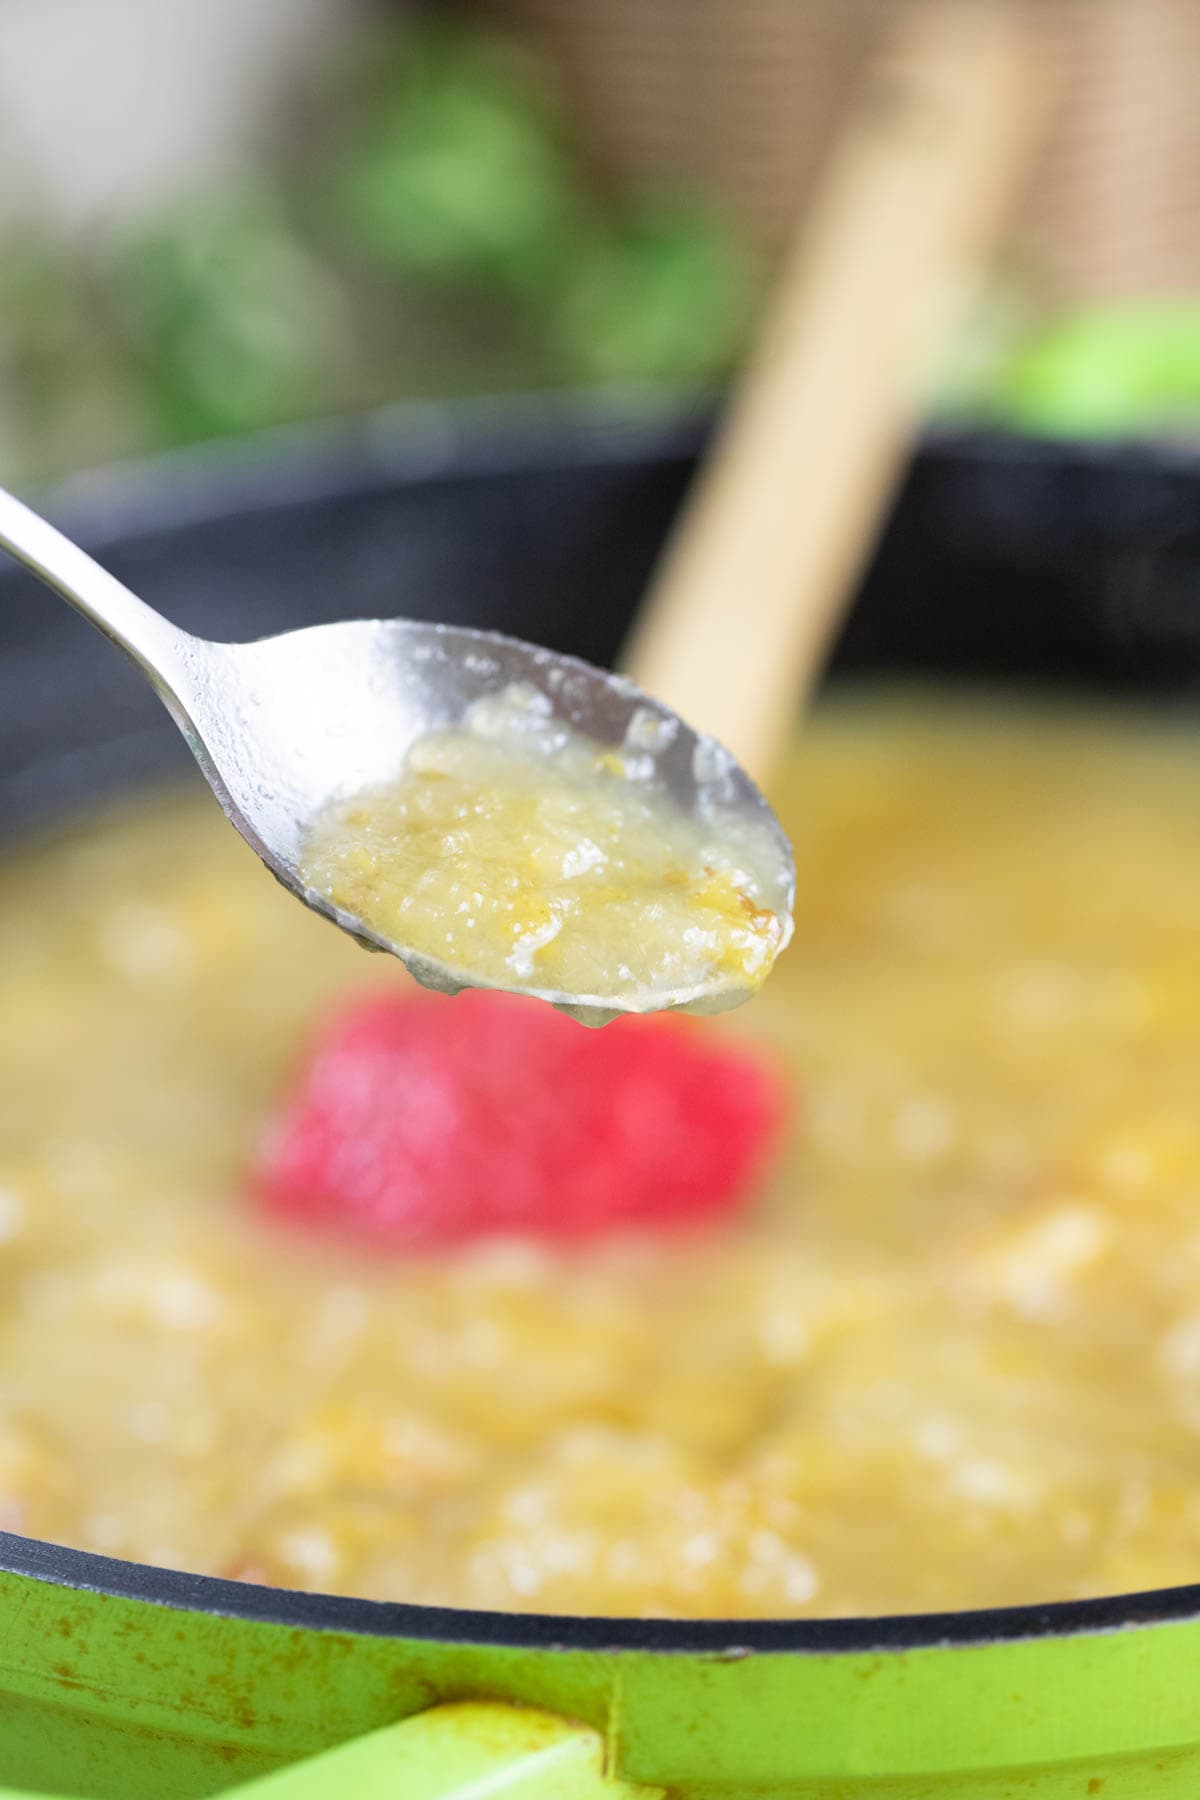
Step four – check for thickness. After adding the lemon seeds keep cooking for about 20 minutes or so. Watch your jam as you stir it to measure its thickness. If you are not sure if it’s ready you can do the spoon test. Scoop some jam on a spoon and set it on the kitchen counter to cool for five minutes or so. Then add it back into the pot and as it leaves the spoon you will be able to measure its thickness. Just remember that the jam will keep on thickening in the jars as it cools completely.
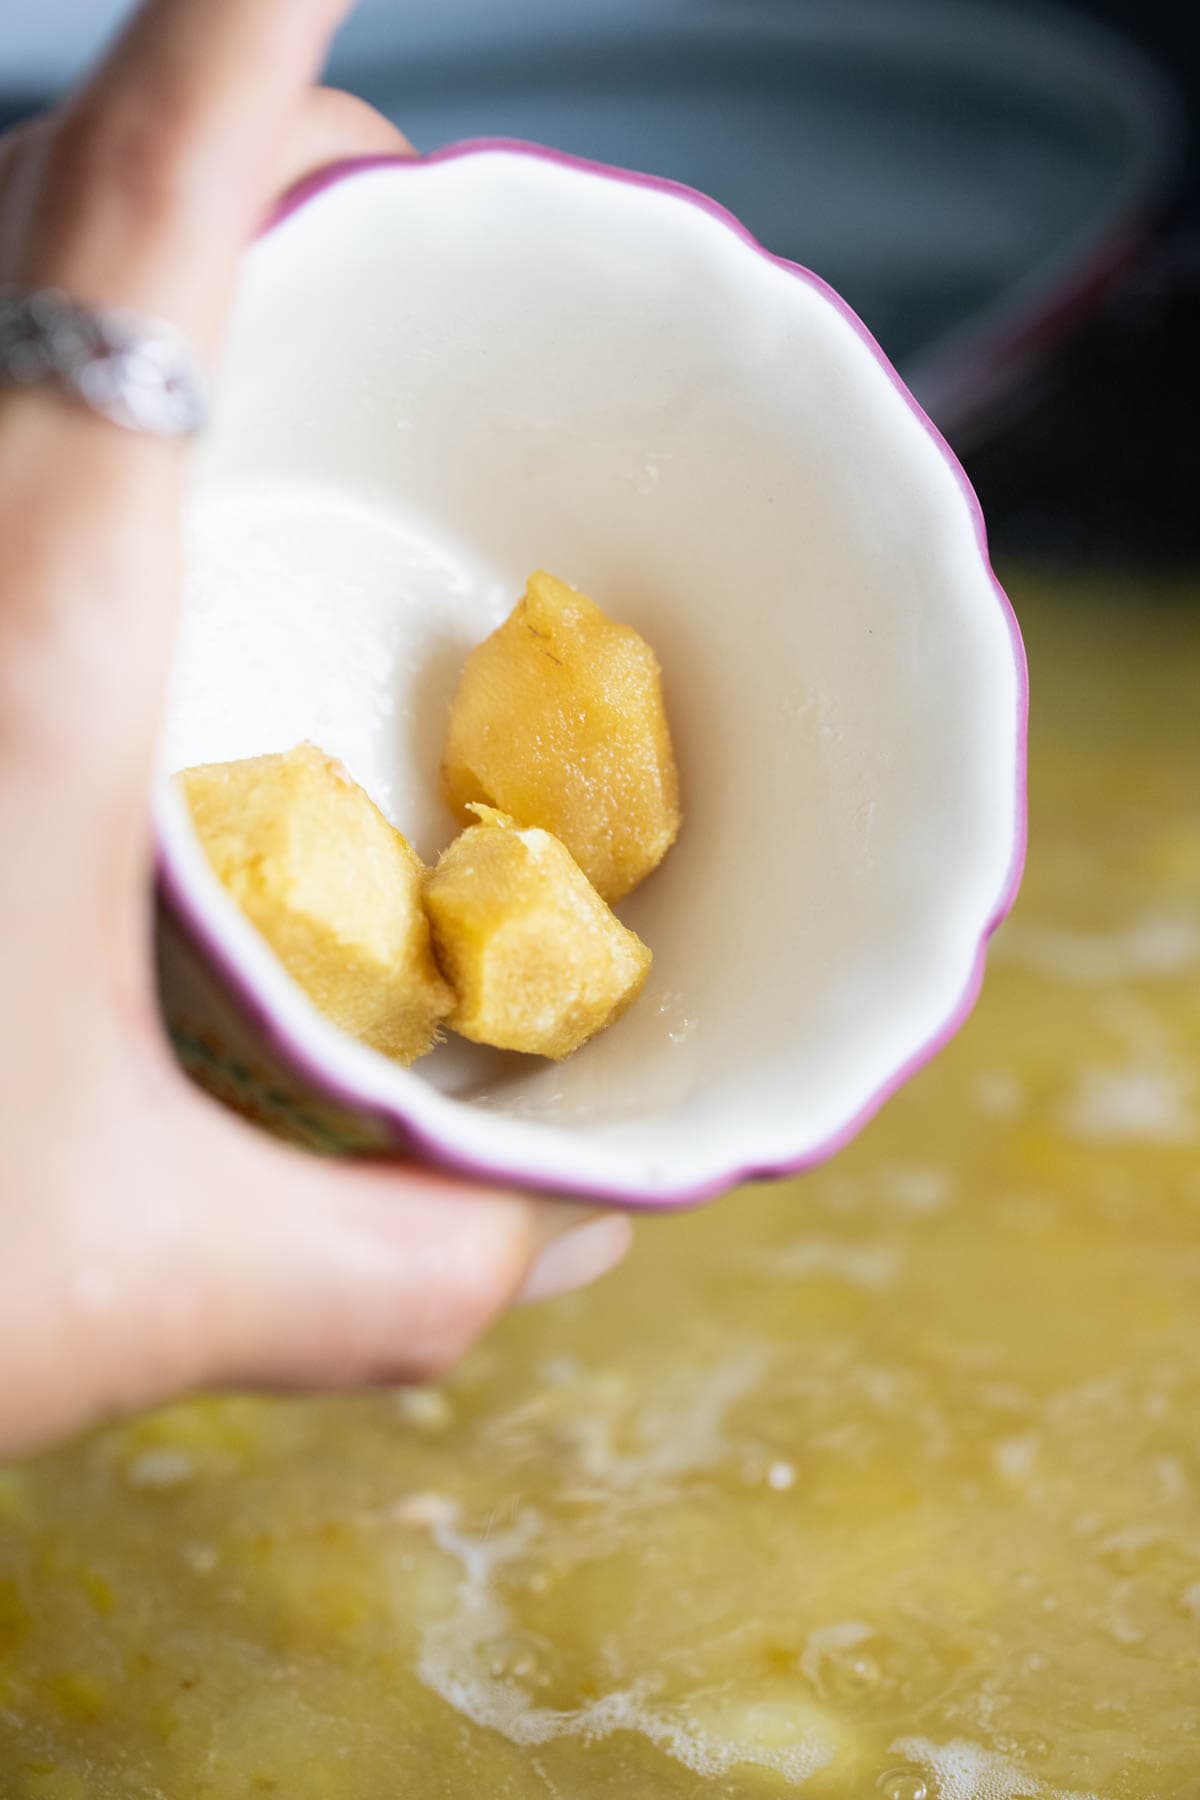
Step five – remove the ginger. If you used fresh ginger as I did here, you’ll have to remove it before canning. It’s easy to find the large chunks when the rest of the fruit is mushed.
Canning Pear Ginger Jam…

Step six – prep the jam for processing. Fill the water bath canner with enough water to cover the jars by about an inch. Set it on the stovetop, turn the heat to high and bring the water to a boil. Wash your jars, lids, and bands well with hot water and soap (since we will be processing the jars for 10 minutes, there is no need to sterilize them first).
Use a ladle and the canning funnel to fill the jars, make sure to leave 1/2 inch of headspace. Use the bubble remover to scrape the inside of the jar and remove air bubbles. Then use a damp paper towel to clean the rim of the jar before centering the lid and closing the jar with the band.
Step seven – process the jars. Place the jars on the rack of the water bath canner and lower the jars into the boiling water. Cover the canner and process the jars for 10 minutes. After 10 minutes, turn off the heat, uncover the canner and let the jars rest in the hot water for five minutes or so. Then, use the jar lifter to remove the jars from the canner and place them on a kitchen towel to cool completely overnight.
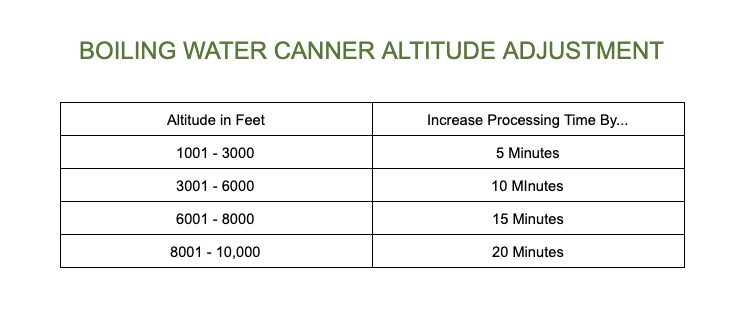
Always remember to adjust the processing time if you live over 1000 feet in elevation. Follow the table above to make any adjustments.
How to Store This Jam…
When the jars are completely cool, check that they are all sealed by pressing the center of each lid. If there is no movement there it means that your jars are sealed and ready for storage. If you find that one of the jars didn’t seal, just store it in the fridge and use it first (or you can also try to process it again. Usually I recommend changing the lid if you are going to do that).
Wipe the jars and remove the band. It sometimes rusts in storage and makes it hard to open the jar down the road. And, you can also reuse it for canning something else. Store your pear ginger jam in a cool place like a pantry or a kitchen cabinet. It should last for 18 months or so.
How to Serve Homemade Pear Ginger Jam…
- As a snack – we love spreading cream cheese on crackers (or a bagel) and adding some jam on top. It’s an awesome mid day snack for the whole family.
- On a toast – I always drink coffee in the morning and a toast with some jam on it is the perfect companion.
- In cookies – I make these thumbprint cookies and add jam in the center. They melt in your mouth and are absolutely addictive!
- On yogurt – homemade yogurt (made with either raw milk or store-bought) with homemade granola and a tablespoon or so of jam is my go-to meal when I have no energy to cook a “real” one.
- Add it to baked goods – if it’s a baked pear puff pastry (use jam instead of the sliced pears), a turnover, jam filled bars, or any other baked good, this jam will work great!
Frequently Asked Questions…
I don’t. I leave the seeds in the jam. They don’t break down, don’t change the taste of the jam no matter how long it stays on the shelf and once you stop cooking the jam they don’t keep thickening it. You can, however, fish them out when the jam is ready if you’d like, they are usually easy to find.
Honestly… Any fruit! If you find yourself with plums, apricot, grapes, kiwi, oranges… Follow this recipe and it should work every time. Just take into consideration that cooking times will probably change depending on how juicy your fruit is.
Yes, and it’s very easy. Just follow a ratio of one part fruit to one-half part sugar. So if you have 2 pounds of fruit, use one pound of sugar. The only thing that is going to change is the cooking time. And if you make a smaller batch, you can simply keep it in the fridge, it should last for weeks.
Yes. If you feel like adding some more fall flavors, you can season this jam with cinnamon, nutmeg, or vanilla extract. Add a cinnamon stick at the beginning and cook it with the jam, then remove it before canning. Or you can use ground cinnamon and ground nutmeg. Add about a teaspoon 10 minutes before the jam is ready. If you are using vanilla extract, add it when the jam is ready. Remove it from the heat and stir in a teaspoon of vanilla extract.
This pear ginger jam is a fall favorite around here. I make enough to last us for the rest of the year but I have to admit that it tastes the best in the fall. It’s a great jam to have in the pantry and delicious addition to any baked good or a toasted peice of bread. I hope that you’d give it a try!
More Jam Recipes…
- Peach Jalapeno Jam Recipe
- Persimmon Jam Recipe
- Pineapple Jam Recipe
- Cranberry Apple Jam Recipe
- Find a list of all of my jam recipes on this page.
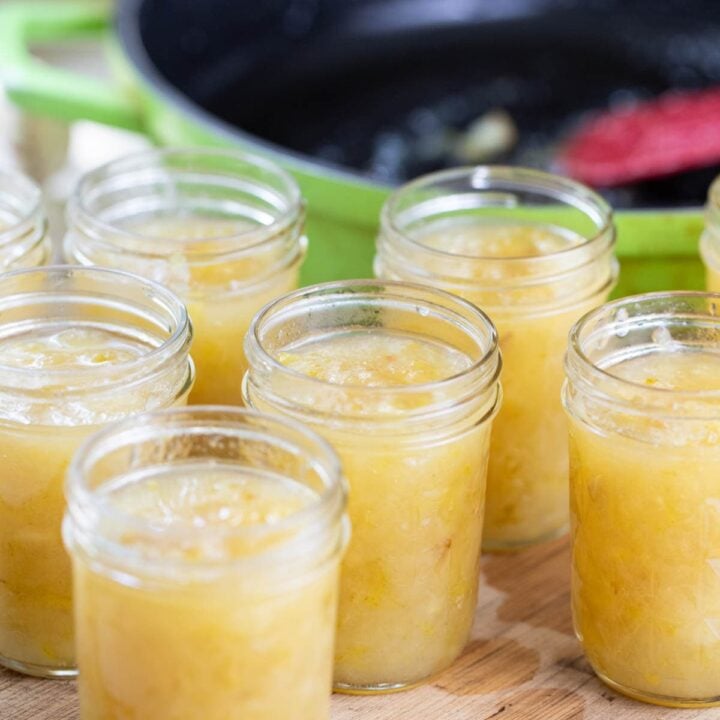
Pear Ginger Jam Recipe
Easy to make and delicious pear ginger jam recipe for canning.
Ingredients
- 4 pounds of diced, very ripe pears (about 11 pears. I usually don't peel mine)
- 2 pounds of sugar
- 3 1/2-inch cubes of fresh, peeled ginger root (see notes for other ways to use ginger in this jam)
- Juice of half a lemon
- 4-6 lemon seeds
Instructions
- Making the jam: add pears, sugar, and ginger to a deep pan. Turn the heat to medium-high and start cooking the jam. Use the spatula to stir frequently. It will take a few minutes until the sugar melts and the juices are released from the fruit. Keep stirring and bring the mixture to a boil. Let it boil for five minutes before lowering the heat to medium-low for the rest of the cooking.
- Keep cooking, stirring frequently for about 15 minutes. At this point, the fruit should be soft and you can blend it with an immersion blender or mash it with a potato masher. Since I had the fresh ginger cubes in there I had to make sure that I don’t blend them. They are pretty large and relatively easy to get out of the way. You can also take them out, blend the jam, and place them back in.
- Squeeze the juice of half a lemon right into the pan and throw in 4-6 lemon seeds. Stir them in.
- After adding the lemon seeds keep cooking for about 20 minutes or so. Watch your jam as you stir it to measure its thickness. If you are not sure if it’s ready you can do the spoon test. Scoop some jam on a spoon and set it on the kitchen counter to cool for five minutes or so. Then add it back into the pot and as it leaves the spoon you will be able to measure its thickness. Just remember that the jam will keep on thickening in the jars as it cools completely.
- If you used fresh ginger as I did here, you’ll have to remove it before canning. It’s easy to find the large chunks when the rest of the fruit is mashed.
- Canning the jam: fill the water bath canner with enough water to cover the jars by about an inch. Set it on the stovetop, turn the heat to high and bring the water to a boil. Wash your jars, lids, and bands well with hot water and soap (since we will be processing the jars for 10 minutes, there is no need to sterilize them first).
- Use a ladle and the canning funnel to fill the jars, make sure to leave 1/2 inch of headspace. Use the bubble remover to scrape the inside of the jar and remove air bubbles. Then use a damp paper towel to clean the rim of the jar before centering the lid and closing the jar with the band.
- Place the jars on the rack of the water bath canner and lower the jars into the boiling water. Cover the canner and process the jars for 10 minutes. After 10 minutes, turn off the heat, uncover the canner and let the jars rest in the hot water for five minutes or so. Then, use the jar lifter to remove the jars from the canner and place them on a kitchen towel to cool completely overnight. Always remember to adjust the processing time if you live over 1000 feet in elevation. Follow the table in the notes below to make any adjustments.
- When the jars are completely cool, check that they are all sealed by pressing the center of each lid. If there is no movement there it means that your jars are sealed and ready for storage.
- Wipe the jars and remove the band. It sometimes rusts in storage and makes it hard to open the jar down the road. And, you can also reuse it for canning something else. Store your pear ginger jam in a cool place like a pantry or a kitchen cabinet. It should last for 18 months or so.
Notes
Ginger: you can certainly make pear jam without ginger however, it’s a wonderful addition to this jam. There are a few ways to use ginger in a jam…
- Cubbed – peel a fresh ginger root and cut it to 1/2 inch cubes. I used three of those cubes in this pear jam. When you do it this way you’ll cook the jam with the ginger but remove the ginger cubes before canning the jam. This will give the jam a hint of ginger taste but it won’t be too strong.
- Shredded – if you’d like to actually feel the ginger in your jam you can chop it into tiny pieces or shred it. Use three teaspoons or so. Add it to the fruit at the beginning and cook it with the jam. You won’t be removing it before you can the jam and it will result in a stronger ginger taste.
- Ground – you can also use ground, dry ginger if you’d like. Cook the jam and about 10 minutes before it’s ready season it with a couple of teaspoons of ground ginger. Mix it in and can your jam.
Processing Adjustment Table...

Frequently Asked Questions...
- Do you remove the lemon seeds before canning the jam?
I don’t. I leave the seeds in the jam. They don’t break down, don’t change the taste of the jam no matter how long it stays on the shelf and once you stop cooking the jam they don’t keep thickening it. You can, however, fish them out when the jam is ready if you’d like, they are usually easy to find. - Can I follow this recipe with other fruit?
Honestly… Any fruit! If you find yourself with plums, apricot, grapes, kiwi, oranges… Follow this recipe and it should work every time. Just take into consideration that cooking times will probably change depending on how juicy your fruit is. - Can I adjust the quantities of the ingredients?
Yes, and it’s very easy. Just follow a ratio of one part fruit to one-half part sugar. So if you have 2 pounds of fruit, use one pound of sugar. The only thing that is going to change is the cooking time. And if you make a smaller batch, you can simply keep it in the fridge, it should last for weeks. - Can I add other spices in addition to the ginger?
Yes. If you feel like adding some more fall flavors, you can season this jam with cinnamon, nutmeg, or vanilla extract. Add a cinnamon stick at the beginning and cook it with the jam, then remove it before canning. Or you can use ground cinnamon and ground nutmeg. Add about a teaspoon 10 minutes before the jam is ready. If you are using vanilla extract, add it when the jam is ready. Remove it from the heat and stir in a teaspoon of vanilla extract.
Nutrition Information:
Yield: 10 Serving Size: 1 half-pint jarAmount Per Serving: Calories: 406Total Fat: 0gSaturated Fat: 0gTrans Fat: 0gUnsaturated Fat: 0gCholesterol: 0mgSodium: 17mgCarbohydrates: 106gFiber: 3gSugar: 99gProtein: 1g

Hi! I’m Lady Lee. I help homesteaders simplify their homesteading journey while still producing a ton of food! I am a single mother of four, I was born in Israel and raised in an agricultural commune called a Kibbutz. Now I homestead in central NC.


This is a fantastically flavored jam and easy too. I have converted into a sugarless jam for diabetes. Thank you so much for your Great Taste
You are welcome! What did you use instead of sugar?