This post may contain affiliate links, view our disclosure policy for details.

Learn how to dehydrate watermelon so you can preserve it and enjoy it dry. Dehydrated watermelon slices are often called watermelon jerky, they are sweet, healthy, and easy to carry anywhere!
There is nothing I love more than eating a delicious and sweet watermelon, particularly in the spring and summer months. We look forward to planting them in the garden each season. Although watermelons can take up a bunch of room in the garden, they are totally worth planting.
I think most of us think of eating just a slice of watermelon, but did you know every part of the watermelon is edible? Even the rind. What you also may not know, is that you can dehydrate watermelon and enjoy it throughout the year. Yes, please!
Dehydrating Watermelon in the Dehydrator…

Dehydrated watermelons are another way to enjoy this delicious fruit filled with lots of vitamin A and C. Dehydrated watermelon is good to snack on alone or perfect when mixing in with other dehydrated fruits like strawberries or bananas or raspberries. Let’s talk about the perfect snack. I love to throw dehydrated watermelon in with a trail mix or use as watermelon candy for the kids. Think of a watermelon roll-up.
Reasons For Drying Watermelons…
- Preserving the flavor – Dehydrating watermelons is a great way to preserve the watermelon harvest and enjoy it longer.
- Another way to eat a watermelon – Imagine eating this favorite fruit (and vegetable, did you know?) without all the mess!
- Easy to travel with – Dehydrated watermelon is a great hiking/camping/picnicking snack. Dry watermelon slices are easy to pack in a jar or a zip-lock bag and take with you anywhere you go.
- Preserving for long-term storage – It’s another way to keep watermelon around for a bit longer without the need for refrigeration. There are so many ways to use dehydrated watermelon, so they are a great ingredient to have on the shelf.
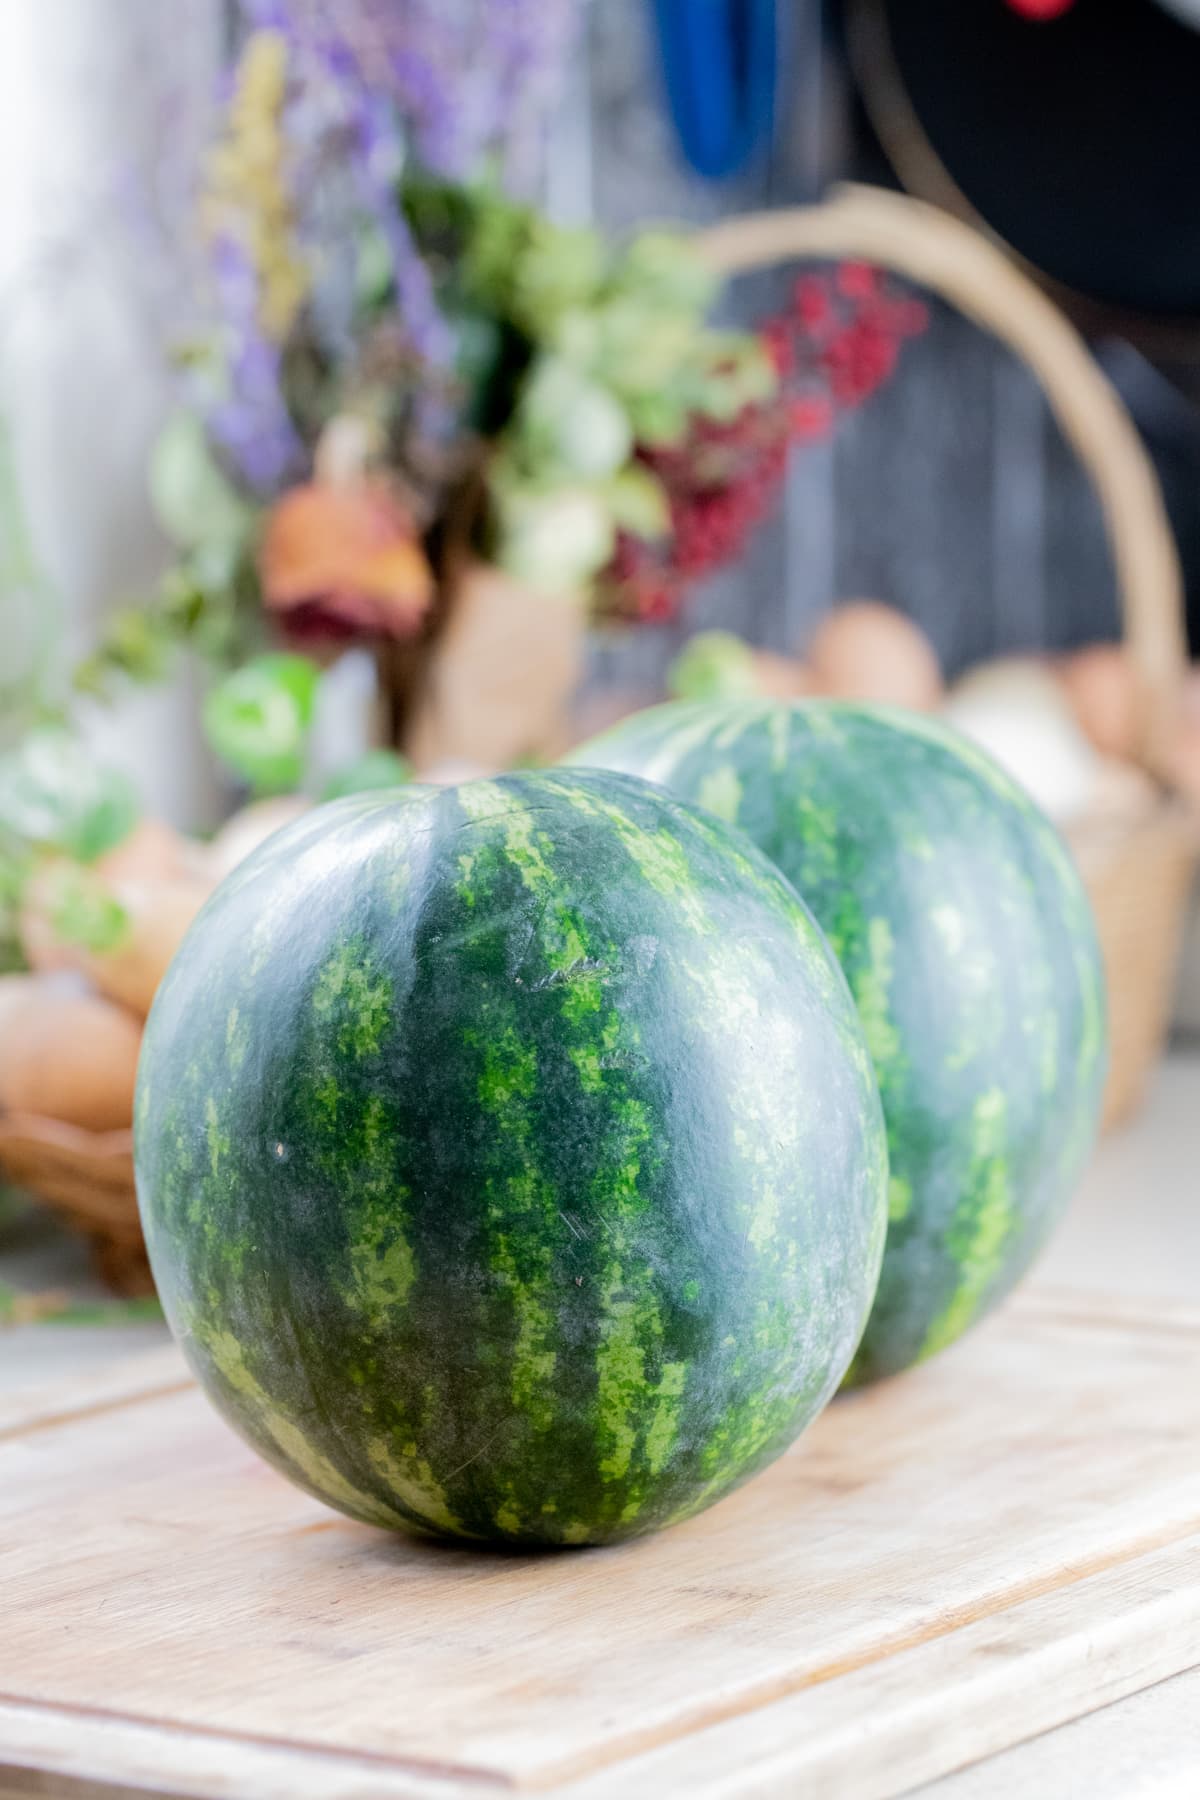
How to Choose a Watermelon…
Choosing the right watermelon can sometimes be challenging… You can dry any variety of watermelon but most people prefer a seedless watermelon for dehydrating. Try to choose a heavy watermelon with good color. Most watermelons will have an area where it’s white/orangy, that is where the watermelon was resting on the ground. Try to find a watermelon with a spot that is more yellow/orange than white, this usually means that it has a little bit more time on the vine and is probably sweeter.
Ingredients…
- Watermelon – Watermelon is the only ingredient you’ll need. Again, any kind. I used two small watermelons for this tutorial and got one and a half quarts of dry watermelon slices.
Kitchen Tools…
- Knife
- Cutting board
- Dehydrator – I am using a nice dehydrator that allows me to control the temperature and produces a better end result. If you don’t have one of those, you can still dehydrate watermelon slices in the oven or in a cheap (no temperature control) dehydrator. More on this in the FAQ section below.
- Air tight storage container (I use jars)
How to Dehydrate Watermelon Step By Step…
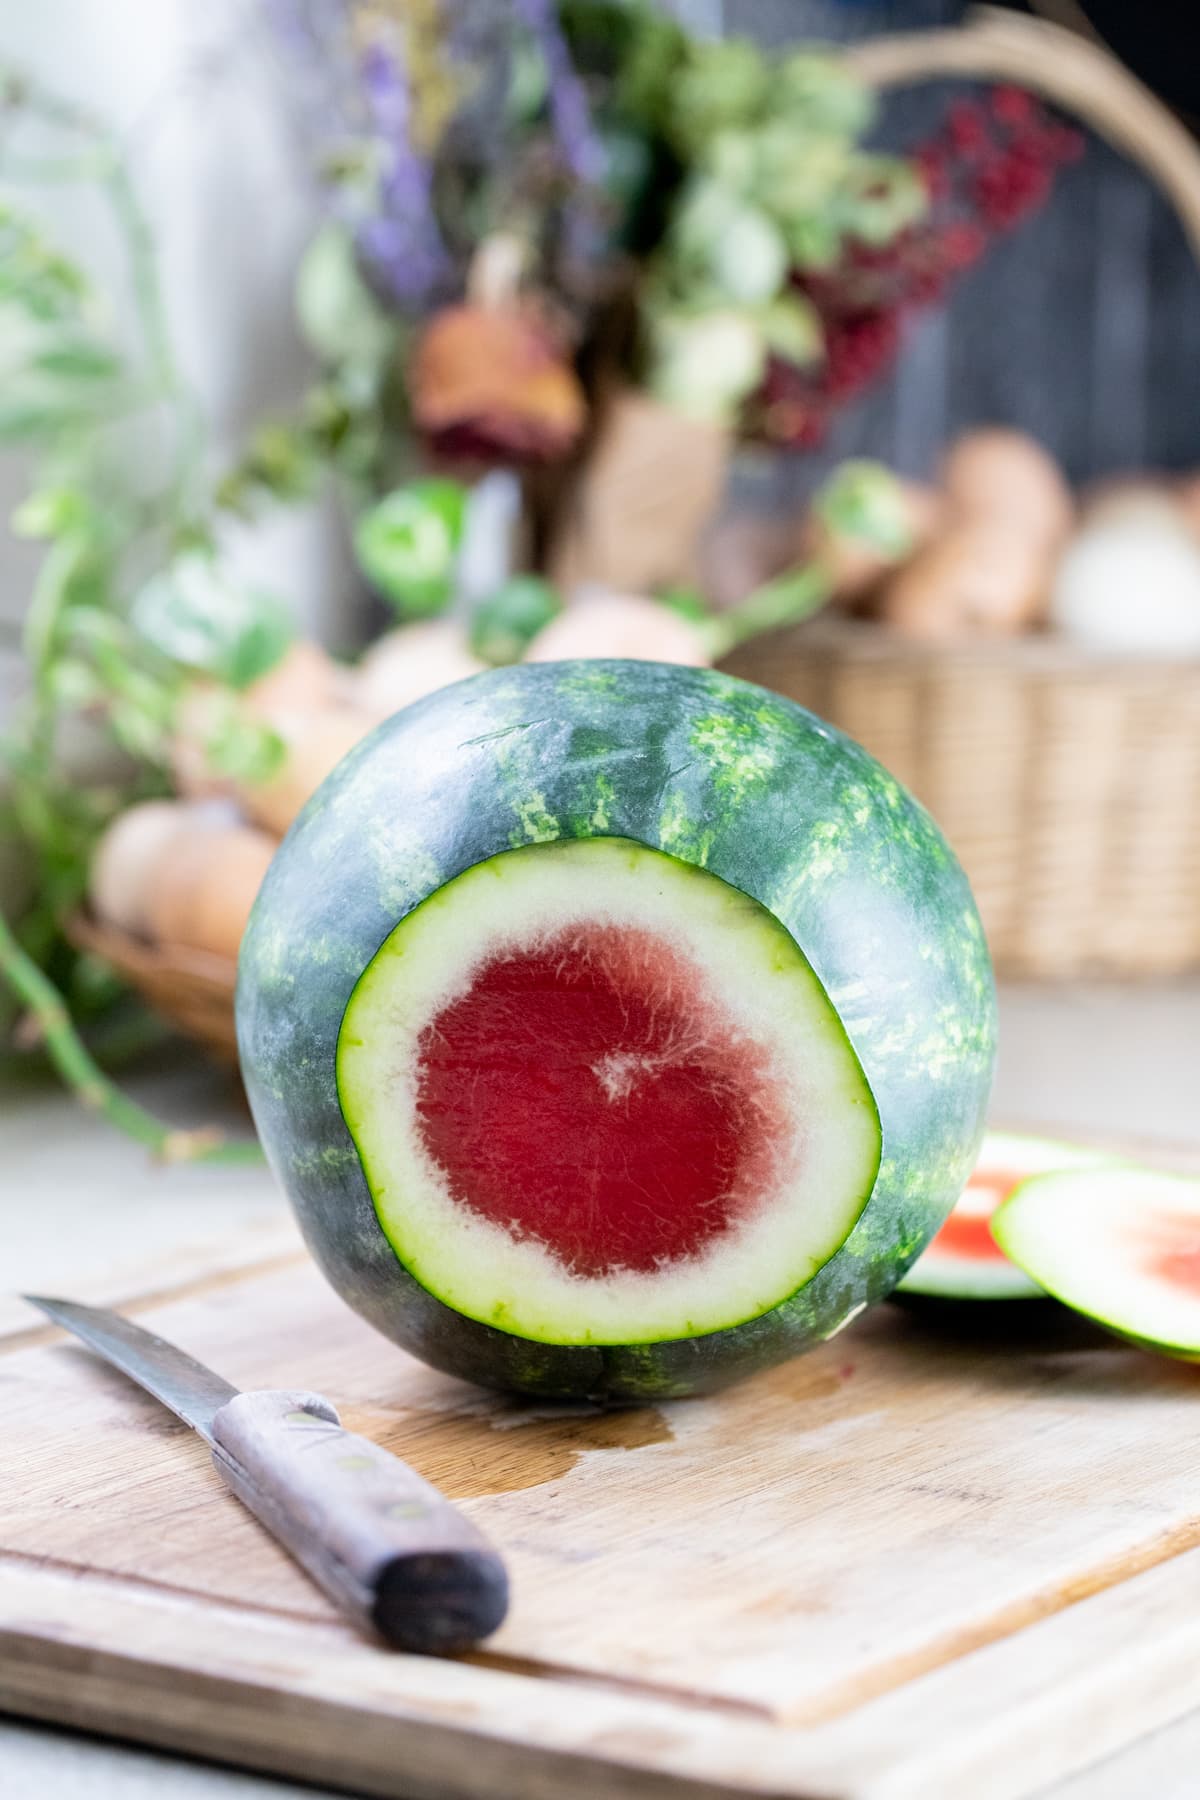
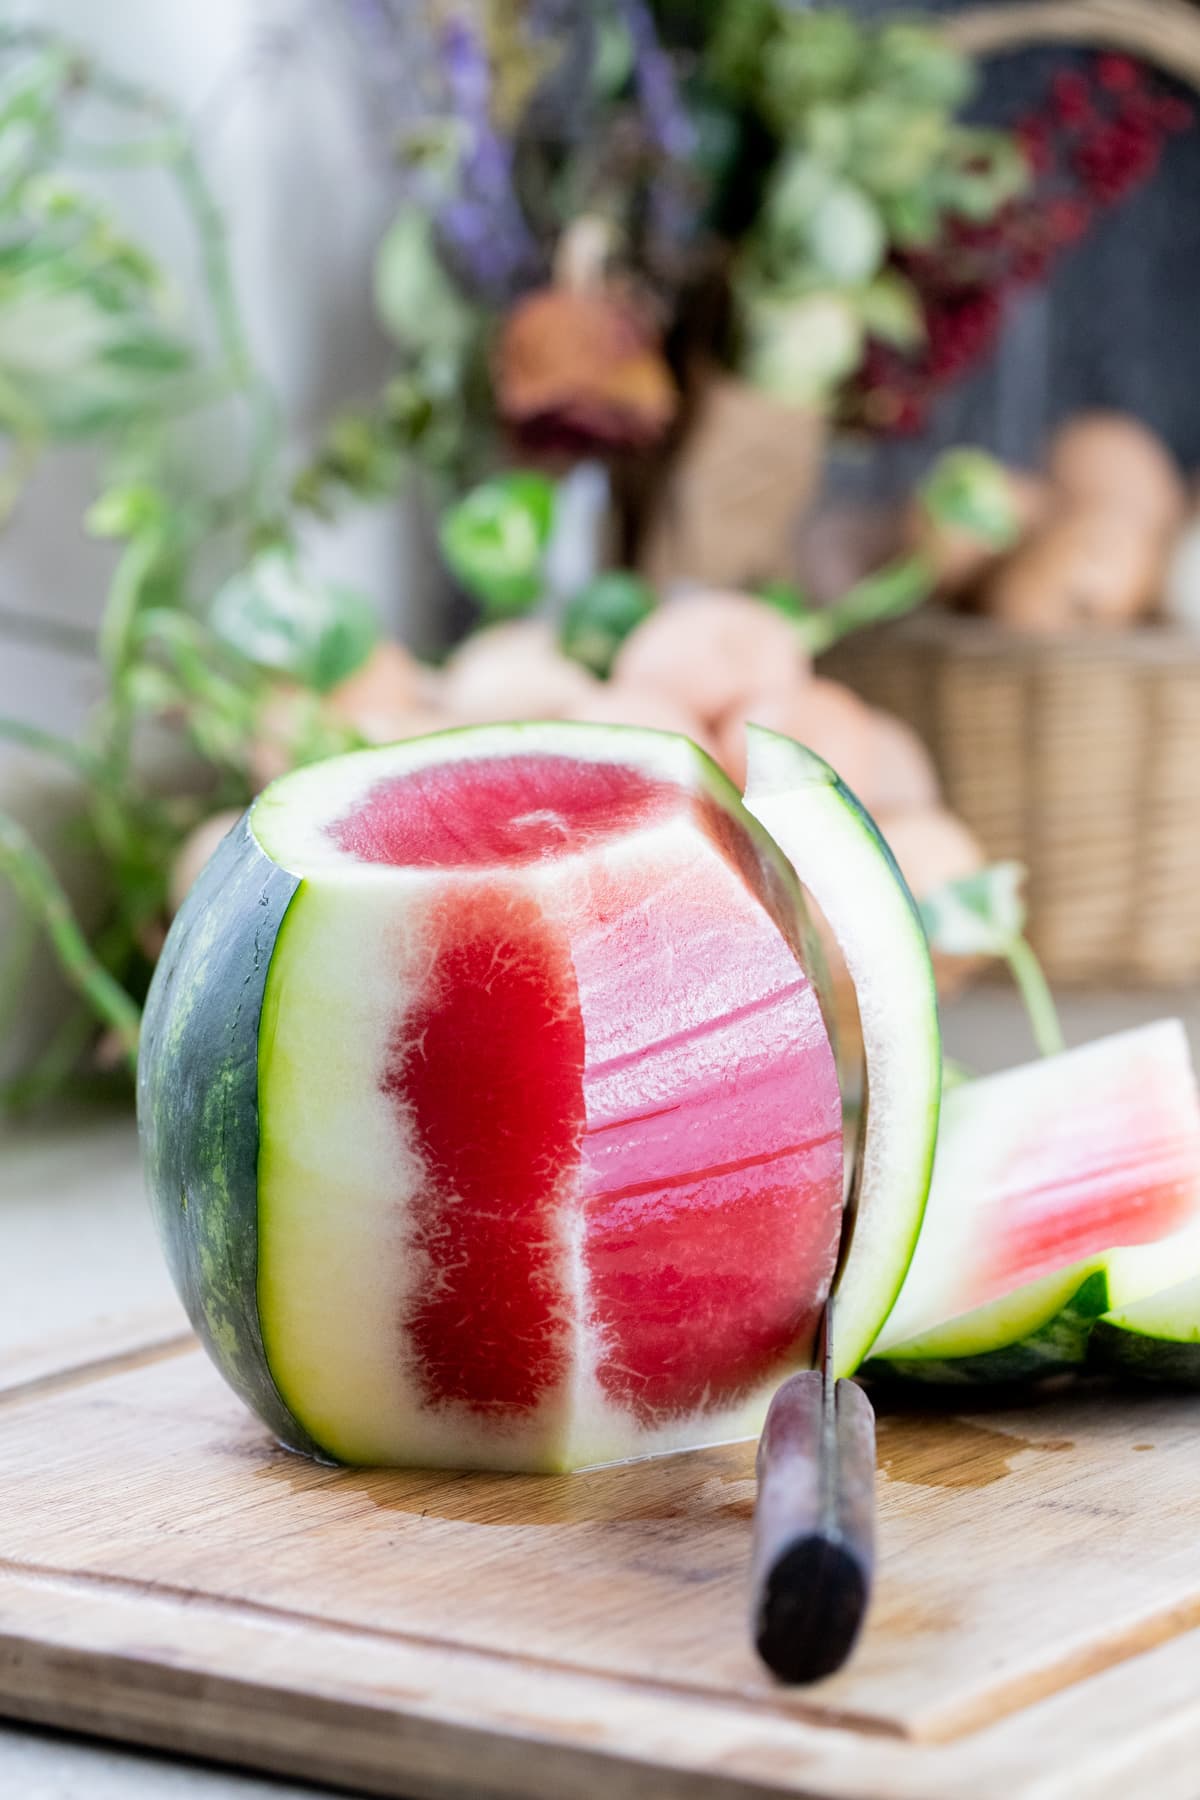
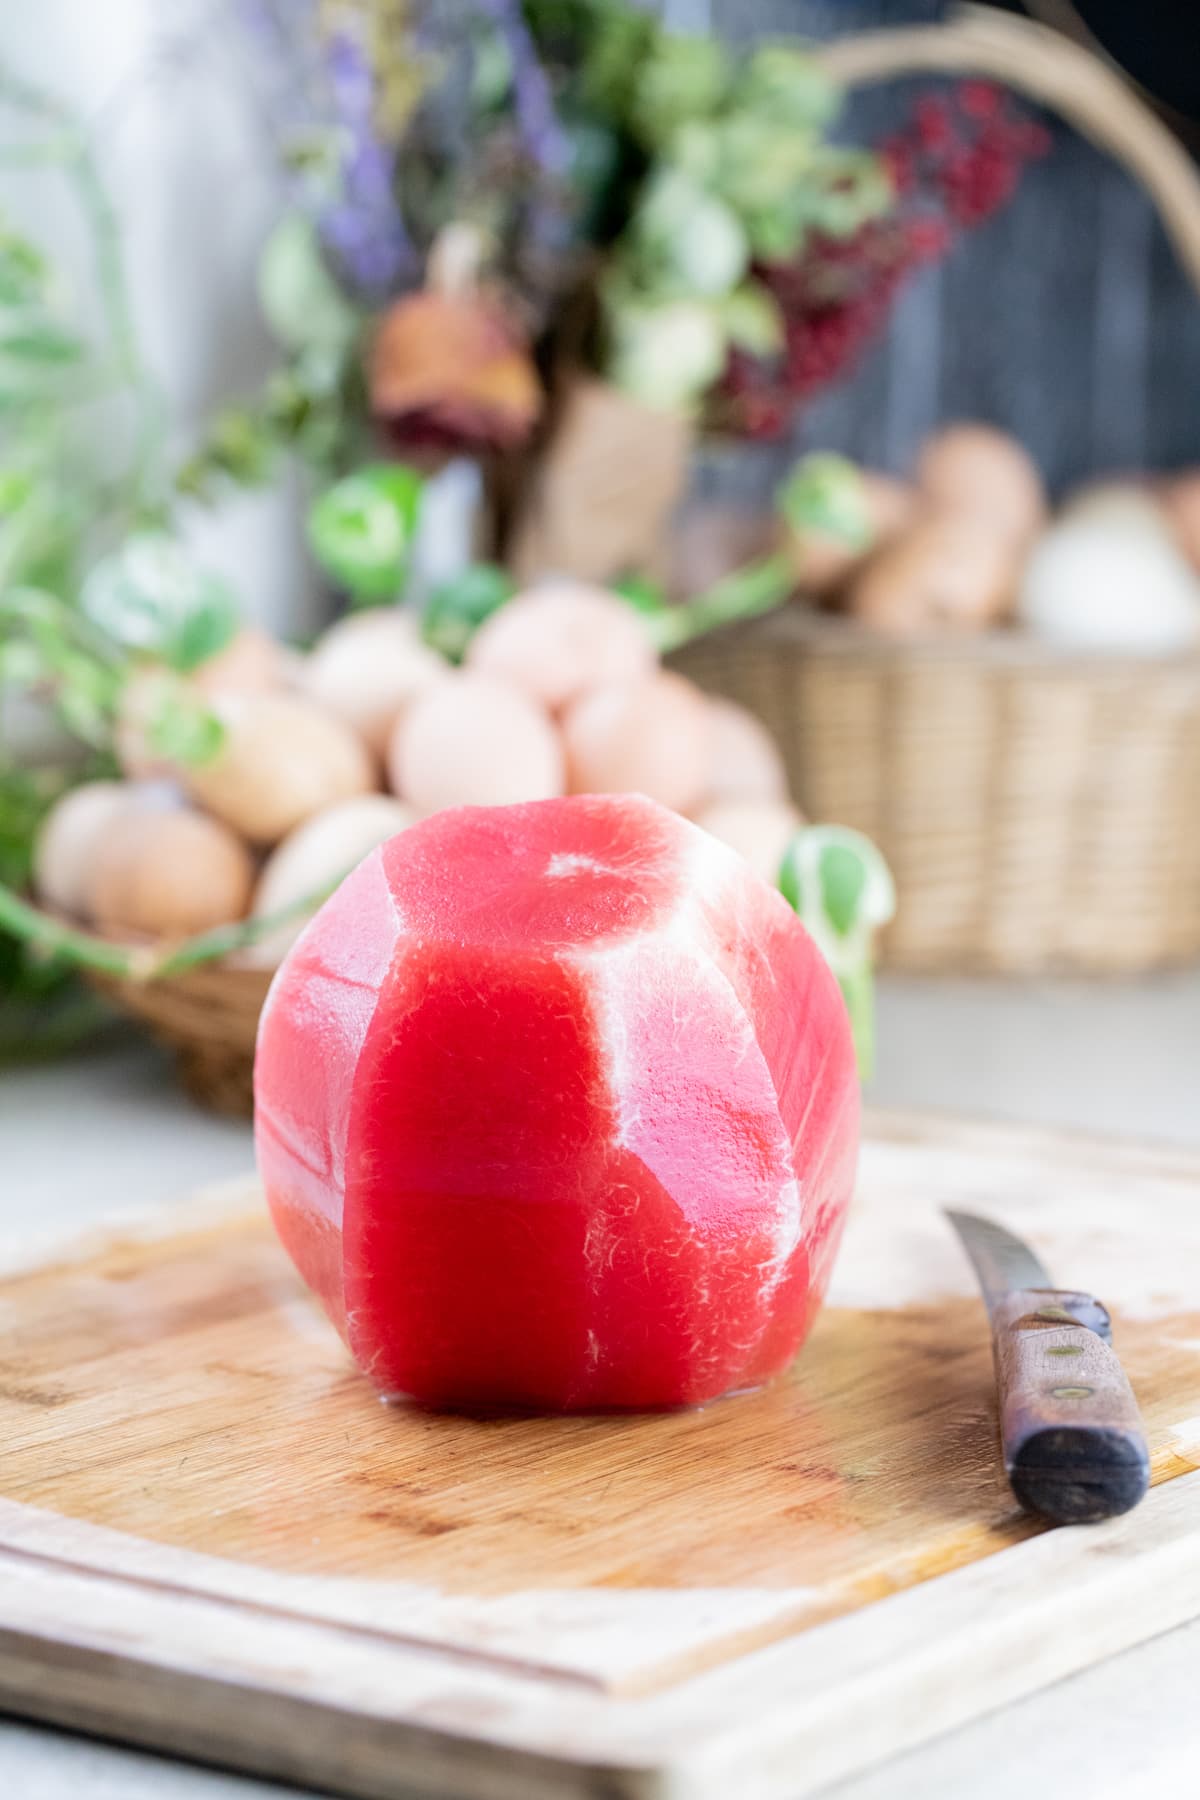
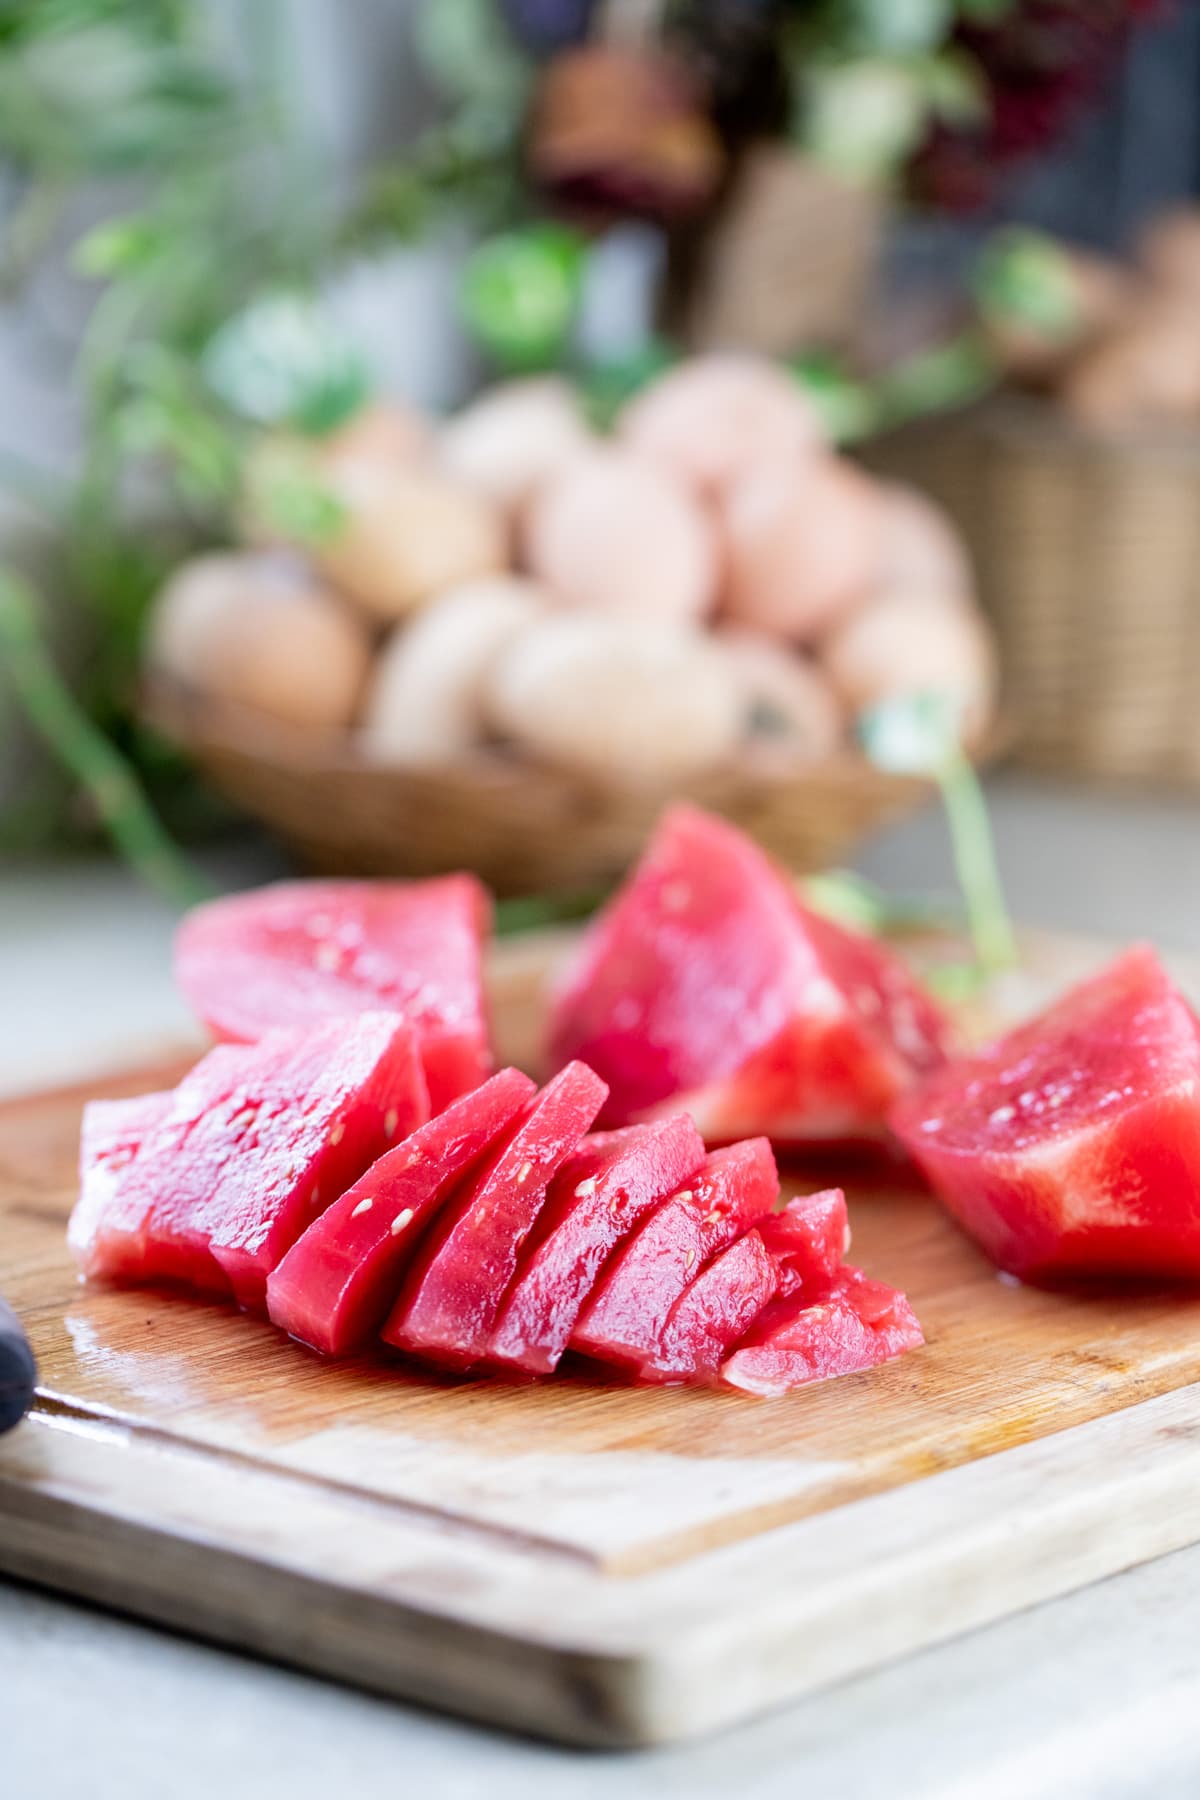
Step one – prep the watermelon. Peel the watermelon and slice it however you want. Make sure that the slices are about 1/4″ thick. Visit my post, How to Cut a Watermelon, for some tips to make this task easier.
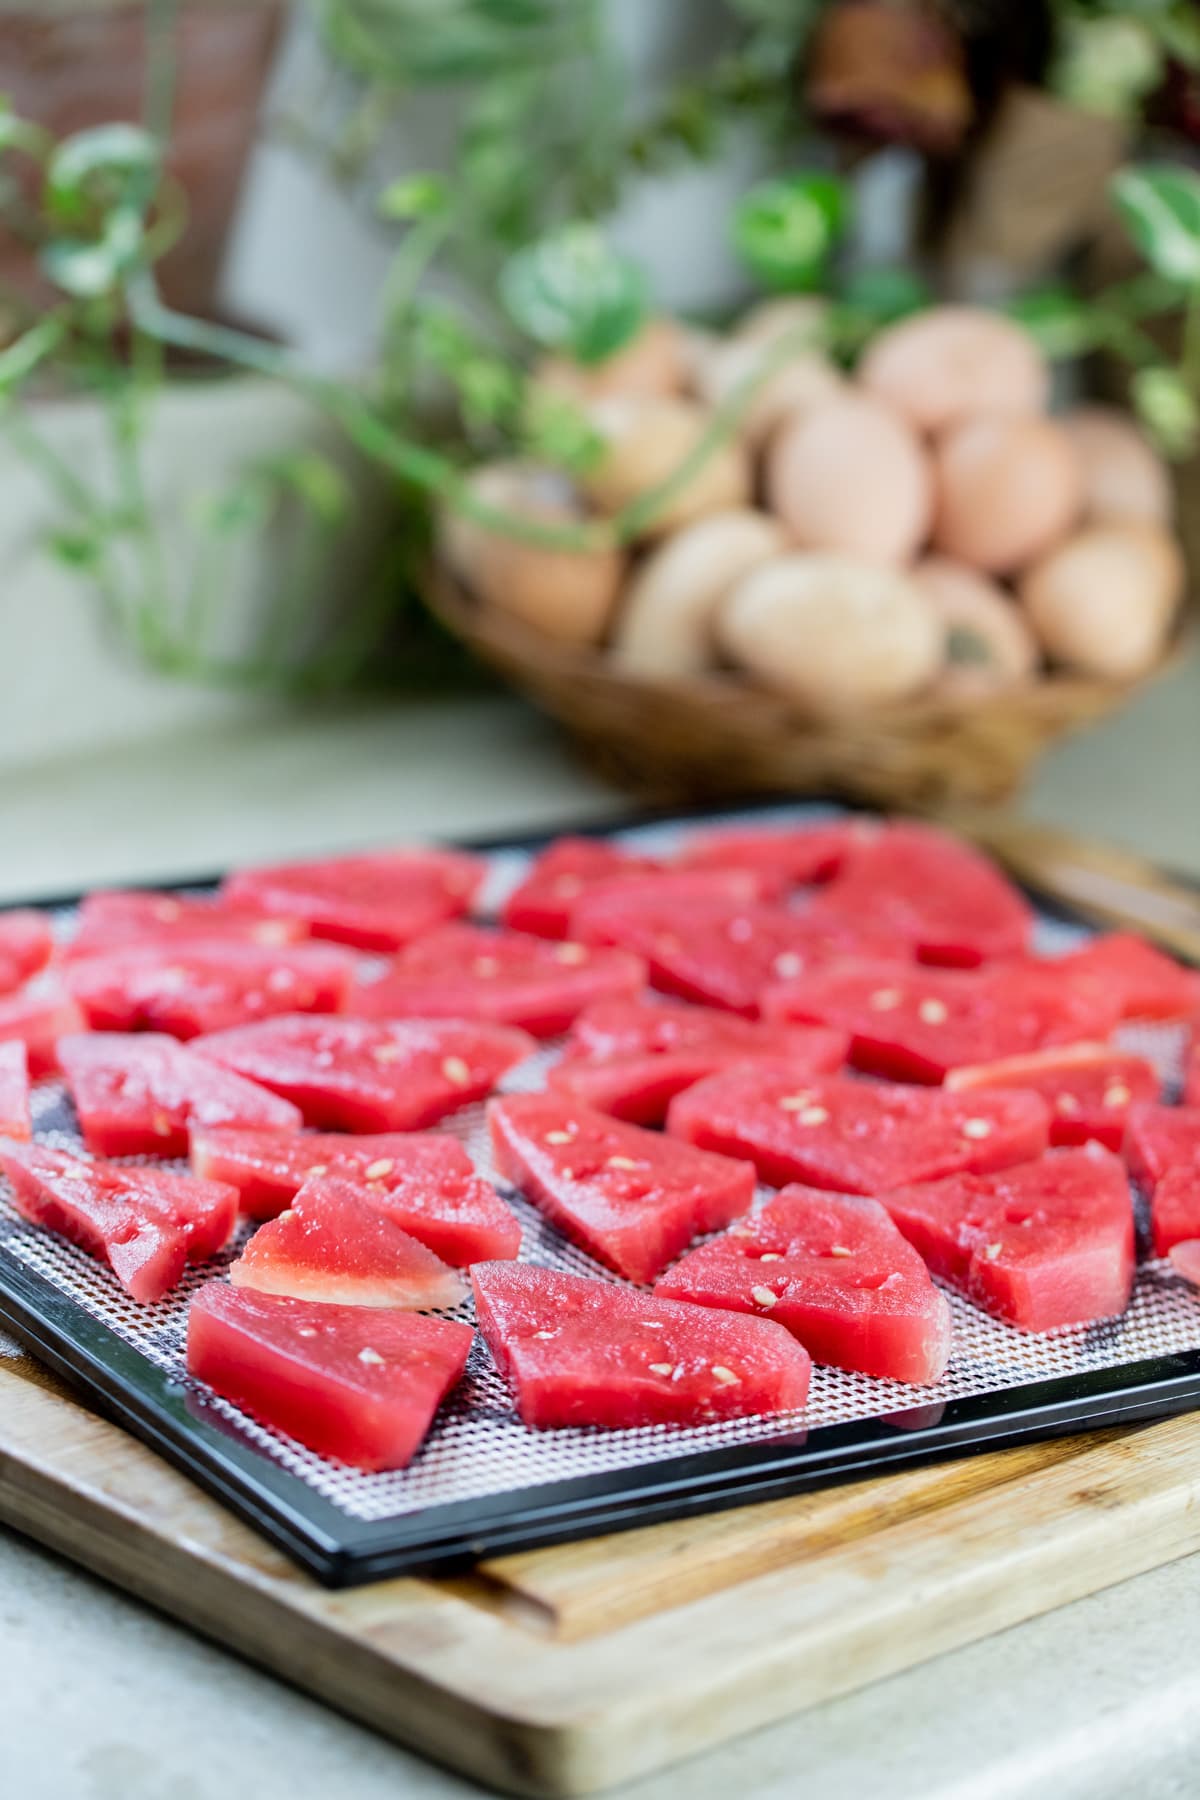
Step two – add to the dehydrator. Place the watermelon pieces in one layer on the trays of the dehydrator. Place them close to each other but make sure that they aren’t touching to allow good airflow and proper drying.

Step three – dehydrate. Place the trays in the dehydrator and dehydrate at 135 degrees F for about 15 hours. Note: This process can take anywhere from 15-24 hours since there is so much water in watermelons. If your watermelon pieces aren’t completely dry, leave them for another hour or so until they are dry and crispy.
How to Store Dehydrated Watermelon…
Once the slices are dry, let them cool for a few minutes and then transfer them to an air-tight container. You can vacuum seal them or use zip-lock bags, however, in my opinion, jars with two-piece lids work best for storage and are beautiful on the shelf!
How to Condition Dehydrated Fruit…
Here is the thing with dehydrated watermelon… some people like to leave it a little moist, similar to taffy. It’s really similar to candy and it’s delicious. If you like to leave it a bit moist, you can keep it at room temperature for a few weeks or keep it in the fridge. However, if you’d like to store your dehydrated watermelon for the long term at room temperature, you are going to have to condition it.
This means that after storage, every day for about a week, check to make sure that there is no moisture on the inside of your air-tight container. If you spot moisture, remove the fruit and dehydrate it again for a few more hours. Then transfer to an air-tight container and condition again. If after a week there is no moisture your fruit is ok to be stored for the long term at room temperature.
How to Use Dehydrated Watermelon…
- As a snack – dehydrated watermelon slices are an easy snack to grab and go. Kids love when they can have some watermelon candy.
- As a side instead of chips – such a healthy alternative and provides so many good health benefits.
- Breakfast – they are a great addition to yogurt with homemade granola or to add to any bowl of cereal.
- Add to shakes and smoothies – throw some dry watermelons and other fruit, milk, ice, and anything else you like into the blender and blend into a healthy drink.
- In a cocktail – This watermelon cocktail drink sounds so refreshing and sweet, especially in the spring and summer months when it’s warmer outside.
Frequently Asked Questions…
Yes. Drying foods in a proper dehydrator where you can control the temperature produces a better result and preserves the nutrition better, however, if you don’t have a dehydrator, you can follow the same prep instructions: line a baking sheet with parchment paper, turn your oven to its lowest temperature (preferably anywhere between 140 – 170 degrees F), and dehydrate your watermelon slices this way. Of course, drying time will change so keep checking your watermelon. You might need to turn your baking sheet and/or turn the watermelon slices halfway through.
The cheaper Presto dehydratorPresto dehydrator is very popular and you can find it at any Walmart or online. It runs at a temperature of 165 degrees F and there is no way to control the temperature. Yes, you can use this kind of dehydrator to dry watermelon. Again, for best results, we want to process fruit at a temperature of 135 degrees F but a higher temperature will work as well.
Not really… dry watermelon slices don’t rehydrate very well. Once you have dehydrated them they should be used dry.
Is your mouth watering like mine with the thought of dehydrated watermelon? As you can see, it’s fairly easy to dehydrate watermelon and the only thing you need is the watermelon itself and a bit of time. I hope that you’d give this a try!
More Dehydrating Tutorials…
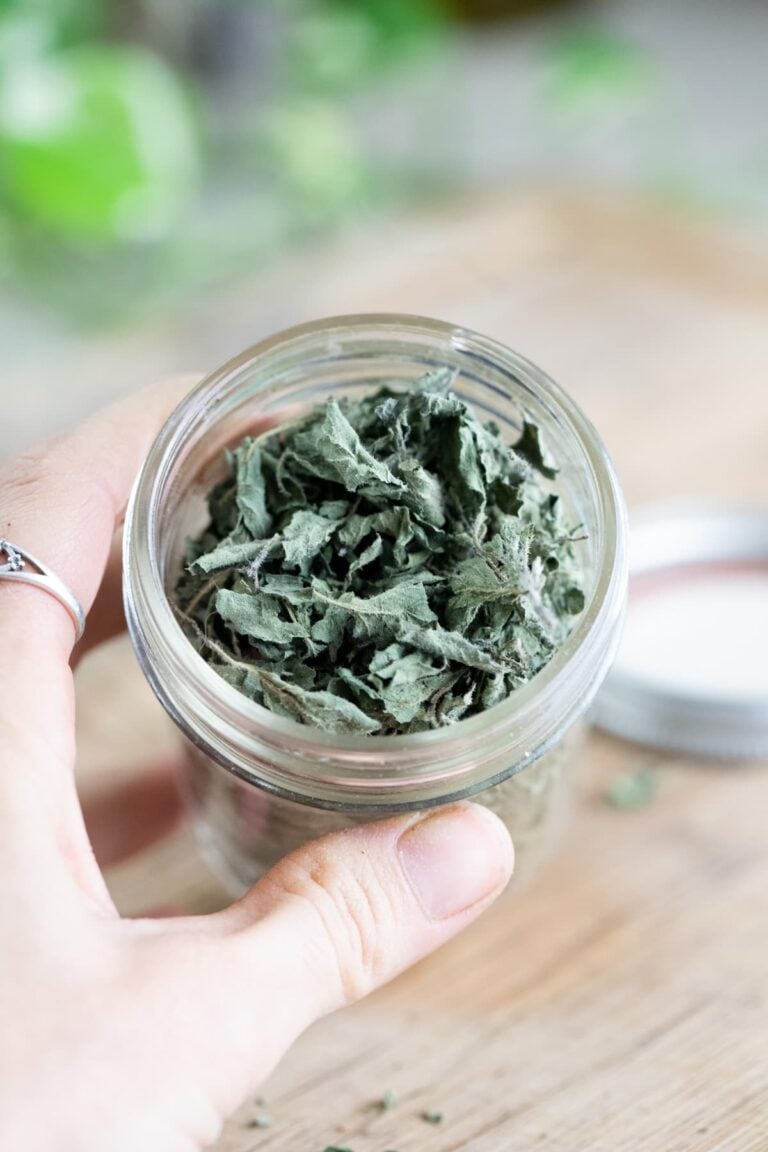
- How to Dehydrate Green Onions
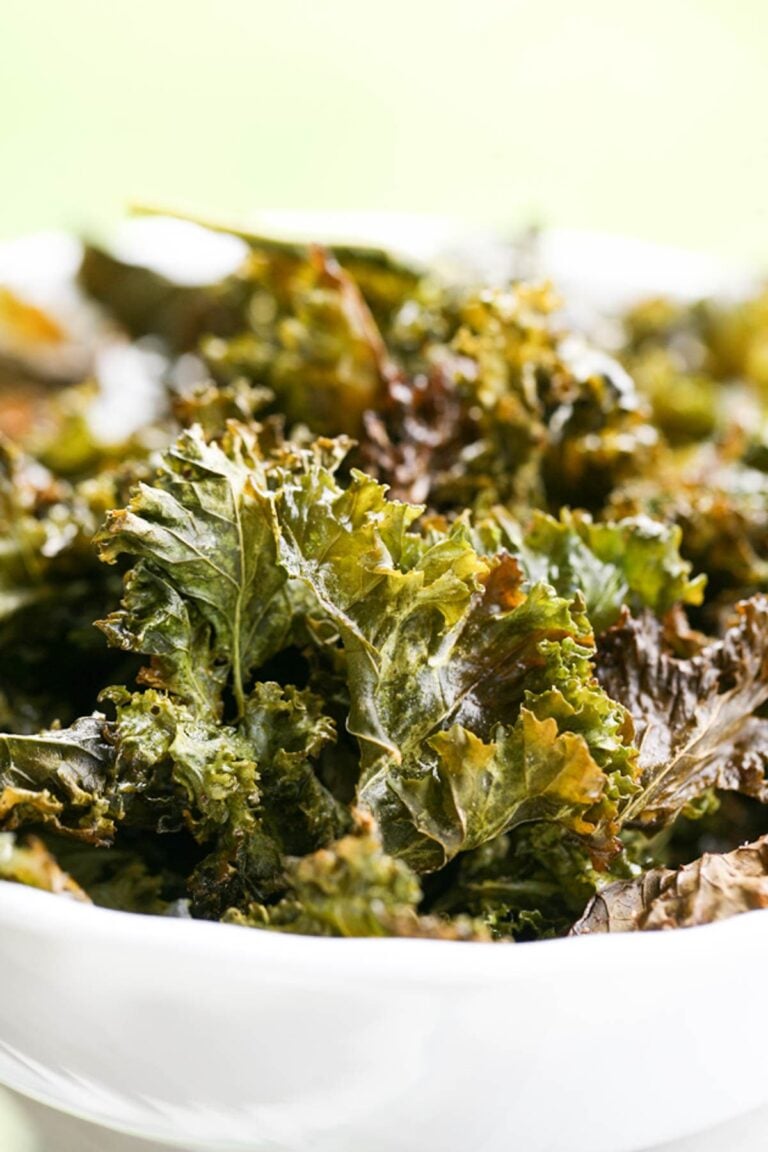
- Dehydrated Kale Chips
- How to Dry Apples in the Oven
- Purple Sweet Potato Chips Recipe
- How to Dehydrate Orange Slices
- How to Dehydrate Jalapenos

How to Dehydrate Watermelon
Learn how to dehydrate watermelons. Preserve watermelons for long-term storage and turn them into a healthy snack that everyone will love!
Ingredients
- Watermelon (I used two small ones and got about a quart and a half of dry watermelon slices)
Instructions
- Step one – Peel the watermelon and slice it however you want. Make sure that the slices are about 1/4″ thick (check out my post on how to cut a watermelon for some helpful tips).
- Step two – Place the watermelon pieces in one layer on the trays of the dehydrator. Place them close to each other but make sure that they aren’t touching to allow good airflow and proper drying.
- Step three – Place the trays in the dehydrator and dehydrate at 135 degrees F for about 15 hours. Note: This process can take anywhere from 15-24 hours since there is so much water in watermelons. If your watermelon pieces aren’t completely dry, leave them for another hour or so until they are dry and crispy.
- Step four - Once the watermelon slices are dry, remove them from the dehydrator and let them cool. Then transfer into an air-tight container for storage.
Notes
Frequently Asked Questions...
- Can I dehydrate watermelon in the oven?
Yes. Drying foods in a proper dehydrator where you can control the temperature produces a better result and preserves the nutrition better, however, if you don’t have a dehydrator, you can follow the same prep instructions: line a baking sheet with parchment paper, turn your oven to its lowest temperature (preferably anywhere between 140 – 170 degrees F), and dehydrate your watermelon slices this way. Of course, drying time will change so keep checking your watermelon. You might need to turn your baking sheet and/or turn the watermelon slices halfway through. - I can’t control the temperature on my dehydrator, can I still use it?
The cheaper Presto dehydrator is very popular and you can find it at any Walmart or online. It runs at a temperature of 165 degrees F and there is no way to control the temperature. Yes, you can use this kind of dehydrator to dry watermelon. Again, for best results, we want to process fruit at a temperature of 135 degrees F but a higher temperature will work as well. - Can I rehydrate watermelon?
Not really… dry watermelon slices don’t rehydrate very well. Once you have dehydrated them they should be used dry. - What's the best type of watermelon to dehydrate?
You can dry any variety of watermelon but most people prefer a seedless watermelon for dehydrating. Try to choose a heavy watermelon with good color.