This post may contain affiliate links, view our disclosure policy for details.

This homemade DIY pallet bookshelf is very simple to build and costs next to nothing! You’ll only need a few materials and a couple of basic tools. It’s simple, beautiful and strong, and it can carry the weight of books easily!
I used to have a very basic living room. A single-mother-of-four living room where no one can break anything and it’s very easy to clean. But the kids are older now and it was time to freshen things up a bit. Also, I installed a new wood stove in the living room that pretty much sent me down a rabbit hole of a whole new decor.
I wanted a bookshelf. I have a lot of farming, homesteading, building, and gardening books that I love to quickly pick, read a couple of pages, and put right back. I never really read these books cover to cover. I was looking for simple bookshelves that would fit the rest of the room but that can carry the weight of those big books.
Homemade DIY Pallet Bookshelf…

I was shopping online but couldn’t find anything that I liked. Then one day, I walked into my friend’s bedroom and saw these shelves. They were exactly what I was looking for! I already had all the materials and I knew it would be very easy to put these together.
Cost of a DIY Pallet Bookshelf…
I am pretty sure that anyone can find a wooden pallet for free, so really all that you have to buy are screws. This shelf cost less than $5!
Materials…
- A wooden pallet – you’ll need two side pieces and four planks for each shelf. In this tutorial, my side pieces are measured 12” and the four planks (one for the bottom, two for the back, and one for the front) are measured 23” (wider than the studs so I have enough room to screw the back planks to the studs.
- Screws – I used star-head 8 x 1 1/4 wood screws to assemble the shelf and star-head 8 x 2 1/2 wood screws to screw the shelf into the studs.
- Paint or stain – if you choose to paint or stain your shelf, any wood paint or stain will do.
Tools…
- Stud Finder and a Pencil
- Pallet Buster
- Skill saw
- Sawhorse pair
- Small Level
- Impact driver
DIY Pallet Bookshelf Step by Step…

Step one – find the studs. We are going to screw these shelves right to the studs, this makes them capable of carrying the heavy weight of books with ease. So the first step is to find the studs where you want to hang these shelves and measure the distance between the studs. In most homes, studs should be 16” on center but I suggest you make sure anyway. Once you know how far apart the studs are, add an inch or so on each side so you have enough room to screw the back planks to the studs.
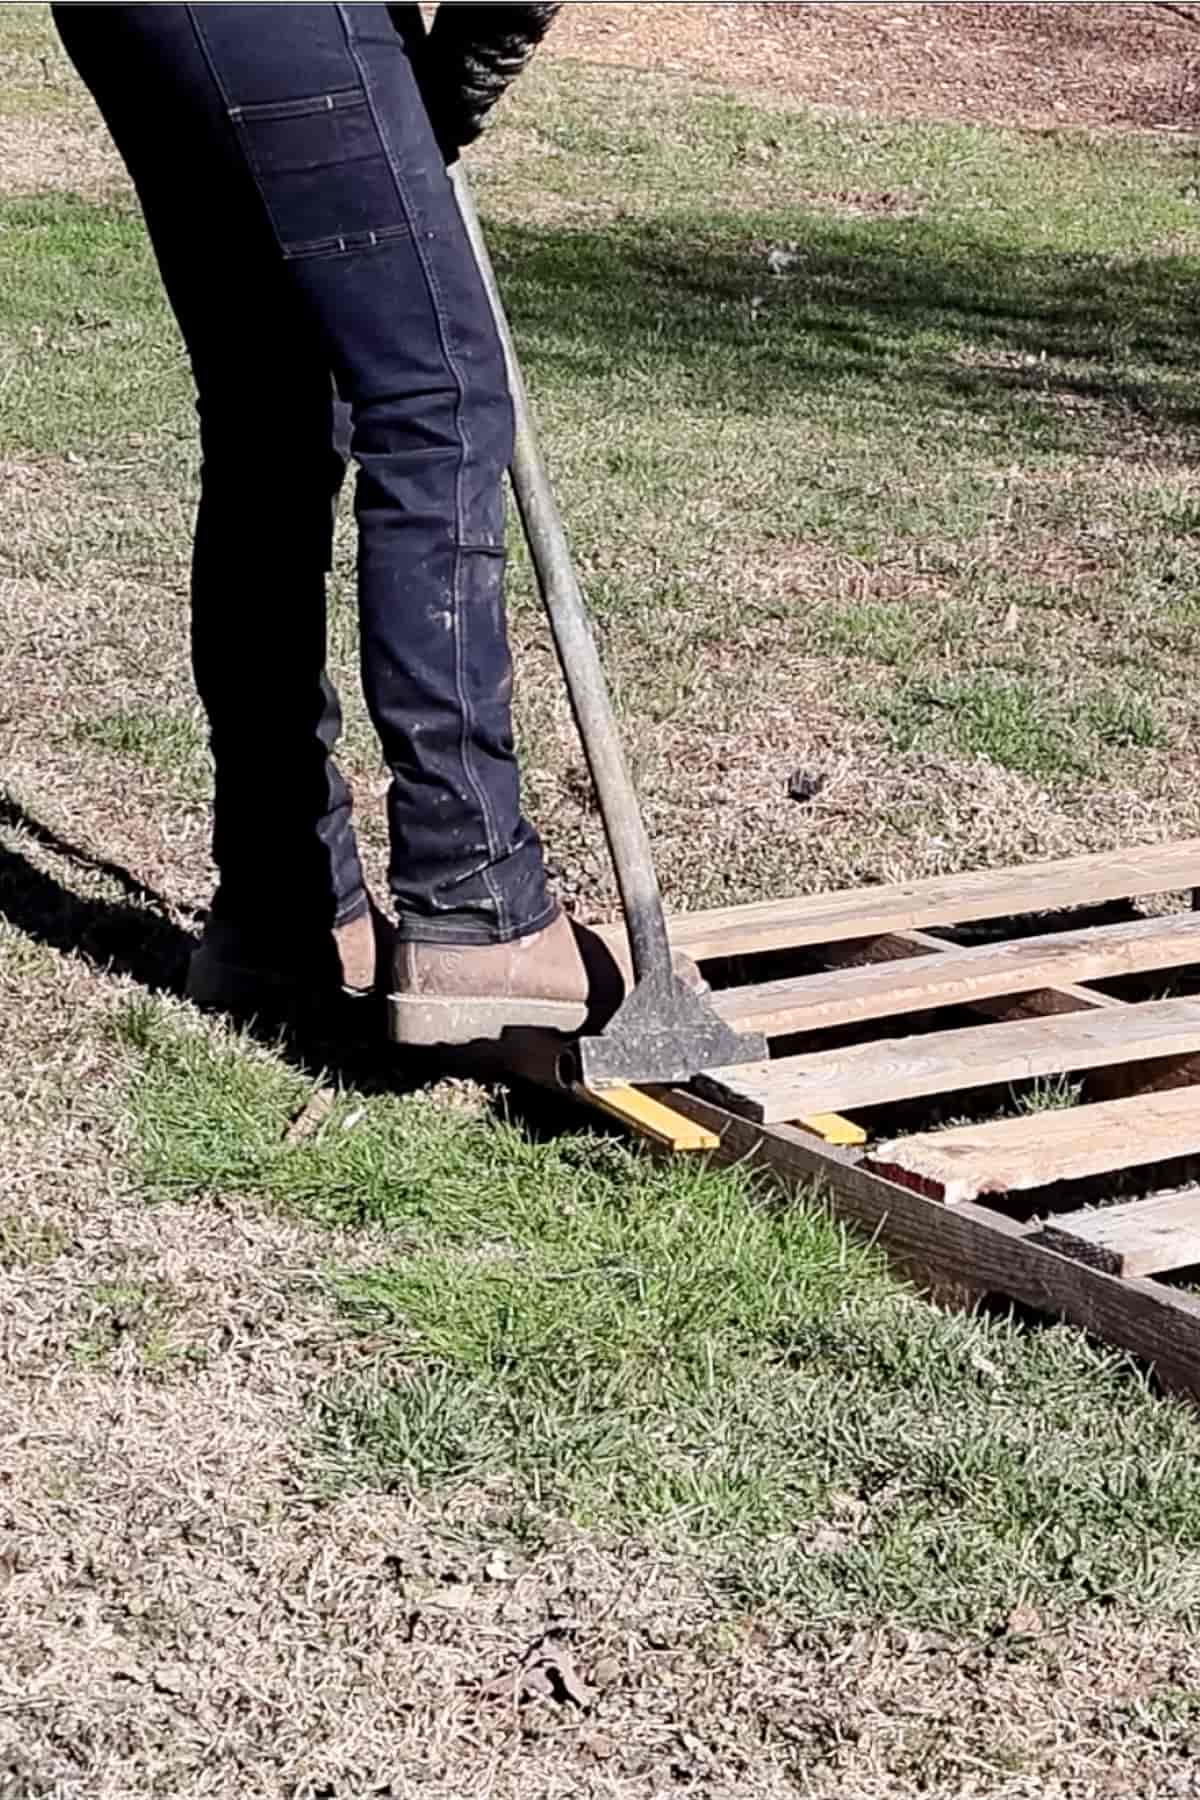

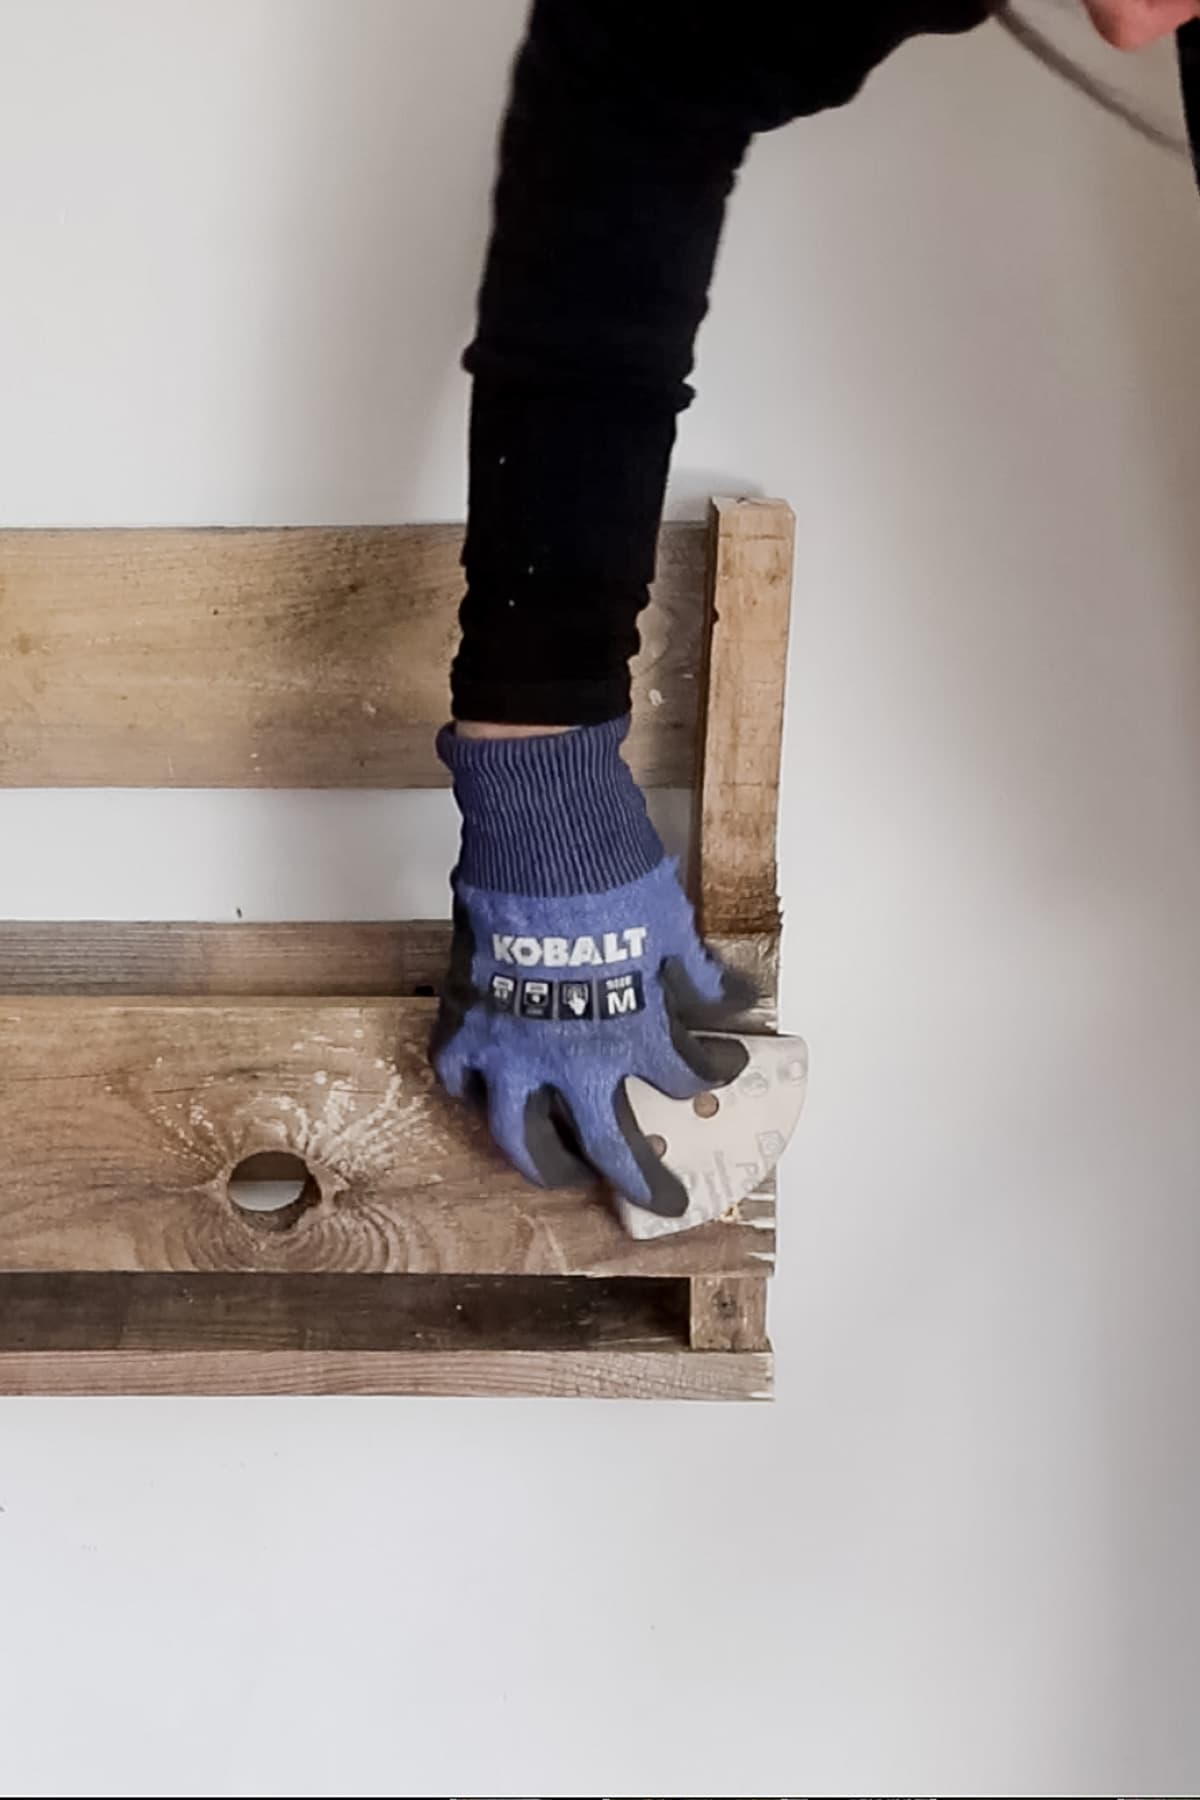
Step two – break apart the pallets. Use the Pallet Buster and break apart your pallet.
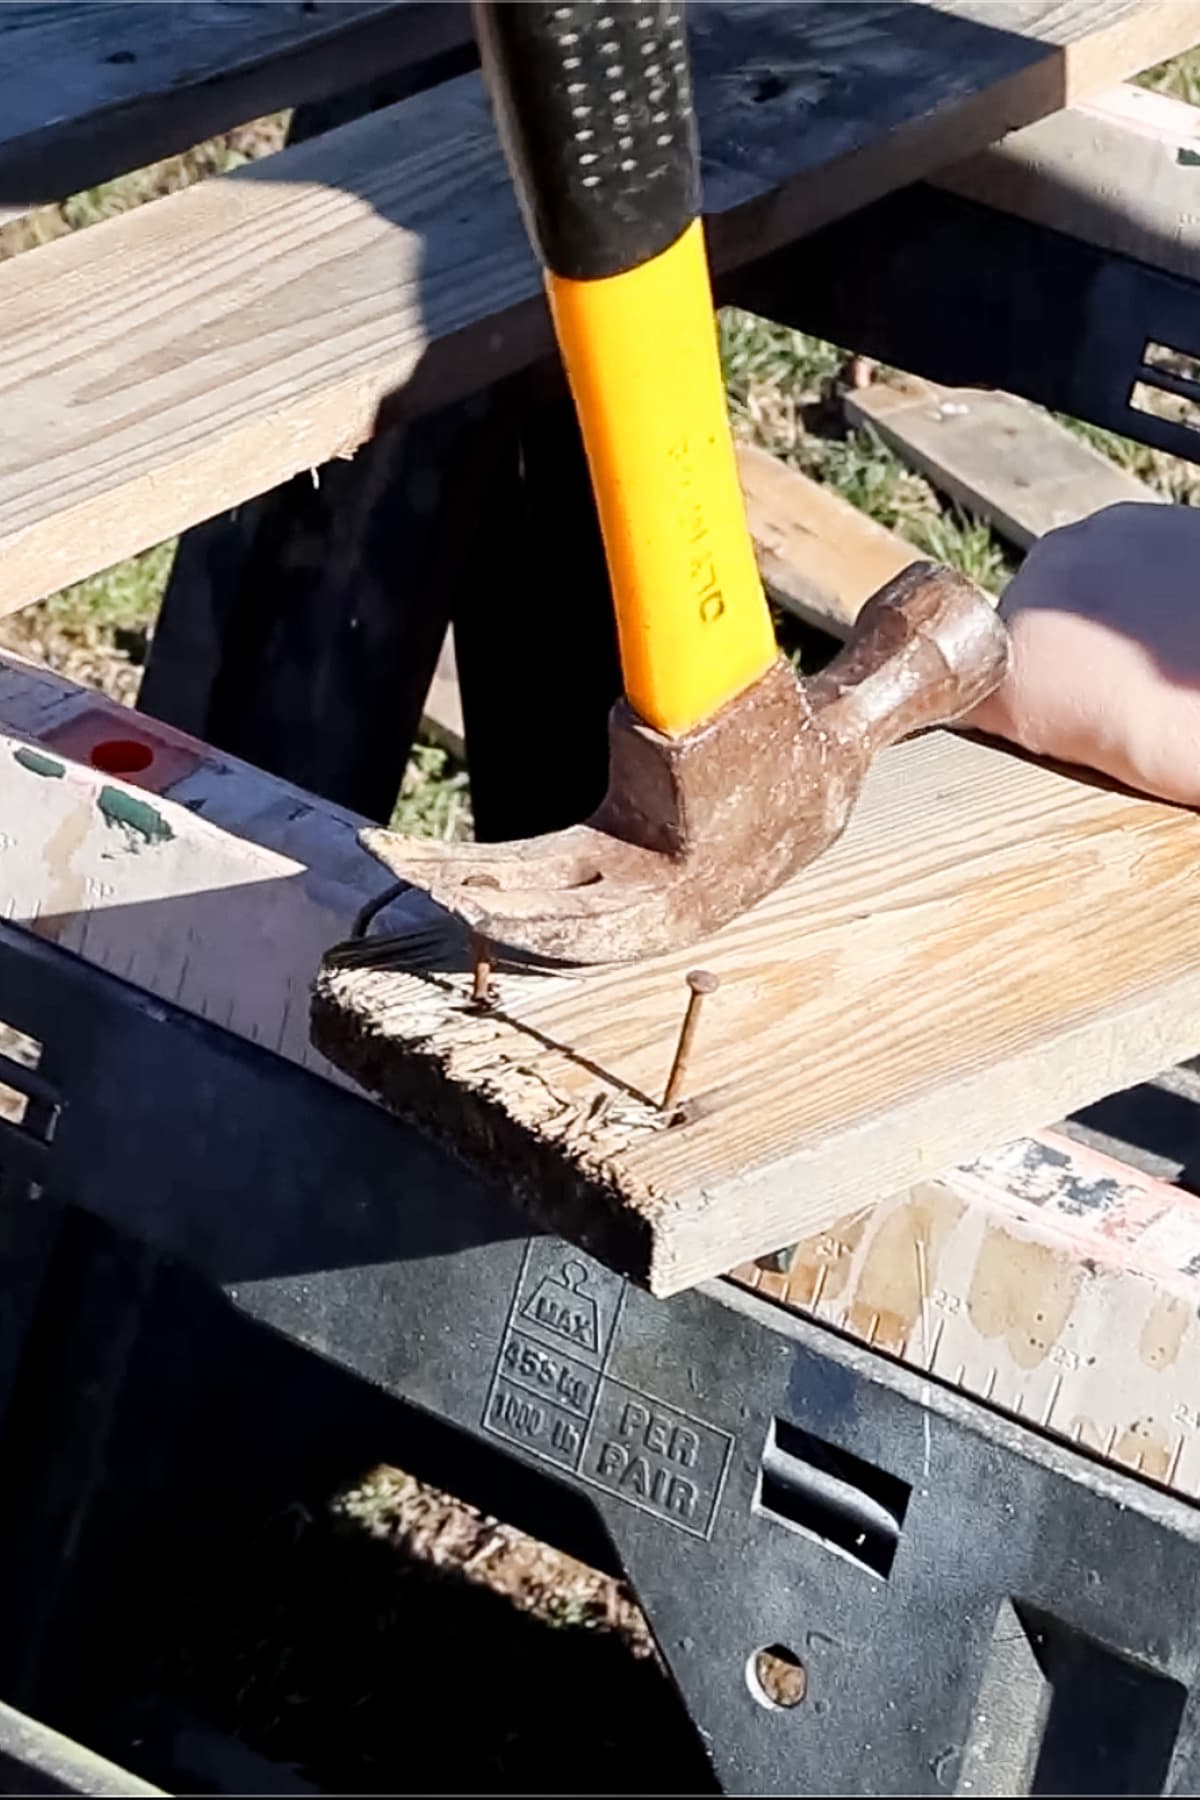
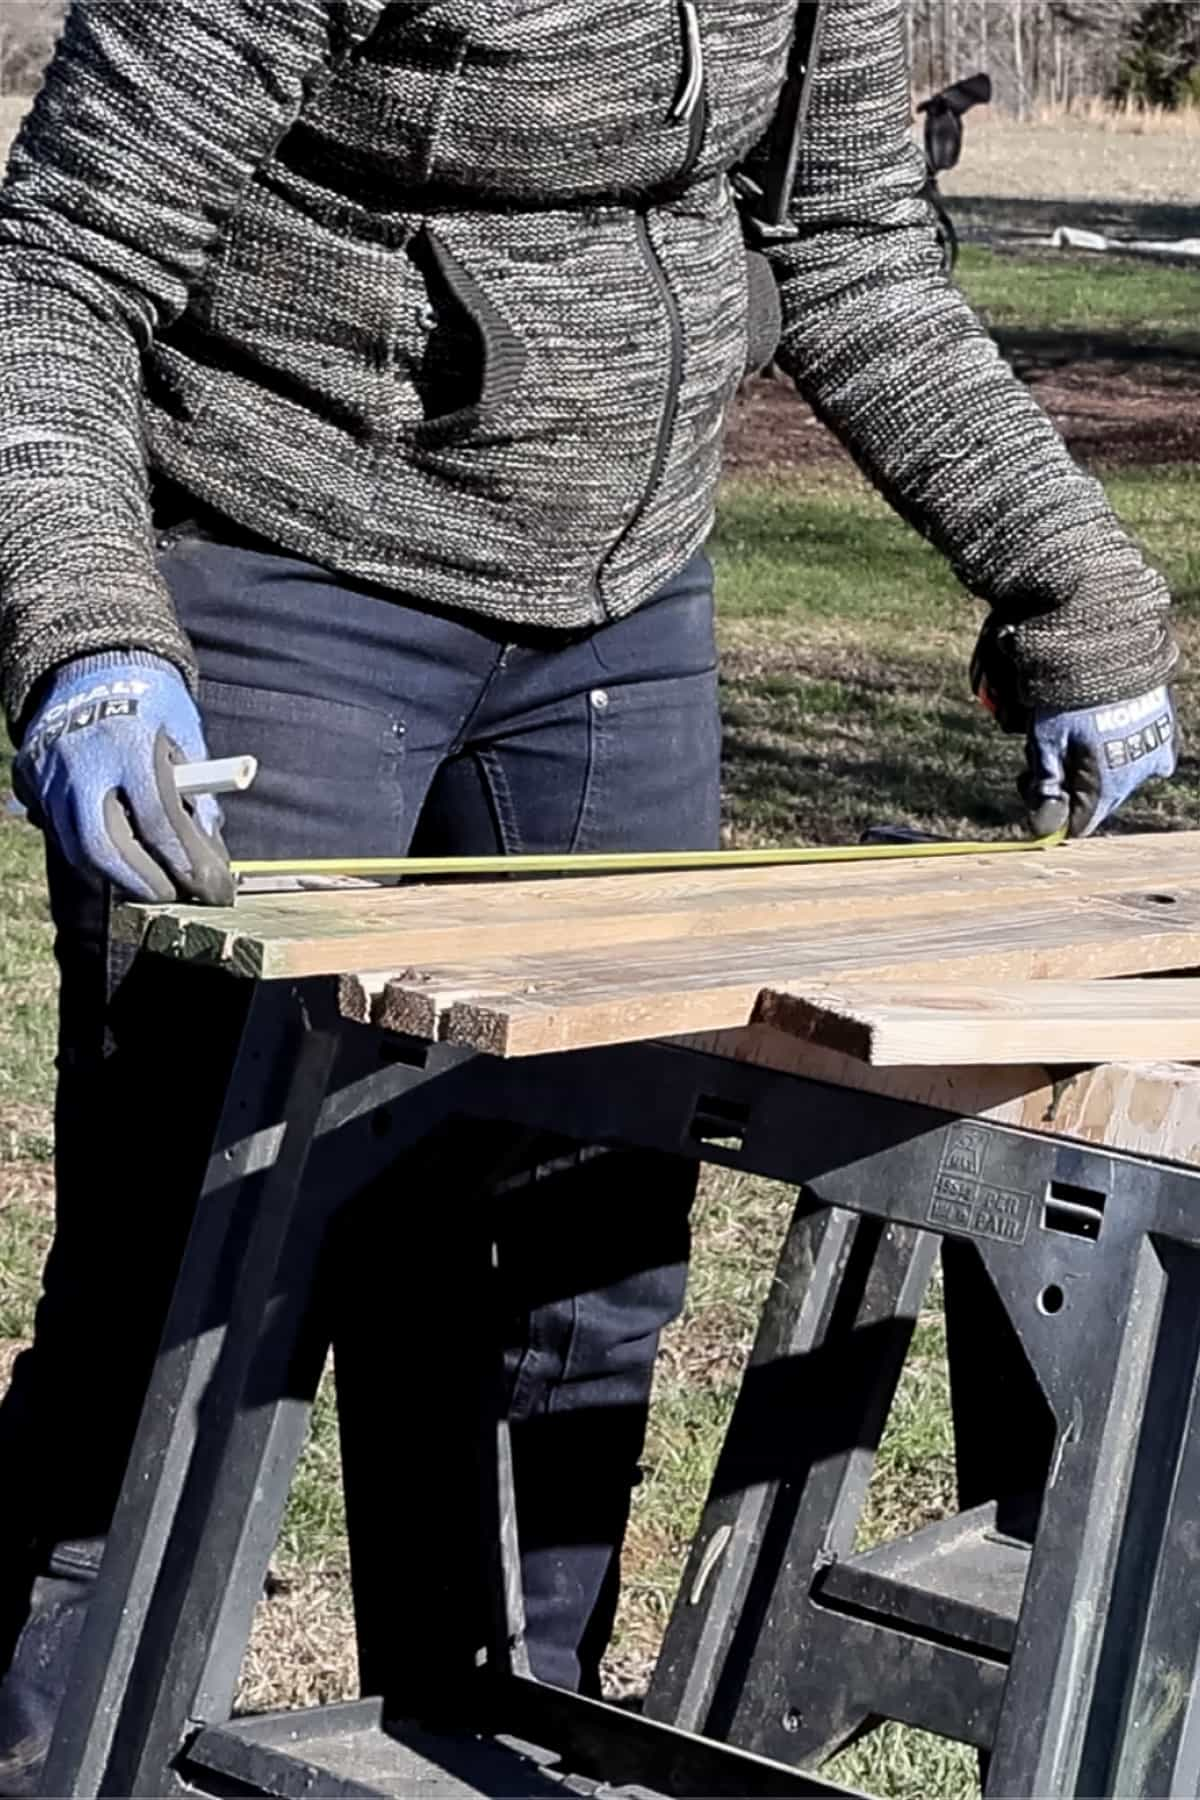
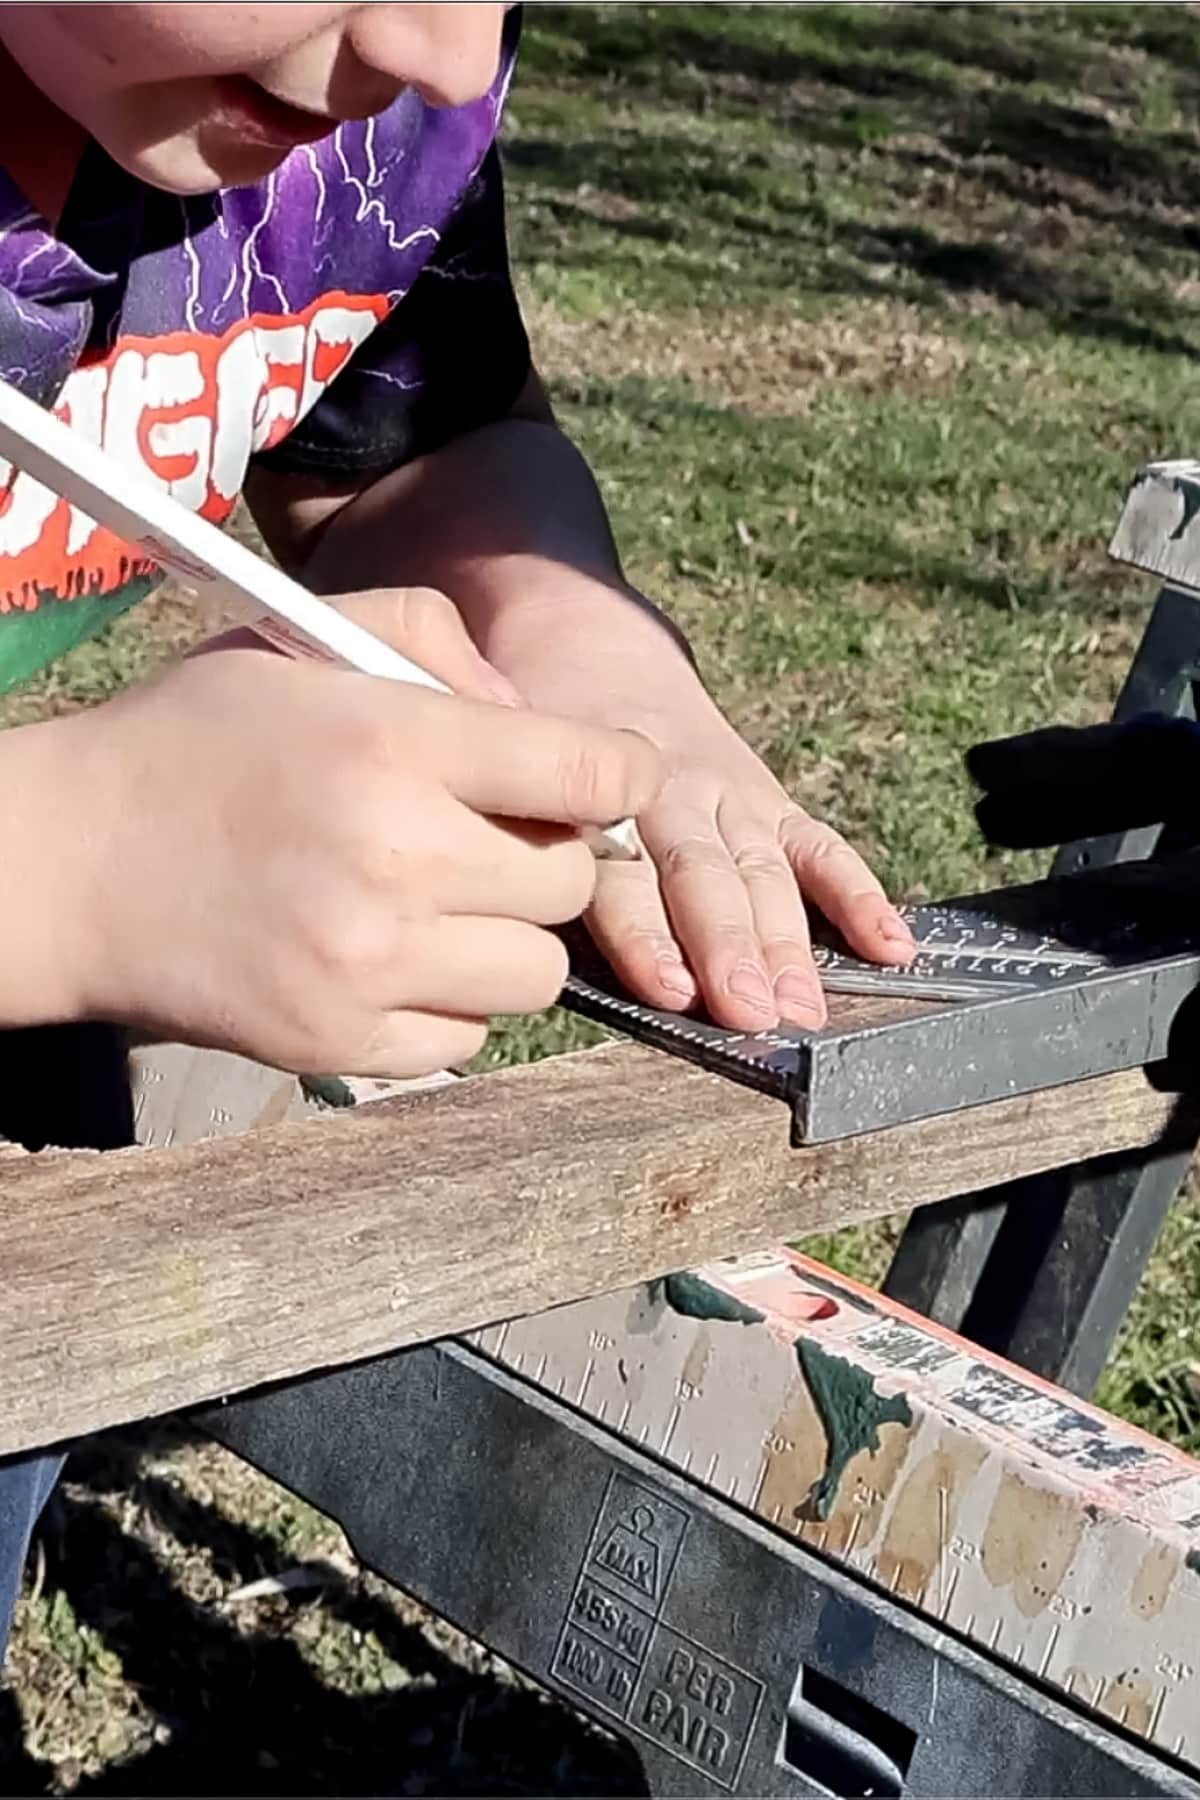
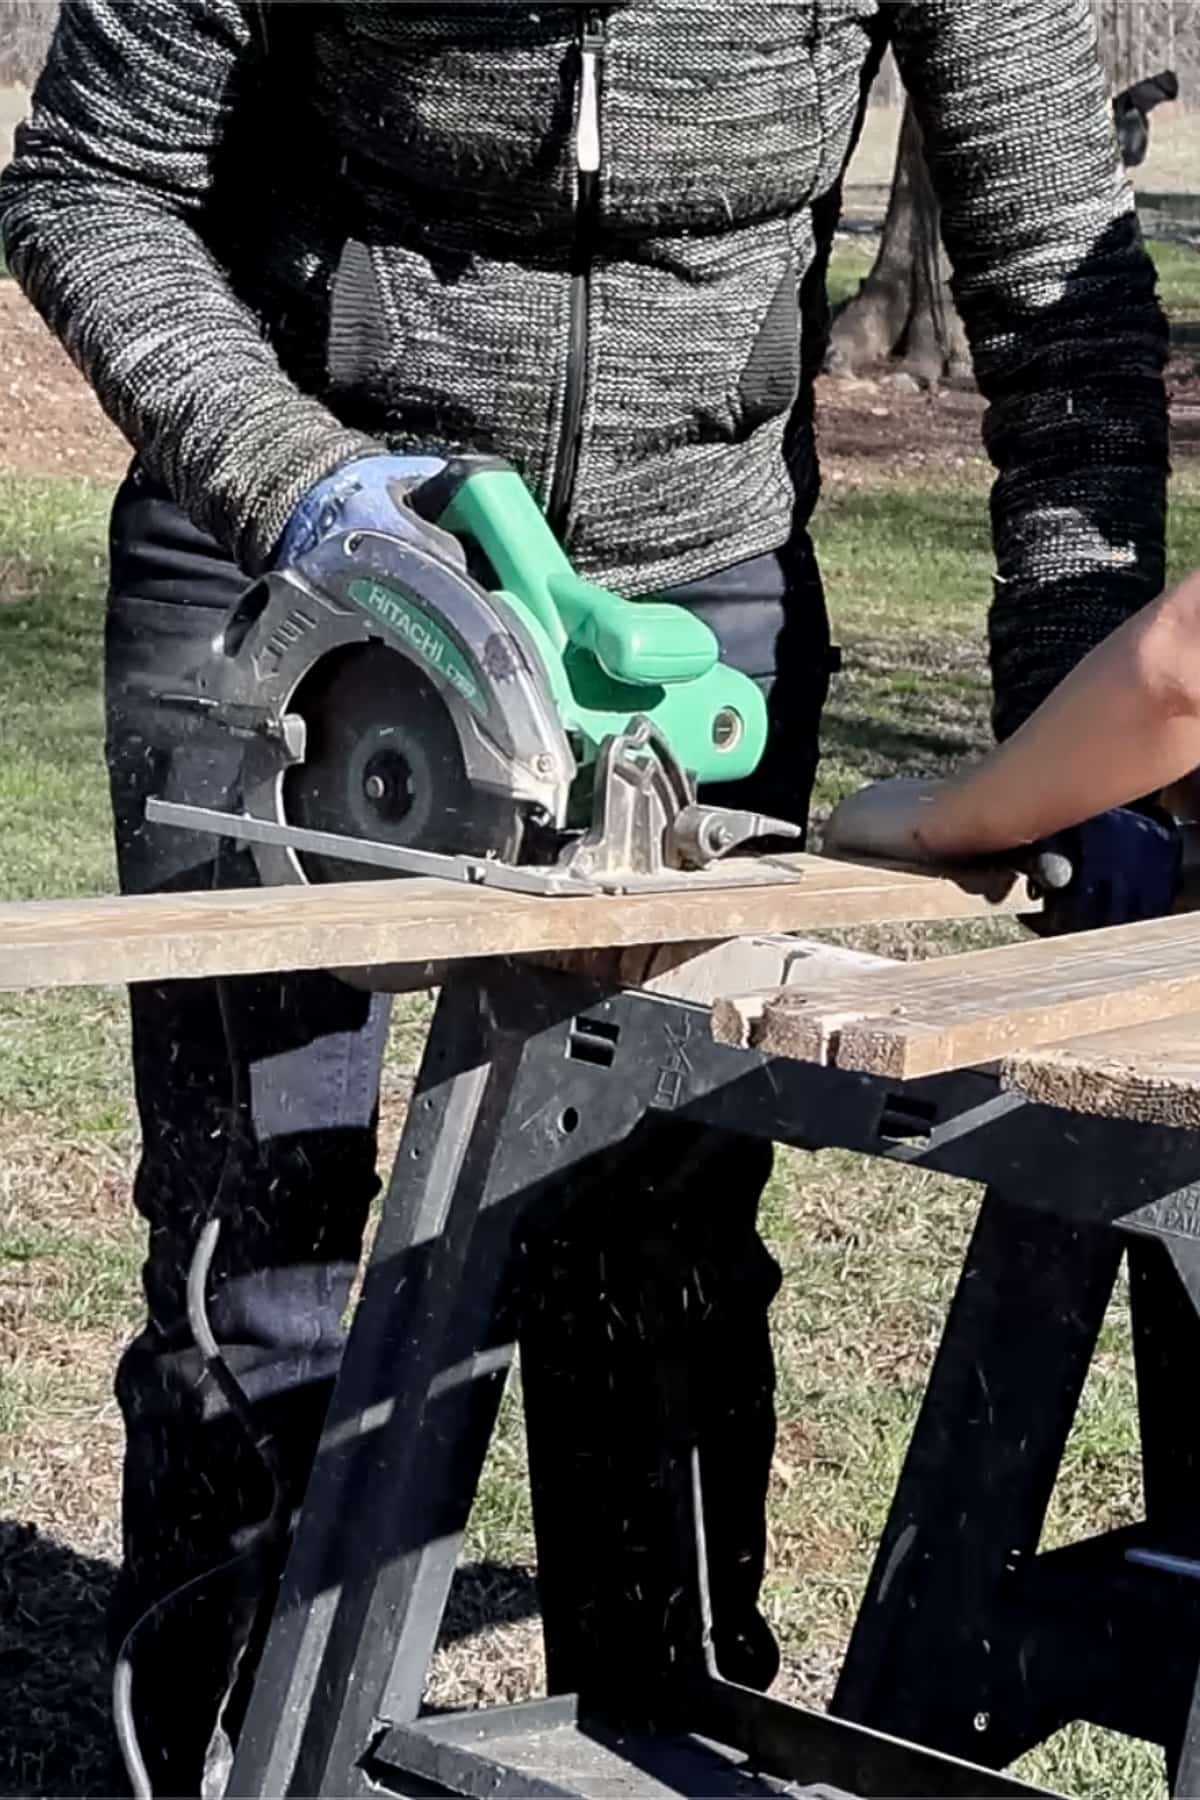
Step three – remove nails, measure, and cut. Remove the nails from all the pieces of wood and measure and mark the two side pieces, one bottom piece, and two back pieces. Then, use a skill-saw to cut the wood into the correct size pieces. If you choose to stain or paint your bookshelf, now will be the time to do so… Before you assemble the shelf. Of course, make sure that you let the stain or paint dry before you move to the next step.


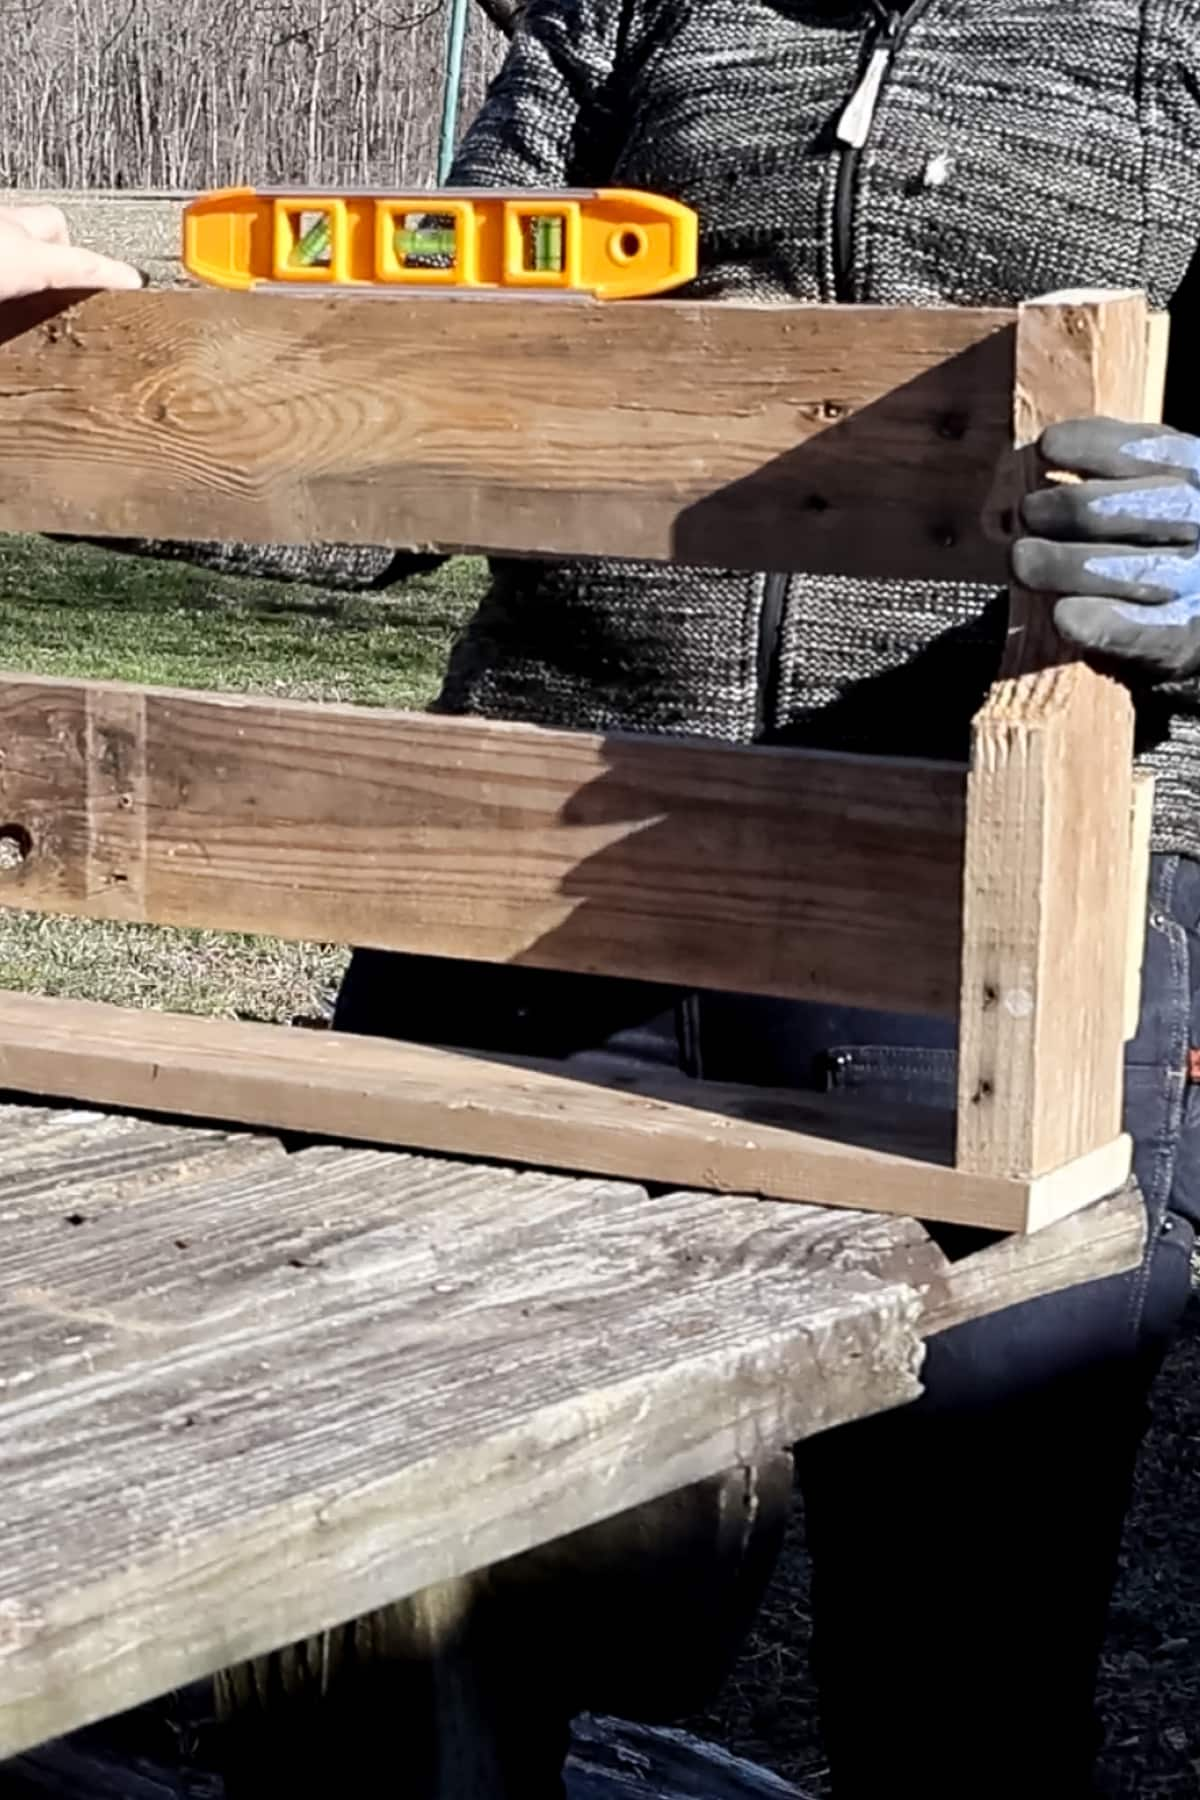
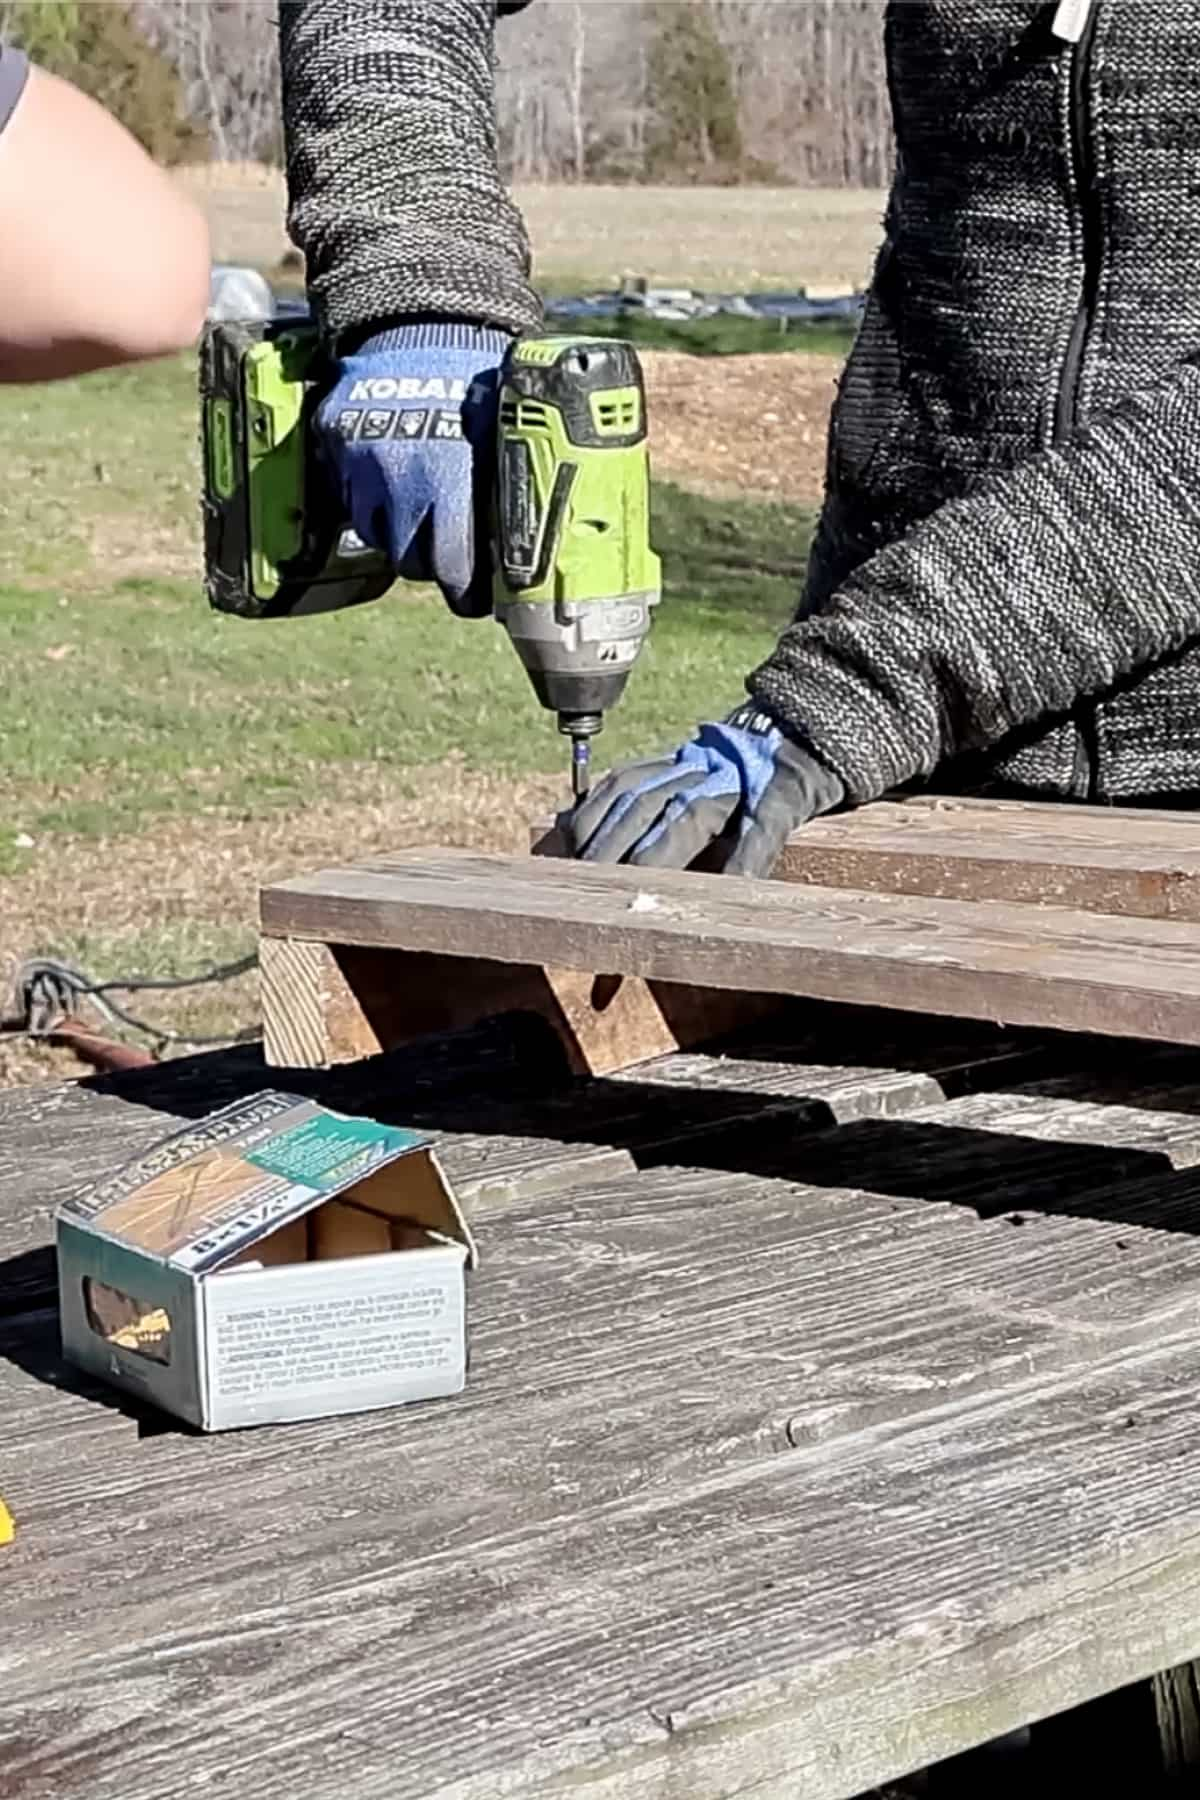
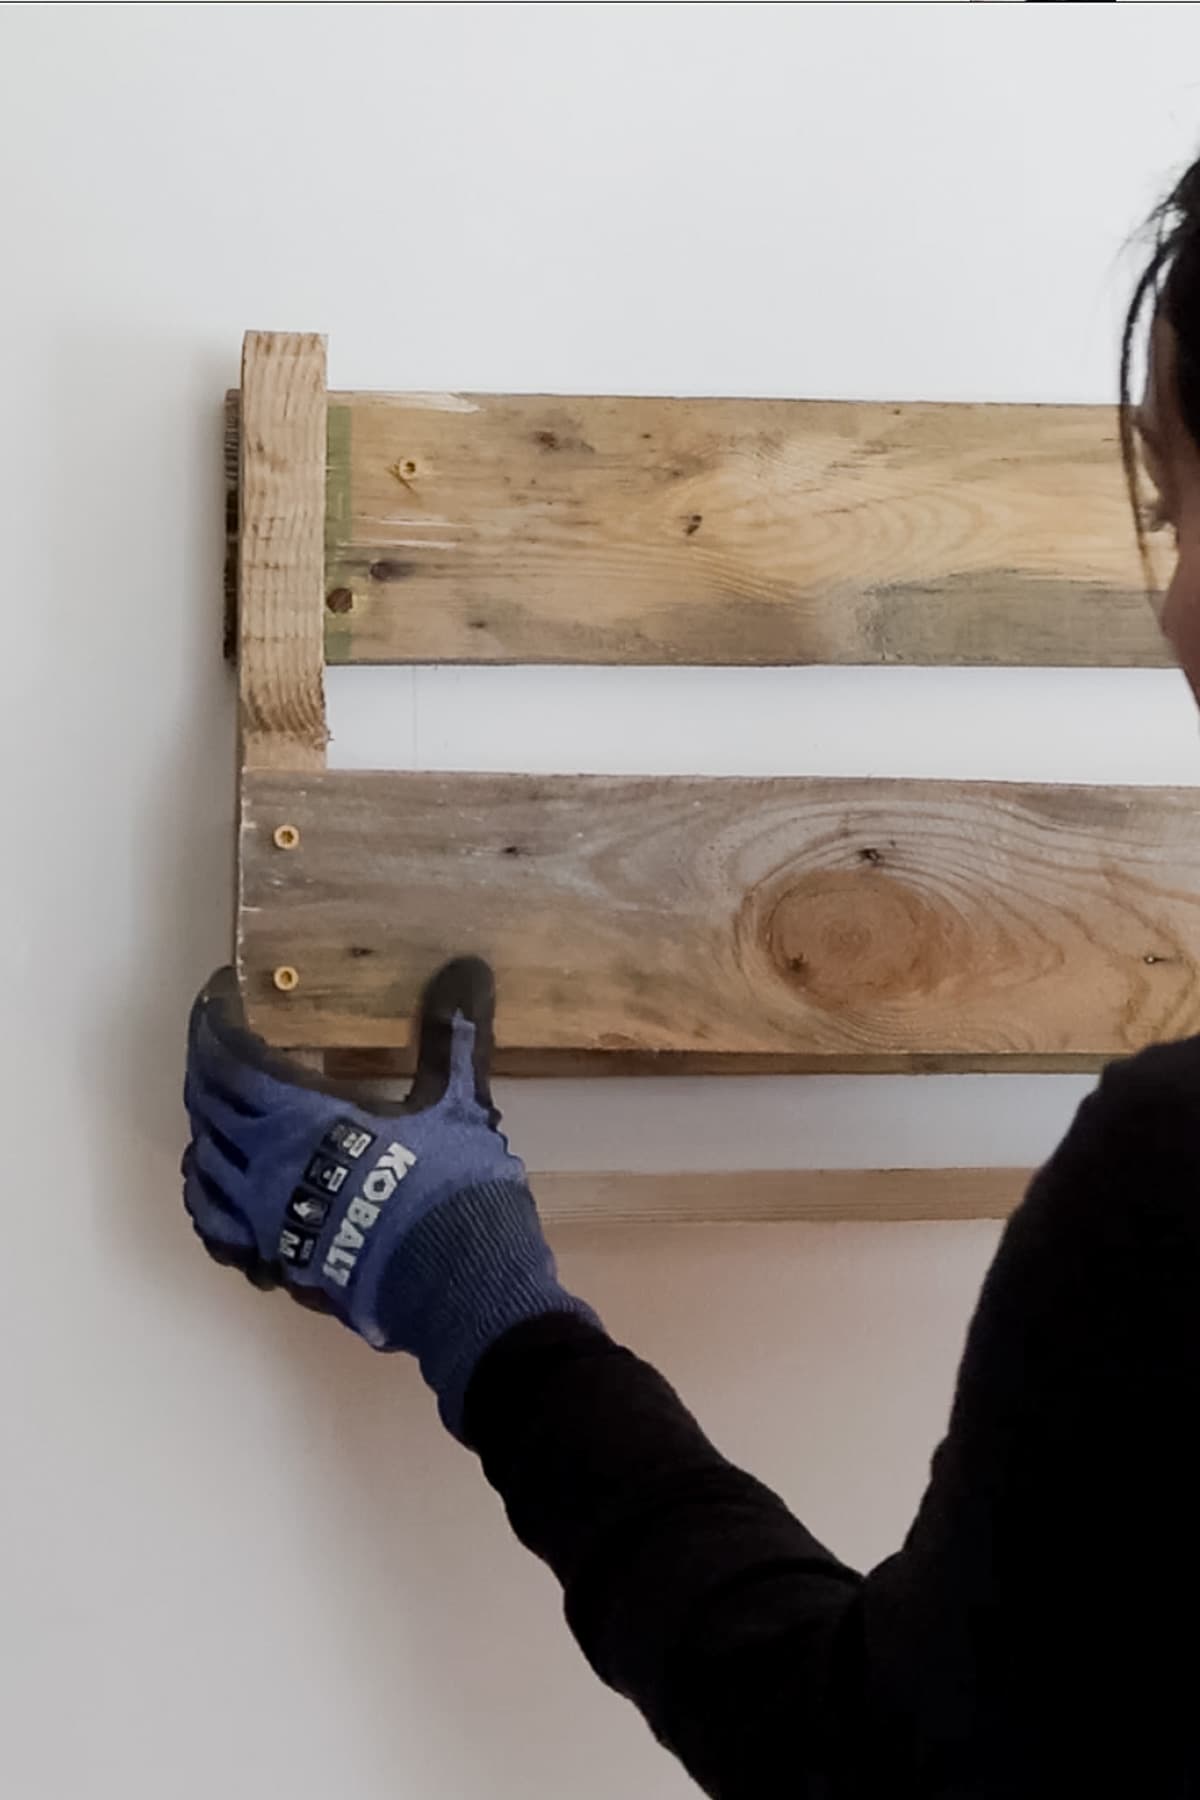
Step four – installing sides and back. Screw the bottom piece in place (I used three screws on each side to make sure that the bottom is secured very well in place). Then level and screw the two back pieces in place.
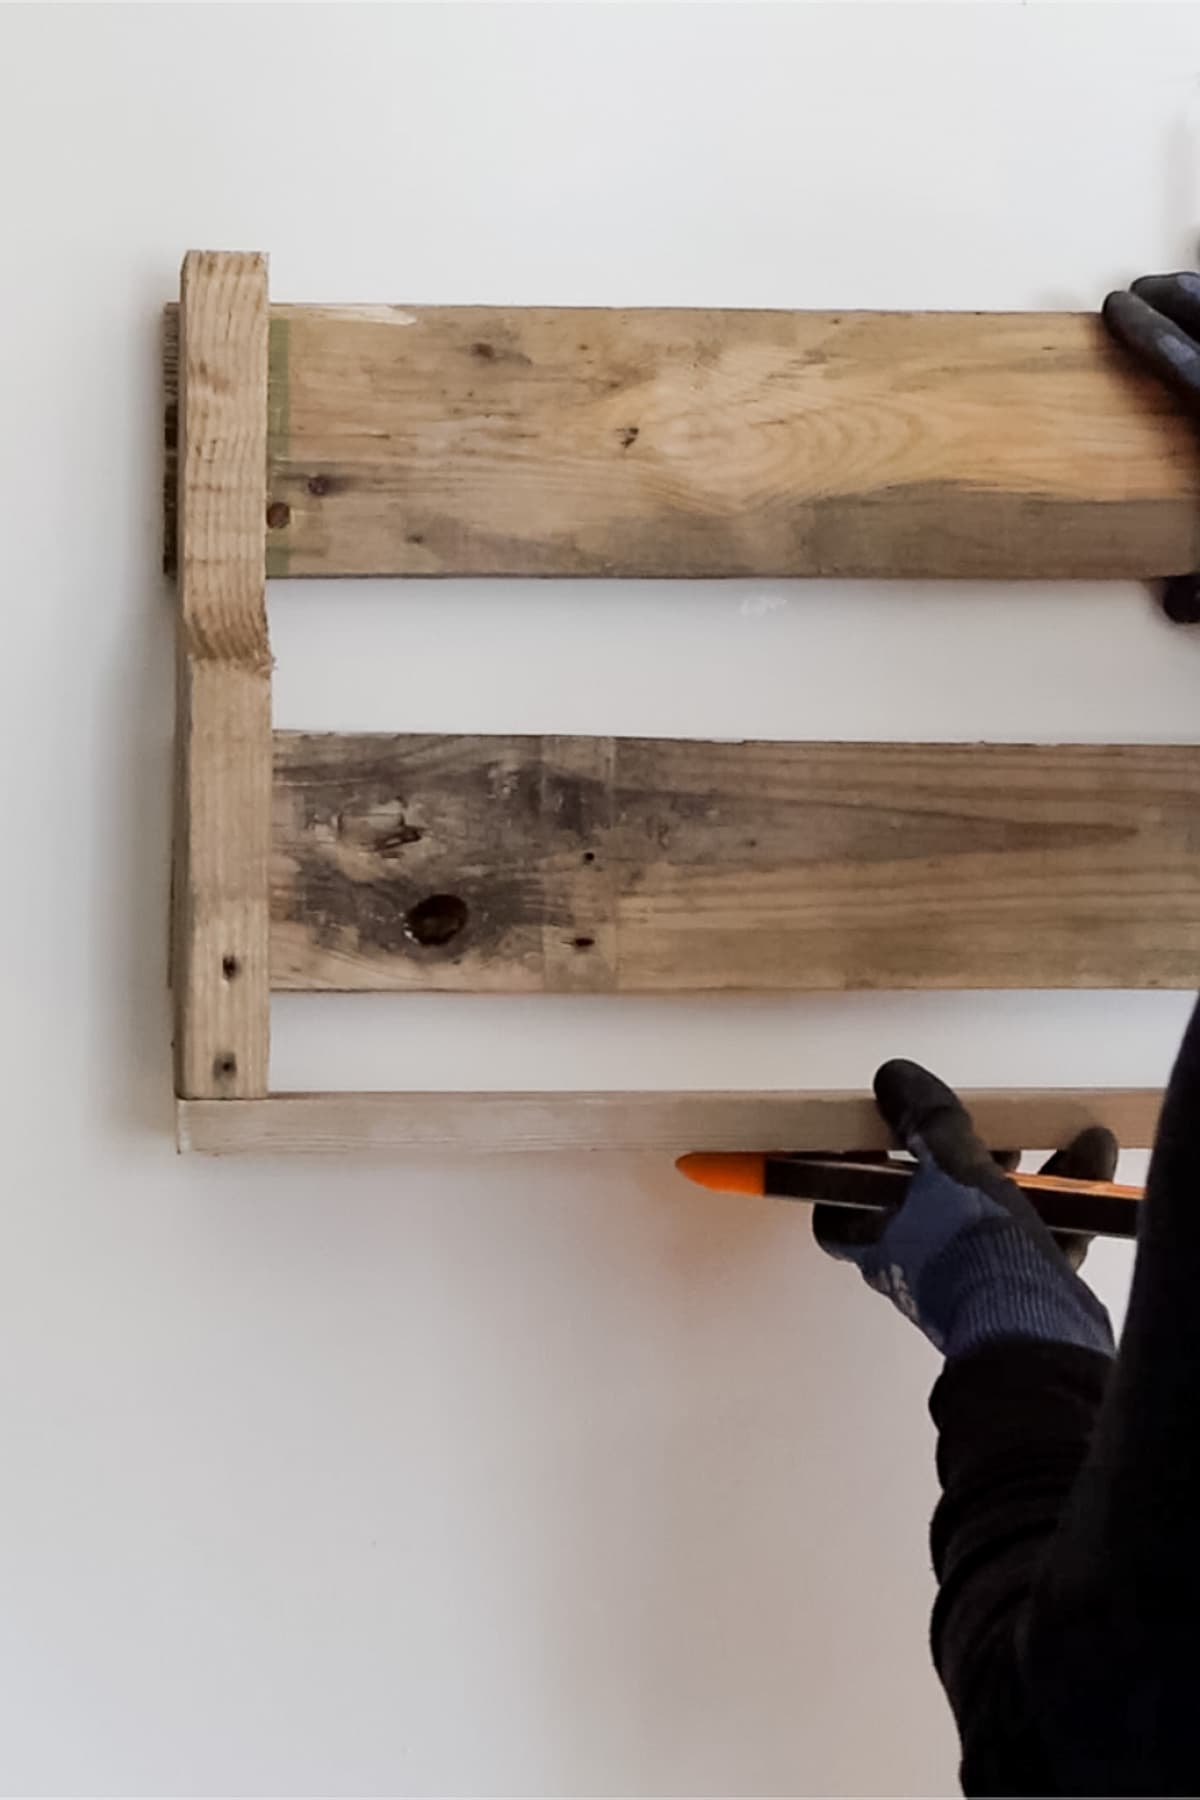
Step five – hang the shelf and install the front. Place the shelf where you want to install it. You’ll have to have someone hold it in place while you screw the back planks into the studs. Then, level and screw the front piece.
Step six – add your books. I gave the shelf a rough sanding, especially on the edges before placing the books in the shelf.
Options…
- Stain or paint – go wild and do whatever you want here! Any wood stain or paint can add a lot to this project.
- Use scrap wood – you don’t have to use pallet wood. Feel free to use any sort of scrap wood that you have on hand.
- Add hangers – go ahead and get creative! Add hangers for jewelry if you are hanging this shelf in a bedroom or hangers for hand towels or kitchen towels depending on where you are going to hang the shelf.
- Make them different sizes – make the shelves whatever size you want them to be. Just consider how and where you are going to hang your shelf before building it.
Tips to Consider…
- Use star screws – if at all possible, always, at all cost, and I mean, all cost, I try to not use Phillips head screws! Well, from that statement, I figure you realize I am not a big fan of Phillips head screws and… You’d be right! I hate using them and encourage you not to even though they might be a little cheaper than star-head. I always use star-head screws.
- Use different color of screws – consider the color of screws a design choice! If, for example, you plan to paint your shelves black, I think that the yellow screws can add a pop of color. Or maybe black screws on walnut stain or white paint? It’s something to consider.
- Use a little helper – This is an awesome project for the young or beginner builder! It is quick (great for kids’ short attention span), nothing has to be super exact, and all the marking, cutting, and screwing is really simple.
- Screw the shelf to the studs – you don’t have to screw these shelves to the studs. If you want to make them shorter you might be able to use some sort of drywall mounting brackets, however, books are heavy, therefore, in my opinion, these are better screwed into the studs.
Frequently Asked Questions…
Yes, you can. You can even reuse the nails you remove from the pallet to make this project zero cost.
You can, nothing wrong with that. It’s just going to be a better paint job if you do it before you put them together.
Yes, yes, you can… I just don’t like them but they are perfectly fine to hold this bookshelf together.
You can but you’ll have to find a good, heavy-duty bracket.
Take this design and build it with whatever wood you have on hand. It doesn’t have to be pallet wood.
What do you think? Simple, right? This is such a great project to do with kids. These shelves can be great for the living room, the bedroom, and even the restroom! There is no fear of books falling on anyone’s head and the books are easy to pick and put back. I hope that you like them as much as I do.
More DIY Projects…
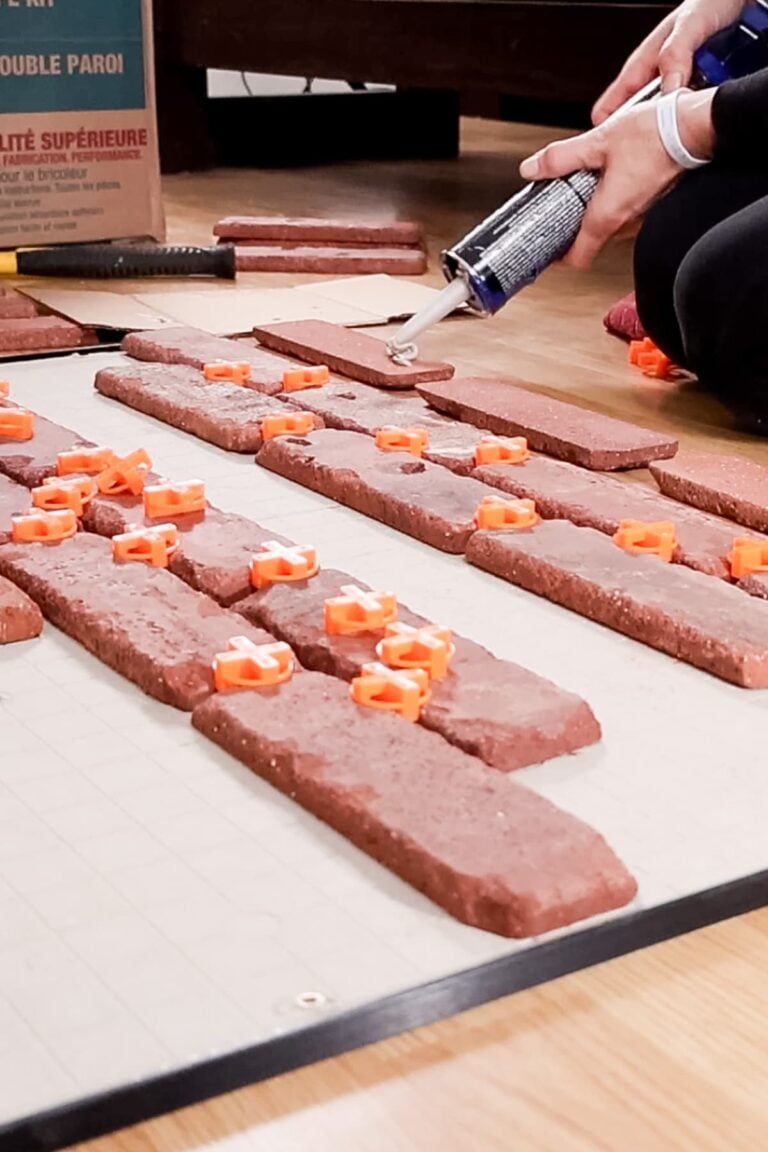
- Installing Thin Bricks
- DIY Concrete Pavers
- DIY Bamboo Screen
- How to Build a Chicken Coop from Pallet Wood
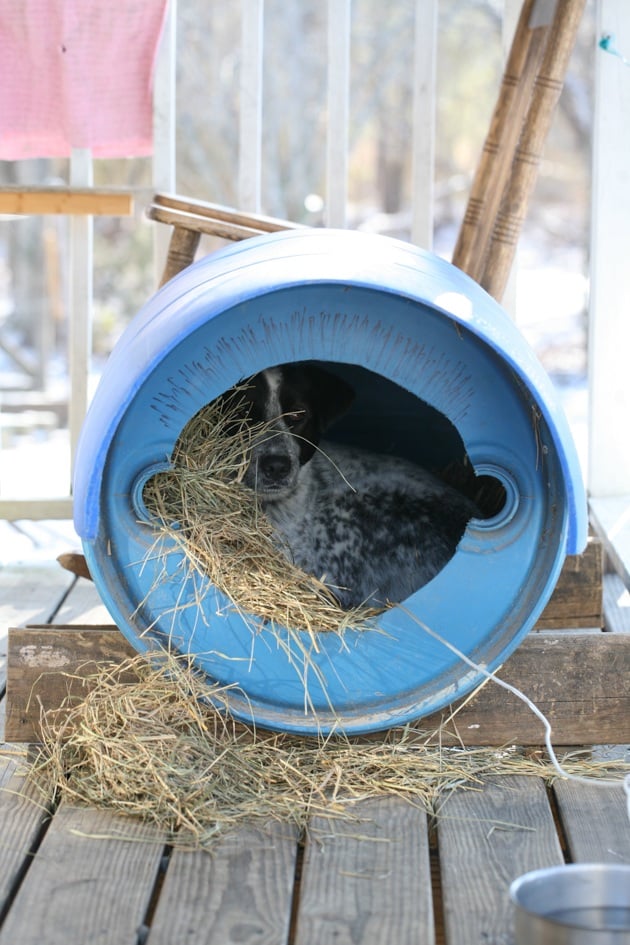
- How to Build a Dog House From a Barrel
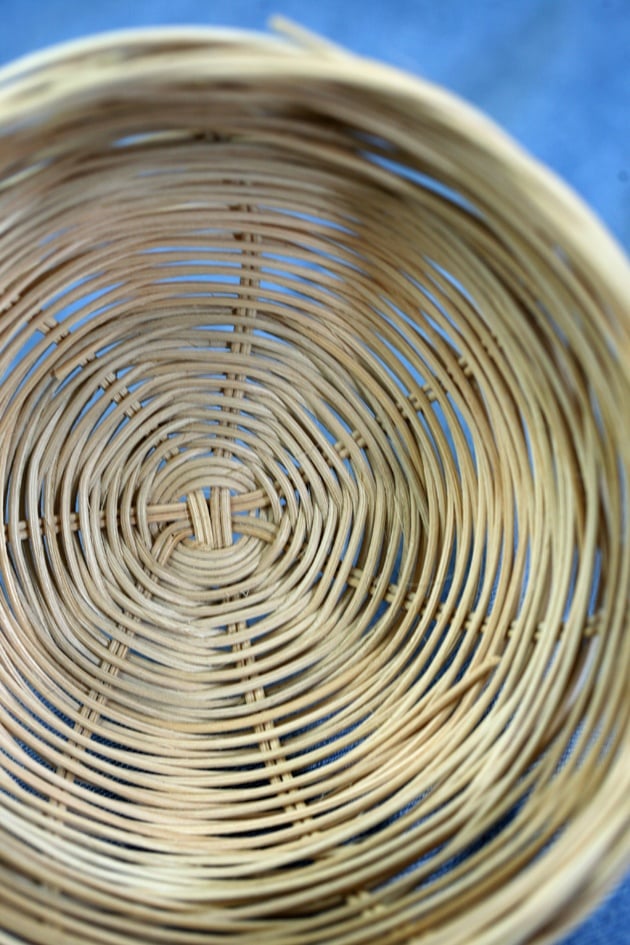
- How to Weave a Basket

Homemade DIY Pallet Bookshelf
Homemade DIY pallet bookshelf that is very easy to make and is strong enough to handle heavy books!
Materials
- A wooden pallet – you’ll need two side pieces and four planks for each shelf. In this tutorial, my side pieces are measured 12” and the four planks (one for the bottom, two for the back, and one for the front) are measured 23” (wider than the studs so I have enough room to screw the back planks to the studs.
- Paint or stain – if you choose to paint or stain your shelf, any wood paint or stain will do.
- Screws – I used star-head 8 x 1 1/4 wood screws to assemble the shelf and star-head 8 x 2 1/2 wood screws to screw the shelf into the studs.
Tools
- Stud Finder and a Pencil
- Pallet Buster
- Skill saw
- Sawhorse pair
- Small Level
- Impact driver
Instructions
- Find the studs. We are going to screw these shelves right to the studs, this makes them capable of carrying the heavy weight of books with ease. So the first step is to find the studs where you want to hang these shelves and measure the distance between the studs. In most homes, studs should be 16” on center but I suggest you make sure anyway. Once you know how far apart are the studs, add an inch or so on each side so you have enough room to screw the back planks to the studs.
- Break apart the pallets. Use the Pallet Buster and break apart your pallet.
- Remove nails, measure, and cut. Remove the nails from all the pieces of wood and measure and mark the two side pieces, one bottom piece, and two back pieces. Then, use a skill-saw to cut the wood into the correct size pieces. If you choose to stain or paint your bookshelf, now will be the time to do so… Before you assemble the shelf. Of course, make sure that you let the stain or paint dry before you move to the next step.
- Installing sides and back. Screw the bottom piece in place (I used three screws on each side to make sure that the bottom is secured very well in place). Then level and screw the two back pieces in place.
- Hang the shelf and install the front. Place the shelf where you want to install it. You’ll have to have someone hold it in place while you screw the back planks into the studs. Then, level and screw the front piece.
- Add your books. I gave the shelf a rough sanding, especially on the edges before placing the books in the shelf.
Notes
Frequently Asked Questions...
- Can I build these with nails?
Yes, you can. You can even reuse the nails you remove from the pallet to make this project zero cost. - Can I paint the shelves after I make them?
You can, nothing wrong with that. It’s just going to be a better paint job if you do it before you put them together. - Can I use Phillips screws?
Yes, yes, you can… I just don’t like them but they are perfectly fine to hold this bookshelf together. - Can I hang these shelves on drywall?
You can but you’ll have to find a good, heavy-duty bracket. - Can I build these with other wood?
Take this design and build it with whatever wood you have on hand. It doesn’t have to be pallet wood.