How to Freeze Pears
This post may contain affiliate links, view our disclosure policy for details.
Learn how to freeze pears in just a few simple steps. Frozen pears are a great ingredient to have on hand for baked goods, jams, sauces, and more!
I have to admit that I have a love-hate relationship with pears. They are delicious and I love eating a sweet, juicy, ripe one, however, I find it a little hard to find that sweet, juicy, ripe one!
I have a pear tree in my backyard but somehow the squirrels get to all the pears before I do. I have a few local trees that we can pick but many of them produce a hard, grainy kind of pear. And at the grocery store, they aren’t always available, they are expensive (at least where I live), and they aren’t always sweet, juicy, or ripe and ready for me.
How to Freeze Fresh Pears…
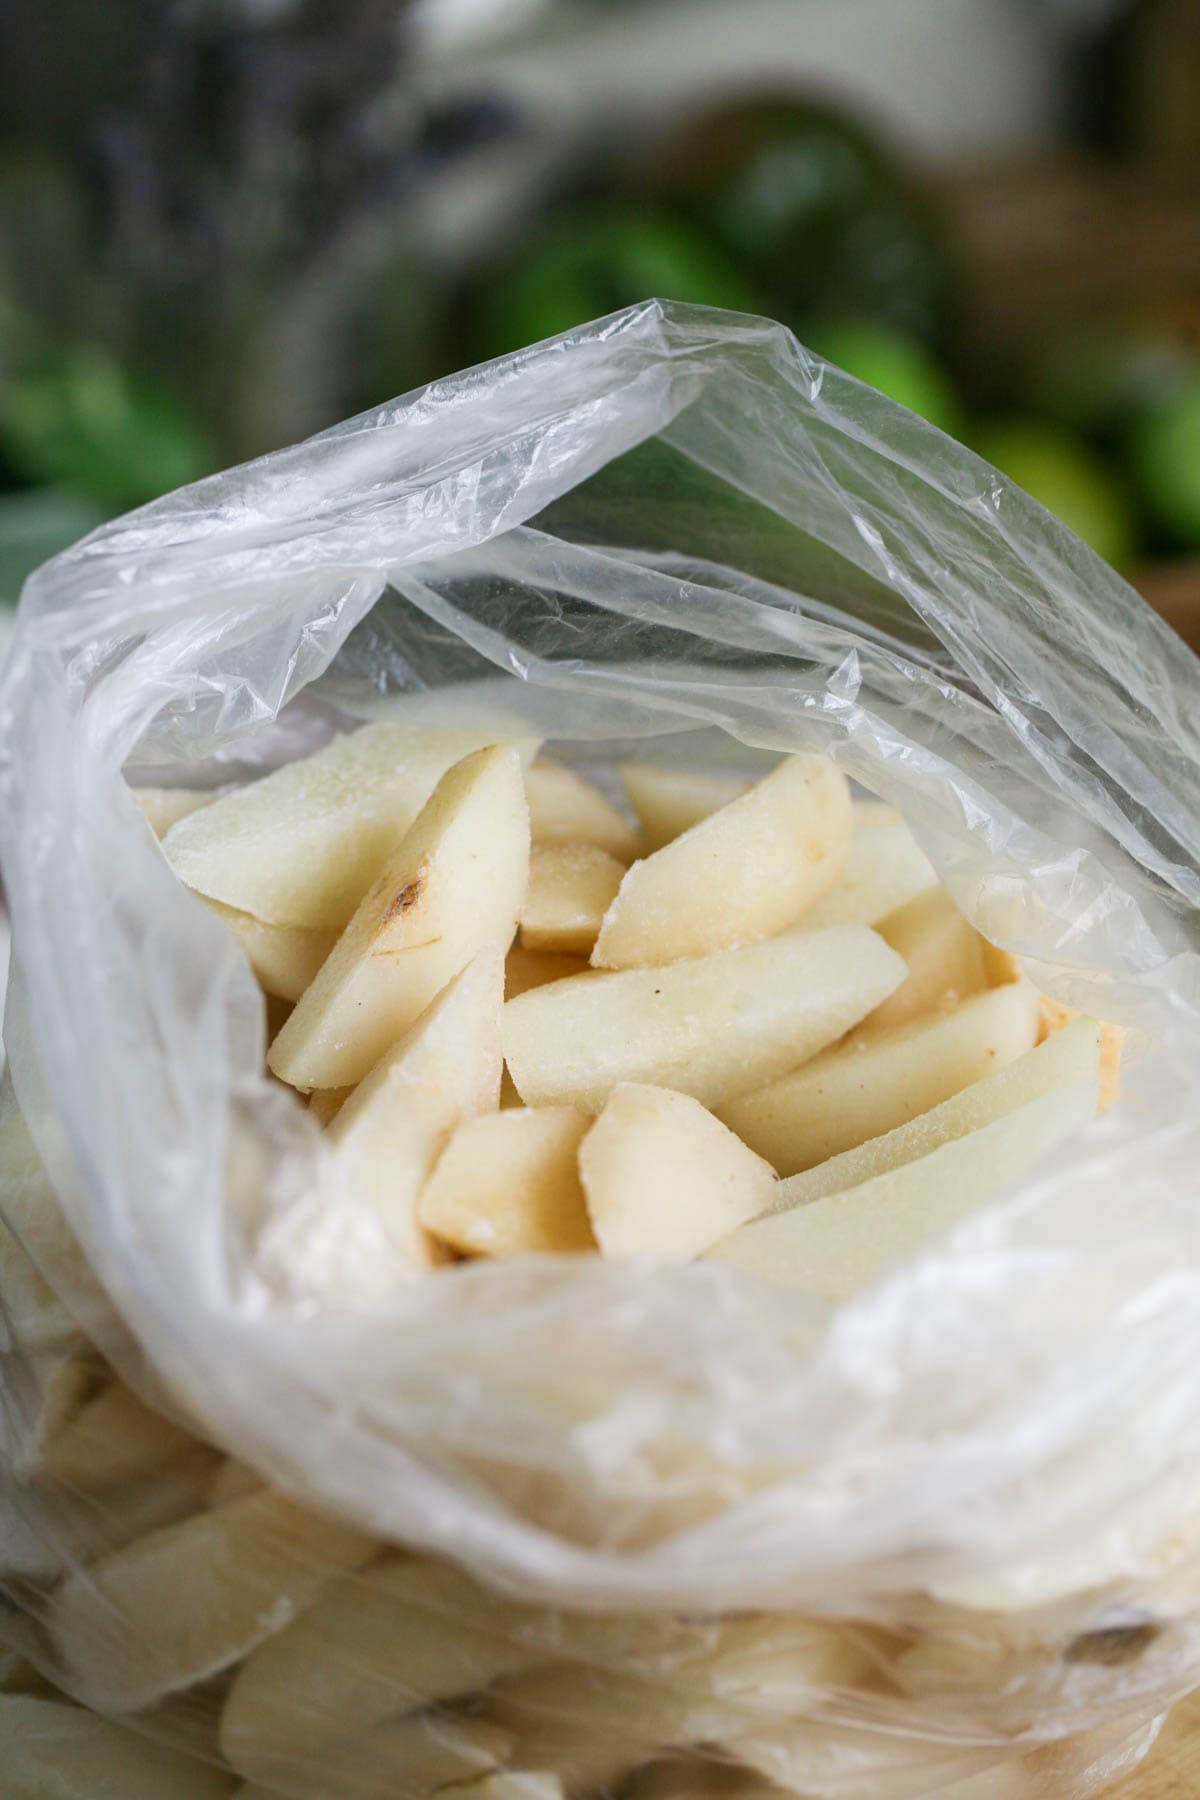
So when I come by a delicious group of pears, you can be sure that I go nuts, get all that I can get, and preserve as many of them as I can! One of my favorite ways to preserve pears is by freezing them. It’s super simple, takes only a few minutes, and even though I can’t thaw them and enjoy them fresh, there are still many many ways for us to use them later (more on ways to use frozen pears below).
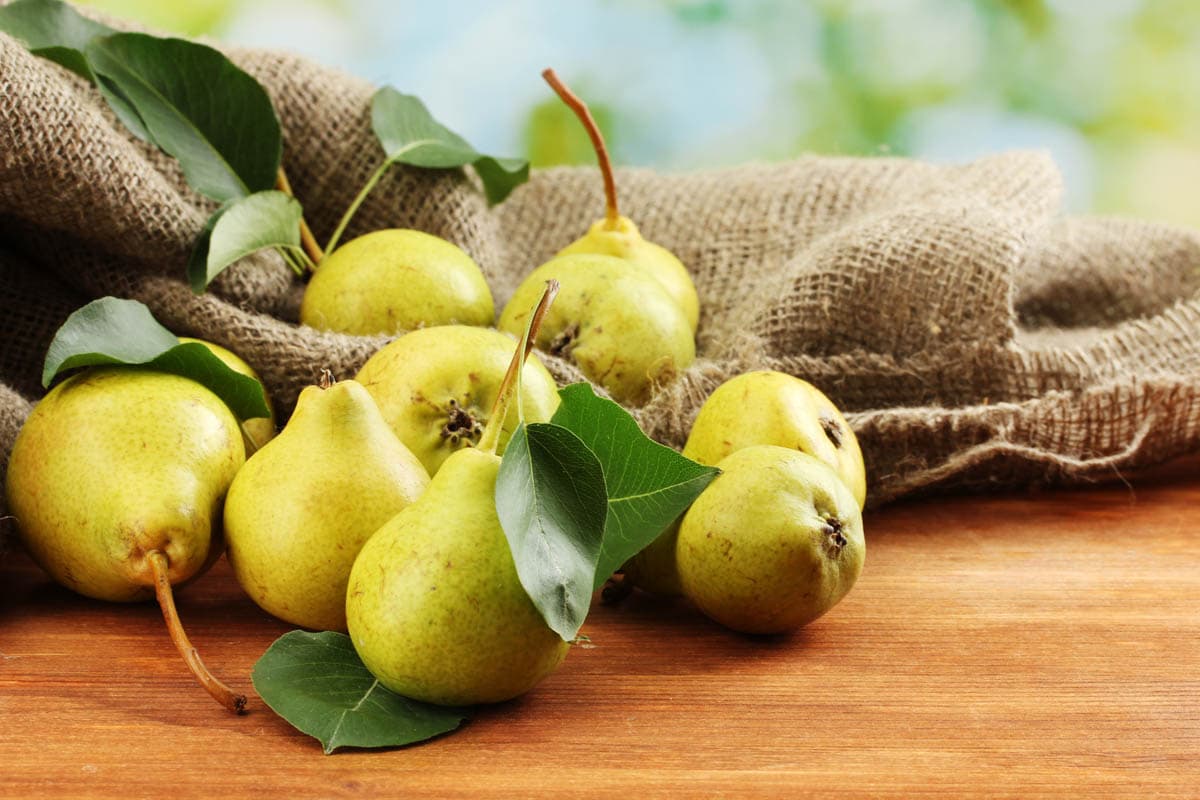
Ingredients…
- Pears – any variety of pear can be frozen. You just want to make sure that the pears that you choose are ripe and taste good (try one to make sure it’s not grainy or too hard). Pears soften within a few days if you leave them at room temperature. So if your pears aren’t as sweet and juicy as you want them, just leave them in a bowl on the kitchen counter for a few days and then check them again.
- Lemon and water – just as we do when freezing apples, we are going to let the pears soak in a lemon water bath for a few minutes before freezing them. This will ensure that the pear slices won’t turn brown and that they’ll keep their beautiful color for months in the freezer. If, for some reason, you don’t want to use lemon (you won’t taste it on the pears later), you can also make a salt bath. Just add a few tablespoons of table salt into a large bowl of water and soak the pear slices in it.
Kitchen Tools…
- Cutting board
- Knife
- Large mixing bowl
- Baking sheet
- Parchment paper
- Plastic food wrap
- Ziplock bags or another kind of freezer bag.
Freezing Fresh Pears Step by Step…
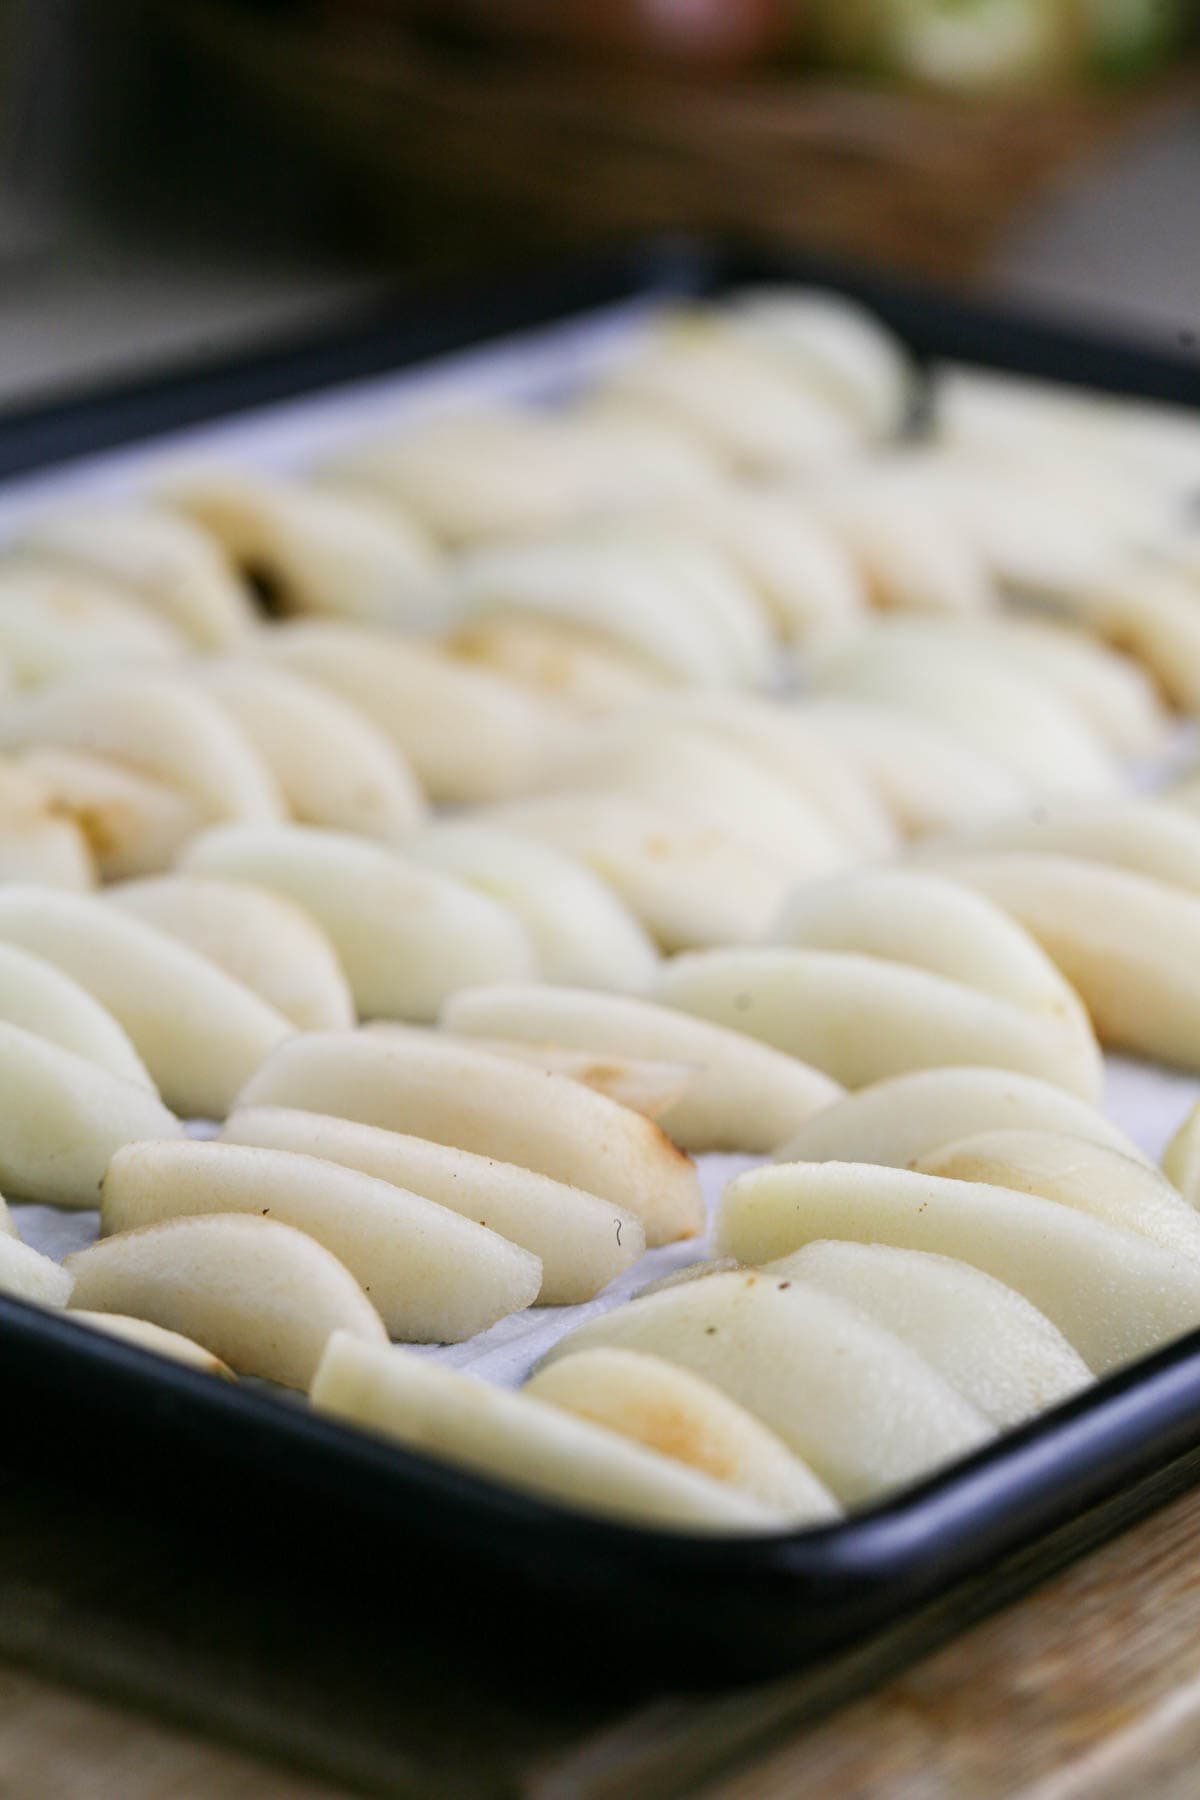
Step one – prep the pears. First, wash the pears well. If you want, peel the pears. Since their skin is really thin, you don’t have to peel but I often do. Quarter the pears and remove the core, then slice each quarter into thinner pieces. As you work on preparing your pears, place the slices in the lemon water bath to prevent them from browning.
Step two – layer pears on a baking sheet. Line a baking sheet with parchment paper, remove the pears from the lemon water bath and let them dry for a minute. Then, set them in one layer on the baking sheet. You can place them close together but make sure that they aren’t touching each other. You can keep layering pears, just make sure that you separate the layers with parchment paper.
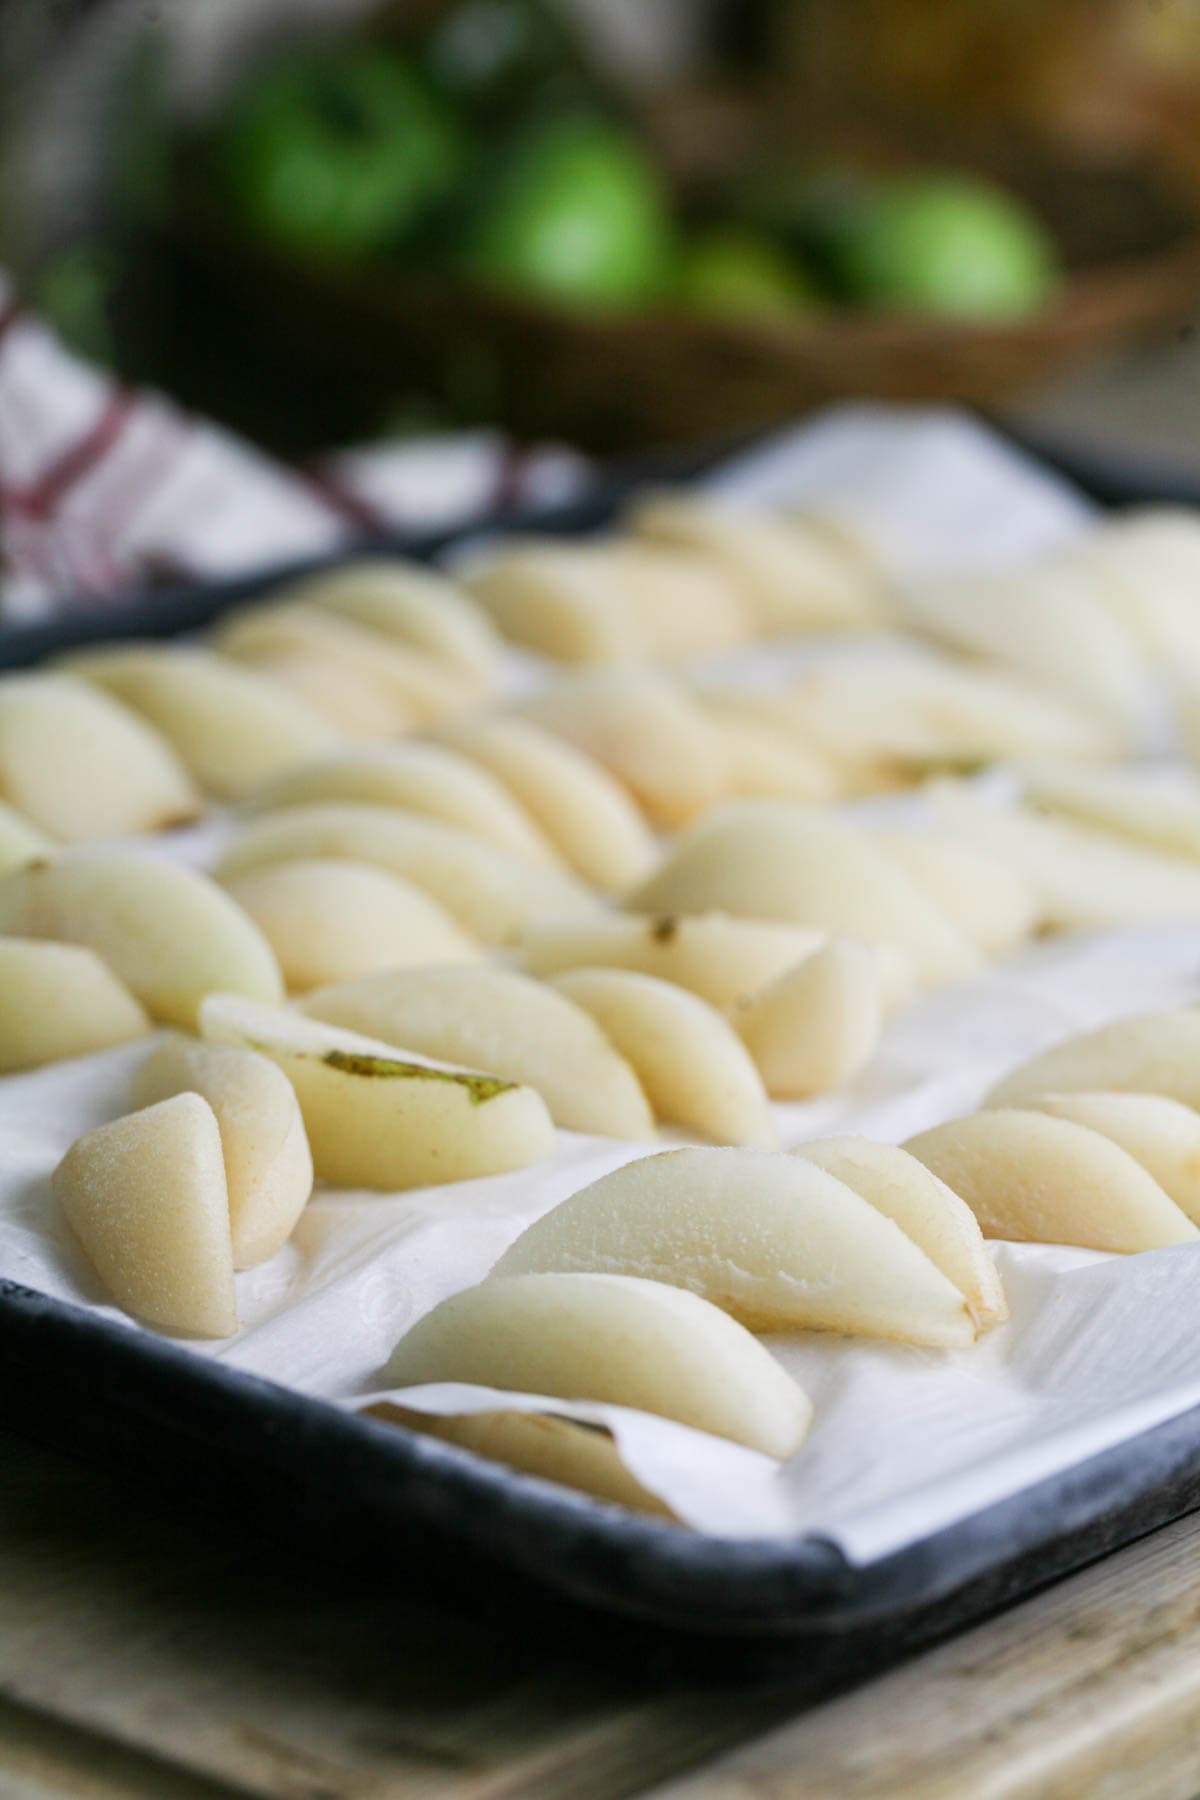
Step three – freeze. Wrap the baking sheet with plastic food wrap and set it in the freezer to freeze for 24 hours.
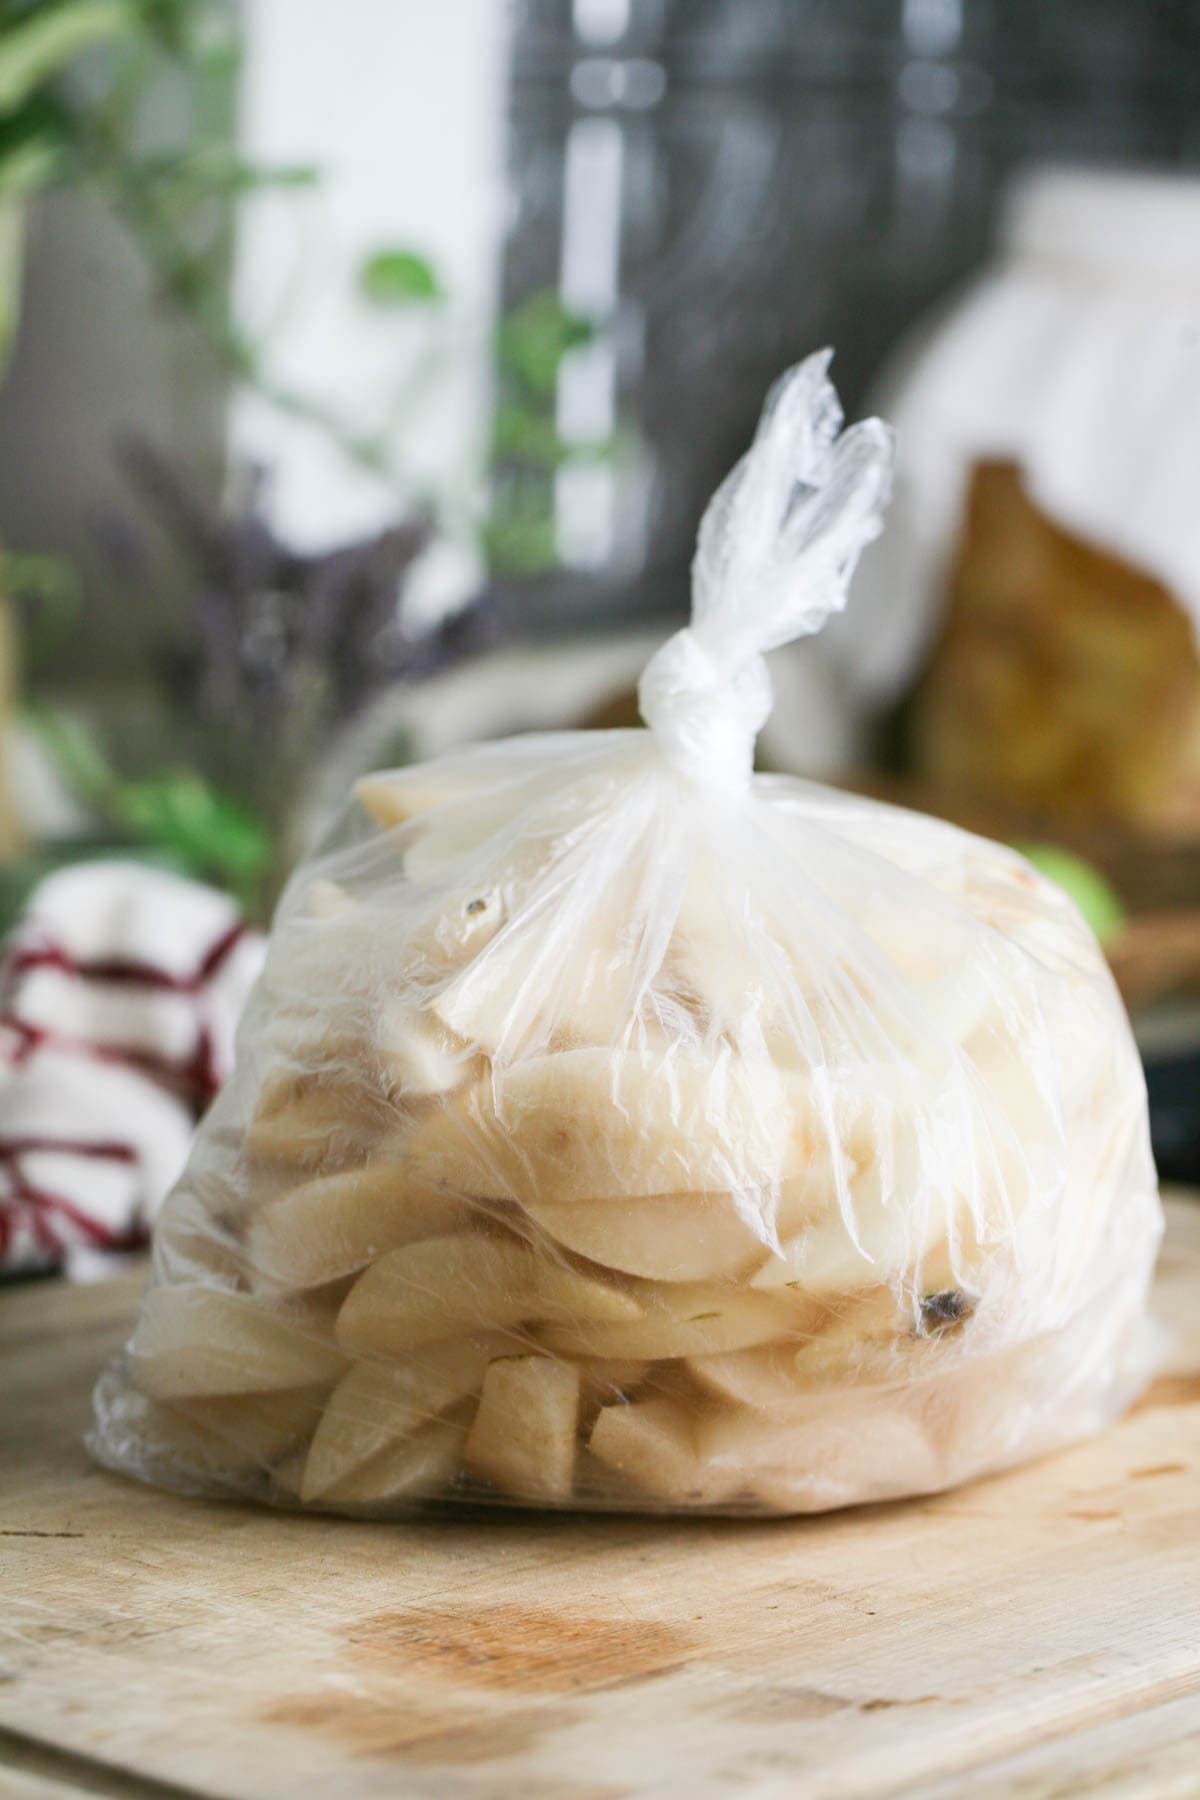
Step four – pack for storage. Remove the baking sheet from the freezer and bag the pear slices in a freezer bag. If you know what you are going to do with your frozen pears, it’s sometimes easier to pack them in pre-measured portions, however, since we let them freeze without touching each other, they won’t stick to one another in the bag and you should be able to remove as many as you want when you are ready to use them.
How to Use Frozen Pears…
- Pear sauce – kinda like applesauce. Easy, healthy, and delicious snack. Or make a sauce with chunks of pears and a thick syrup to add over ice cream, pancakes, French toast, and so on.
- In baked goods – I use frozen pears to make a pear pie using this apple pie recipe. I follow the same exact recipe just use pears instead of apples (or sometimes I mix the two). Also try pear turnovers, pear tart, pear cobbler, or any other sweet and delicious recipe that you come by.
- Make pear butter – similar to apple butter, check out this pear butter recipe.
- Use in jams – you can add some pears to any jam or make pear jam later in the season when things on the homestead calm down a bit. My favorite is this pear ginger jam.
- In smoothies – use your frozen pears to make a healthy smoothie or protein shake.
Frequently Asked Questions…
You don’t have to. Some varieties of pears have really thin skin and you can’t feel it later if you use the frozen pears in baked goods or smoothies. The skin is also really healthy. However, some varieties of pears have a thicker skin that is not so fun to eat. So really, it depends on your personal preference, what you are going to do with your frozen pears, and what variety of pears you’re freezing.
Yes, you can slice your pears however you want and even dice them. Follow the same method of freezing pears no matter how you decided to cut your pears.
If you soaked your pears in lemon water as I did in the tutorial above, your pears shouldn’t turn brown. The lemon water is what we do to prevent browning.
Frozen pears should last for a year or even a little longer!
No! In fact, they’ll lose a lot of their juice if you let them thaw before you use them. In most cases (especially when baking with frozen pears), it’s actually better to use them while they are still frozen.
Freezing pears is a really easy way to preserve them. Pears are usually ripe during or just before the holiday season and we all know how crazy this season can be. So, taking a moment to freeze pears in their season will free you from needing to process them right away. Also, they are a great ingredient to have on hand for so many dishes!
More Freezing Tutorials…
- How to Freeze Figs
- How to Freeze Tomatoes
- How to Freeze Shredded Carrots
- How to Freeze Pumpkin Puree
- How to Freeze Leeks

How to Freeze Pears
Learn how to freeze pears for long-term storage.
Ingredients
- 10 pears (or as many as you want to freeze)
- Juice of one lemon
- 10 cups of water
Instructions
- Step one – add the water and the juice of one lemon into a large mixing bowl to create a lemon bath. Wash the pears well. If you want, peel the pears. Since their skin is (usually) really thin, you don’t have to peel but I often do. Quarter the pears and remove the core, then slice each quarter into thinner pieces. As you work on preparing your pears, place the slices in the lemon water bath to prevent them from browning.
- Step two – line a baking sheet with parchment paper, remove the pears from the lemon water bath, and let them dry for a minute. Then, set them in one layer on the baking sheet. You can place them close together but make sure that they aren’t touching each other. You can keep layering pears, just make sure that you separate the layers with parchment paper.
- Step three – wrap the baking sheet with plastic food wrap and set it in the freezer to freeze for 24 hours.
- Step four – remove the baking sheet from the freezer and bag the pear slices in a freezer bag. If you know what you are going to do with your frozen pears, it’s sometimes easier to pack them in pre-measured portions, however, since we let them freeze without touching each other, they won’t stick to one another in the bag and you should be able to remove as many as you want when you're ready to use them.
Notes
Frequently Asked Questions:
- Can I freeze any variety of pears?
Yes, use this tutorial to freeze any kind of pear variety just make sure that your pears are ripe and sweet. - Do I have to peel pears before freezing?
You don’t have to. Some varieties of pears have really thin skin and you can’t feel it later if you use the frozen pears in baked goods or smoothies. The skin is also really healthy. However, some varieties of pears have a thicker skin that is not so fun to eat. So really, it depends on your personal preference, what you are going to do with your frozen pears, and what variety of pears you’re freezing. - Can I freeze diced pears?
Yes, you can slice your pears however you want and even dice them. Follow the same method of freezing pears no matter how you decided to cut your pears. - Will the pears turn brown in the freezer?
If you soaked your pears in lemon water as I did in the tutorial above, your pears shouldn’t turn brown. The lemon water is what we do to prevent browning. - How long will frozen pears last in the freezer?
Frozen pears should last for a year or even a little longer! - Do I need to thaw the pears before I use them?
No! In fact, they’ll lose a lot of their juice if you let them thaw before you use them. In most cases (especially when baking with frozen pears), it’s actually better to use them while they are still frozen.
Nutrition Information:
Yield: 10 Serving Size: 1 pearAmount Per Serving: Calories: 103Total Fat: 0gSaturated Fat: 0gTrans Fat: 0gUnsaturated Fat: 0gCholesterol: 0mgSodium: 11mgCarbohydrates: 27gFiber: 6gSugar: 17gProtein: 1g


I love these so much! I add ice to the water, with the juice of one lemon, and let them sit for a few minutes. They only take a couple of hours to freeze solid, and then I put them in the freezer bag. I take three or four out at a time, to thaw slightly, and eat them as a snack or dessert. They’re delicious semi-frozen. I’ve tried this with Bartlett and Bosc pears, I don’t peel them, and they haven’t turned brown. Thank you for sharing this technique.
They are really good on ice cream!
I wanted to try this so I prepared 4 pounds of DeAnjou pears. soaked them in water and lemon juice with some Fruit Fresh. froze them 24 hours and bagged them. Kept a couples lives out to try and they are very soft and squishy. Not sure they would hold up in a pie. Flavor was sweet and nice.
If you are going to use them in baking, pie or anything else, use them frozen. It will help them hold better. Don’t let them thaw before. From the freezer to the oven pretty much.