This post may contain affiliate links, view our disclosure policy for details.
This is a step-by-step picture tutorial on how to make goat milk soap. I am using goat milk in this recipe but, in fact, you can use this as your basic recipe and actually use any kind of milk you have. I love having this basic soap recipe. This goat milk soap recipe is easy and fast! It’s healthy for your skin and you can change it around by using different kinds of milk or different kinds of essential oils (or not use essential oils at all).
Have you been wanting to make soap for a while but are a little overwhelmed by the amount of information out there?
Well, this post is for you!
Soapmaking was on my list for so long, but I kept thinking that I had to spend so much time studying it and I just couldn’t find the time. Then one day I decided that I was just going to print out a recipe and do it… Whatever happens, happens.
How to Make Goat Milk Soap…
I discovered that it was really easy to make soap! Obviously, I am not an expert and there are many kinds of soaps I would like to try to make and many recipes and techniques to try, but I now know how to make a basic soap that can be used as hand soap or body soap.
If you want to be a bit more self-sufficient, or live a lifestyle that is more natural, or just want to have fun making basic soap, then you are in the right place.
You won’t find complicated formulas here and there won’t be a 1000 words paragraph on the dangers of lye (however, we will go over how to use it safely). Just a simple recipe and how to make it so we can all have fun, be more productive, and move on to the next homestead project.
Cold Process Goat Milk Soap Recipe…
This is a cold process soap, meaning we are not going to cook this goat milk soap but rather mix all the ingredients together just as you would when making a batter for a cake.
Then we will place it in a mold for a few days and after that, we will cut it into bars and let it cure.
The main difference between cold process and hot process soap is that we are going to need to let the cold process soap cure for 4-6 weeks before we can use it.
Hot process soap takes longer to make but you can use it right away and as I understand, its texture is a bit different.
I chose the cold process method because of its simplicity. It takes maybe 10 to 20 minutes to make it and you are pretty much done.
Each batch will give you ten bars of soap which will last a while so, in the beginning, you will have to wait for a little over a month to use your soap but as long as you can quickly whip up another batch every few weeks you should have soap on hand all the time.
Ok, I think we are ready…
Gather Your Soapmaking Equipment…
Like with every homesteading project, the first step is gathering your equipment. It’s funny to me how so often this step is the step that takes the longest, but once you have everything you need you’ll be able to make many batches of soap.
2 mixing bowls – these can be heavy (heat resistant) plastic or stainless steel (no glass or aluminum).
A pot – we will make a double boiler to heat the oils so make sure one of the bowls can fit onto a pot.
Another small bowl – to measure the lye.
A wooden spoon – for mixing.
An ice cube tray – we will freeze the milk in the tray.
An immersion blender – I purchased this one from Amazon and it’s fine, but I have this one for cooking and it’s a million times better.
So if you can afford it, I recommend going with the better option. You want an immersion blender solely for soap making. Don’t use the same one for cooking and soapmaking. It’s a bit hard to clean those and you don’t want soap in your food.
Soap mold -I was thinking about making my own but decided against it.
If I made my own I would have to spend some time cutting parchment paper in a special way to line my mold every time I made soap.
This mold was just a bit over $10 and came with a silicone mold and its wooden box so I thought it was worth giving it a try. It looks great, made pretty good for the price, and it seems like it will last for a long time so I recommend it.
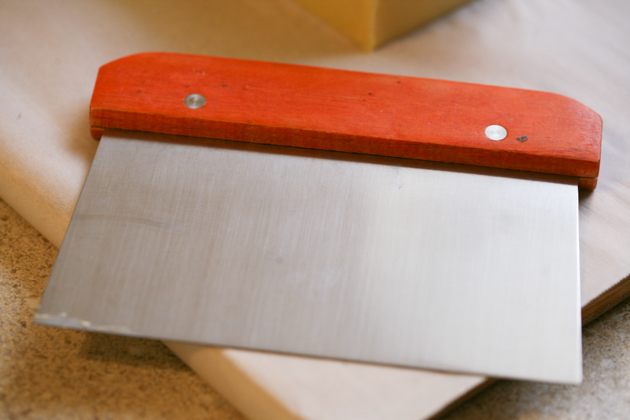
A ruler and a soap cutter – to cut the block of soap into bars. If you purchase the mold that I linked above it comes with the soap cutters. But if you make your own mold you’ll have to buy a soap cutter.
**If you want to get a set that also includes a cutting mild this one looks great and has good reviews. I ended up not using a cutter mold (you’ll see below) but I think that I will next time. It’s not easy to cut the bars straight, so a cutter mold would really come in handy.
A baking sheet lined with parchment paper – we will place our bars of soap on the sheet to cure. This can also be a tray or a cutting board.
A kitchen scale – we have to measure all of the ingredients so make sure you have an accurate measuring scale on hand (all measurements are by weight).
A thermometer – we will use a thermometer to check the temperature of the oils.
Safety equipment – we don’t want to come in contact with raw soap batter because of the lye (more on this in a minute), so to protect yourself you will need, goggles, a shirt with long sleeves, and kitchen gloves.
In addition, make sure you have a well-ventilated area to work in so you don’t breathe in the fumes.
I worked in my kitchen, right by an open window with my ceiling fan running at low speed. The best thing will be to mix the soap outside if there is a place there for you to work.
Gather Your Ingredients…
Once we have all of the equipment, it’s time to gather the ingredients and prepare them for soapmaking.
9 oz of milk – you can use any kind of milk for this recipe; coconut milk, almond milk, cow’s milk, goat’s milk, rice milk, or any other kind you can think of.
I chose to use goat’s milk because I have fresh raw milk from my goats and making soap was another great way to use it ( I also make this easy raw milk goat cheese and sometimes I can my milk).
If you don’t have a milk animal you can purchase milk from a local farm or at the grocery store.
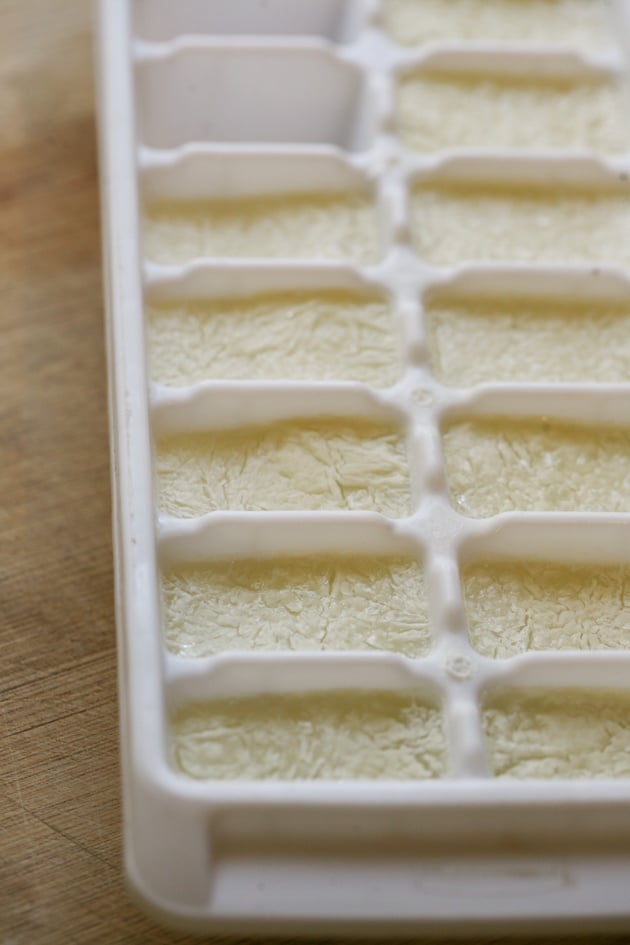
Use your kitchen scale to weight 9 oz of milk. To do that I place a small plastic pitcher on the scale, zero the scale, and added 9 oz of milk to the pitcher. Then, I pour the milk into the ice tray and place in the freezer.
4.3 oz lye – to make soap you must use lye. Lye is not as scary as everyone makes it be.
There are two kinds of lye; Sodium Hydroxide for making solid bars of soap, and Potassium Hydroxide for making liquid soap.
When you mix lye and oils a chemical reaction occurs that changes both substances and the product is soap.
This chemical reaction gives off fumes and heat and can hurt your skin and eyes, so you want to make sure you are protected by using the safety gear mentioned above.
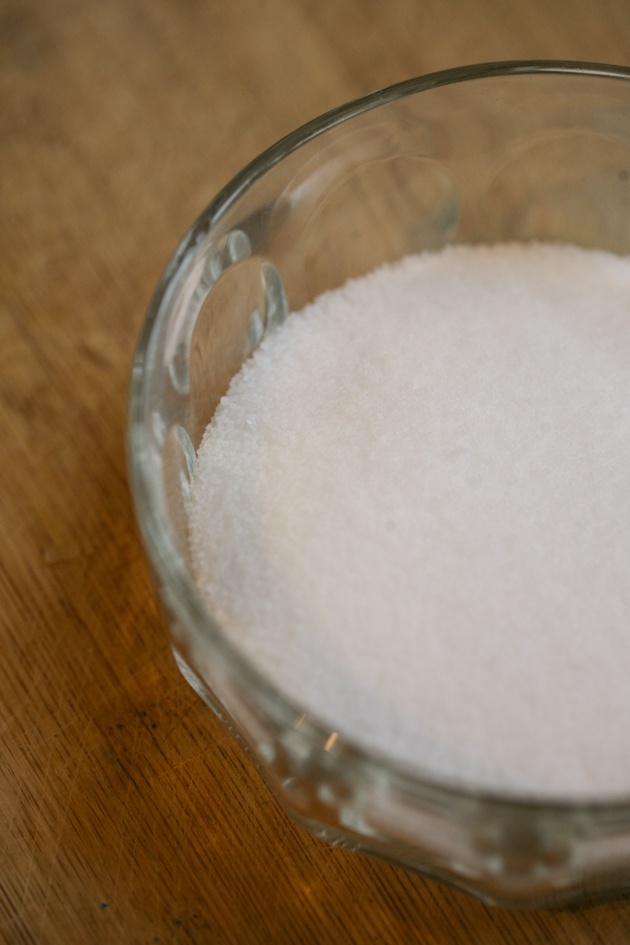
This is the lye I used in this recipe. Place your bowl on the scale and zero the scale. Then, add 4.3 oz of lye to the bowl.
8 oz coconut oil – I bought mine from a local grocery store but you can also find it on Amazon.
22 oz olive oil – I also purchased this from a local grocery store but it’s available on Amazon too. Make sure you get a good brand of high-quality olive oil.
1 oz castor oil – I purchased this one from Amazon.
Essential oils – I only use doTERRA oils. doTERRA is a company that sells 100% pure and potent oils through Wellness Advocates like me. If you are interested in purchasing doTERRA oils, contact me and I’ll be happy to help you get started.
I used a teaspoon of lemongrass oil simply because it’s one of my favorite oils. You can download a free chart of the best essential oils for soap making that includes measurements here.
So now we have all of the equipment we need and all of the ingredients. Let’s mix all of this together and learn how to make goat milk soap!
Step 1 – Measure and Heat Your Oils…
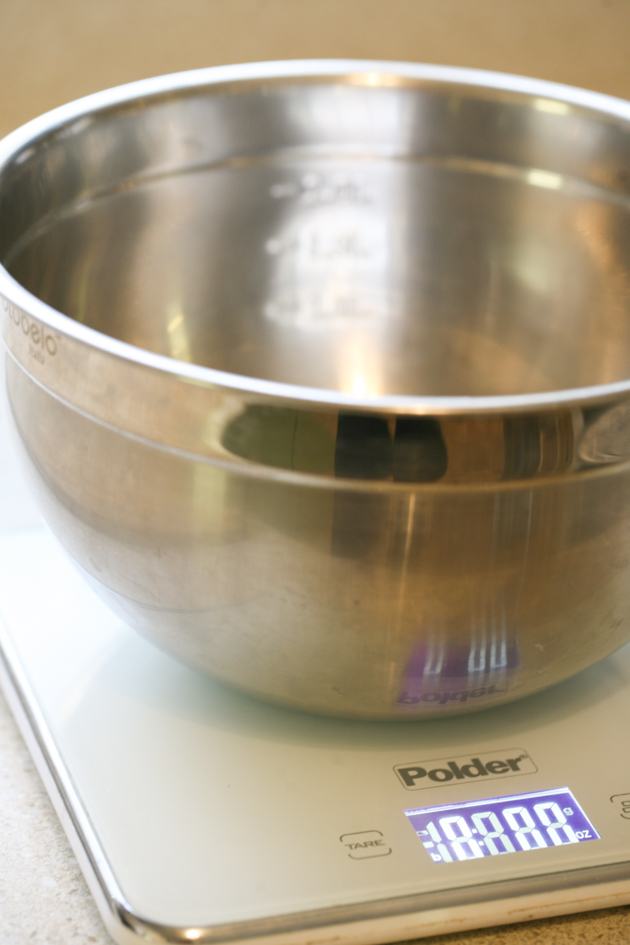
Place your bowl on the kitchen scale and zero the scale…
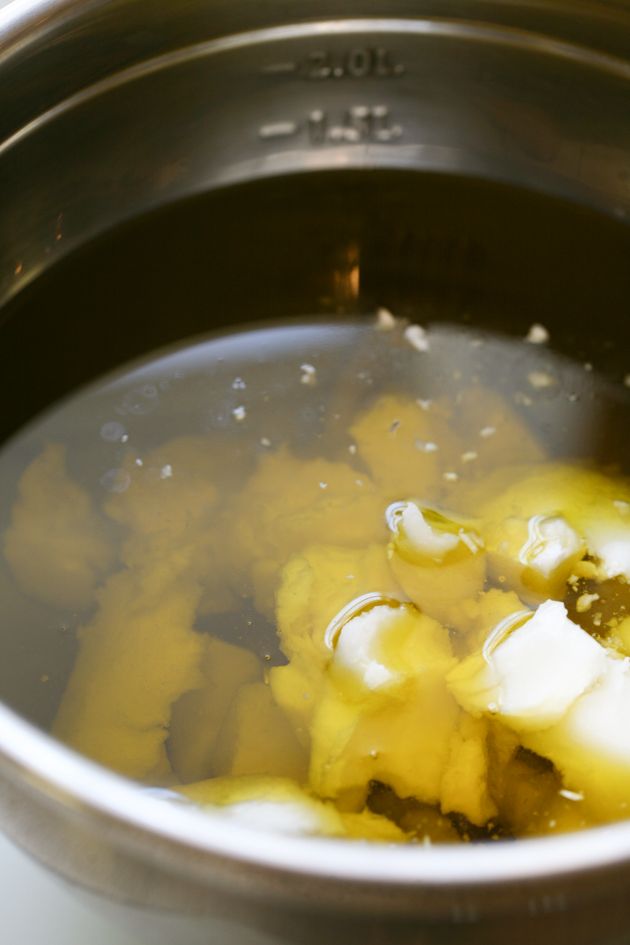
Add one oz castor oil and zero the scale. Add 22 oz olive oil, then zero the scale again and add 8 oz coconut oil.
This is how I do it but you can also measure each oil separately and add them to one bowl.
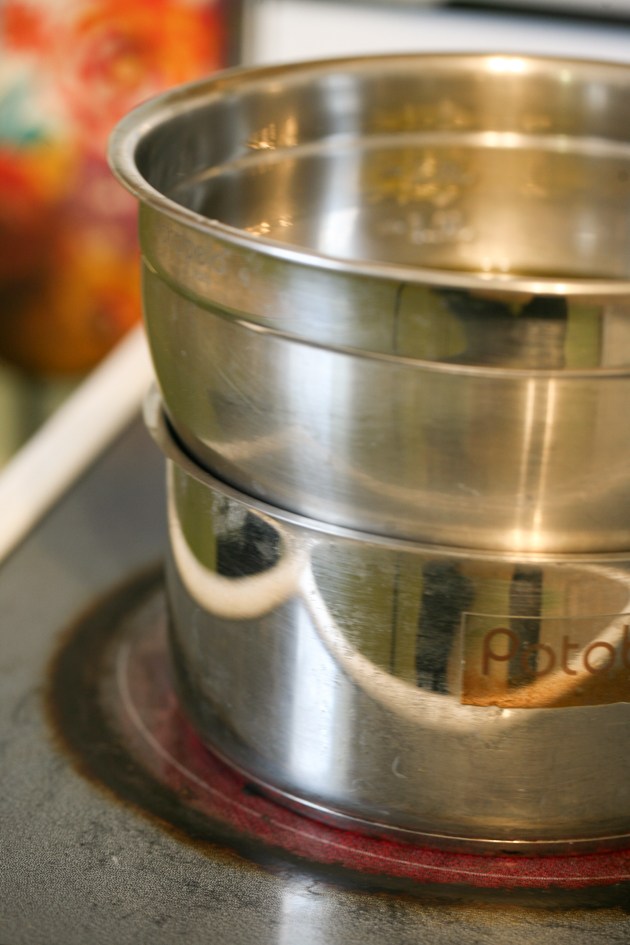
Fill your pot with a couple of inches of water and set your bowl of oils onto the pot to create a double boiler.
Turn the heat to medium and let the oils melt, stirring constantly.
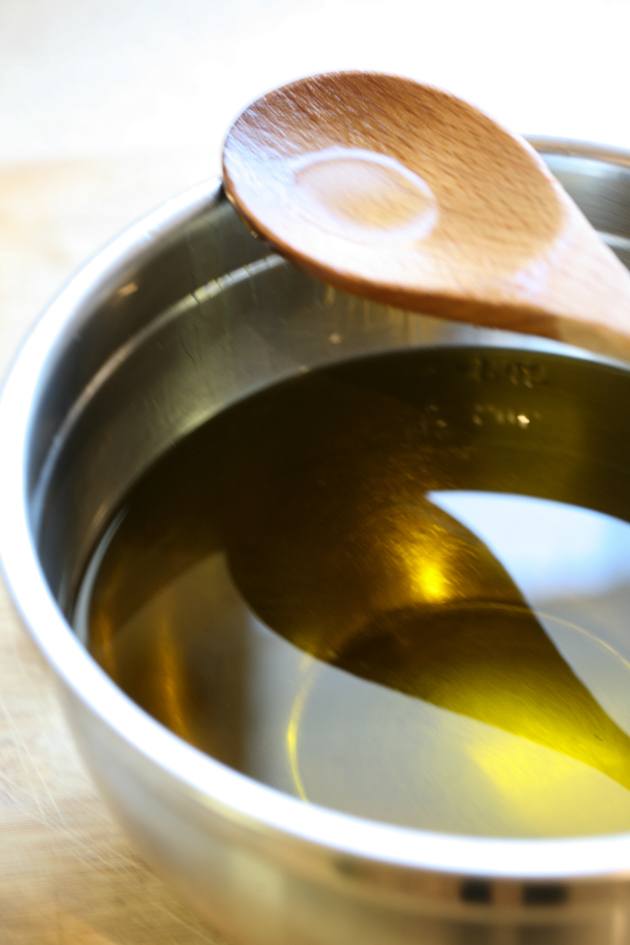
Use your thermometer to check the temperature. You don’t want the oils too hot; they should be around 90 – 100 F. Once the coconut oil melted, turn the heat off and place the bowl aside.
Step 2 – Mix Lye and Frozen Goat Milk…

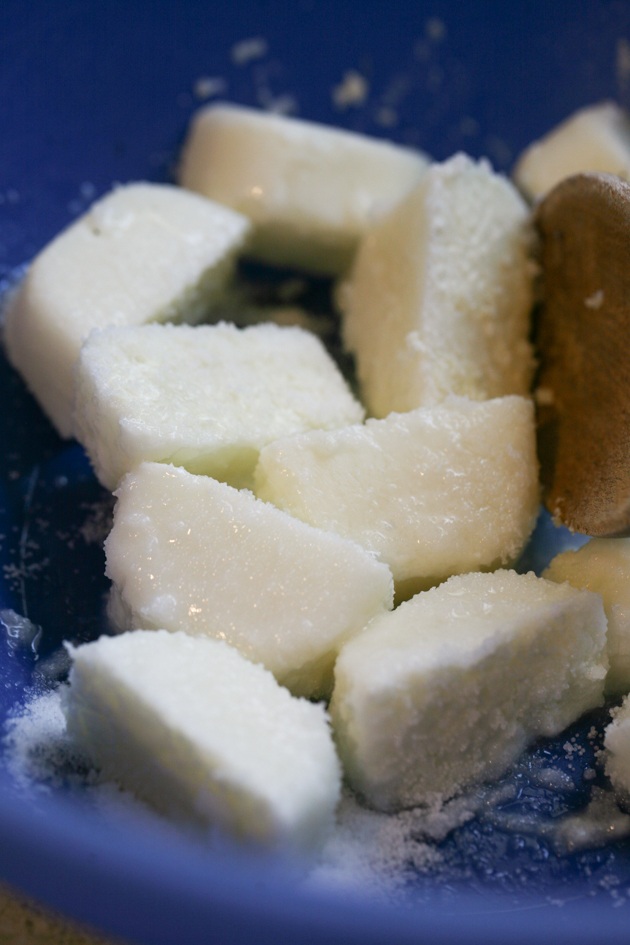
Remove your milk ice cubes from the tray and add them to a second bowl.
Now, we are going to add the lye, remember the reaction with the lye produces fumes and heat, this is why we are starting with milk that is in a form of ice (so things don’t get too hot and create a little volcano), and this is why you might want to do the next part outside or at least by an open window.
Also, remember to put on your protective gear before you start mixing the lye.
Start adding a few tablespoons of lye at the time while mixing.
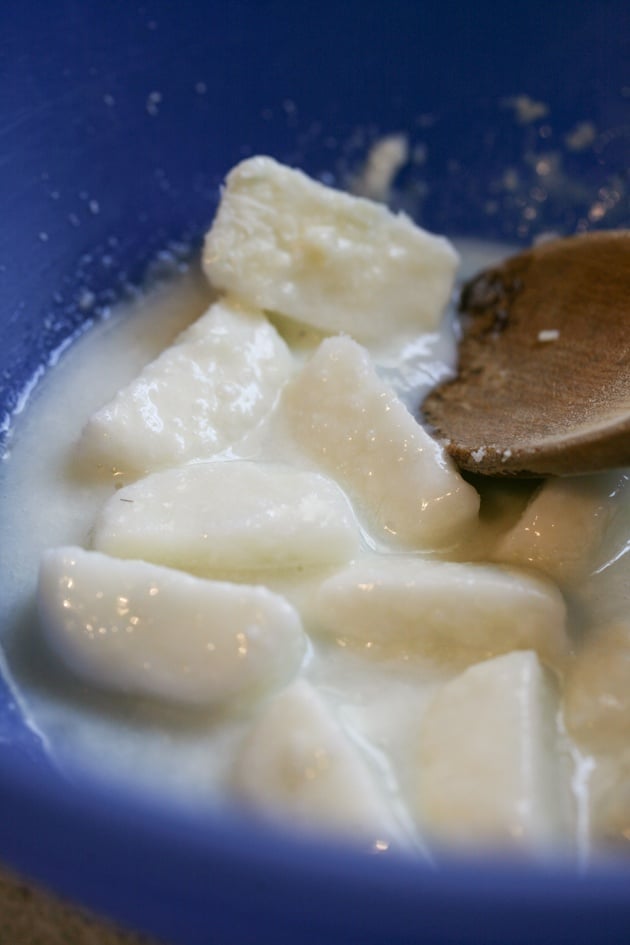
It will take a few minutes, but you’ll see how the reaction with the lye starts to cause the icy milk to melt.
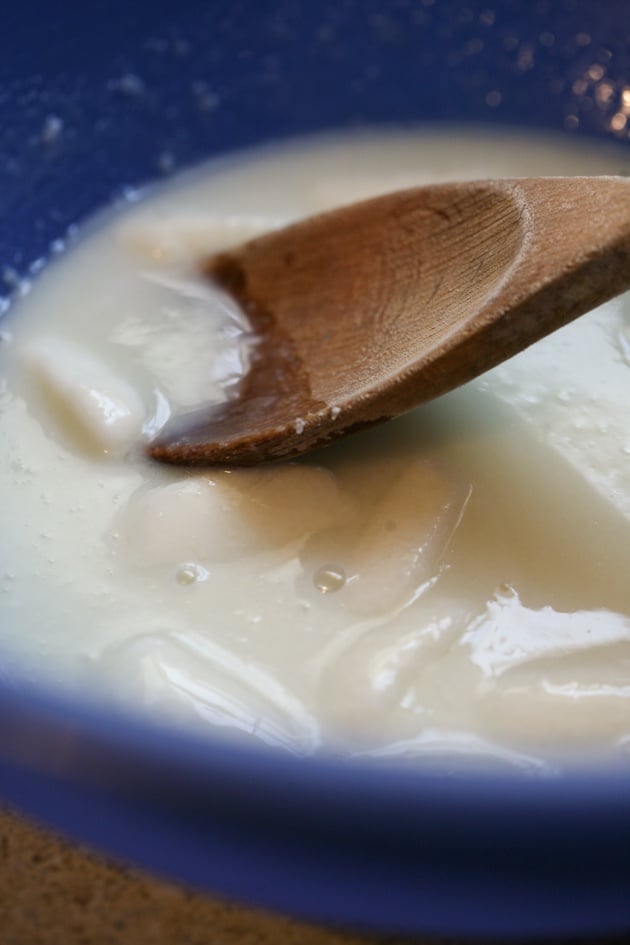
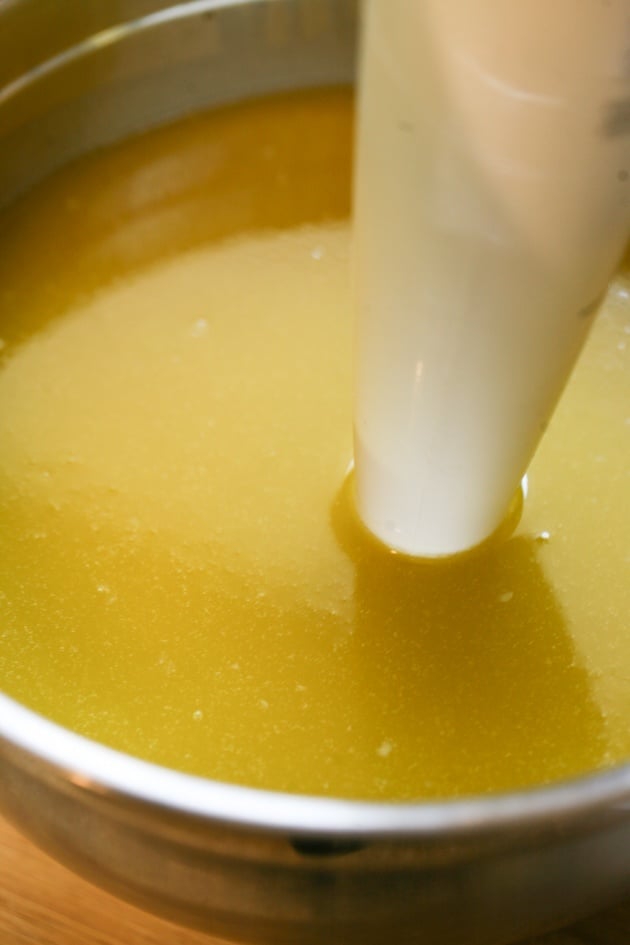
Add all of your lye and mix, and mix, and mix…
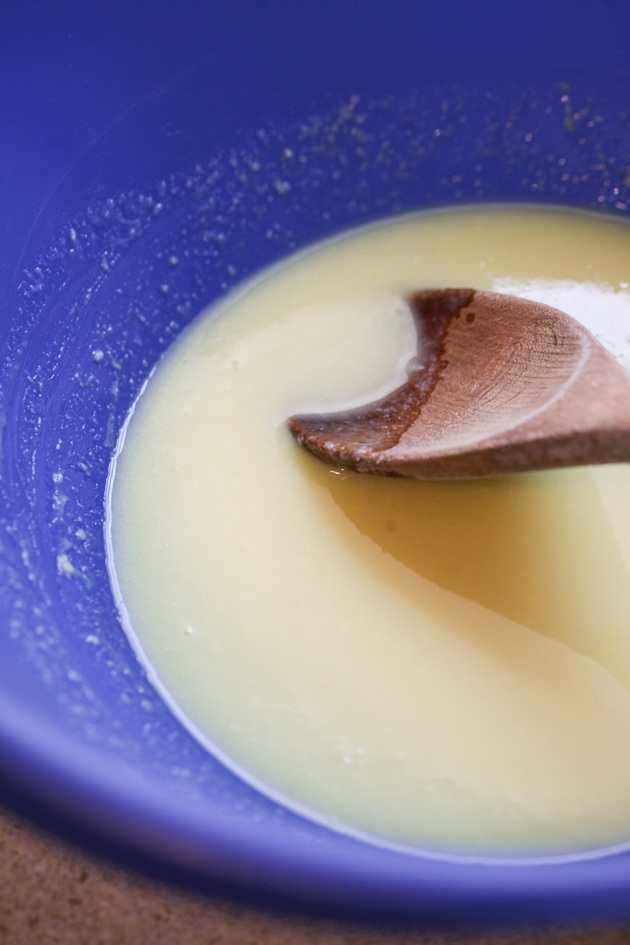
Until all the ice is melted and you have this yellow liquid.
Step 3 – Mix Oils and Goat milk/Lye mixture…
Now that the oils cooled a bit, add your teaspoon of essential oil to the bowl with the other oils if you’d like. Mix it in.
Next, add the lye/milk mixture to the oils (oils should be around 90 – 100 F, if they are warmer, stir them a bit and give them a couple of extra minutes to cool).
Now we are going to use the immersion blender to bring the mixture to what we call in soapmaking language “trace”.
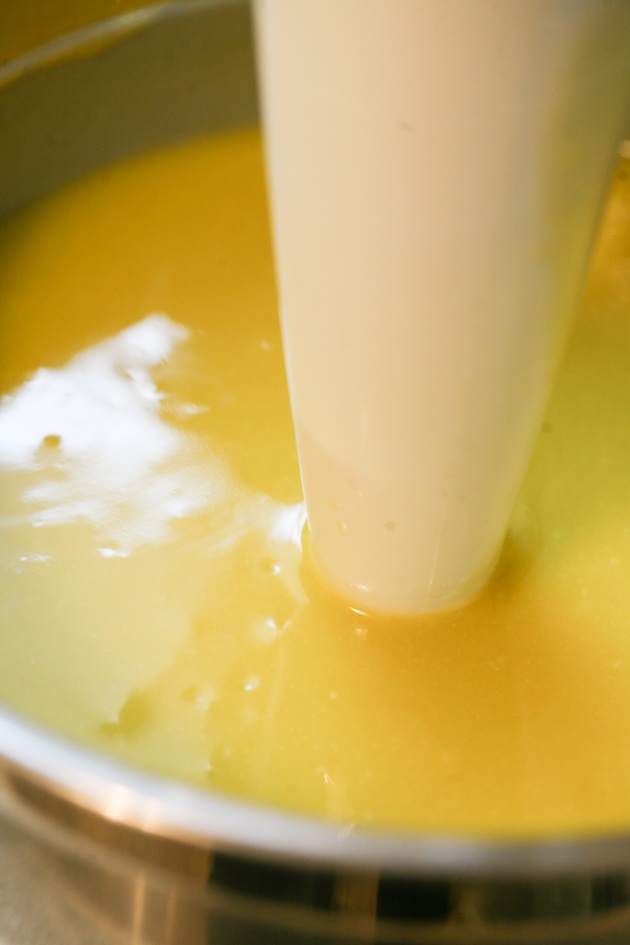
This also will take a few minutes. Keep blending, make sure you keep the blender under the surface of the batter so it doesn’t splash on you.

You can see how it’s starting to get thicker and thicker…
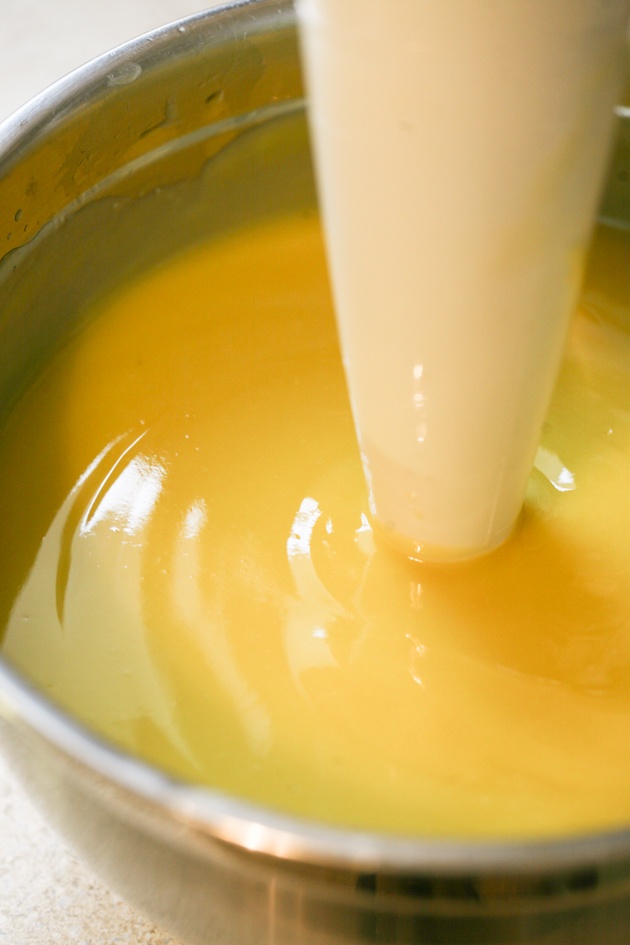
Keep on blending…
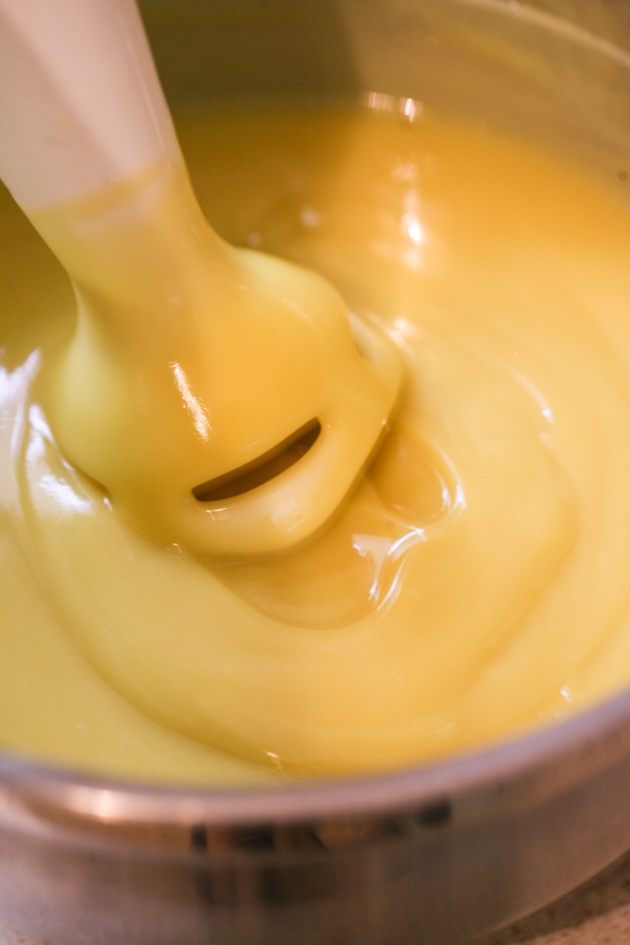
You are done when the batter reaches “trace”, in other words, when it has the consistency of a pudding. It also has the color of banana pudding so don’t leave it alone on the counter. You don’t want your kids eating this by mistake…
Step 4 – Transfer to a Mold and Let Rest…
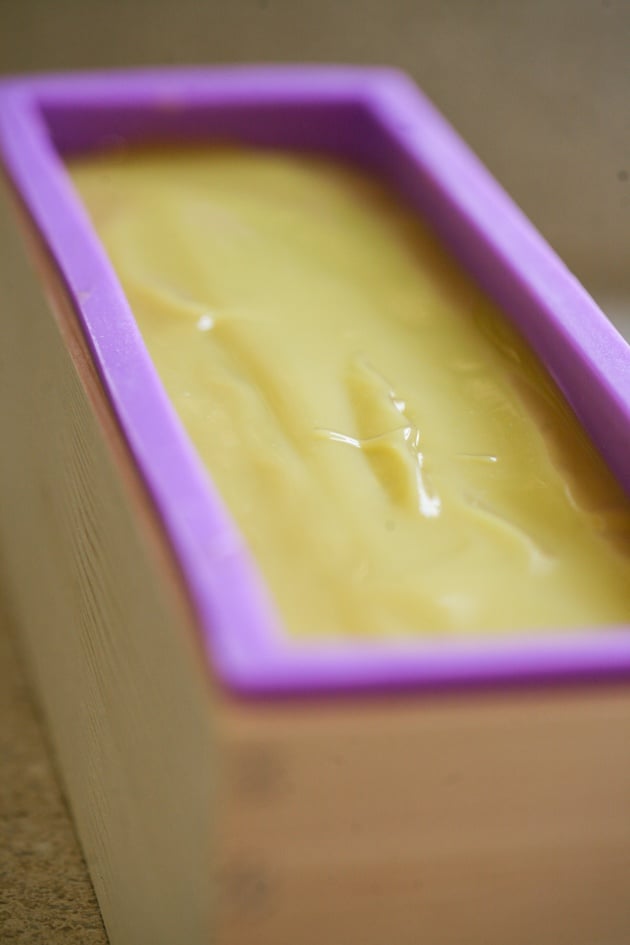
Use your wooden spoon or a spatula to help transfer the batter into the mold…
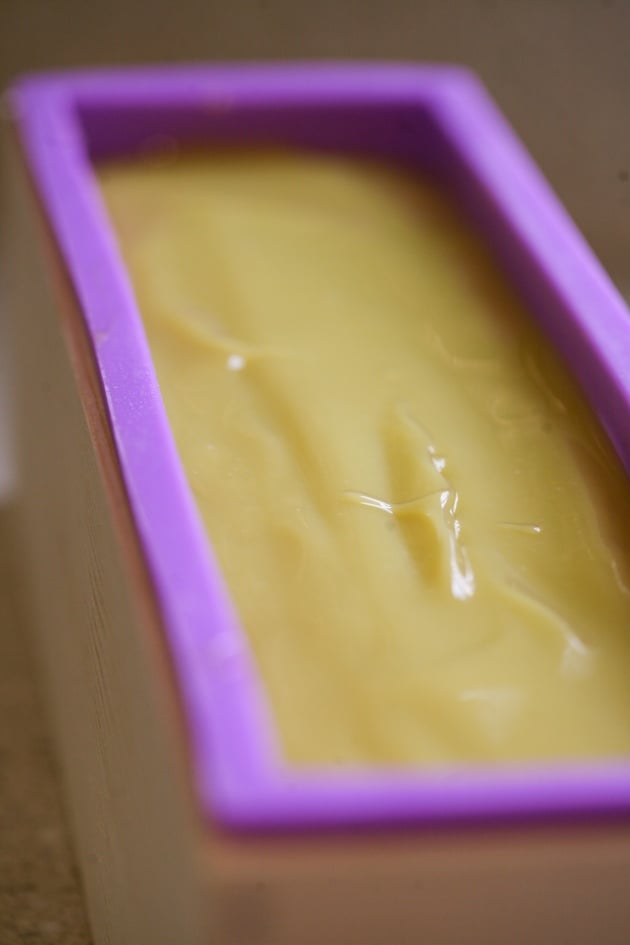
Make sure it spreads evenly all over in the mold and now you have two options…
Option one is to leave the mold at room temperature for 24 hours and option two is to place it in the fridge or freezer for 24 hours.
When you make soap without milk, you’ll leave it at room temperature for 24 hours, this will activate “gel phase” which means the soap batter will heat in the mold and bring out colorants.
If you leave milk soap at room temperature for the first 24 hours, the soap will get darker, or in other words a bit more brown.
If you want to avoid gel phase so your soap stays more creamy in color you can place it in the freezer to keep the batter cool.
I chose this route so I placed my mold in the freezer for 24 hours.
After 24 hours, take the mold out and leave it at room temperature for another 24 -48 hours.
Step 5 – Removing The Soap From the Mold and Cutting…
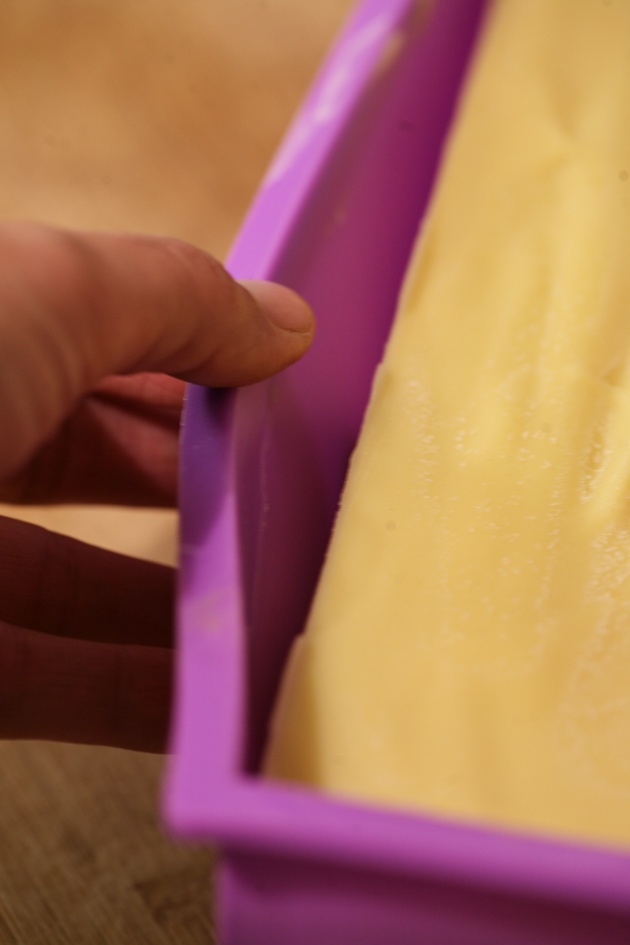
Once that step is done, remove the block of soap from the mold.
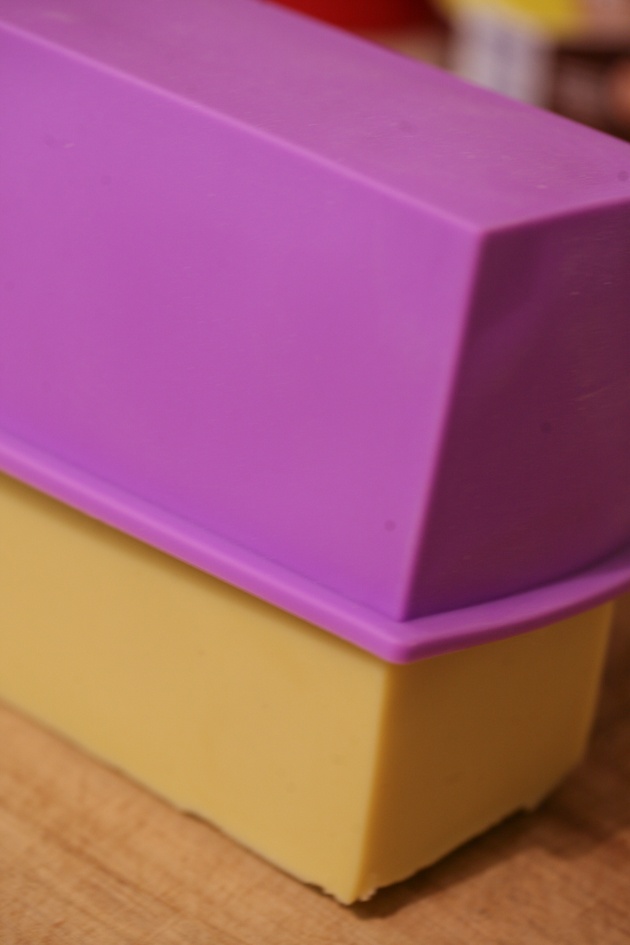
It’s still soft at this point, so be gentle…
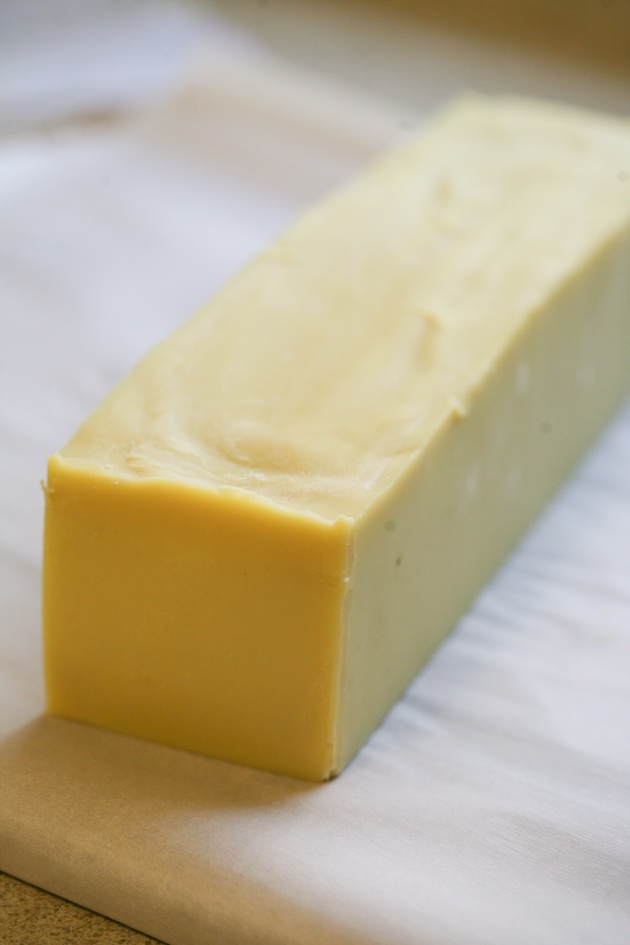
I ended up placing parchment paper on my cutting board and slowly releasing the soap from the mold.

It was so beautiful, I had to just stand there a moment and look at it…
After a few moments of appreciation, it’s cutting time…
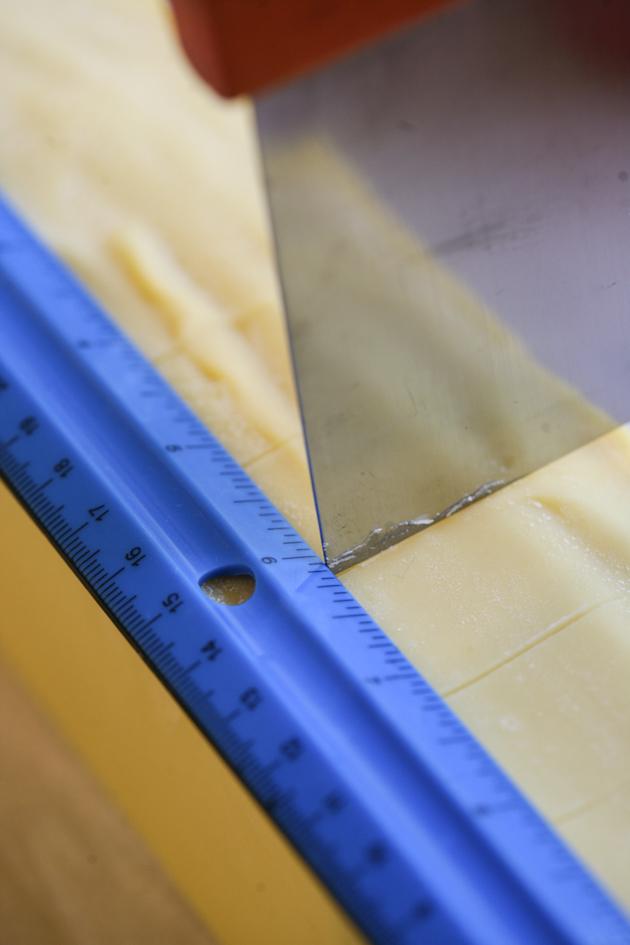
I used a ruler and my soap cutter to mark the bars. Each one of them is just a tiny bit larger than one inch thick…
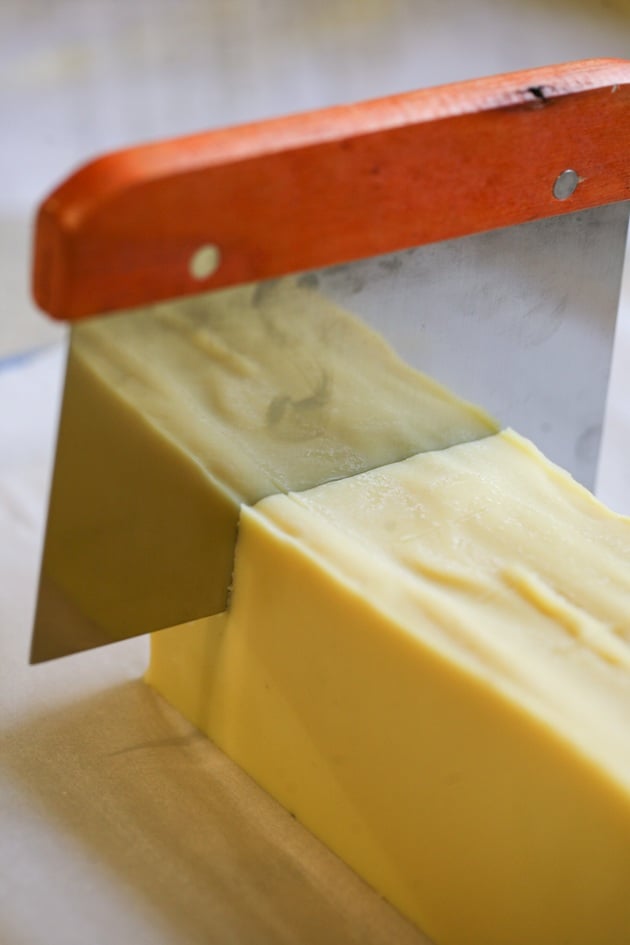
After marking, start cutting the block of soap into bars trying to keep the cutter straight all the way to the bottom of the block.
Step 6 – Storing and Curing…
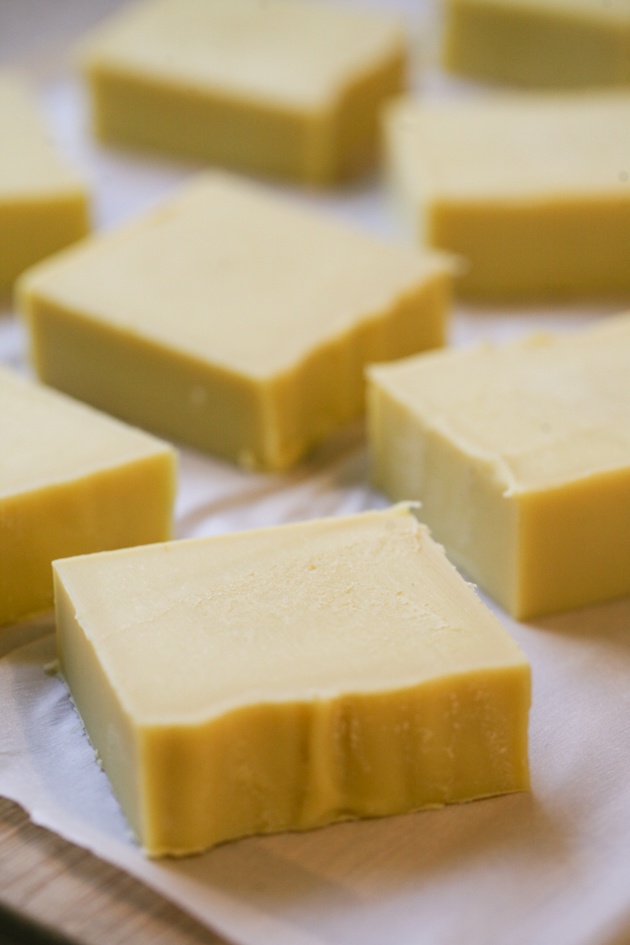
That’s it! Our soap is ready for curing. Place parchment paper on a tray or a cutting board and place your bars on the parchment paper.
Keep the bars out of the way somewhere. They will have to cure for 4 to 6 weeks before you can use them. During this time, make sure to flip them a few times so they can cure well on both sides.
You’ll notice that as time goes by they will harden, this is especially a characteristic of soap that has a lot of olive oil it, it gets really hard.
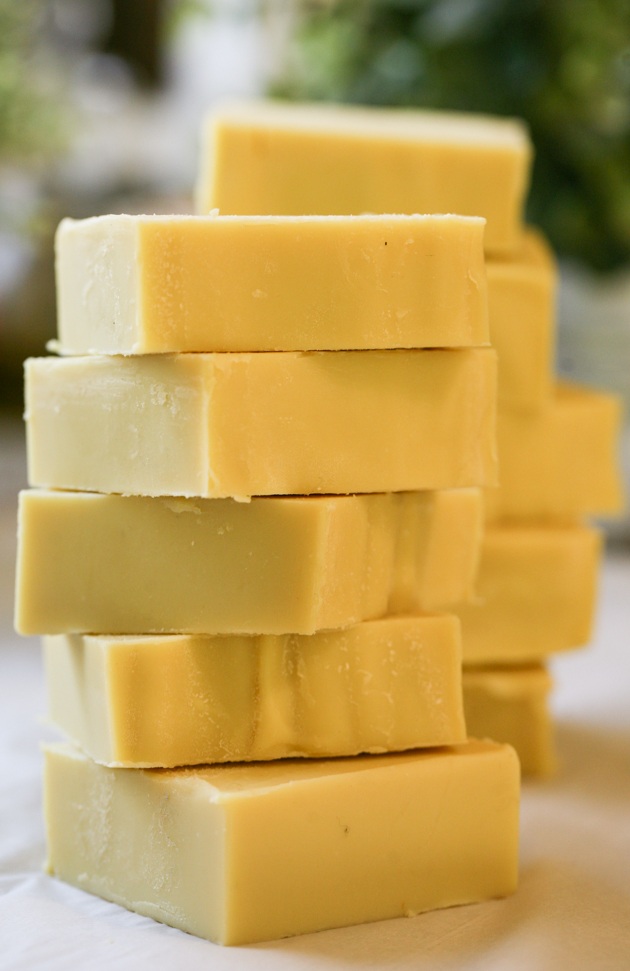
This was a very fun project. It took me some time to get everything together but once I was ready I was so surprised by how easy it was to make soap.
I think this goat milk soap will be serving us very well. It will be used as a hand soap by the sink, and body soap in the shower, so I won’t need to buy them at the store anymore.
I already had olive oil, coconut oil, goat milk, and essential oils on hand for other things and the lye and castor oil that I got will last for many batches.
If you felt that soap making was a little bit intimidating I hope this How to Make Goat Milk Soap tutorial helped you feel more comfortable giving it a try.
Learn More About Soapmaking…
I want to give credit where credit needs to go. This is not a recipe I came up with, I found it on The Nerdy Farm Wife and changed it just a little bit and added essential oils to it.
Jan is amazing at soap making and has a lot of experience so I felt confident in choosing one of her recipes.
If you want to get deeper into soapmaking she is definitely the farm girl to learn from!
My next step as far as soapmaking goes will be to find a recipe for goat milk soap that uses animal fat like lard for example.
This will lower the cost of the soap drastically since olive oil, even though it’s really healthy for your skin, is costly.
If you know such a recipe, please share it in the comments below. I would also love to hear your thoughts about soap making and if you have any experience making soap, so share below if you have a moment!
How to Make Goat Milk Soap
This is a cold process goat milk soap recipe. This goat milk soap can be used as hand or body soap. You can use this recipe with any kind of milk (not only goat milk).
Materials
- 8 oz coconut oil
- 22 oz olive oil
- 1 oz castor oil
- 1 teaspoon essential oil of your choice (optional)
- 9 oz of goat milk frozen in ice cube trays
- 4.3 oz lye
Tools
- **Links to recommended products are in the post.
- A kitchen scale
- A thermometer
- 2 mixing bowls (heat resistant plastic or stainless steel)
- A pot (to make a double boiler)
- A small bowl to measure lye
- Safety equipment for handling lye: goggles, long sleeve shirt, and rubber gloves
- A wooden spoon
- An ice tray
- An immersion blender
- A soap mold
- A ruler
- A soap cutter
- A baking sheet lined with parchment paper
Instructions
- Add coconut oil, olive oil, and castor oil to a mixing bowl.
- Add a couple of inches of water to a pot, set your pot on the stovetop and set your mixing bowl with oils on top of it to create a double boiler.
- Turn the heat to medium-high and slowly heat your oils to between 90 to 100 F. Stir frequently with your wooden spoon and make sure the coconut oil melts if it was solid when you added it to the bowl. When the oils are warm, turn the heat off and remove the bowl of oils from the pot. Set it aside to cool slightly.
- To a different bowl, add the frozen cubes of milk.
- Make sure to do this next step by an open window or outside and wear your protective gear.
Slowly sprinkle the lye over the milk cubes (one tablespoon at a time). Mix with your wooden spoon while adding the lye until all the lye is added and the milk has melted. - Add a teaspoon of the essential oil of your choice to the bowl of oils if you like. Stir it in.
- Use your thermometer to make sure the temperature of your oils is between 90-100 F, then add the milk/lye mixture to the oils bowl.
- Use your immersion blender to bring the mixture to a "trace". That means blend until the batter reaches the consistency of pudding.
- Transfer the soap batter to the mold.
- Store in the fridge or freezer for 24 hours.
- Take the mold out of the fridge or freezer and let rest at room temperature for an additional 24-48 hours.
- Remove the soap from the mold onto a cutting board lined with a piece of parchment paper.
- Mark your soap bars (if you are using the mold I used, each bar will be about 1'' thick) and cut the soap into bars.
- Line a baking sheet or a tray with parchment paper and set your soap bars on it.
- Cure at room temperature for 4 to 6 weeks before using the soap. During the curing time, make sure to flip the bars a few times so they can dry from both sides.
Notes
1. You can use this as your basic milk soap recipe and use other kinds of milk like coconut milk, almond milk, cow's milk and so on...
2. I only use doTERRA oils because of their purity and potency. If you'd like me to help you set an account with doTERRA so you can order oils feel free to contact me.


I’ve made this soap 4 times. 3 out of the 4 time the soap has orange spots. All oil is fresh. Any idea what I could be doing wrong?
Mmmm… I am not sure… Make sure your your temperature is right.
If you used milk, maybe it got scorched? When I mix my lye into my milk, I have that bowl inside a bowl with water and ice cubes. This keeps my color nice and white.
Can you double this recipe.
I wouldn’t. I think it might have a hard time tracing.
Hi
I just made the Goats Milk soap on July 27th and I put in the freezer like it said I pulled it out on the 28th and took out of the mold and sliced bars like 1 inch on the 29th.
My question is this was 1st time using fresh goats milk because I use the can. This is the 2nd time making this recipe, but my bars feel a little sticky is that normal.
I am not an experienced soap maker hopefully I will learn very soon.
You have a good day.
It’s hard for me to say without seeing the soap. It should firm up and I can’t remember it being sticky but the feel of it can certainly change from batch to batch. I guess that as long as it feels good when you use it it’s probably fine.
My soap never hardened
Oh, that’s not good. Did you change any of the steps? Was it looking like pudding when you placed it in the mold?
Hi Lee,
I’m so excited to make this recipe. At this time I do not have a source for goat’s milk. Can heavy cream(cow) be used in place of goat’s milk for this recipe?
I’ve never tried it with heavy cream but you can use any kind of other milk that you can come by. I’m thinking that maybe heavy cream has too much fat in it, but I’m really not sure. I guess the only way to know for sure is to give it a try.
New to soap making, made this came out great! Would like to know if you can add more than 1tsp essential oil for stronger scent?
Mmmm… I’m not sure. I’ve never tried but I know that measurements have to be exact for everything to come together correctly. Jan from the Nerdy Farm Wife is a good person to ask this question. You can find her on Instagram or through her blog.
All that is sped up in hot process is the saponification. HP saponified in about 1-2 hours,cold process in 24-48 hours. Both are “safe ” to use after they have saponified but both will be greatly improved with a 4-6 week cure.
Oh, I love this, and need to read it again! you have the basics laid out so clearly! Great job,
Oh good, I’m happy that you found this helpful! I remember how frustrated I got when I couldn’t find simple, clear instructions and how surprised I was when I figured out how simple it was.
Finally brave enough to try, and yours was amazingly easy to follow. Turned out beautifully, cannot wait to try it, after curing!
Yay! It’s such an amazing soap! I’m making another batch tomorrow.
I found this recipe using lard on Pinterest and have made it several times with great results.
https://traditionalcookingschool.com/food-preparation/recipes/tutorial-how-to-make-goats-milk-soap/
Thanks! Will have to check it out!
This recipe seemed to come together nicely. Set up a trace at about 15 mins with an immersion blender. Now will wait and see how the soap turns out.
I hope that it turned out good!
Can I use buttermilk in place of the goat milk?
I don’t think so but I’ve never tried. You can use other kinds of milk, that I know.
Why are so many different oils used?
This is just how soap is made. Not just this soap but every soap. Lots of oils.
My soaps developed white bumps after a few days of curing. I tried to remove them with alcohol, but they seem embedded. Can you suggest anything to avoid this? Thanks
I’ve never had this happen… Maybe you didn’t mix it enough? I’ll try to ask around and see if someone is familiar with this issue. Will let you know if I find anything.
Thank you so much for such a easy but comprehensive tutorial! You make it sound so easy. Love the pictures! They make all the difference. I ordered my kitchen scale, mold and cutter, and lye yesterday and will gather the rest of the supplies while waiting. I can hardly wait. Can you add an exfoliant to the soap such as ground almonds? And what about oatmeal? Any suggestions?
Thank you for the feedback, Trish! I’m so happy that you found the tutorial helpful.
I don’t see a reason to not be able to add an exfoliant. It’s a good idea.
If you remember, come back and let me know how it turned out! Making soap is a lot of fun and much simpler than I ever thought it will be. It something that I definitely want to try more of. It’s kind of addictive!
This is exciting and I can’t wait to try your recipe.
I hope you’ll like it. It’s a regular around here. I couldn’t believe how simple it was to make it!
Can I double or triple this recipe? Or will that mess with the lye?
Thanks!
I don’t see why not but I’ve never tried to double it…