In this post, I will show you how to tan a rabbit hide. You can use this method to tan any small animal hide. This is fur-on tanning, which means we are leaving the fur on the hide. Let’s do this!
I have ruined eight rabbit hides in the past year. Do you know that emoji with the girl slapping herself on the forehead? That’s what I would have inserted here if I could. I’ve asked forgiveness from all those eight rabbits but I’m happy to report that the ninth hide was a success and I would like to share this success with you!
My journey in tanning started with learning how to tan a deer hide since I couldn’t bear the thought of just throwing away the hides after we butchered deer in the fall. It took me a few hides to feel comfortable with brain tanning and making buckskin.
How to Tan a Rabbit Hide…
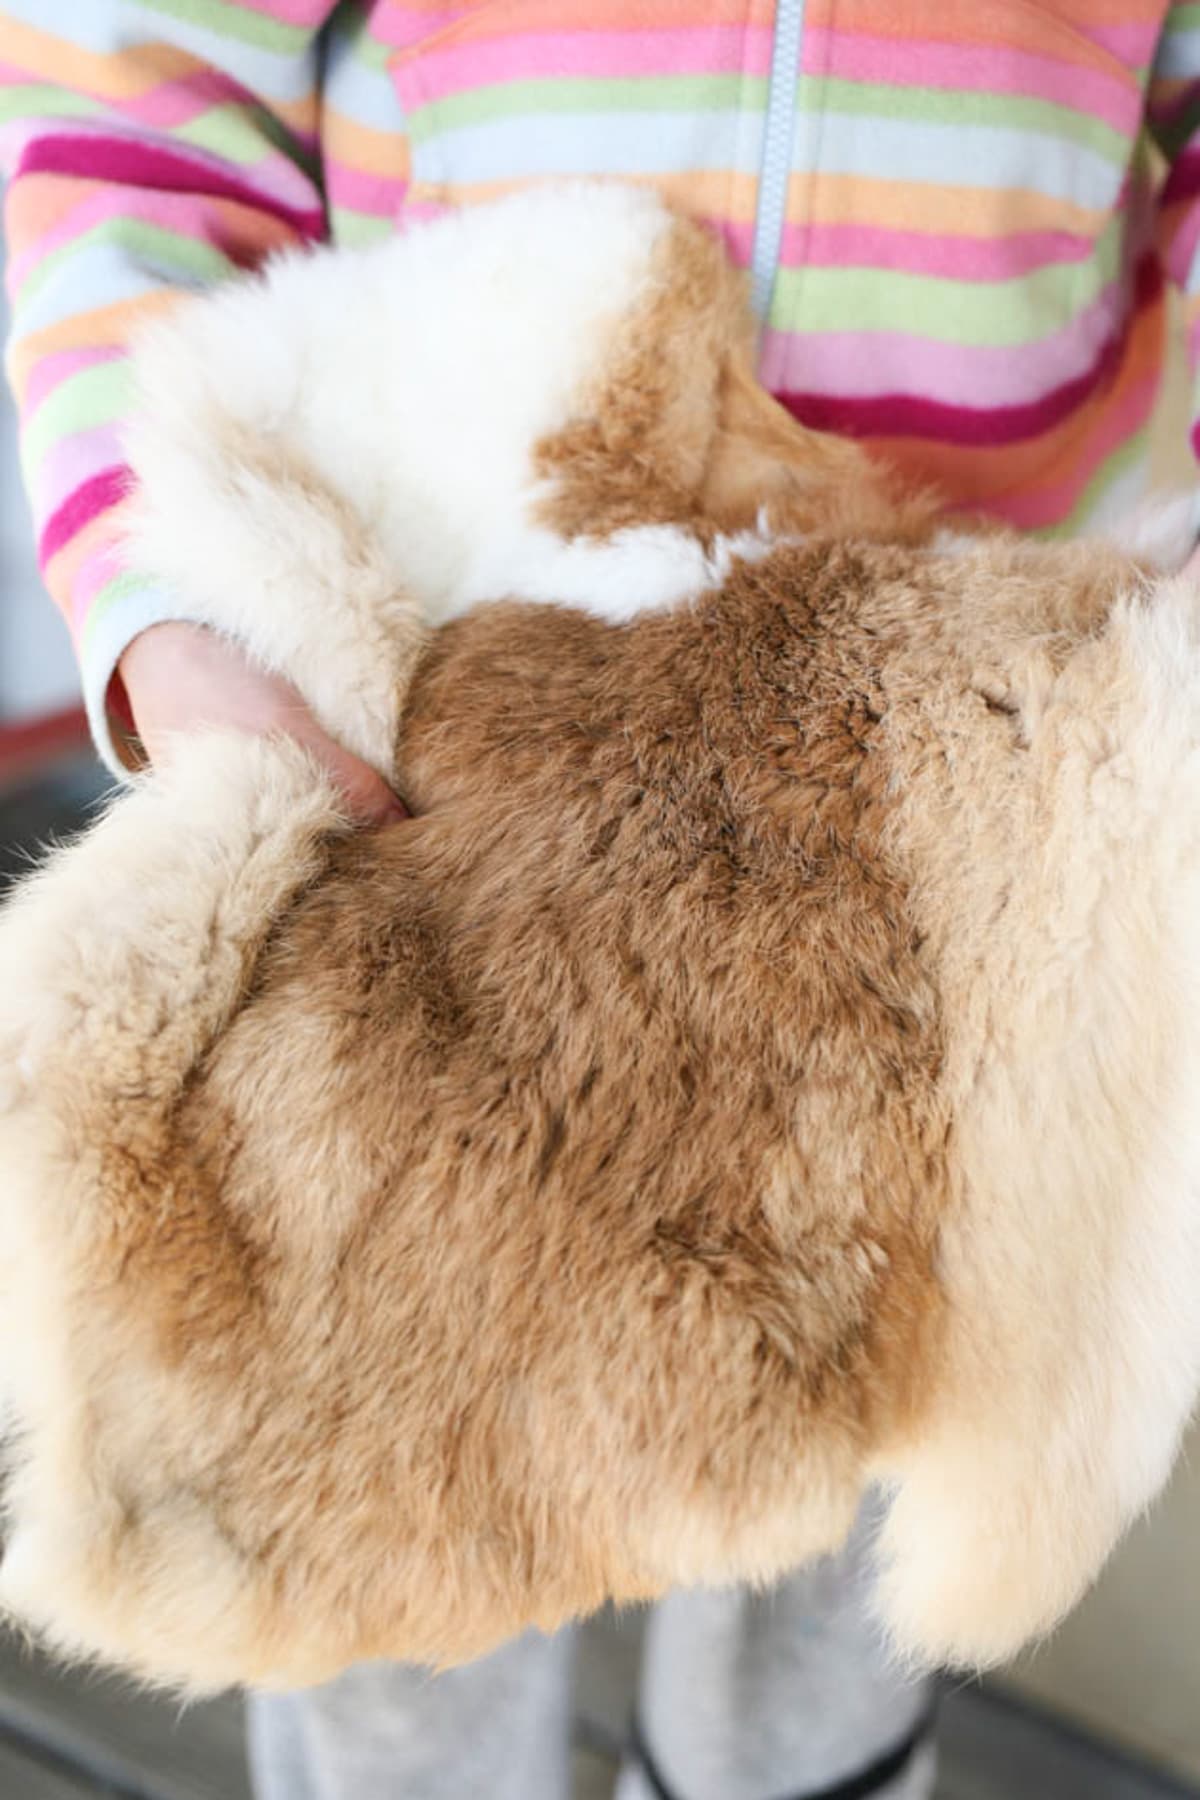
All of my deer hide tanning included taking the hair off the hide and naturally, I was also curious to learn how to do this with the fur on… a rabbit is perfect for that! My friend raises rabbits for meat so I asked her to give me the hides after they butchered their rabbits.
Is This the Only Way?
I tried a few different ways but was looking for a simple way to tan a hide, fur-on, without needing to look for products like alum and such (tanning rabbit hides with salt and alum and borax are some common ways you’ll come across if you search online for tanning tutorials).
Before we start going through the steps of tanning a rabbit hide, let me just say that this is how I do this, it’s not the only way to do it. They say that if you ask a dozen hide tanners how to tan a hide you will get a dozen different answers. This is true, I think.
Hide tanning is an art, and in art, there is no wrong way and there is no one way. If it works for you it works, that’s all there is to it.
I’ve tried a few ways of tanning in the past and I’ll keep trying and experimenting with different ways, but for now, this process of tanning that I am about to share with you works well for me for small hides.
Tools You’ll Need…
- A butchering knife – for skinning the rabbit.
- Fleshing knife – to flesh the hide.
- Work beam – you need to make sure that you have a proper work area. This will make your life so much easier. You’ll see my beam in the photos below. It was made from a simple PVC pipe and two cedar posts.
- Gloves
- Apron
- Dish soap – we need two drops for the second rinse.
- Plywood – we are going to pin and stretch the hide on this board so make sure that it is large enough.
- Nails and a hammer – we are going to use the nails to hold the hide stretched on the plywood. It doesn’t matter what nails you are using, however, thin nails will do best.
- Hair dryer – to speed up the drying process.
- Hair brush – to brush the fur as we dry it.
- Egg yolk – to “brain” the hide. More on that later.
- A bowl – just a small bowl for the egg yolk.
- Pastry brush – to apply the egg yolk.
Tanning a Rabbit Hide Step-by-Step…
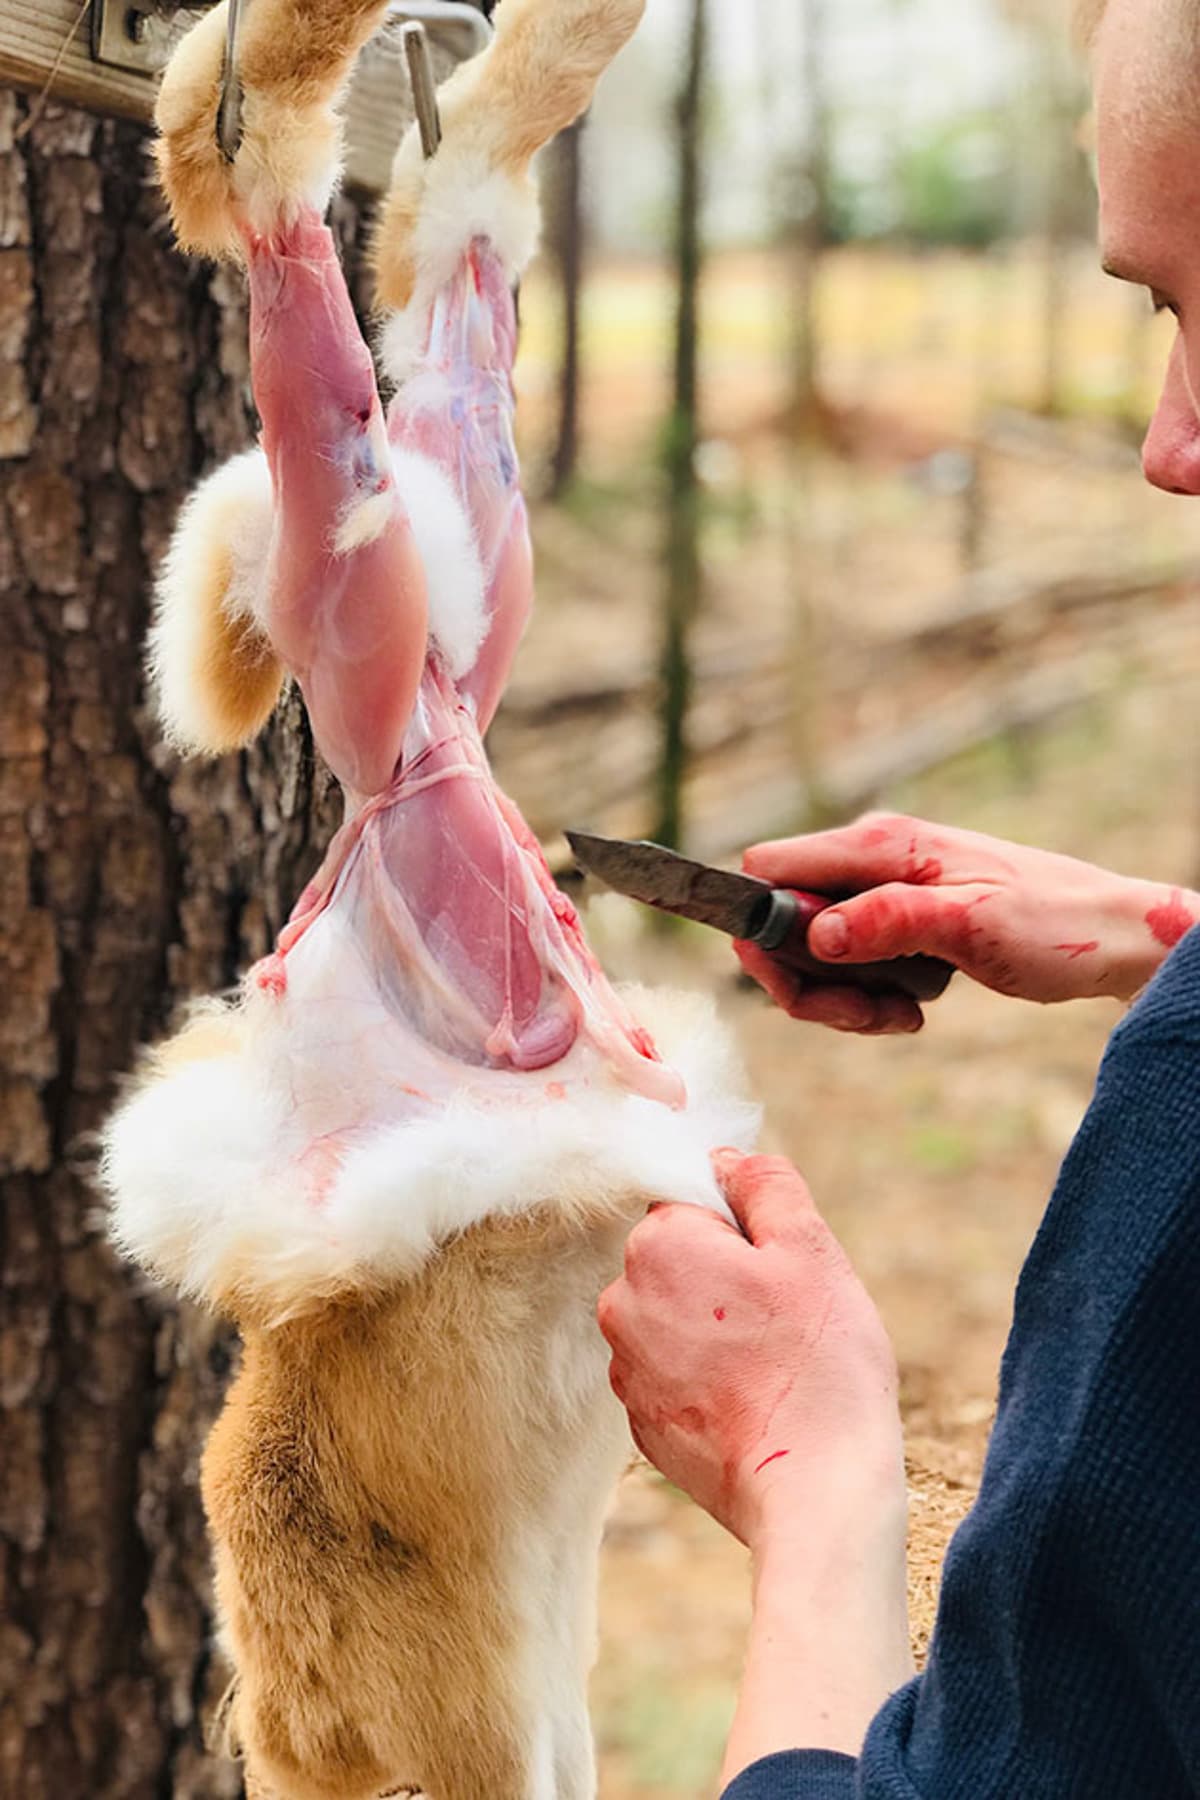
Step one – skin the rabbit. First, we have to get the hide off the animal. I go into more detail on how to skin a rabbit in my How to Butcher a Rabbit post so make sure to head over there and take a look.
In short, hang your animal from its back legs, cut the skin right under the back legs joint, and then continue in a V shape towards the center of the tummy, between the two hind legs. From there move in a straight line down the stomach until you get to the neck. Cut the head off and you are left with the hide.
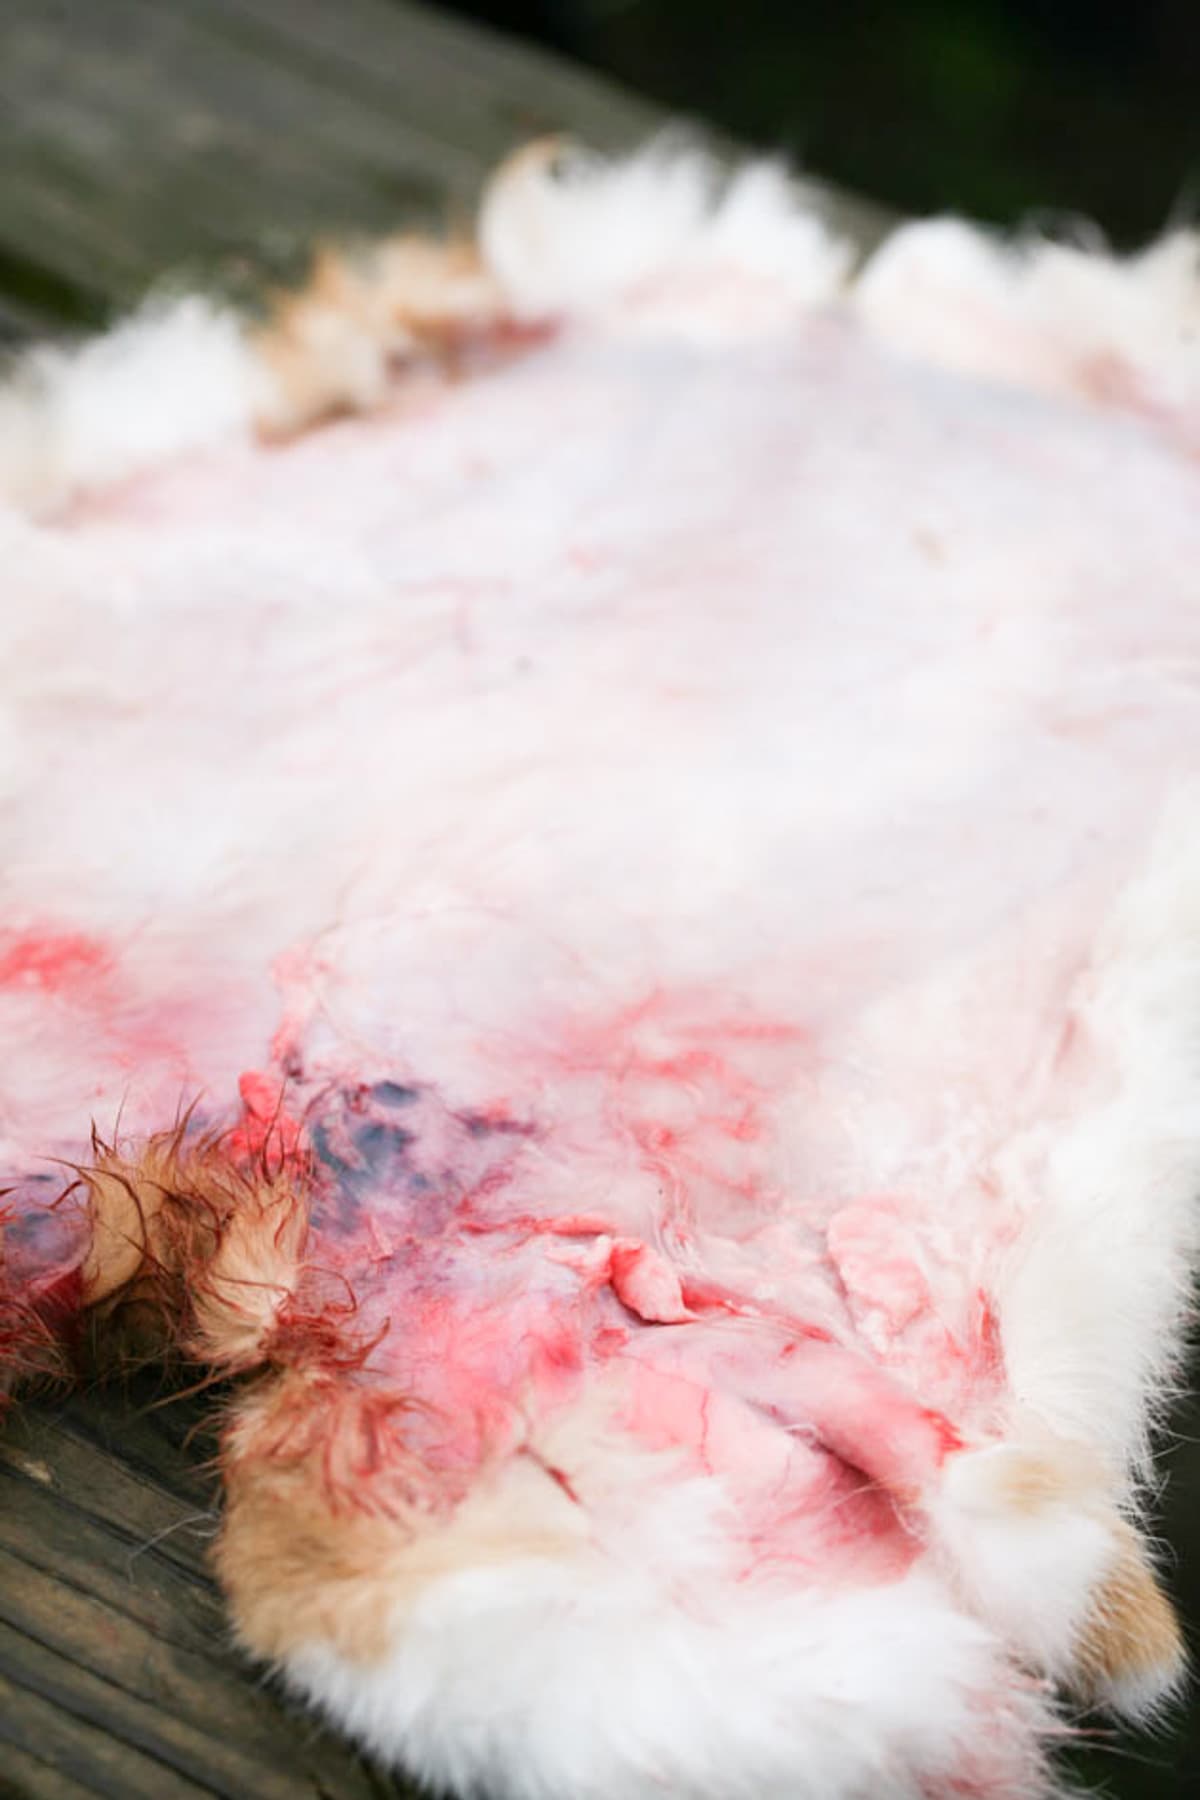
Step two – rinse the hide. The next thing we want to do is to rinse the hide. You don’t need to use soap or anything else in this first rinse, just cold water.
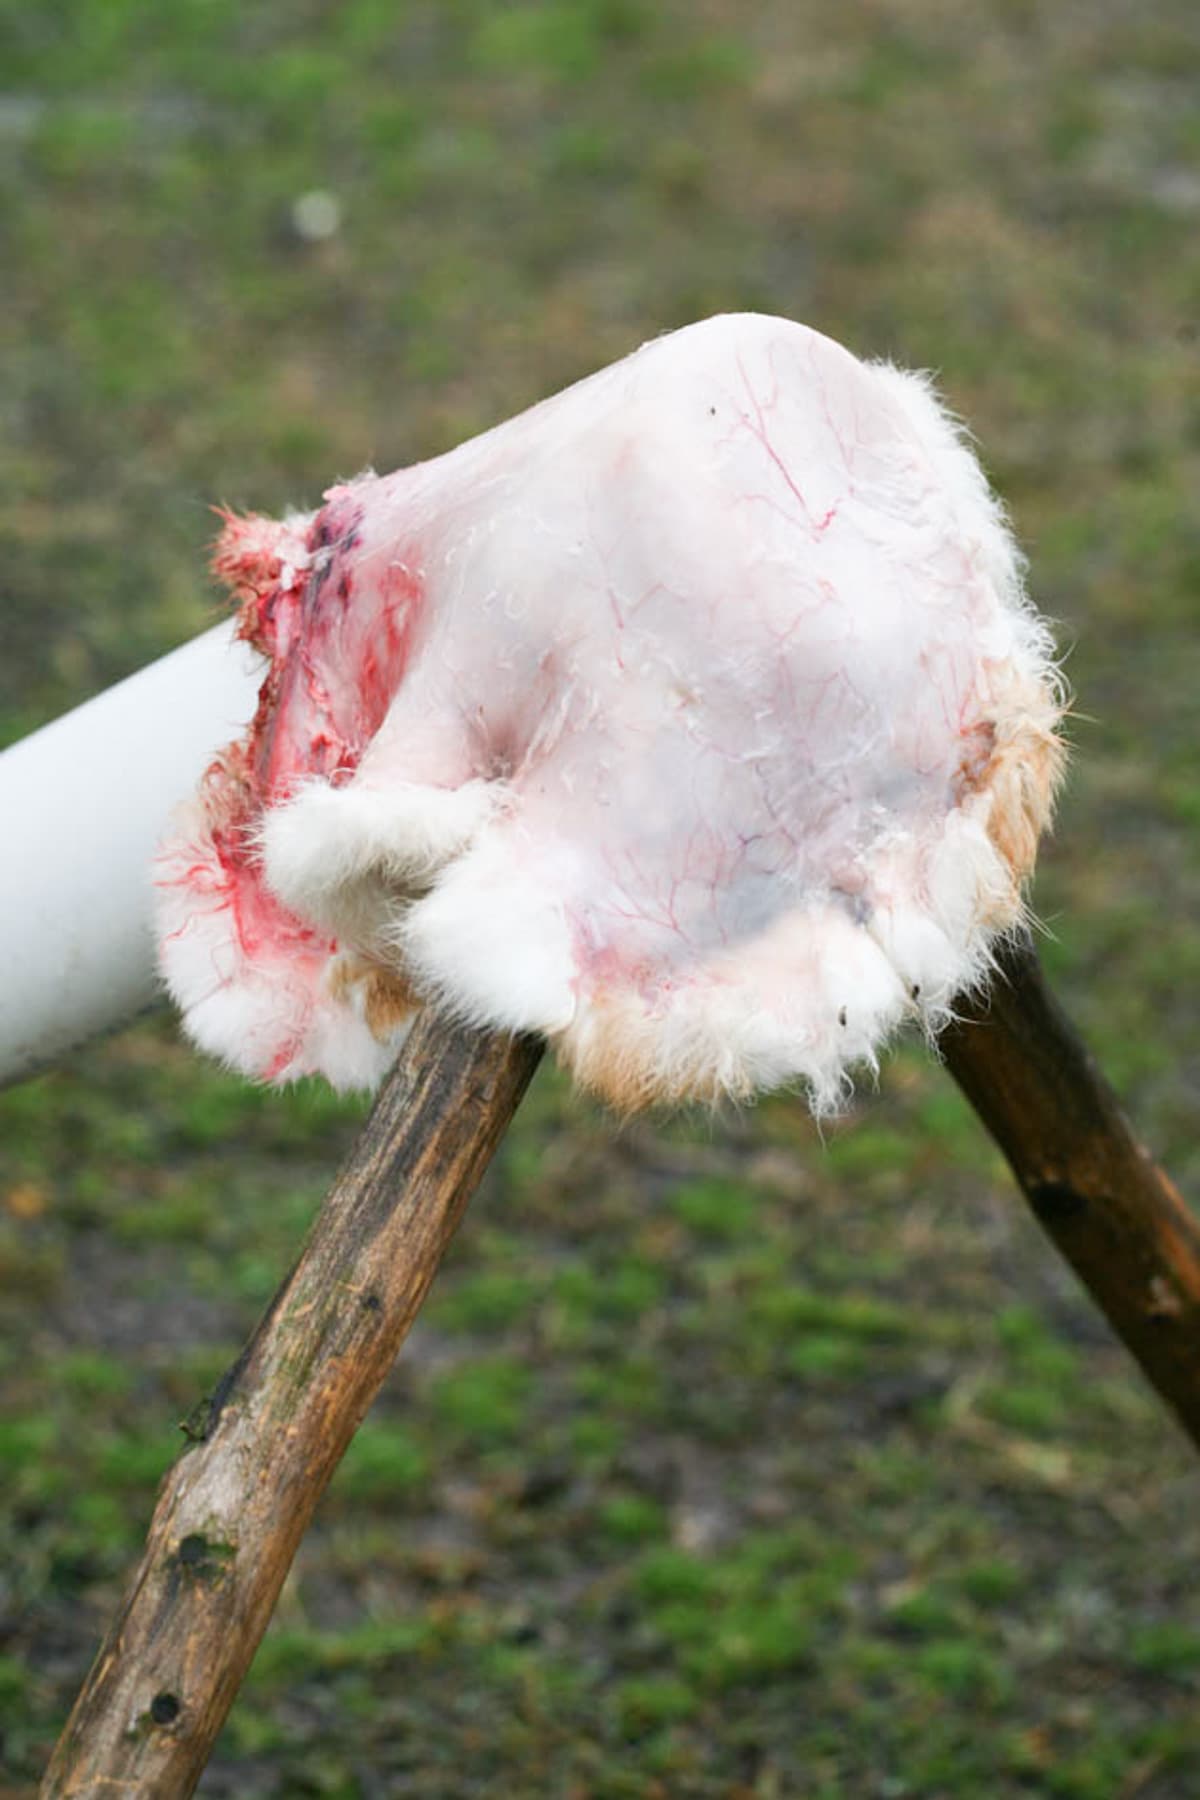
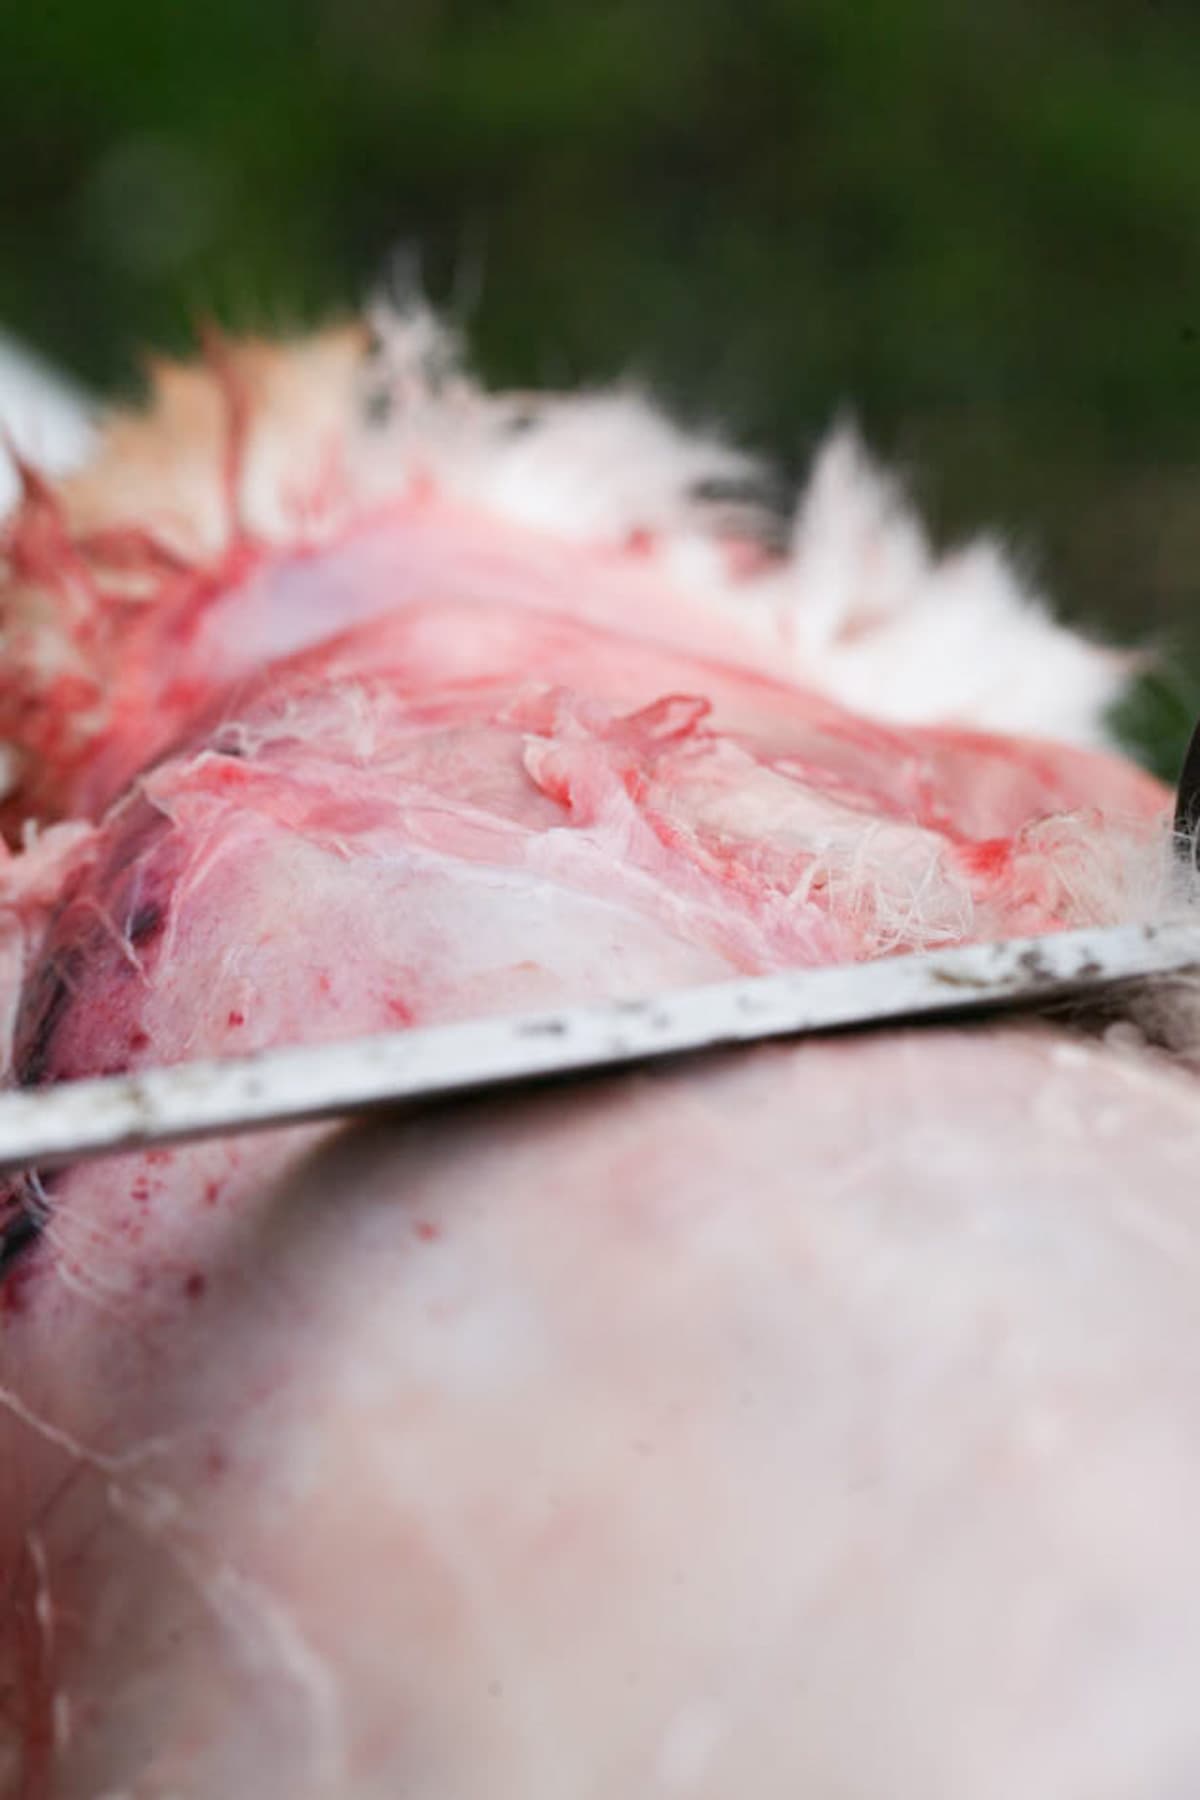
Step three – flesh the hide. Fleshing is removing all the flesh and fat from the skin. A fleshing knife (linked above) has a very dull edge, not sharp at all. You can also use a piece of dull metal or a spoon or a butter knife.
Whatever you use, our objective here is to scrape the flesh off of the skin gently. Place the hide on the beam (which is simply made from a 4? PVC pipe and a couple of cedar logs), and hold the hide to the beam with your body (that is covered with the apron…), then, gently scrape the flesh off the skin away from you.
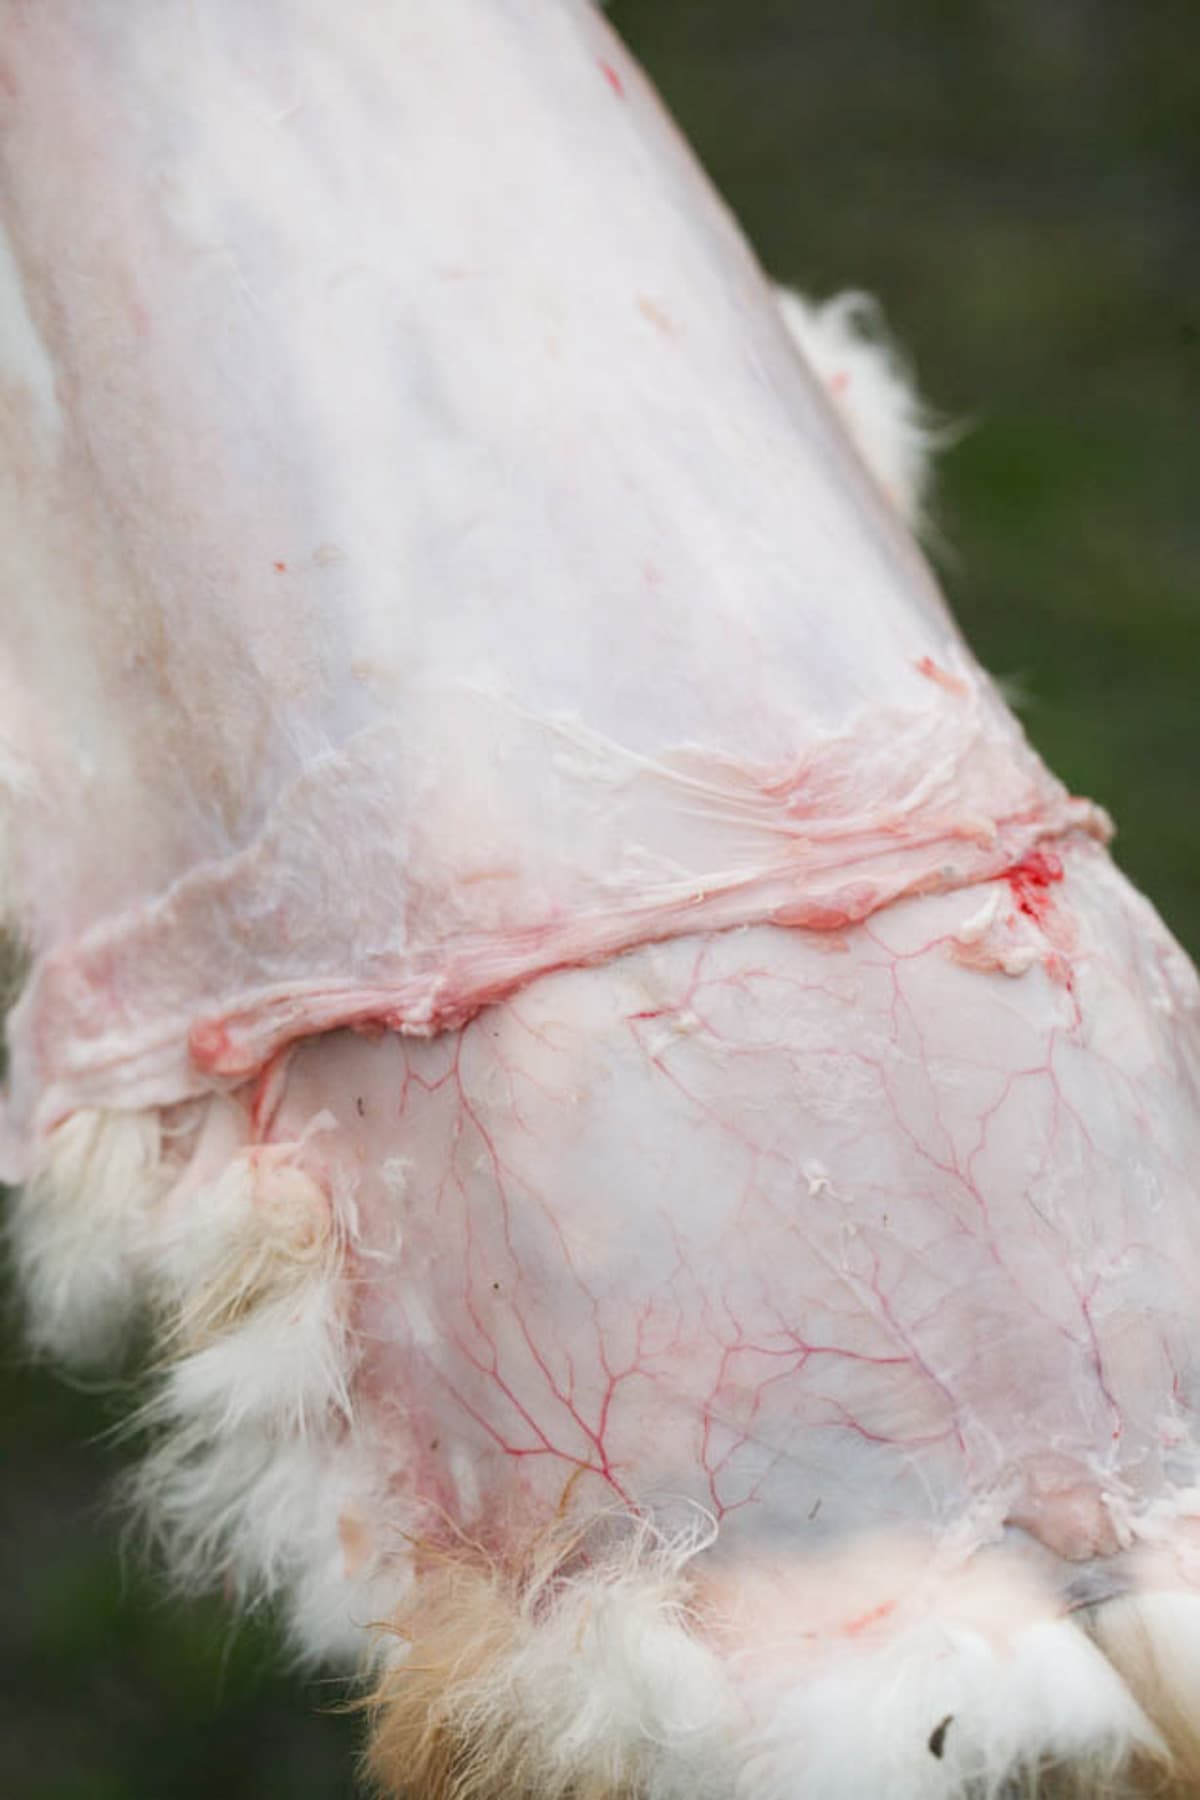
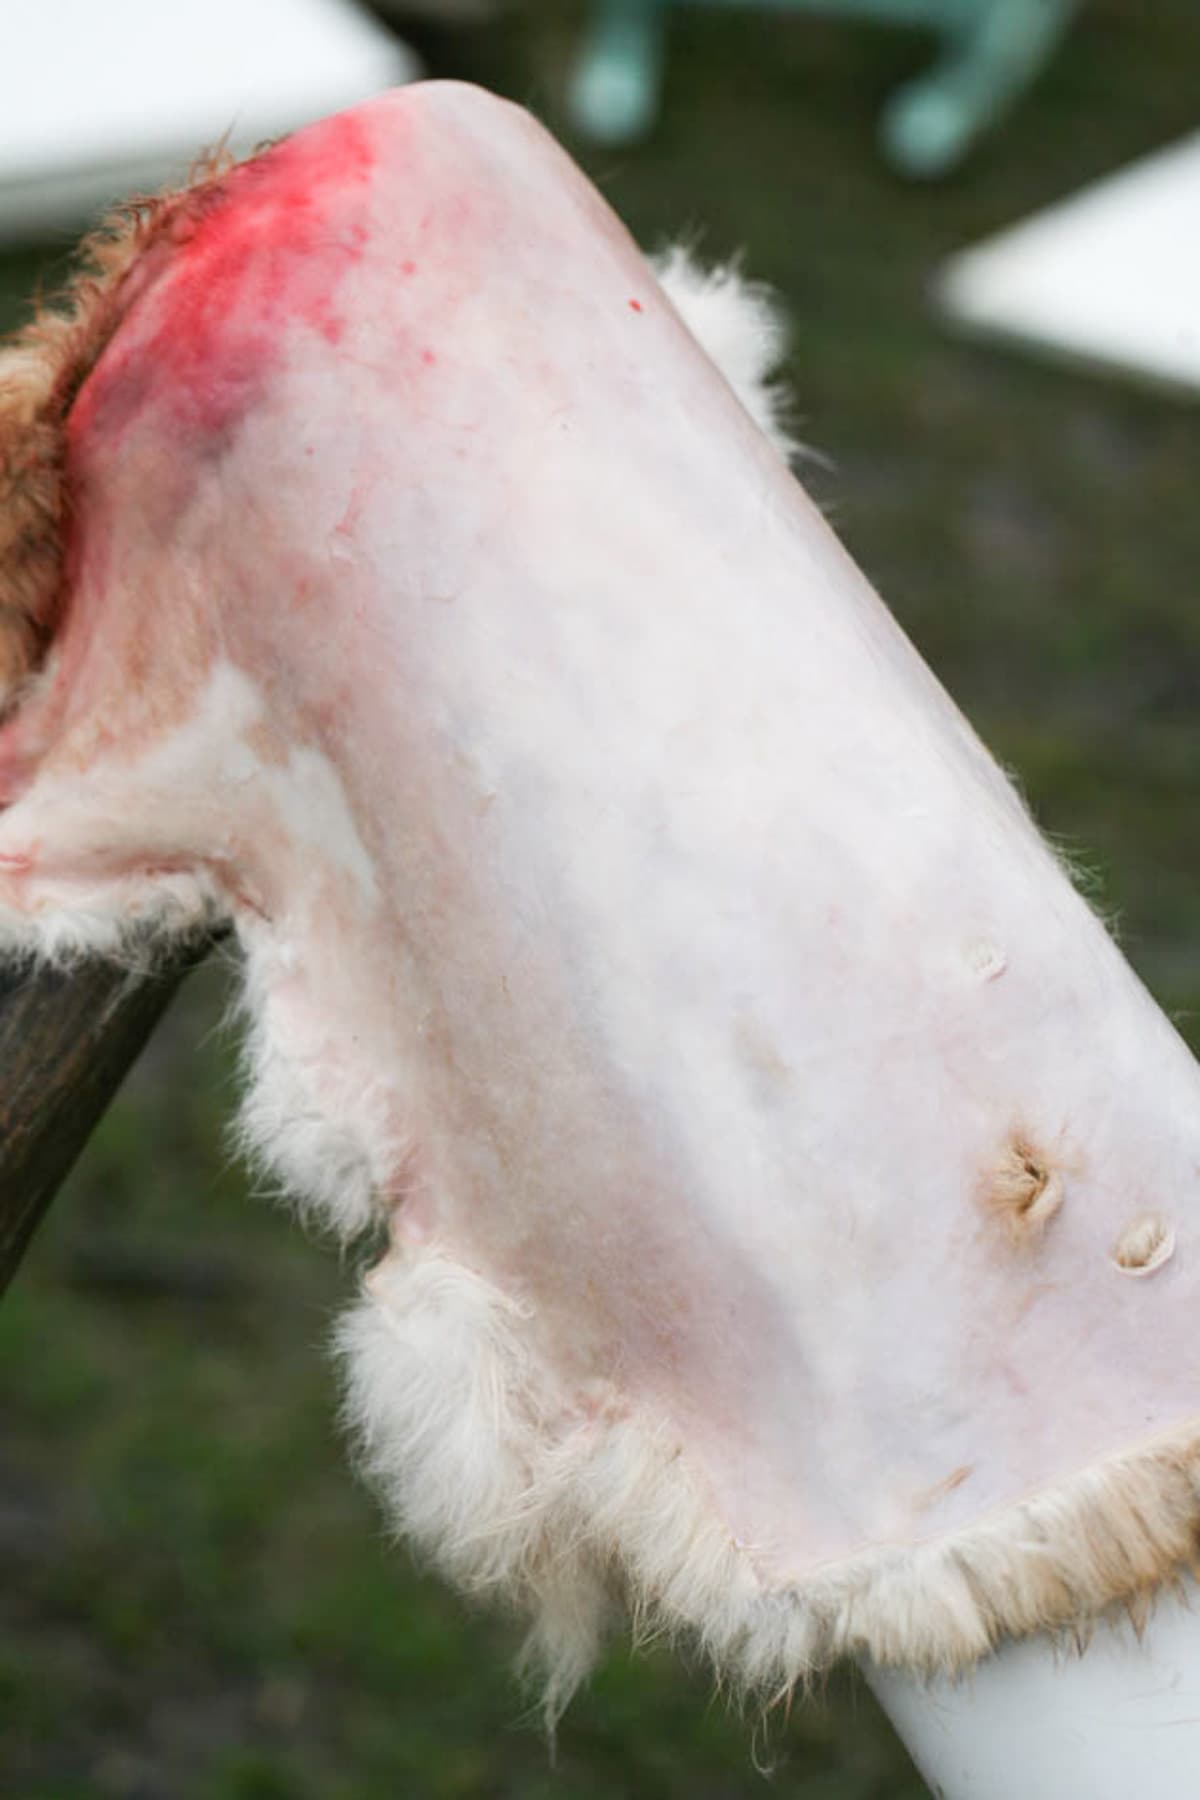
I’ve learned that this is so much easier with a deer hide! A deer hide is a hundred times tougher so you can just go at it, but rabbit skin is so thin and tears easily. In some areas, it’s as thin as paper. You have to do this gently or you’ll rip the hide.
If you do make holes in the hide it’s not a huge deal because we can always sew them later. But do go gently here and take your time. You might need to get rid of the hide that was around the front legs. You can cut it off which, of course, will leave you with two holes. Since they are close to the edge of the hide you can either trim around them or sew them later.
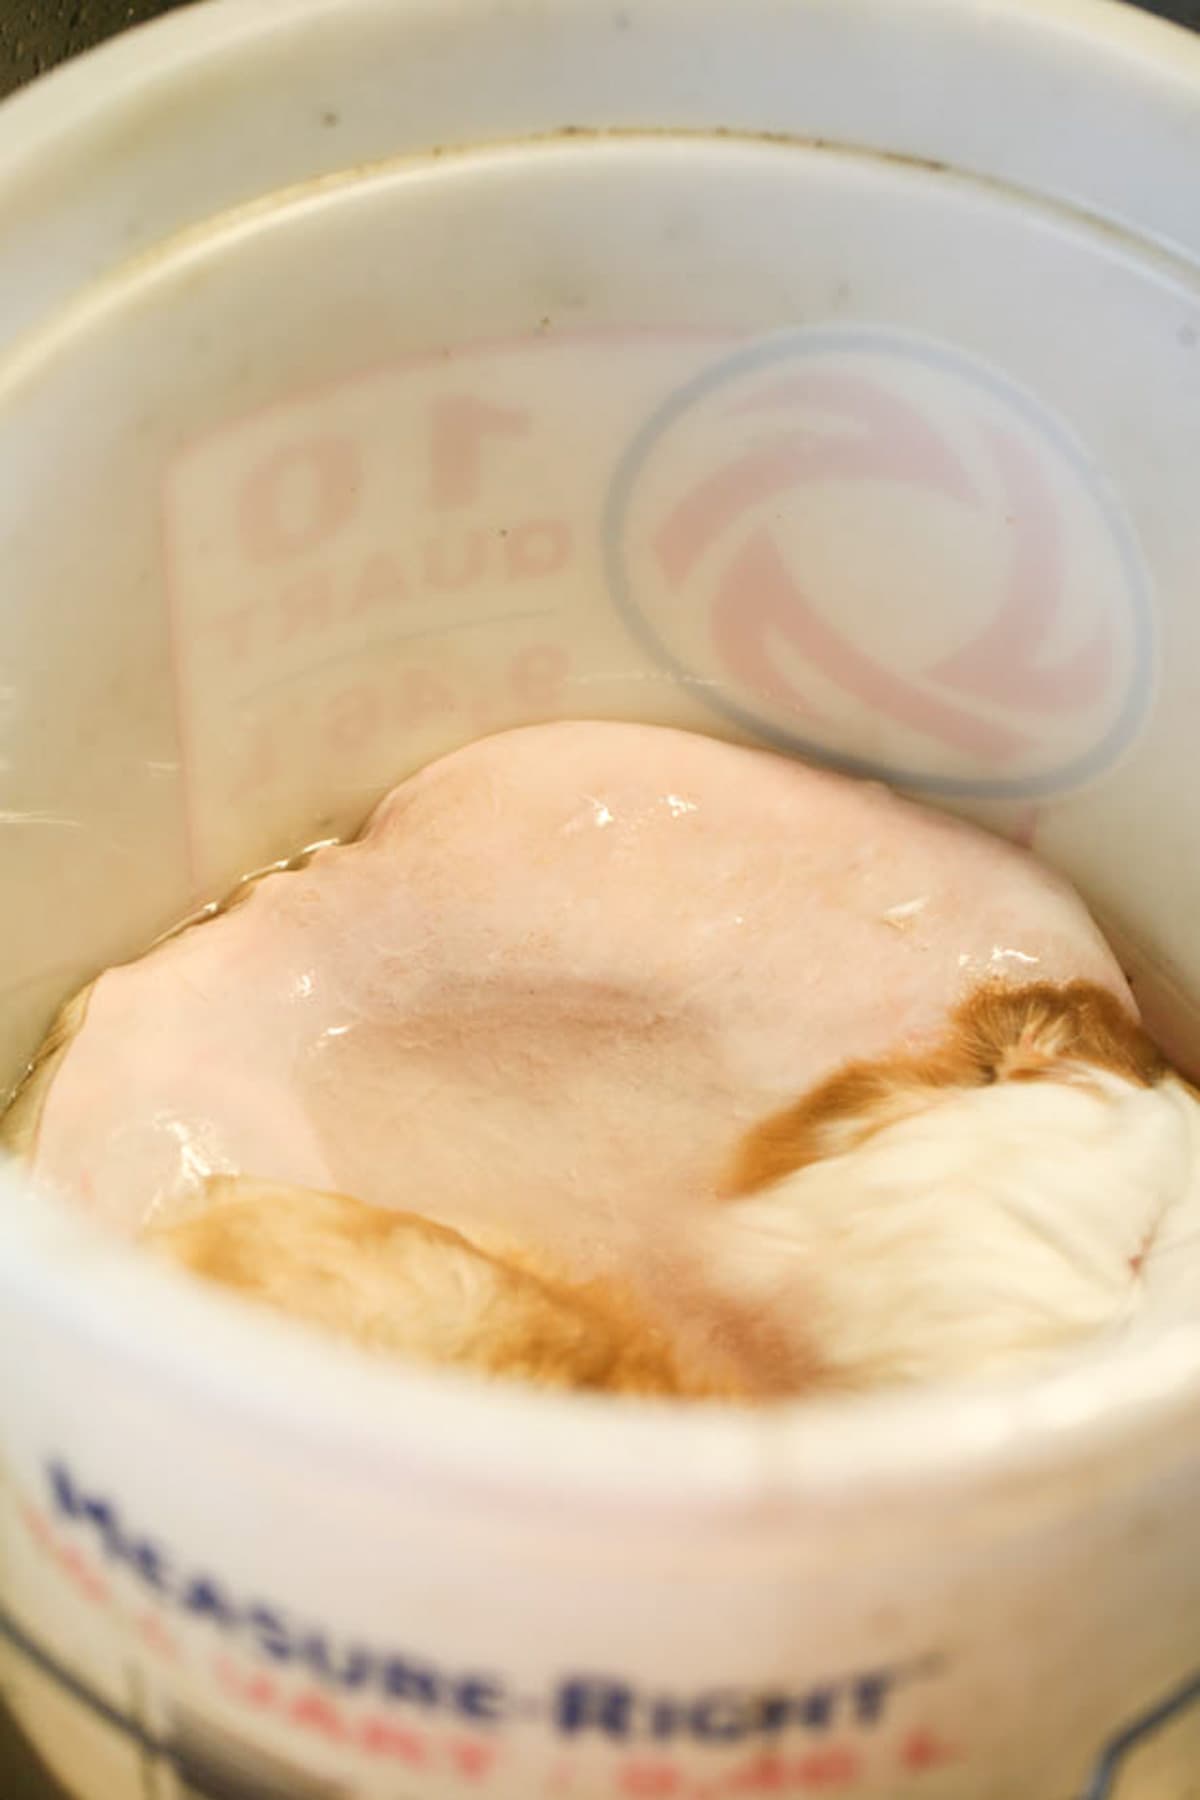
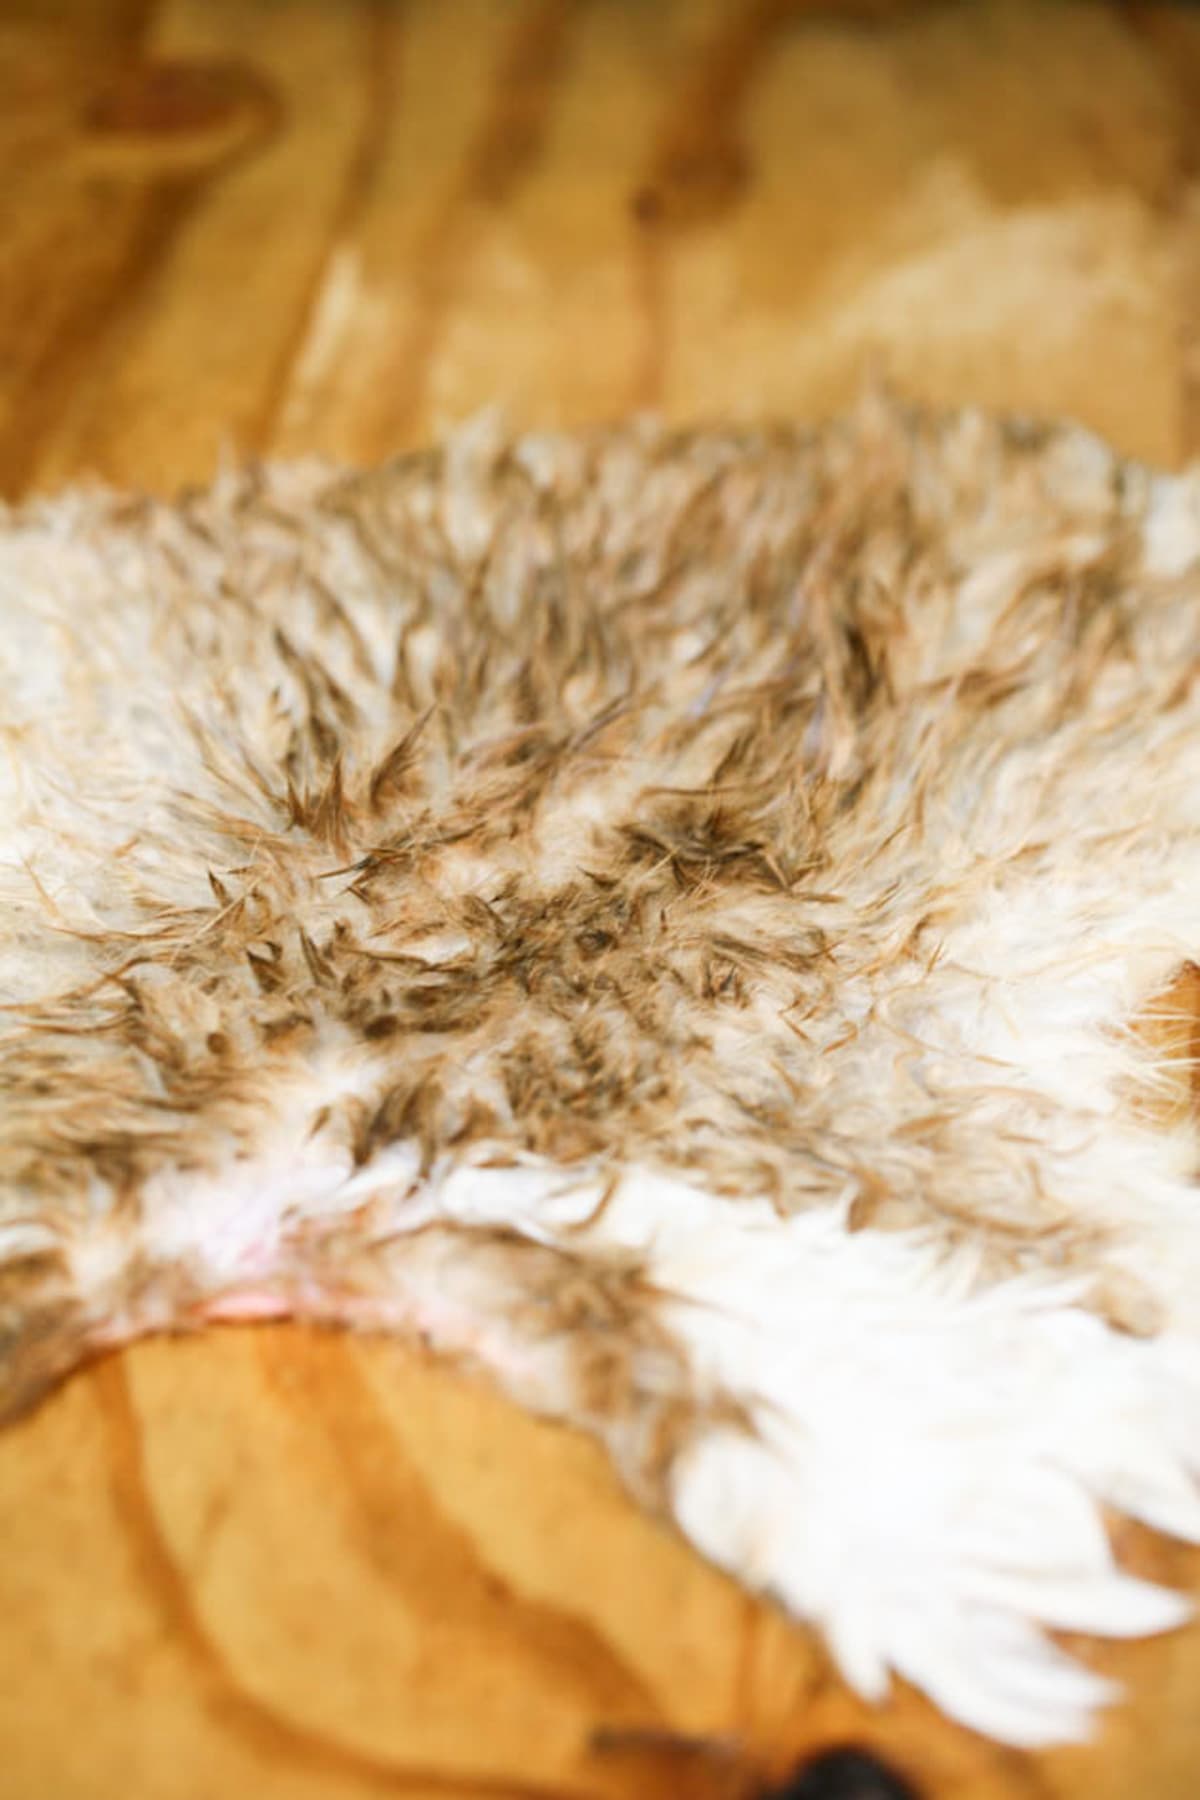
Step four – rinse the hide. After fleshing is done, it’s time to rinse again. This time, to get rid of some of the fat, put the hide in a bucket and use a tiny drop of dish soap and cold water. After you’re done rinsing the hide make sure to try and squeeze it and twist it as good as you can to remove as much water as possible.
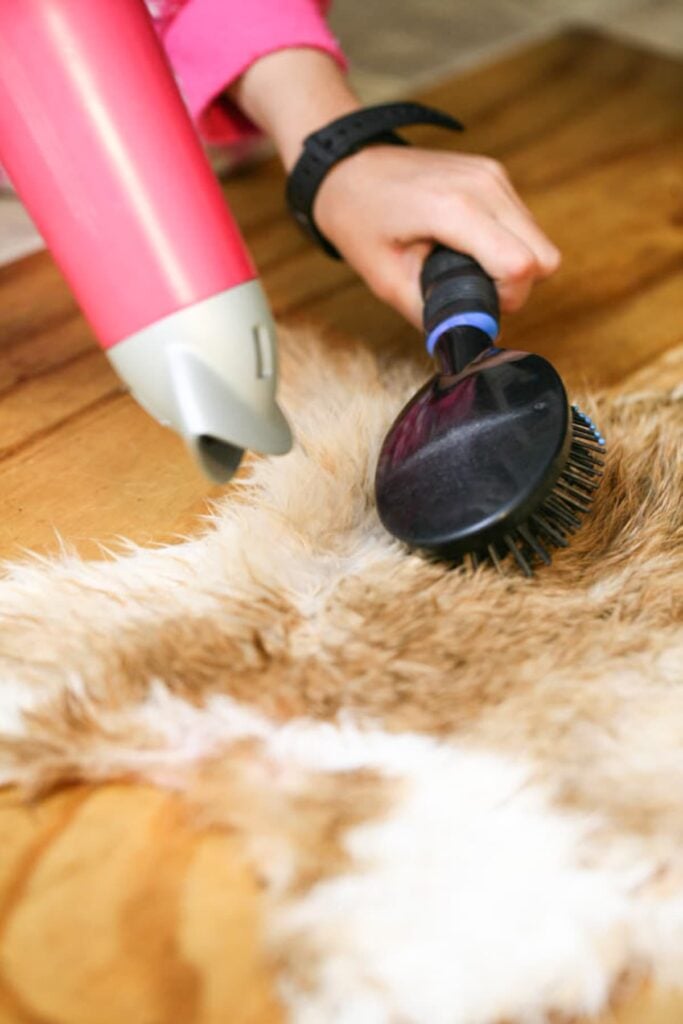
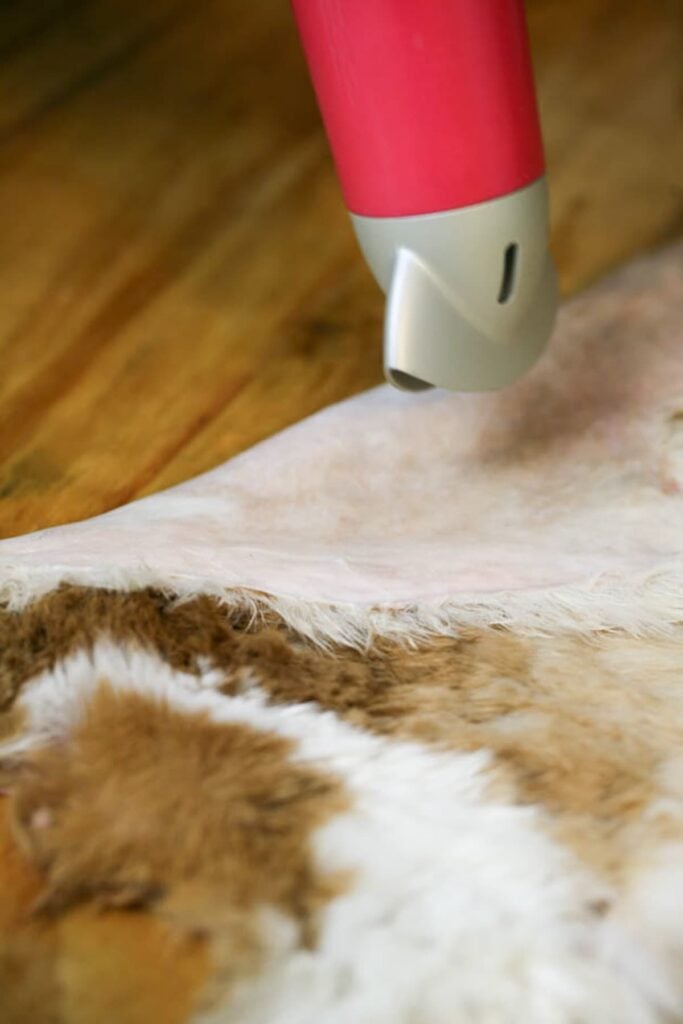
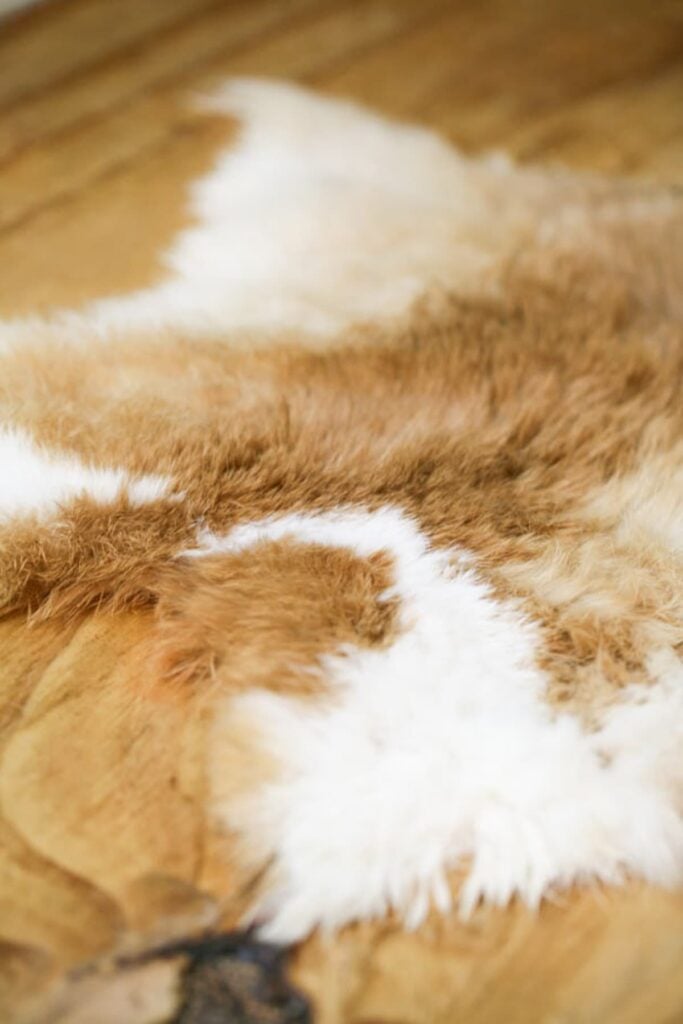
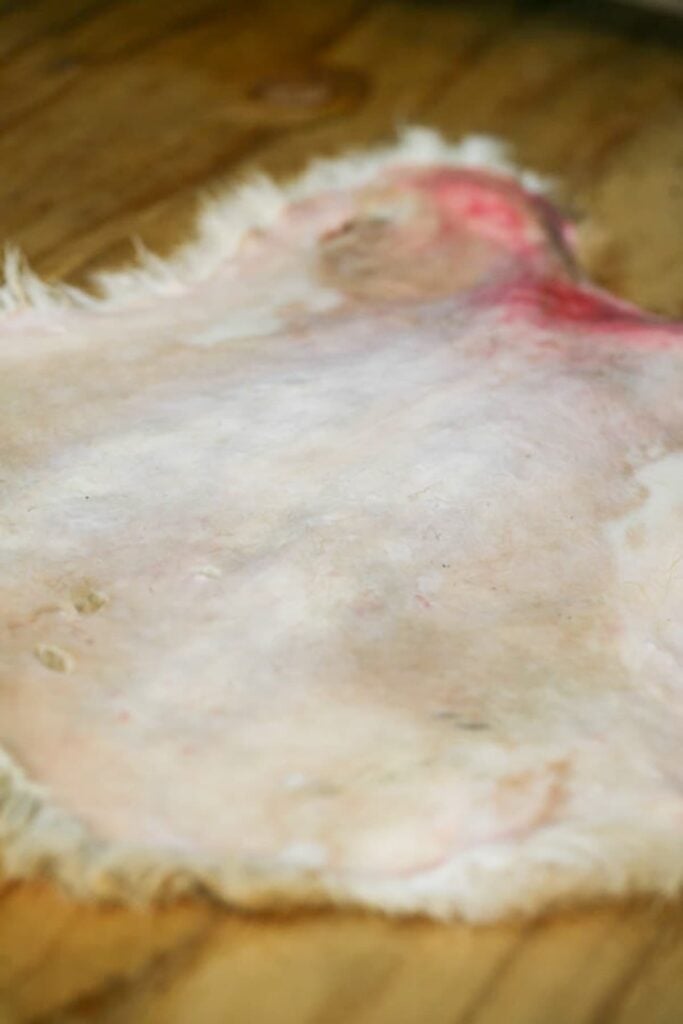
Step five – partially dry the hide. We are going to slightly dry the hide. The emphasis here is on SLIGHTLY, we want it just a tiny bit damp. Place the hide, skin down, on a piece of clean plywood, and use a hair dryer and a brush to dry the fur. This takes some time… We don’t need it completely dry, it’s going to go through another washing but we also don’t want the hide completely wet.
Of course, you don’t have to use a hairdryer. If it’s a nice day outside you can simply leave it in the sun and check on it once in a while. Make sure your dog can’t reach the hide and be mindful of flies, we don’t want them to come to lay eggs all over the hide.
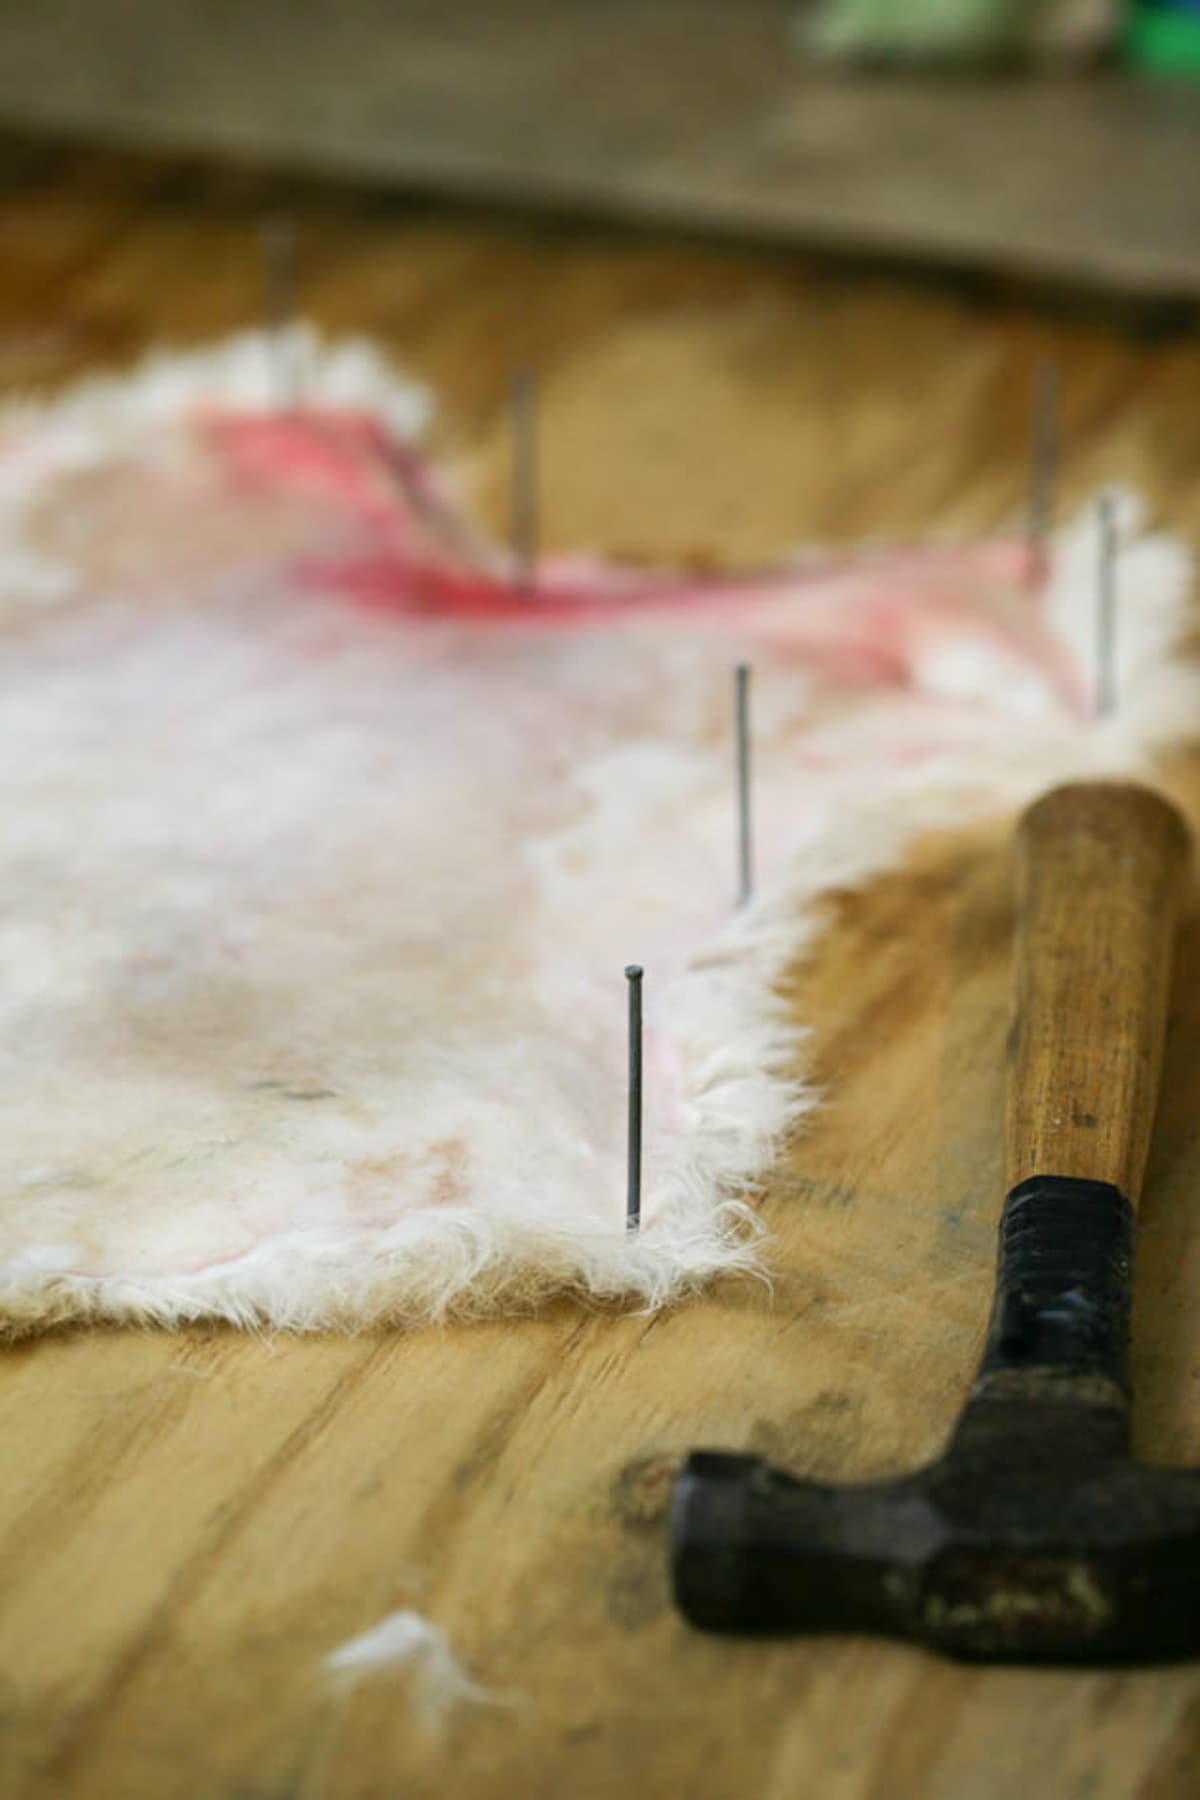
Step six – pin the hide to a board. You can use whatever nails you have, they don’t have to be long nails like I used, It’s just what I had. Use your hammer and nails to pin the hide to the board to keep it stretched. You don’t need to stretch it tight, we just don’t want it to move. Keep the nails at the edge of the hide and don’t worry about the tiny holes that they make, they are barely noticeable.
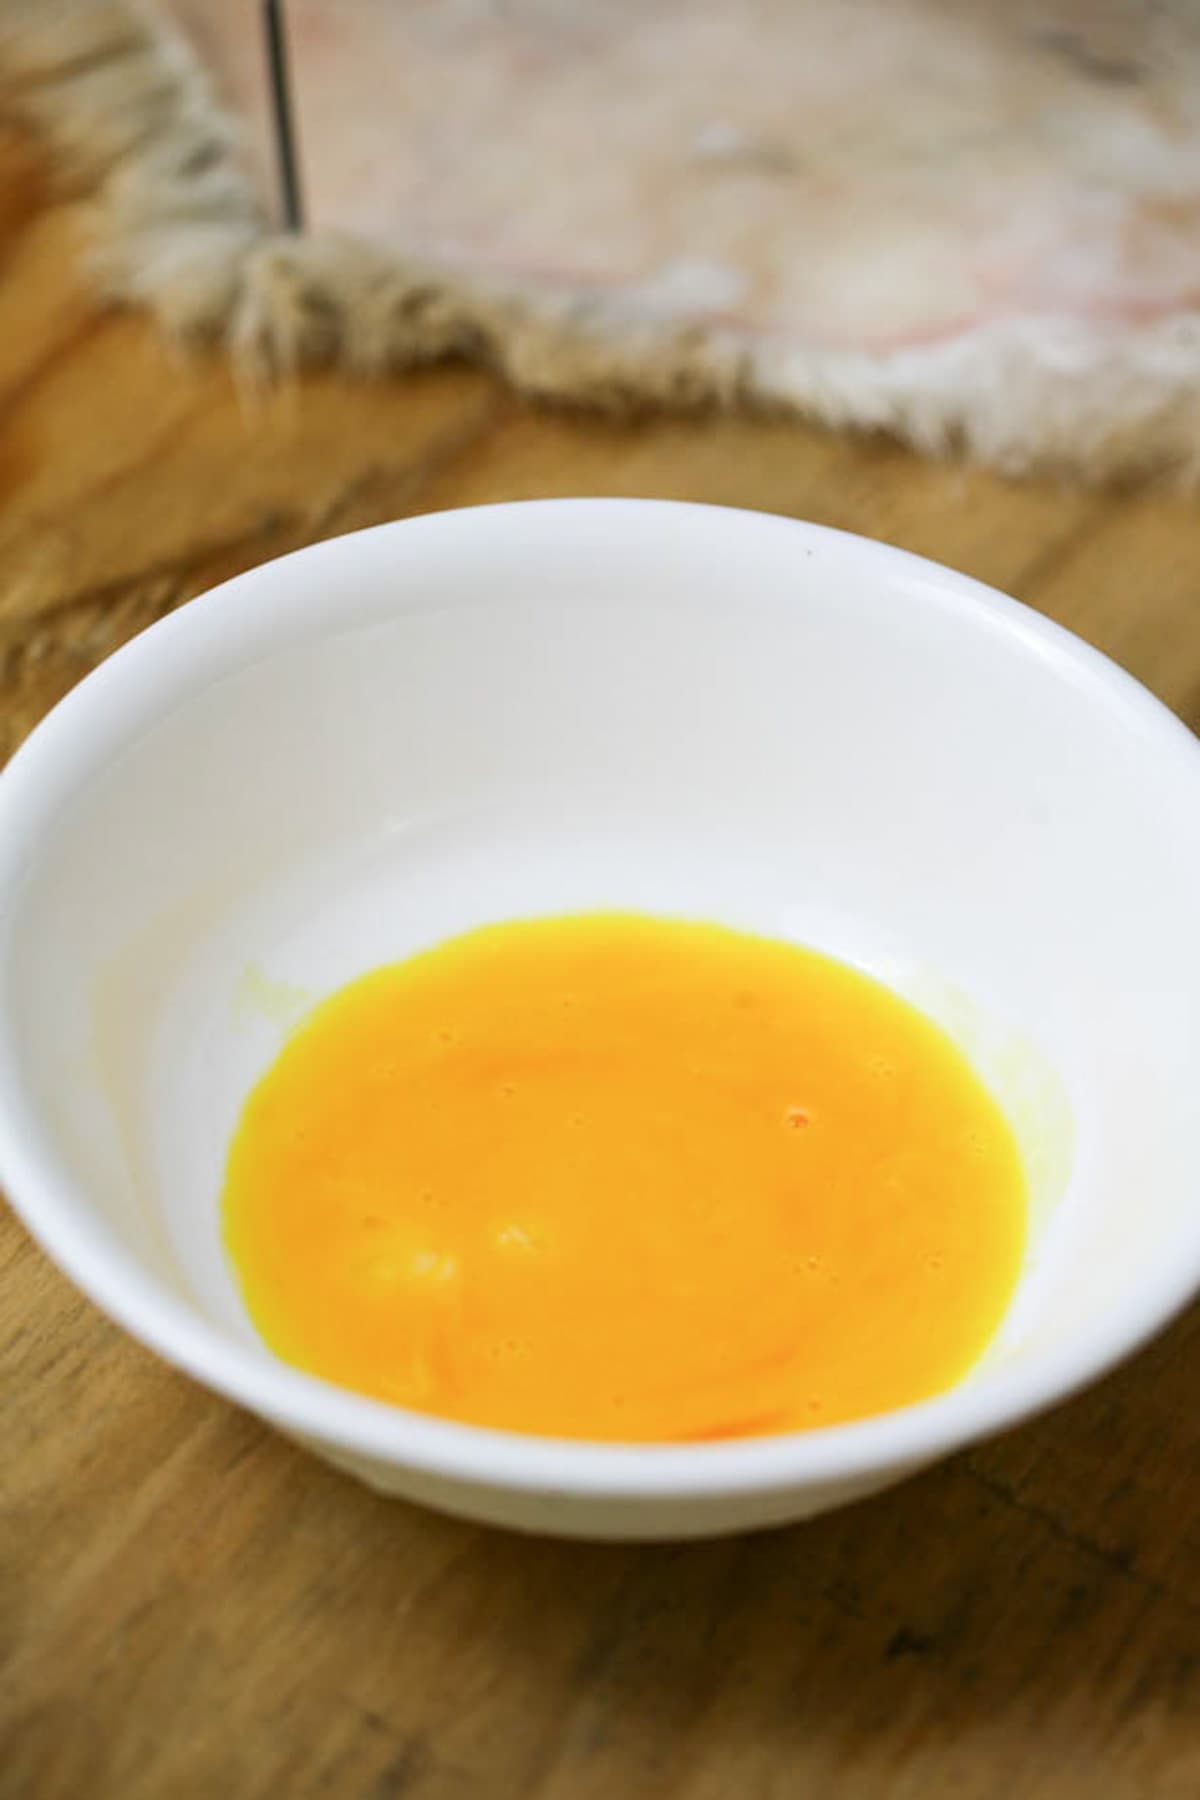
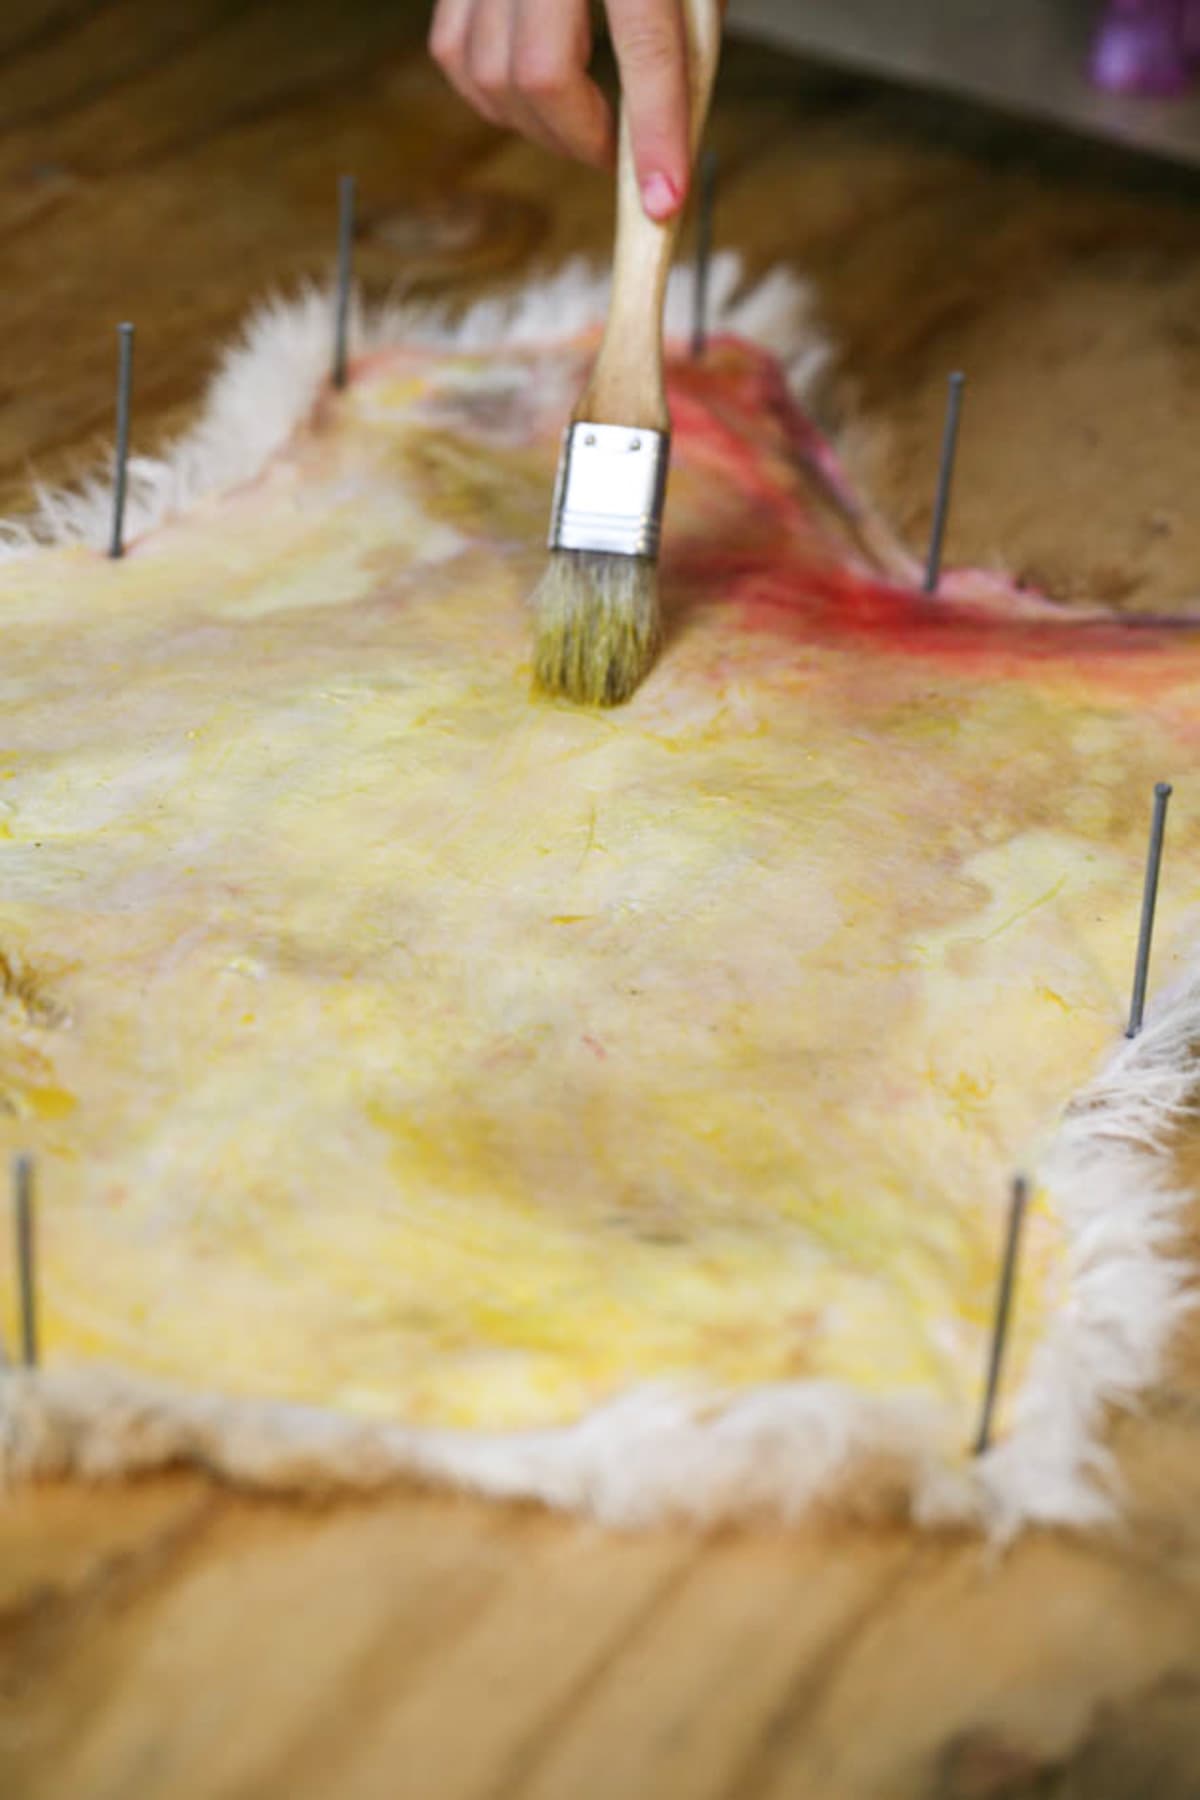
Step seven – brain the hide. Let’s talk about the braining process… Traditionally, you would use the brain of the animal to tan its hide. It is said that every animal has a brain big enough to tan its own hide (except a buffalo, I think). If you want to use the brain you can remove it from the animal’s head as I show you how to do with deer in my post How to Extract Deer Brain for Hide Tanning. I think that it works pretty much the same with all animals.
However, it’s really hard to do with small animals! It’s a tiny little brain and it’s so hard to get it out of the small skull. I tried, just for the sake of experimenting, and even though I got the brain out I found that it was really hard to dissolve it in water as you should do before spreading the solution on the hide.
So there are a couple of options here…
- Use a brain from another animal. If you have a deer brain in the freezer or if you can get pig or cow’s brain from the local butcher you can use that brain. Again, just dissolve it in a little bit of water and use the solution on the hide. If you want to see how to make the solution and for a recipe check out my How to Tan Deer Hide post.
- Use an egg yolk instead of the brain. That is what I ended up doing with this hide…
All you need is one egg yolk, it has a lot of fat in it and will help us soften the skin. Beat the yolk in a bowl and use a kitchen brush to brush the damp skin. Make sure to cover every area of the skin with a good amount of egg yolk (one egg yolk should be enough for one rabbit hide). Try not to brush the fur with the egg yolk but if you do it’s no big deal.
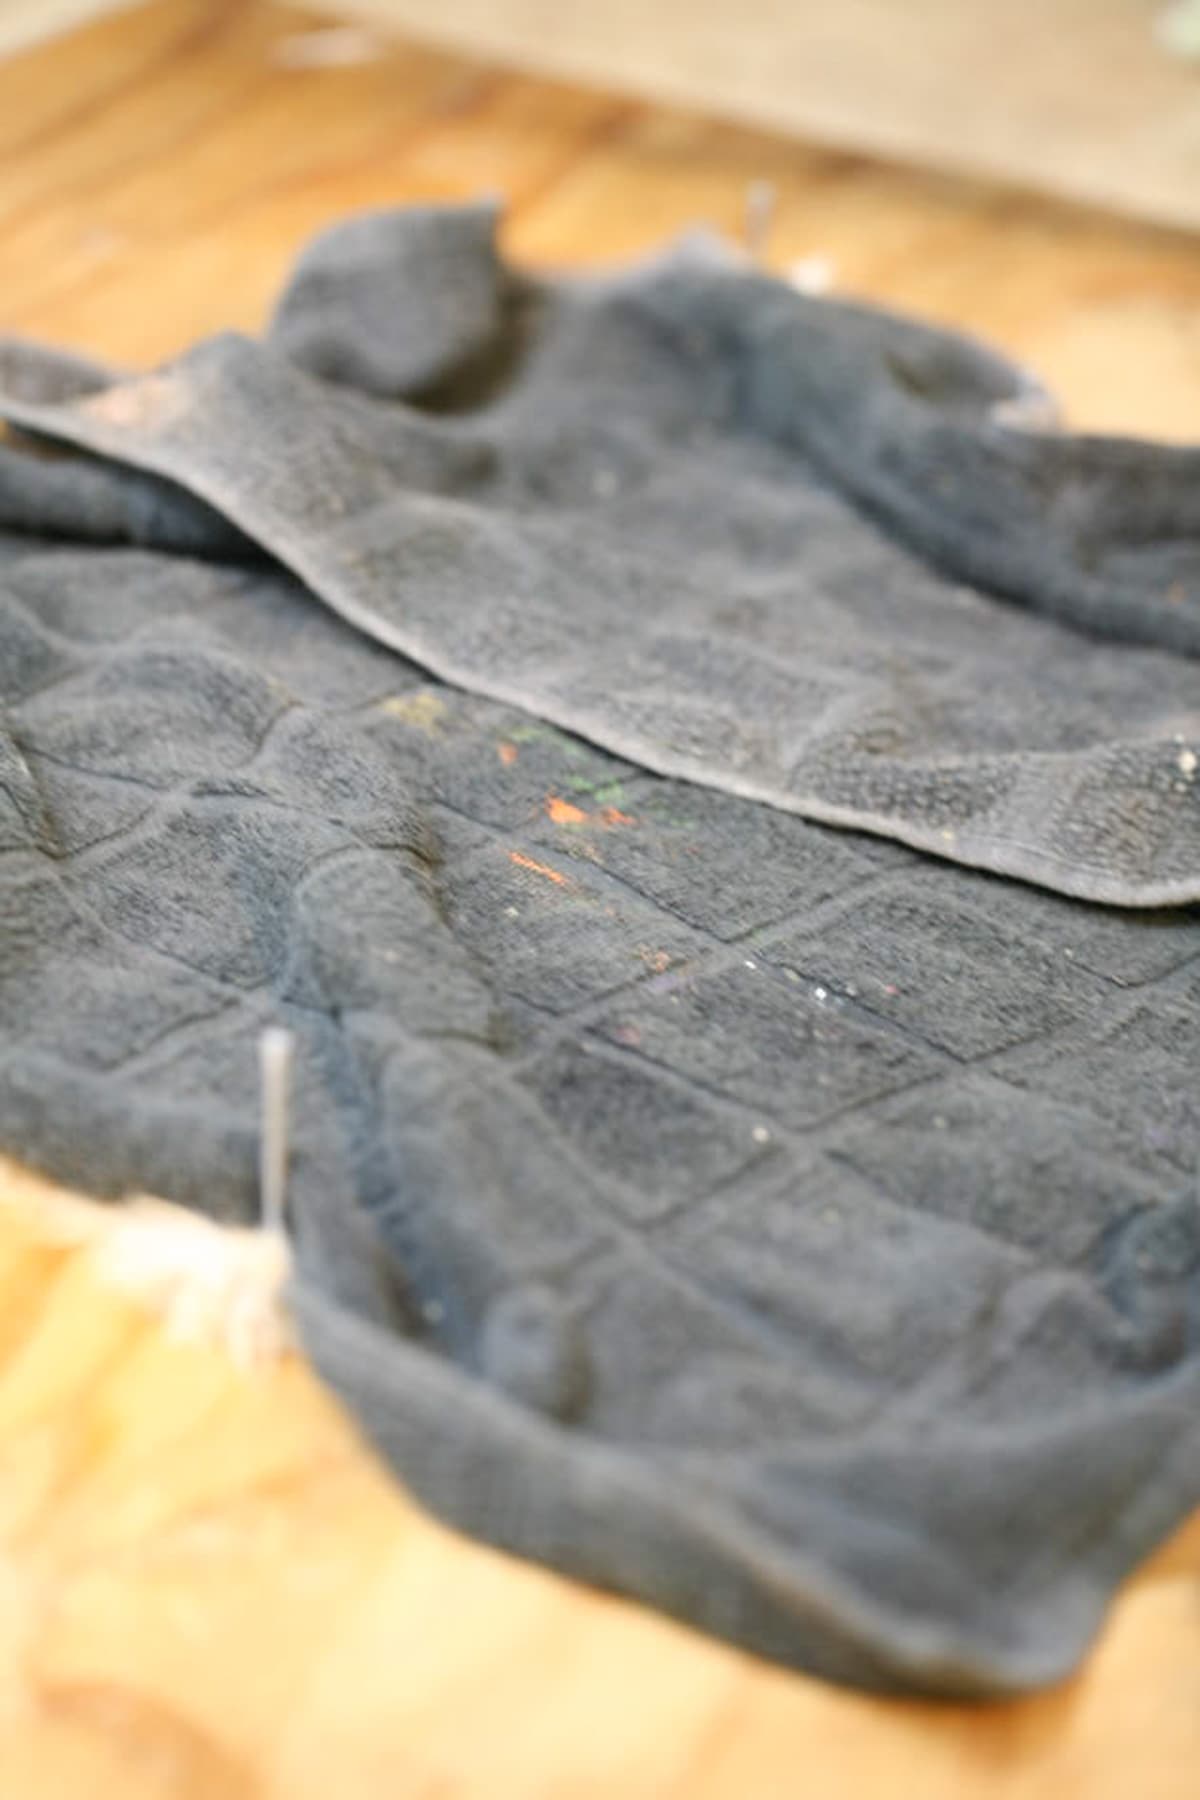
Then, cover your hide with a damp towel. Leave it like that for the night and make sure the hide does not dry. So if you leave it in a warm place keep your towel a bit damp to keep the moisture. If you leave the hide outside or in a shed, make sure to cover it well so flies don’t lay eggs on it.
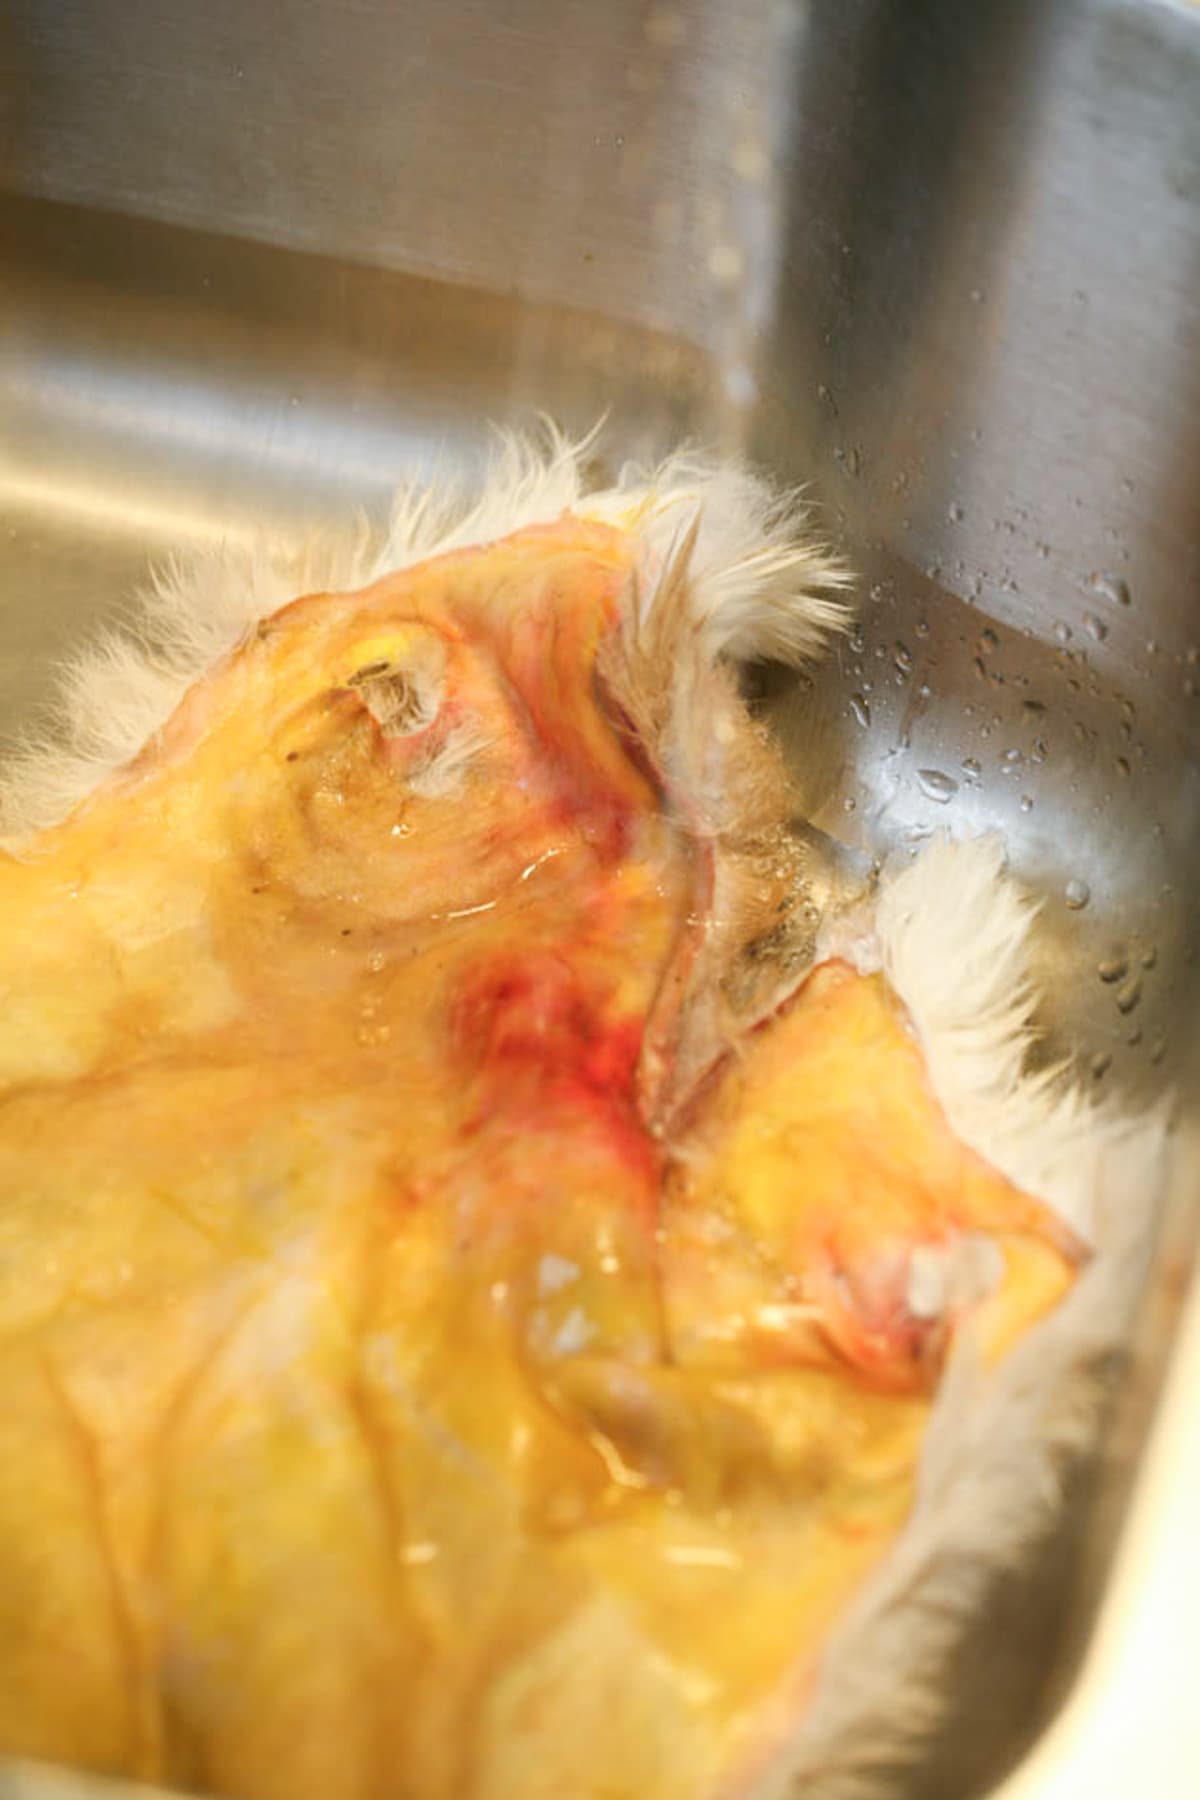
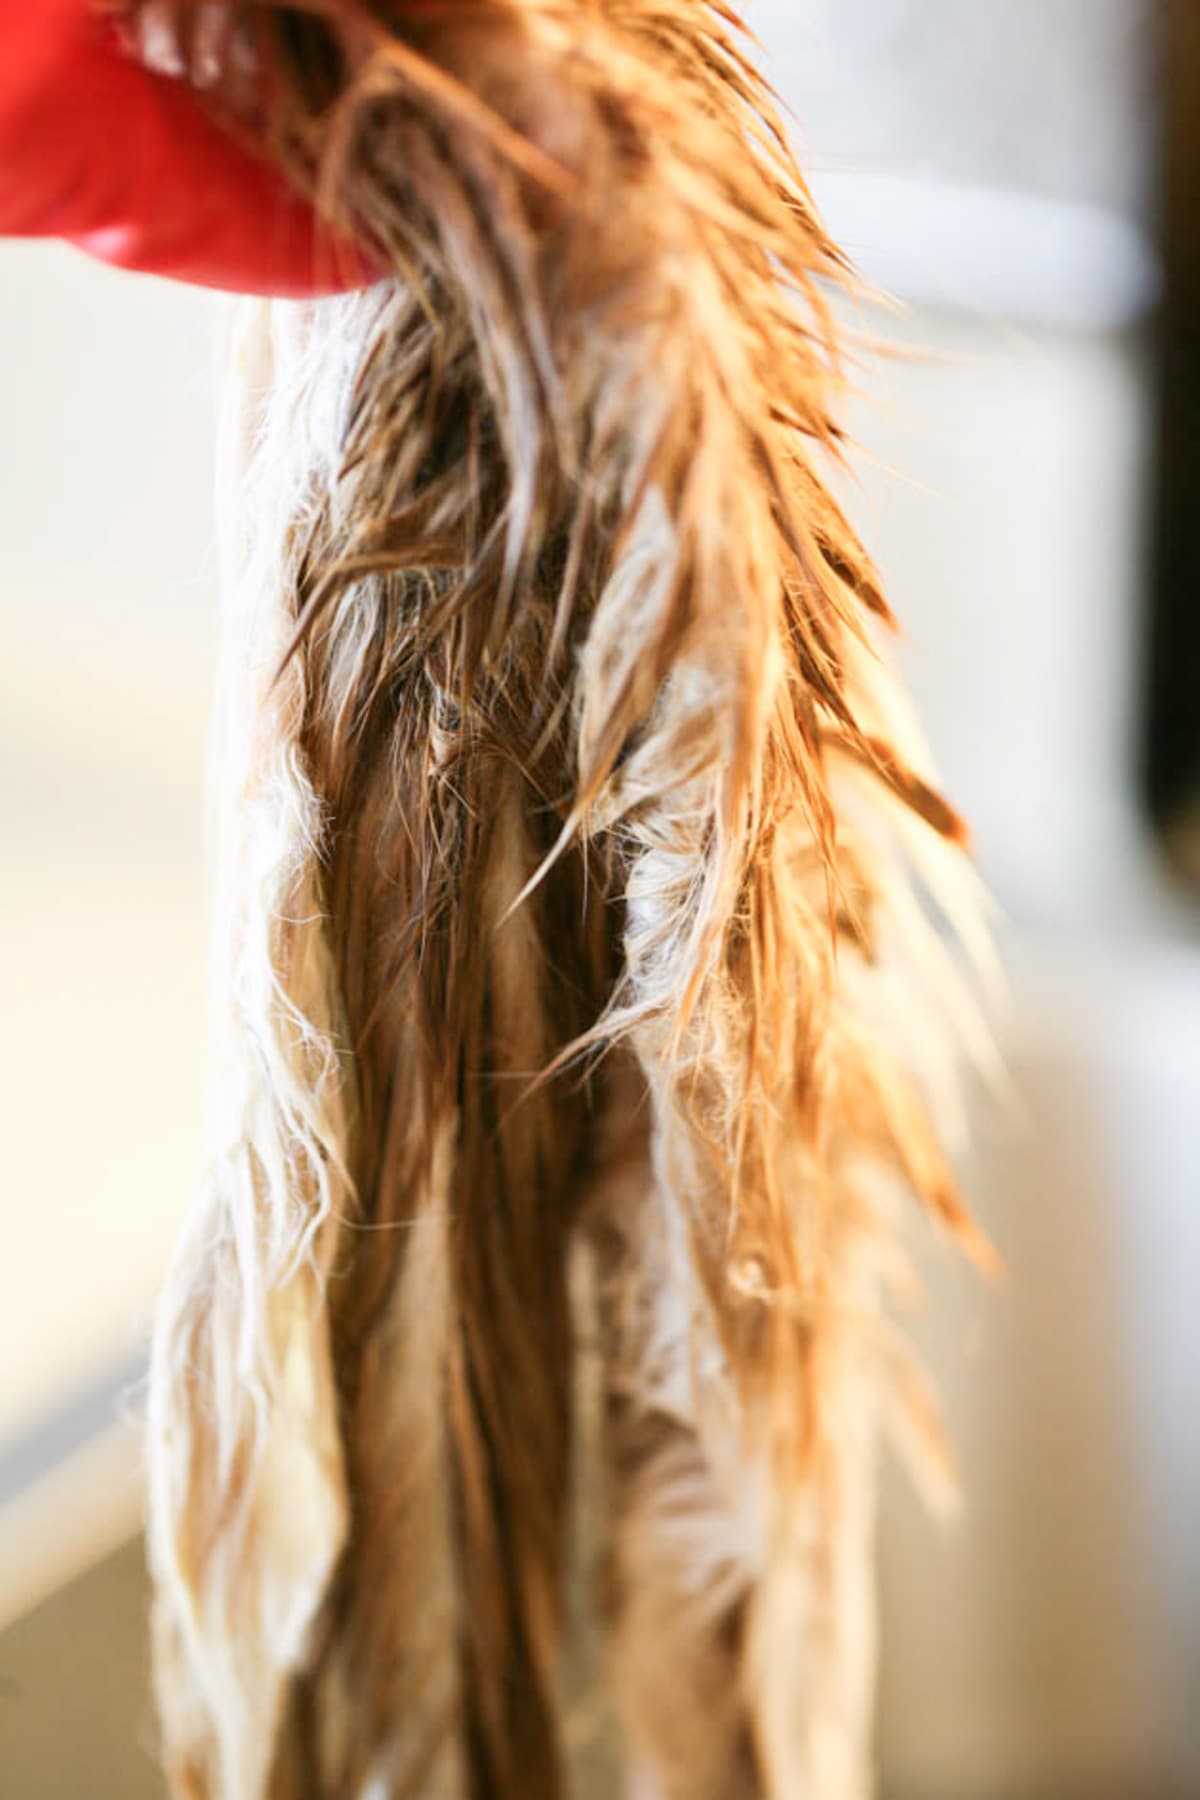
Step eight – third rinse. Next, let’s wash the egg yolk from the hide. Again, only use water in this step, no soap and then squeeze the hide well to remove the excess water.
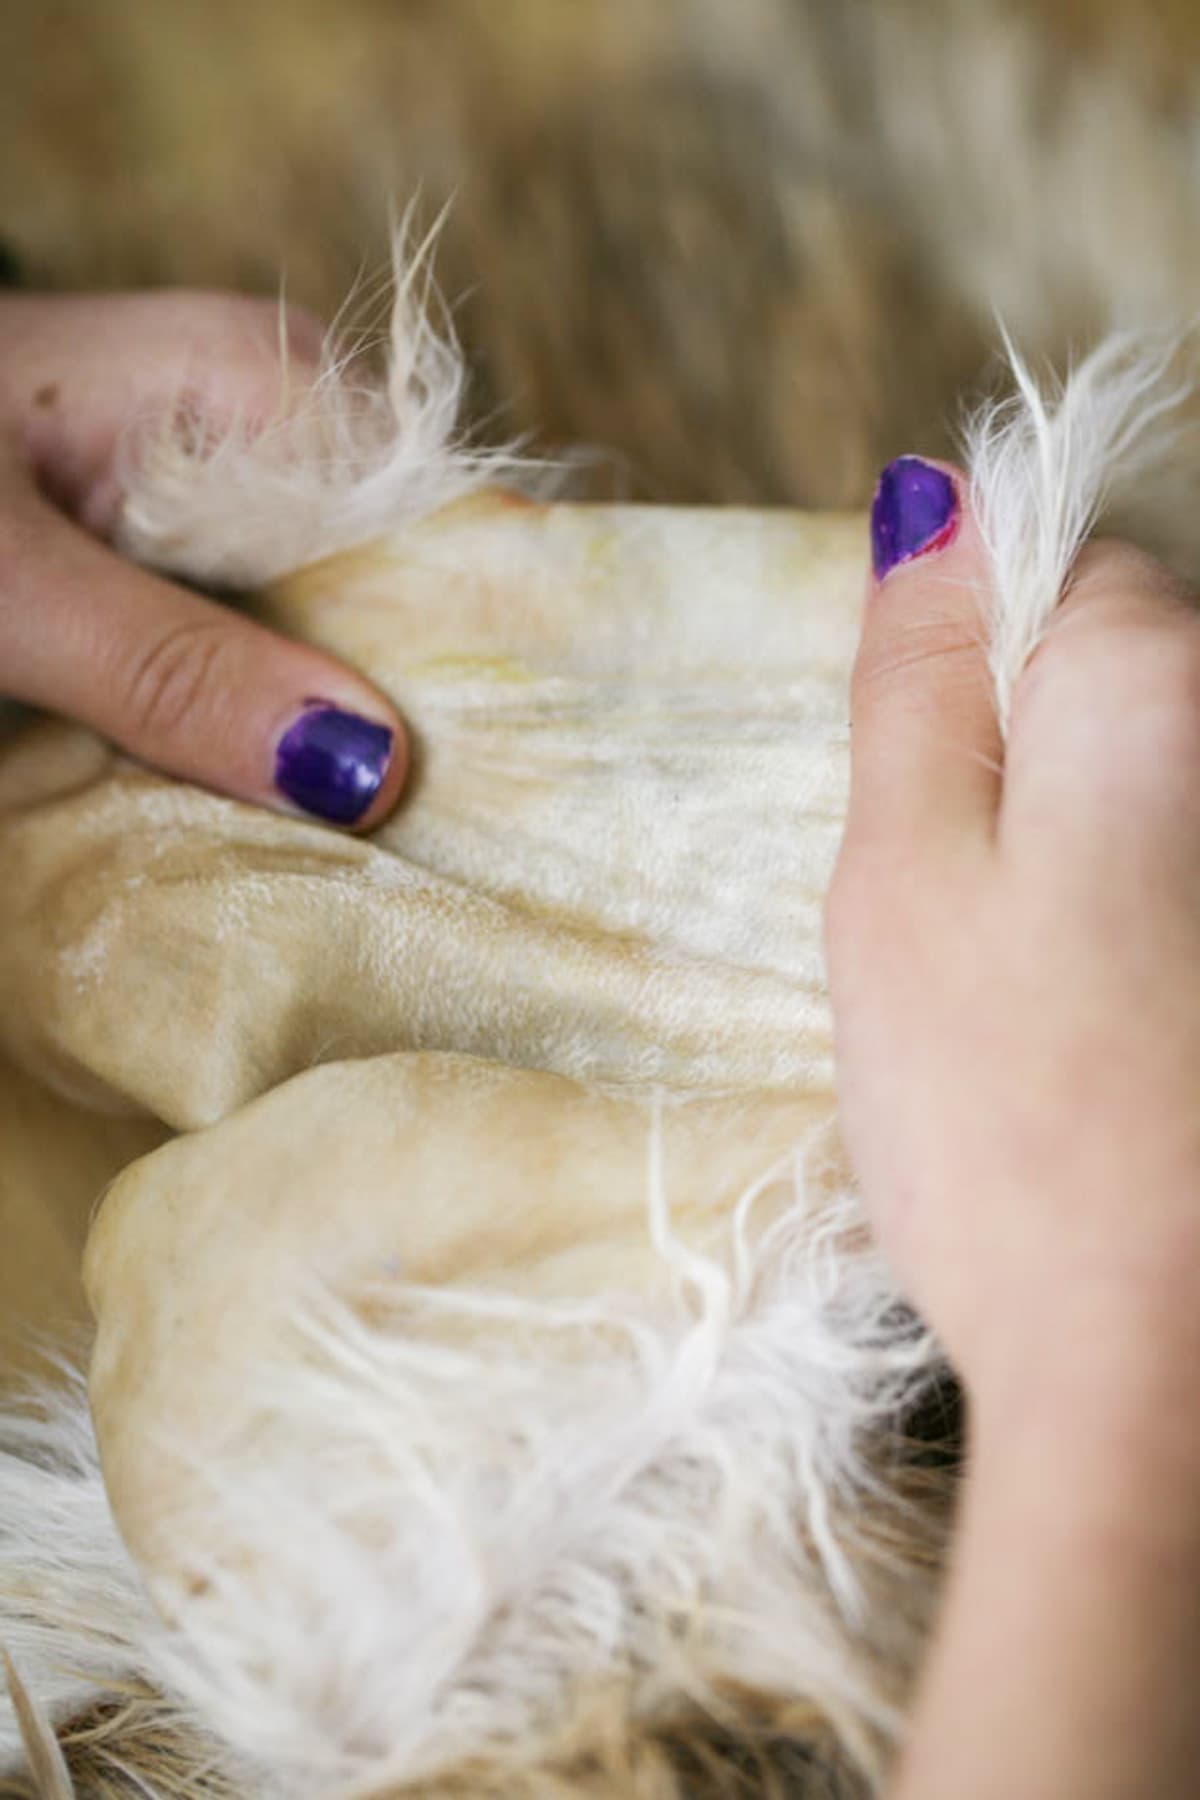
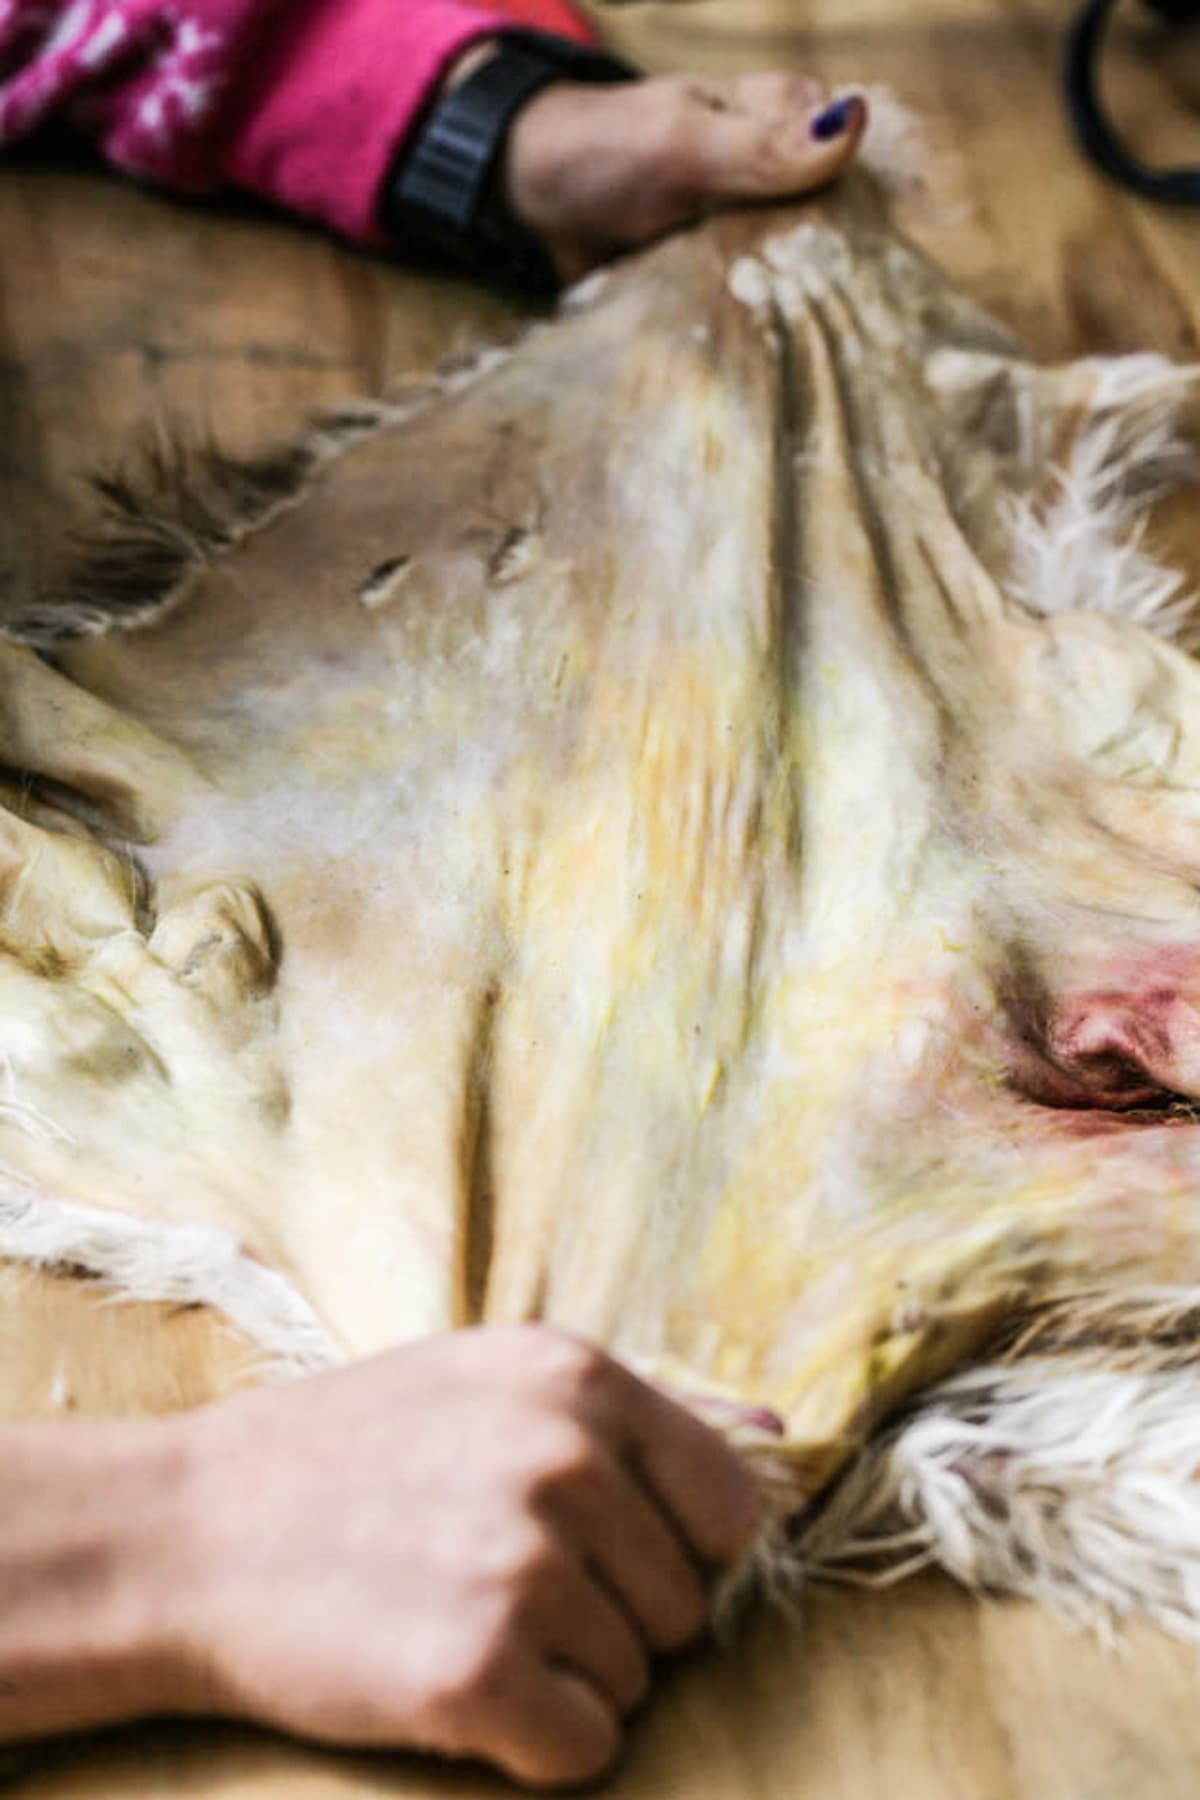
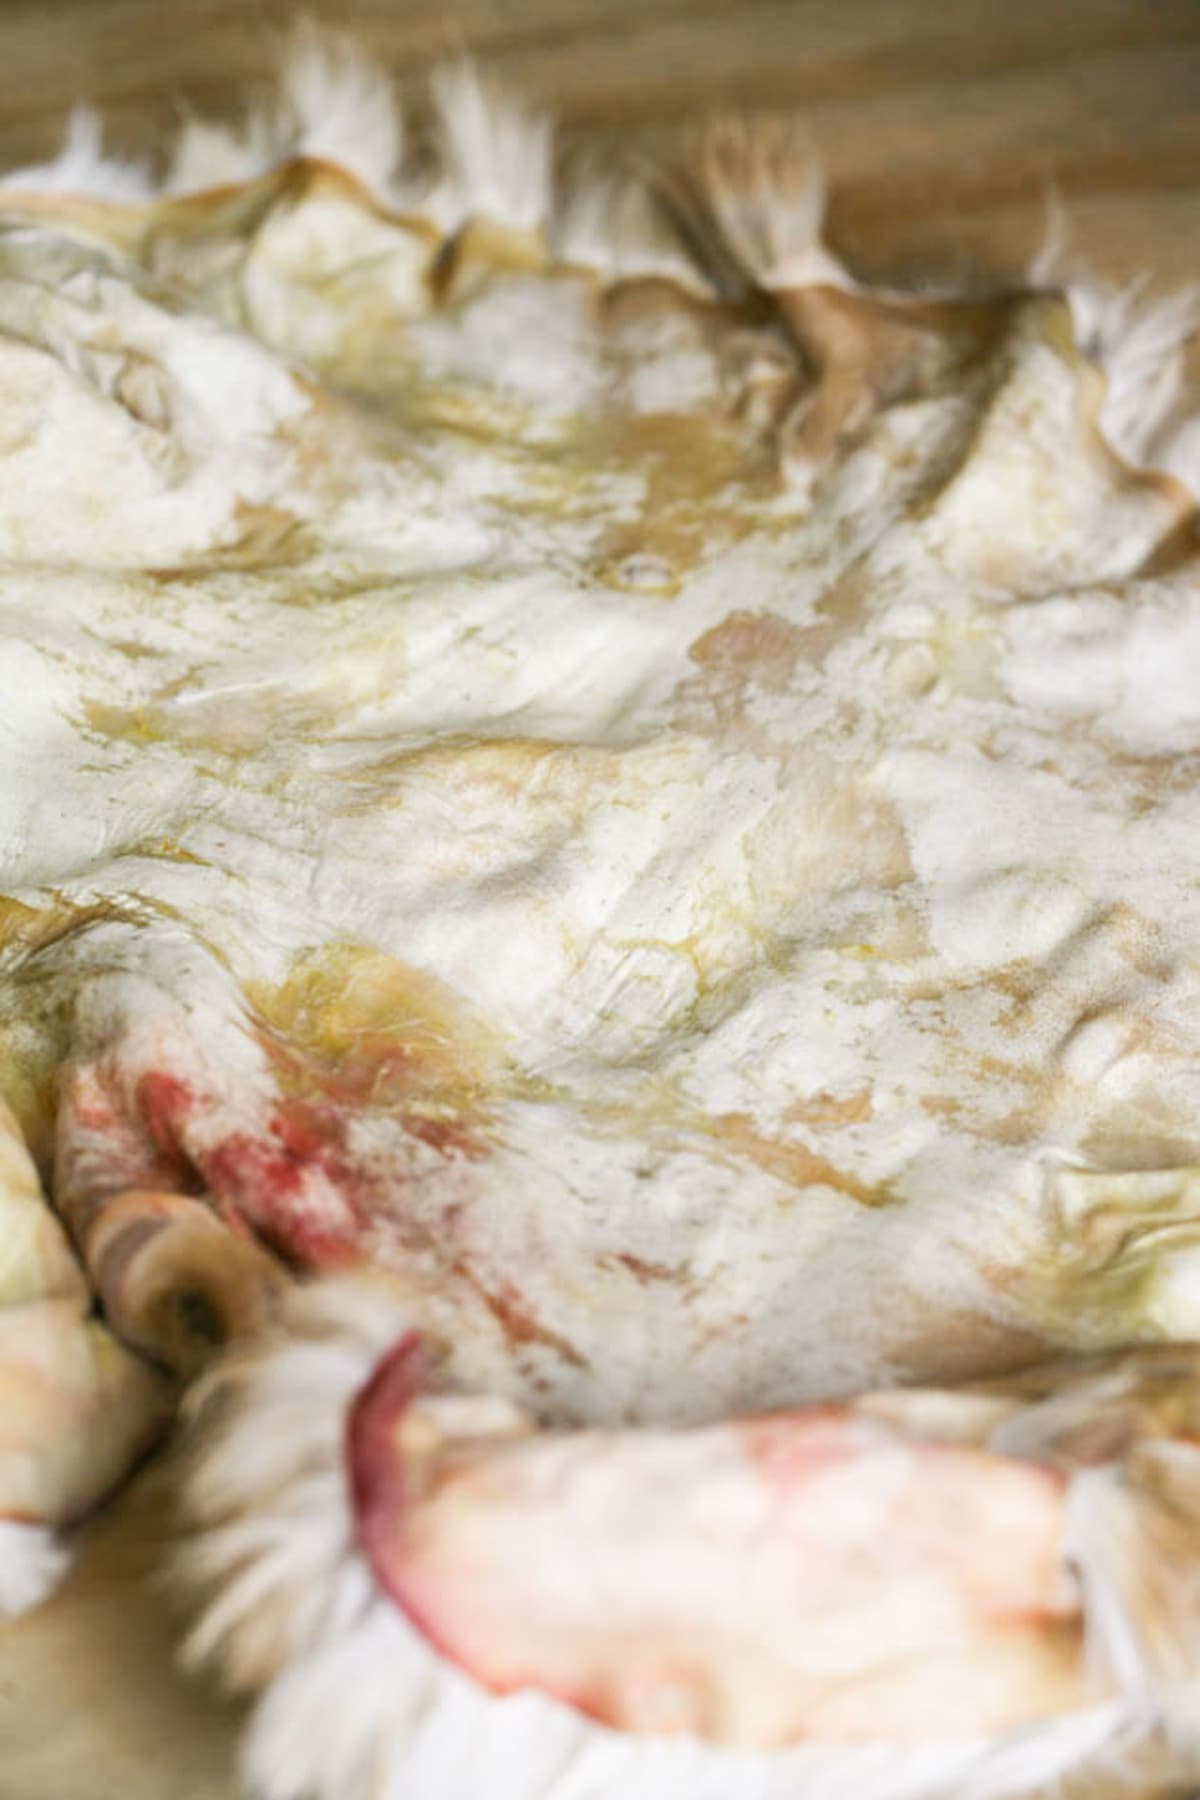

Step nine – dry and soften the hide. You are almost done! Now, the softening part is the hardest with a deer hide because the skin is so thick but the easiest part to do with a rabbit hide because the skin is so thin. You need to be gentle here since you can easily rip the skin if you pull too hard.
Alternate between drying, stretching, and pulling the skin. You can use the hairdryer again a little bit at the beginning to get to a point where the hide is damp, then pull and stretch a little bit. Let the hide sit on the board to dry in the air a little bit longer, then work the hide again for a few more minutes.
Pull here, pull there, stretch it this way and that way. The point is to do this as the skin is drying. If you let it sit and dry too much it will just dry hard and we don’t want that. As the skin dries and you pull it to open it up and soften it, you’ll notice that it changes color a little bit, and everywhere that you soften and is getting close to being completely dry becomes whitish (that’s an indication that you are doing it right).
Some people do this for a couple of hours in front of the TV at night, I preferred doing it over a period of three days. I mess with the hide for a few minutes, then fold it in half skin to skin and again fur to fur and place it in a plastic bag. This way it doesn’t dry on me too quickly.
I went back to it after a few hours for another 15 minutes of stretching and softening and then folded it and put it in the bag again and so on and so on until it was completely dry. This just worked better for me but you can do it all in a couple of hours if you prefer.
I do need to warn you that some hair does come off and can make quite the mess. So wear clothes that you don’t mind getting rabbit fur on and prepare to clean your house from rabbit hair if you do this indoors.As the hide is drying, this is also your time to sew any holes if you want to. I’ve heard of people just using a regular needle and thread because the skin of a rabbit is so thin, but if you want you can use leather sewing equipment.
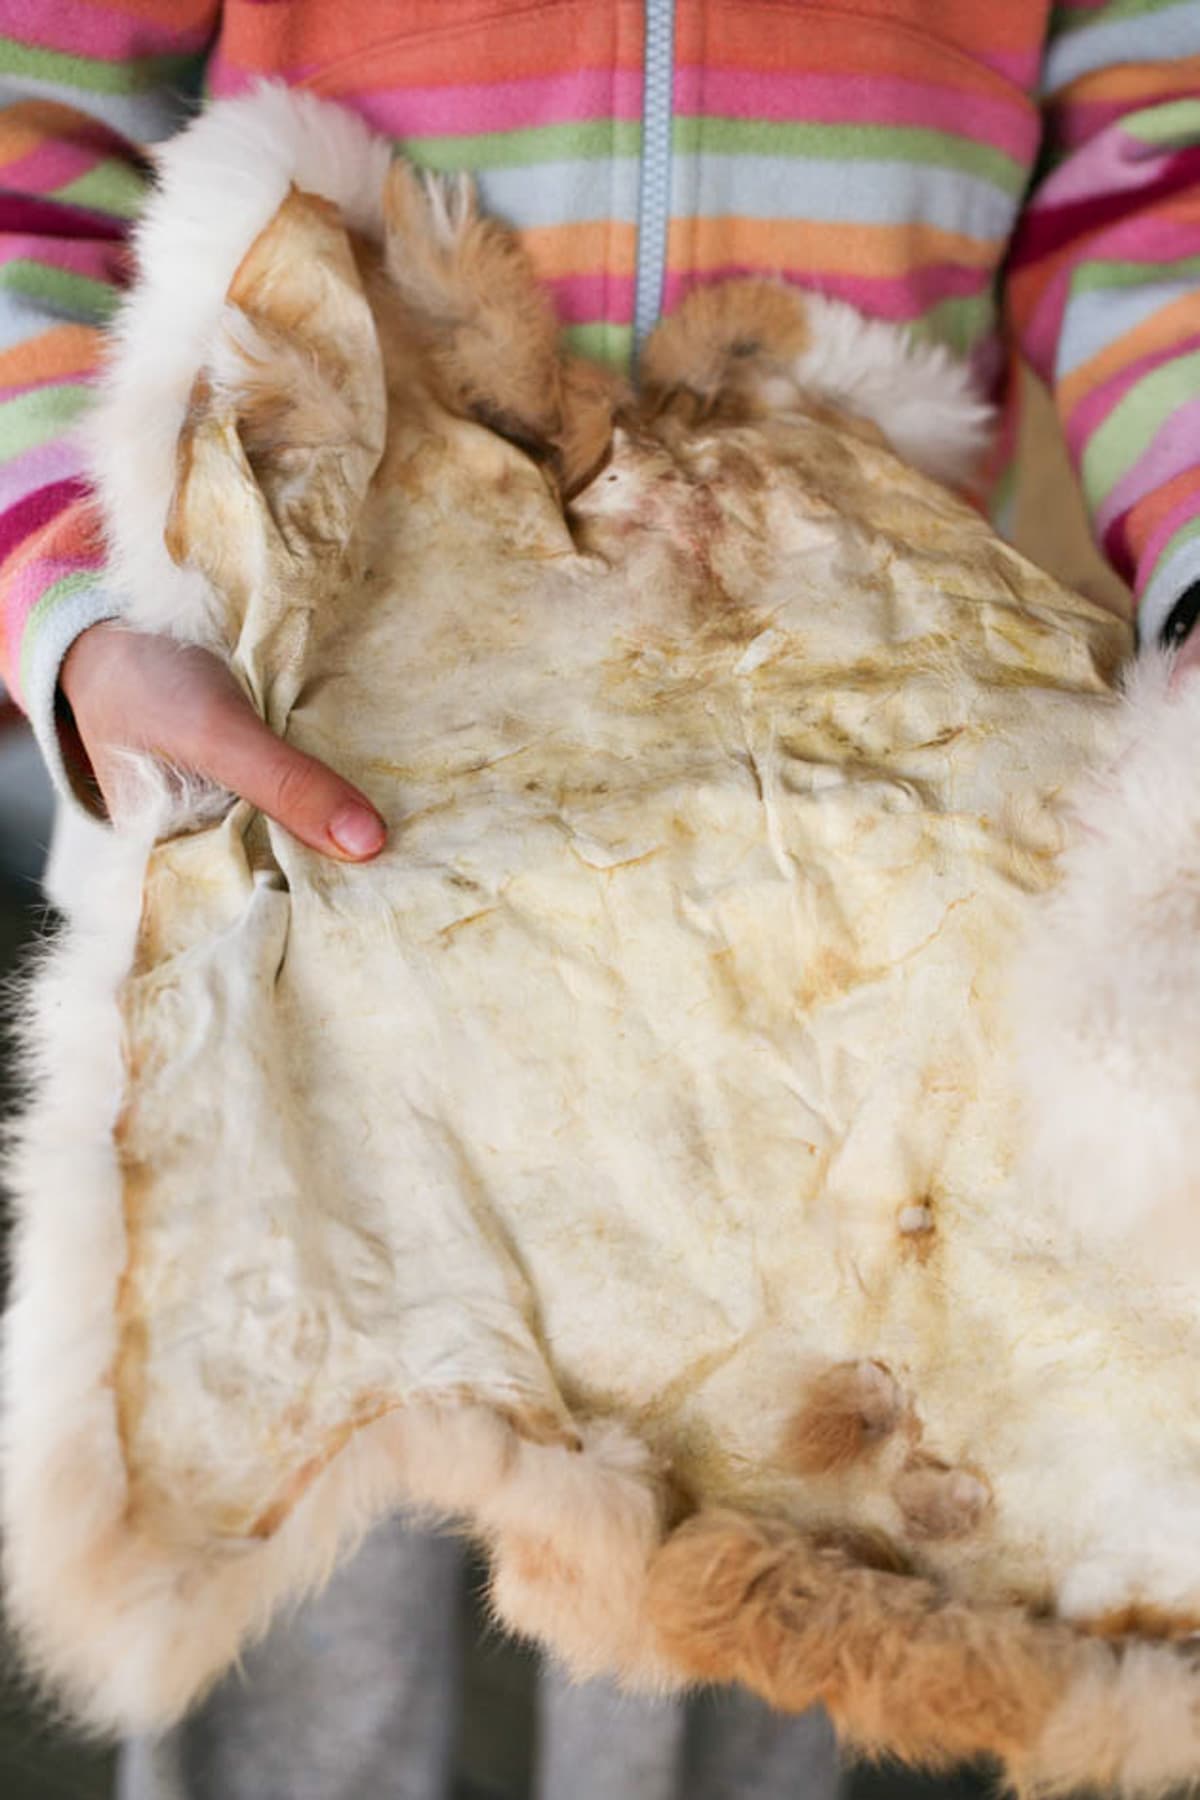
Step ten – smoke the hide. The last step in the hide tanning process is to smoke the hide. If you don’t smoke and leave it at this stage, every time it touches water it will go back to being raw hide. The smoke preserves the skin, closes it, and makes it waterproof.
I haven’t smoked my hide yet. I am in the process of building a smoker so it’s easier for me to smoke hides (and other things). You can see the smoking process in the deer hide tanning post that I linked to above but since rabbit hide is smaller and thinner you should only smoke it for around 30 minutes.
Once your hide is smoked, leave it outside in the fresh air to lose the smoke smell, then, you can use it in projects. You’ll probably need more than one hide for a project. Another option is to use it as part of a project. For example, I was thinking about sewing a purse from my deerskin and adding pieces of rabbit fur here and there.
Caring for a Tanned Rabbit Hide…
As far as I know, there isn’t much that you’re supposed to do after smoking the hide. You might want to give the fur a brush once in a while, but other than that, there is really not much to maintain.
Tips…
- Getting the hide – if you want to try this but don’t raise rabbits for meat, try to find someone in your area who does or someone who hunts rabbits. A good place to ask is in your local Facebook homesteading groups.
- Place the hide in the freezer – when you do get a rabbit or just the rabbit hide, if you don’t have time to work it right away, fold it, place it in a ziplock bag, and place it in the freezer. When you have time, take it out and let it thaw before starting the tanning process.
- Freeze deer brain – during the hunting season, if you can extract deer brain and place it in the freezer (each brain in its own ziplock bag), do so. I think that brain mixed with water is a better solution than the egg. It’s very fatty and softens the skin much more.
- Other animals – follow this hair-on tanning process with any other small animal. I’ve tried a raccoon, a young goat that didn’t make it, a groundhog… It can be the same process with all the other small animals.
- Use a net – if you are planning to leave the hide to dry outside, it might be beneficial to place it under a net of some sort. Flies find it very quickly and we do want to try to keep them away.
- Vacuum – another thing that can make this process a bit easier is a vacuum. Especially if you are going to work the hide inside. It does lose some hair and it can be much easier to clean the mess with a vacuum.
Frequently Asked Questions…
Some say it is and therefore it’s harder to tan a wild rabbit hide. It seems to tear easily.
After smoking the hide, let it hang outside in fresh air for a couple of days. You can also try to wash the hide with a drop of dish soap. Another option is to mix a few drops of lemon essential oil with water in a spray bottle and spray the hide.
At any point, rinse it and start the process again. You can do it over and over as many times as you need.
In order to prevent what we call “slipping”, try to work the hide as soon as possible. Slipping is generally caused by bacteria getting into the skin. If you can, work the skin right after you skin the animal. If you freeze the skin, make sure to thaw it slowly in a warm place, preferably in the sun so it “dry thaw”.
I hope that this tutorial on how to tan a rabbit hide gave you an idea of the process. Again, follow the principals but you can try changing the methods a bit to fit your schedule or the way you like to work. If you grow rabbits for meat, this is a great way to use their skin. This is also a great project for a child who wants to start with hide tanning since the skin is thin and is not too hard to work. I hope that you’ll try tanning a rabbit hide!
More Great Tutorials…
- How to Cook a Rabbit
- How to Weave a Round Basket
- Fishing Line Deer Fence
- How to Make Goat Milk Soap
- How to Make a Bamboo Screen

How to Tan a Rabbit Hide
How to tan a rabbit hide (fur-on) with an egg yolk.
Materials
- One rabbit hide
Tools
- Sharp skinning knife
- Fleshing knife
- Work beam
- Gloves
- Vinyl apron
- Dish soap
- Plywood
- Hair dryer
- Hair brush
- Nails
- Hammer
- Egg yolk
- Bowl (for the egg yolk)
- Kitchen brush
- Towel
Instructions
- Skin the rabbit: hang the animal from its back legs, cut the skin right under the back legs joint, and then continue in a V shape towards the center of the tummy, between the two hind legs.
From there you move in a straight line down the stomach until you get to the neck. Cut the head off and you are left with the hide. - Rinse the hide: no soap, just cold water will do.
- Flesh the hide: place the hide, fur down, on a beam and gently scrape the flesh off the skin. You have to do this gently or you'll rip the hide. If you do make holes in the hide it's not a huge deal because we can always sew them later. But do go gently here and take your time.
- Rinse the hide: after fleshing is done, it's time to rinse again. This time in order to get rid of some of the fat, I put the hide in a bucket and used a tiny drop of dish soap and cold water.
After you're done rinsing the hide make sure to try and squeeze it and twist it as good as you can to remove as much water as possible. - Partially dry the hide: we are going to slightly dry the hide. The emphasis here is on PARTIALLY, we want it just a tiny bit damp. Place the hide, skin down on a piece of clean plywood and use a hair dryer and a brush to dry the fur.
- Pin the hide to a board: set the hide on a plywood board, fur to the board, and use a hammer to hammer nails around to hold the hide to the board. You don’t need to stretch it. We just want to make sure that it is held in place.
- Brain the skin: if you have a deer brain or a pig brain that you can use, feel free to use it (the recipe for a brain solution for hide tanning can be found in my post How to Tan a Deer Hide). The other option is to add one egg yolk to a bowl and beat it. Then use a kitchen brush to brush the skin with it.
When you are done, cover the hide with a damp towel and leave it covered overnight. - Rinse the hide: in the morning, rinse the hide again with cold water to remove the egg yolk (don't use soap).
Squeeze the hide well to remove the excess water. Try to remove as much water as you can by squeezing it and twisting it. - Dry and soften the skin: alternate between drying (you can use the hair dryer) and stretching and pulling the skin. I used the hairdryer a little bit at the beginning to get to a point where the hide was damp, then pulled and stretched a little bit. Be careful not to rip the skin.
We pull here, we pull there, we stretch it this way and that way. The point is to do this while the skin is drying. If you let it sit and dry too much it will just dry hard on you and we don't want that.
As the hide is drying, this is also your time to sew any holes if you want to. - Smoke the hide: to make the hide waterproof, you are going to have to smoke it. Smoke the hide in a smoker or above a smoking fire pit for 30 minutes.
Notes
Frequently Asked Questions...
- Is wild rabbit skin thinner than farm-raised rabbit?
Some say it is and therefore it’s harder to tan a wild rabbit hide. It seems to tear easily. - How can I get rid of the smoke smell?
After smoking the hide, let it hang outside in fresh air for a couple of days. You can also try to wash the hide with a drop of dish soap. Another option is to mix a few drops of lemon essential oil with water in a spray bottle and spray the hide. - Somewhere along the way, my hide dried and is now hard. What should I do?
At any point, rinse it and start the process again. You can do it over and over as many times as you need. - The hair is slipping off the skin! What can I do?
In order to prevent what we call “slipping”, try to work the hide as soon as possible. Slipping is generally caused by bacteria getting into the skin. If you can, work the skin right after you skin the animal. If you freeze the skin, make sure to thaw it slowly in a warm place, preferably in the sun so it “dry thaw”.
Recommended Products
As an Amazon Associate and member of other affiliate programs, I earn from qualifying purchases (there is no change in product cost or charge to you! Thank you for helping me support the blog).
-
 Remington D3190 Damage Protection Hair Dryer with Ceramic + Ionic + Tourmaline Technology, Purple
 -
 Aulett Home Waterproof Rubber Vinyl Apron - 40" Heavy Duty Model - Best for Staying Dry When Dishwashing, Lab Work, Butcher, Dog Grooming, Cleaning Fish - Industrial Chemical Resistant Plastic
 -
 Freedom Brand Standard Fleshing Knives (10")
 -
 SIMPZIA 20 Pieces Leather Craft Tools with Hand Sewing Needles Drilling Awl Waxed Thread and Thimble for Leather Upholstery Carpet Canvas DIY Sewing

Hi! I’m Lady Lee. I help homesteaders simplify their homesteading journey while still producing a ton of food! I am a single mother of four, I was born in Israel and raised in an agricultural commune called a Kibbutz. Now I homestead in central NC.



Hi, I just finished reading your tutorial on tanning rabbit hides. I am considering raising meat rabbits and I would like to use the hides, too. I like the egg-tanning method you described. You said that brain works better than egg for tanning. What makes the difference? I feel MUCH more comfortable using egg than brain in the tanning process. Thank you for your tutorial!
The brain contains a lot more fat than the egg. But, this matters more when we tan deer hides, for example, because the skin is so thick. Rabbit skin is as thin as paper so the egg is just fine. Rabbits are great for meat and their hide is amazing. I think that you’ll have fun with this!
Ooops sorry here is the other book! https://www.etsy.com/listing/910938318/vintage-survival-arts-of-the-primitive?gpla=1&gao=1&&utm_source=bing&utm_medium=cpc&utm_campaign=shopping_us_all&utm_custom1=_k_61bfc643d4211fc6fc62a641cc1c7e53_k_&utm_content=bing_319339186_1310617986645934_81913644654434_pla-4585513245482005:pla-4585513245482005_c__910938318&utm_custom2=319339186&msclkid=61bfc643d4211fc6fc62a641cc1c7e53
Yeah I was trying to find a fast workaround using just salt but it didn’t work. Though if you wanted to use the fur to make something like slippers, you probably wouldn’t want to braintan them. This book by Matt Richards is really invaluable! You already have the scraper and the set up, so you’re pretty much already there. https://www.goodreads.com/book/show/28709.Deerskins_Into_Buckskins
I tried doing a rabbit skin just by covering it with salt, I had seen instructions that online somewhere, anyway it didn’t work and the flies were laying eggs on it even though the salt was all over it, pretty icky, plus the hide ended up being stiff anyway. I started doing the tanning of a deer hide (it’s halfway there in my freezer) after I got the book by Matt Richards who talked about brain tanning awhile ago. I’ll try your tanning method, which is so cool I hate throwing things away. There is a book I forget the title but the Native Americans, Paiutes I think, in the desert part of the west would go from the head (keeping the eye hole) and cut the bunny fur into one long continuous ribbon. Then they would let them dry (kept ears on they snap off when dry). They would get about 50 of these bunny ribbons and then make a big old loom out of tree branches (like those old time pot holder looms they sold for kids to make) and would weave them into a blanket for themselves to wear, like a big cape. I think it’s titled “Survival Arts of the Primitive Paiutes” or “Survival Arts of the Paiutes”. Very cool book. Thanks for the great information and photos! I plan to make a blanket but just by sewing it probably.
I tried with salt too and it didn’t work for me either!
I’ll definitely look for those books. Thanks!
Did you ever finish the smoker? if so do you have an article on that? its another barrier to me being able to tan is doing the smoking.
No, I didn’t finish it yet. It’s about done tho, just missing a door. Hopefully, I’ll be able to finish it this year. I built it the same exact way that I built my chicken coop just smaller, closed all the way up, and with a door. Here is how I did the chicken coop:https://ladyleeshome.com/how-to-build-chicken-coop/
I hope this helps. I don’t plan to install a stove or anything like that. I want to keep it simple and use the same method that we used in my post about tanning a deer hide (https://ladyleeshome.com/how-to-tan-deer-hide/). I’m just going to place a bucket with punk wood at the bottom and keep it smoking. But it will be simple to install a stove outside if that what you want to do.
This was really helpful. I tanned 2 rabbit hides using salt and egg yolk. I may have left them to soak in water for too long as rhey started to really smell and are shedding. I didn’t do a great job of stretching them. They’re dry now but still smell and shed. Can I wash them again to get rid of the smell and try stretching them some more? Thanks for your response
Yes, you can do this process over and over again. Until you smoke the hide you can repeat the process and every time that you soak the hide in water it will go back to being raw skin. Once you smoke it it will get wet but it won’t go back to being raw skin that you can work anymore.
Unfortunately, I find that the hides keep shedding. I’m not sure if there is a way to correct that…
Dear Lee,
Thanks a lot for all. Good effort in simple expressions with nice photos also.
Thanks more and more.
You are welcome!
If you have enough skins cured, you can make yourself a really warm bed cover !
It will be a great use for the skins!
What to do if you hide Wasn’t done right and the back is hard as a rock
Assuming it’s not smoked yet, you just soak it in water and start the whole braining/softening process over.
Awesome thank u… I’m gonna try this
It’s a fun project!
Thank you for this tutorial. I plan on using it for a raccoon we got recently. I need to degrease by washing with Dawn. Would you use 2 egg yolks for a raccoon? My finished pelt will be used as a wall hanging. Thanks!
I did one raccoon so far and I think one egg yolk was enough but it will depend on the size of the raccoon. If you can put your hands on a deer brain it will be better to use than the egg. Mine is hanging on the back of my desk chair. I love it!
I have done this several times, people thought I was nuts on FB. Thanks for using the egg yolk method. I never smoked mine either.
It’s really hard for a lot of people to accept that someone is still doing this. Many people have gone really far away from nature… But there are many that still appreciate old crafts and ways of living. You just have to intentionally look for them these days. Have you ever been to primitive skills gathering?
THANK YOU FOR THE DETAILED INSTRUCTIONS. My family hunts deer and I have tried multiple times to figure out a way to utilize every part of the deer so nothing goes to waste. To me, the hide is like gold! However, I hadn’t found any one person that could explain start to finish how they accomplished tanning it with the hair on, until now???? Thank you, and Xmas stocking would be a great project for any hides:)
You are welcome! I was in the same boat as you. I will say one thing, when you do a deer hide try to use the brain solution that I have in the “how to tan a deer hide” post (did you see that one?). The egg is enough for the rabbit skin because it’s really thin, but the deer skin is much thicker. The brain solution will work better for deer skin…
Amazing article, thank you so much!
You are welcome!
This has got to be the absolute best directions I have ever found for tanning and I have been looking and failing for a long time. I am going to be making my friend a wedding cape. Thank you a million times. I feel far more confident now.
Awww… You made my day! Thank you for taking the time to write this comment. I remember feeling the same way when I tried to find information. I ruined 8 rabbit pelts before I figured it out.
I just have to say, be gentle! Rabbit skin is as thin as paper.
Good luck with your project.
Oh my goodness thank you!!! When I get my farm I’m absolutely raising meat rabbits. The idea of throwing away the hides just breaks my heart. I would make slippers!!! Lol! This is so awesome thank you!! I’m super excited!!!
I am so happy you liked it! I love tanning. I started for the same reason you mentioned. I just couldn’t throw away the hides.
Lady Lee,
Mittens,slippers,a liner for a hat. Lots of things !
Thanks for the tutorial.
I was thinking mittens! It will be a fun easy project for a beginner like me. I am just not sure if we really need them in the South but I might give it a try anyway.